
Okay, so in the Hackaday article that got me to do this series in the first place, one of their first questions they want to be answered is “What does the actual workflow of 3D printing look like? What happens from beginning to end?”
So that’s what we’re going to look at today – the full process of going from wanting to print something to having a physical, usable part.
3D Model
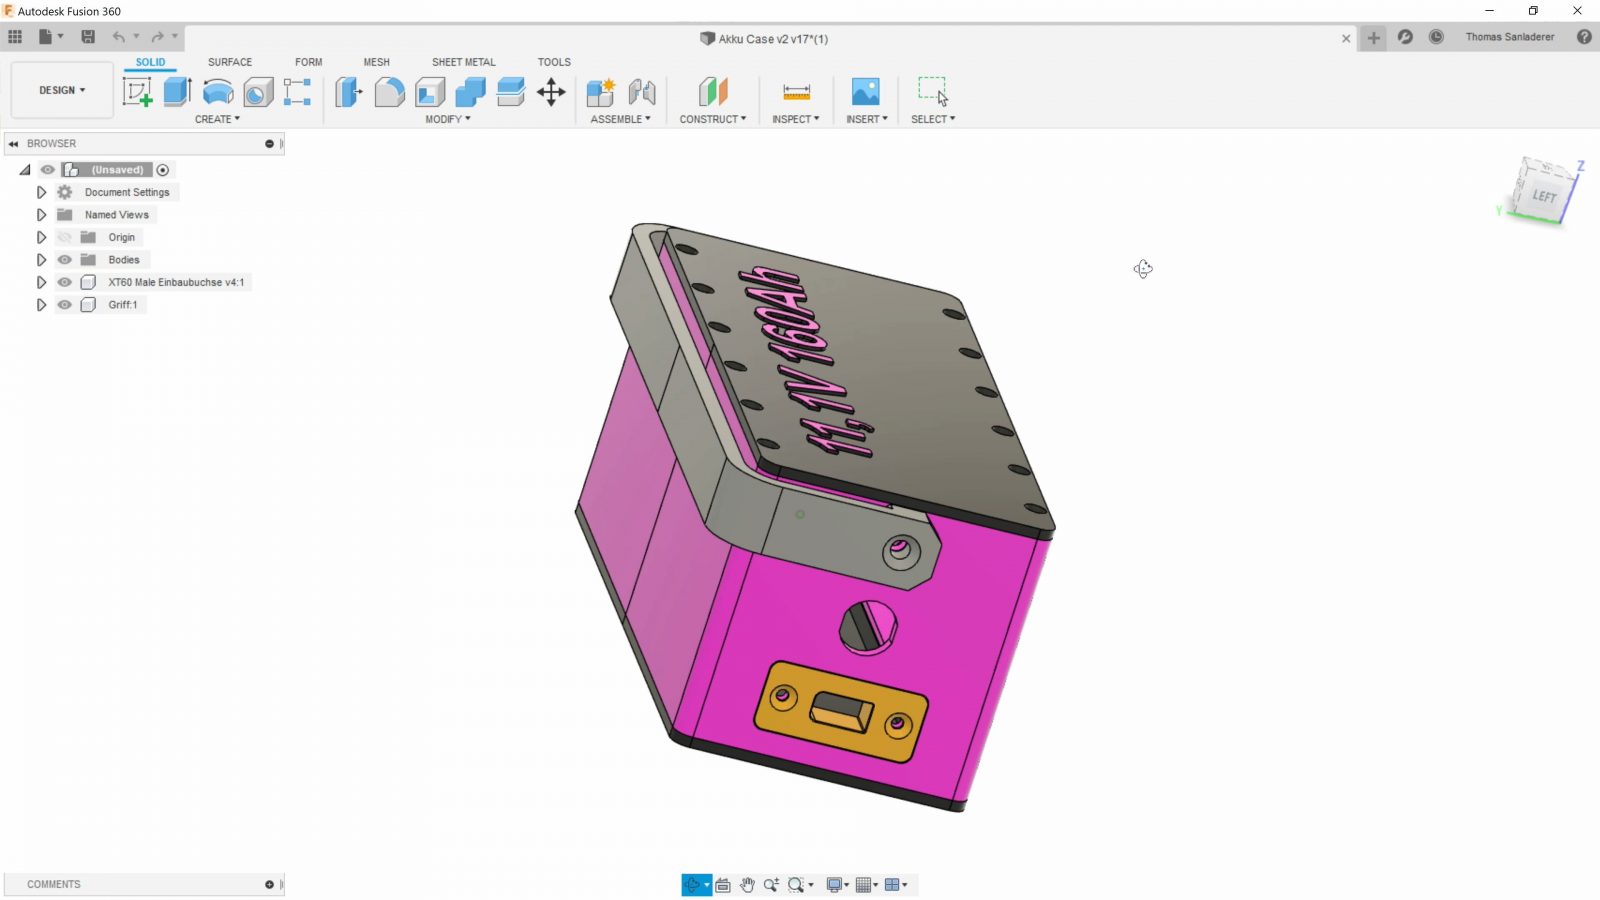
The thing the actual 3D printing process starts out with is a 3D model. Last week in episode 5 we looked at all the different options there are to get models, for this video I’ve got this battery bank model that a friend is working on, I broke the handle on it, so I’m going to be printing him a new one. So I’ll export just the handle as a .stl file and take that over into the slicer.
Slicer settings
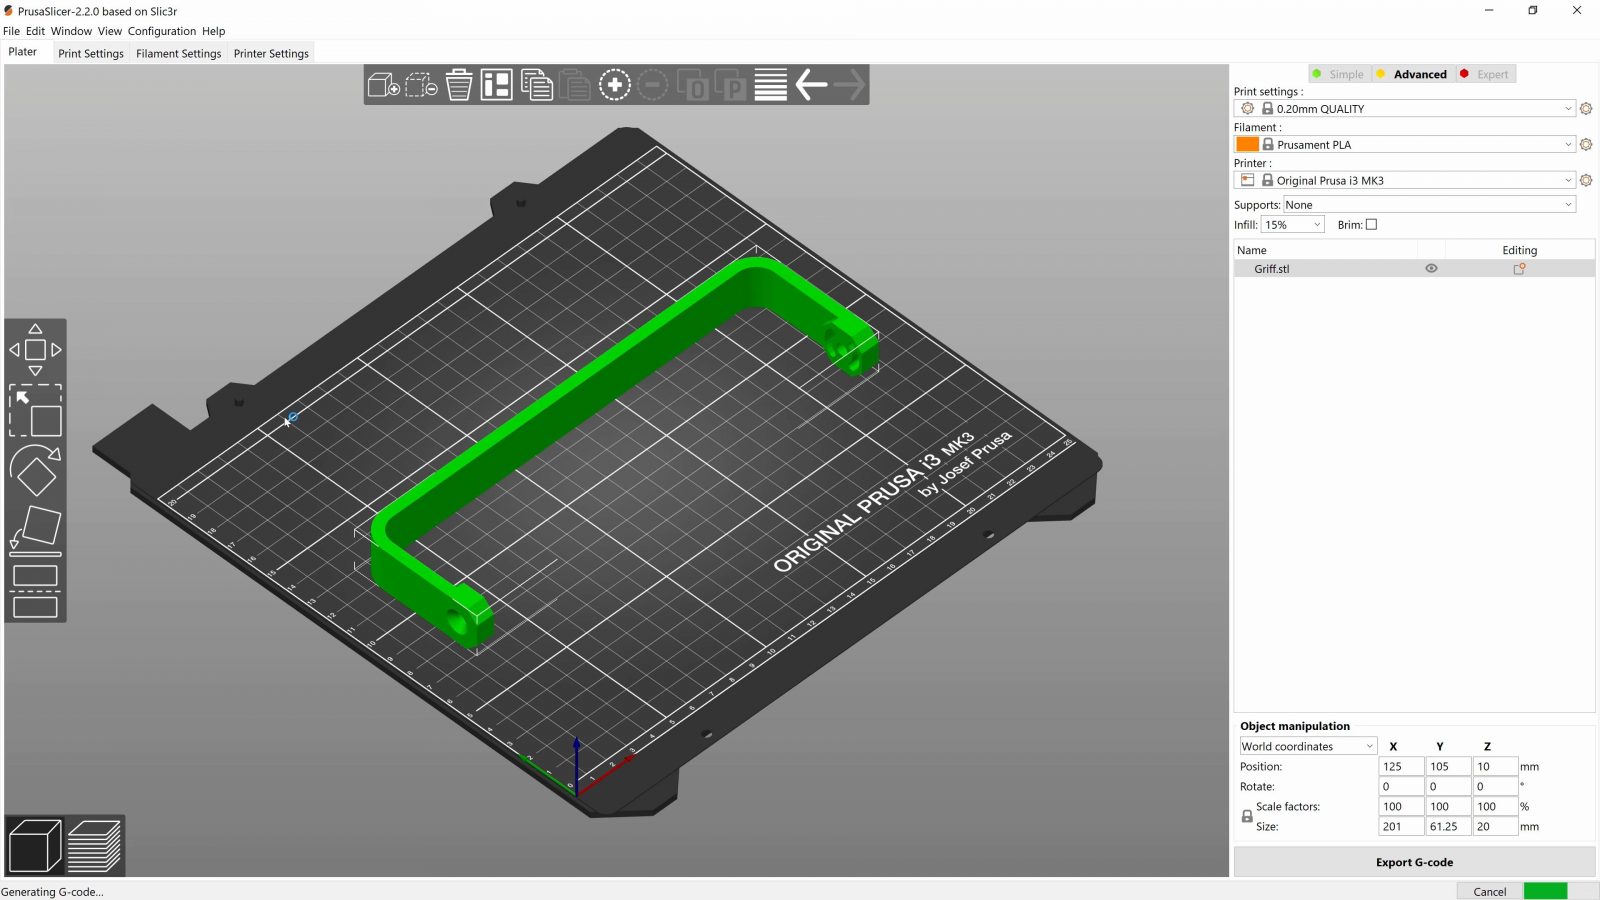
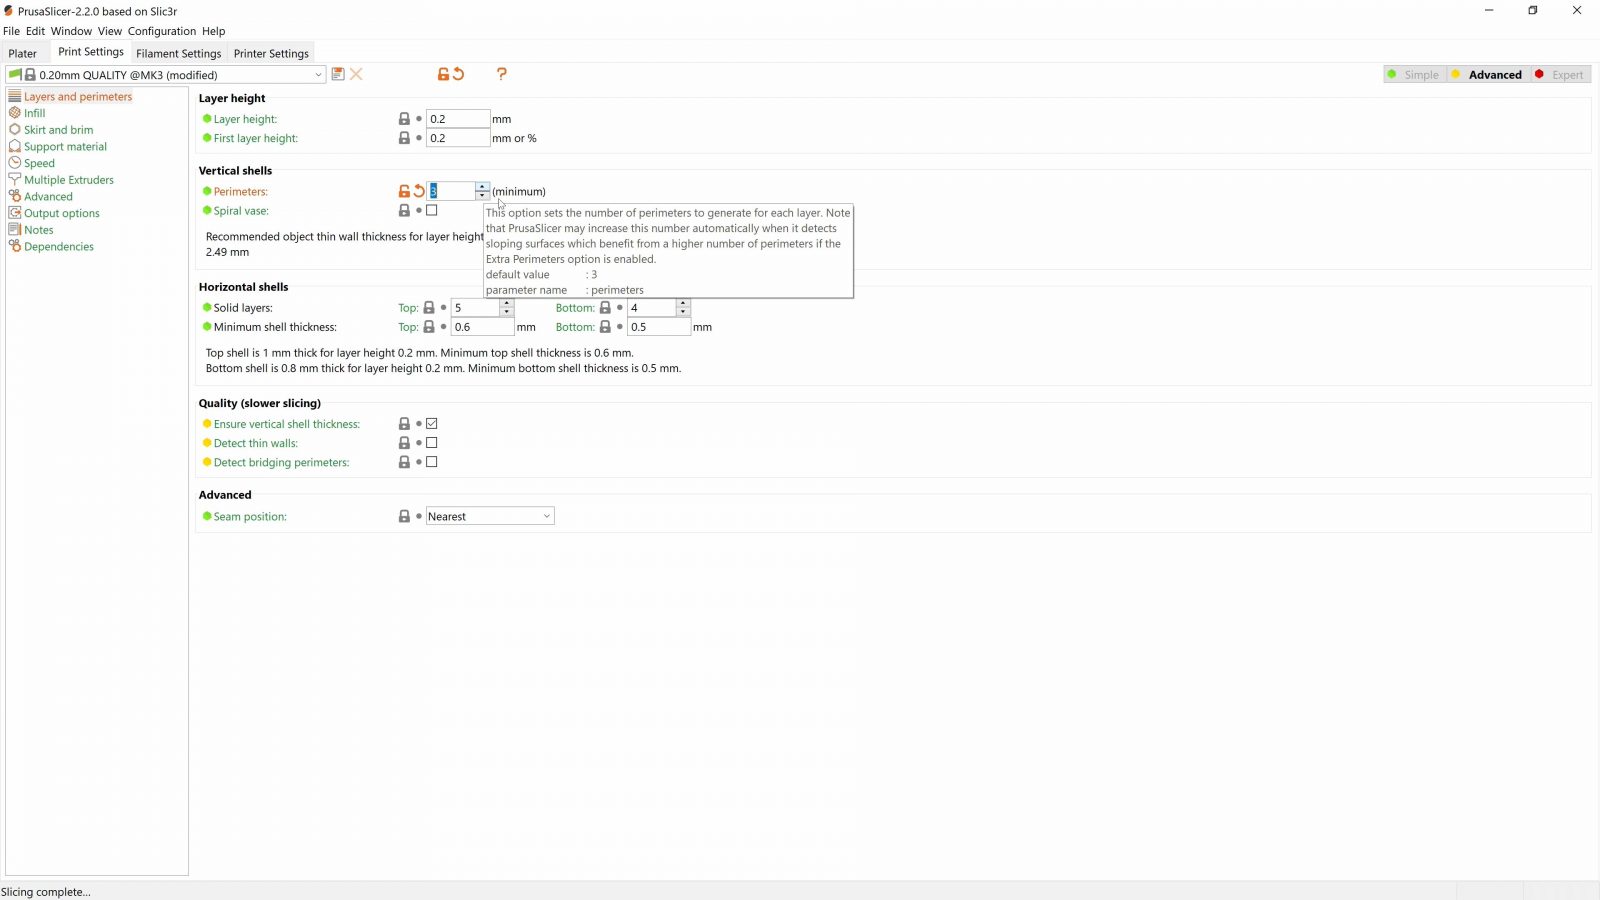
Now, just like for models, I’ve already covered all the basic functions of the slicer in a previous video, episode 6. For this model, because it’s 201mm wide, I’ll be using the MK3, and I’ll make sure it’s oriented correctly on the build plate so that I get nice, strong, continuous layers from the area where you’d grip this handle to where it is attached. Filament printers produce their strongest parts when forces can stay within one layer and don’t have to be transferred from one layer to the next. Because this model was designed with 3D printing in mind, we don’t need support material here, but I’ll head over to the print settings and give it an extra shell just to stiffen it up a bit and make it a bit stronger around the hinge area. That’s were that first part broke.
Filament
For filament, I’ll be using PLA, both PLA and PETG would work, but since it’s a relatively large part, it might be tricky with ABS, ASA, or polycarbonate. PLA doesn’t have nearly the temperature resistance of those materials, but this is a part for basically a big old battery in a box, so I would probably worry more about the lithium-ion cells than the PLA case if the temperature did end up becoming a problem. And also, I only have the Ms. Pink color in Prusament PLA. So, I’ll be using that, which means I’ll grab the PLA profile in the slicer.
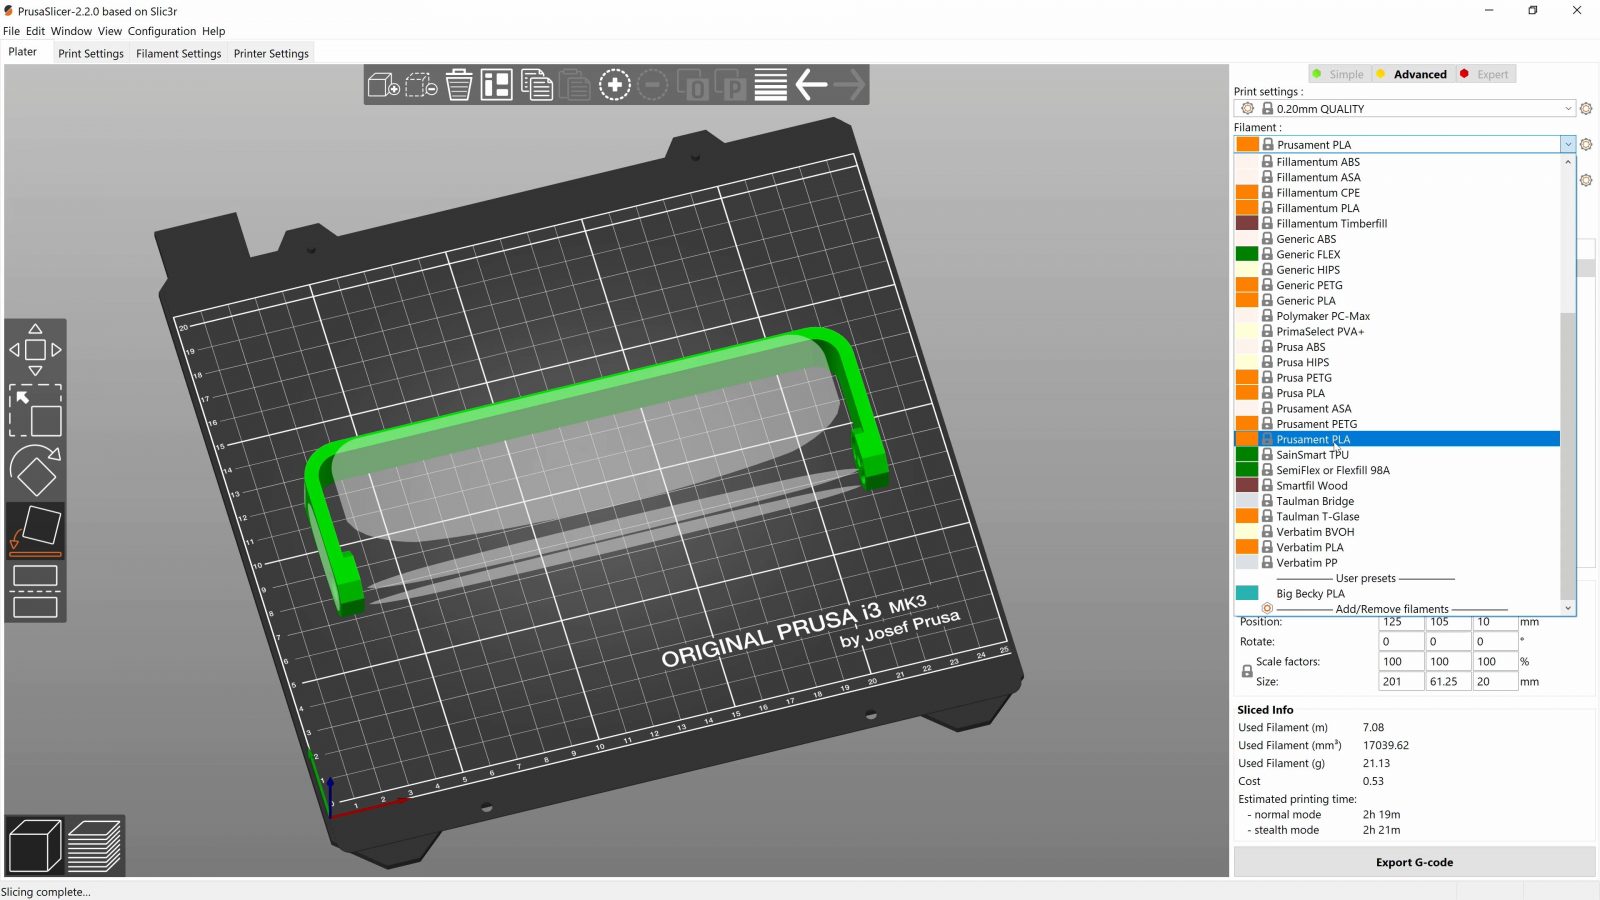
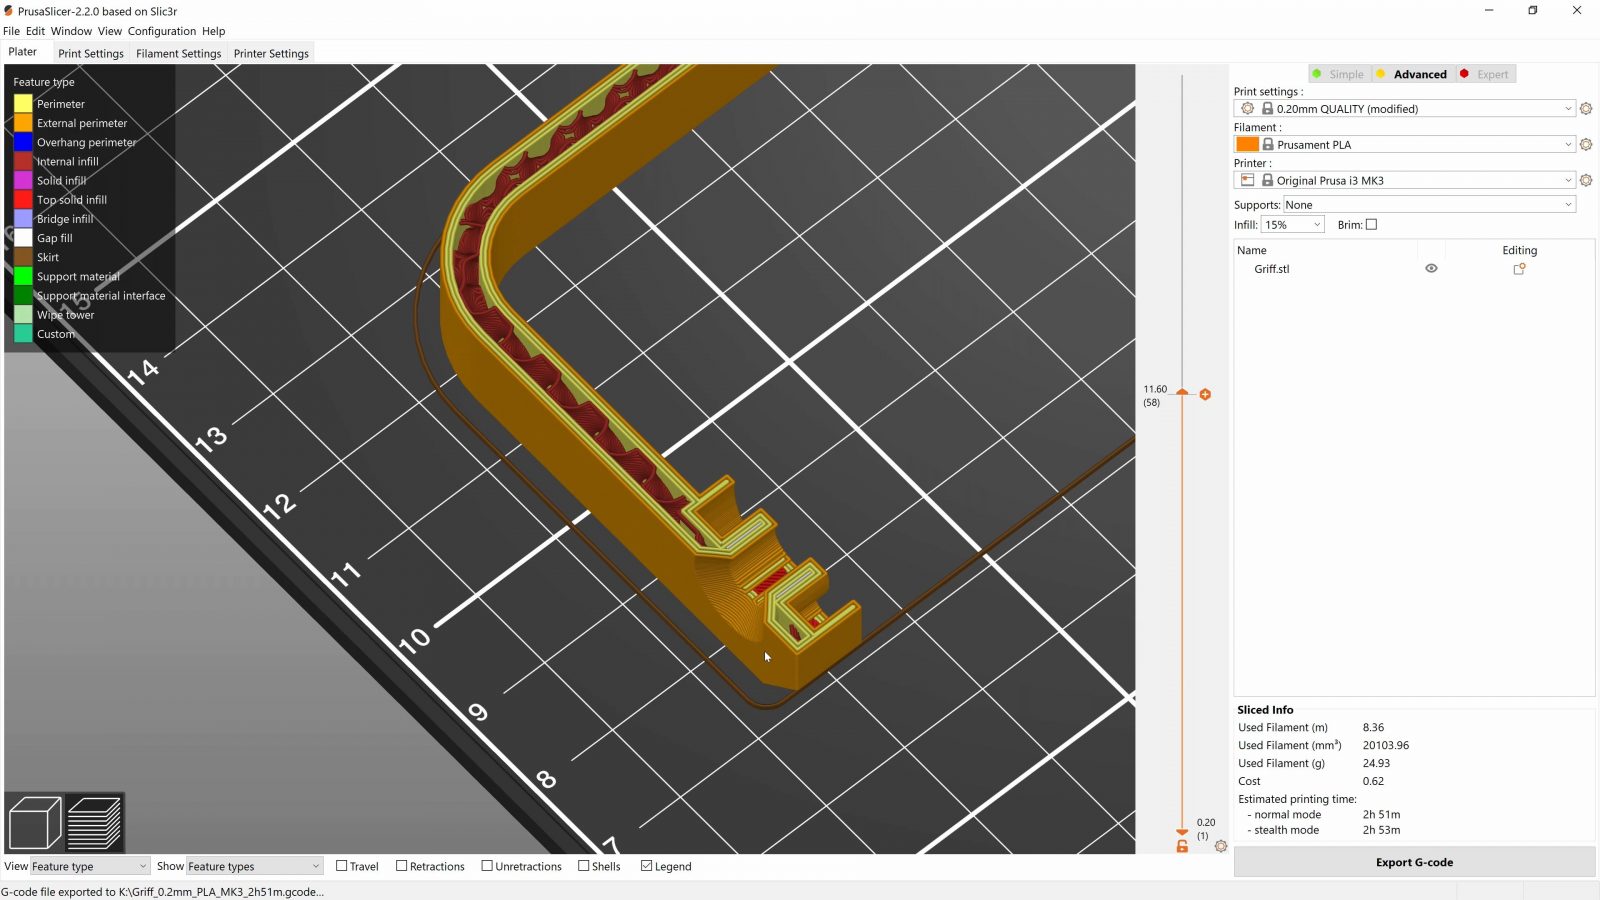
Quick look at the print preview, this is looking good, so I can save it over onto, in this case, an SD card, other machines use USB drives, safely remove it, and move on to the printer.
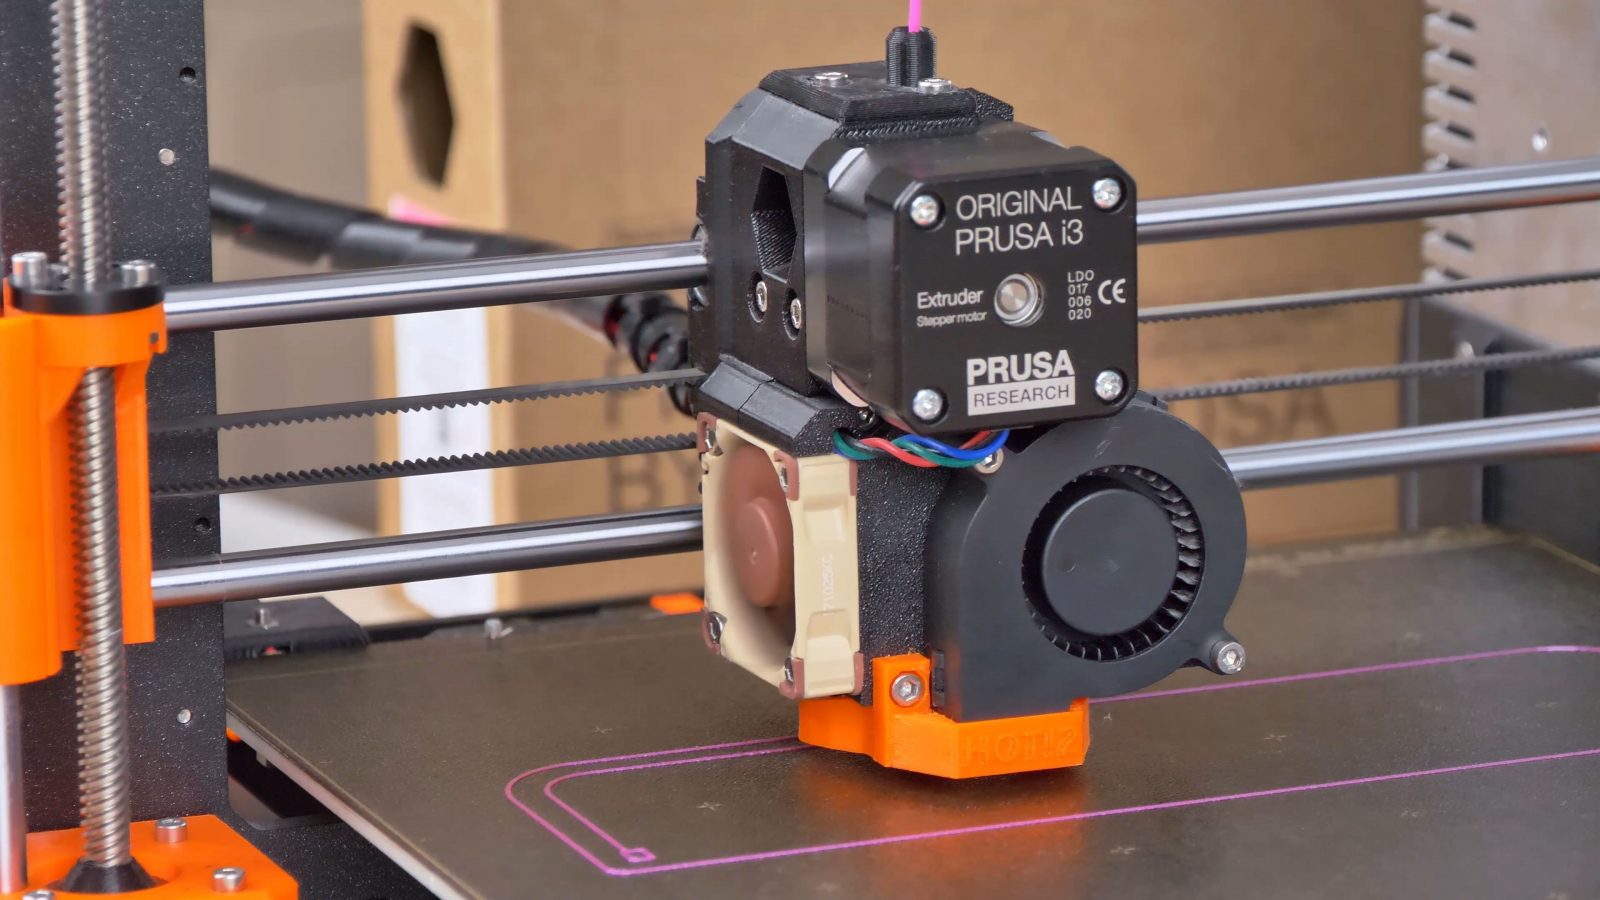
Printer
So on the printer, I’ll pop in the SD card. The first thing I do is to check if there is stuff from the last print left on the bed, and if the last print had trouble sticking, I’ll wipe it down real quick. If the printer already had the right filament loaded up, I could start printing at this point, but we still need to swap in the pink PLA, so I go to preheat, and choose the preheat preset with the higher temperature out of the filament that’s already in there and the one I’m loading. So this is PETG already in here, I’m loading PLA, so I’ll use the hotter PETG preset. When the hotend is at temperature, I can click “unload”, and then load the new filament. The old roll of PETG goes back into the drybox.
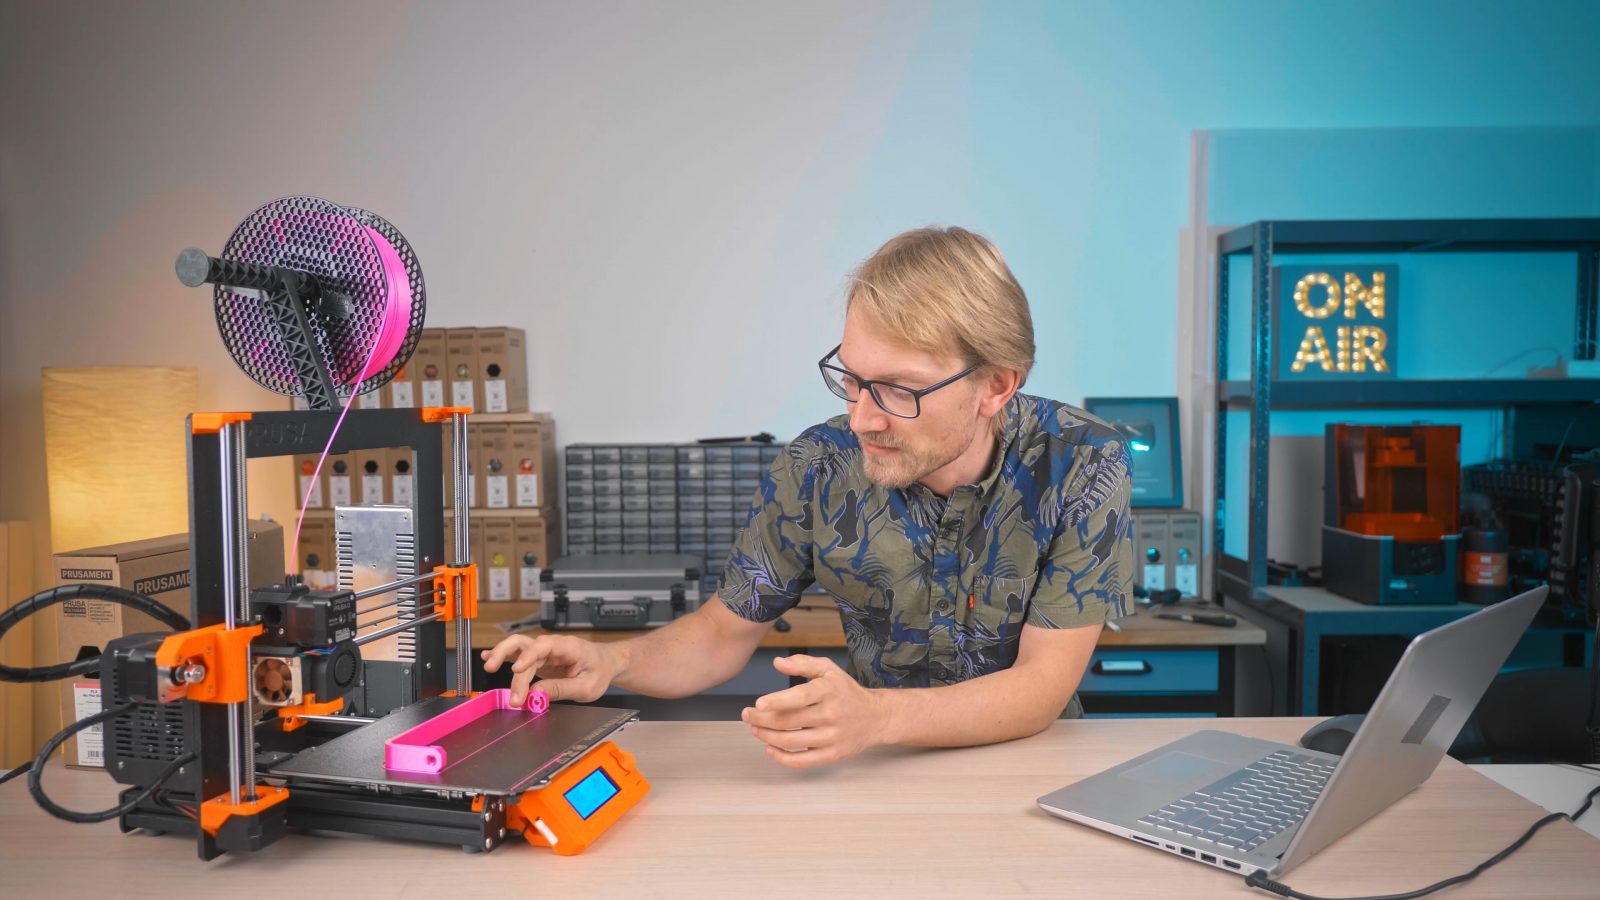
All that’s left now to do is to start the print. Usually I’ll just watch the first layer and if that goes down without lifting, the rest of the print is usually going to be fine, too, but that’s just experience in being able to judge which models are going to work well and which won’t and trusting your machines to not mess up.
This first layer looks good, so let’s keep this printing.
The finished print
So there it is. The printer is cooled down, which means the print should have released from the bed, if not, a quick tap can usually break it free. I like to use the print itself to go ahead and scrape the skirt and priming line off the bed right away so that the printer is ready for the next print.
And that’s really it. There’s the print, it’s ready to use right away, again, because it’s been designed specifically for 3D printing. If you had printed something with support material, now would be the time to remove that, a combination of prying and snipping tools like flat screwdrivers, pliers, and a flush cutter works well. Or if you wanted to make the print look less like a print, you could also go through a full finishing process, for PLA, you can use pretty much any technique, be it, filler, prime and paint, or wet-sanding the parts, or using whatever approach you like.
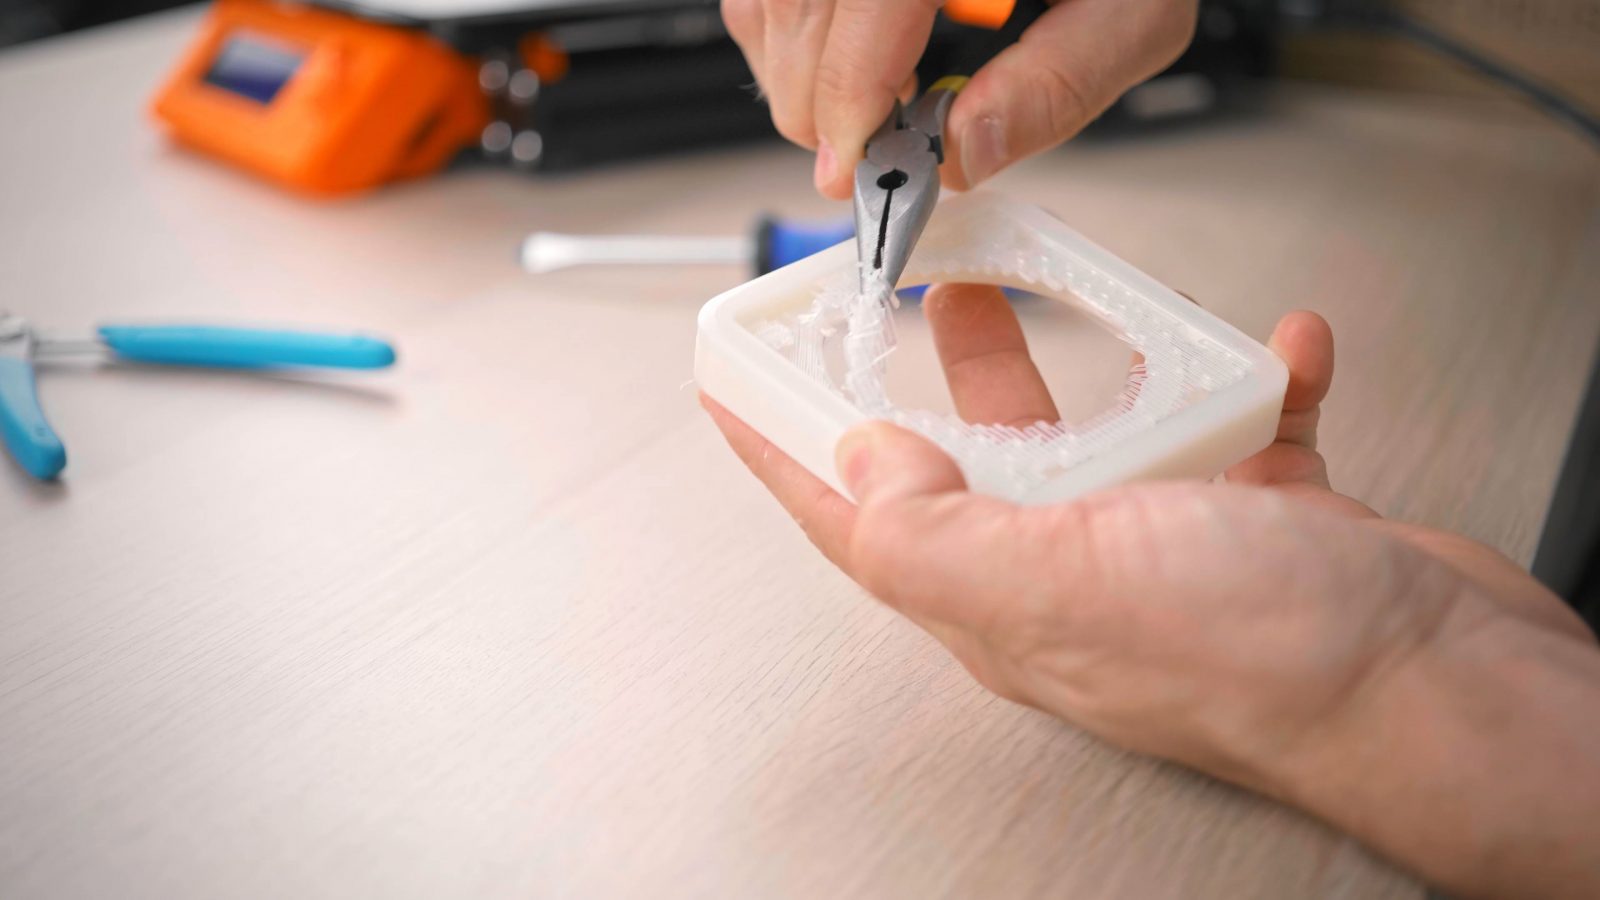

If it’s a part that’s intended for a functional application, drilling holes to their final size, tapping threads, or adding threaded inserts is something that’s easily doable with tools made for metalwork as well.
Take care of your filament
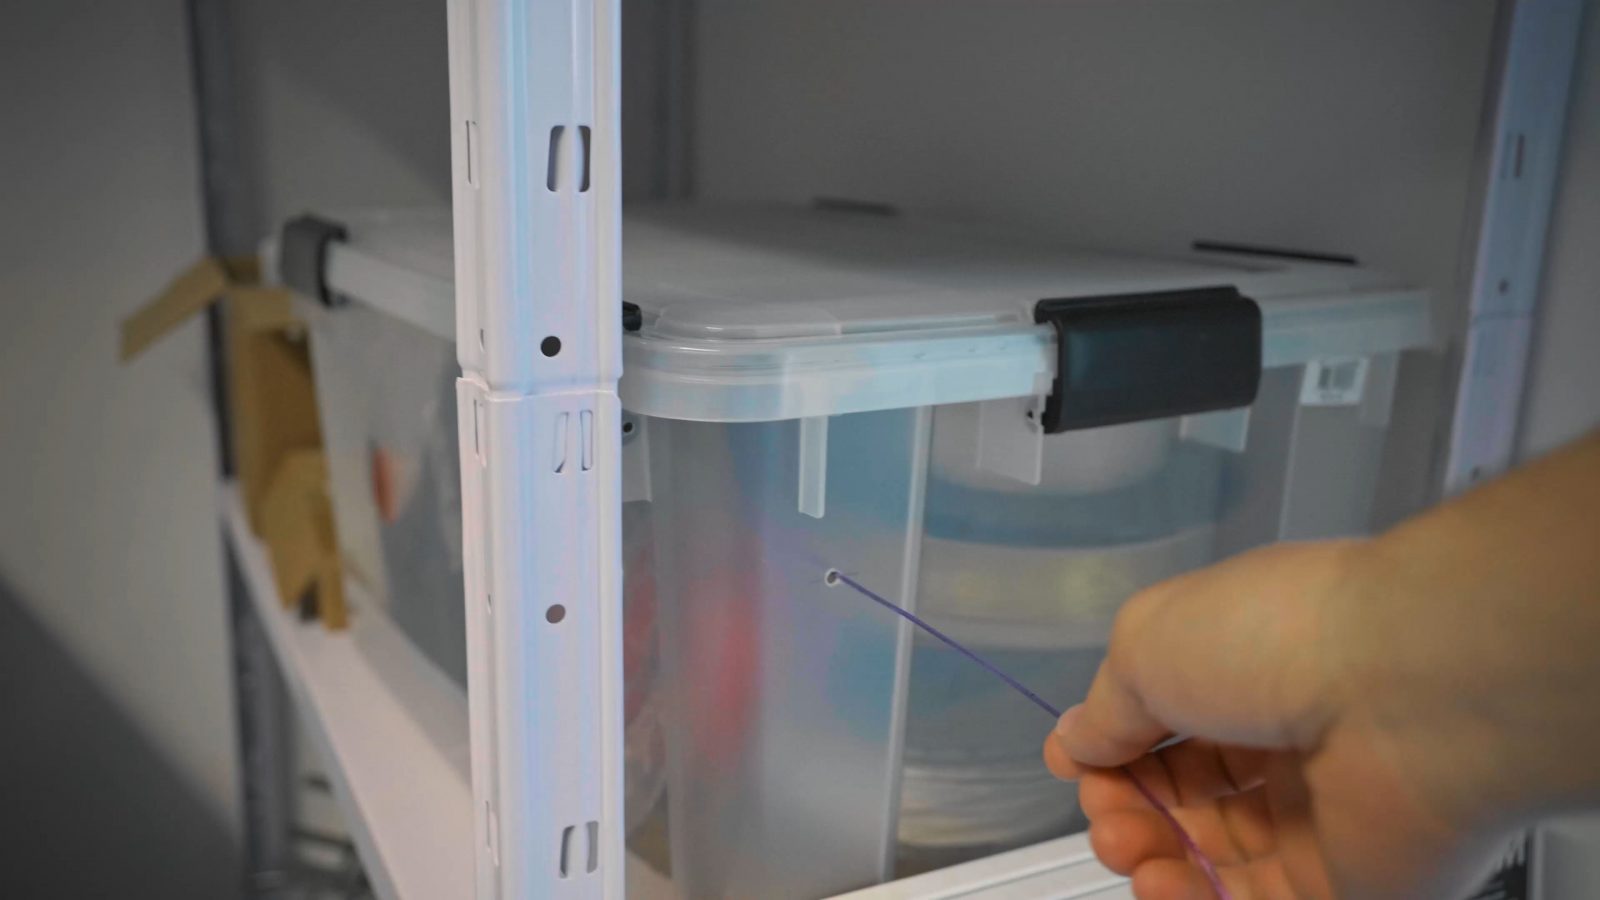
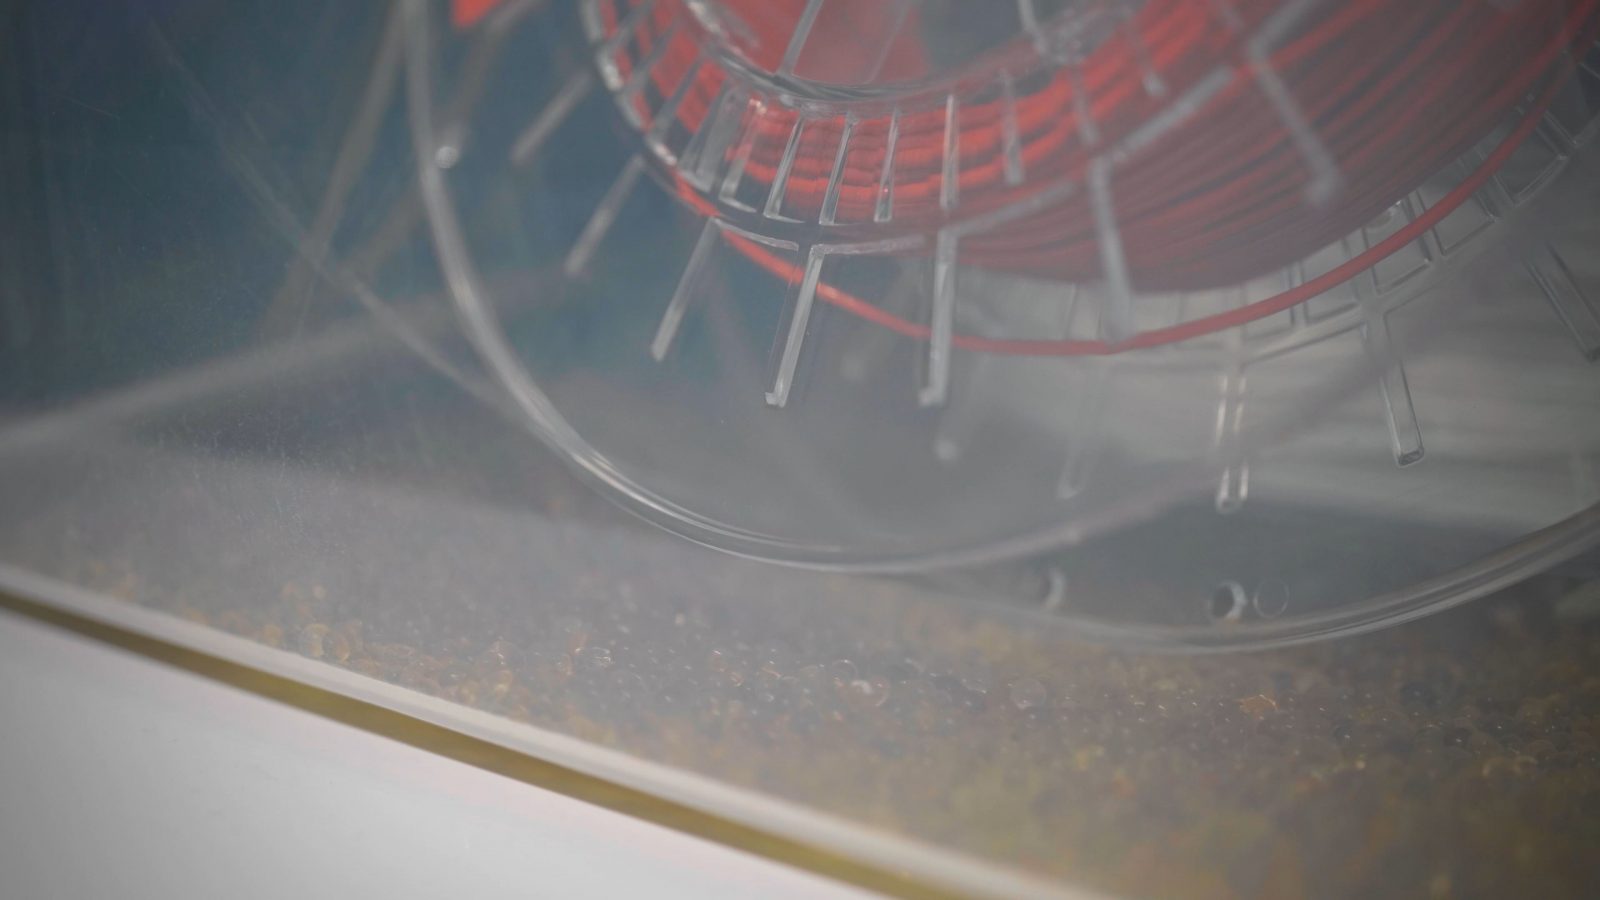
So lastly, on the printer itself, if you’ve got a moisture-sensitive filament loaded in there and you know your ambient humidity is not always super-low, it makes sense to unload filaments that are sensitive to moisture, like PETGs, Nylons, which you probably should be printing straight from a drybox anyway, ABS, all of those profit from being kept in a sealed, dehumidified container. Turn the printer off and that’s it!
Working on profiles
Now, the process I showed is assuming that your printer either came with good profiles that are already optimized for the different filament types, or that you have gathered or tuned profiles yourself that are ready to go already. If you don’t have profiles that you know work for what you’re trying to do, with the printer you’re trying to use, it might be a bit of a back-and-forward between slicing the part, checking how it prints, and going back to the slicer and changing a handful of things and then seeing if things are improved. Like I think I said before, having good, reliable profiles is, I think, way more important that what exact hardware you’re running these days.
But anyway, I hope that helped shed some light onto what it looks like actually 3D printing something – it’s really pretty simple, and most of the time, having to get up from your desk is the hardest part.
So that’s it for this one, in the next video, we’ll look at what the requirements on your models, tools and environment is to even start printing, until then, thank you for watching, make sure to get subscribed, keep on making, and I’ll see you later.
💙 Enjoying the videos? Support my work on Patreon!
Product links are affiliate links – I may earn a commission on qualifying purchases (at no extra cost to you)

Check out my second channel “More Layers” on YouTube for livestreams
3D Printing Basics – Episodes
- What is a 3D printer?
- Choosing a machine
- Resin printers
- Filament printer parts and maintenance
- Acquiring print files
- Basic slicer settings
- Whole 3D printing process
- Requirements for 3D printing
- Common issues
- Where to go from here