In this video, we’ll look at the things you should consider when thinking about 3D printing something – can you even print the part you want to make, what should your environment look like where you print stuff and what do you need for equipment and tools to work with the machine and the final prints.
What can you print?
Okay, let’s get right into it and start with the models themselves. Over the years, 3D printers have become a lot better when it comes to what they can and can’t print, but there are still a few limitations and best practices. To understand where those come from, you need to keep in mind how these machines work and how that immediately affects the output they produce. And thankfully, when you run into a limitation you can usually just watch the print and you’ll see what is going wrong.
Small Details
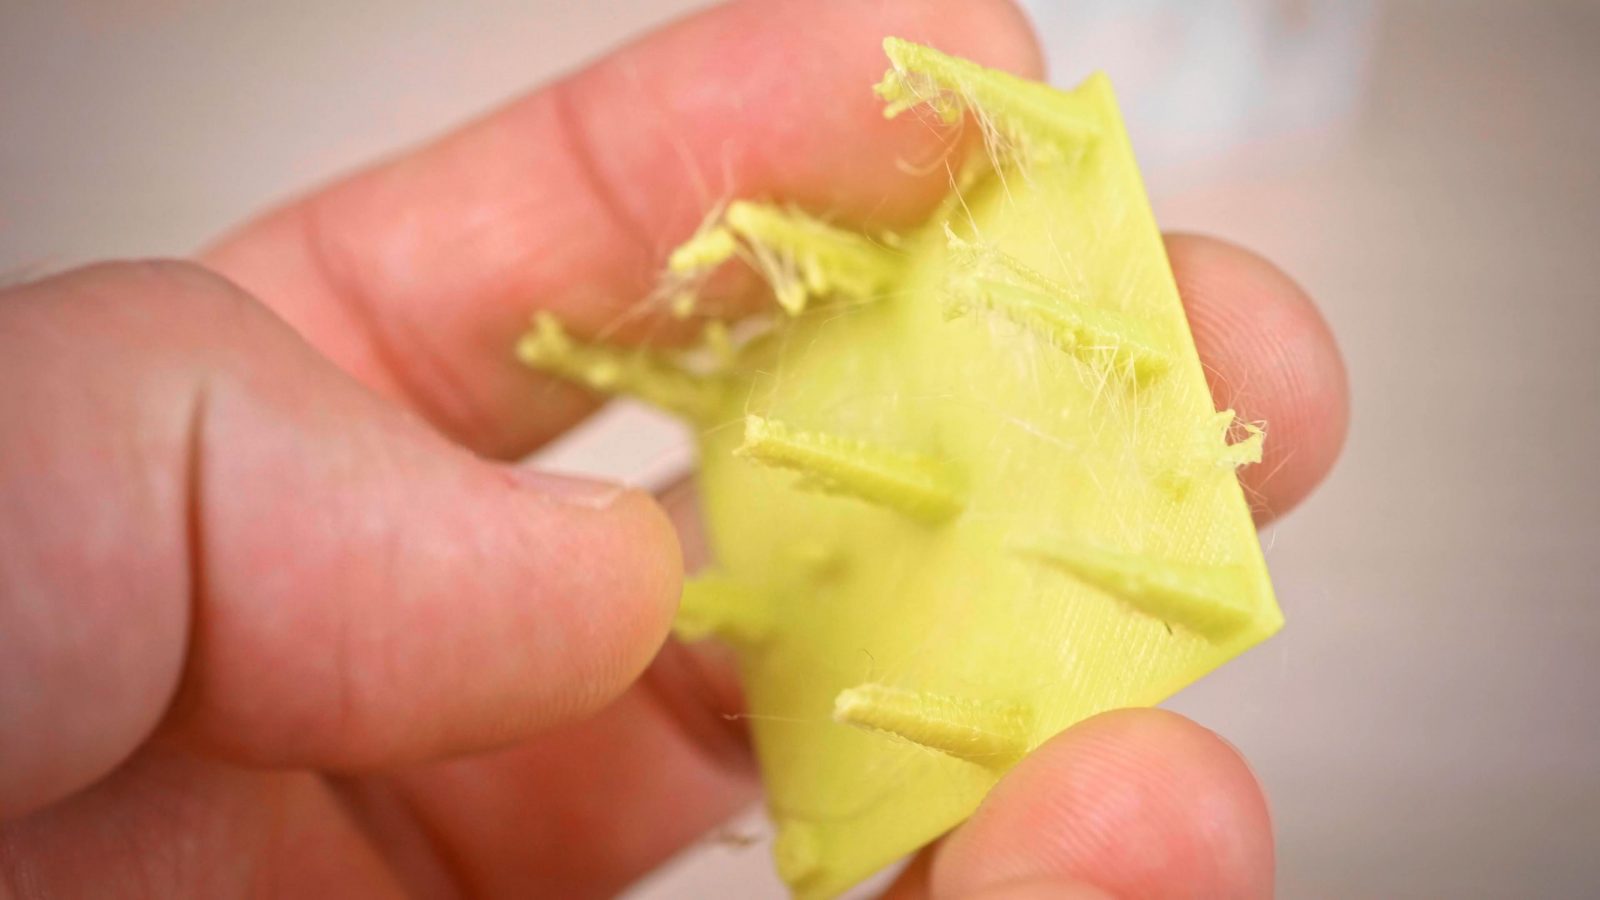
So for a filament printer to work, it needs to first, heat and extrude filament through a nozzle. That nozzle has a set orifice size and because molten plastic is highly viscous, it can’t immediately start and stop extruding, there’s always a bit of a ramp-up and ramp-down. Also, as the plastic comes out of the nozzle, and as it cools down to ambient temperature it shrinks and contracts. So a few things that result from that: First, it’s really hard to reproduce details that are basically just little dots of filament or similarly small features, like thin arms of a miniature character or raised text that’s going to be printed on its own layer.
For text, it’s almost always better to emboss it instead of raising it, and when it comes to fine features, anything that has a wall thickness of two to four times the nozzle size is usually going to print just fine. If it’s a consistent, thin wall, going down to 1x the nozzle diameter can work, too, depending on your slicer and its setup, but especially with softer filaments, long, super-thin walls can become quite floppy and end up with a wavy structure.
Warping
Now, because of how plastic shrinks as it cools, you get a few effects that can warp your prints out of shape. This is not so much an issue when you’re just printing PLA, but as materials get more temperature-resistant, its tendency to warp and to lift off the printbed during the print also increases. Models that have a strong core, but only little contact area towards its edges are most likely to have issues here.
Curling
For the next one that’s temperature-related, curling, we should probably look into overhangs first.
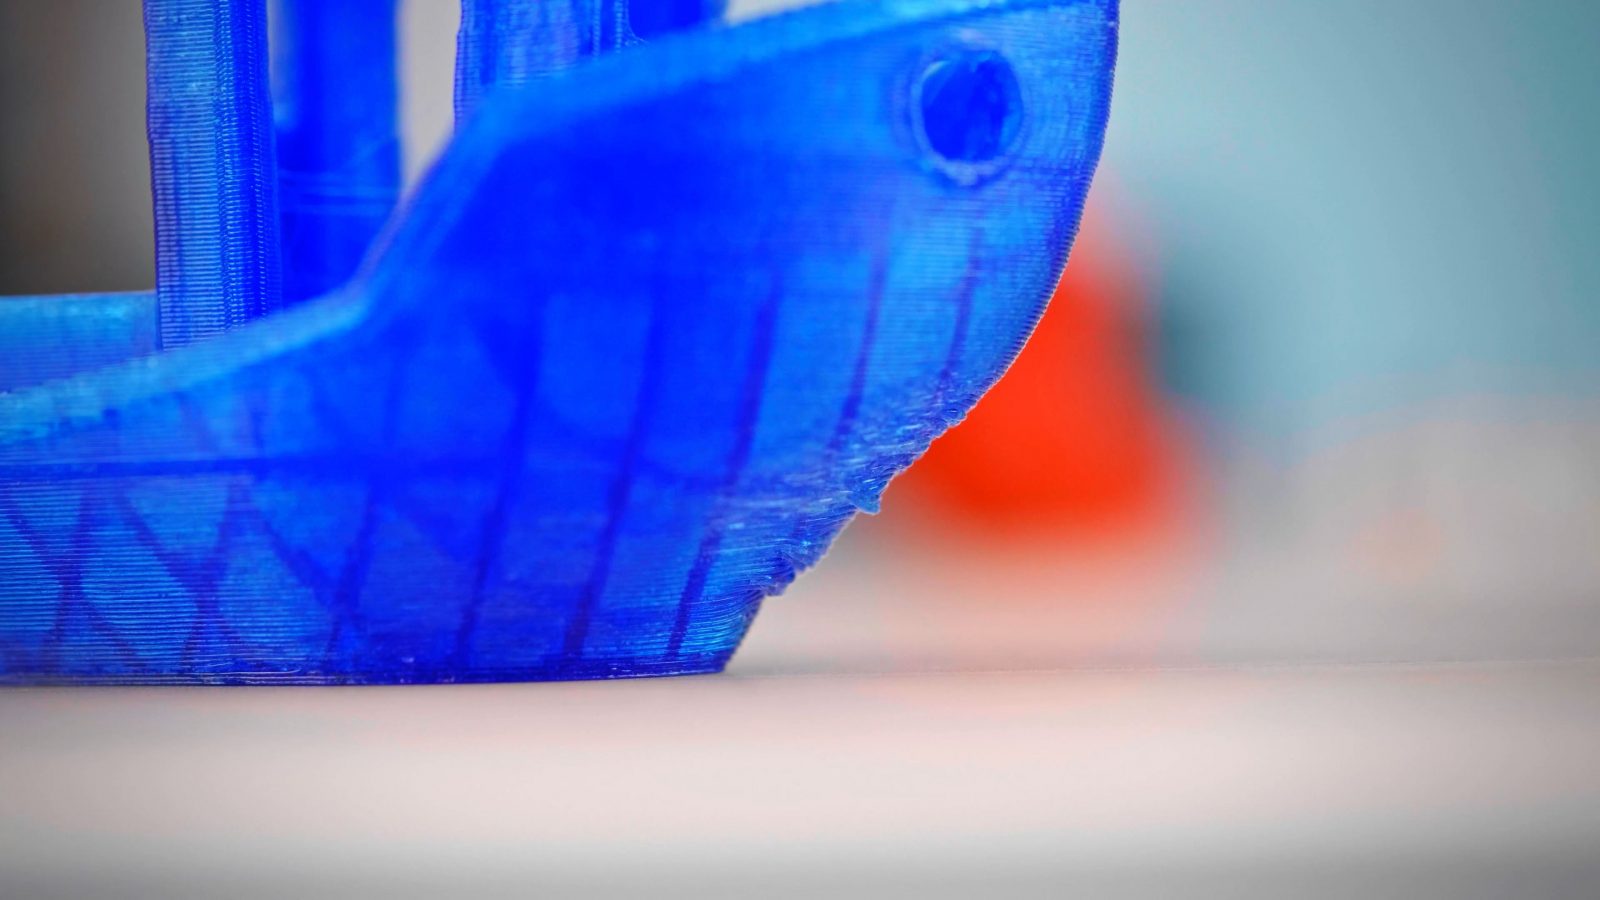
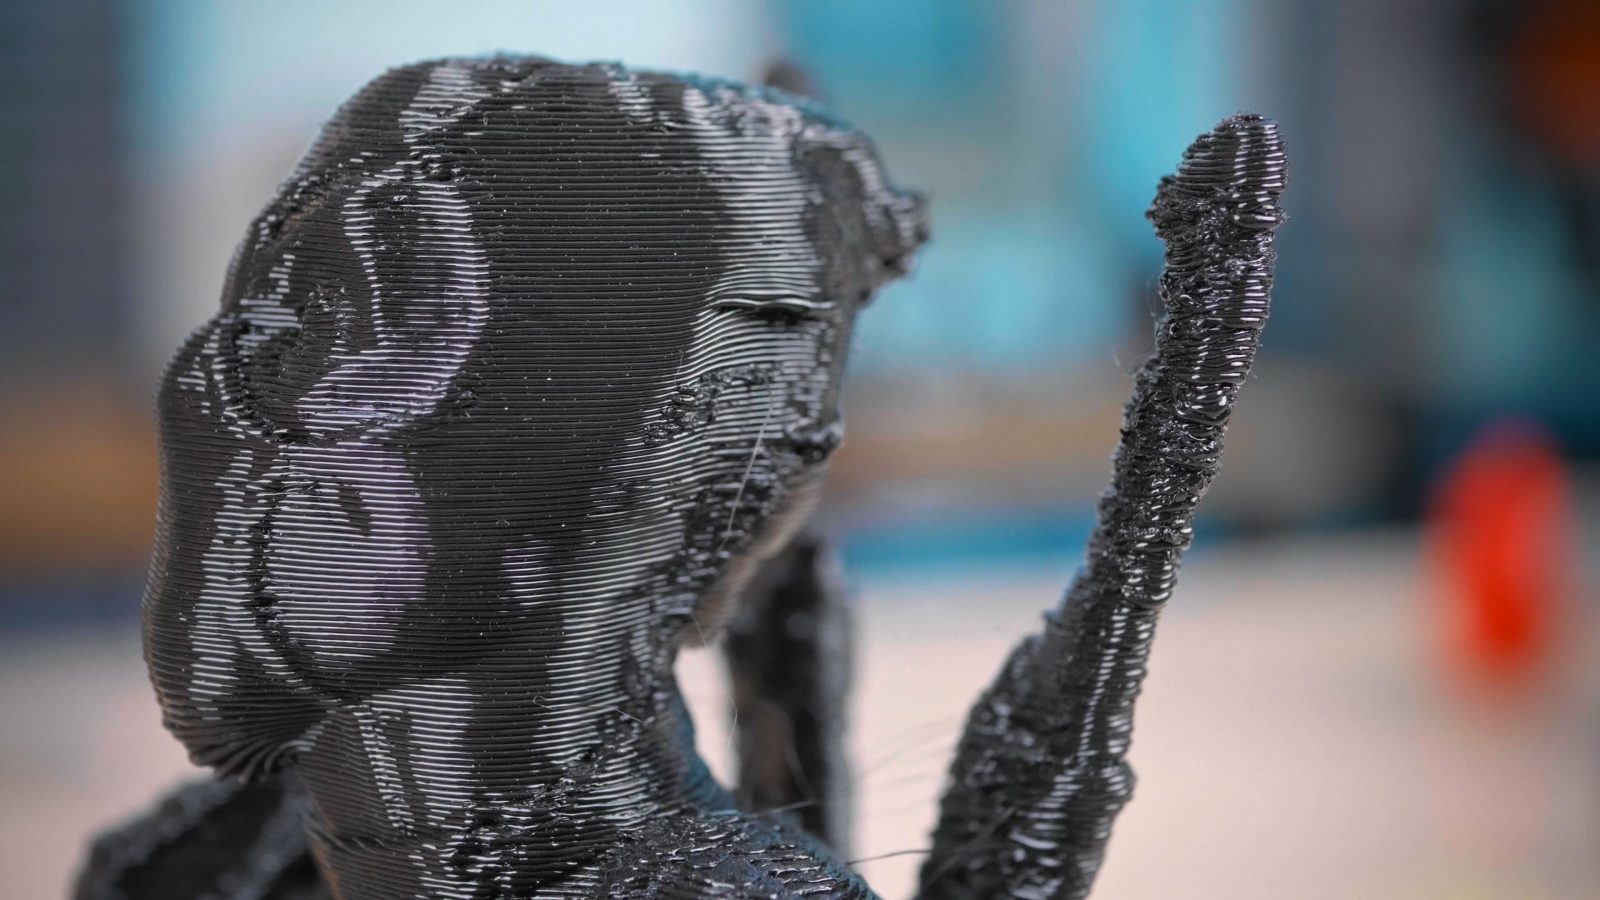
Curling usually happens on an overhang, and overhangs themselves are the main consideration when determining if a part can be printed or not. As a filament printer lays down a line of material, it will always need something to attach it to. Normally, that’s the layer underneath. And of course, there needs to be some overlap between those two so that the new layer is supported properly. In practice, that means that there’s a limit to what angle the underside of a part can have before it will start to cause issues – and that angle is the overhang angle. The classic and still safe rule used to be 45° from horizontal, but as the hardware and software have improved, you can now usually do 30° without too much trouble. Something you can definitely not do is to have a negative angle where, so as you trace a path from the printbed up, your part starts dipping down again. As the print gets built up, that spot down there would be printed onto thin air, which obviously isn’t going to work, so you’d need to use support material right there.
So back to curling, basically, that’s what you get when the overhang is too steep for your combination of printer, filament, and print settings. It’s most obvious at edges where two overhanging areas meet and create a steeper compound overhang.
Bridging
One really cool thing that printers can do where you can cheat on all this a bit is bridging, where the printer can stretch a single line of material over a gap, but for that to work, the start and endpoint need to be at the exact same height, aka. on the same layer, so the underside needs to be perfectly horizontal.
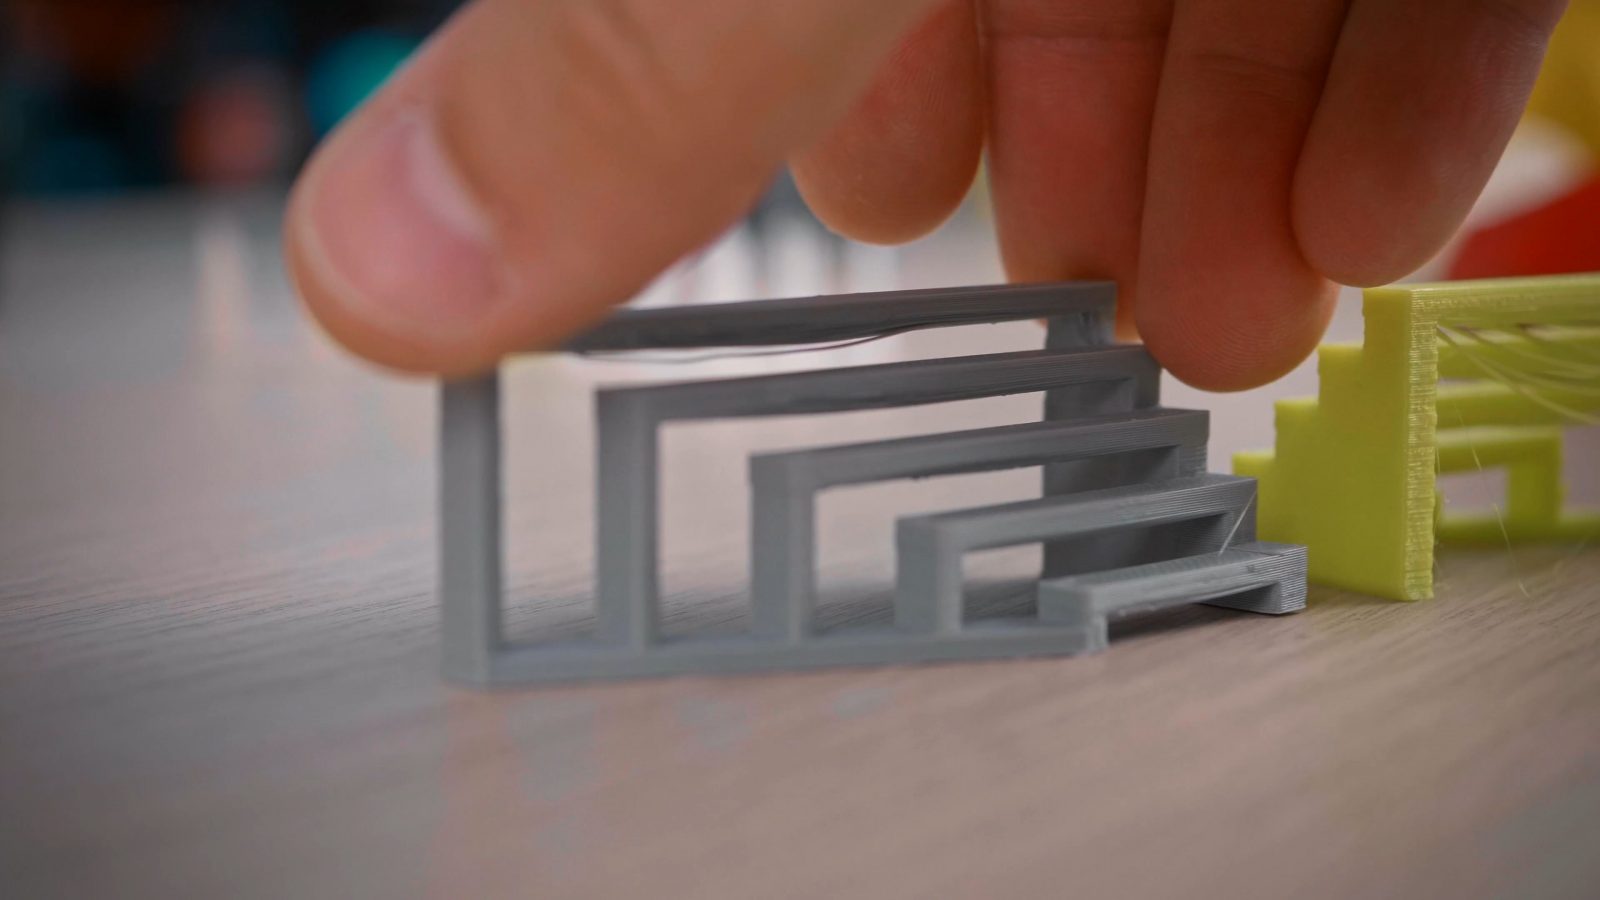
Now, of course, we could go into a lot more detail here with design rules, etc., but a lot of it comes down to just actually trying different things and seeing what works and what doesn’t – all these “rules” can be stretched a lot depending on how exactly your models are made.
Environment
So when it comes to the environment that you’re printing in, that one goes both ways. First, the things the printer itself needs to work well. And there, it’s really not much. You need a flat table to sit the printer on and an overall not-too-cold or drafty and not-too-humid atmosphere. A “normal” room is usually fine, after all, that’s what these machines and materials are made for, but if you have an air conditioning vent blowing directly at the printer or you’re living in a particularly hot and humid area, those things might become an issue. Too low of a temperature is easy to fix, though, just drop your printer in a box and it will heat itself up enough to work even with the higher-temperature filaments.
For the other requirements about the workspace, I guess I should mention that printers with a moving bed will extend past their “packing size”, so a deep work surface is highly recommended, 80 cm or 4 link deep gives you plenty of space.
And when it comes to actual workshop use, try to keep it in a space where it won’t get dust, wood, metal shaving, or grinder sparks thrown at it.
One thing that I rarely think about because it’s not really an issue here is power outages, so if you’re doing longer prints and your printer doesn’t have a power panic feature, you might want to look into getting a UPS to plug your printer into.
Immisions
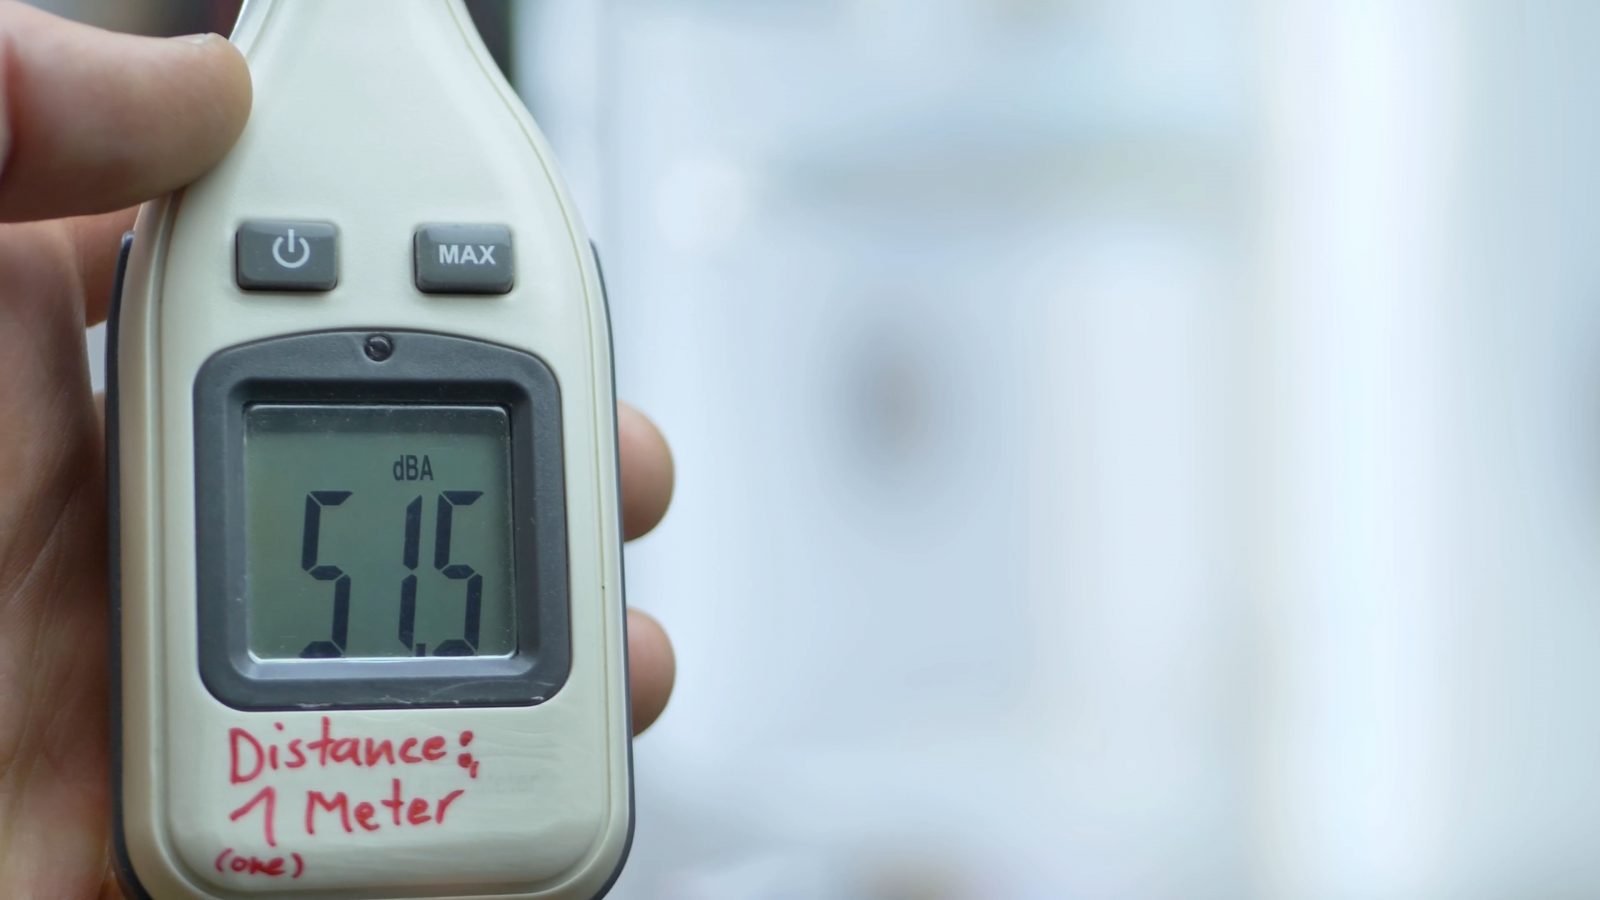
Now, if you look at it the other way around, some details might make printing more comfortable not for the printer, but for you. I’m talking imissions here, of which you’ve got noise and vibrations as well as smell and fumes. Let’s start with noise. And printers vary a lot between different models in how exactly they sound. You’ve got nearly silent printers, then you’ve got somewhere the fans are the loudest thing, then you have some that cause vibrations and some that emit a high-pitched whine, driving gen Y and Z crazy as well your cats and dogs.
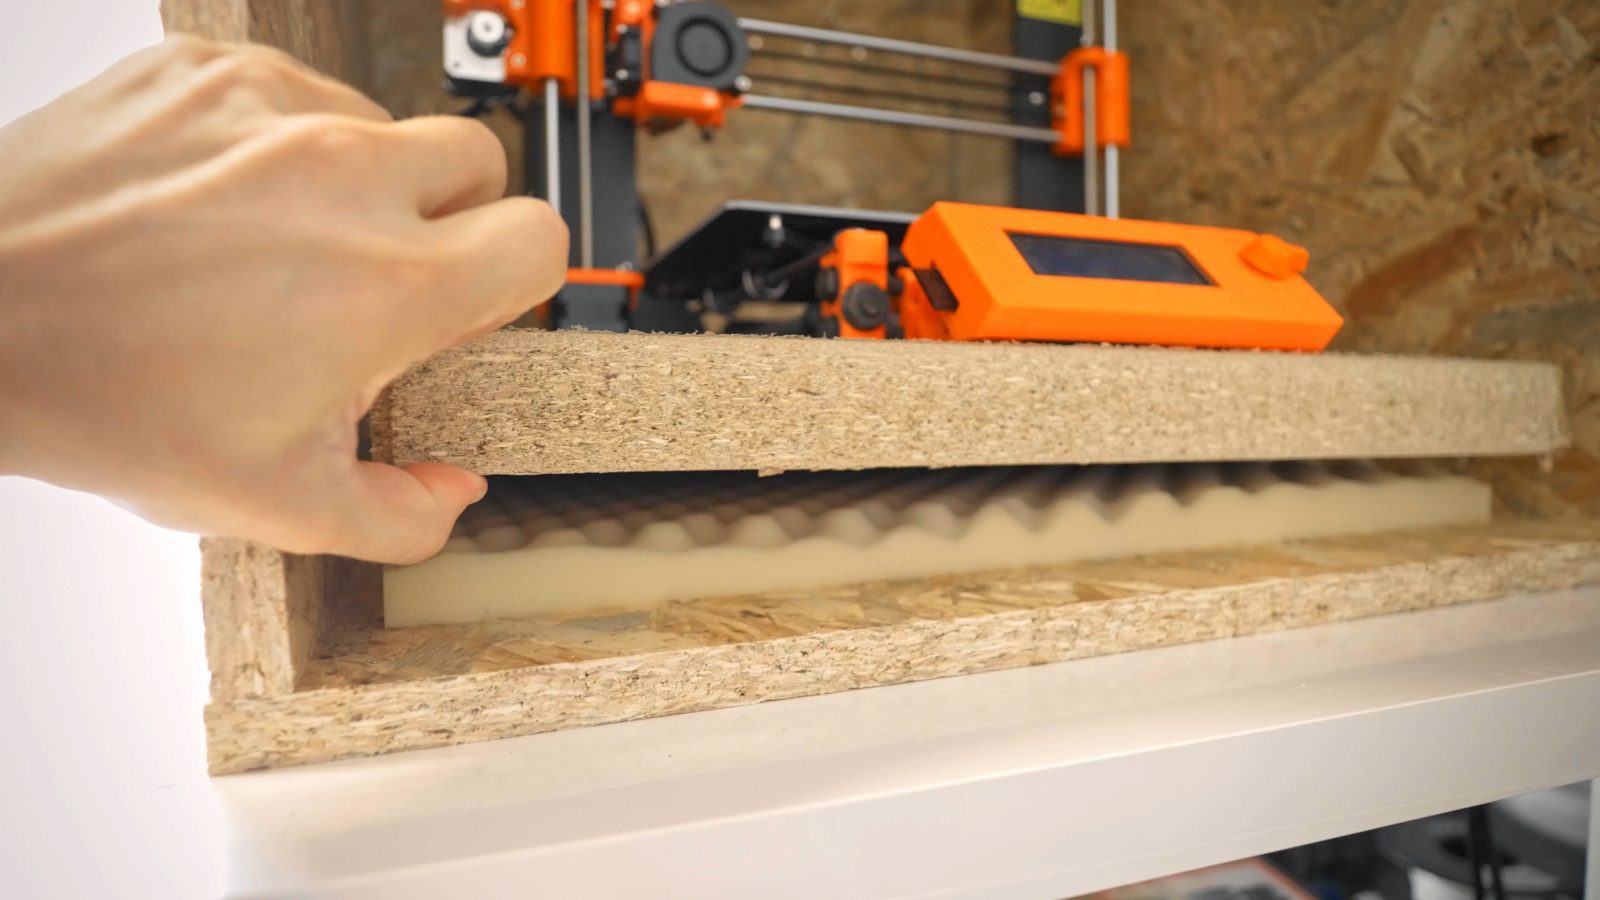
Vibrations are fairly easy to mitigate by using a weighted plate and a piece of foam to rest your printer on; for other noise, again, you can use a box, but for a lot of printers, with that, I still wouldn’t want to have it sitting next to me on my desk.
And that’s not just because of noise, but also, because of smell and the particles printers emit. There is some research that suggests that filament printers emit a considerable amount of particles, even when printing PLA. I don’t know how harmful exactly those particles are, but filaments like PLA, ABS and Nylons are some that you can definitely smell and their fragrance isn’t always particularly pleasant. So between the noise and the smell, I’ve relegated my working printers to their own little room. Right now it doesn’t have any ventilation in there, it should, but it’s got a door that I can close and not worry about it.
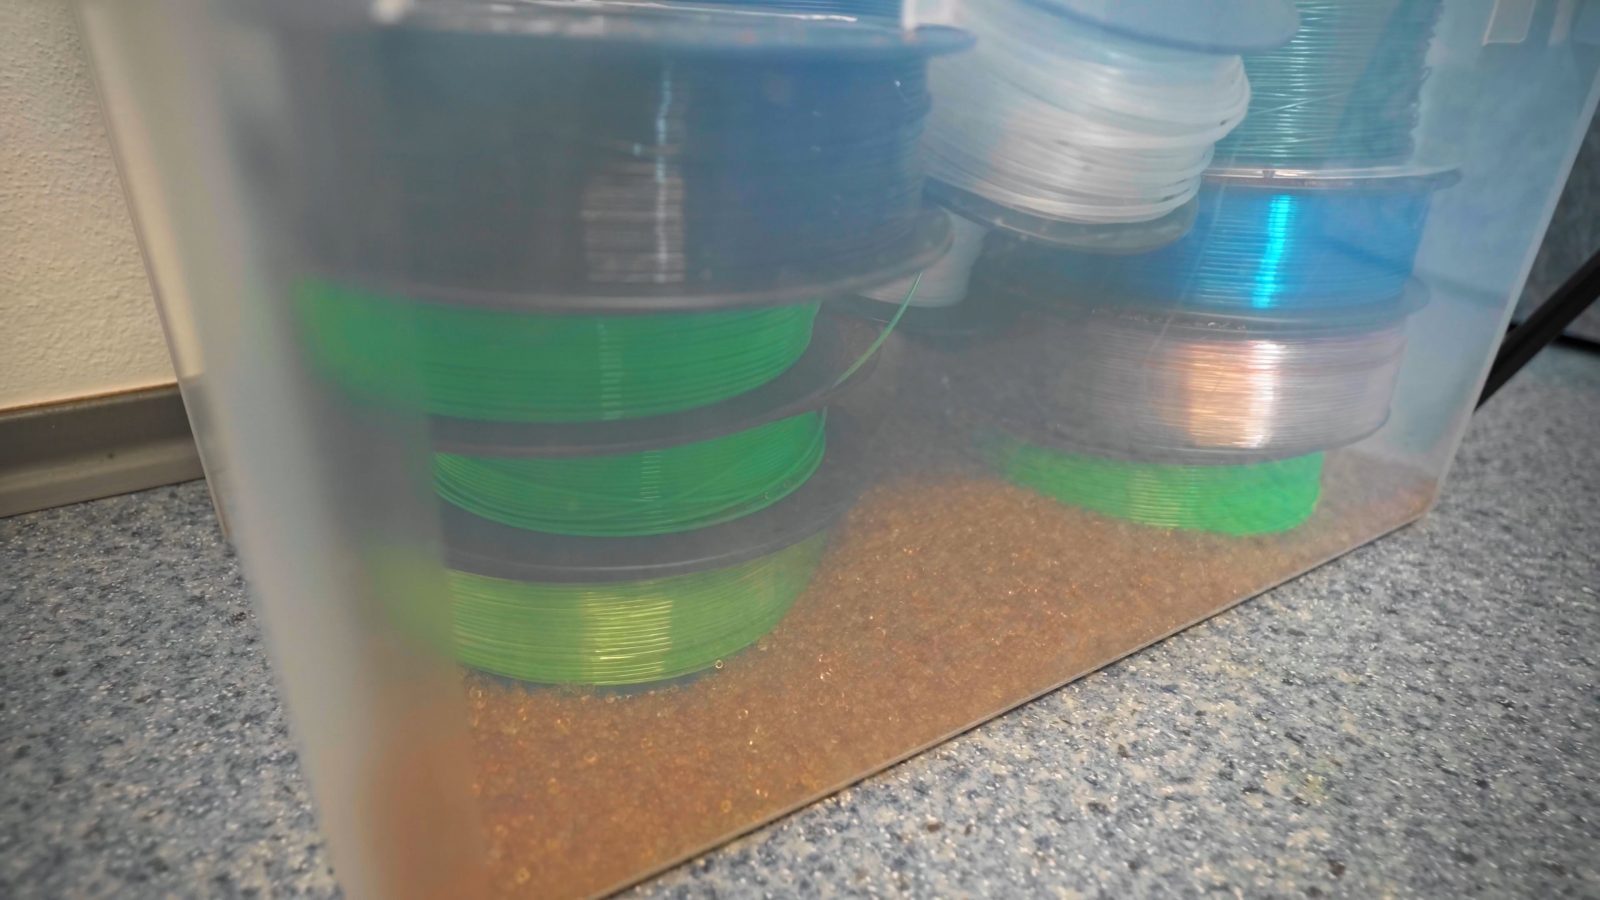
I’m also keeping all my filaments in there and the moisture-sensitive ones in dryboxes, which makes a massive difference in just being able to reliably print stuff.
Safety
Now, I’ve got this OSB box in here with an old MK2 and a multi-material 1 on it, so that it’s always ready to rock. In the video when I set this thing up some of you pointed out that using wood as a box might be an issue because it burns. Which is a somewhat valid point. Now, wood doesn’t catch fire as easily as one might think, and printers almost never fail so badly that they will burn up, but some less reputable brands have had a handful of their printers more or less spontaneously ignite themselves, and because they were using a plastic frame, that caught on fire and as a result, a couple of houses almost burnt down. Now, again, that’s an extremely rare occurrence, and for example, on the MK3 I know that there are checks and extra sensors in place that prevent that exact failure mode, but, still, these are machines that contain relatively high-power heaters and it doesn’t hurt to be safe about it. At the very least, have a smoke detector correctly mounted near your printer and make sure you can actually hear it when goes off, you can get wireless ones that will trigger all the other alarms in the house if one goes off, but also, try to not keep any highly flammable materials near your printer.
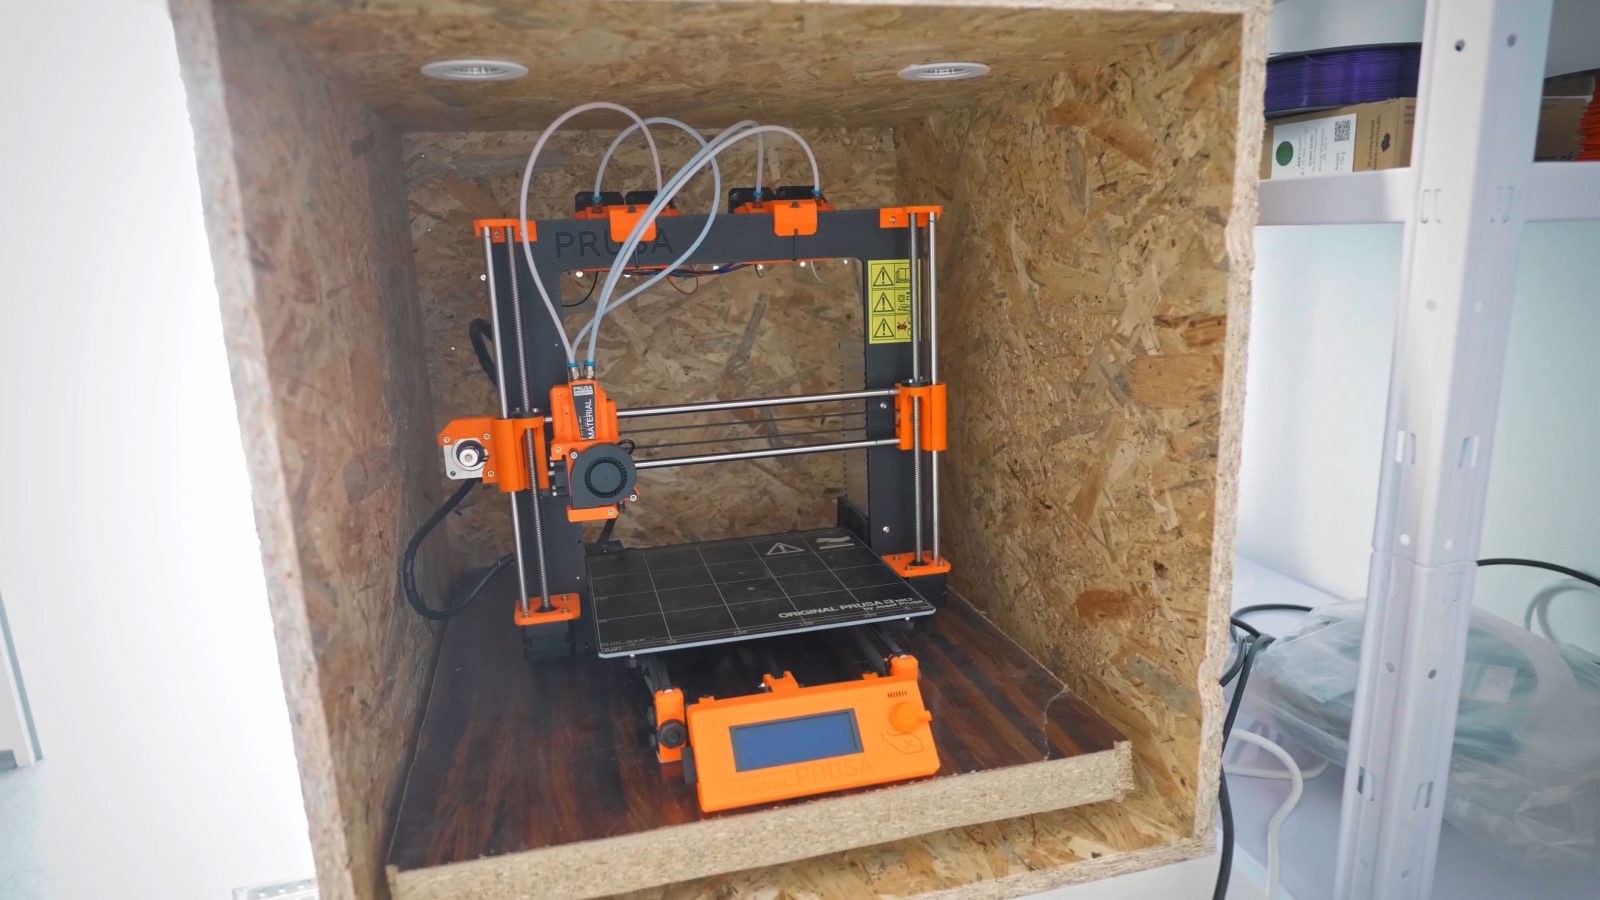
If you’re worried for example about this wooden box, have a look at building code and for example, use a sheet of drywall on the inside to create a fire barrier.
It also goes without saying that it’s not exactly recommended to leave the printer unattended for long periods of time, like, even though I trust most of my printers, I wouldn’t start a two-week print and then leave the printer while I go on vacation.
As far as the printer itself throwing stuff around, you will quite often find these priming lines scattered around the printer as well as that filament change extrusion blob and if you’re printing with support material, snapping that off can get it to fly pretty far. So just maybe avoid carpet floors, because those bits can stay stuck in there.
Lastly, if you’re using a spray-on bed adhesive, always apply that outside of the printer, so take out the glass or metal bed and spray that on away from the printer and away from any other surfaces that you don’t want to get covered in, well, basically hairspray.
Tools
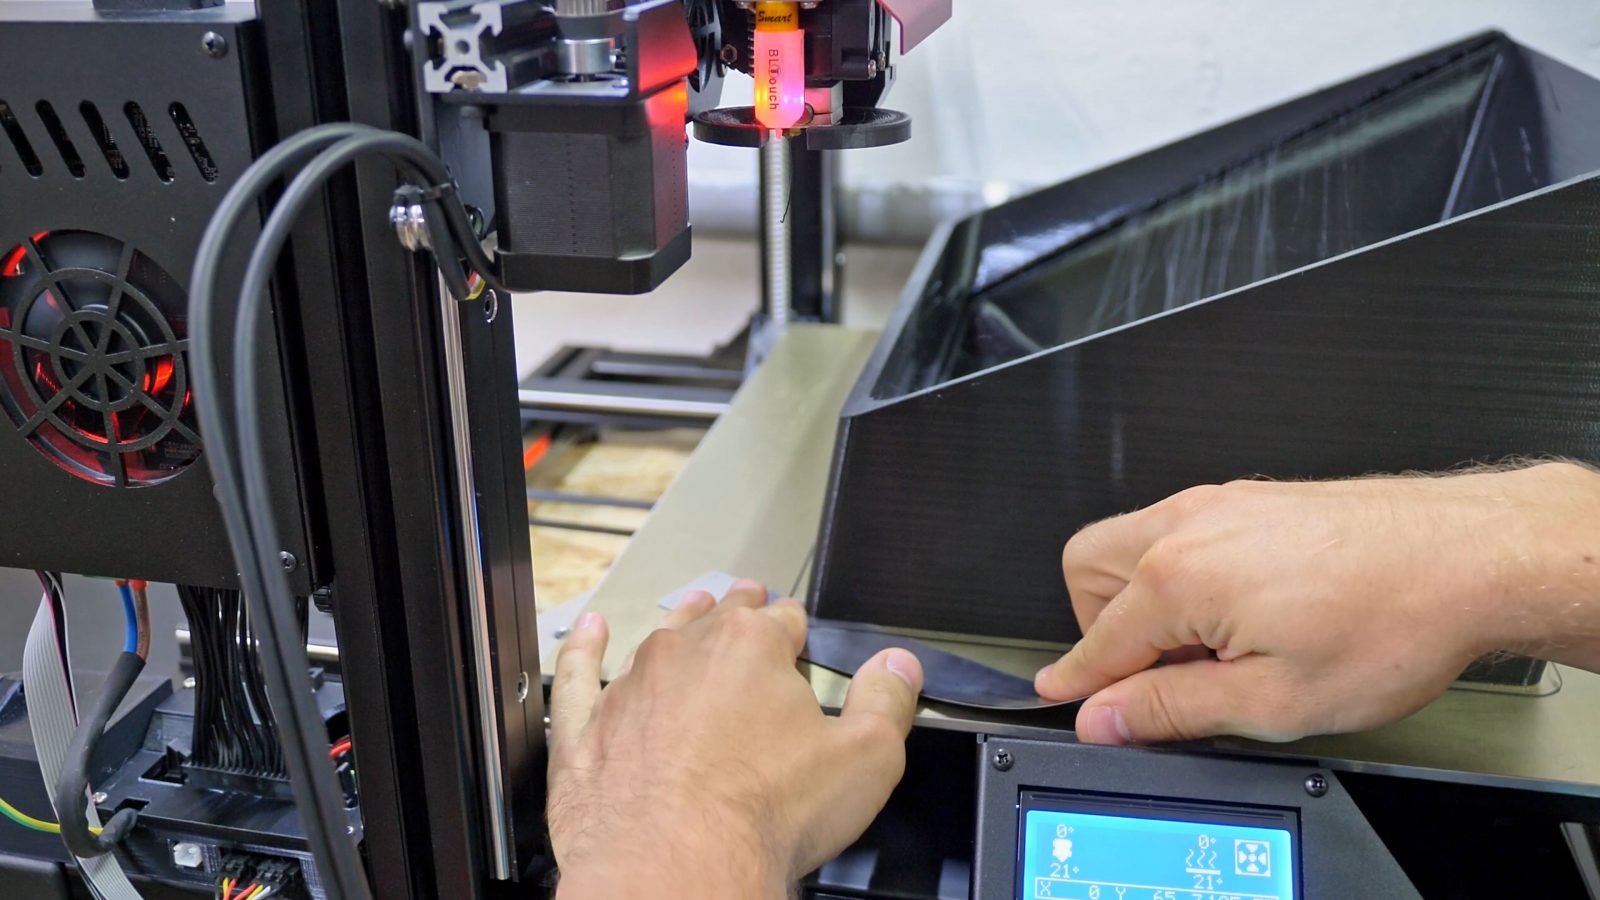
Now, what tools should you have to work on and with a 3D printer? Really, it’s not much. Many printers actually include things like a hex key set, needle-nose pliers, and maybe even some of the common size wrenches that you’d need for, for example, a nozzle swap on the hotend. For that, one of these little torque wrenches does come in extremely handy if you don’t quite have the feel yet for how tight a hotend should be assembled, because if you give that too much oomph, it’s really easy to damage it. But back to the basic tool, as I said, hex keys, some pliers, a screwdriver set, wrenches… Basic hand tools, really; for maintenance, the most you’ll likely going to do is maybe retightening a few things, but even if you decide to dive in a bit deeper and get modifying, these tools should take you a long way. Maybe one more 3D-printer specific tool if you don’t have a flex bed: Some way to remove prints, either a thin, sharpened spatula.
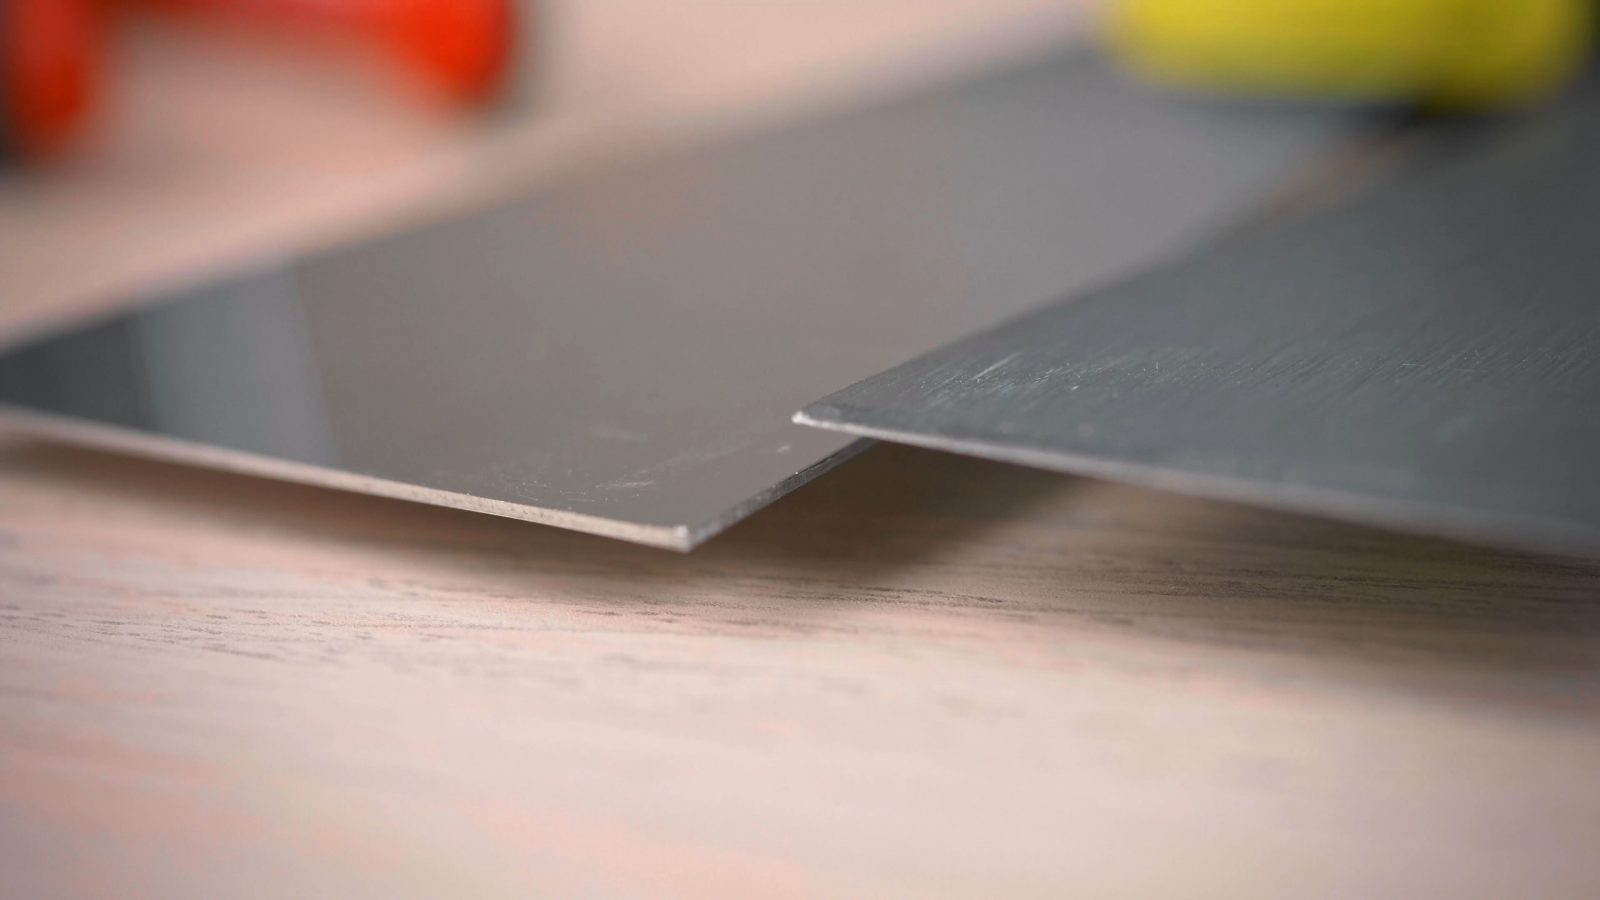
I’ve also got this strip of steel that has a really nice edge on it, I forgot who exactly I got it from, but it’s thin enough to slide under a print and just basically shear off the adhesion without just pulling up, which would risk pulling up the bed surface with it. So if you’re looking for a print removal tool, look for something you can really slide under your part and not something like a chisel where it gets real thick real quick.
Let’s recap
The most basic requirements for printable designs are to avoid details smaller than two times your printer’s nozzle size; and for large parts printed with high-temperature filaments, warping might become an issue. For all prints, overhangs should stay over 30° from horizontal.
Provide a flat, stable and large enough surface for your printer and make sure temperature and humidity stay in a range that you would consider comfortable. If you’re happy, your printer is, too.
Be aware of noise, smell and particle emissions of your printer and take reasonable precautions against fire hazards.
And lastly, if you have some basics tools, you’re all set on that front.
So that’s it for this one, in the next video, we’ll look at common print issues and solutions for them, until then, thank you for watching, make sure to get subscribed, keep on making, and I’ll see you later.
💙 Enjoying the videos? Support my work on Patreon!
3D Printing Basics – Episodes
- What is a 3D printer?
- Choosing a machine
- Resin printers
- Filament printer parts and maintenance
- Acquiring print files
- Basic slicer settings
- Whole 3D printing process
- Requirements for 3D printing
- Common issues
- Where to go from here

