
If you want a 3D printer, the two fundamentally different options, at least if you want to spend less than a few grand, are filament printers, aka FDM or FFF, and resin printers, aka SLA or MSLA. Last video we covered filament printers and what you should be looking for in one of those, today we’re going to go over when you would want to go for a resin printer instead and what to consider when getting one.
Resin Prints vs. Filament Prints
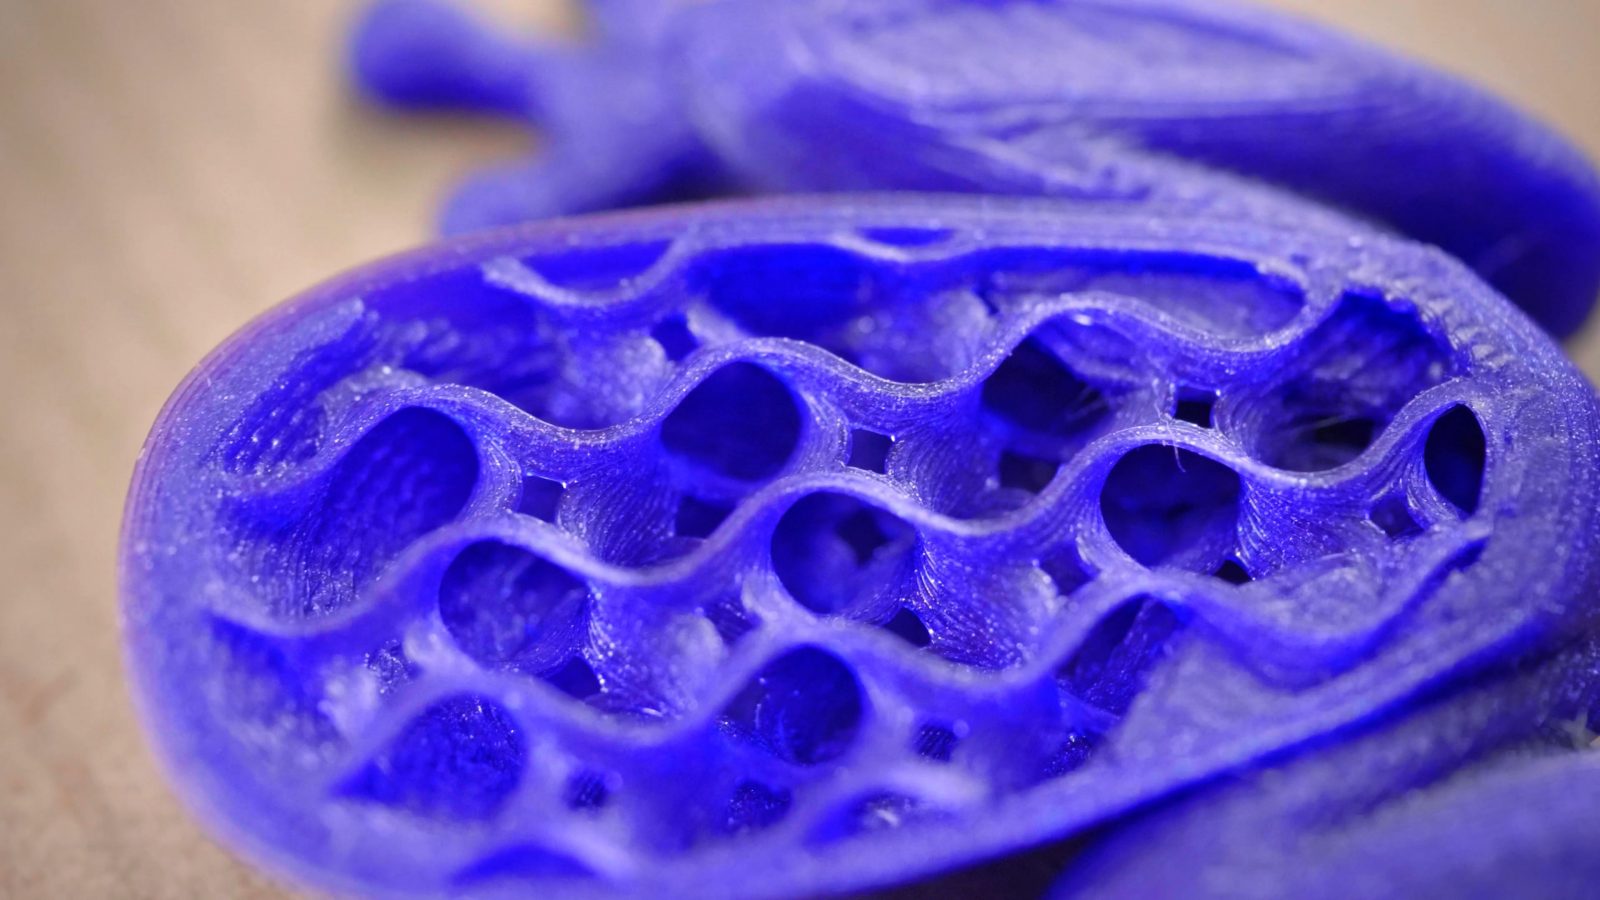
When you look at the prints that filament and resin printers produce, it’s pretty obvious that they are very different beasts.
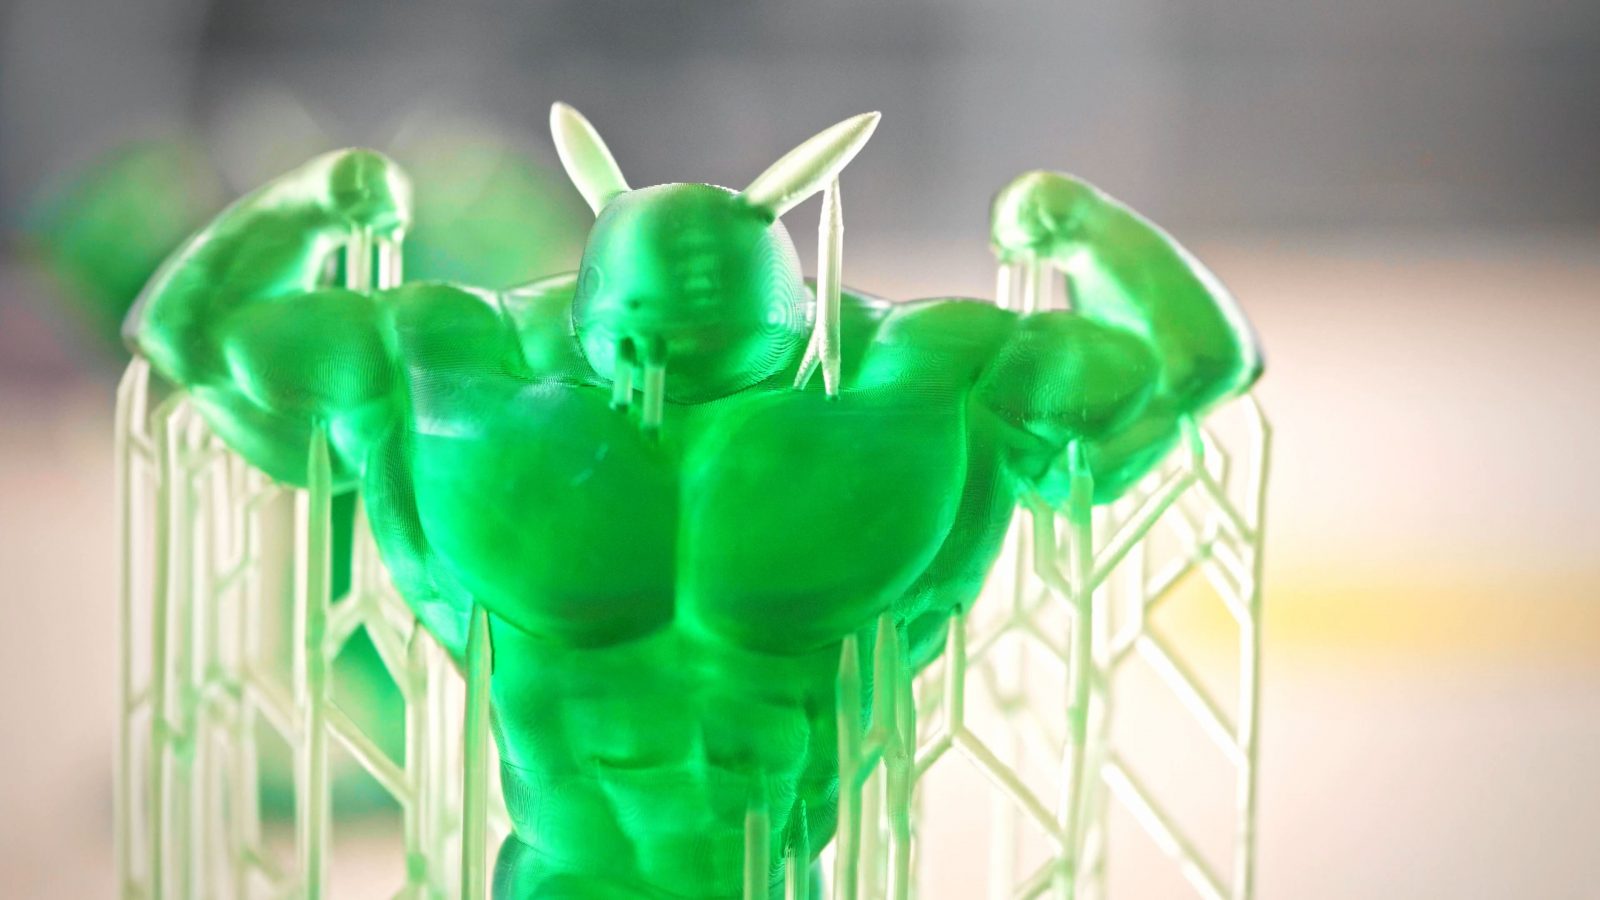
Resin Print 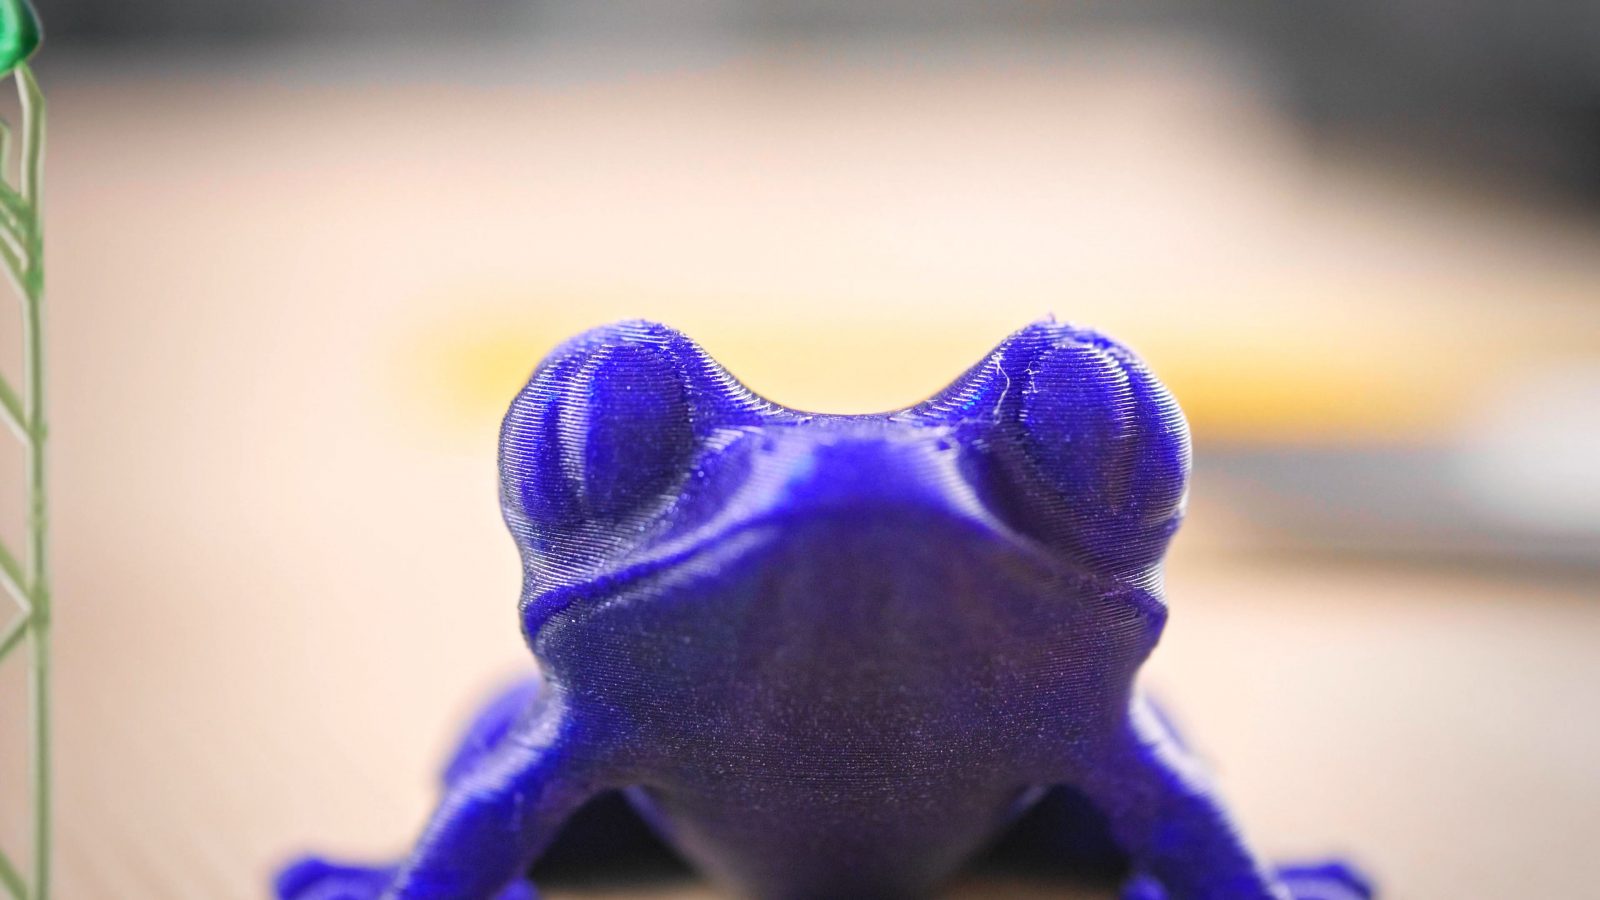
Filament Print
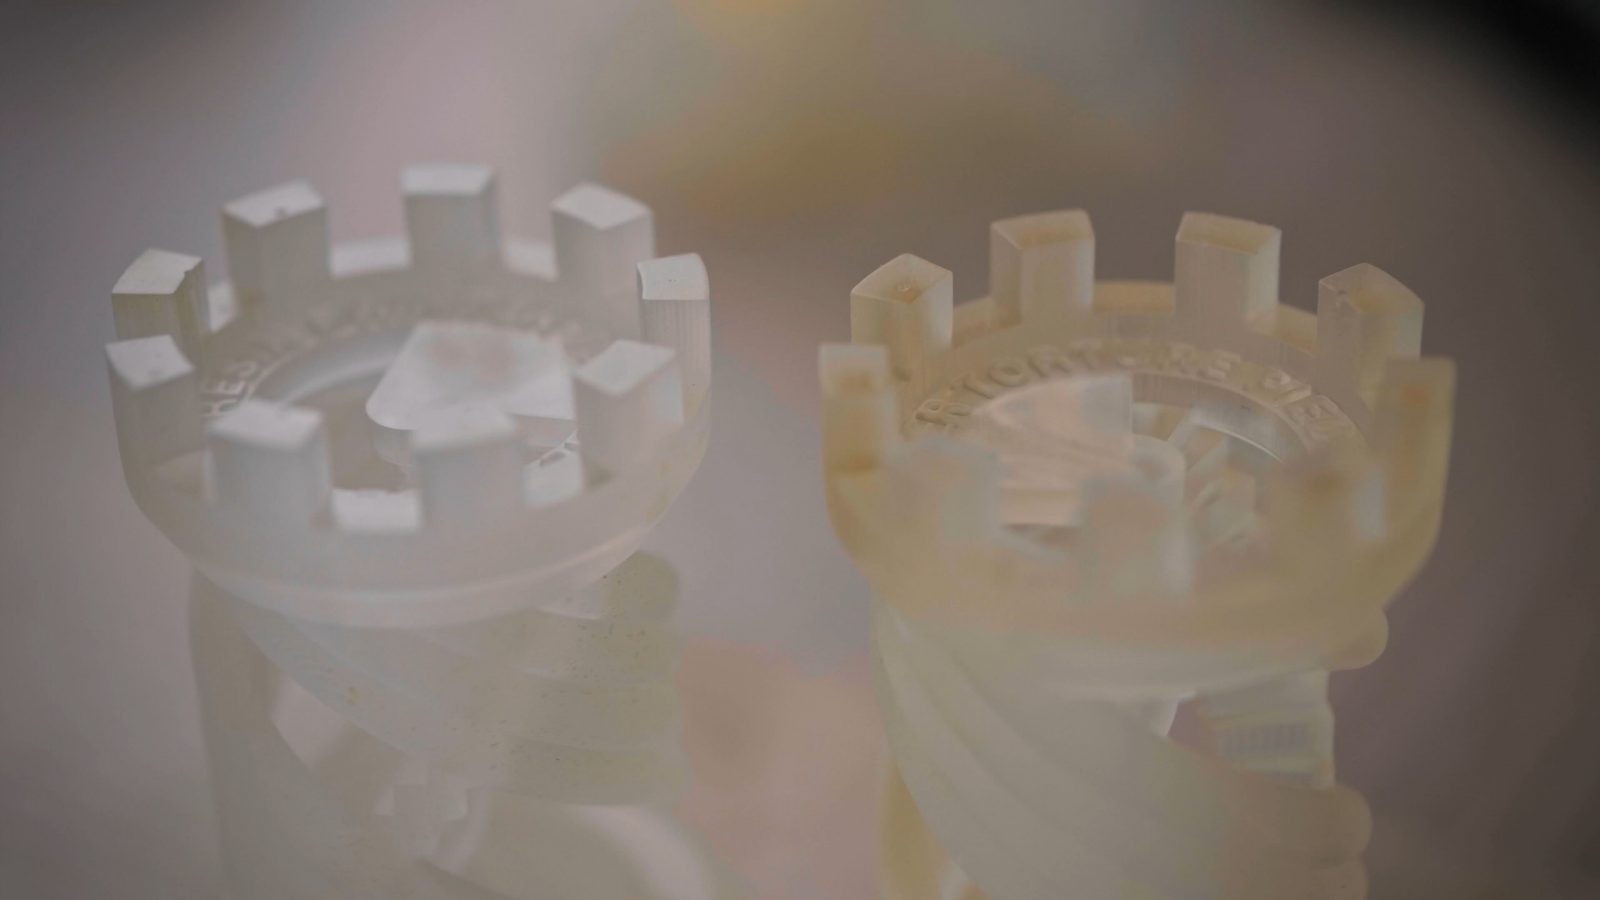
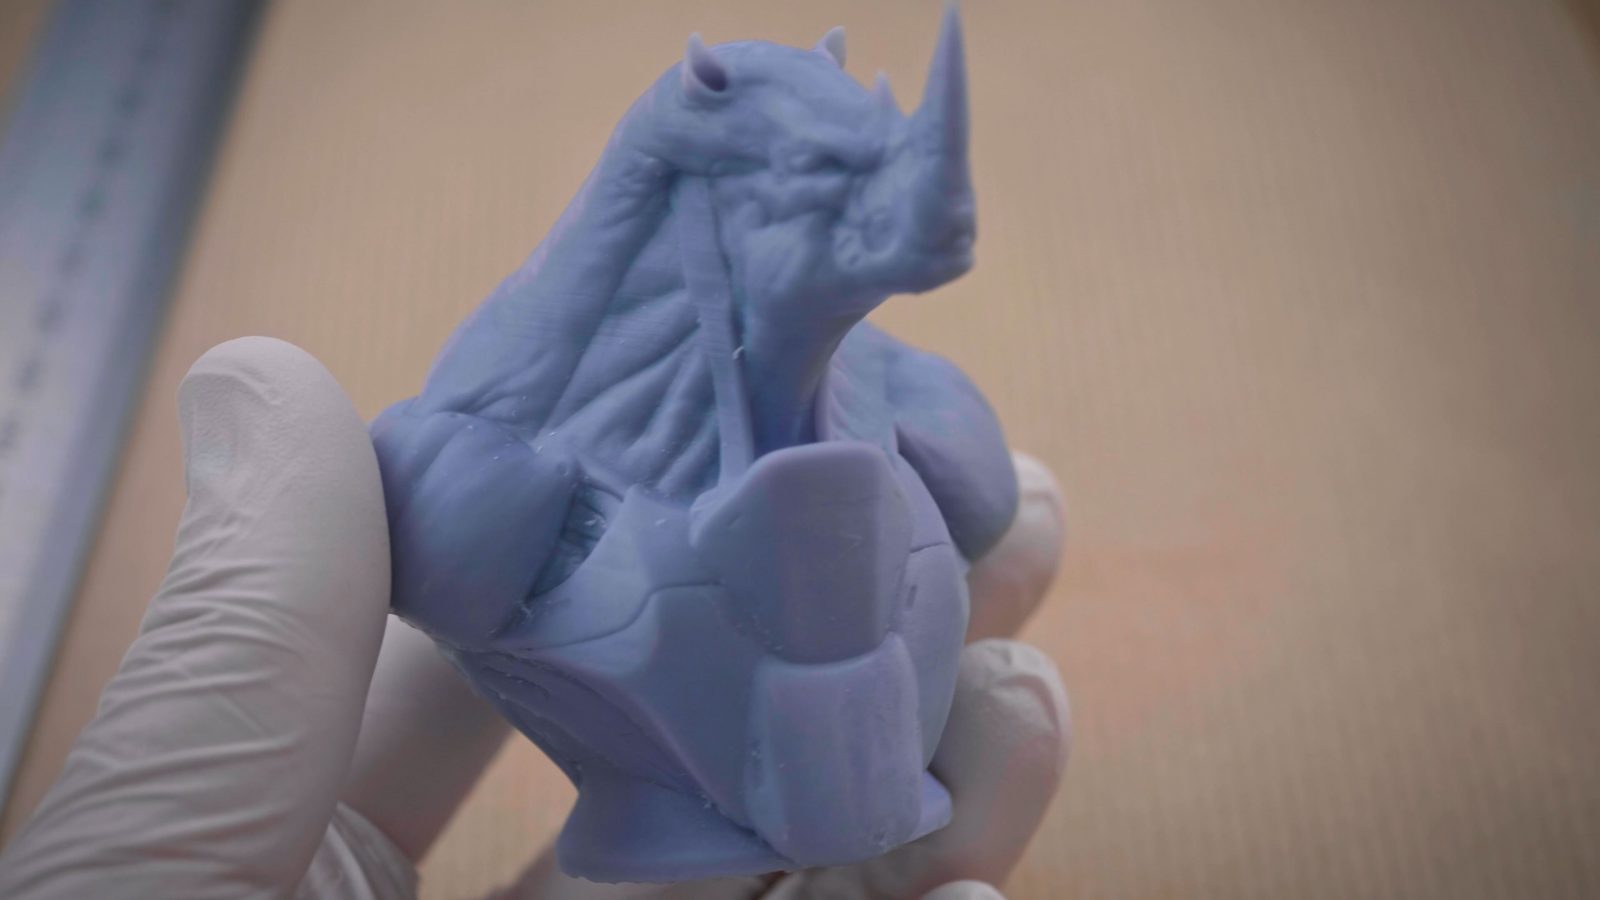
A resin printer is capable of producing super-smooth surfaces and fine details that a filament printer wouldn’t be able to resolve with its comparatively massive nozzle and large layer heights. The smallest features a normal filament printer can produce are at least about half a millimeter large, if you want them to look good, it’s more like a full millimeter. A resin printer, on the other hand, can work over an order of magnitude more finely, at just 0.05 millimeters for the smallest detail it can produce under optimal conditions. Also, because the layers of the resin prints are much finer and “melt together” more, you get a surface finish that looks more like an injection-moulded plastic part than a 3D print. And because the layers fuse together so well, resin prints can actually be incredibly strong and tough, but that depends on the exact resin you use.
The Resin Printing Process
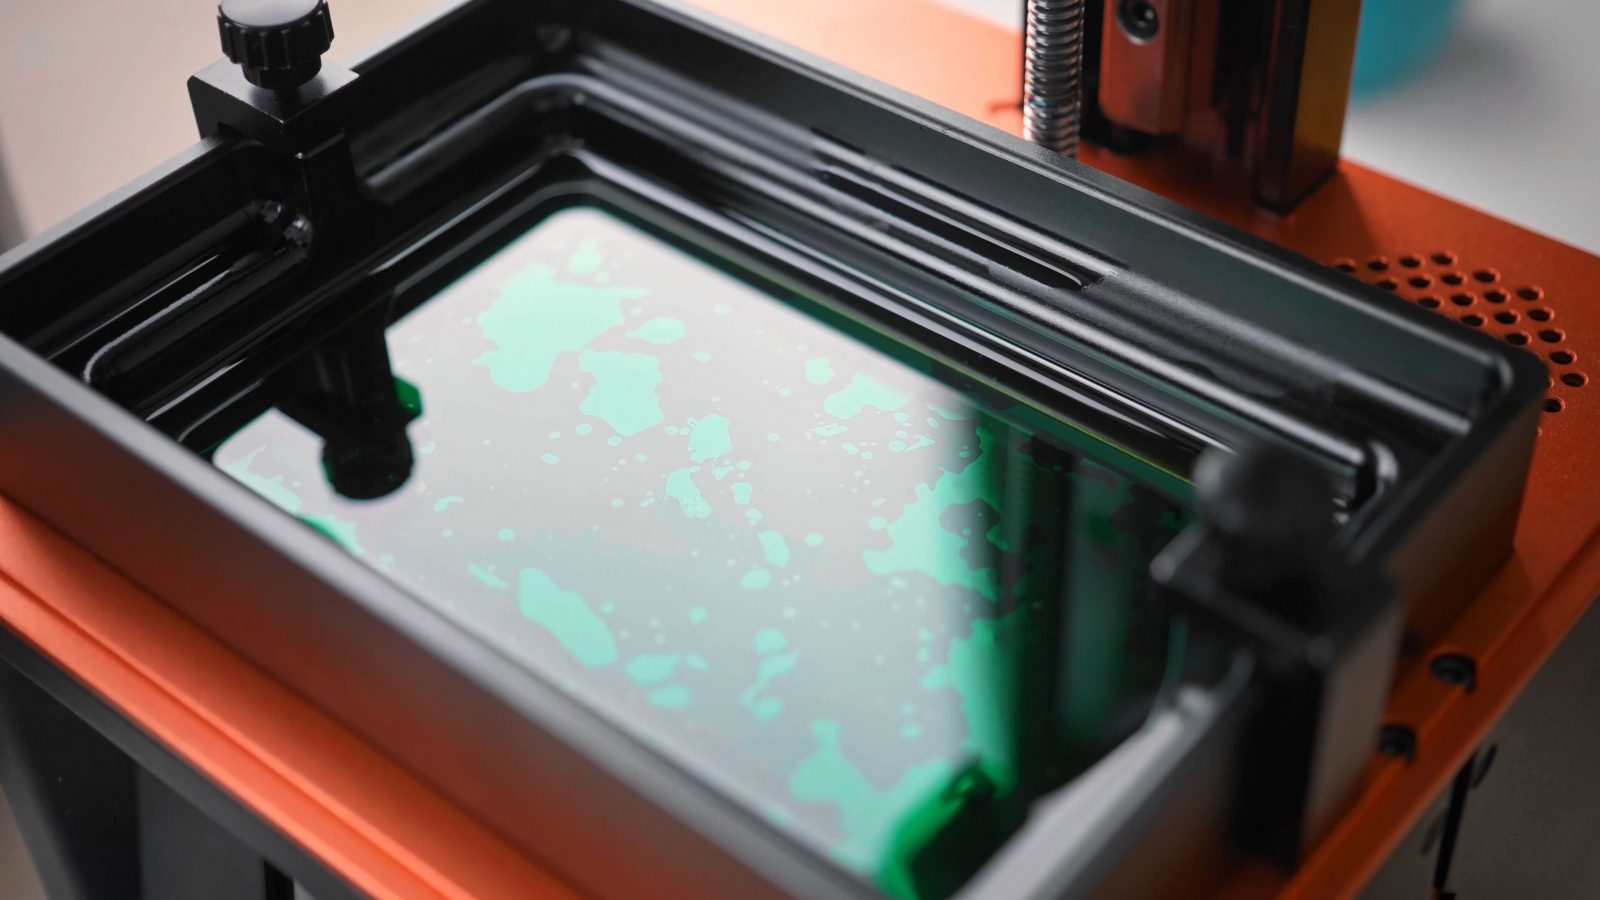
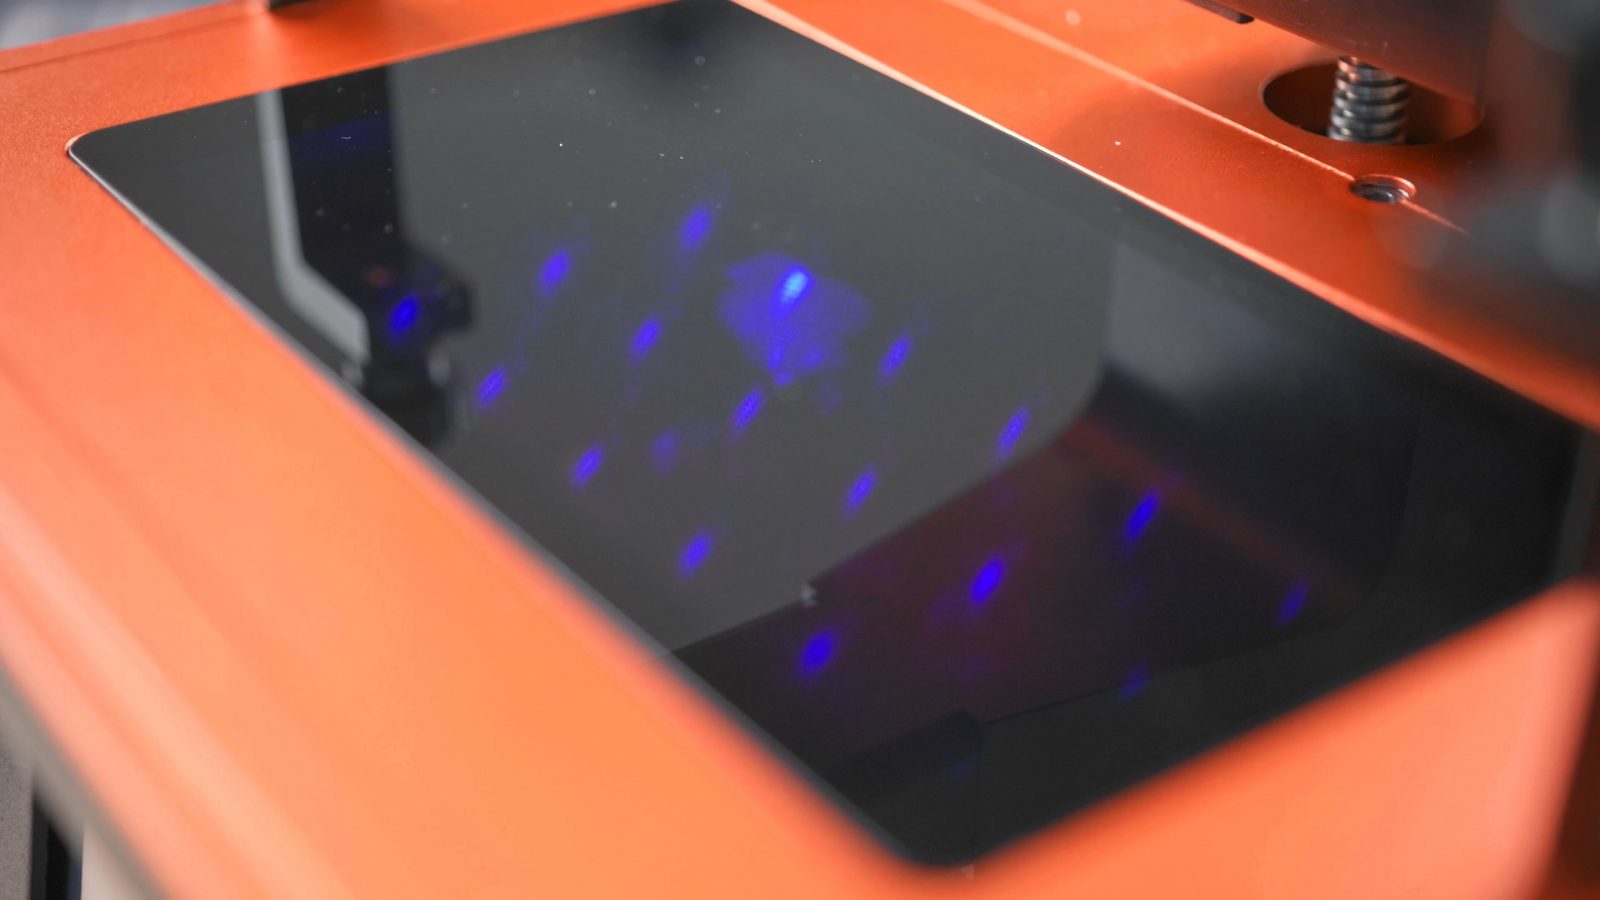
So the way a resin printer works is that you start out with the liquid, gooey resin, that goes into the vat, which has a transparent bottom, and that goes over an LCD screen that, instead of lighting up with visible light like a TV or a computer screen, instead has a strong UV LED shining through it.
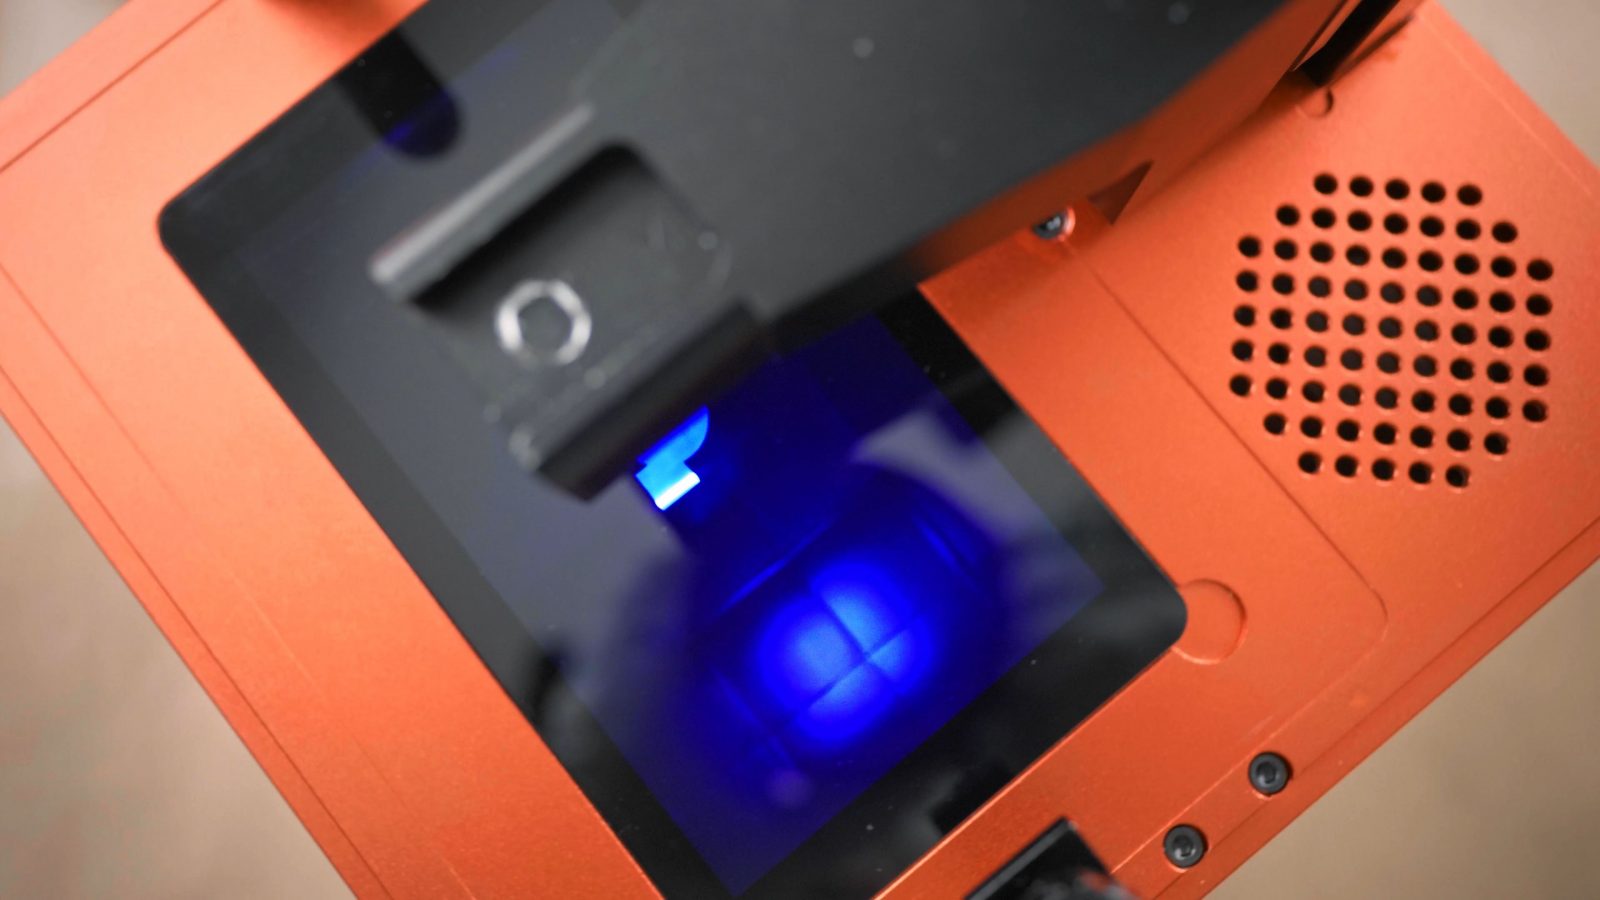
So now, when you have that stackup and turn on the LED, you get a layer of cured resin on the very bottom of the VAT wherever that LCD screen is letting light through and you get no cured resin in the spots where the screen is masking off that UV light. Some machines use just a UV laser and gimbals instead of the UV LED and the LCD mask, but those machines are usually a bit more expensive and not the type you’d start out on.
So, ok, now we have a single, cured, layer of our part, but really, we want something a bit more 3D, right? So, in normal use, that first layer is cured with the build platform almost touching the bottom of the vat, so that the resin cures onto the platform, and then as the build platform moves up, it basically rips the cured resin from the bottom of the vat. That clear plastic, that’s a non-stick film that will allow the cured resin to release after each layer. So once that’s released, the build platform moves back down, but now leaves just a tiny gap, and that’s where the next layer can form. So on an LCD or often called “MSLA” printer, the entire layer is exposed and cured at the same time. So no matter how large or small your print is, it’s always going to take the same time per layer, which means it’s always building your print up at the same speed vertically, and as a result, these machines are actually often faster than filament printers at creating the same part. Also, if you want to print several parts at the same time, there’s no time or quality penalty for that at all on an MSLA printer.
Costs of Printers and Components
Now, because resin printers are often relatively simple machines and don’t have a ton of moving parts, you can get them for pretty cheap these days. The components used for the LCD screen and the electronics driving all of it are similar to what’s used in smartphones, so that certainly helps. But while the machine itself is cheaper, printing with an SLA printer is more expensive than using a filament printer. Just as a rough ballpark, PLA filament costs around 20 to 25 bucks per kilogram, and resin is about 35 to 50 bucks.
Now, a filament printer will almost always hollow out parts and just print a less dense honeycomb on the inside and then a millimeter or two of solid material on the outside.
Resin printers don’t do that all too well, yet. Even if you print your parts hollow, which the software for many SLA printers supports these days, you’ll still need a way for the resin to escape out of the part and that means adding little holes to your model for air to get in and resin to get out. The other option is just printing the part solid, but of course, when you compare a 100% dense resin part to the same part done on a filament printer where you just have a density of 15% on the inside, well, in that case, you’re using way more resin than filament to make the same part. It’s most likely going to be stronger, though.
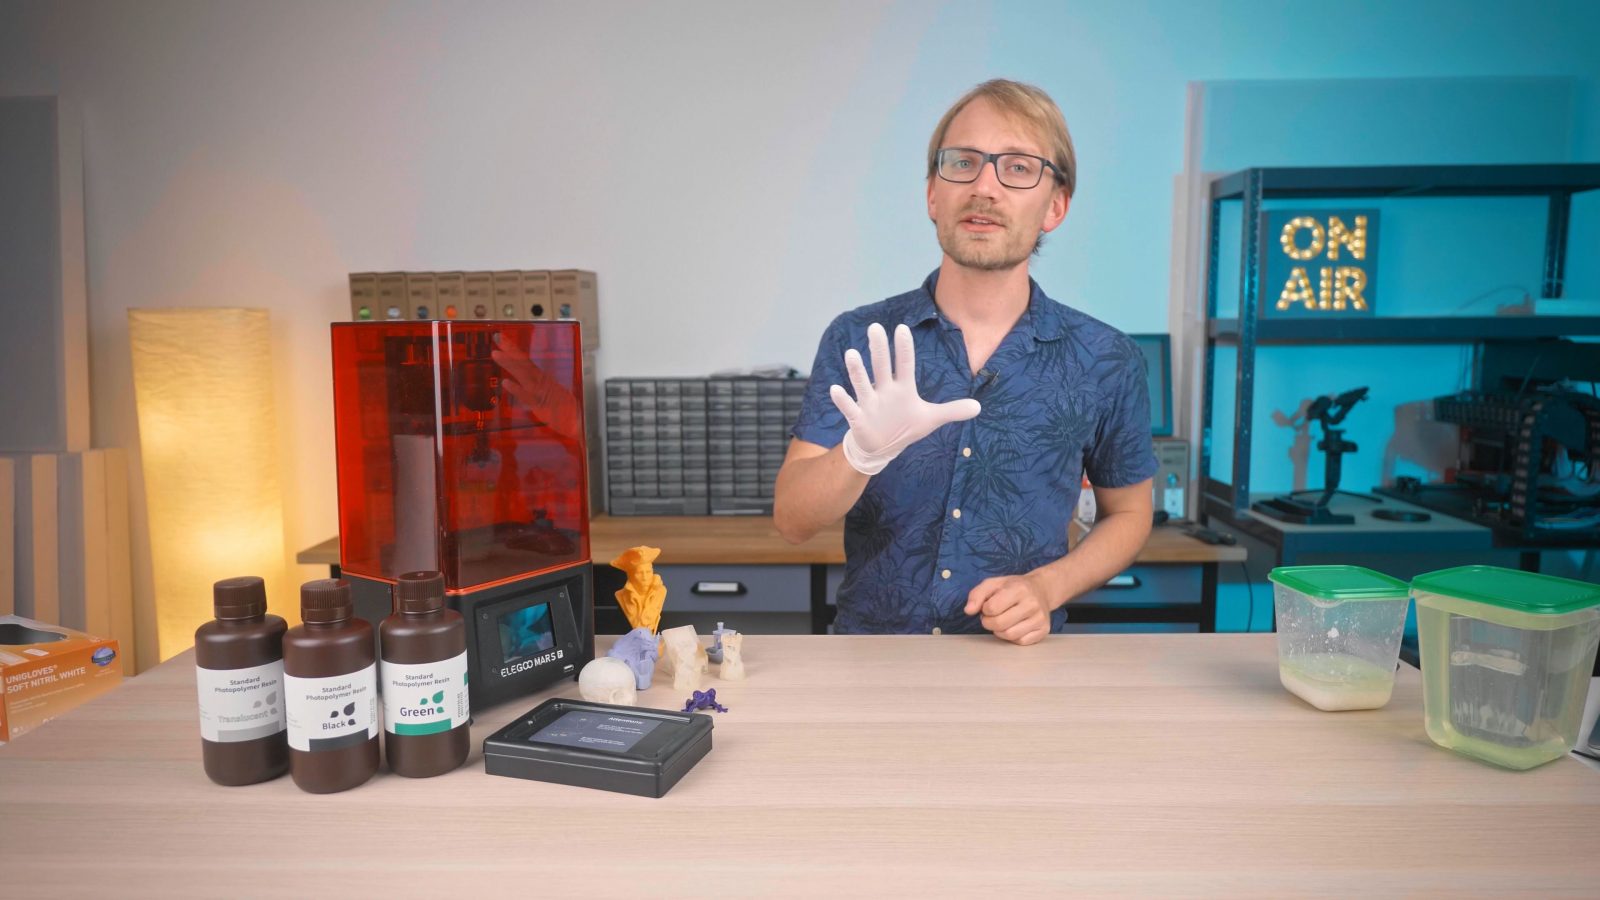
What also goes into the overall cost and effort is the assistant materials you’ll use when handling resin and resin prints.
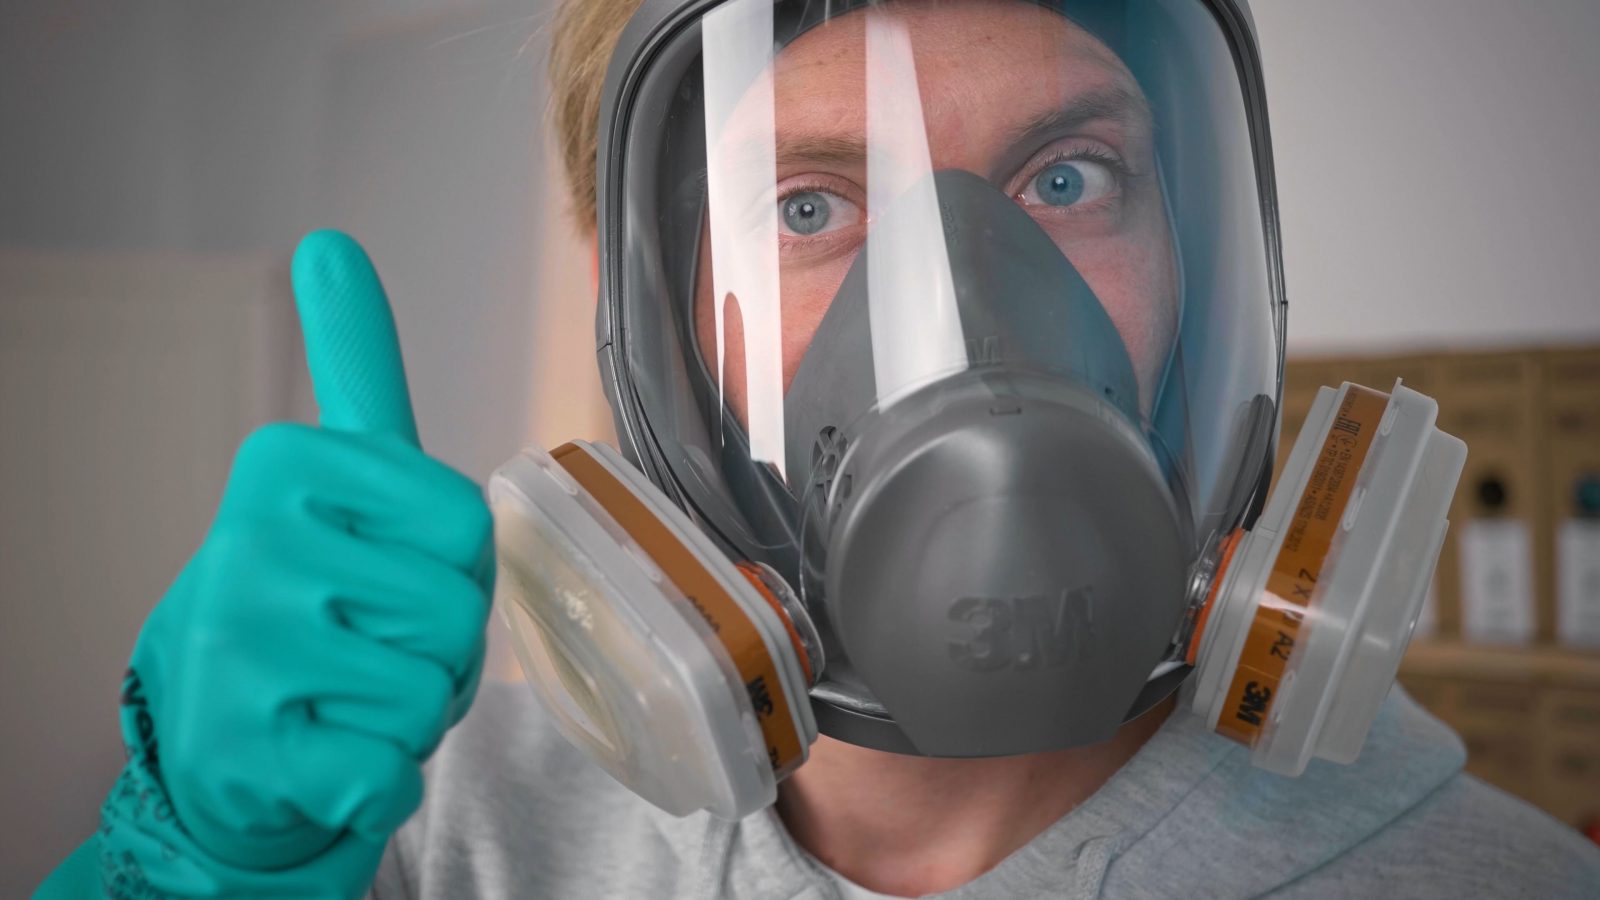
Safety
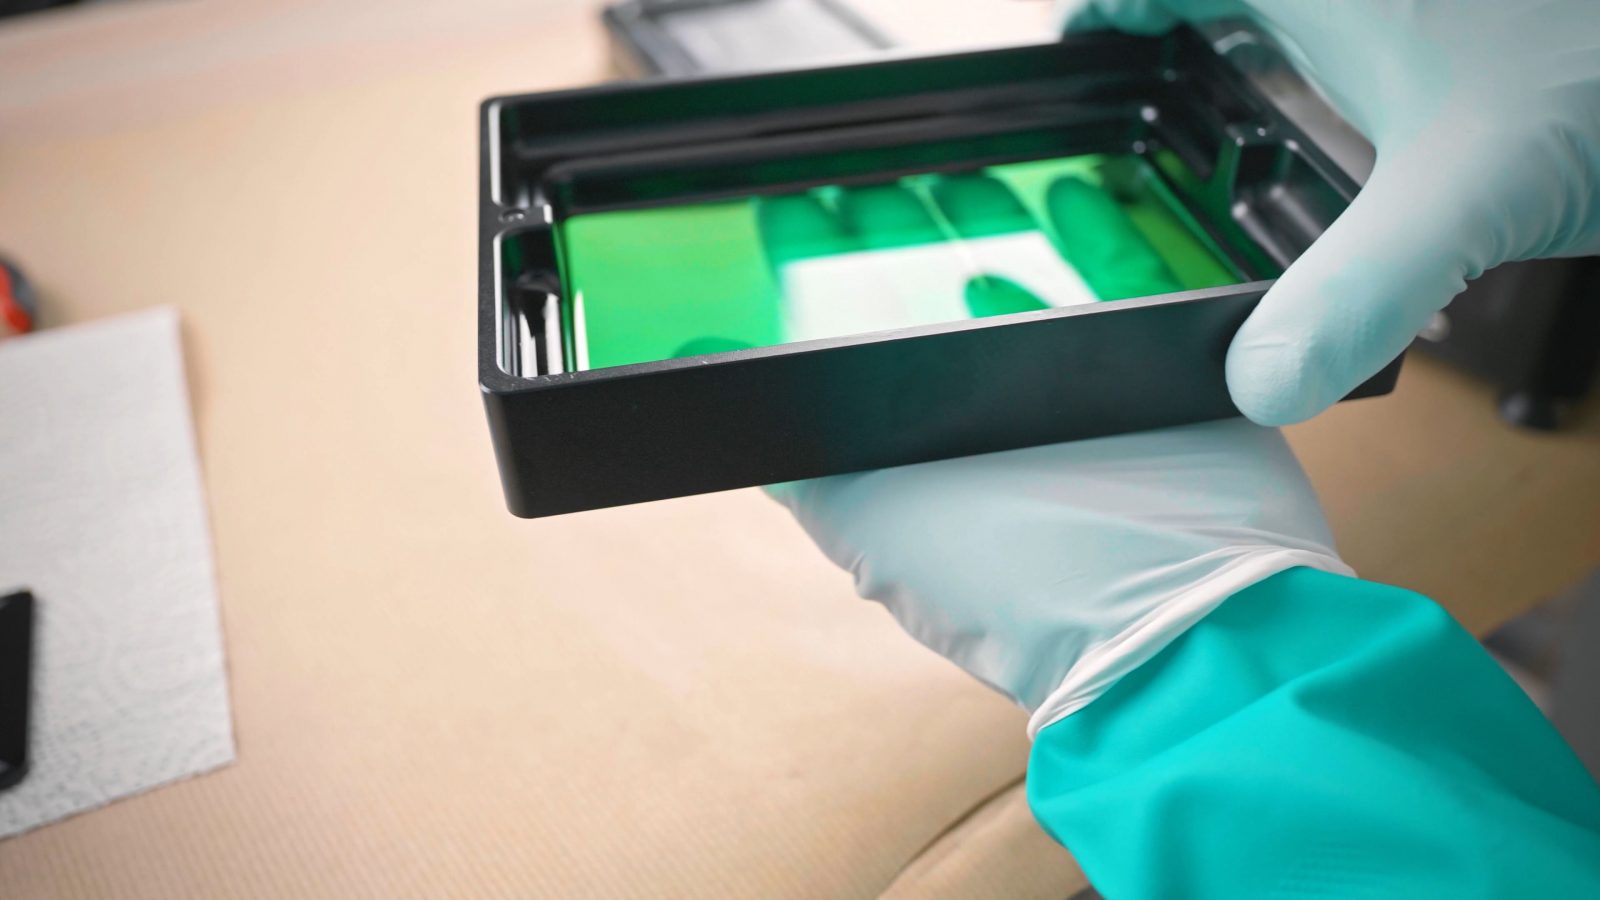
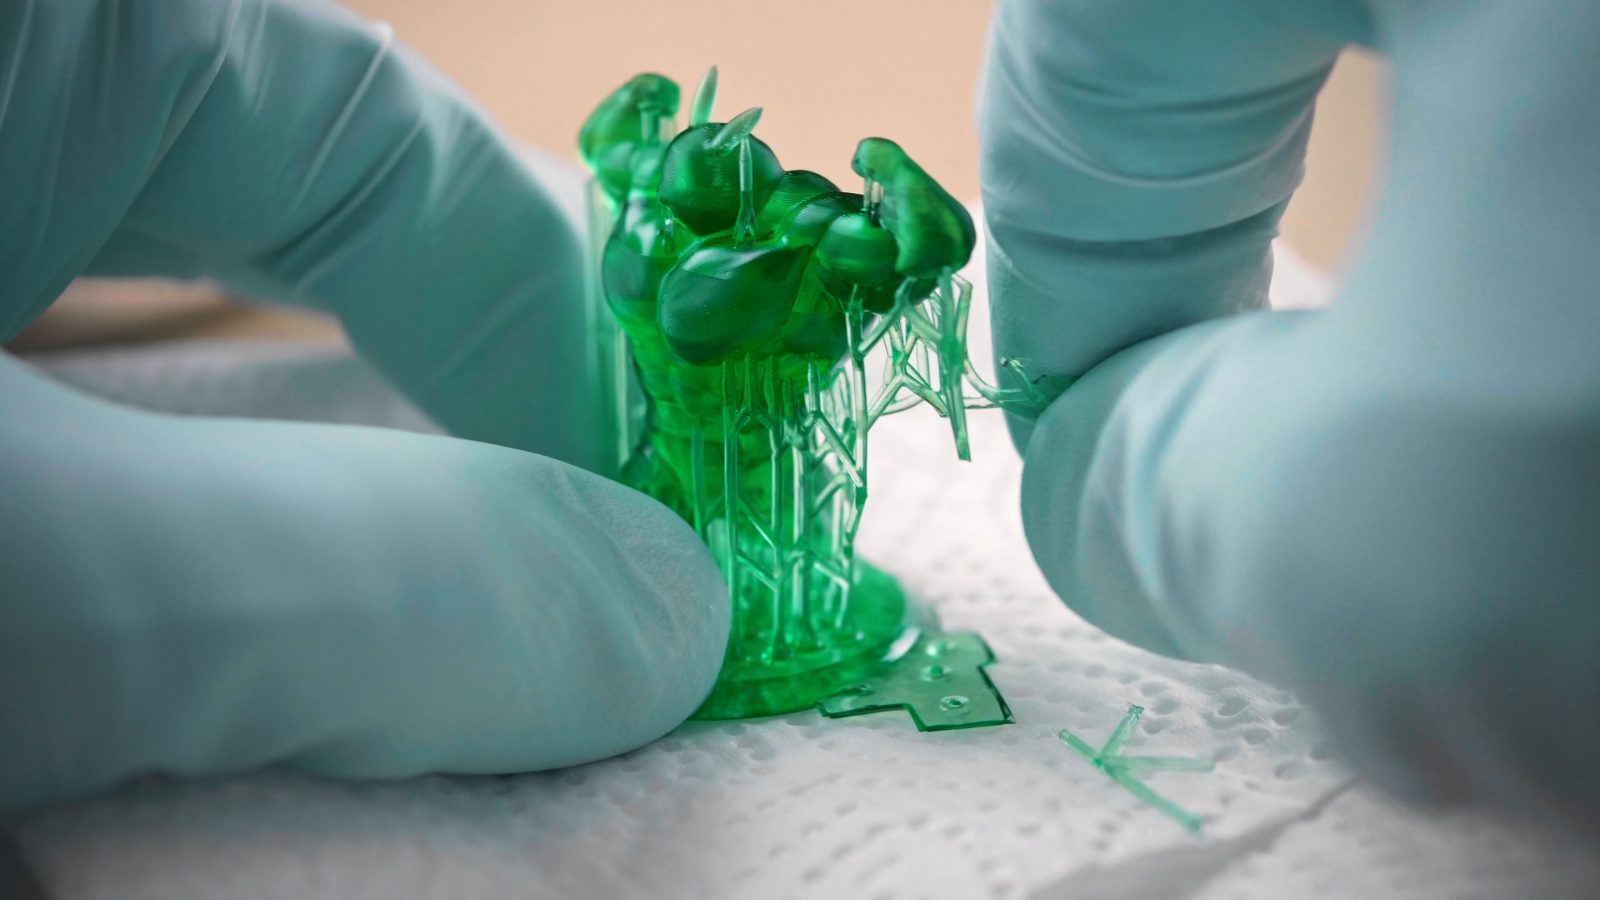
First of all, nitrile gloves are basically mandatory whenever there’s a chance you might get uncured resin on your hands, that means when refilling resin, handling the vat, removing a print and when washing and curing the part. Uncured resin has the potential to slowly mess up how your immune system reacts to it, and while getting it on your hands might be fine for a couple of months or years, once your body has been sensitized to it, from there on out, you’re going to have a severe reaction, from what I hear, potentially even when you just get a whiff of the resin’s smell. So please use these resins safely. That also applies to automotive paints, epoxy glue and a lot of other things you may not be thinking about, by the way.
Cleaning and Curing Parts
Okay, so you need rubber gloves and other PPE, then you need a way to clean and cure your parts. When they come off the printer, not only are the parts obviously covered in a layer of liquid, uncured resin, but the amount of UV light during printing isn’t enough to completely turn all of the liquid – and unhealthy – monomers in the resin into strong, rigid and safe polymers. Either before or after you’ve got the part removed from the build plate, you’ll need to get the layer of uncured resin off, and that is done by washing the part.
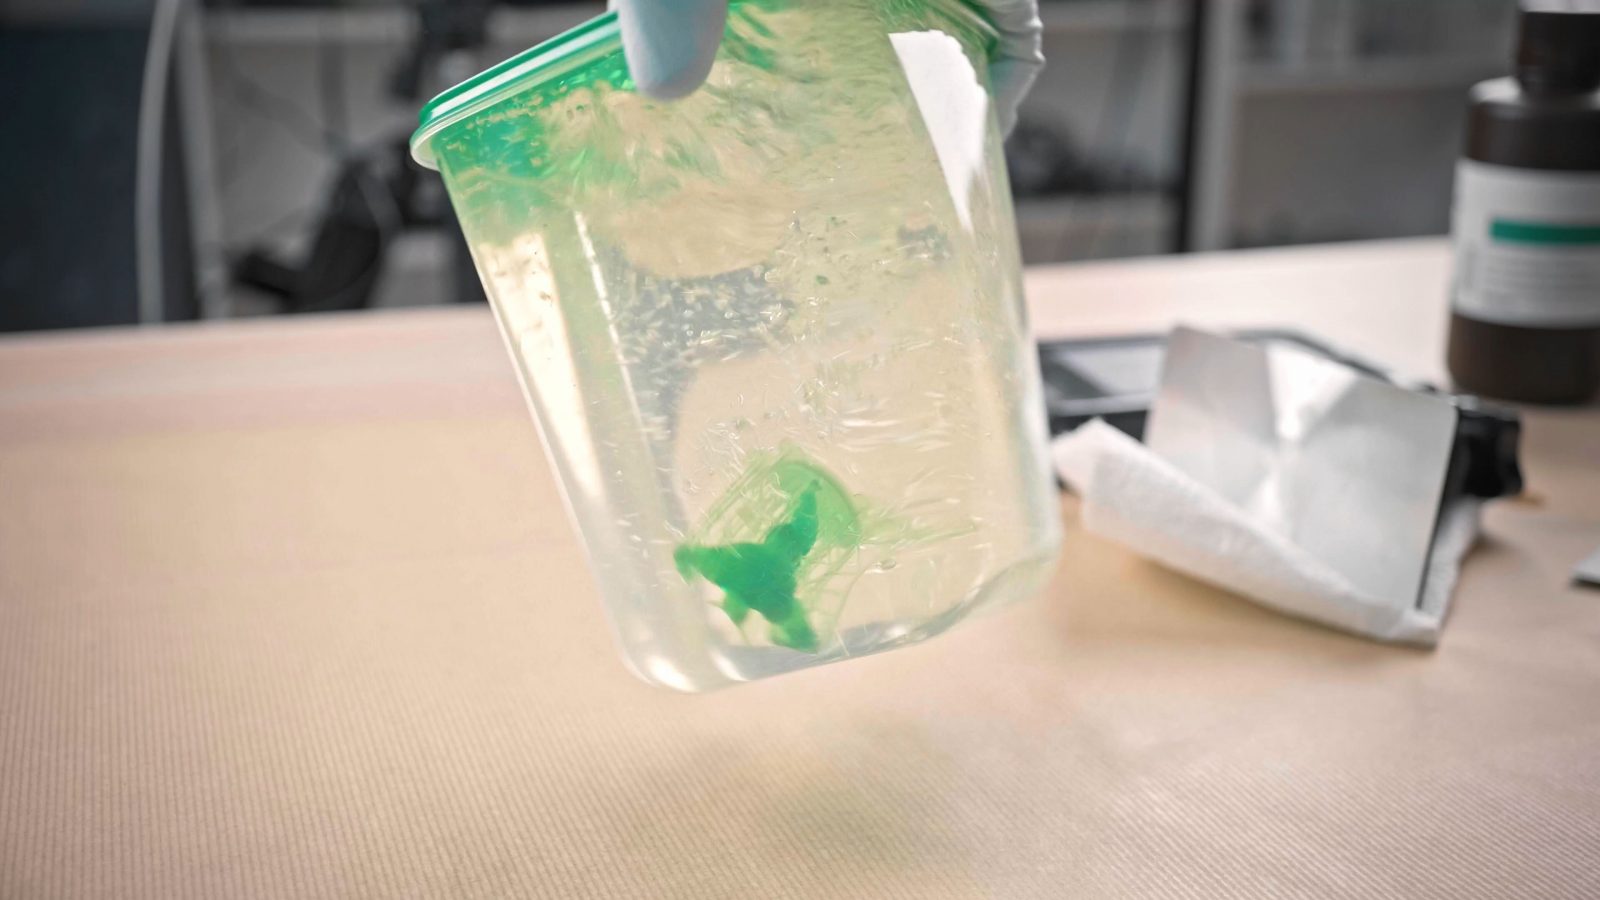
Typically, that’s done with isopropyl alcohol, right now, because IPA is also a very common, effective and popular disinfectant, that stuff is kinda prohibitively expensive and better used for those purposes.
By the time you’re watching this video, that might have improved, but other alcohols, like plain old ethanol, or even just soapy water is supposed to work well, for getting the resin off, too, but that depends on the exact resin you use. There are resins out there that are “water washable”, so you can rinse those with plain tap water, but that does absolutely not means that you can just rinse them off under the tap, in your sink. Resin should never be washed down the drain, so whether you’re using IPA or plain water, you’ll need to do the washing in a separate container, and once you’ve saturated your solvent, you’ll either need to find a way to drop out all the resin that’s dissolved in there or you need to hold on to it and at some point dispose of it as hazardous waste. So look up where you can responsibly drop off used IPA before you buy some, in my case, even contaminated solvents are accepted at some recycling centers.
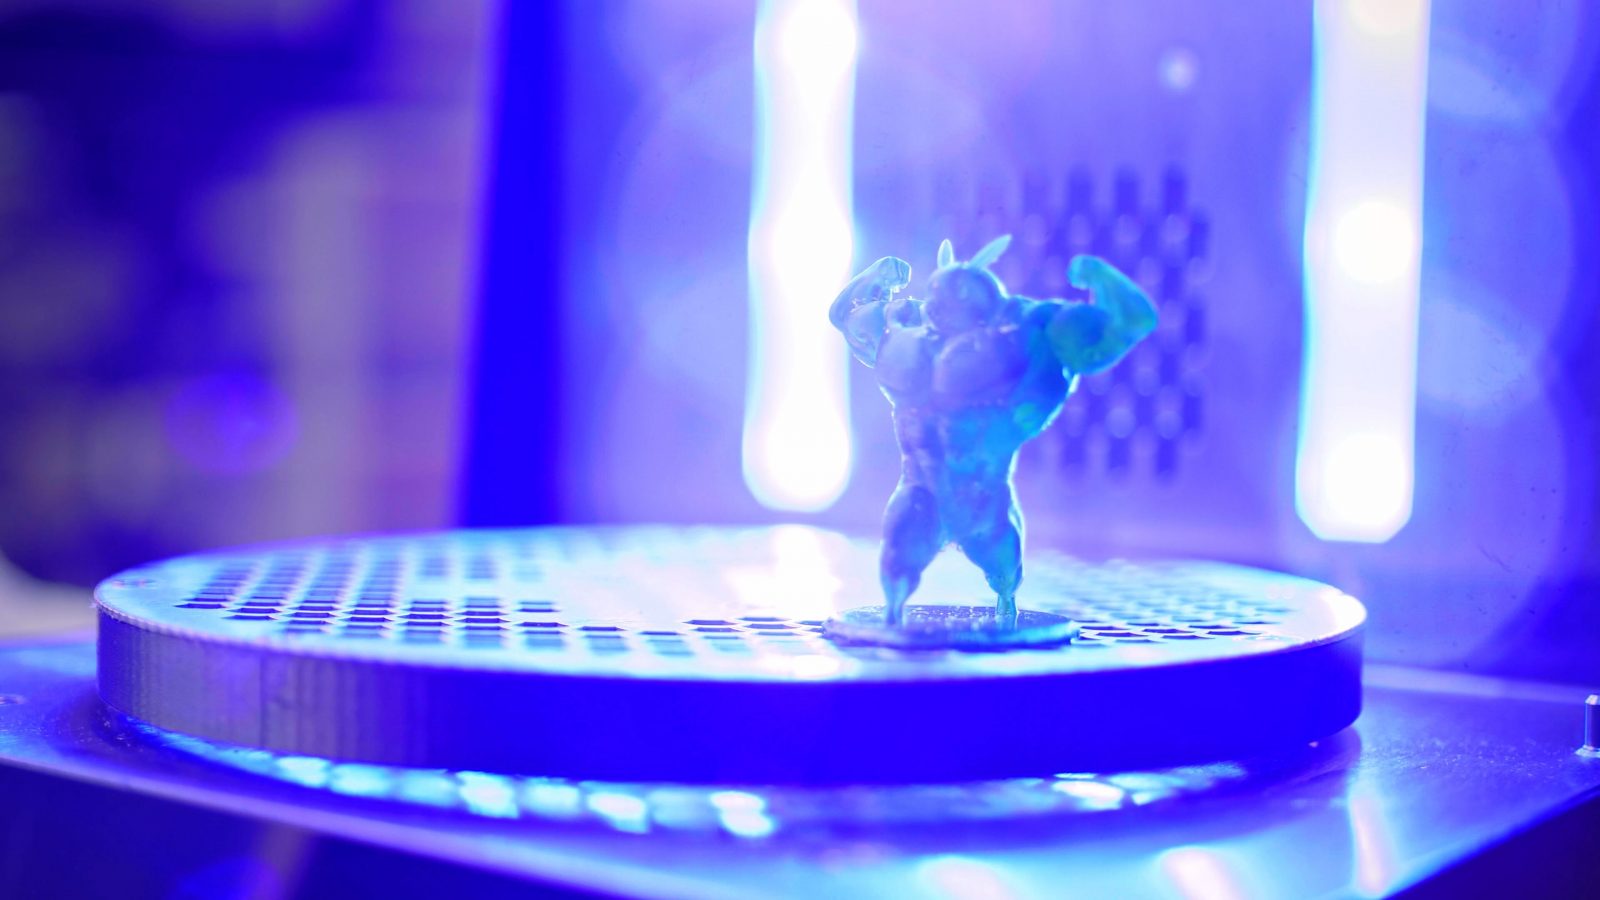
So after a few minutes, once the part is fully washed and there’s no liquid resin left on it, it needs to be fully cured before you can safely touch it with bare hands and before it is strong enough to be put into use. Half-cured parts are pretty soft and crumbly still.
The curing is done with some more UV light, and the most abundant source of UV light is – the sun! But because the sun not only emits the less energetic UV-A light that the resin needs to properly cure, but also the higher-energy UV-B and UV-C, your part is still going to cure, but it might end up getting a bit of a suntan along the way, turning brown, and becoming more brittle than if it was cured properly.
Supposedly, this is not due to overexposure, but because the UV-C light actually breaks down the monomers instead of curing them.
So ideally, you’d get a curing station that just has some more UV LEDs in there or, if you don’t mind pointing a UV flashlight at your part for a few minutes, you can also use that and cure your parts to taste.
The post-processing is definitely the largest chunk of effort that you will need to put into getting resin prints done, and if you think you’ll be doing a lot of resin printing, you should factor in getting or building some sort of a cleaning and curing setup from the start.
Parts and Issues
So a resin printer uses fewer moving components than a filament printer, and typically, when you think about how machines wear down, it’s because bearings and other stressed components start to fail. While I wouldn’t worry much about the few moving parts in a resin printer, there are some spots that you should be paying attention to. First, the FEP film at the bottom of the VAT is considered a consumable – with thousands of times per print where the freshly cured layer of resin is ripped off that film, that’s not really a surprise.

Sometimes, you might also find bits of previous prints stuck to the film when things didn’t go perfectly smoothly and those can be a bit tricky to remove without damaging the film. On most vats, this film is replaceable, though.
The other components that have a limited lifespan are the UV LED and the LCD masking screen.
On newer printers, the design and cooling of the UV LED have much improved, so spontaneous failure shouldn’t be much on an issue anymore, but like any LED, these will slowly get dimmer over time. But for the LCD screen that is then responsible for blocking off the UV light where you don’t need it, that part is still something that isn’t optimized for this application yet – at least on most printers, it’s a straight-up phone or a tablet screen, and these aren’t made to work to with the sheer amount of light that resin printers need to work with. So when picking a printer, take a look at what usable life the manufacturer warrants on the screen and also what it costs to replace it when it fails. Some newer machines use LCD screens that are specifically modified to work better for resin printers, for example by turning them into a monochromatic screen, which leaves out the color filter that would otherwise block ⅔ of the usable light, and that will make printing faster and therefore use less of the screen’s limited lifespan per print, but as of right now, there’s too little experience with them to say if these newer screens will actually give you a longer lifespan as well.
Print Results
But the thing is, when you look at the results you get from a resin printer, that amount of detail and surface finish is incredibly impressive, and there’s not real other way to get that. Yeah, you can print at super-fine layer heights with a filament printer, too, but you still can’t compare the results from that with a real, high-detail resin print.
Let’s recap
Resin printers work on a much finer detail scale than filament printers and instead of plastic filament that gets melted down, they use a liquid monomer resin that turns into a rigid polymer when it’s exposed with UV light. Most resin printers these days use an LCD screen to block off the light anywhere the part should not get exposed, some more expensive machines use a UV laser. Resin prints are often printed solid, but you can also hollow them out to save material. Honeycomb structures on the inside like on filament printers is something that’s still being figured out.
Resins themselves are a bit more expensive than filaments and require special attention when it comes to handling them. At least wear disposable nitrile gloves, as well as any other protective equipment that may be necessary to keep you from coming in contact with uncured resin. But once the parts are fully cured, they are perfectly safe to handle.
You’ll also need some extra equipment for post-processing fresh resin prints, specifically a way to wash and then evenly cure them. While resin printers are pretty foolproof mechanically, the thin FEP film between the LCD masking screen and the resin, as well as that screen itself and the UV LED are parts that can deteriorate and eventually fail. But the results you get from these printers are worth it because there’s just no other way to achieve such a high amount of detail and uniform strength.
So that’s it for this one, in the next video, we’ll get back to filament printers and look at what parts they are made of and what sort of care and maintenance they need, until then, thank you for watching, make sure to get subscribed, keep on making, and I’ll see you later.
💙 Enjoying the videos? Support my work on Patreon!
Product links are affiliate links – I may earn a commission on qualifying purchases (at no extra cost to you)

Check out my second channel “More Layers” on YouTube for livestreams
3D Printing Basics – Episodes
- What is a 3D printer?
- Choosing a machine
- Resin printers
- Filament printer parts and maintenance
- Acquiring print files
- Basic slicer settings
- Whole 3D printing process
- Requirements for 3D printing
- Common issues
- Where to go from here