
Ok, so you want to print something. Where or how do you get the designs and the files? If you don’t want to just download stuff, but instead print your own parts and creations, where would you start with that? That’s the type of questions we’re going to answer today.
Design sharing websites
Let’s start with my approach to using 3D printers. For testing and show pieces and simpler stuff that somebody else is probably going to have designed somewhere already, the best way to go about that is to look for those designs that have already been shared somewhere. Reinventing the wheel for everything is totally unnecessary. Also, I’m just not really good at designing parts that look pretty. But only downloading parts and printing other people’s designs, I think, does get old fairly quickly. So being able to at least make at least a few simple designs is something I think everyone should be able to do. And hey, if you make something useful, you can go and share that back out into the world. So let’s start with that.
The most popular design sharing sites, right now, are Makerbot Thingiverse, which has been around the longest, so it’s got the most designs on there, but it’s also got *the most designs on there*, and not all of them are super-high-quality. Also, what’s up with showing gambling ads on a site that is popular with school kids?
Then there’s Ultimaker’s YouMagine, and that’s been around for a while, too, and has some useful parts on there, and then the newest one of the bunch, Prusaprinters, obviously run by Prusa, they’ve got a bunch of cool designs on there that might otherwise be models you’d have to pay for, but many of those are shared as g-code that is only made to work with Prusa machines.
So, mentioning paid designs, I think it’s fantastic when people decide to share their work for everyone to use, for free, but, you know, when it’s more than just a simple connector plate or something and the designer is taking time out of their day to make a model for others to use, at some point they’ve got to make some money and just relying on a “buy me a coffee” button rarely makes the time to keep producing more great models worthwhile. So when you see a design that you really like, a few bucks are often well spent. This is a sculpted design by Eastman, it’s selling for a few bucks, I’ve printed it in resin on the SL1, and it’s just always a joy to look at. But always keep an eye out for how much of the sticker price is actually going to the artist and how much the platform is sacking. Popular sites right now are MyMiniFactory or Cults 3D, but many artists also have their own shops set up where they get to keep basically 100% of the revenue they make.
One note on other sites where you can get models for free like GrabCAD for CAD models and other sites for artistic models is that those models are not always made to be 3D printed. There might be features in there that are too small, some geometry that’s too tricky to print, even with support material, or other issues that make it unsuitable for 3D printing. When you grab files from 3D-printing-specific sites, usually you can expect them to be printable.
Licence – Terms of use
Something to look for with models from all sharing sites is the conditions under which you can use and modify them. Some designs don’t allow use for commercial purposes, like selling the part, with others, if you make modifications to it and then share that modified part again, you have to share it with the same conditions now attached to your modified design, so just look into what you can and can’t do with the model you downloaded.
Type of Files and using them – The Slicer
So I mentioned g-code, but most models you get will be an stl file or a 3mf, which is basically a zip file with more stuff in it. Your printer doesn’t understand stl or 3mf files, those are the actual 3D model, which is basically just a shell representation of what your part should eventually look like. To turn it into something a printer can work with, it needs to be turned into g-code, and that is literally just a string of commands for the printer to follow in that order, and if everything goes right, by the end, it will have produced that part you wanted. So in order to translate the 3D model in the form of an stl file into g-code that the printer can run, we’ve got a little piece of software called a “slicer”. More on that and all the settings in there in the next video, but basically, everything about the print is decided in the slicer. How big your part is going to be, what printer and what filament you’re using, how thick the part’s solid shell is going to be, all that is configured in the slicer, and once you have your gcode, it’s basically set in stone.
The reason why I bring that up is because when you look at how you can make your own designs, you just need to look at whether your software can export an .stl file or an .obj, and if it can, you can use that software to create new parts.
Scanning Things
So what approaches are there to design, well, actually more like “create” parts. Let’s start with a misconception “you can just 3D scan anything”. And – yes, yes you can, but the results are often not that great, which is why it has kinda fallen out of favor. There are a couple of approaches to 3D scanning that are – quote on qoute – affordable, starting with using a camera, taking pictures all around the thing you want to scan, and then using a software like Meshroom to reconstruct a 3D model by having it figure out how different parts of the image moved between the images.
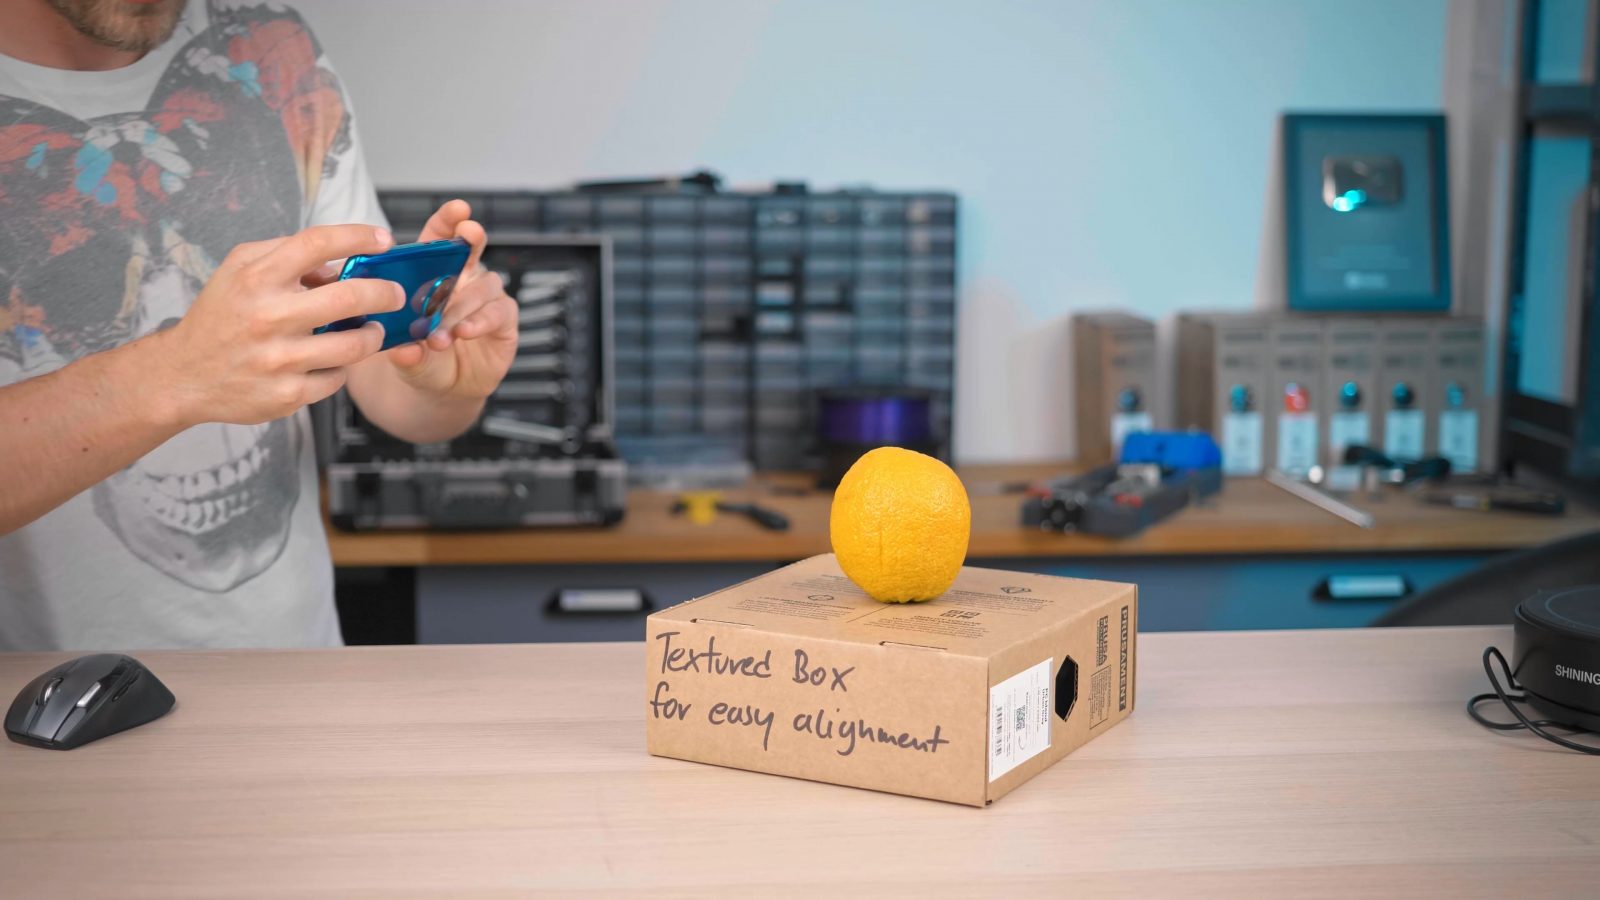
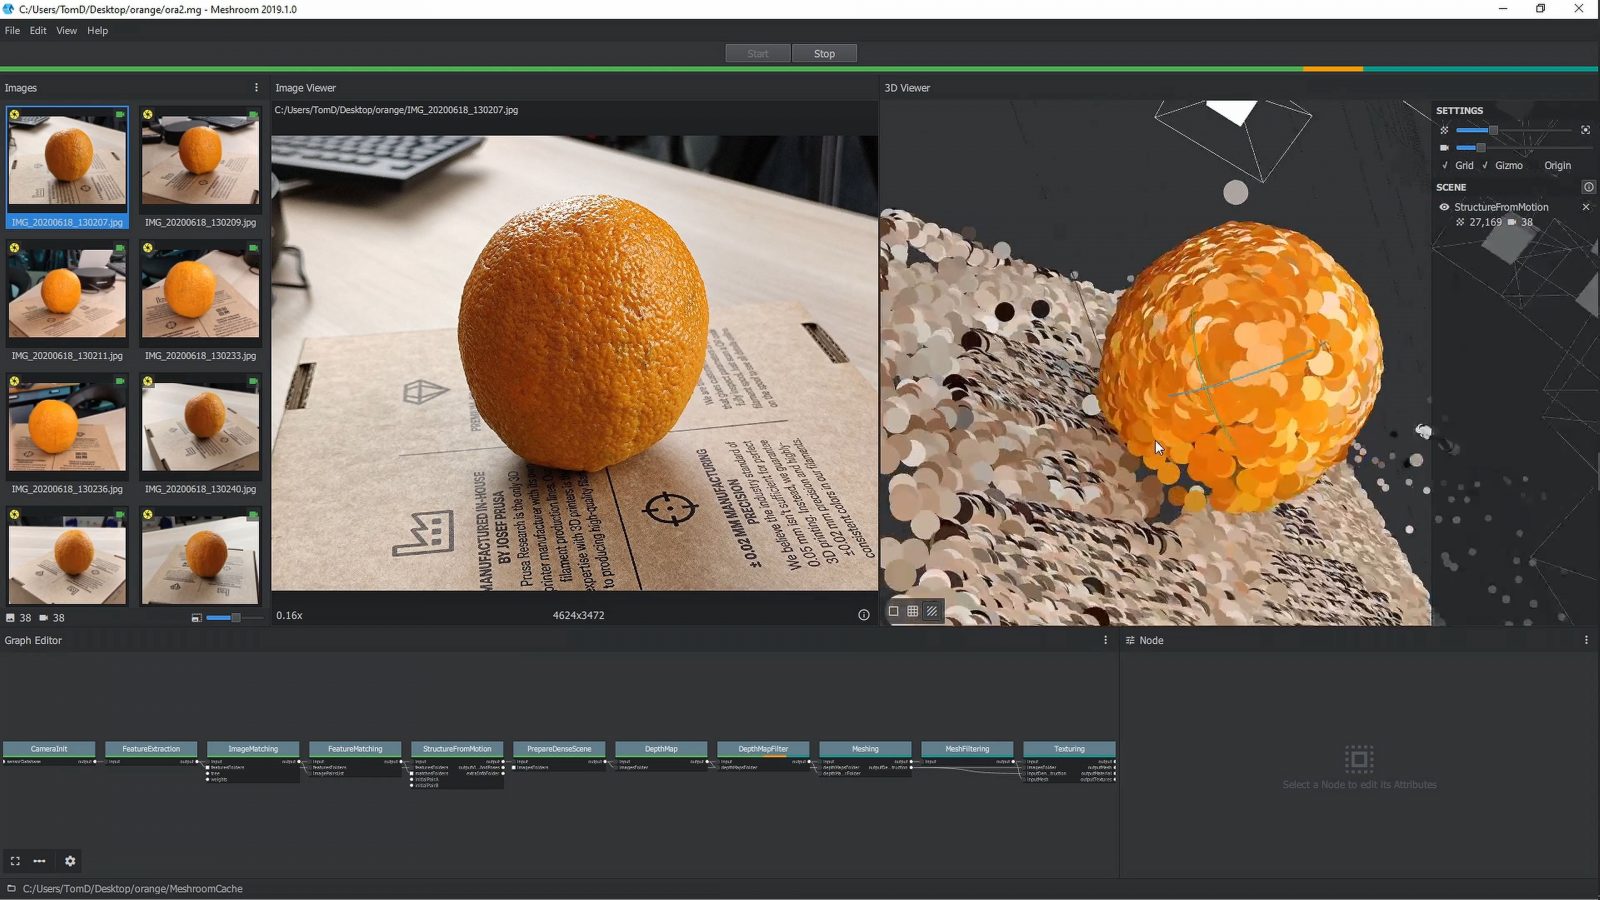
That works well for things that have, like, a coarse texture, like rocks or statues or stuff made from wood, but does not work on things that are glossy, like cars, or are just a single color and only have little detail. But – it’s free, you probably have a camera that’s more than good enough for this in the device you’re watching this video on right now and the software is free, too. It’s just a shame that Autodesk canceled the free options 123D catch and Recap, those were really easy to use.
Next, you might see laser line scanners that use a laser to project a line onto your object and and an offset webcam to capture the perspective shift – those are useless.
The scans are so poor and just have no detail at all and make it super hard to capture certain geometries where, for example, your part occludes the laser line in a way where the camera can’t see it anymore, I mean, I just don’t see the point.
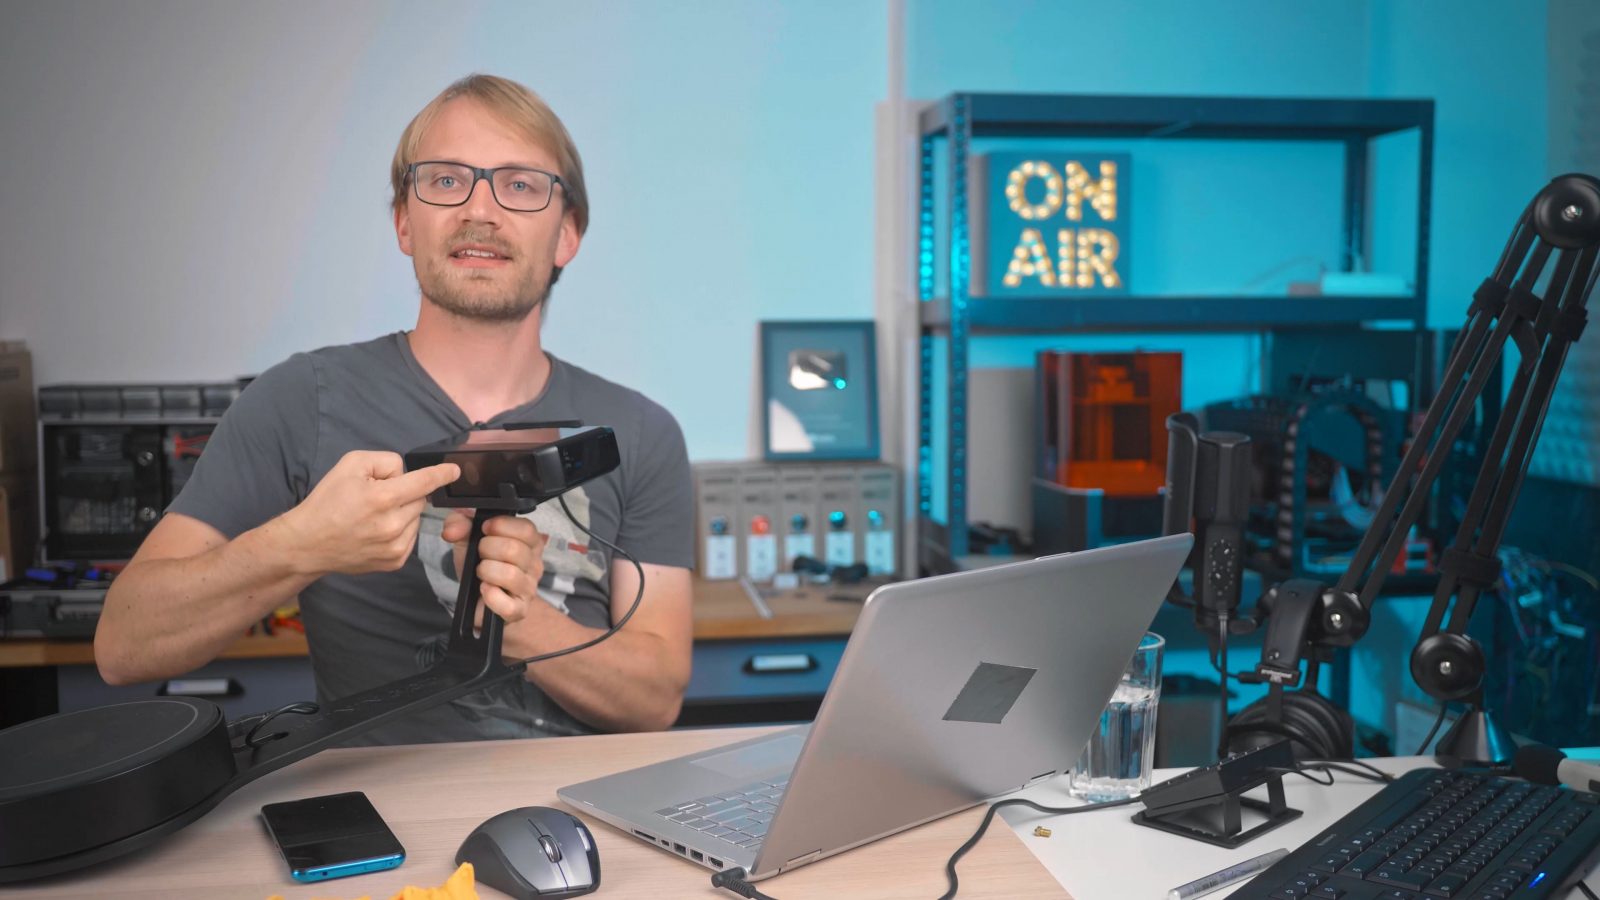

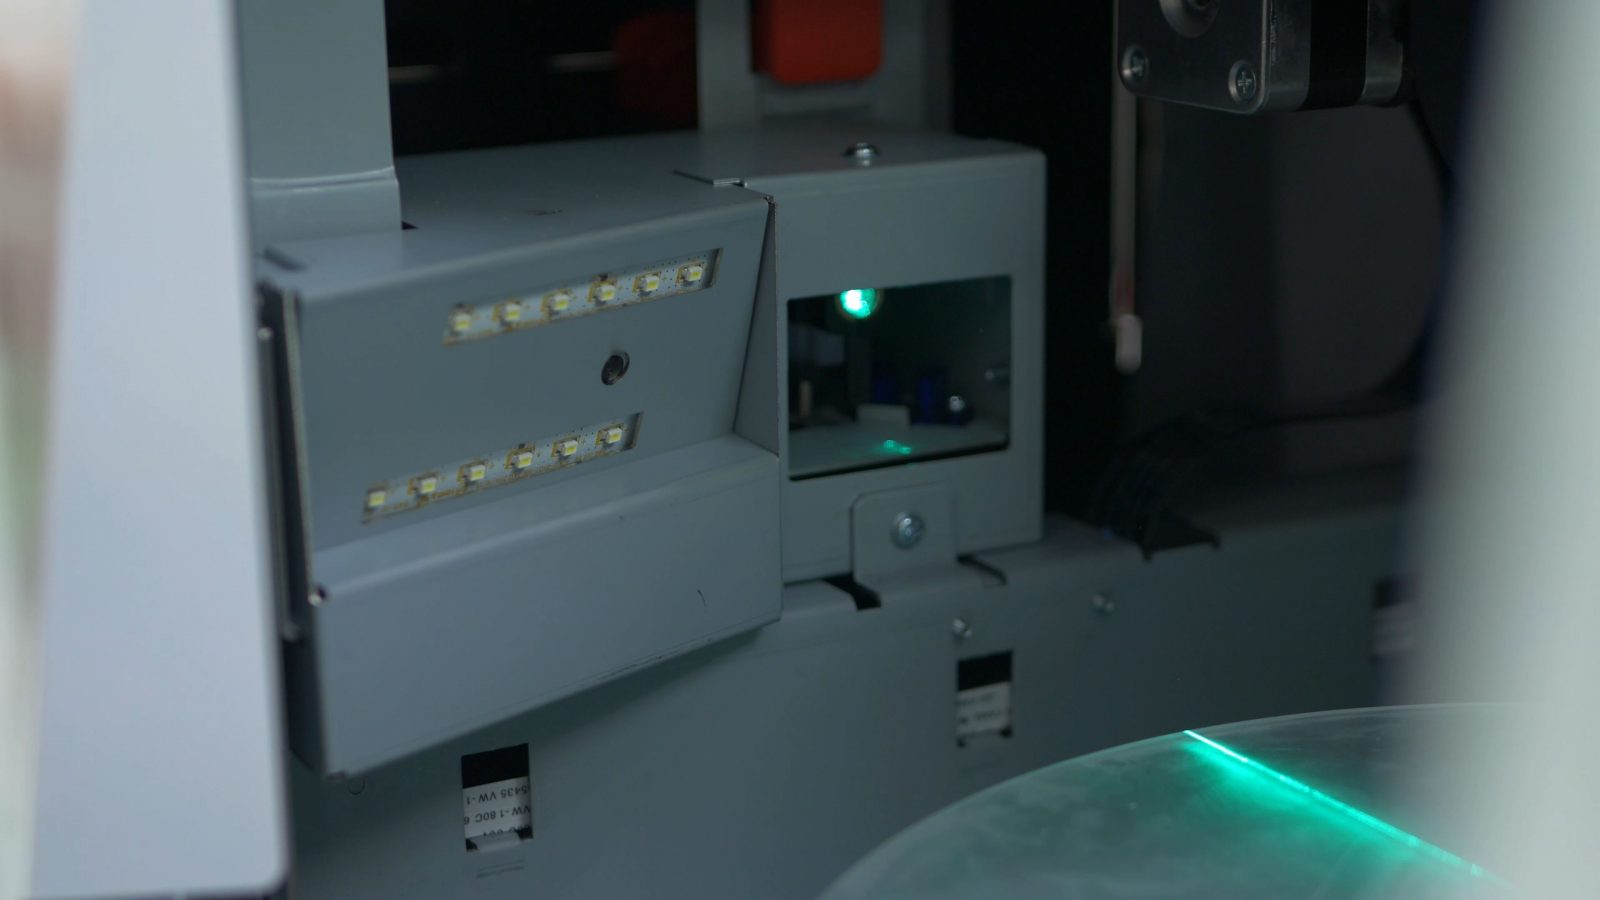
And then you can move into, like, “proper” 3D scanner territory, I’ve got this EinScan, which uses, technically, a webcam, too, but has an actual projector in there that covers your scanned part in lighting patterns, and just gets a much more detailed scan of anything you put on the scanning table. It still doesn’t do super glossy parts, though.
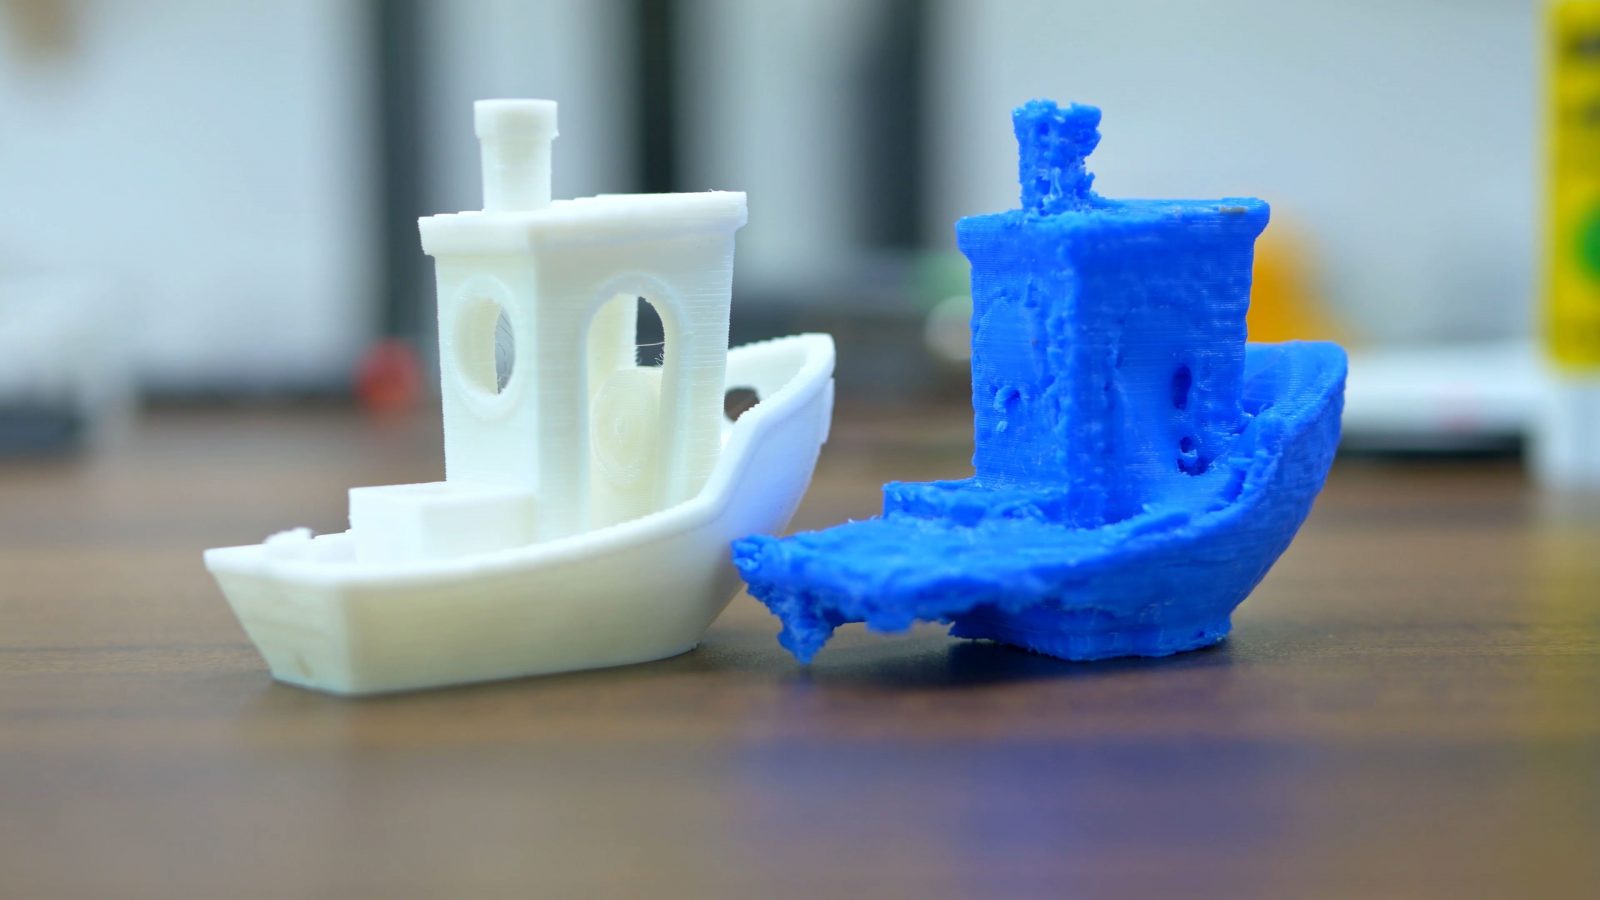
For resolution, photogrammetry using a camera depends on what the scale of your object is – for something like a lemon or an orange, you’re probably going to get a millimeter or two, so it’s going to pick up some of the pores, with a line laser + webcam scanner, you’re looking at more like 5 millimeters or so, but with an actual scanner like the EinScan, it’s totally possible to get submillimeter details on a scan. Of course, there are still better scanners out there that can do larger parts or give you better accuracy, etc, but they’re going to cost you.
What you usually need to do with 3D scanned models, though, is to clean them up.
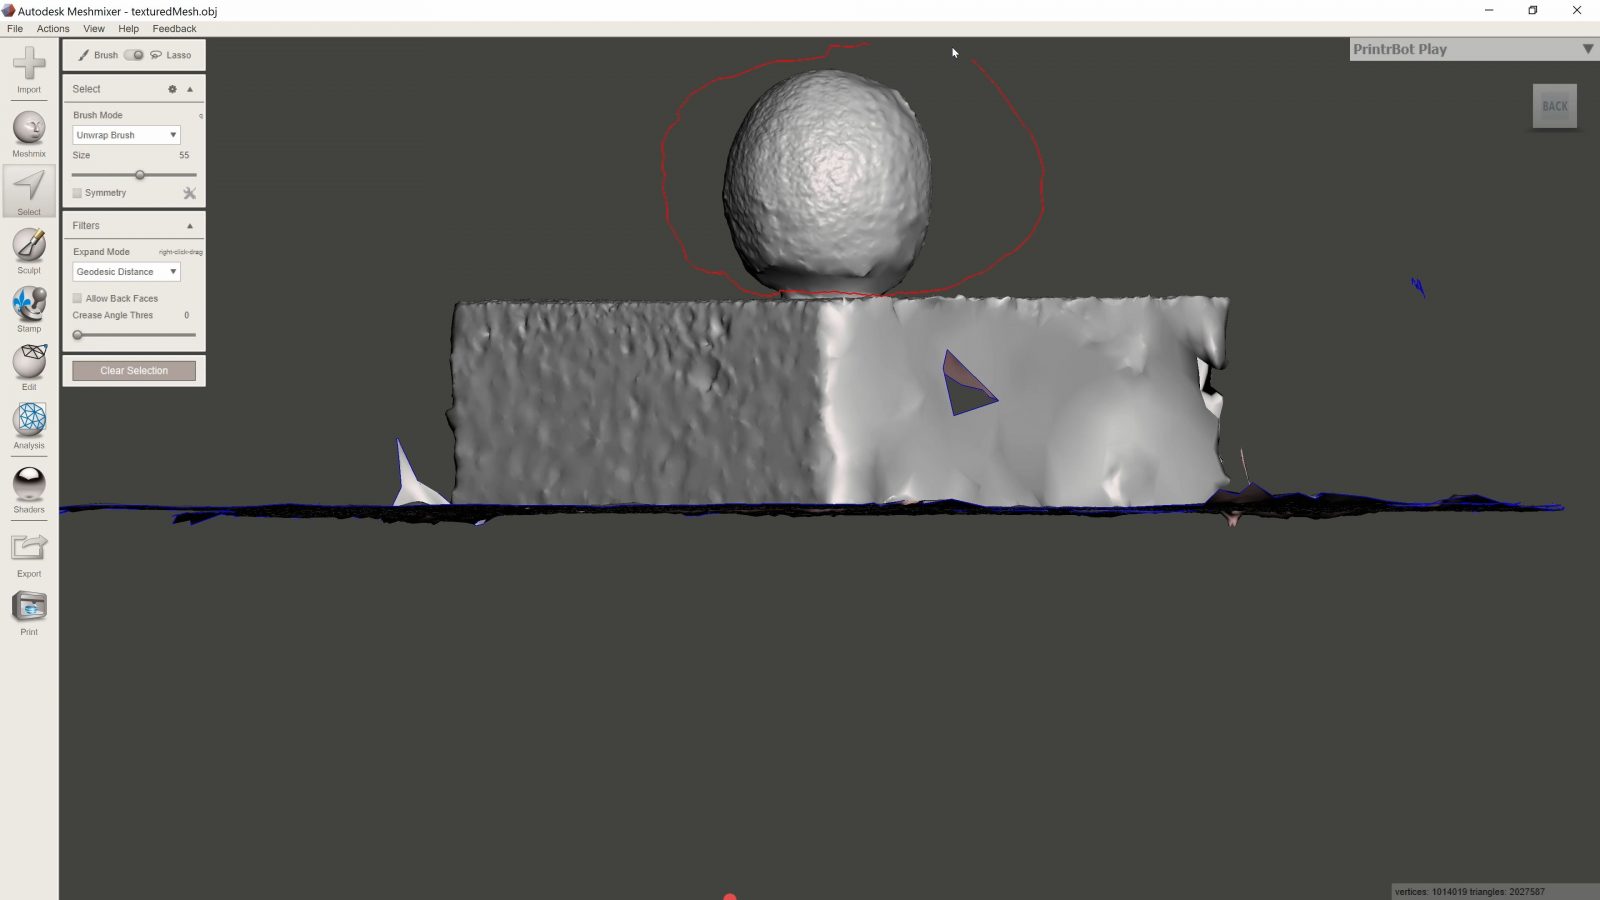
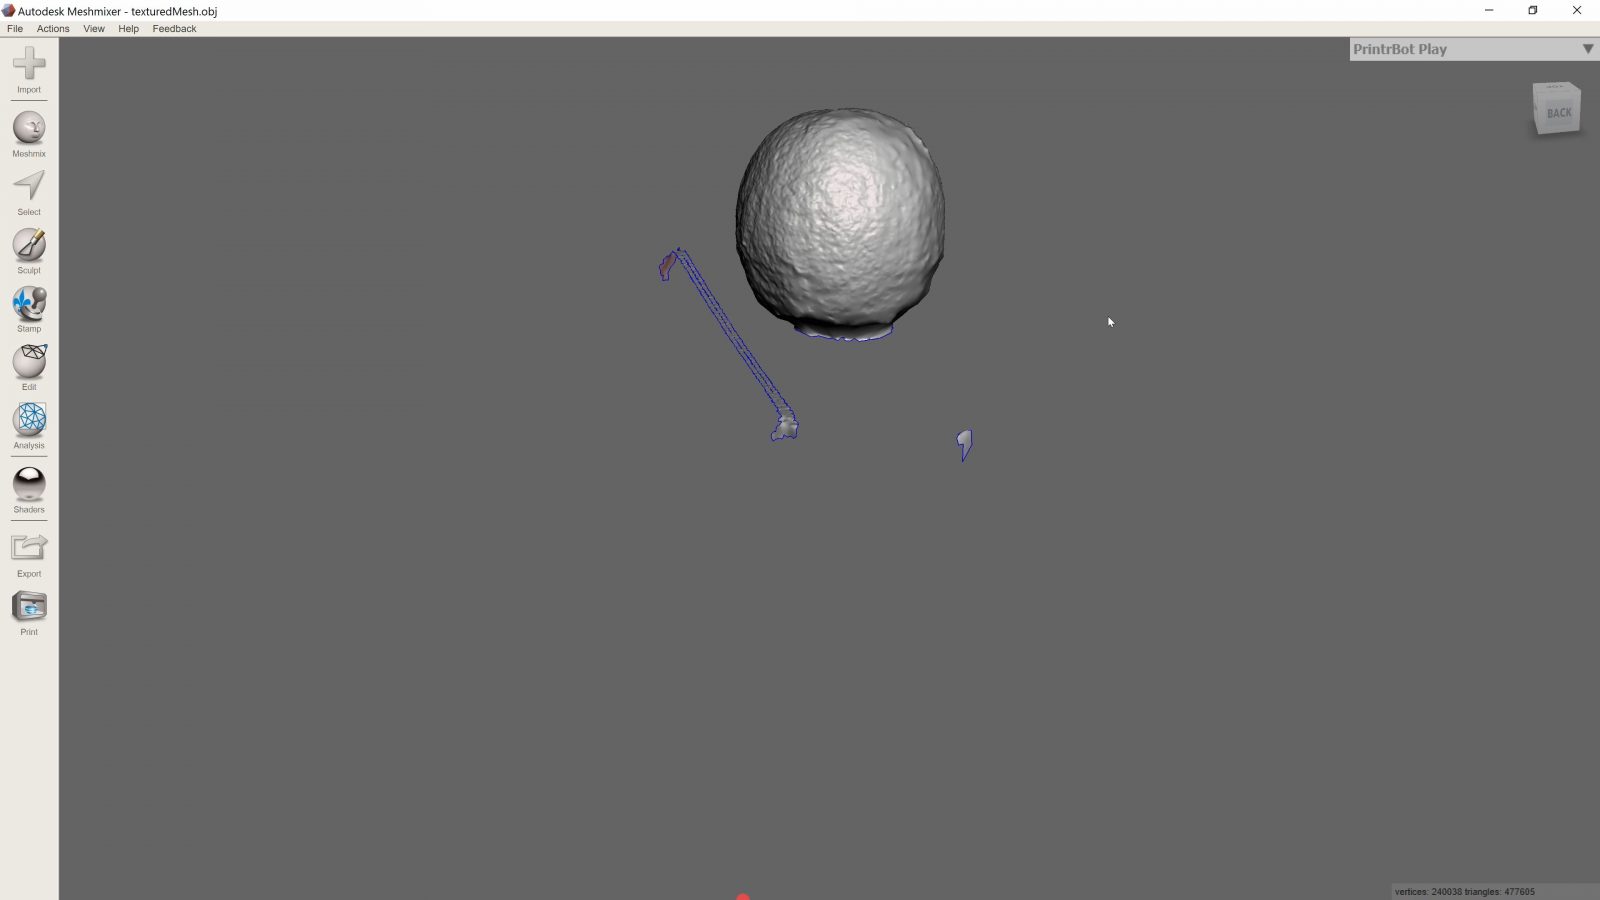
That is to remove areas for example from the background that you don’t need, fill some gaps, or slice a flat bottom on your part so that it can stick onto a printer’s build plate. Some scanning software has that built in, but for both parts you scanned and for parts that you downloaded or created yourself, you can use software like Meshlab, Meshmixer or even Blender to modify them. Meshmixer, in particular, is pretty capable because it’s easy enough to use and still capable enough to quickly modify of fuse together different models.
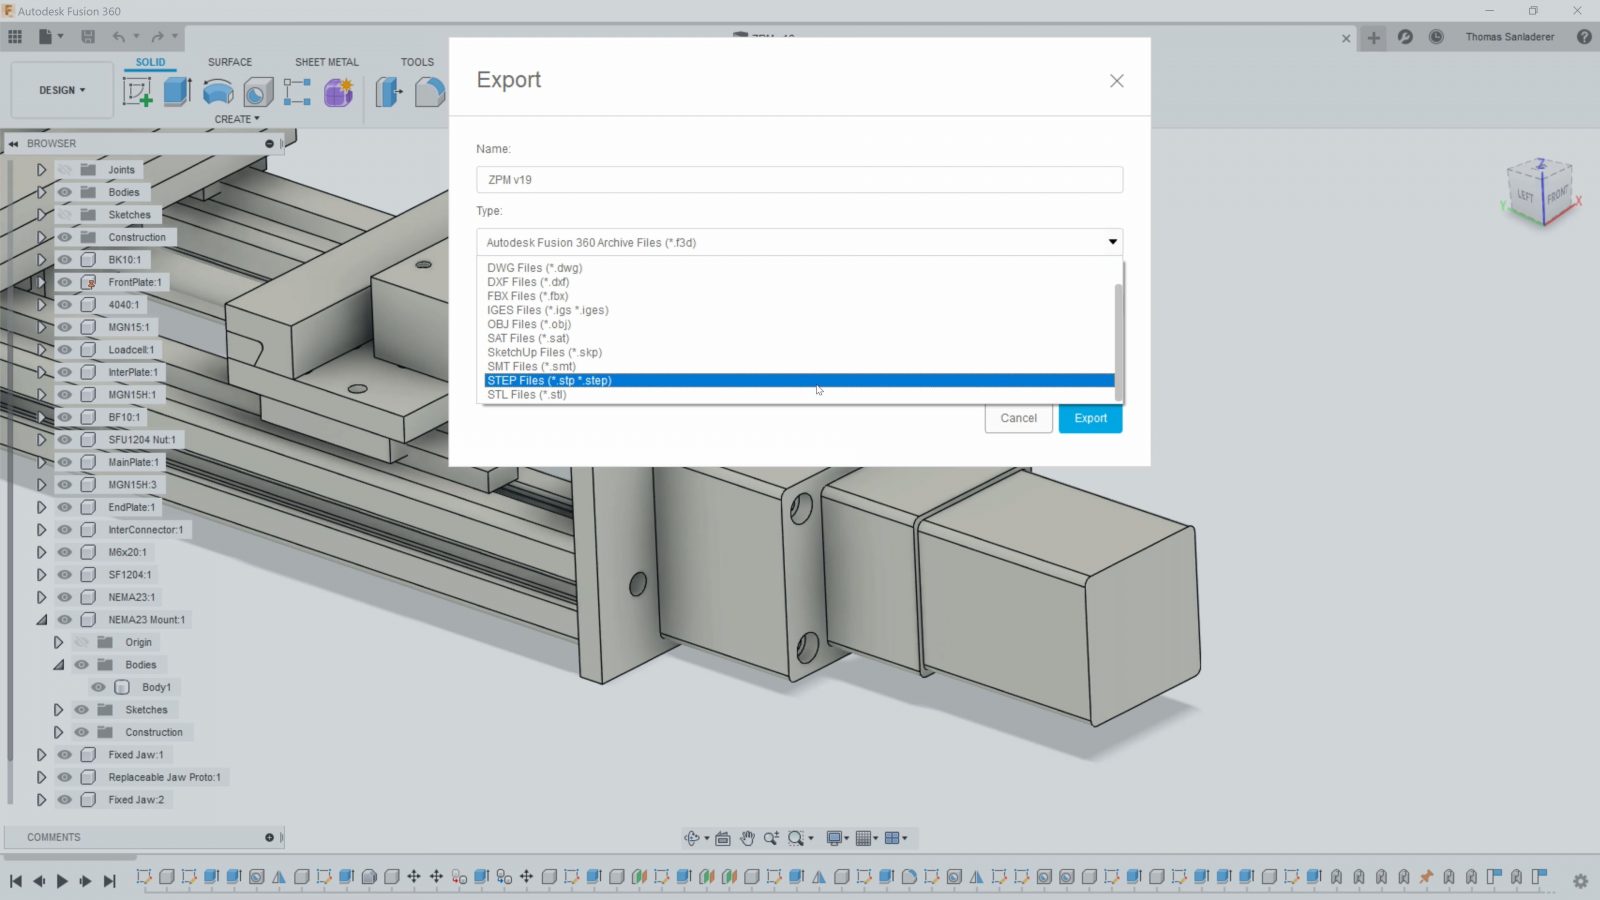
File Formats: .stl versus .step
I guess we should cover file formats real quick before we move on because there are two different groups that really serve different purposes. So on the one side, you have stl or obj, like we said, that’s what you’re using for a 3D printer, and that represents the shell of your part split into perfectly flat little triangles. It’s the same approach game engines use. It’s a super simple format and that makes it really easy to exchange files between different programs, but as soon as you have any surface that’s curved or rounded, that’s going to get split up into little, straight triangles, so just like on a camera where you don’t have infinite resolution to zoom in, you also have limited resolution on the stl file format.
The other format from the engineering world is .step, and that tries to be a perfect representation of all the features in a CAD model, but it’s limited to that – it can’t handle, let’s say, art, that’s for example sculpted and where it’s kinda hard to represent how the surface is shaped in a mathematical formula.
Software
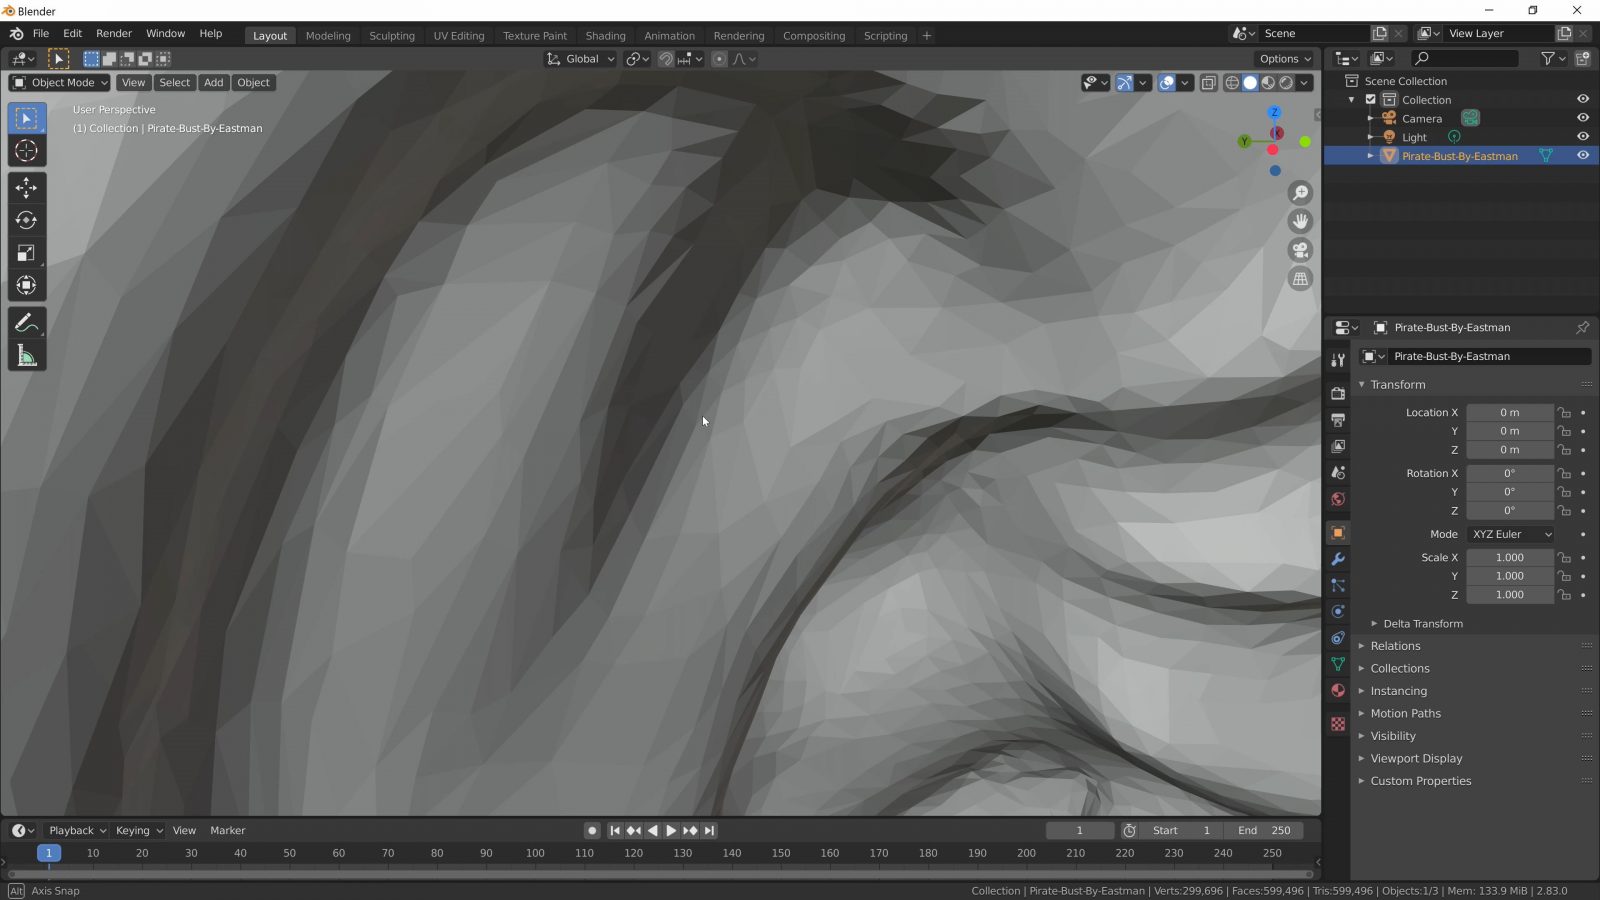
So other software that works on stls is, well, sculpting software like Z Brush or their free, but obsolete software Sculptris. And of course, Blender, a free and open-source package that does pretty much everything including sculpting, but of course general 3D modeling, animation, rendering and, for some reason, video editing, too?
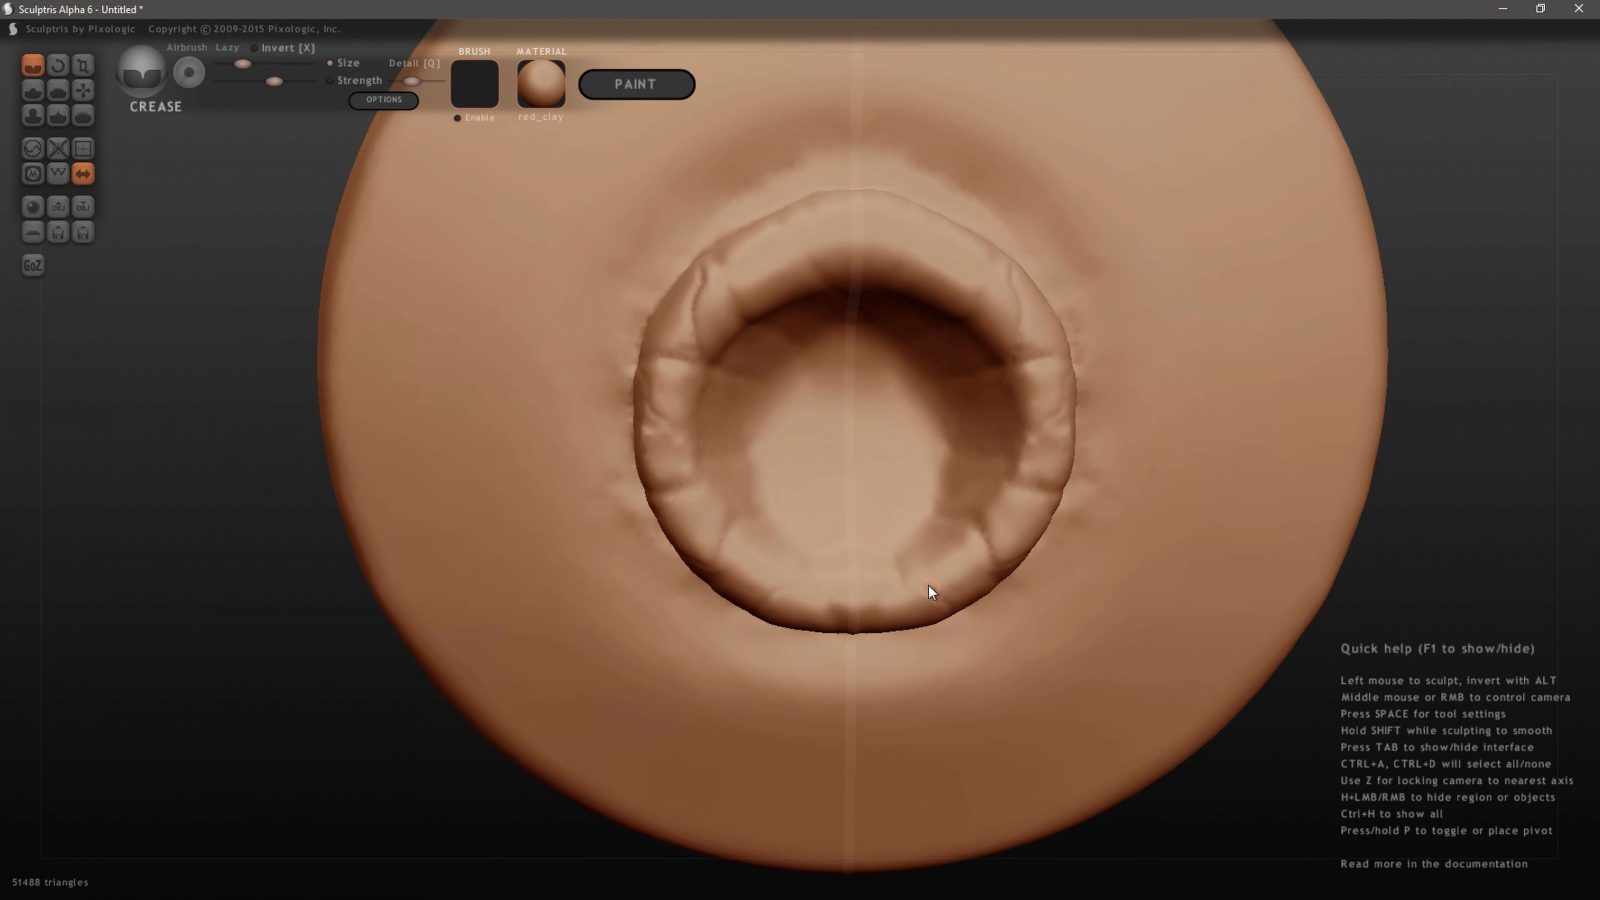
Sculptris 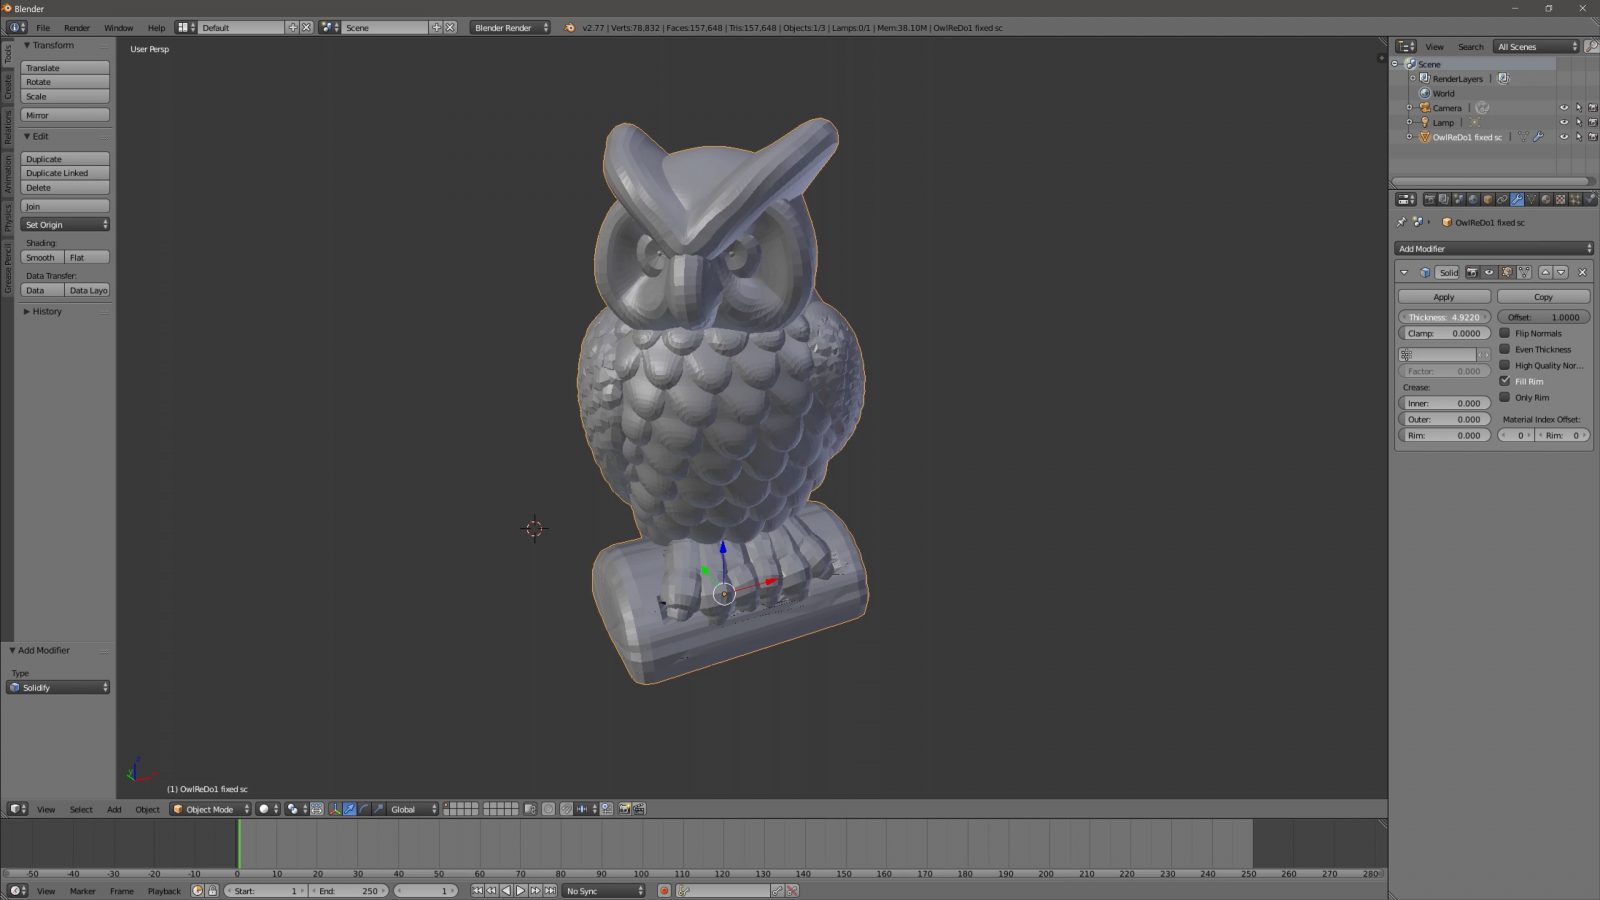
Blender
It can be a bit much to take in, but if you want to do 3D artist stuff, it can do it all. Getting a full-on-Blender tutorial in here would be way too much for this video, but if you want to get a feel for it, check out Ducky 3D or Blender Guru on YouTube or Ian Hubert or CG Matter and Default Cube for some more advanced stuff. Blender is a helluva tool!
CAD
And then, of course, there’s the CAD side of things, which is how I most often create designs. While Blender and tools like that are more geared towards gettings things to look about right, CAD really is for gettings designs perfectly accurate. And that makes sense for making stuff that needs to fit to other parts or needs to have specific properties or has to be adaptable with a simple parameter change. Obviously, the most popular option is Autodesk’s free-to-play Fusion360, which does everything from solid modeling, surface modeling, rendering, CNC programming, simulation, you name it.
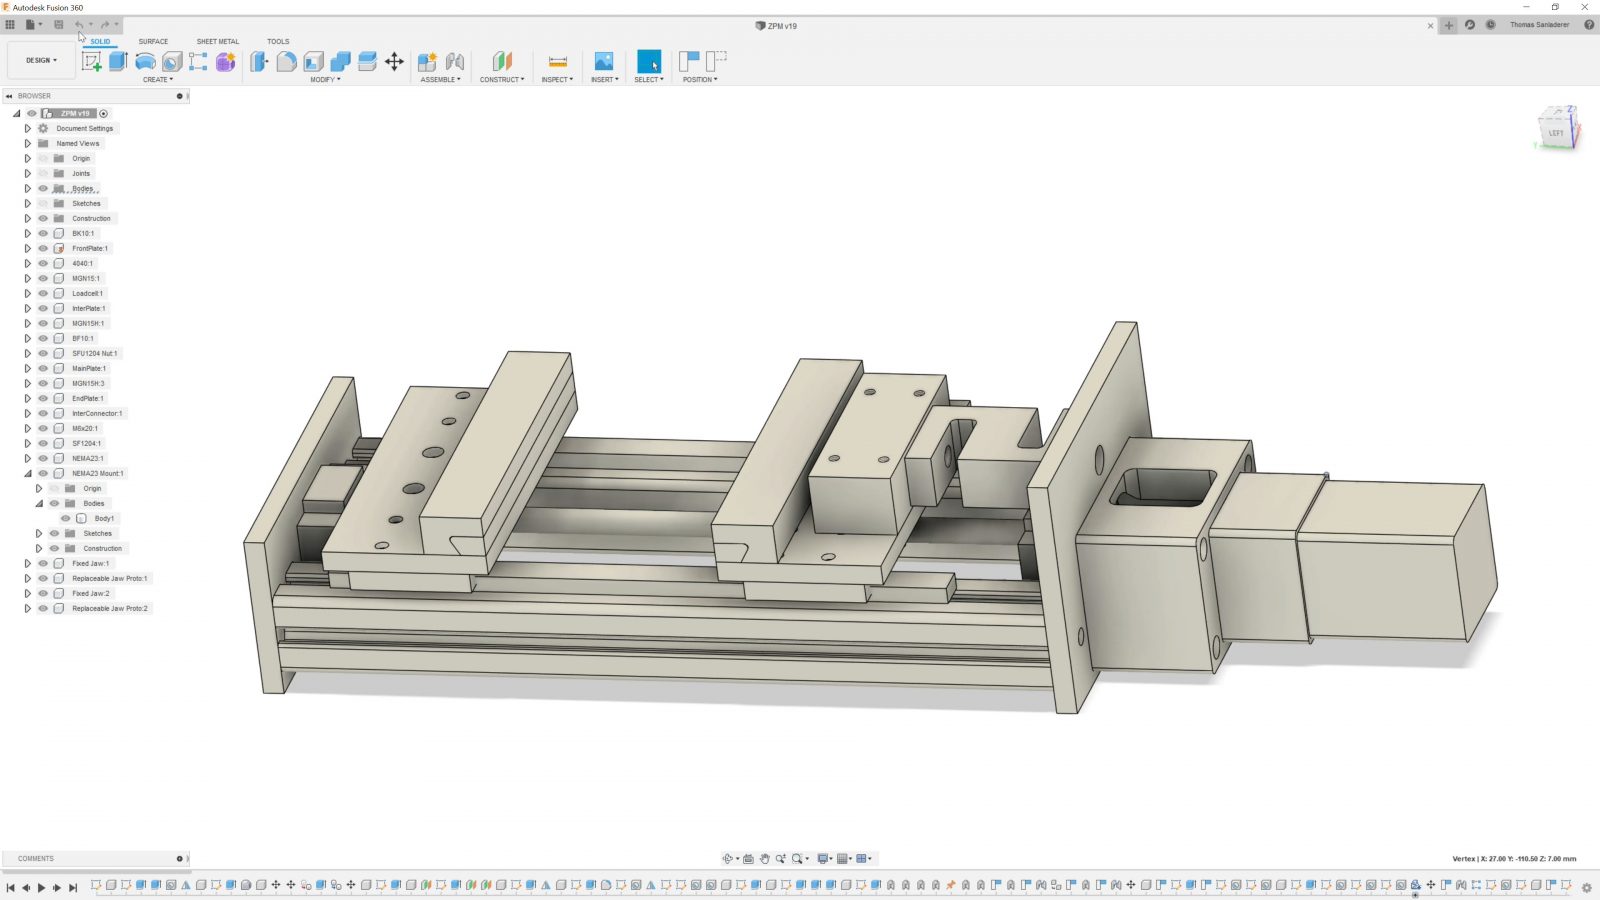
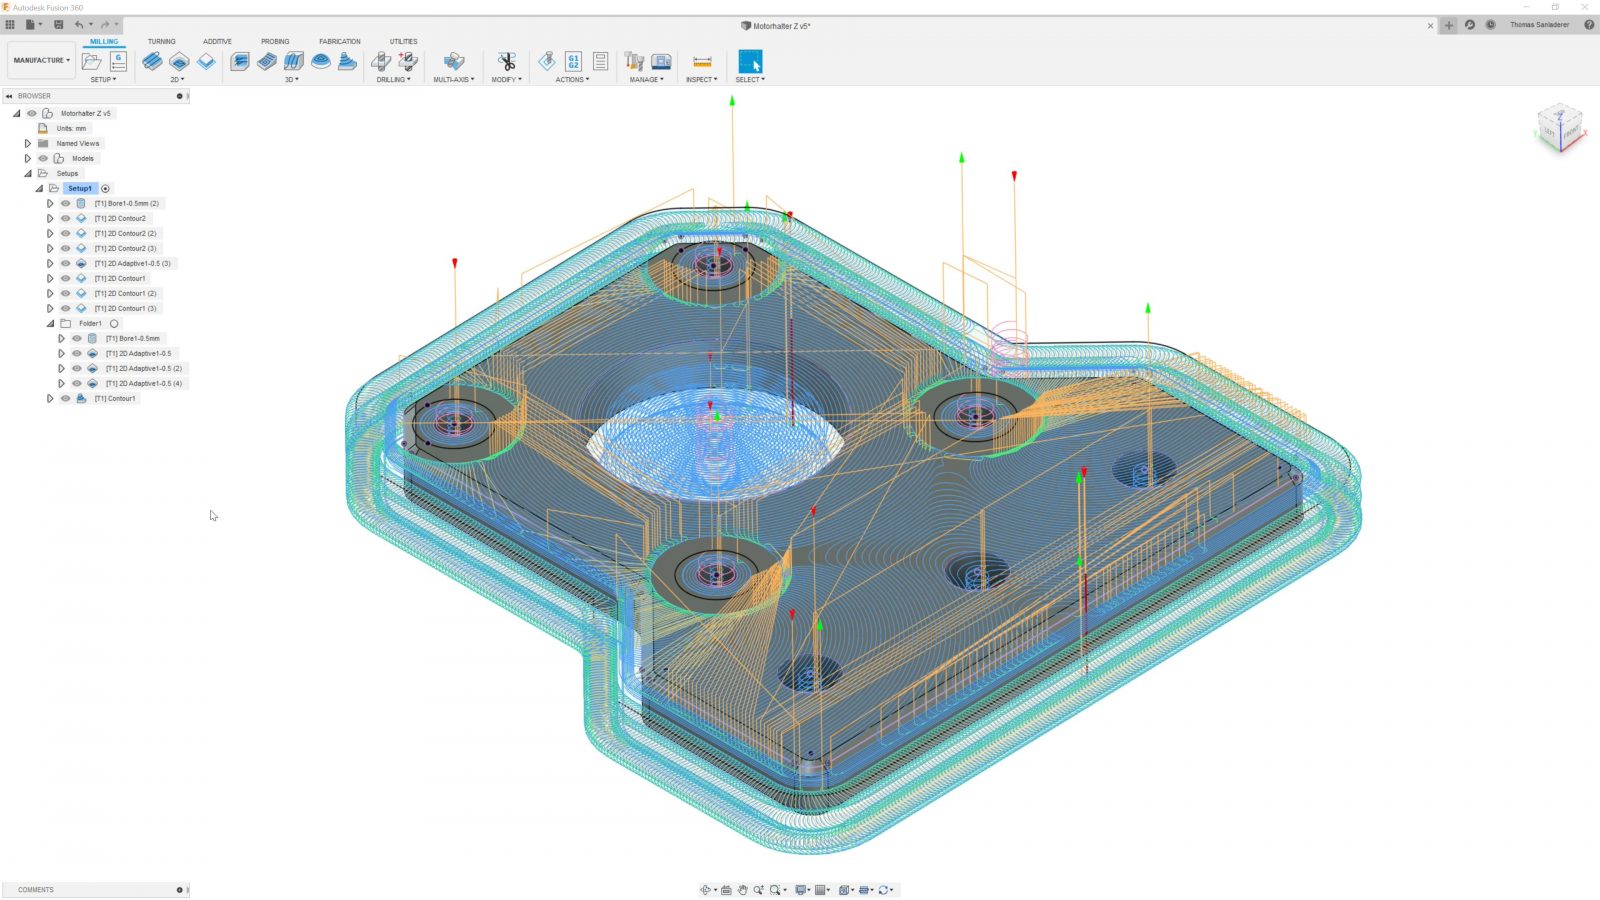
It’s free-ish for makers and startups, which is fantastic, but, of course, that might change at any time and we’re already seeing features being added and removed from the free option. Usually, CAD tools are limited to working on “surface description” models, step files, but Fusion360 can also import and work with stl files – in a very limited toolset.
An alternative, at least for the modeling side, is FreeCAD, an open-source software, so no restrictions apply, but I’ve not always found it to be as efficient to use as a commercial CAD package – I was using Solidworks and Catia during university, but those turn into hecking expensive paid options once you leave the realm “education licenses”.
Now, if you’re more at home programming stuff, then OpenSCAD might be a good tool for you. It’s basically a programming language for physical objects and while I find the idea of that really appealing, it’s not for me, I kinda prefer a more visual approach. But again, if you like coding, it might be right down your alley.
So I think that should do it as a basic overview for how and where to get parts to print – especially for the software side of things, there are already fantastic tutorials out there for each one.
Let´s recap
What you need for printing is in 9 times out of 10, an .stl file. There are specialized sites where everyone can share their models made specifically for 3D printing, while other sites still let you grab files that you could print, but they might not be optimized for printing.
In either case, check how you can use the files. If you can’t find exactly what you need, you can – and should – create your models yourself.
Scanning parts is a mixed bag but can come in useful sometimes. More often, you’d use software like Blender to model parts that fall more into the “artistic” range, while Fusion360 is a very popular tool for precision and engineering parts.
So that’s it for this one, in the next video, we’ll look at how you then take those files into a slicer to prepare them for printing, until then, thank you for watching, make sure to get subscribed, keep on making, and I’ll see you later.
💙 Enjoying the videos? Support my work on Patreon!
Product links are affiliate links – I may earn a commission on qualifying purchases (at no extra cost to you)

Check out my second channel “More Layers” on YouTube for livestreams
3D Printing Basics – Episodes
- What is a 3D printer?
- Choosing a machine
- Resin printers
- Filament printer parts and maintenance
- Acquiring print files
- Basic slicer settings
- Whole 3D printing process
- Requirements for 3D printing
- Common issues
- Where to go from here