
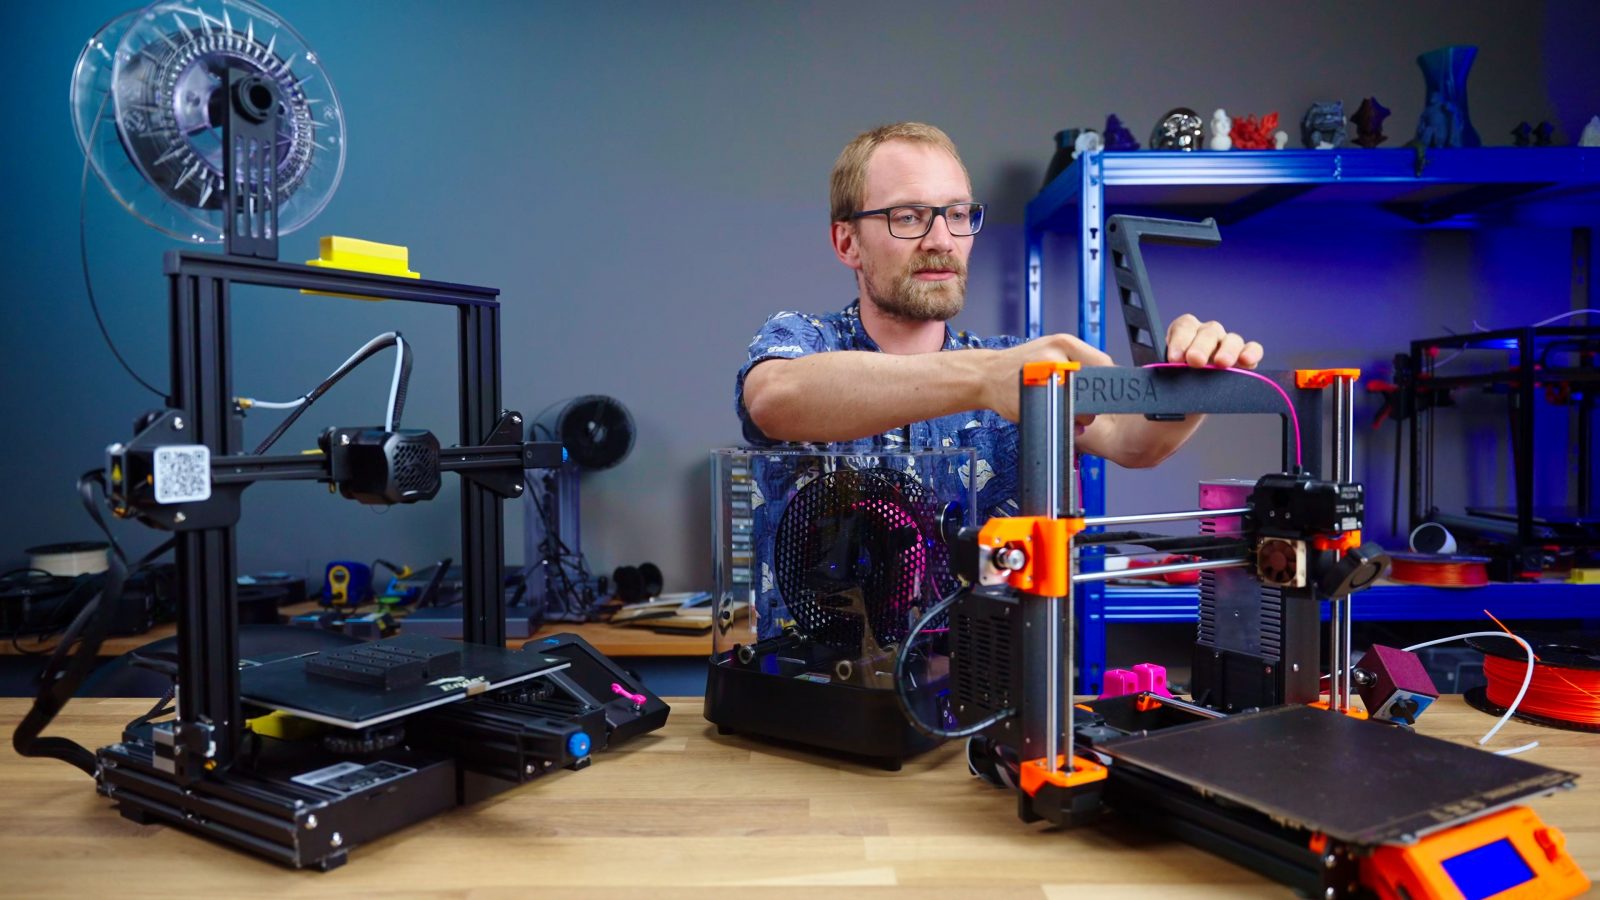
The job of a Bowden tube is to guide the filament from the extruder into the hotend so that the extruder can drive the filament over here, but the actual pushing force happens at the hotend. If this printer didn’t have one, the filament would get pushed just the same, but the driving force wouldn’t be able to push it into the hotend. Makes sense, right? But not every 3D printer is a Bowden system, in fact, this guy isn’t, but I’m going to argue it’s still going to profit from adding a Bowden tube – a “reverse Bowden” of sorts.
So follow along as we try and figure out how much the wobbly toolhead is going to deflect from filament pulling up, whether we can fix these ripples on my prints and how you can add a reverse Bowden to your own printer properly.
To understand what’s going on here, we need to start with a bit of physics – every action has an equal and opposite reaction. So the forces in a Bowden setup look something like this: At the extruder, the filament gets pushed into the tube by the extruder, and that pushing force is equal to the resistance the hotend puts up.
I’m just ignoring friction for now and assuming Pi is equal to 4, as one does. Now, the force on the filament has its equal and opposite reaction, but for the toolhead and the extruder, we still only have a single force – basically like pushing down filament into the hotend by hand. For that force to find an opposite reaction, it would need to travel all the way down through the printer’s feet, applying forces to everything in that path, and since those parts aren’t infinitely rigid, they’re going to flex. Not good. So to more directly transfer those forces, we add a Bowden tube.
Since the tube is fixed on both ends, it can apply a counter-force both on the side of the hotend and on the side of the extruder, so for each of the systems of just the toolhead, just the tube or just the extruder, as well as the entire printer as a unit, all the forces cancel each other out nicely and we don’t have to worry about any forces having to travel through the motion system and flexing it out of shape. Which, of course, would be somewhat bad for print quality.
But, with a direct-drive printer, the situation is a little different, as all those parts that generate forces of some kind are now one single unit contained in a plastic or metal shell, so the force of the filament pushing into the hotend is immediately transferred back to the extruder through the toolhead body. But there still is an externality, which we ignored before – the filament itself on its way from the spool. I mean, you’ve surely watched the filament drag on the toolhead as it’s getting pulled in or as the toolhead moves around. This is a non-zero force on the toolhead that needs to be transferred all the way through the frame up to the spool mount in this case. So to quantify how much of a difference that drag force actually makes, I tried to measure its effects.
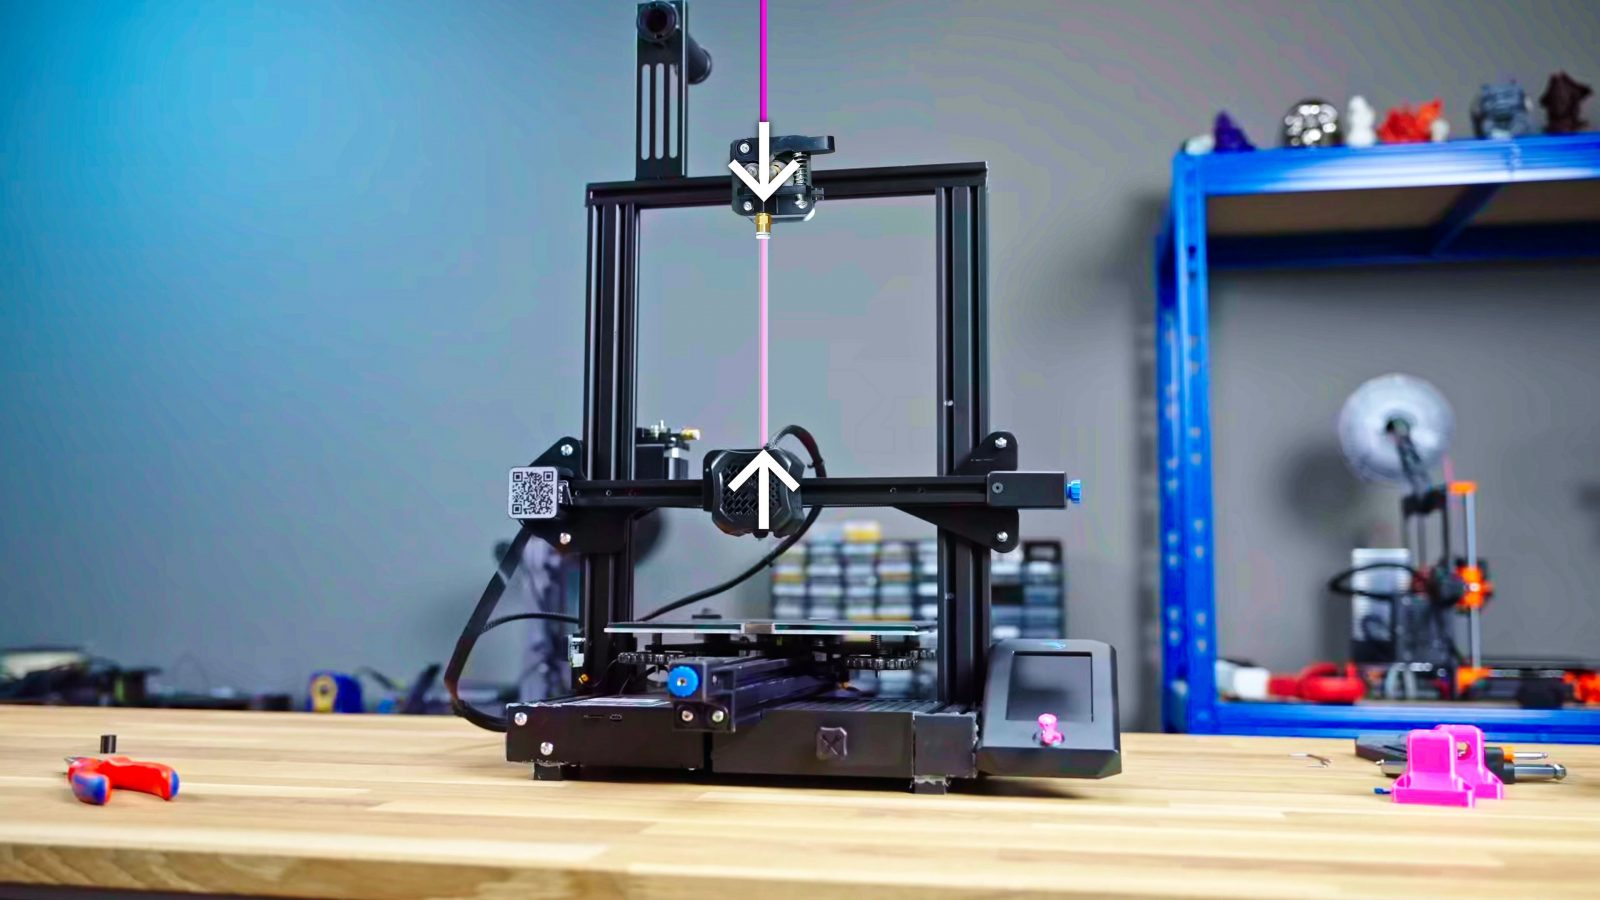
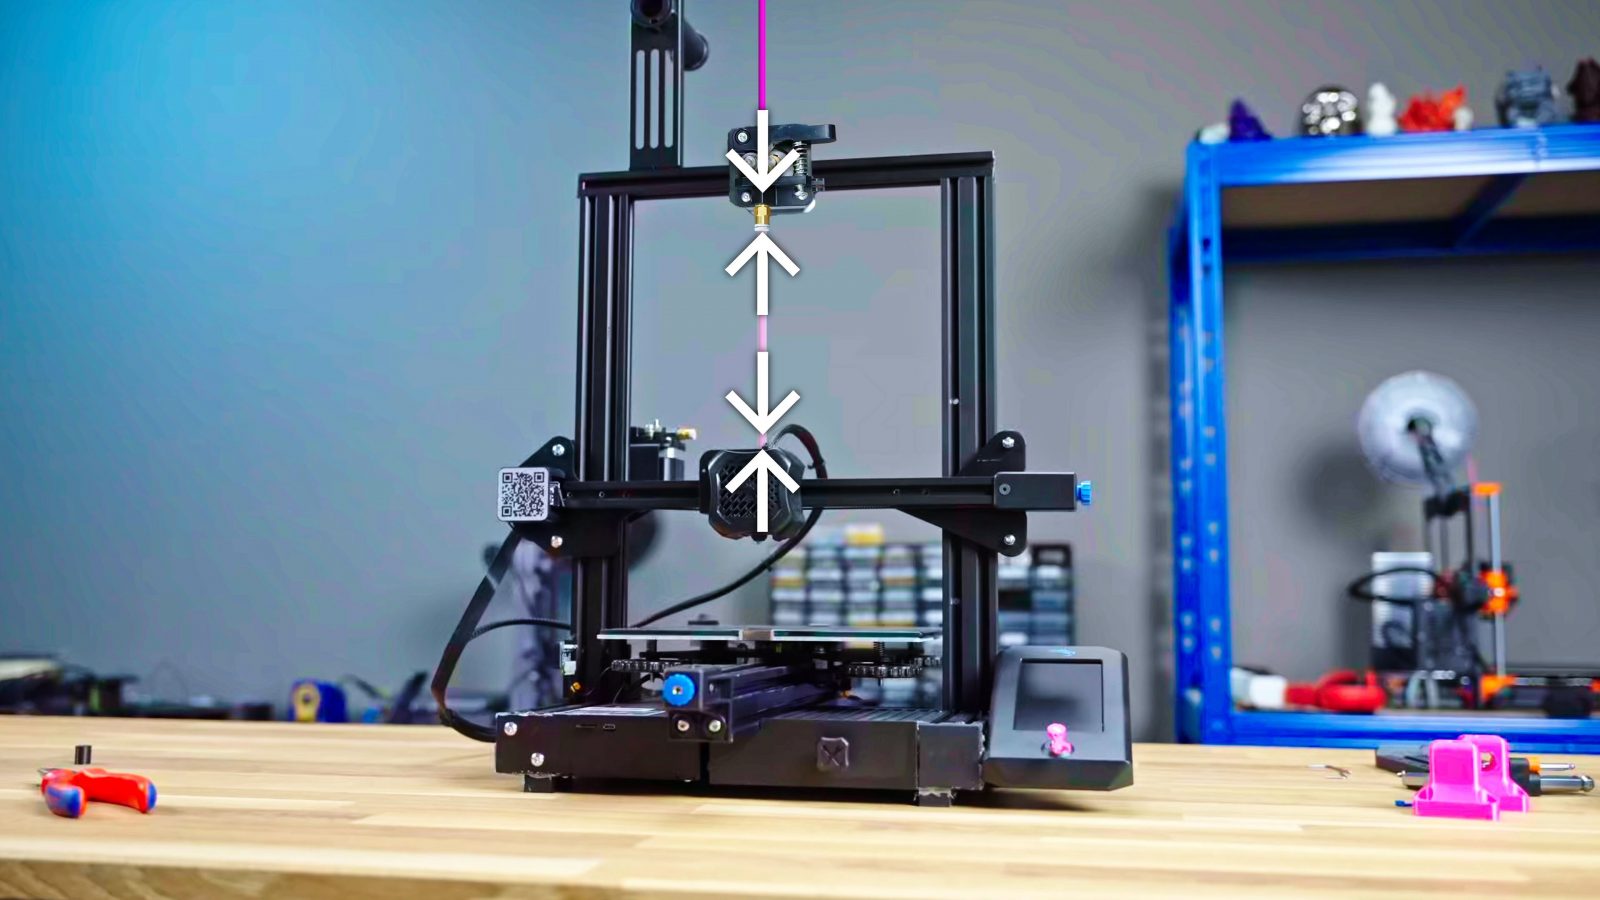
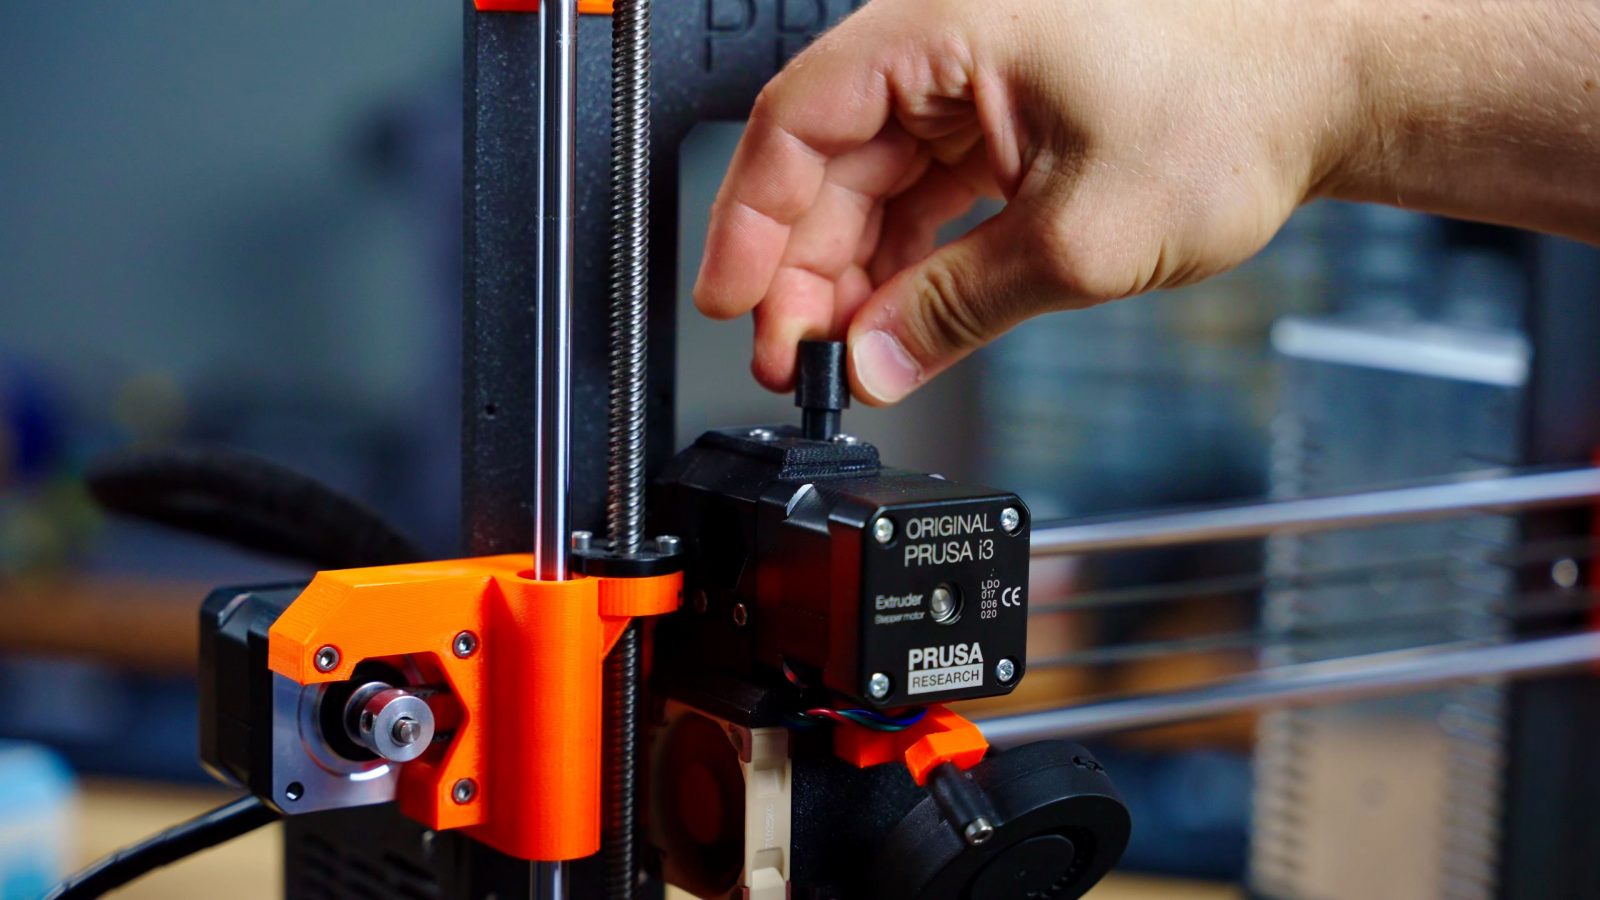
It’s super hard to measure how much the toolhead is flexing when it janks on the filament, because everything’s moving, but I can measure pretty easily how much it moves from the drag the filament creates as it’s being pulled in.
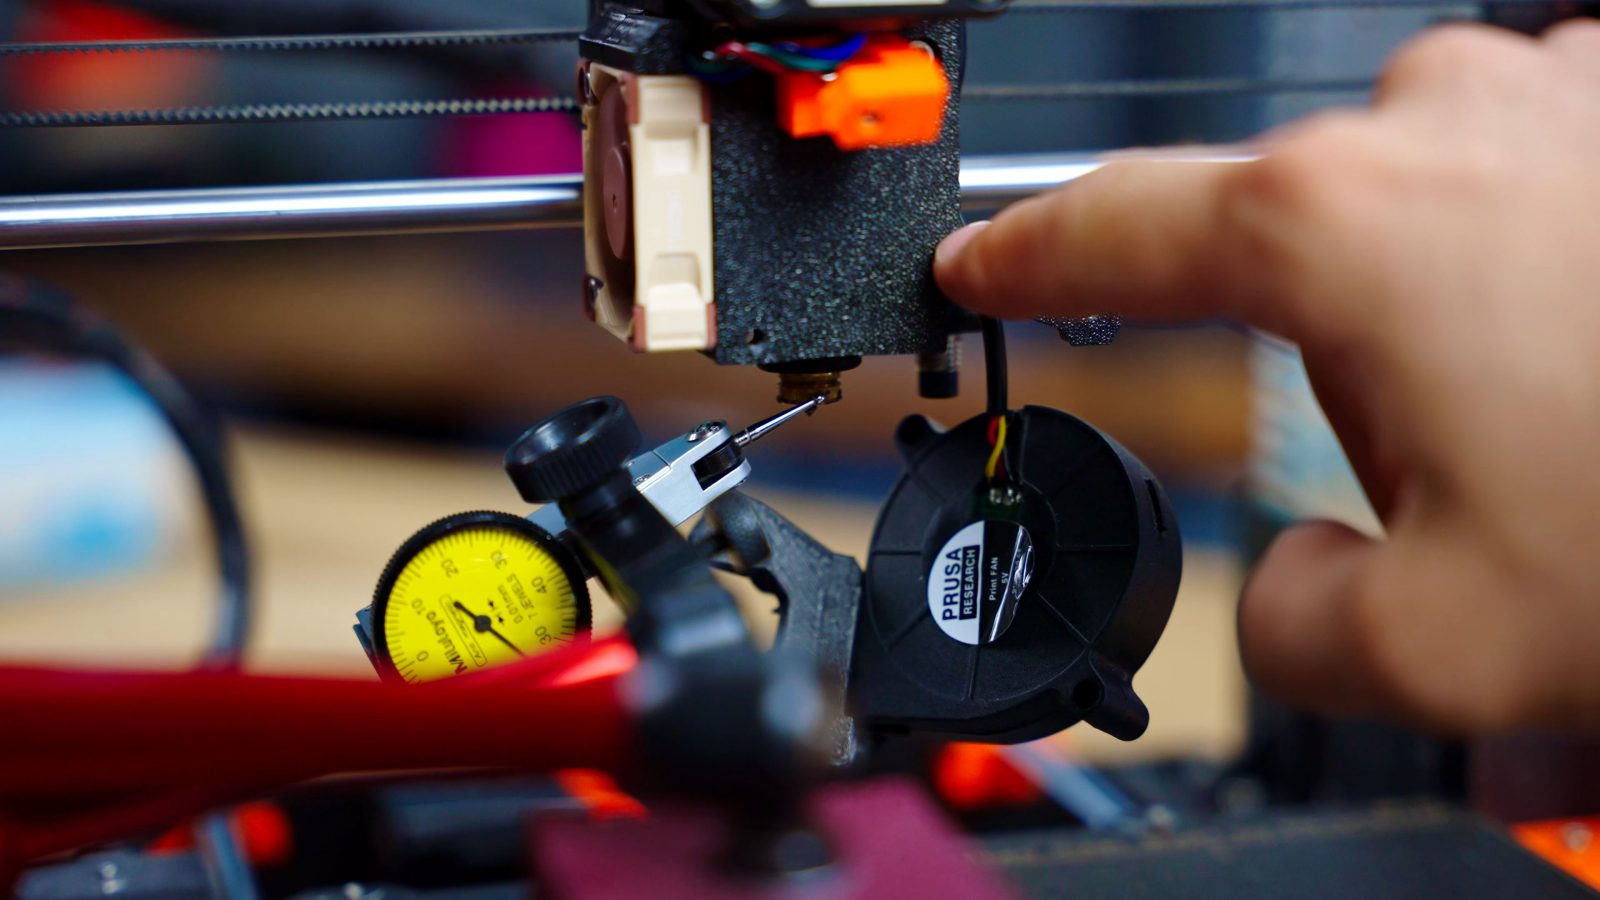
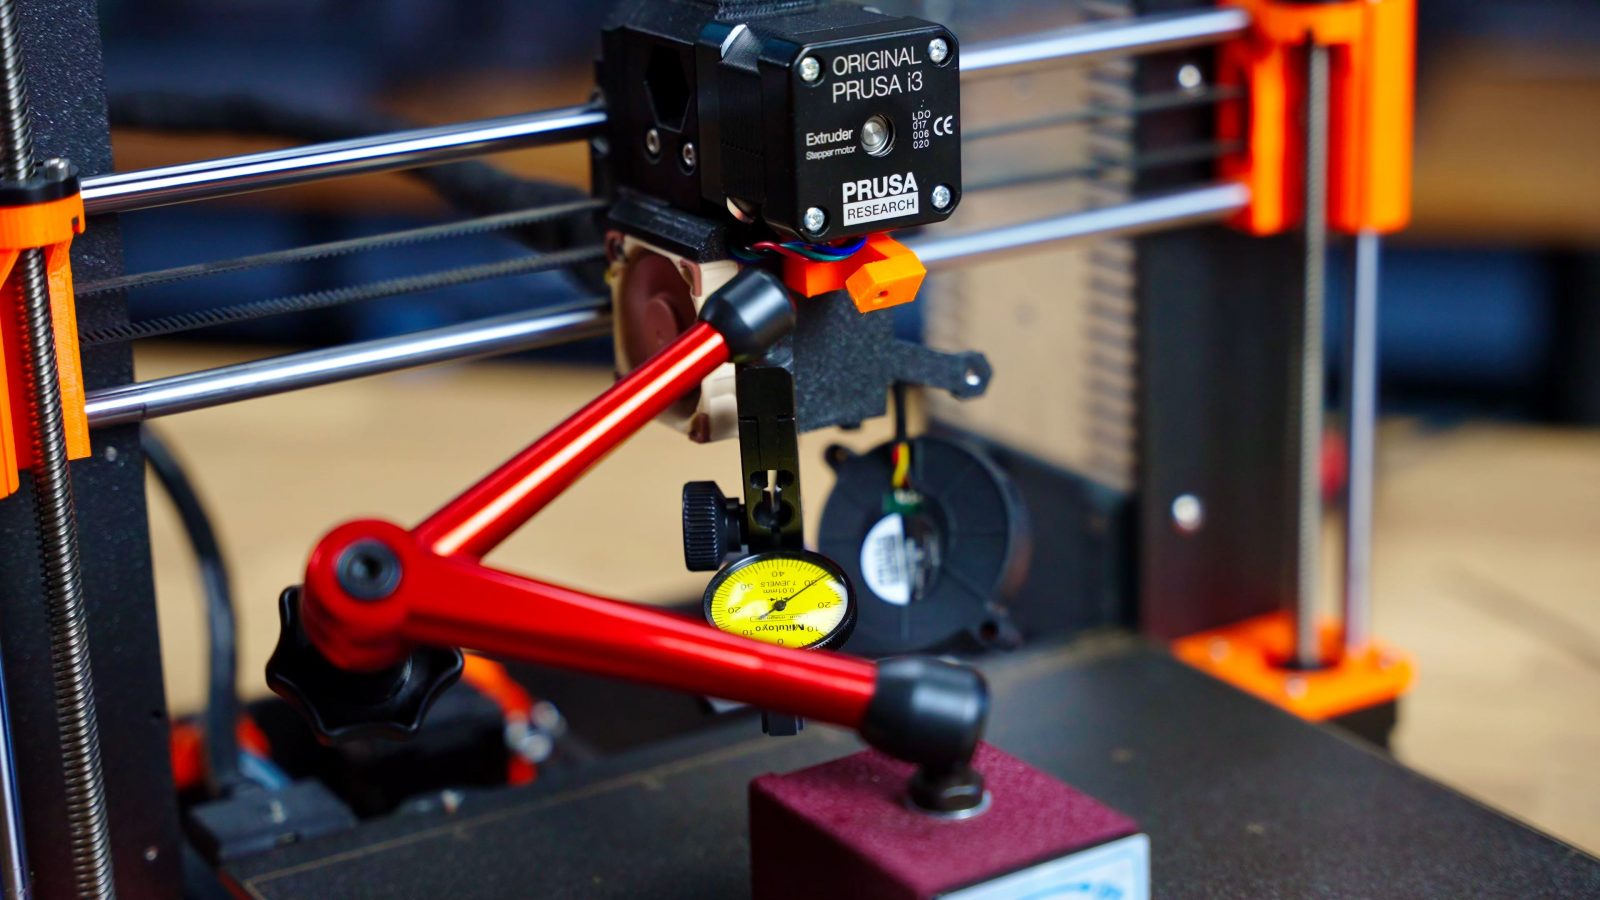
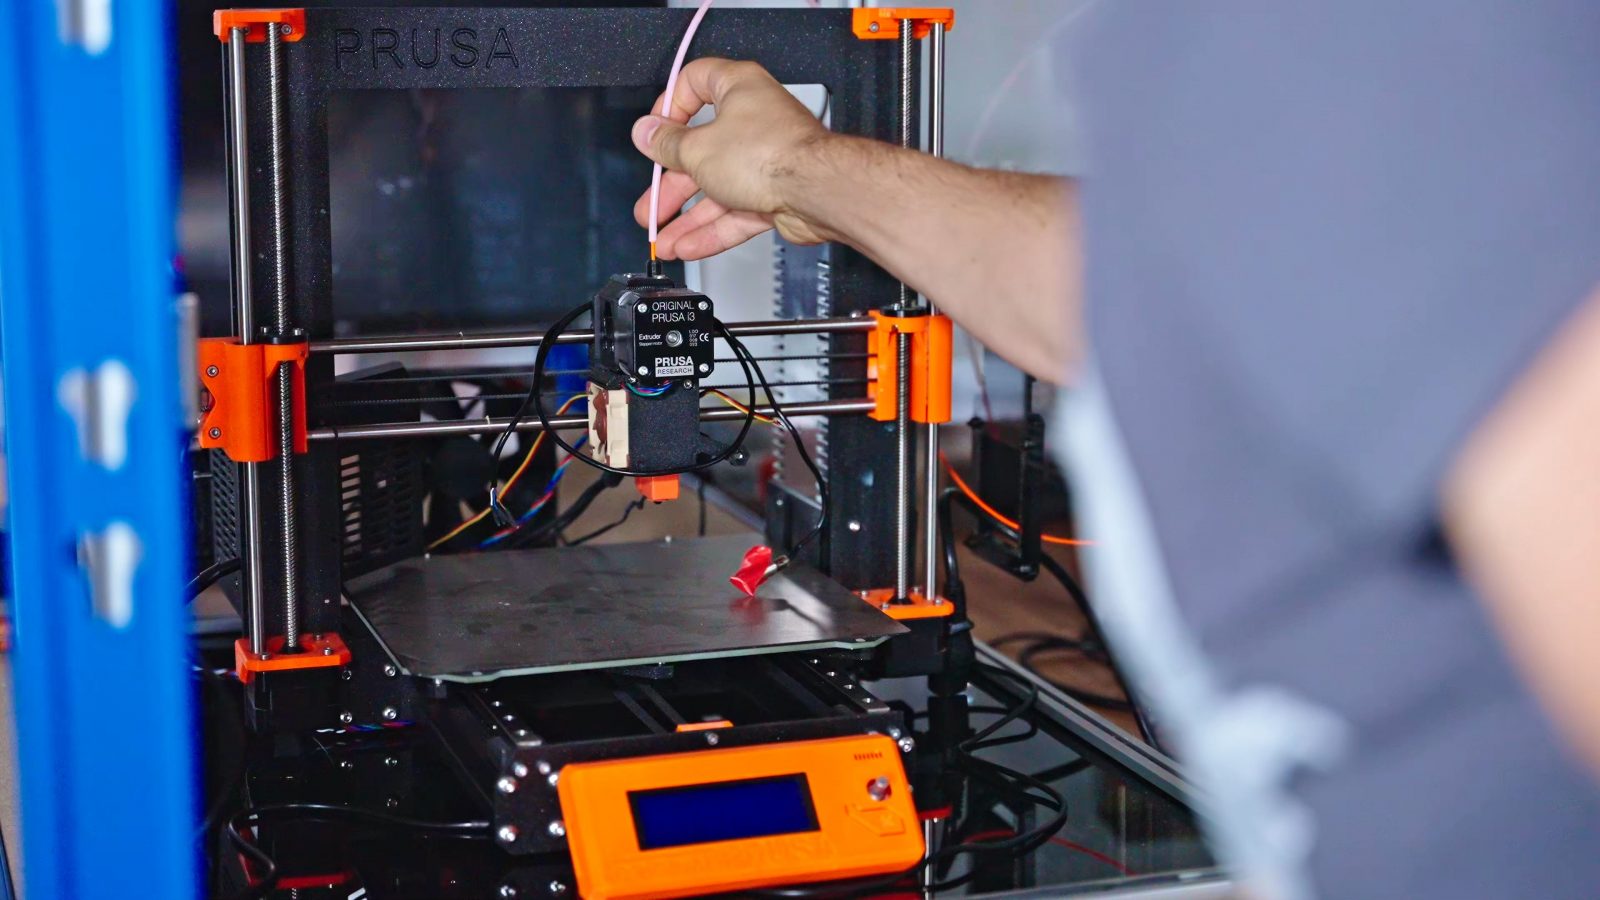
Mag base, magic arm, and a genuine Miluloyo test indicator, not to be confused at all with the Japanese brand Mitutoyo. I’m putting the feeler right against the hotend, aaaand ….. nothing! There’s just no movement at all. This is surprising, considering that you can flop the Prusa’s toolhead around quite easily by hand and even just slightly tugging on the loaded filament visibly changes the position of the nozzle, but it seems that the filament actually unspools easily enough to not cause issues here. And a quick test print confirms this: The pattern I thought the reverse Bowden would get rid off is still there, just as visible or invisible as before, depending on the lighting.
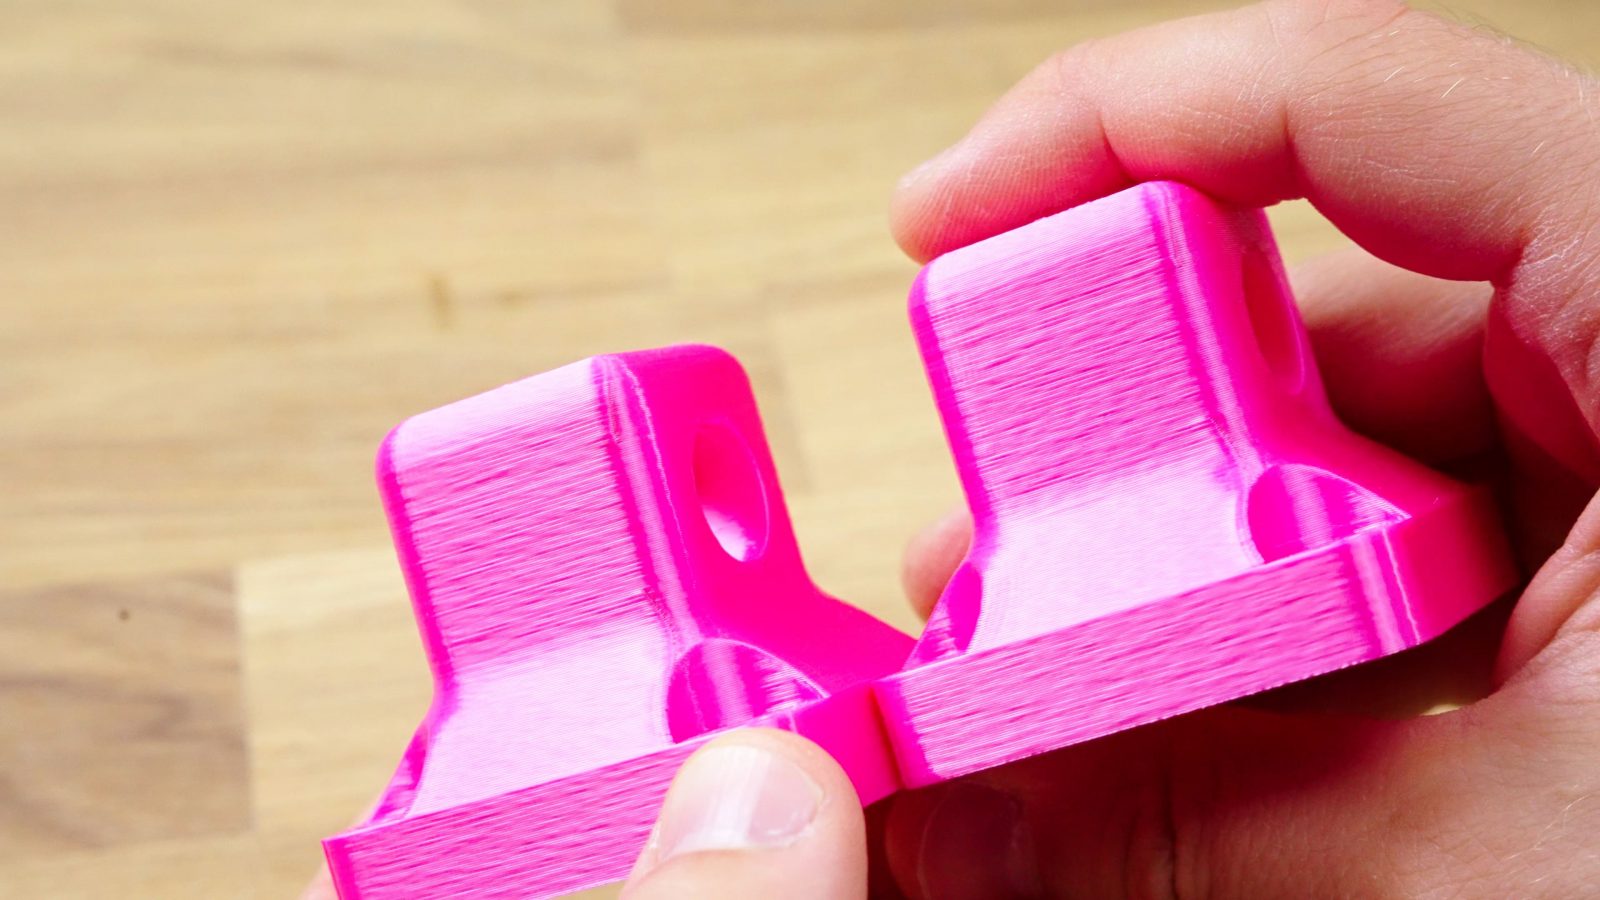
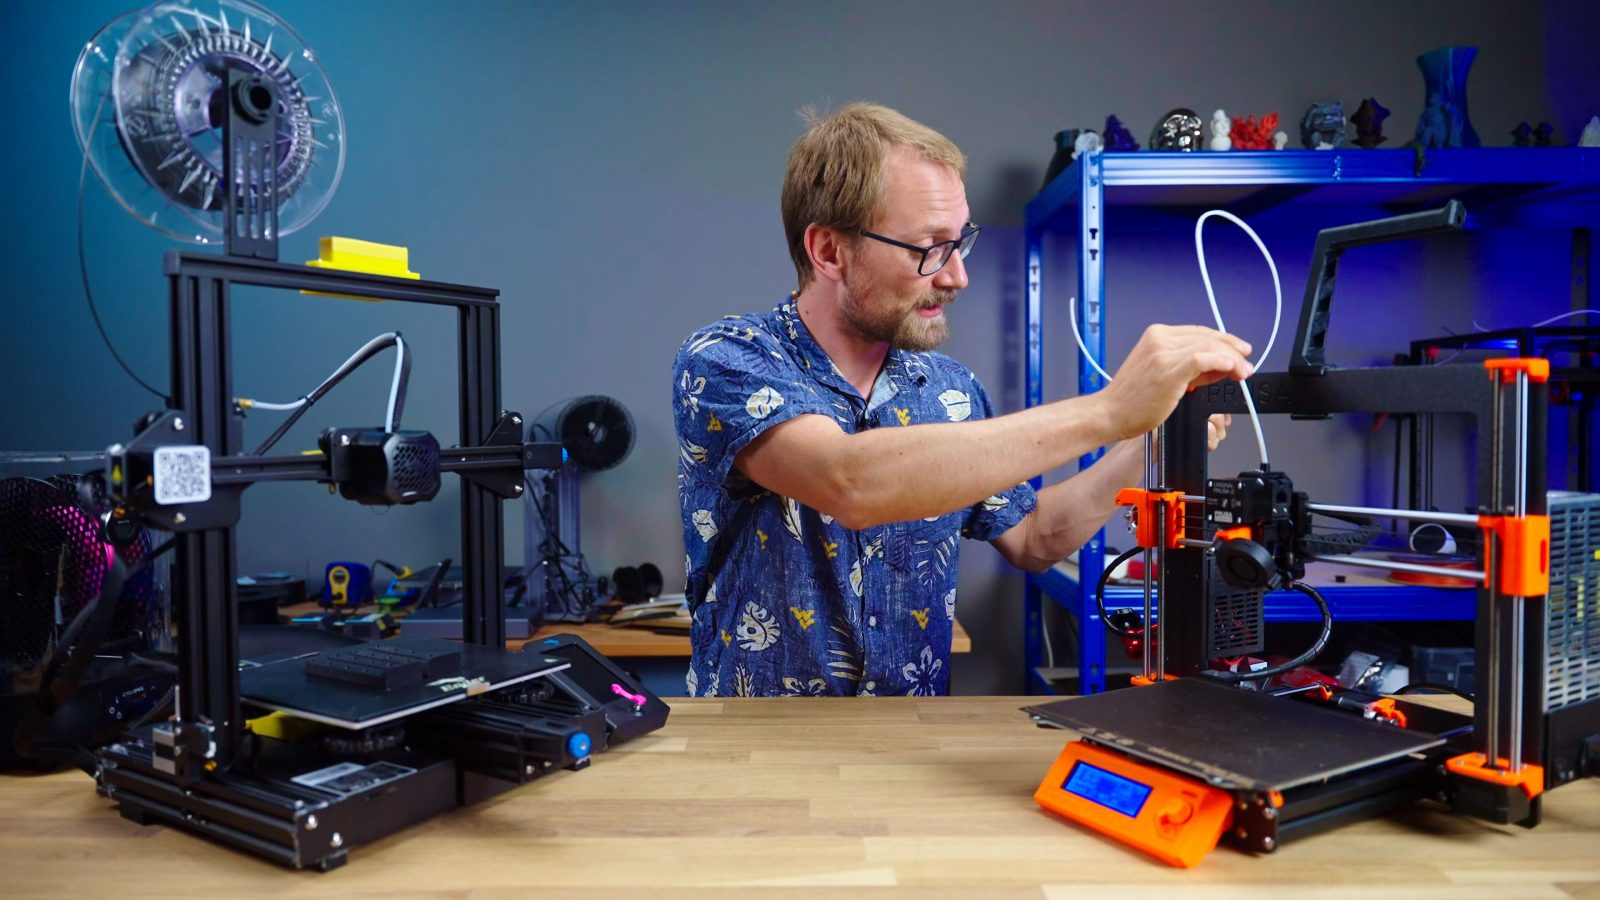
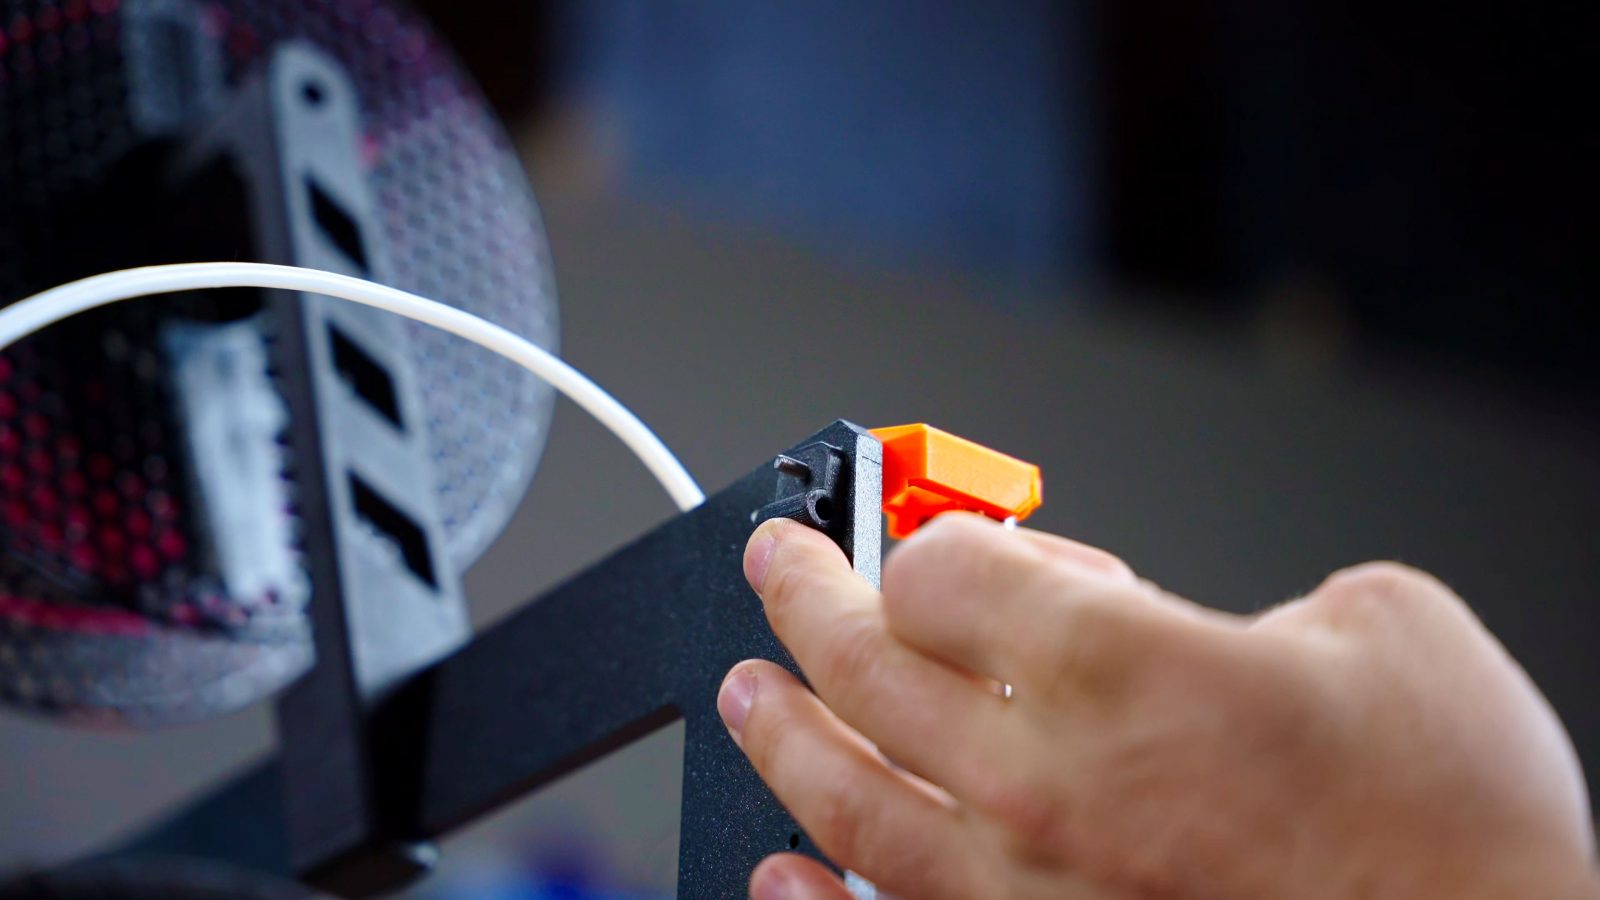
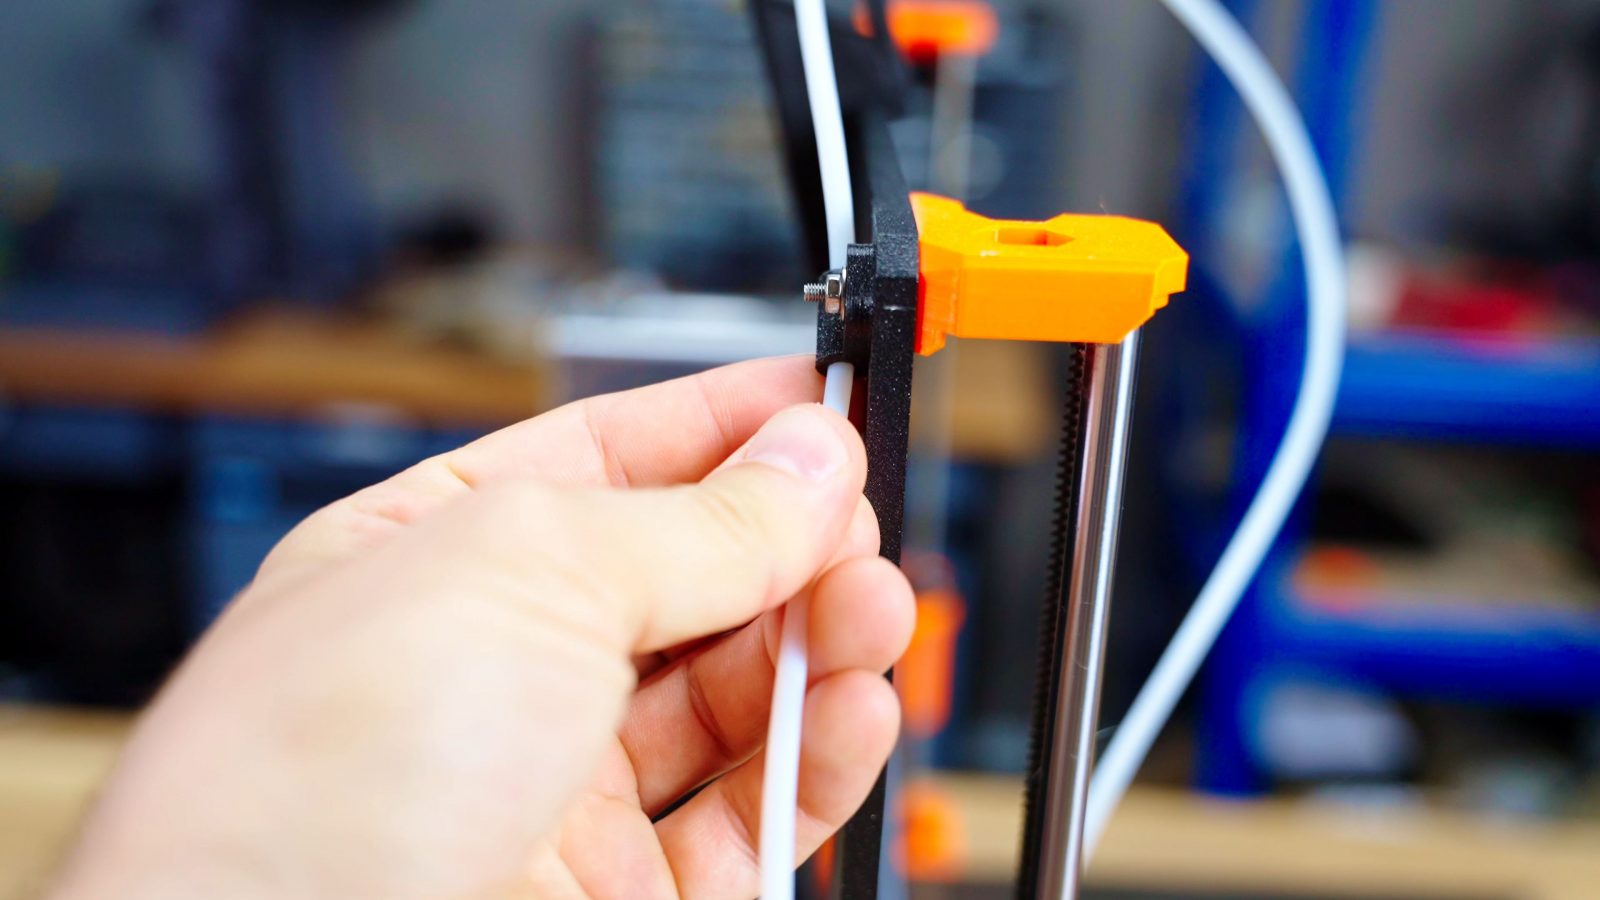
Thankfully, adding a reverse Bowden isn’t hard at all, it’s not a permanent mod and it comes with some other advantages that allow you to use other spool positions than the one on top of the machine in the case of the Prusa. So all I needed to add a reverse Bowden to my machine are these two tiny printed parts and a piece of 4mm OD, 2mm ID Teflon tube, which is the same as the Bowden tube that’s commonly used for 1.75mm filament.
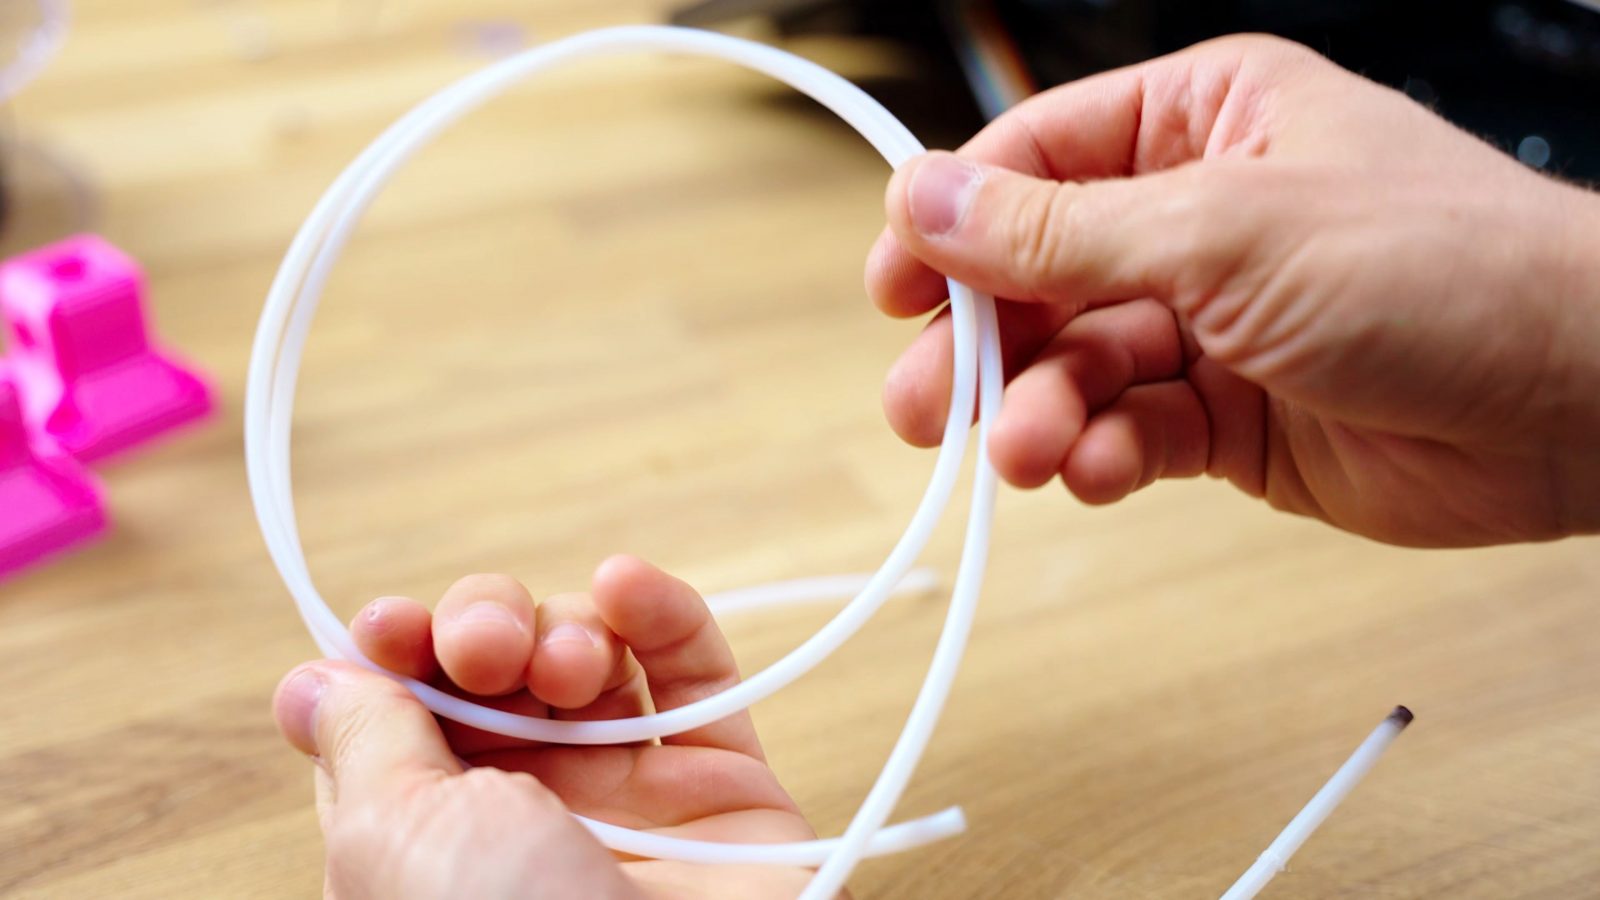
The first piece snaps over the extruder cover, the second one screws onto one of the Z-rod top clamp screws with a longer M3 screw and a nut, and the (reverse) Bowden tube just runs between those two. Mine is maybe a little too long, even.
Overall, a reverse Bowden is much more forgiving in how you install it than a “real” Bowden – regular Bowden printers have the Teflon tube under constant tension as they push filament, so it always wants to pull out of either end it’s mounted to. But a reverse Bowden tube instead is under slight compression, so it will naturally want to push itself further into any loosely fitting couplers you’re using.
There are two use cases that this enables:
First, printing out of a drybox. This is an Eibos box they sent me a while ago and I’ve been using it for drying and printing PETG and other moisture-sensitive materials in a controlled environment, and because the filament exit for that is either on top or on the side, feeding that into a moving extruder just calls for trouble. When the spool is off to the side and the filament tightens up at the wrong time, it’s super easy to lose steps when the X-axis tries to do a quick move and suddenly has the whole filament spool dragging on it. You can work around this by routing the filament over the top of the printer, but then it’s going to be pushing on the frame, which, again, could cause some deflection.
So either use this sort of integrated reverse Bowden and then add another bit of tube from the fixed point to the drybox or go straight from the extruder to the drybox with a single piece of tube.

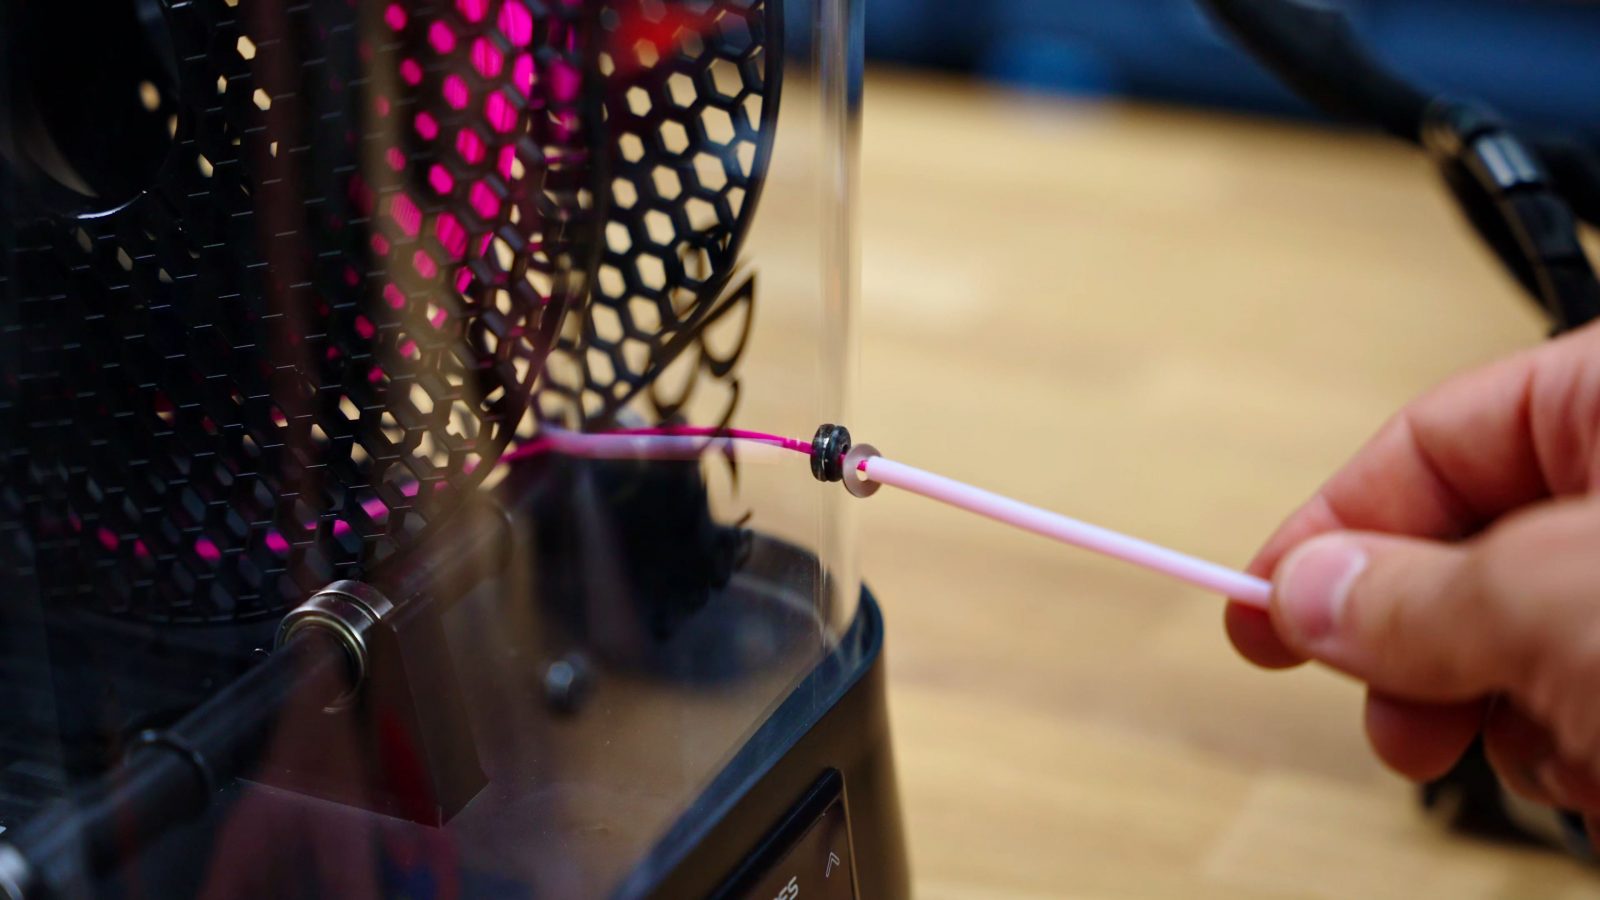
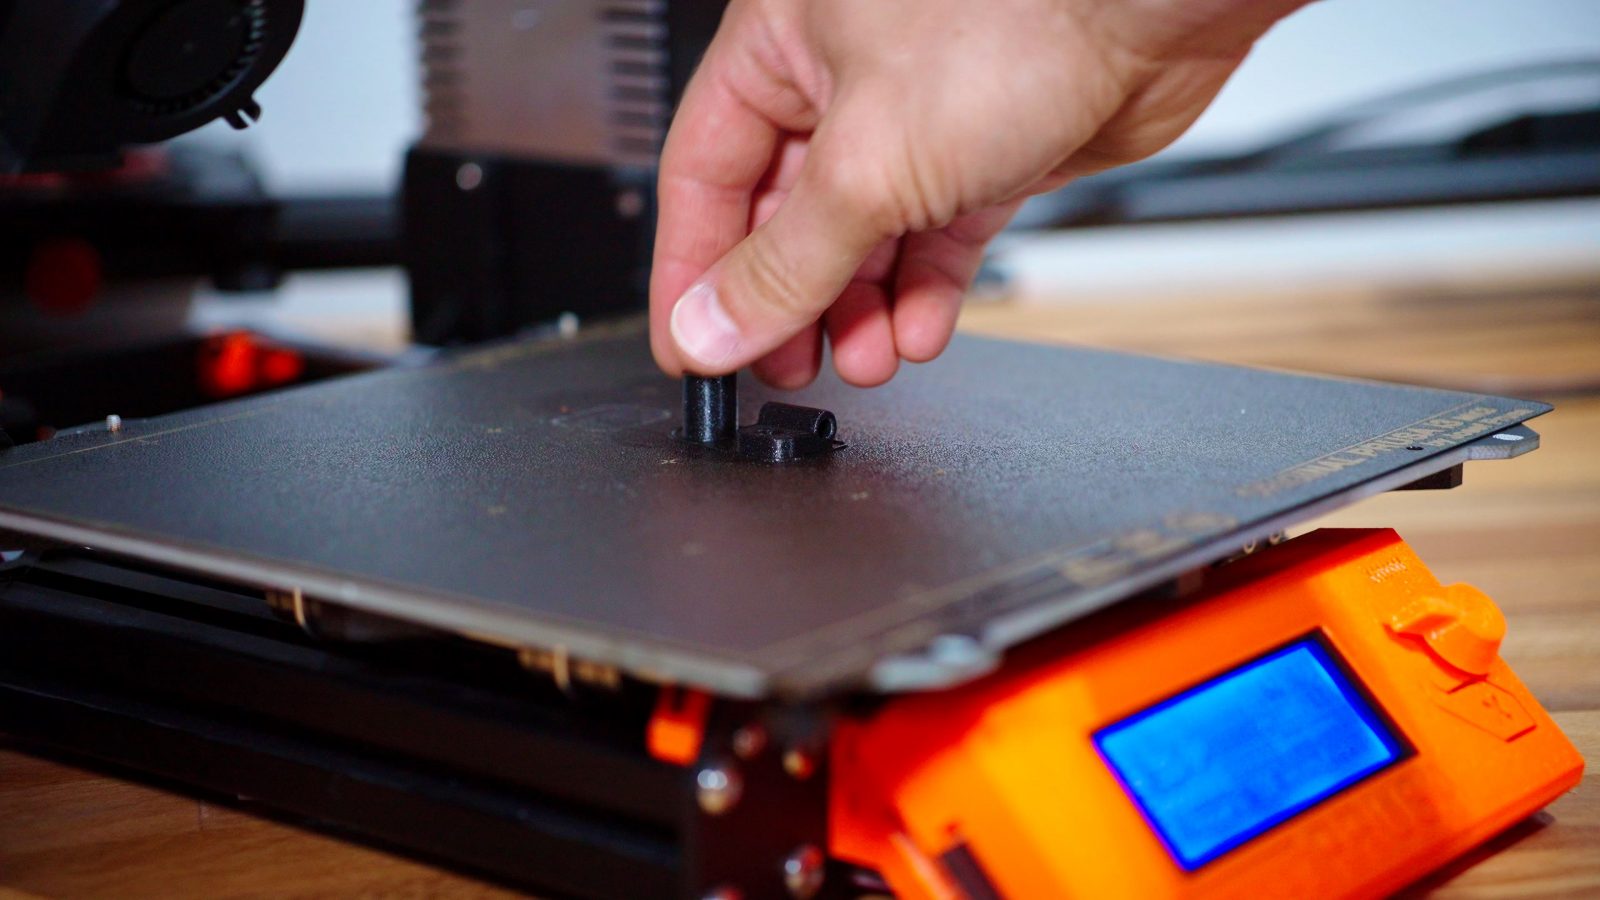
Protip: You still want both ends of the reverse Bowden to be fixed, so with holes like these on the Eibos drybox where the Teflon tube could just easily slide through, I just add a large M3 washer over the filament that blocks the tube from going in. These DIN 9021 washers are a bit thicker than fender washers, but fender washers would work just as well.
As an added bonus, the reverse Bowden system also mostly covers the filament outside of the drybox and the extruder, which is great for filaments like Nylon, which are extremely good at absorbing humidity from the ambient air, so it greatly helps in keeping those dry during and in between prints.
For other setups, like printing in a full enclosure, this is the Boxomo one, there’s actually almost no way around using a reverse Bowden to route your filament without it getting snagged – even when you use the filament mounts inside the enclosure.
So even though the reverse Bowden didn’t manage to directly improve print quality, it’s still a super useful tool to have at your disposal when you need it and it’s going to make your machine more reliable in those situations.
Huge thank you to my Patrons and YouTube members for enabling me to create these videos, if you want to join in too, we do regular Q&A hangouts there, and every supporter helps keep this channel running, so thank you all.
Thanks everyone for watching, keep on making and I’ll see you in the next one!
Relevant products
Printed parts:
💙 Enjoying the videos? Support my work on Patreon!
Product links are affiliate links – I may earn a commission on qualifying purchases (at no extra cost to you)

Check out my second channel “More Layers” on YouTube for livestreams