
This is resonances, part 2.
Last time we tried a bunch of approaches, from suspending the printer from the ceiling, bolting it to a concrete paver or sticking it onto some anti-vibration feet.
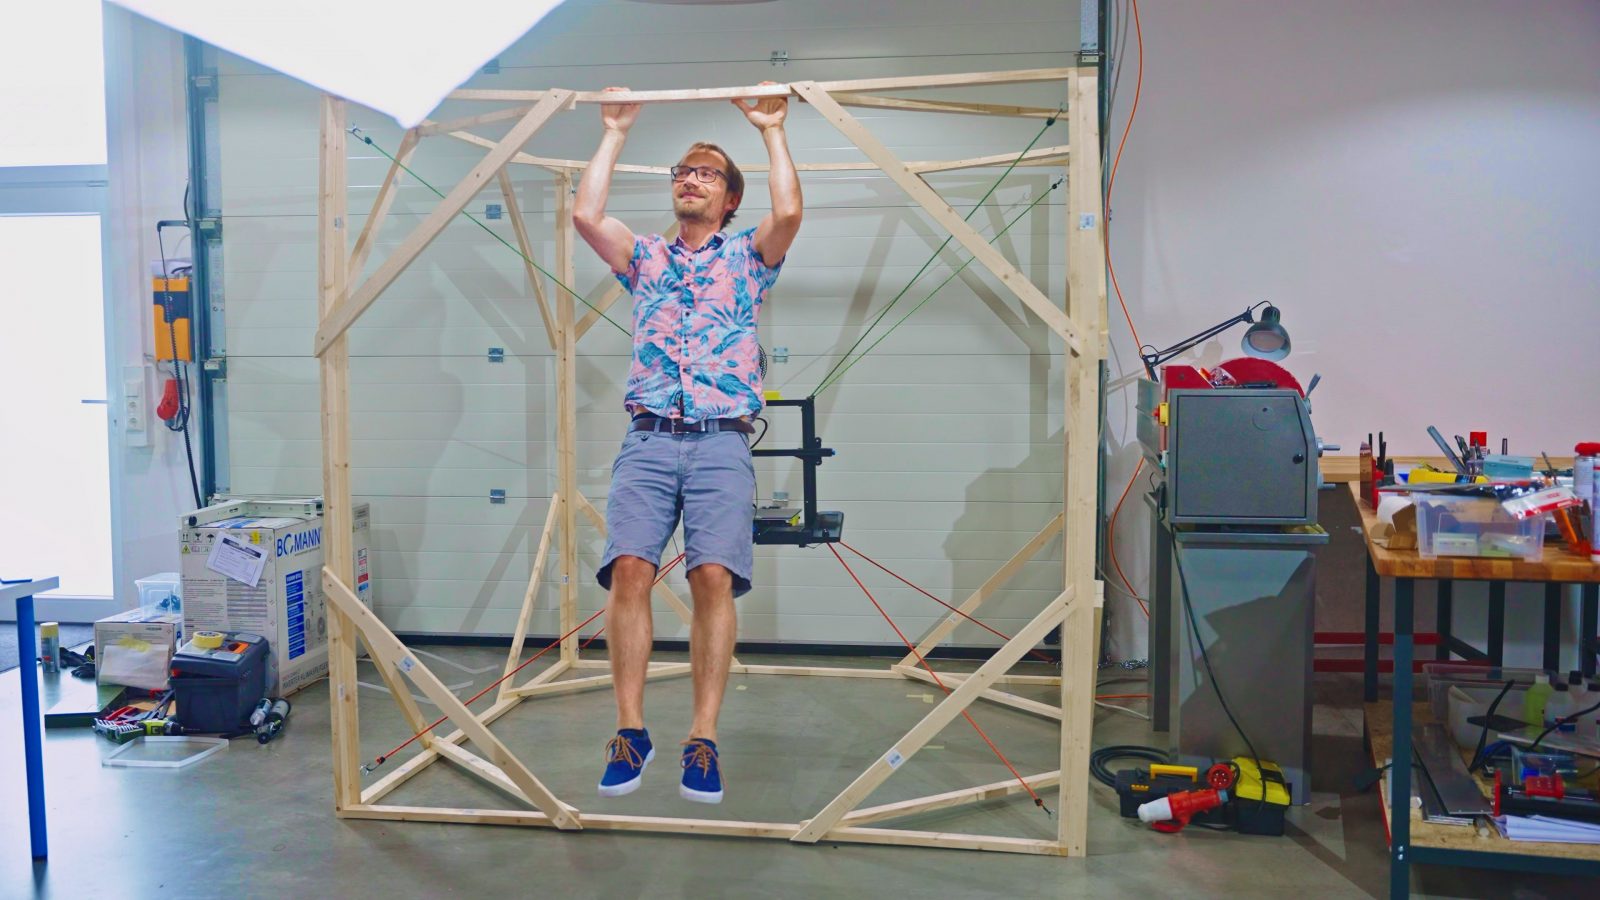
And some of those worked, some didn’t, and my conclusion at the time was that you have to have some sort of dampening element in your setup for it to do anything – otherwise you’re just shifting around the excess energy that causes these vibrations instead of removing it from the system. So to test that theory, I’ve got two more rather extreme approaches that I want to try out. I built a superhero prison that I can suspend my Ender-3 v2 in by tying it to the corners with bungee cord, and, of course, I’m also filling it with sand. Everyone wanted to see that after my last experiments, so I had to try that.
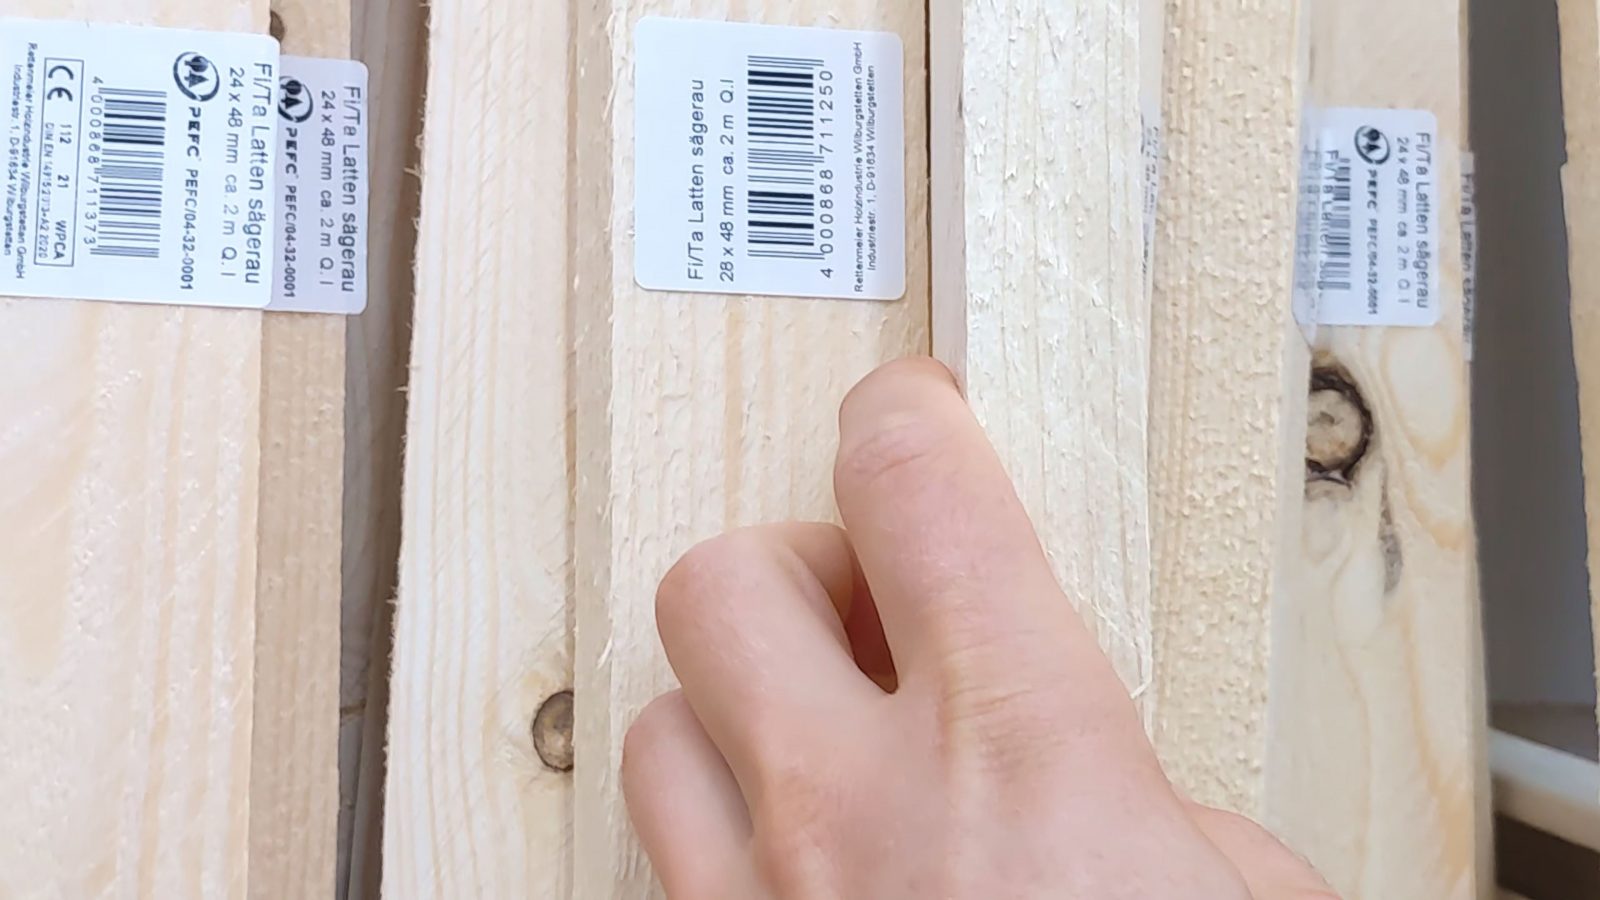
Okay, let’s start out with materials. Wood prices are still crazy and at 15 bucks each for what is essentially a short, rough-sawn 2×4, that’s just not going to happen. So I grabbed the cheapest sticks my local store had and to compensate, I’m going to add a little more bracing to stiffen up the structure.
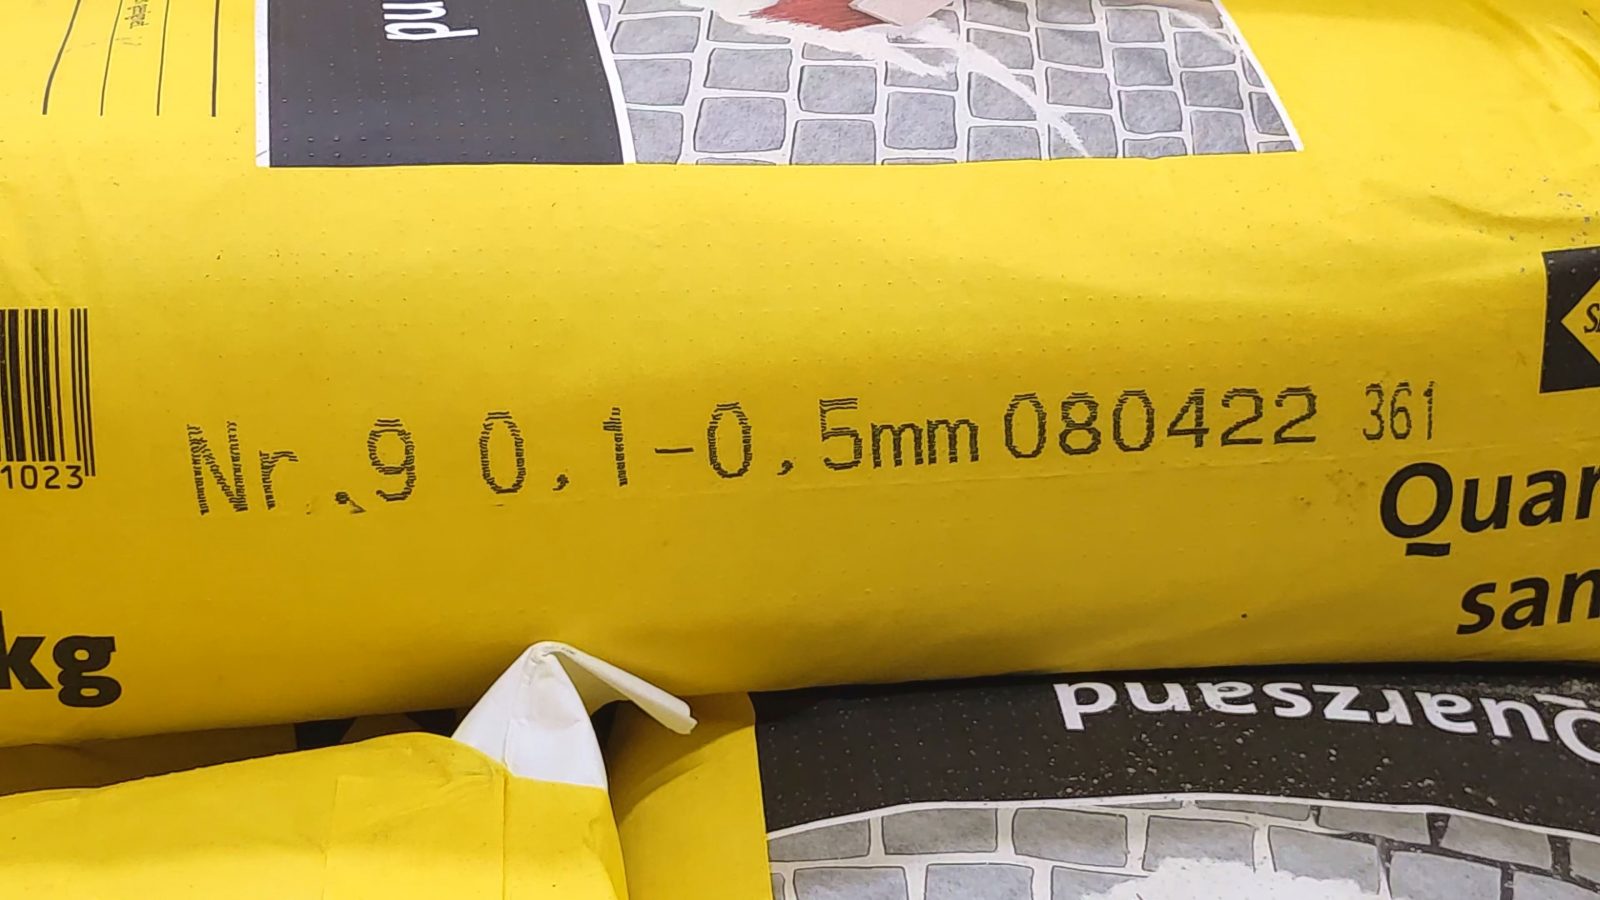
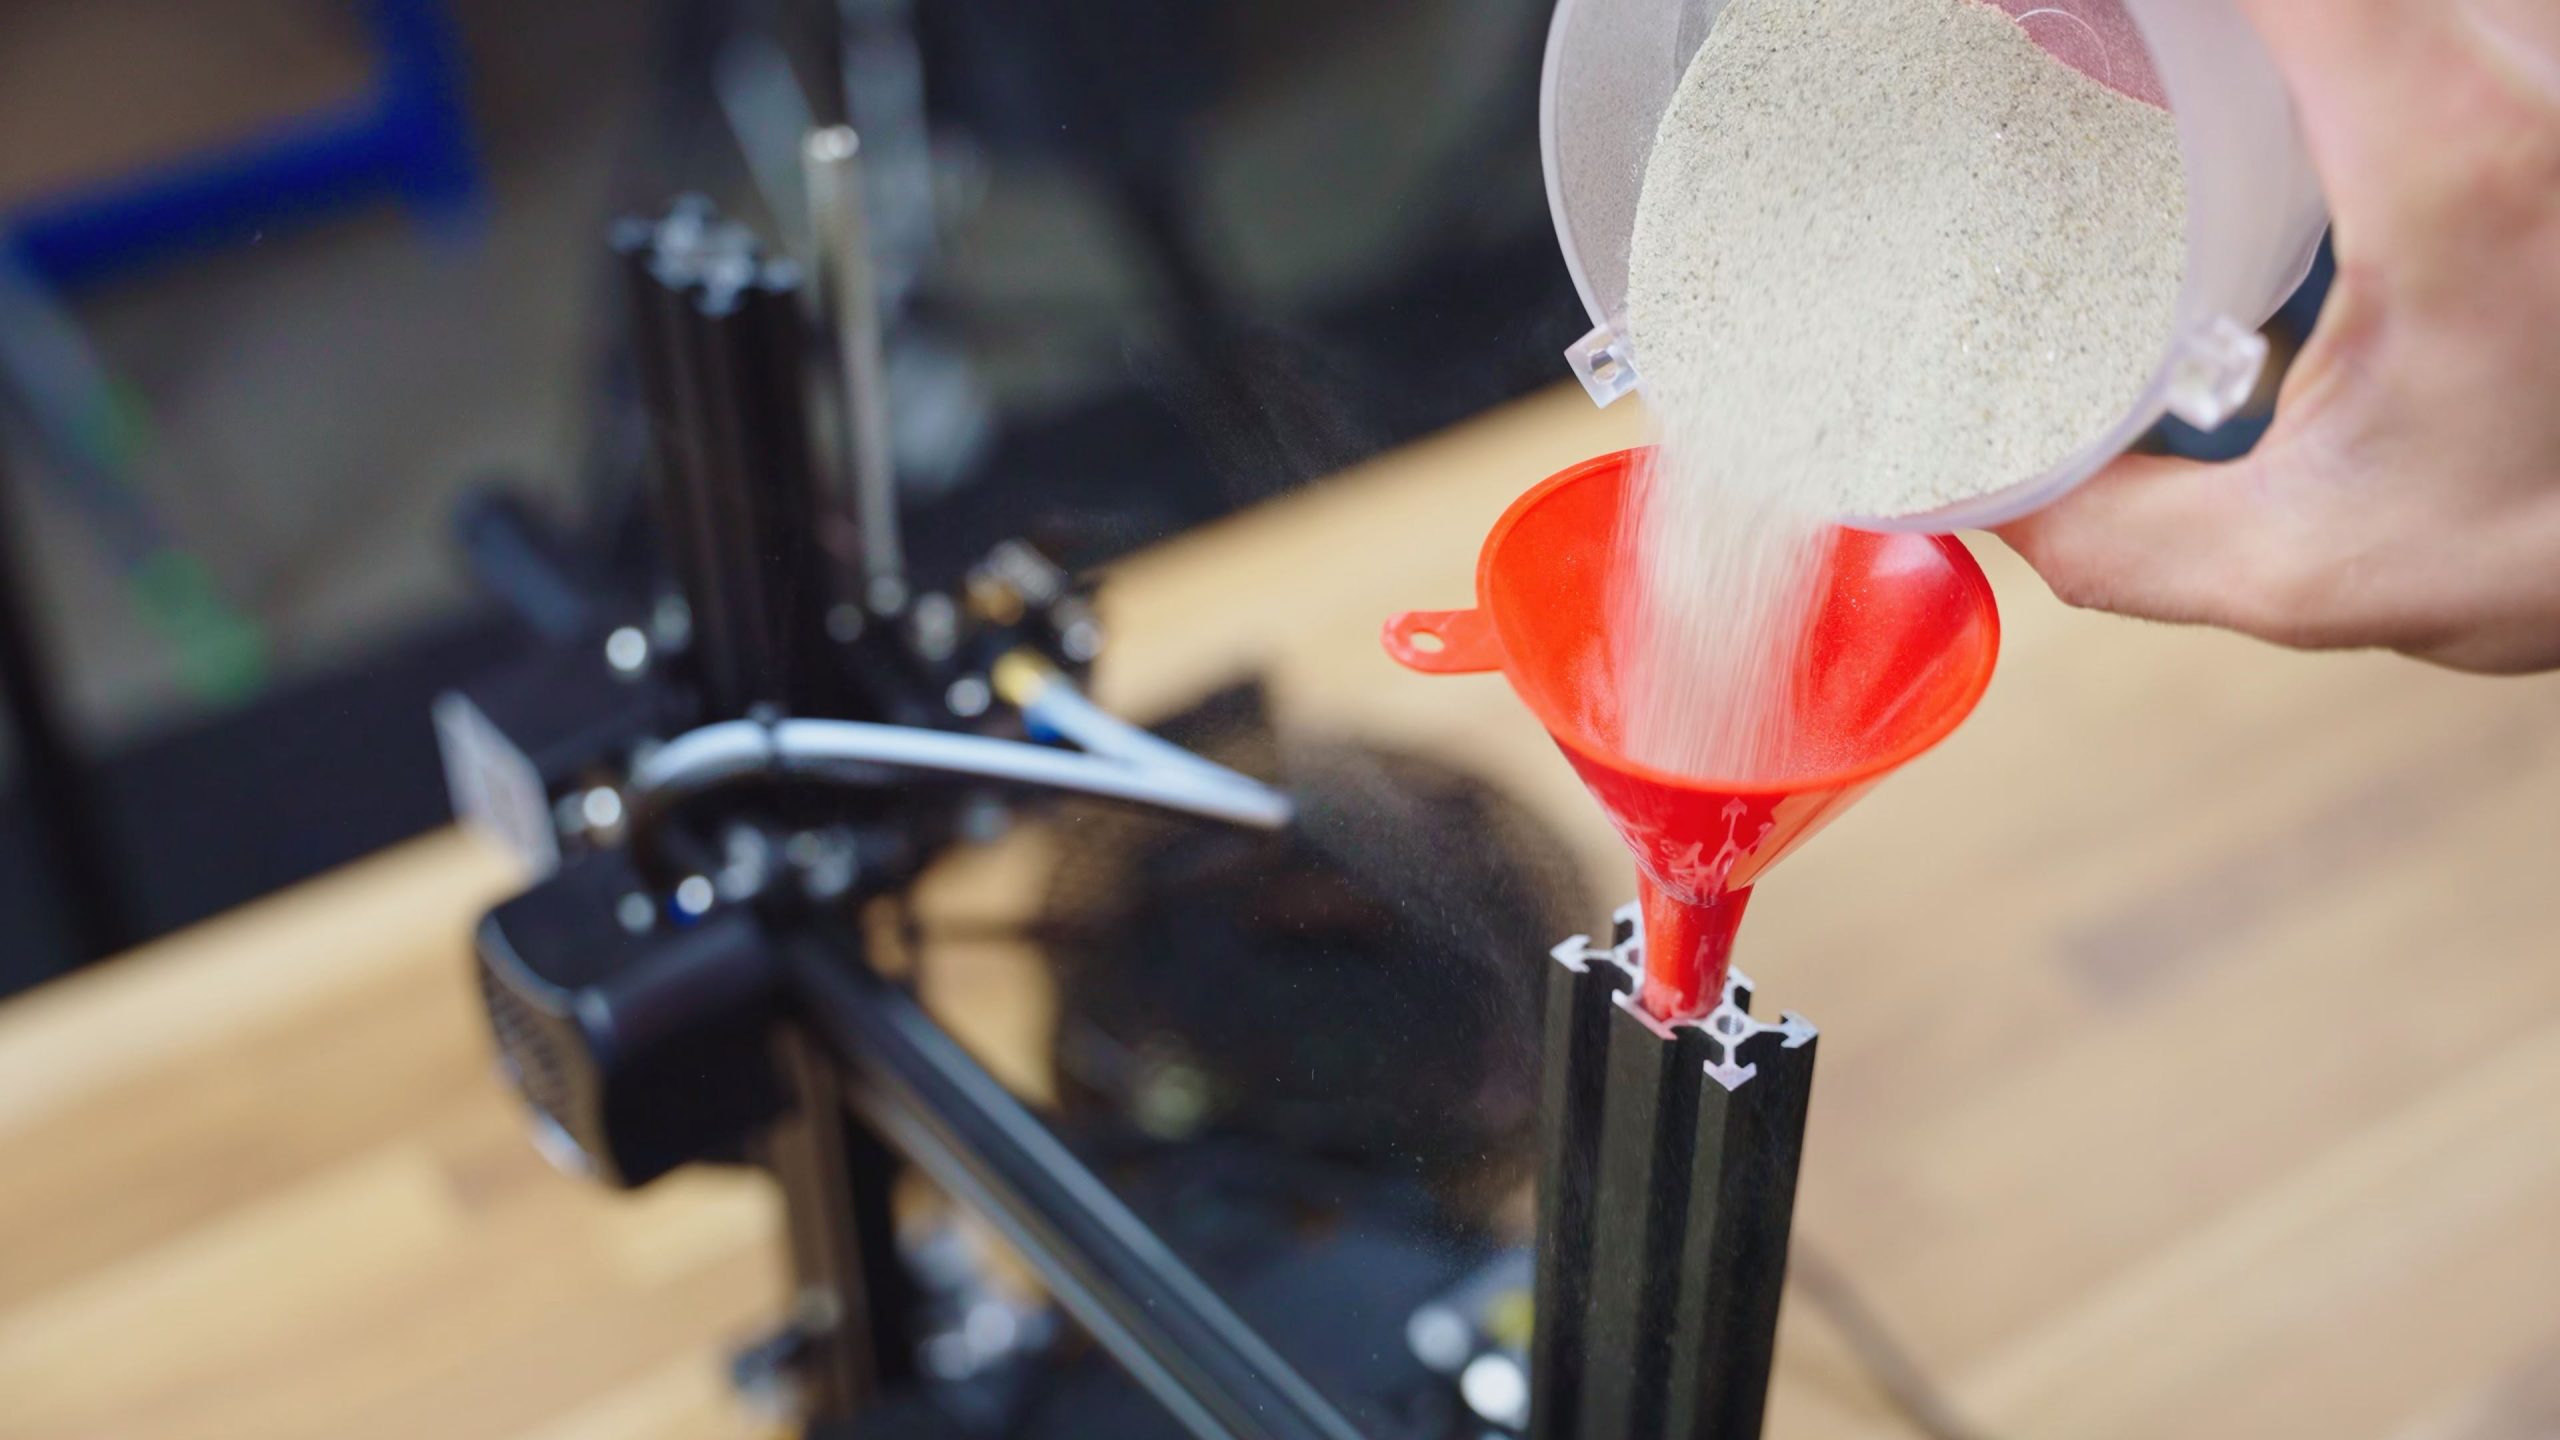
For the sand, you could grab sandbox sand, but that’s actually relatively coarse. I wanted more of a bird bath sand that has more fine particulate and I found that with regular quartz sand, which is sieved to between 100 and 500 micron. That’s pretty fine!
Suspending the Printer
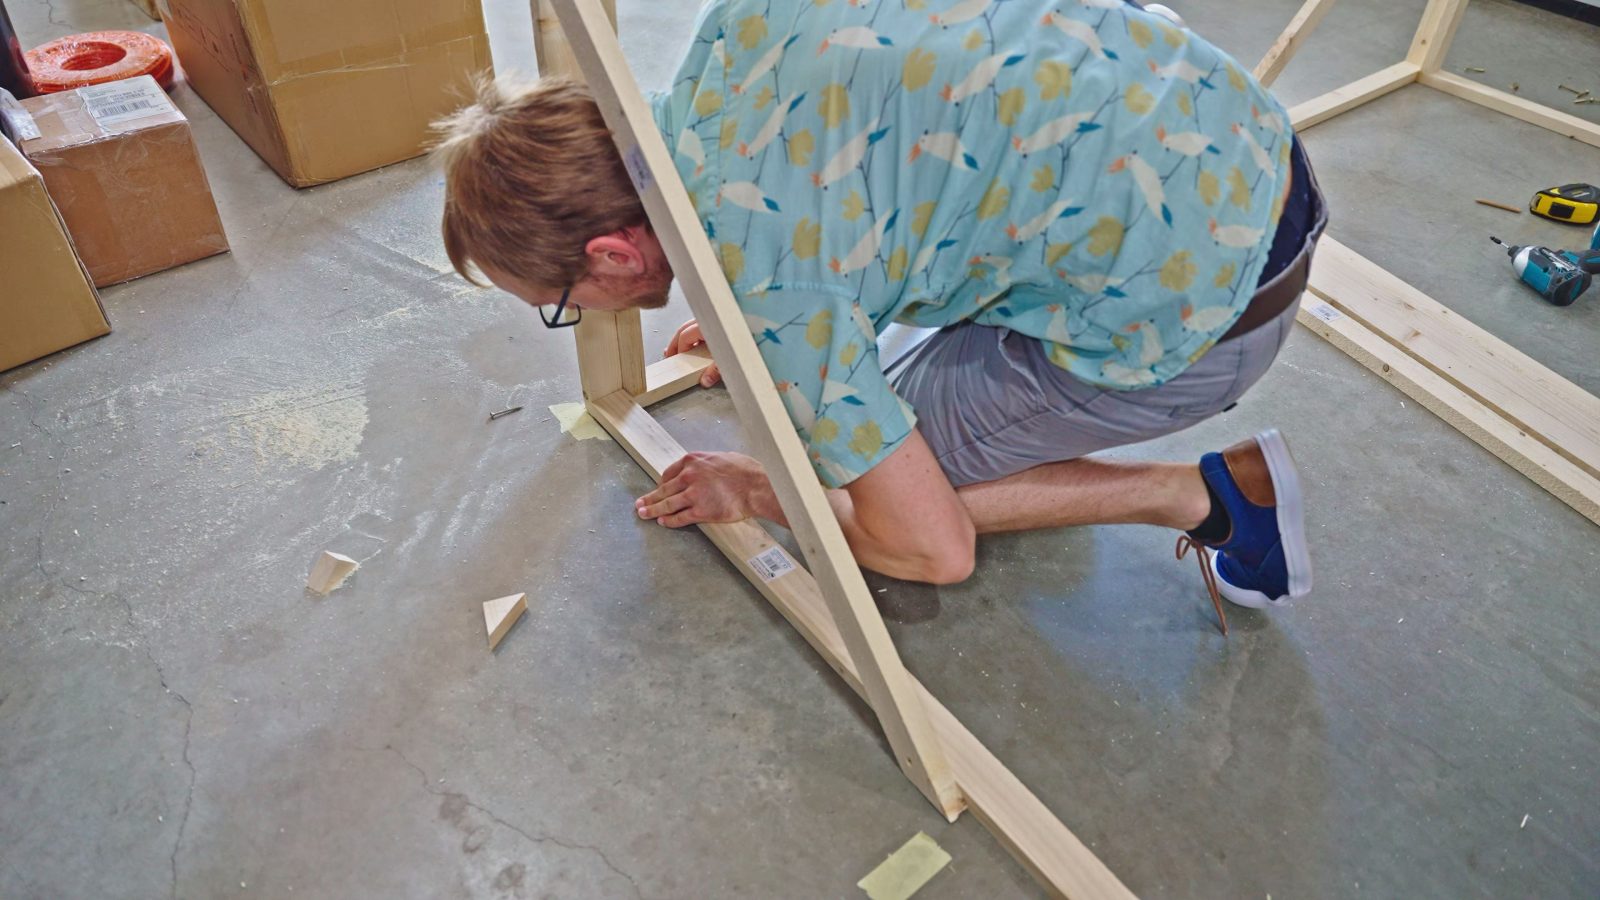
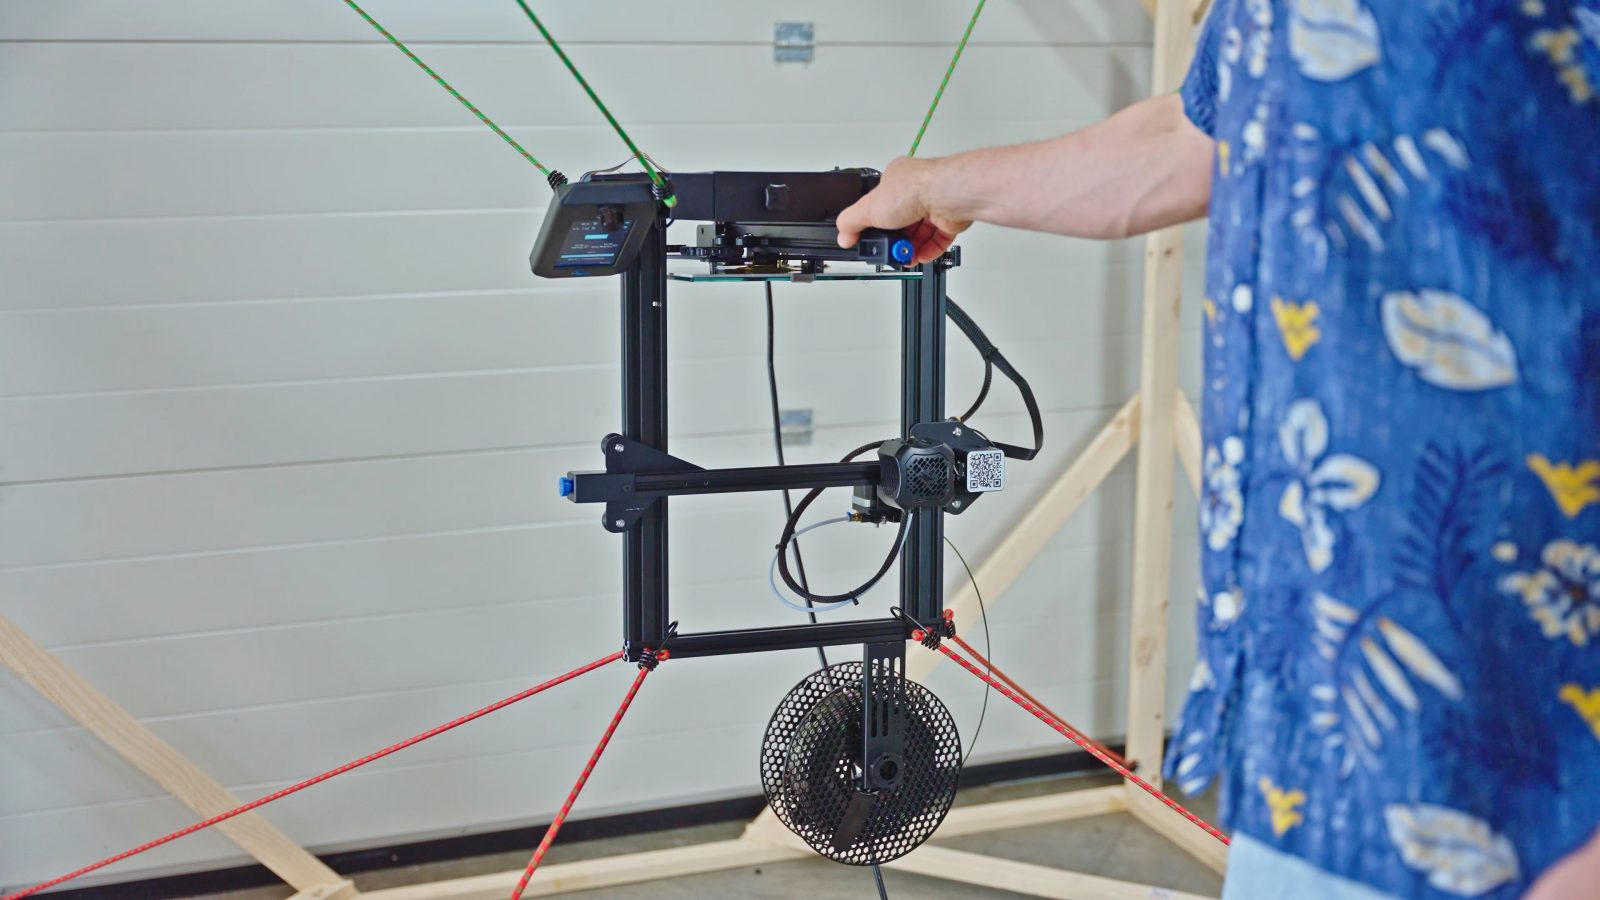
Let’s start with the wood suspender structure. I essentially wanted to build a 2m cube that I could tie the printer into, so I laid out the pattern on the floor, confirmed that I was building a square and then marked it up with some tape. The cool thing about this structure is that it doesn’t need to be super strong, and really it only needs to be rigid, so I can get away with this super flimsy lumber and get my rigidity by adding bracing to each corner. None of the dimensions really matter here as long as each side is the same size and square, but honestly, even that is not super critical. After the first side was built, I built three more, at which point I realized I just barely hadn’t bought enough materials. Quick run back to the store and I was able to screw together each of the sides. I didn’t build out the top or the bottom, as that would all be redundant material, but I still added bracing there to make for what probably is the world’s largest and lowest effort companion cube. While I was out shopping, I had also grabbed two more sets of these elastic tie-downs, and because they came in a whole bunch of different lengths, I was able to pick ones that suspended the printer without being stretched to their full extent.
What we want here is for the bungee cords to still be able to flex and stretch with the printer’s movements. Because it’s not just bouncing back like a spring, but instead absorbing some of that energy from the movement, the idea is that it should dampen whatever movement the printer creates.
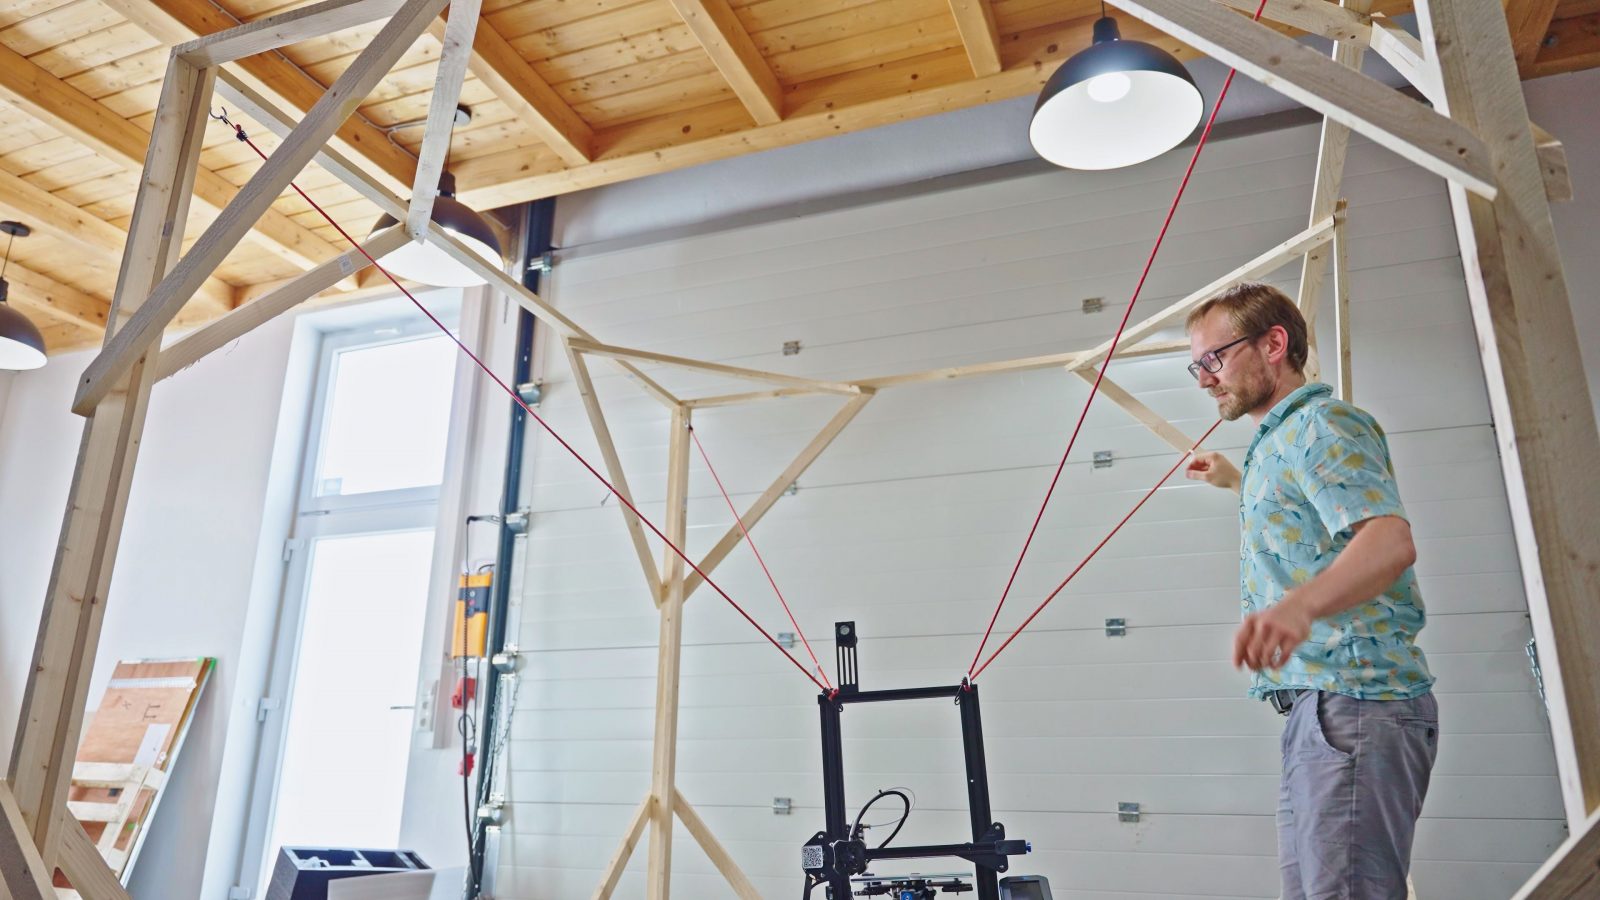
But I mean, honestly, even if that doesn’t work, we’ve still managed to create a darn cool-looking printer setup! This is sort of a tesseract or 4D cube structure, and because of all the bracing in the corners, it ended up being super rigid. I can pick up one corner and you can just barely see it flex. It did still end up surprisingly strong too, and it easily supports my entire weight even at its weakest points. So that’s a win in my book!
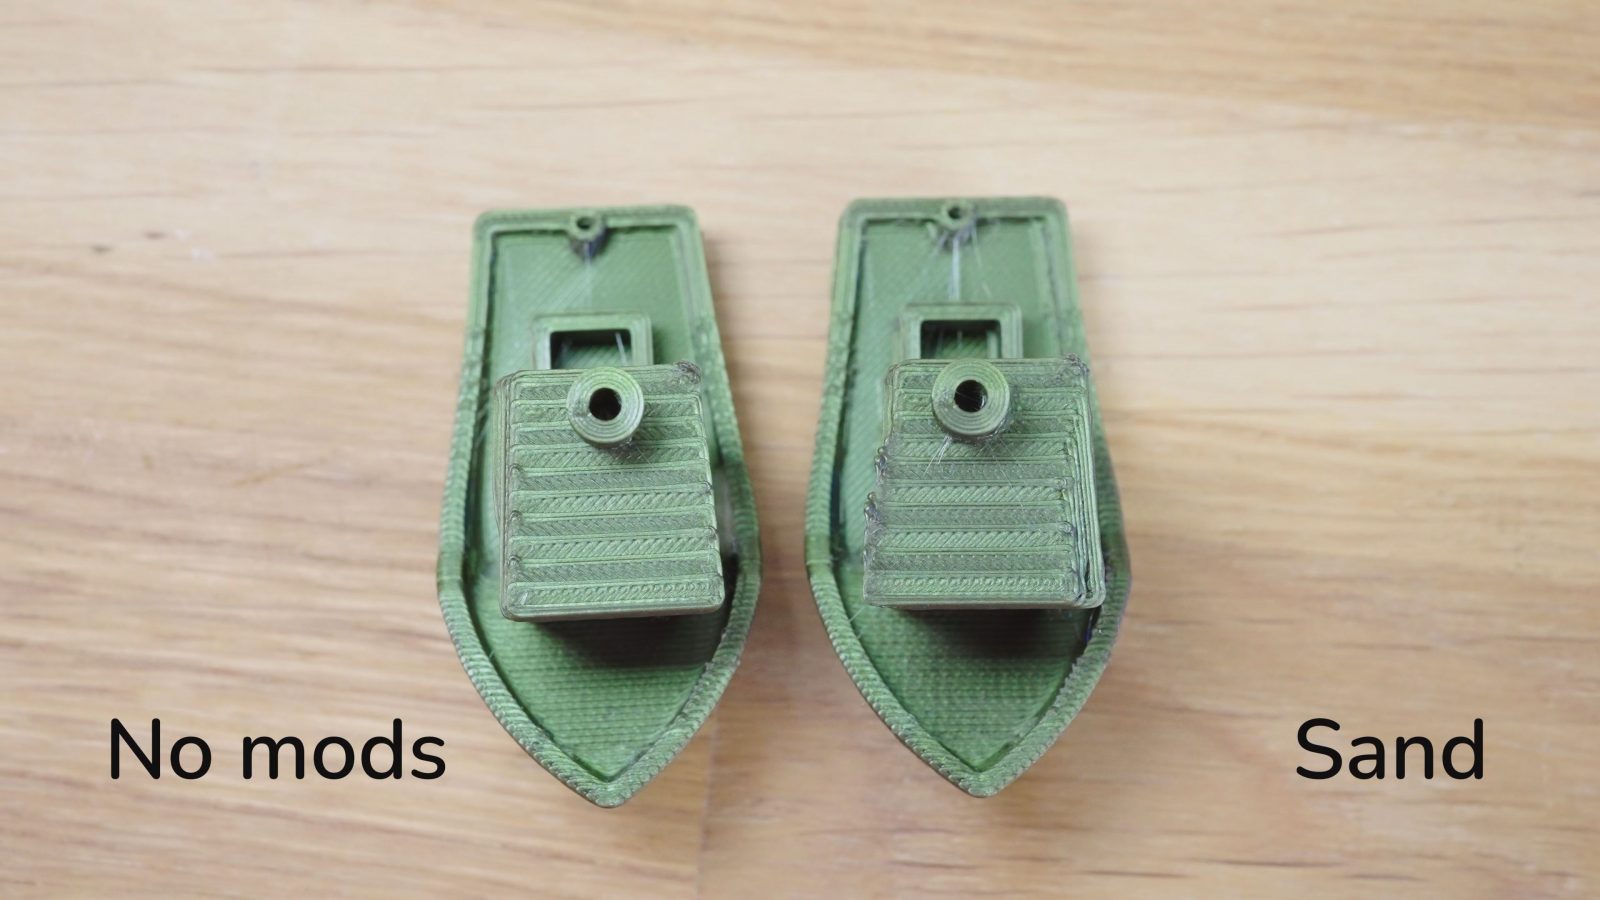
I’ll be running the same test prints as last time, with maximum speeds, accelerations and junction deviation settings cranked as high as the Ender-3 v2’s firmware allow, and with speeds set pretty high in PrusaSlicer as well. Without that, the Ender-3 v2 doesn’t really produce much visible ringing, and trying to improve something that isn’t happening anyway would be pretty pointless. So these are the prints that are, again, our starting point, with visible ringing everywhere there’s a sharp corner that’s being taken at speed.
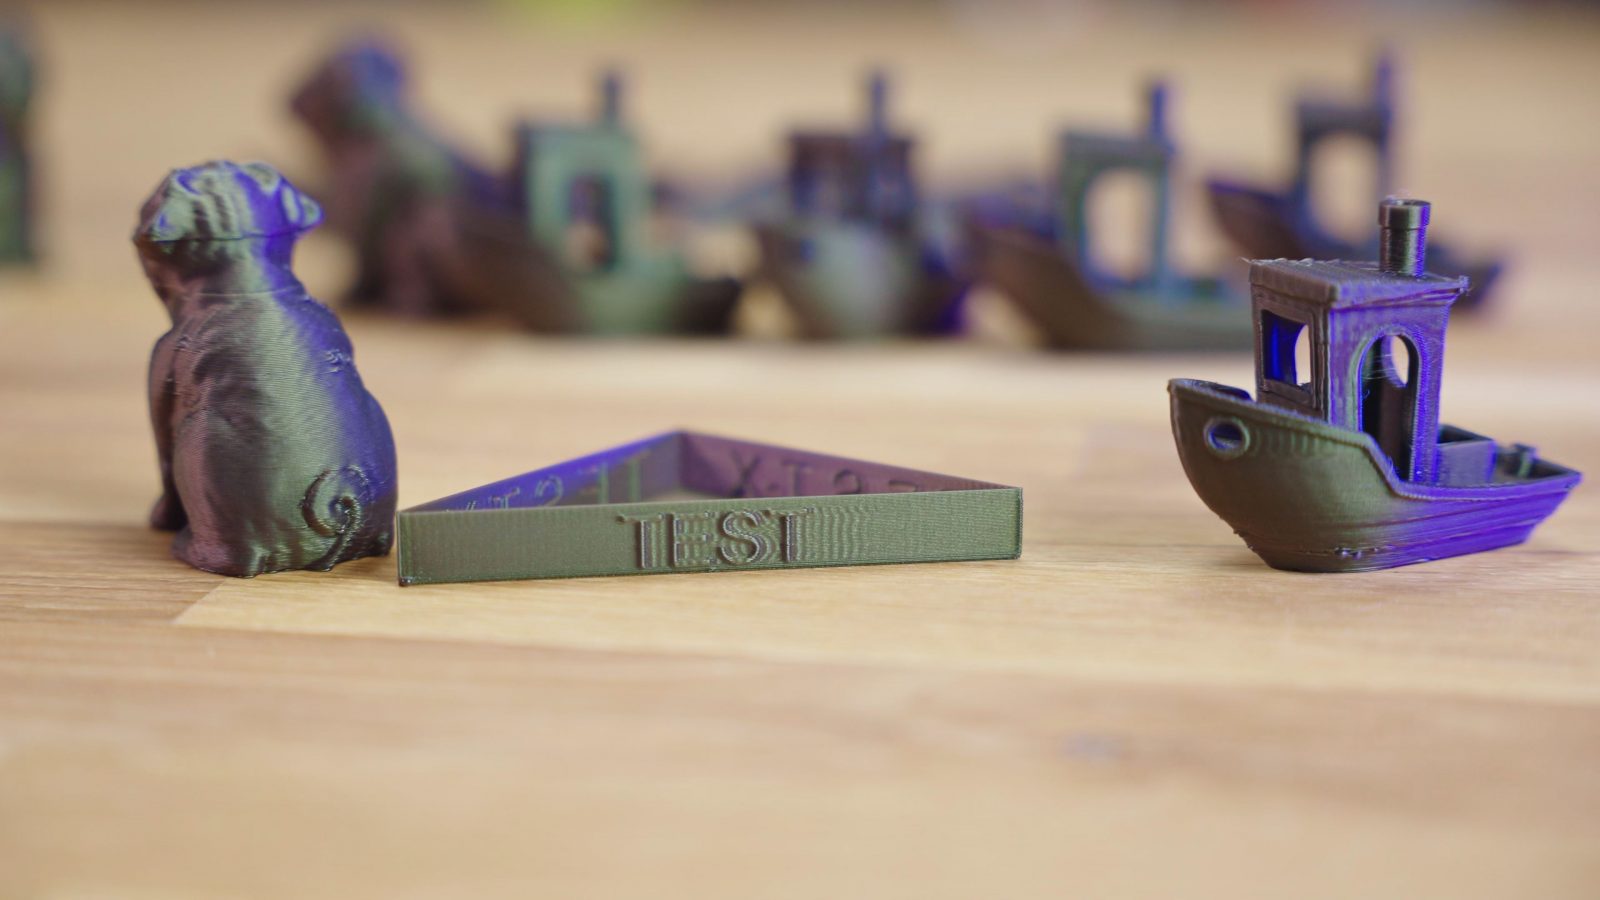
Of course, these prints don’t look particularly great, that was the goal, but I think it’s still pretty impressive that the simple Ender-3 v2 can keep up. Mostly. It’s got some pretty bad skips on the Benchy, probably due to the resonances building up and overwhelming the stepper motors.
Okay, so test #1 is the printer simply suspended in our tesseract. This looked like it’s doing something, and at the very least we’ve got ourselves an impressive-looking setup.
While we’re at it, I also chucked up the printer upside down. Believe it or not, this works with pretty much any 3D printer, maybe not with resin printers, but because I had adjusted all the V-wheels for the last set of tests, I didn’t even need to adjust the nozzle height for the first layer, it literally just worked. But did it improve the prints we’re getting?
Well, no. So last time we got a significant improvement by using the anti-vibration feet, this time, it actually looks like the prints done with the printer suspended upside down are… worse? Which is totally a possibility, if our structure ends up resonating at the same frequency that causes the ringing artifacts, but doesn’t dampen enough, then, yeah, you can absolutely end up making your prints worse. I’ll get more into why this is happening later on.

Adding Sand into the Machine
Okay, let’s move on. Sand. So while the bungee cage was quite “springy”, the approach of adding sand into the machine should really only add dampening and not introduce any more resonances. With the extra weight, at most it might shift some of the resonant frequencies.
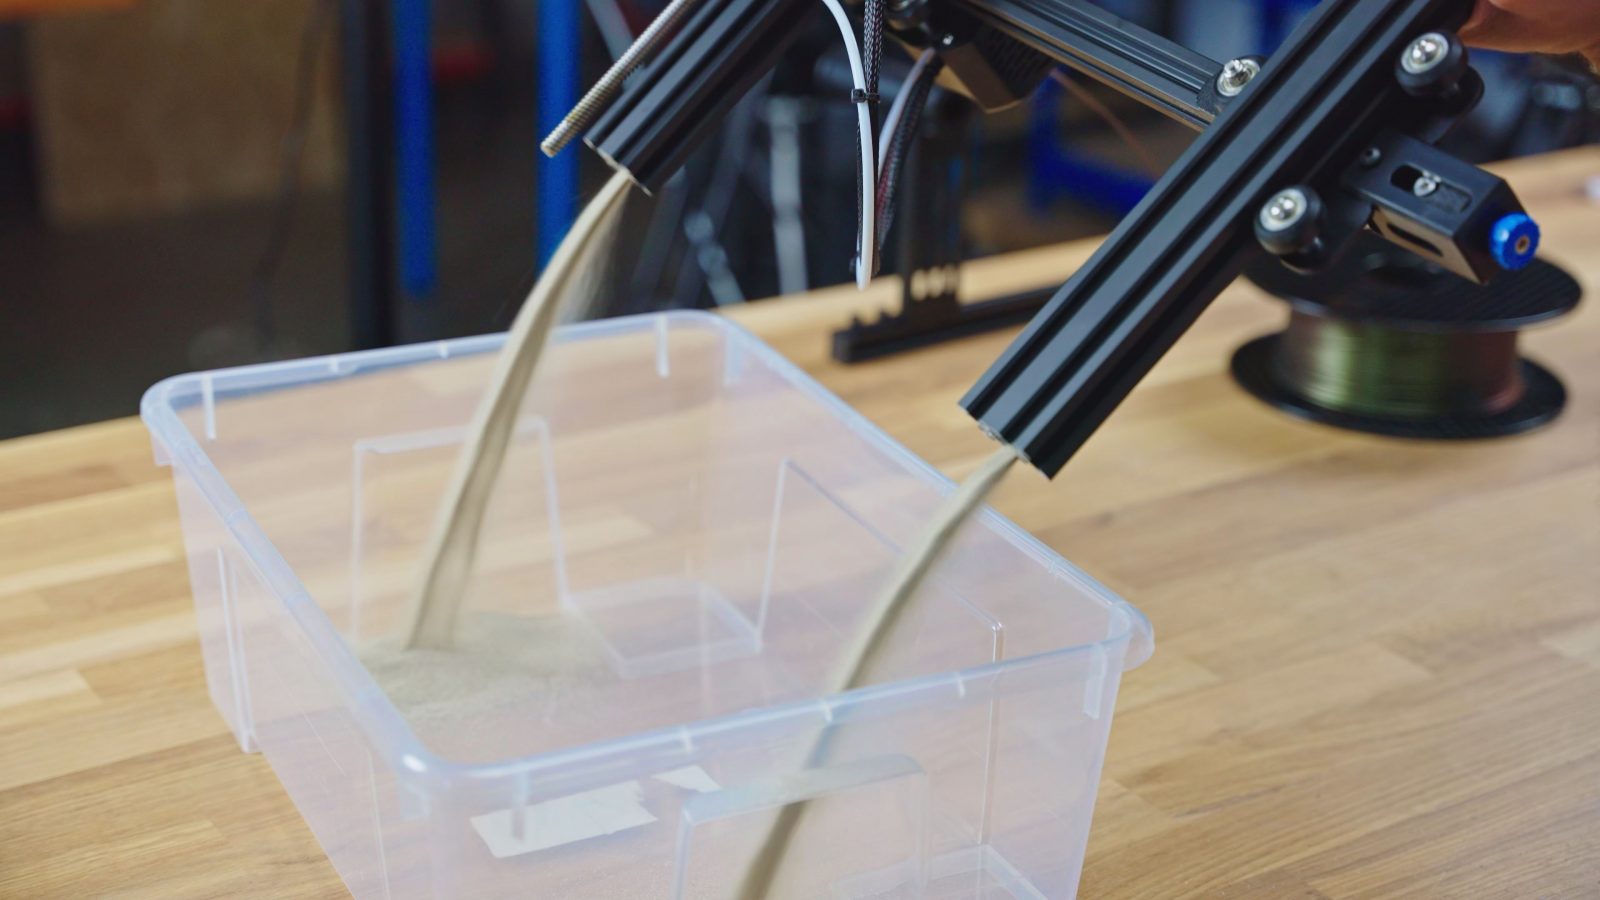
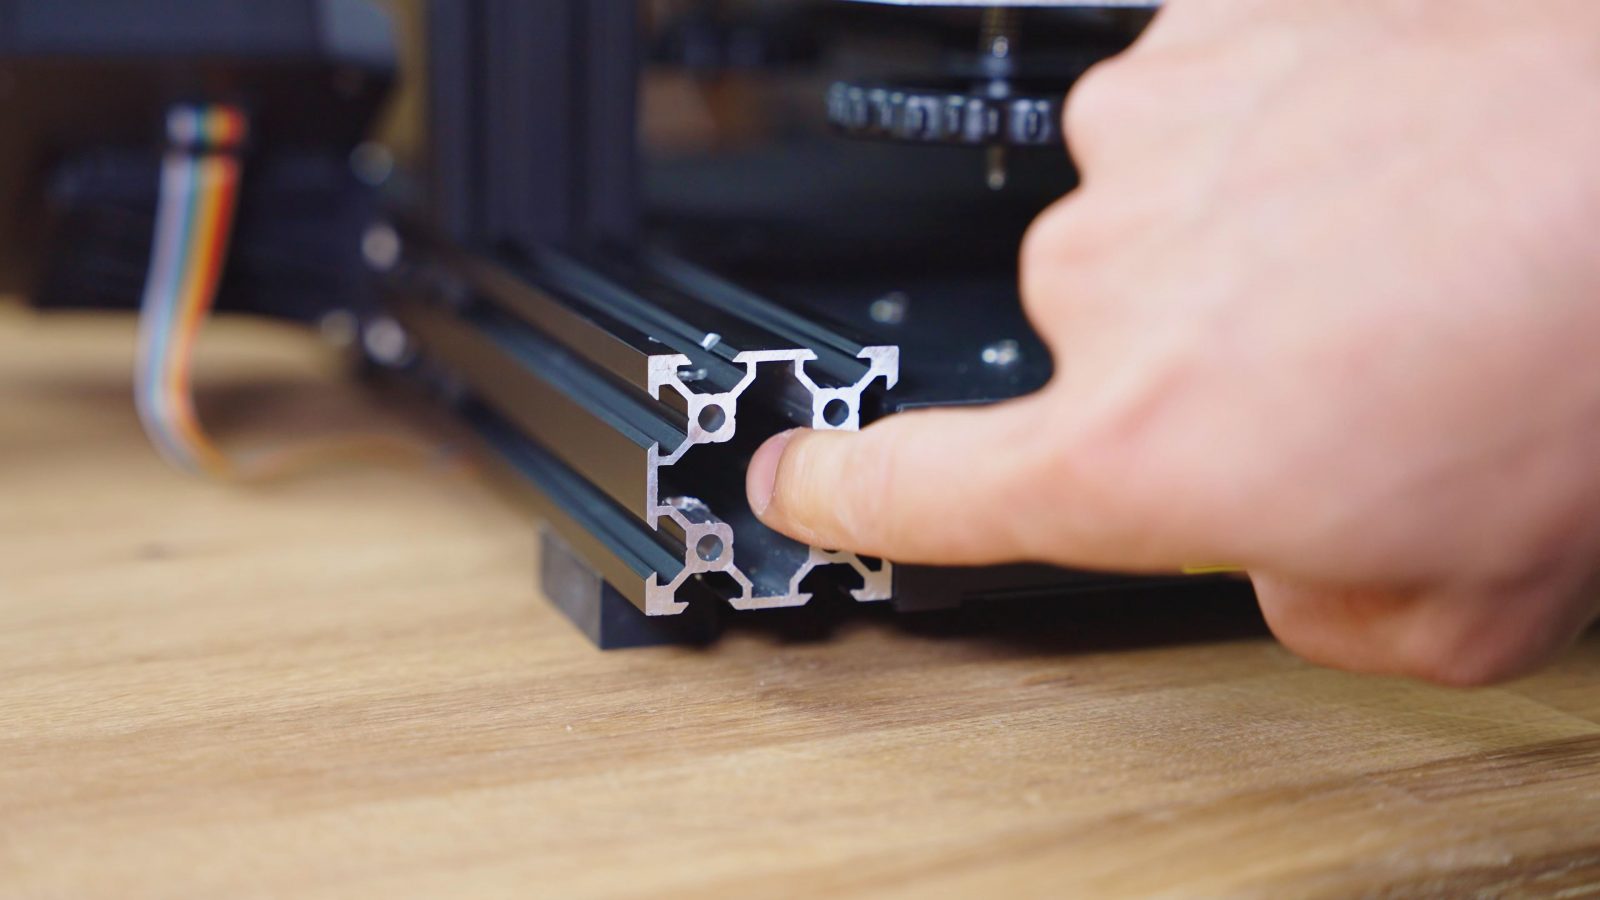
Now, in the last video, I said I’d fill the printer frame with sand, and looking back at that statement, it turns out that might not be a particularly smart thing to do. Motion systems and sand do not mix particularly well, and because these profiles all have holes and threads drilled through them, sealing them up would be tricky.
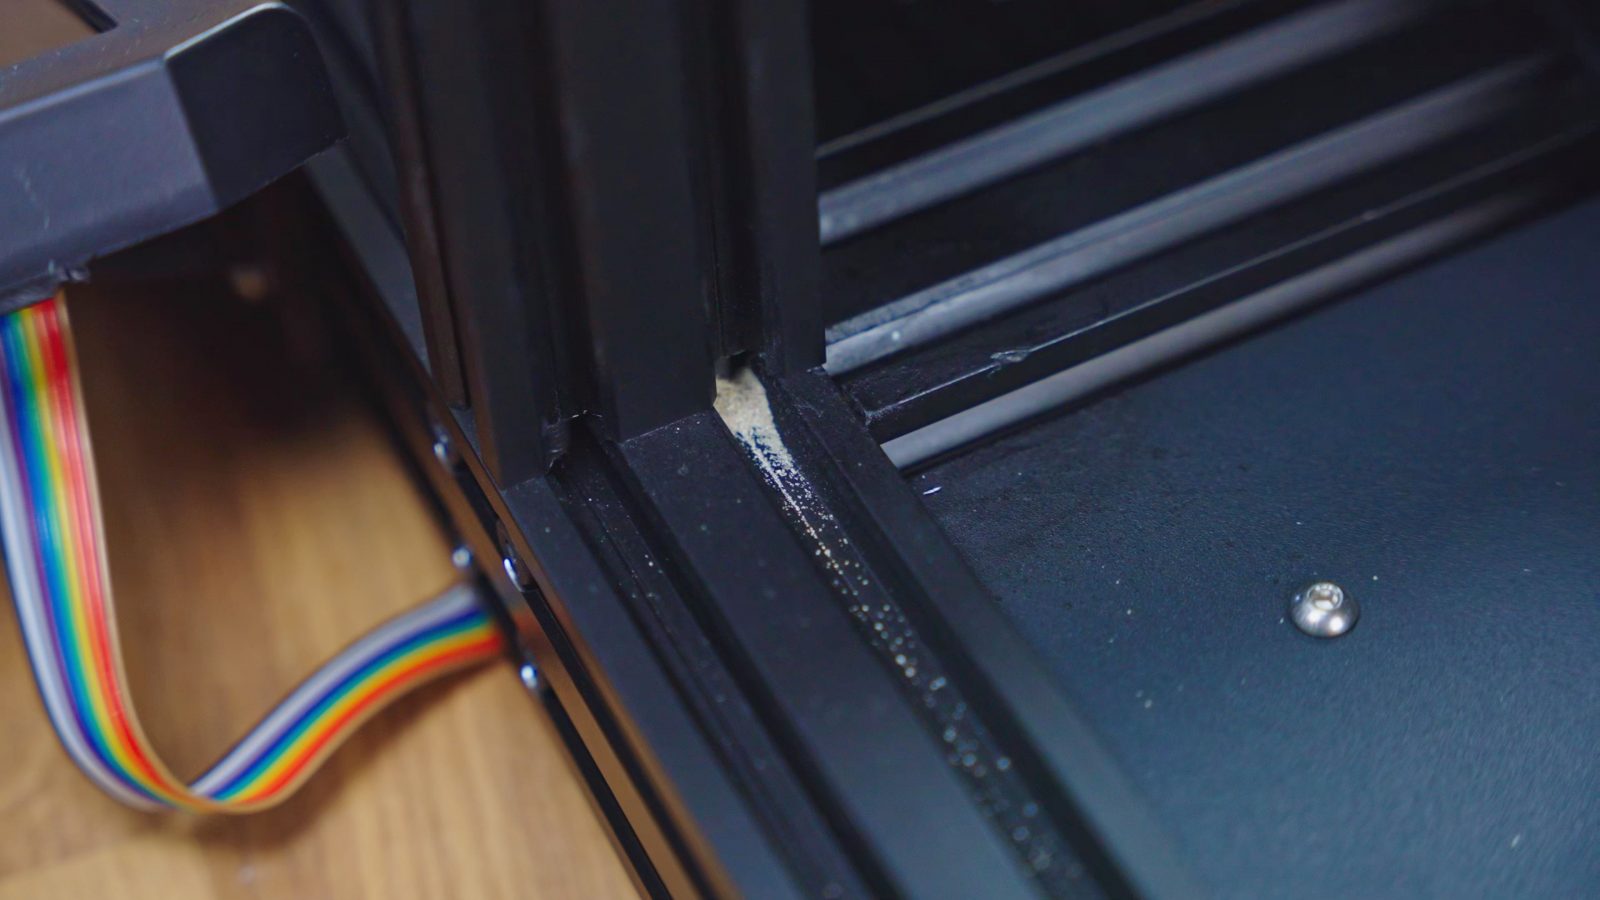
But my first try was the naive one – remove the top bar of the printer frame, fill it up most of the way with sand, and of course, watch it escape out of every little gap and hole it can find. This just wouldn’t work, and after two or three prints, these profiles would mostly be empty again and I’d have turned my studio into an eternity of finding sand in every nook and cranny.
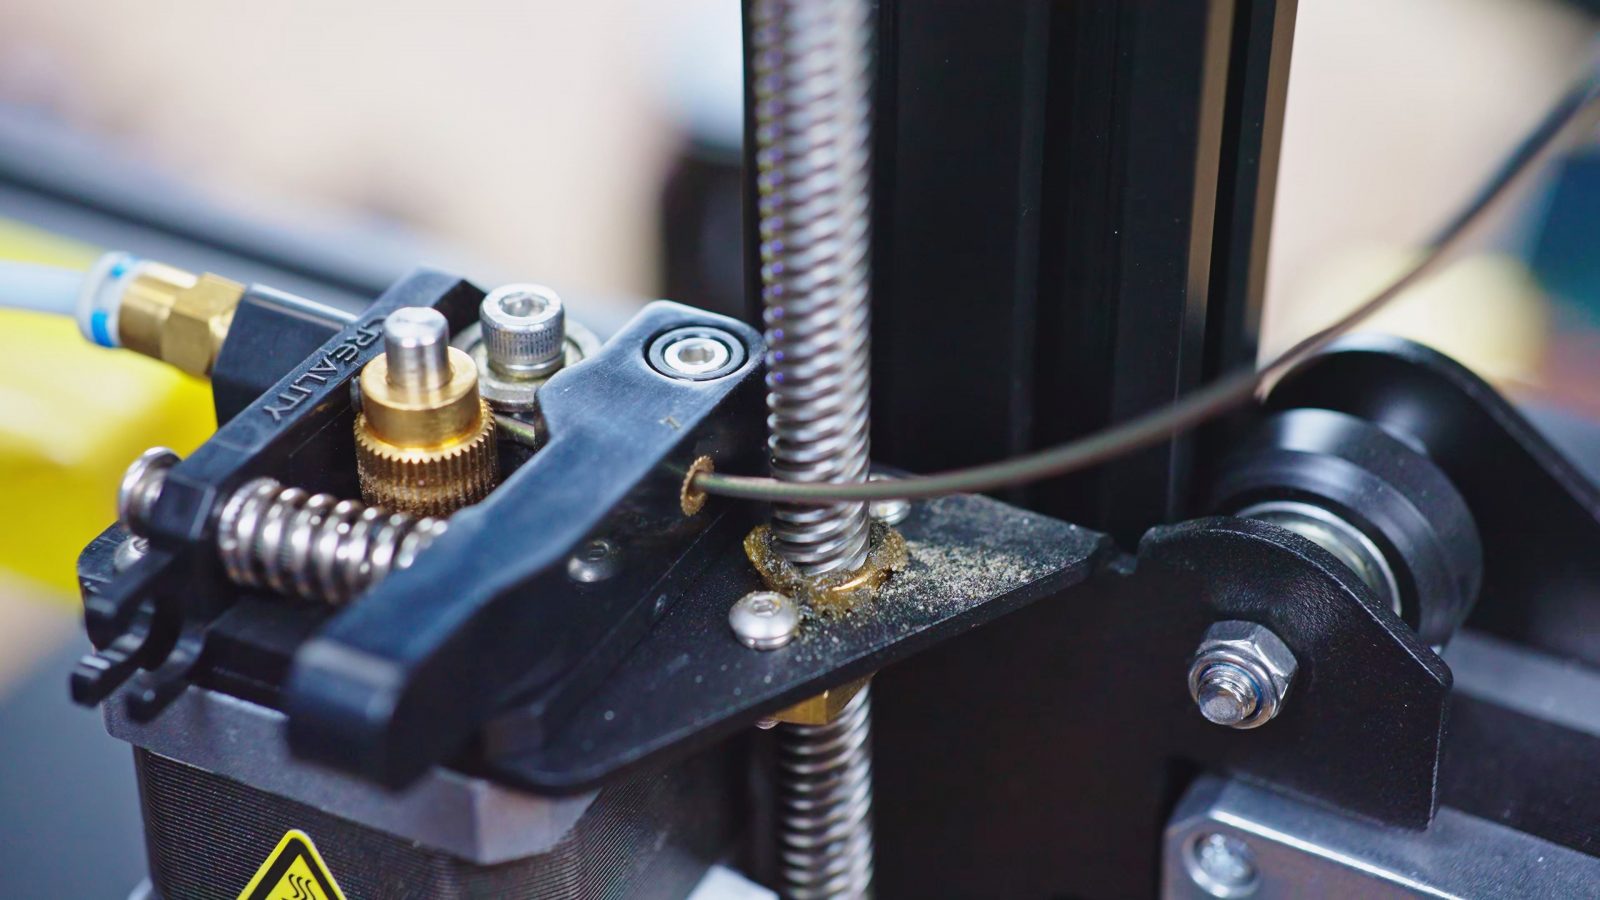
So I poured the sand back out, then sealed the top of the profile with a paper towel wad and copious amounts of hot glue, installed the top bar again, and finally took off the entire printer gantry to fill it from the bottom. Same deal here, get it almost full so that the sand still has some room to shift around and then seal up the end with paper towel and hot glue.
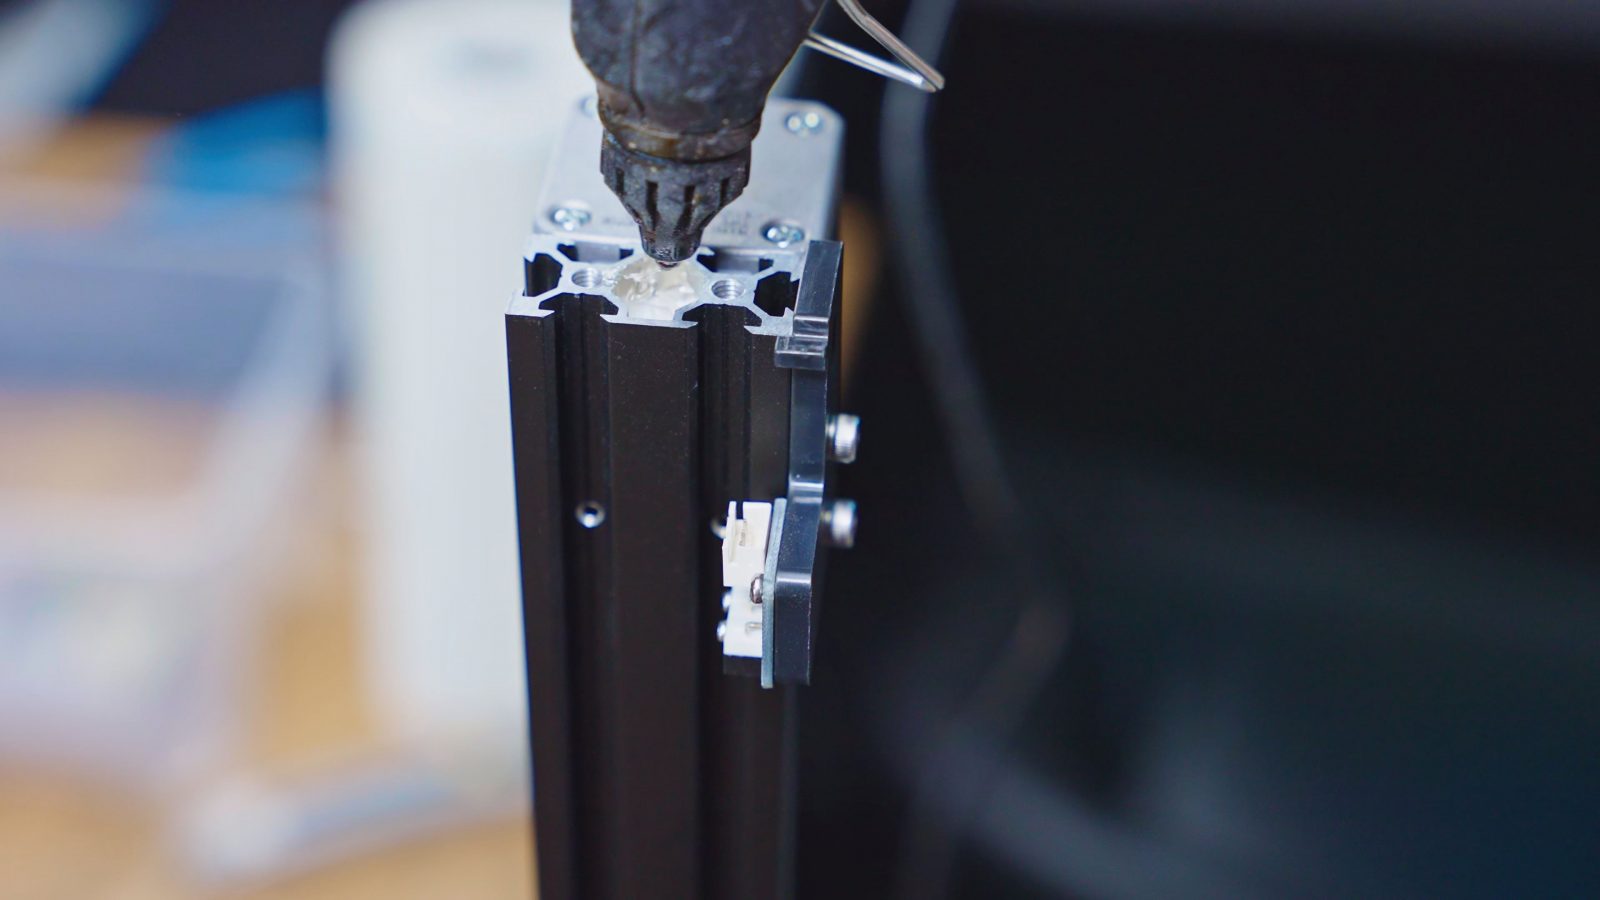
I know, I know, hot glue rarely is the best solution for anything, but it’s a good enough tool for a surprising range of jobs, and in this case, only having to wait a couple of seconds for the hot glue to harden was a huge benefit that and a compromise I was willing to make over the possibly better seal of something like silicone or epoxy. Plus, the hot glue is super easy to remove, so that’s a plus.

I also did the same thing with the two bottom rails of the machine, but in this case, I used the caps and plates that are already on the printer to try and seal it up. These profiles fit a surprising amount of sand, but again I didn’t pack it totally full to still give it room to shift around.
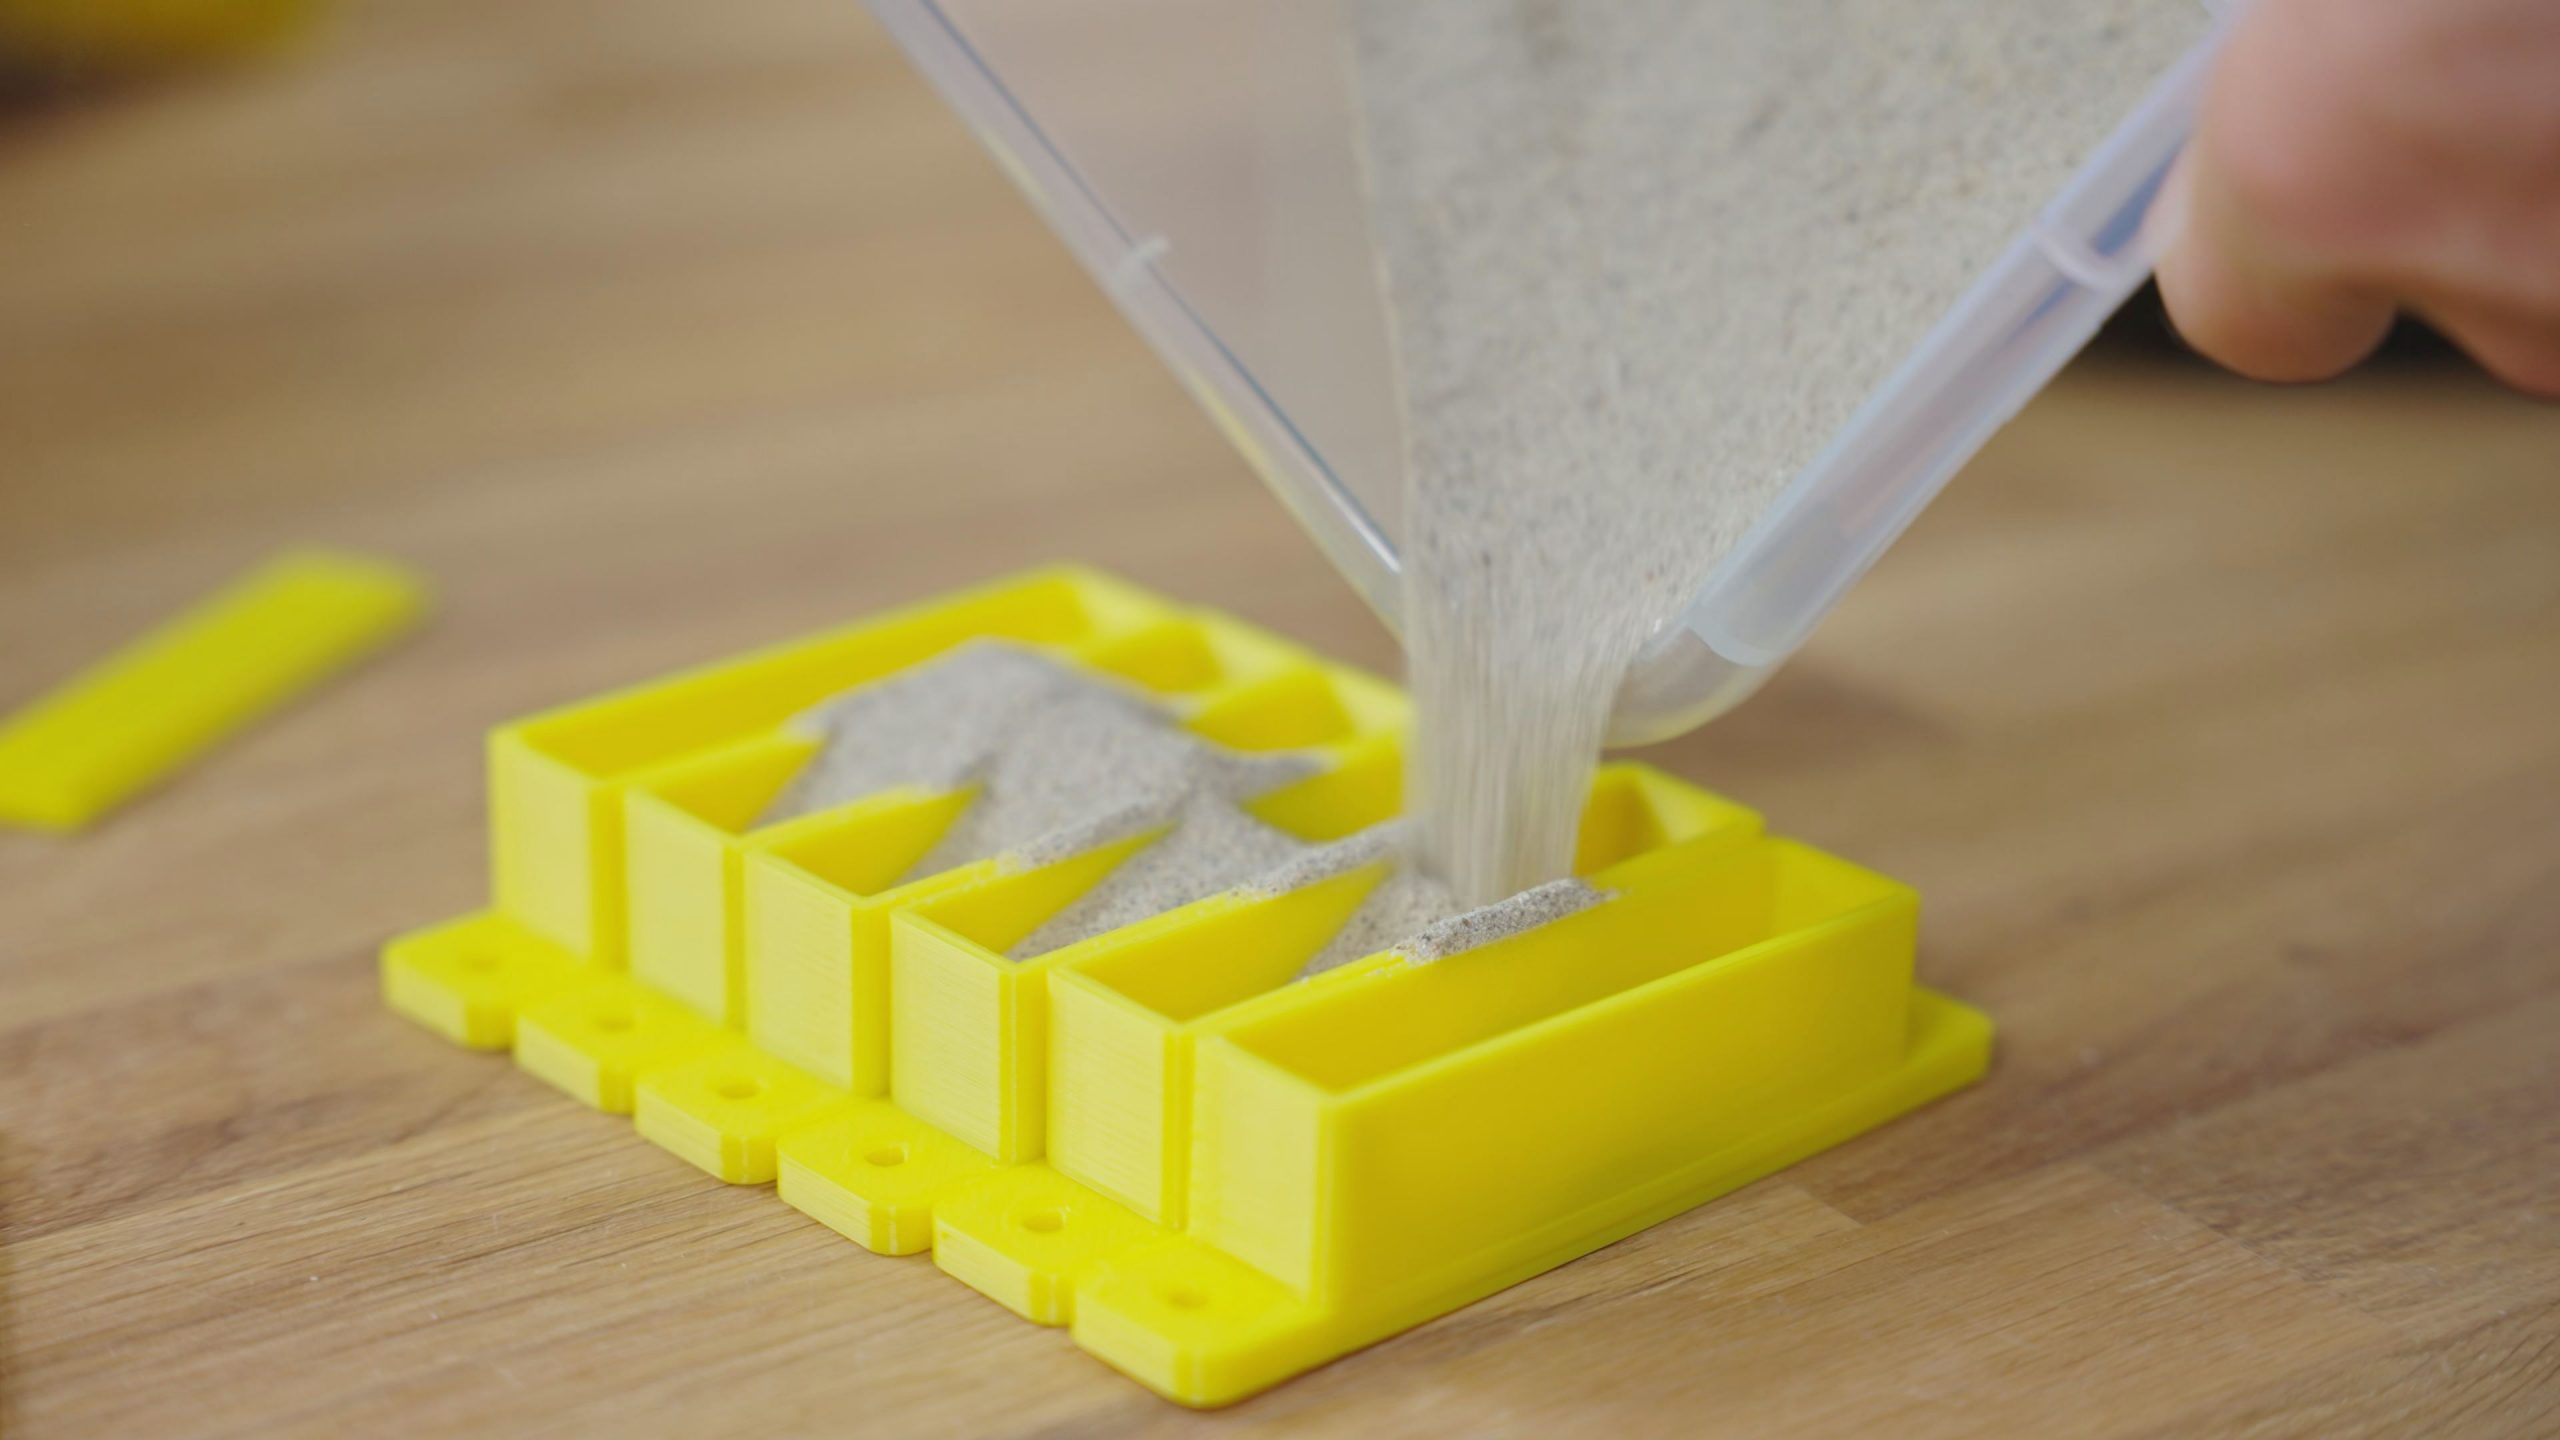
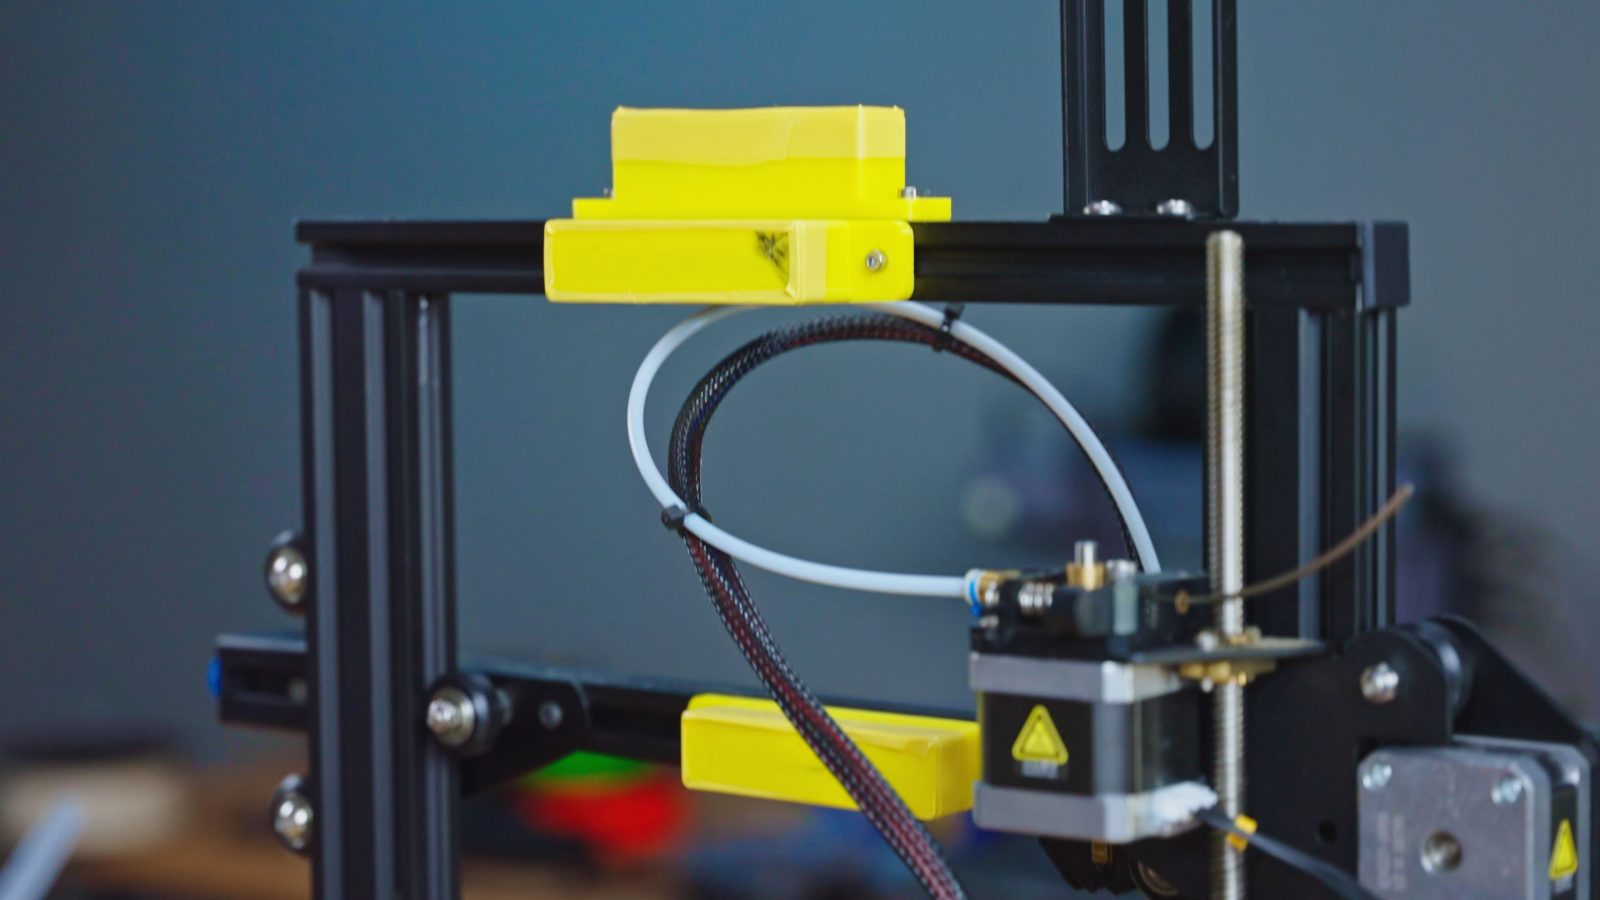
I still wanted to get sand into some of the other profiles, but either they were tricky to get to or had so many holes in them that it would be impossible to seal them up well enough. So I printed these little sand-tainers that would allow me to attach some sand to the printer without actually getting it *in* the machine. These were designed to be filled and then for the lid to be glued or taped on, as there’s really no way to get it tight enough with just a sliding fit or by using screws.
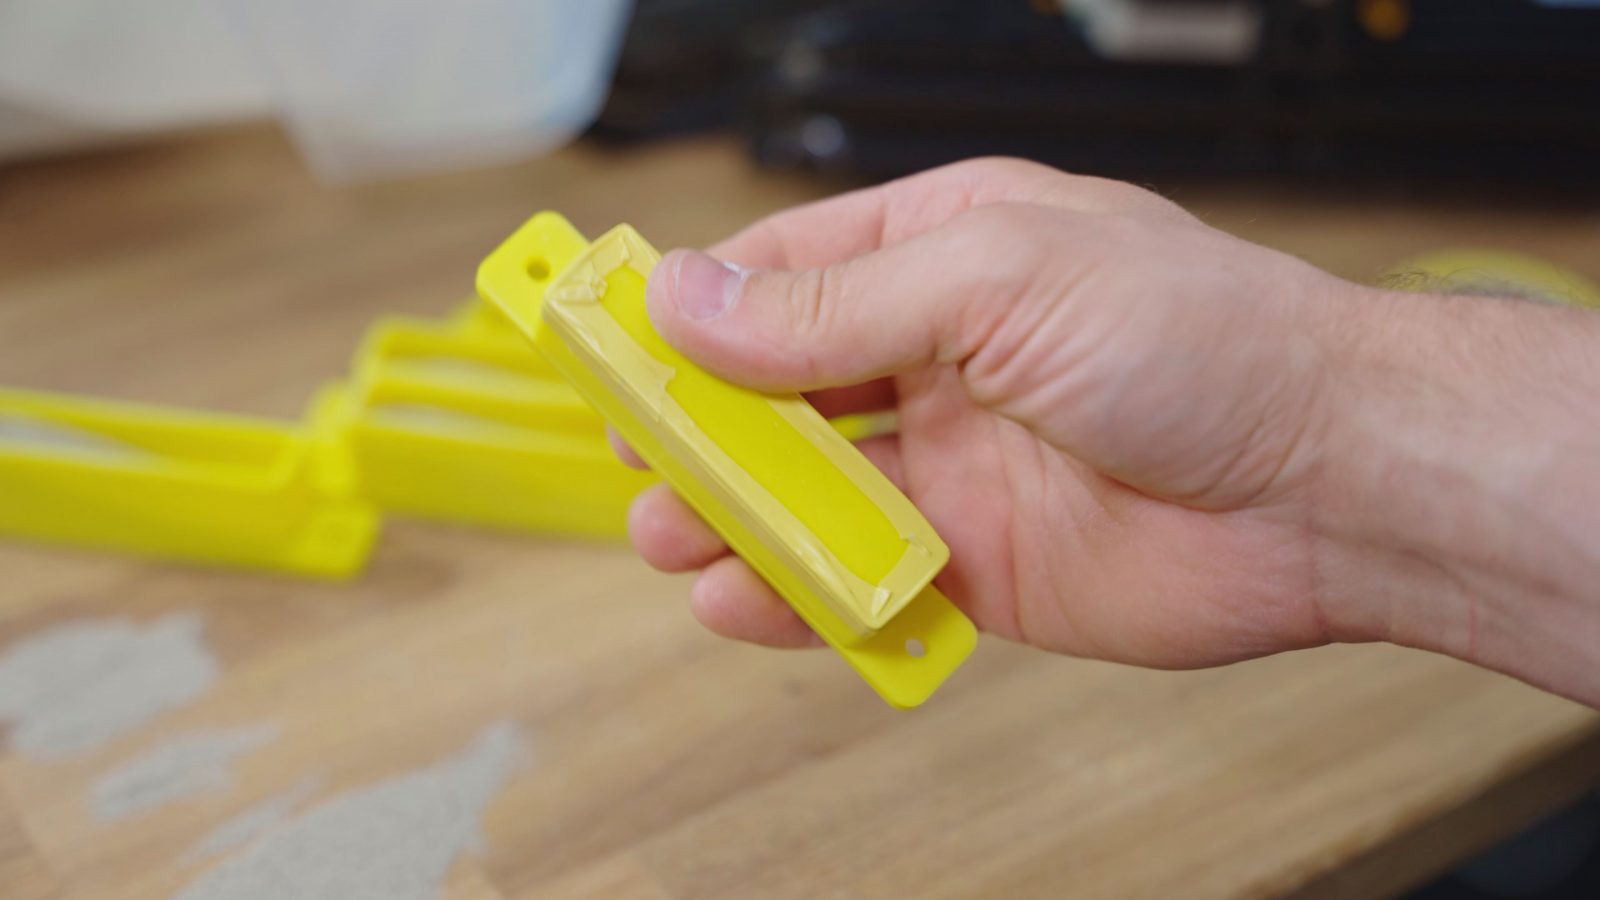
Yes, I know, the yellow electrical tape doesn’t match in color, it bothers me too. But it’s perfectly sealed, and that’s what counts! These blocks feel pretty amazing, you can’t really tell there’s stuff shifting around inside, but they feel… sluggish? When you drop one they don’t bounce, kinda like a dead blow hammer. Which has me wondering, do you think the sand-filled Ender won’t bounce, too?
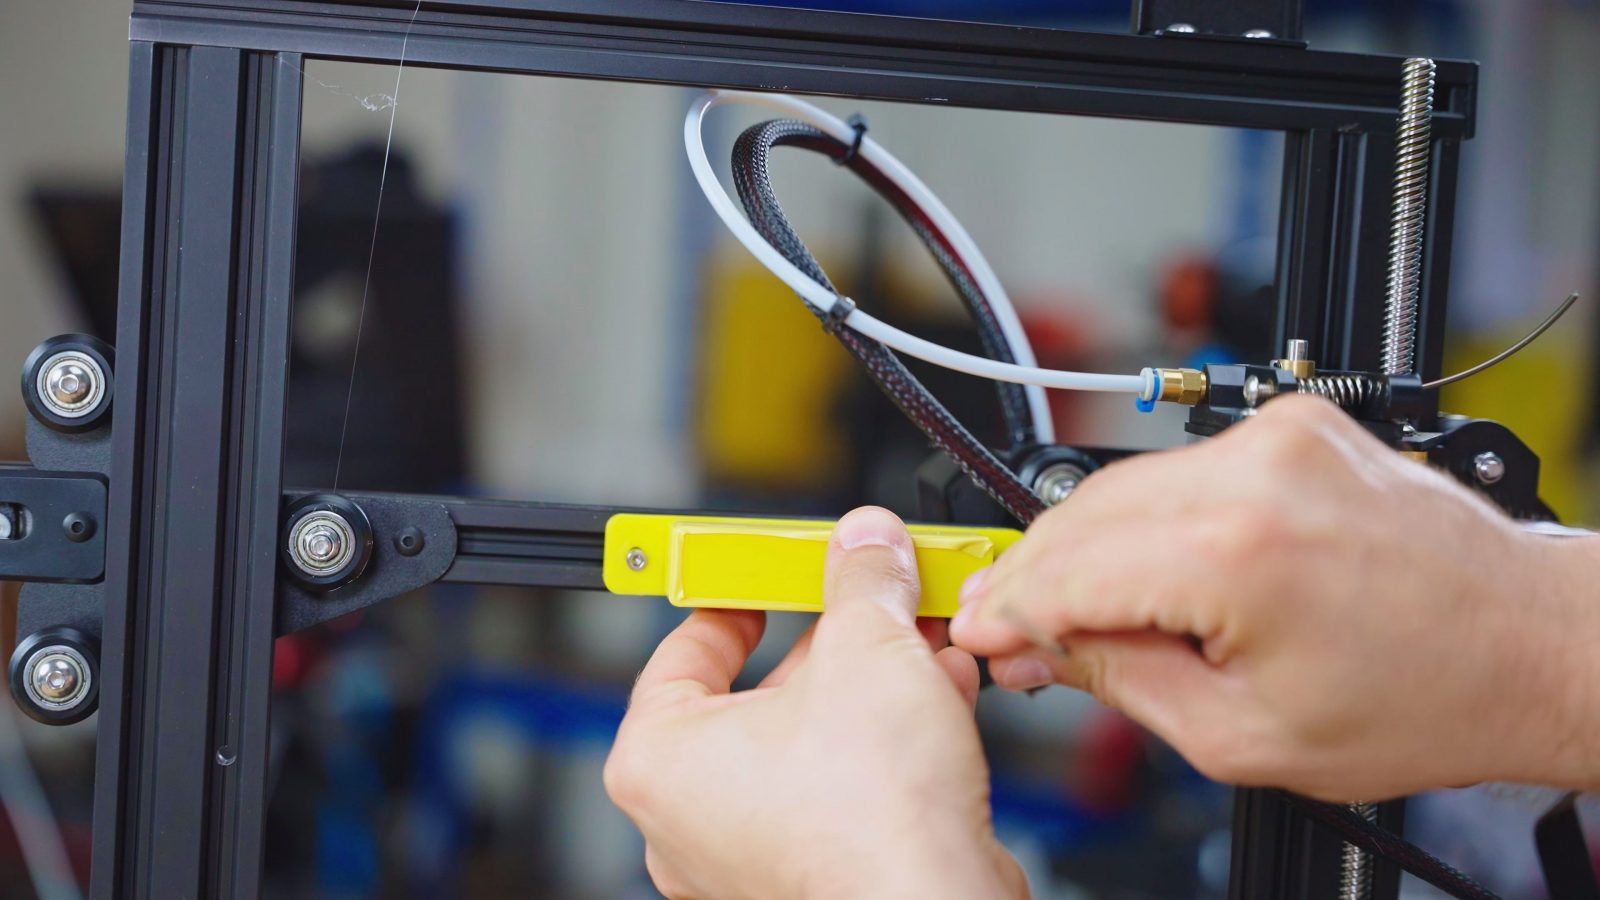
Anyway, I added some sand-tainers all around the printer, and I also wanted to get some attached to the bed itself. Originally I was planning to use some spring clamps to just temporarily hold it on, but I didn’t have the right size at hand, so I just used good old VHB tape and stuck it directly to the bed PCB from underneath. Really, it’s surprising how many spots you can find to add sand-tainers all around the printer, without them getting in the way of the mechanics at all!
And now, this printer is ready to do some test prints.
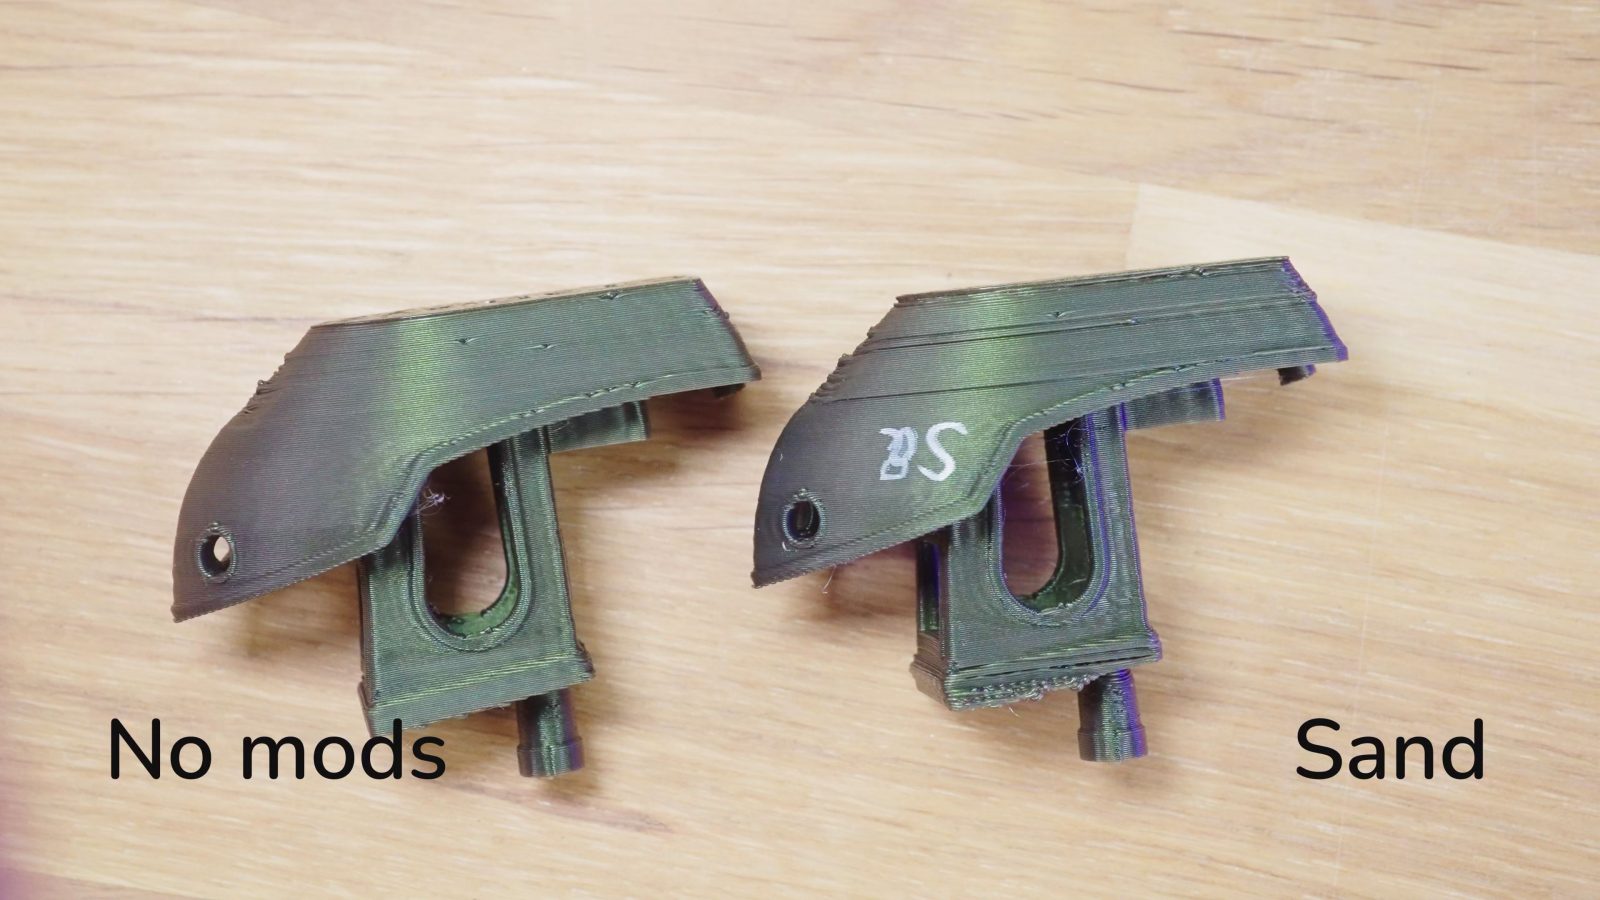
But again, there really isn’t any improvement to be seen in the parts. Actually, they again got worse, because the extra weight on the bed is just that – extra weight. This means we have even more skipped steps than in any of the other attempts, but no gain in how well resonances get absorbed.
Suspended Printer with Sand-Tainers
As a last-ditch effort, I also tried combining the sandified machine with the suspensorium, which just ended up spreading even more sand around the studio, but the prints weren’t any different than the other attempts.
My Conclusion
There’s a real temptation here for me to just, you know, tweak accelerations a bit on some of these setups and be like “hey, look, this worked super well”! On YouTube, that would be a fantastic way to get easy views because nobody can really check whether I cheated on any of these setups, but that’s just not my style. I think it’s really important, too, to show the things that don’t work so that you all won’t need to waste your time trying the same things again that didn’t work the first time.
The fact that the anti-vibration feet worked so well in the last video was probably a lucky accident where all the frequencies that the combination of the printer weight, the springiness of the feet and the dampening effects lined up perfectly to where we had resonances, so what we did here with just randomly adding dampening and springiness to a system was bound to also produce random effects – mostly, though, the printer was thoroughly unimpressed by anything we did today.
There is a way to do this properly and to tune a spring-damper to a system, involving characterization of the system we have, lots of calculus, Nyquist plots, I mean, at some point during my engineering degree I probably would have been able to get this figured out with a couple days of effort, but today I’d need to at least spend a couple of weeks learning up on all the principles again. Bit too much to cram into a 15-minute YouTube video.
But this sort of stuff is actually being used on real products. Back when I thought owning a BMW was a good idea, that car had tuned vibration dampers all over the engine, rear axle and all throughout the car. The most visible ones were essentially weights on rubber mounts that were actually labeled for the frequency they absorbed. So it’s a concept that works… if done properly.
This right here isn’t really “proper”. I guess the sand approach works for CNC routers because
- the extra mass itself already helps,
- you can add a whole lot more sand than we can here, and
- the frequencies you’re trying to absorb on a CNC router are quite a bit higher, which generally is easier to absorb.
But one last thing I can try here is different belts, maybe? There are cheap belts, brand-name belts, glass-fiber ones, steel ones, so the question is, would that be something you’re interested in seeing tried out?
Anyway, that’s it for this one, leave the video a like, share it, get subscribed, support the channel on Patreon or YouTube memberships, you know the usual things people ask for at the end of these videos, most importantly, though, keep on making, and I’ll see you in the next one. Bye!
Models shown:
Anti-vibration feet by schuetzi99
3D Benchy by Creative Tools .printables.com/model/2236…
Ringing Test Part by CNC Kitchen
Products used:
💙 Enjoying the videos? Support my work on Patreon!
Product links are affiliate links – I may earn a commission on qualifying purchases (at no extra cost to you)

Check out my second channel “More Layers” on YouTube for livestreams