
Resin printers, they’re pretty great, right? Well, they’re also mostly all the same, so I get that reviews of yet another Chitubox-based cookie cutter printer aren’t exactly interesting. So I tried to find one that was different – and that’s the Anycubic Photon M3 series.
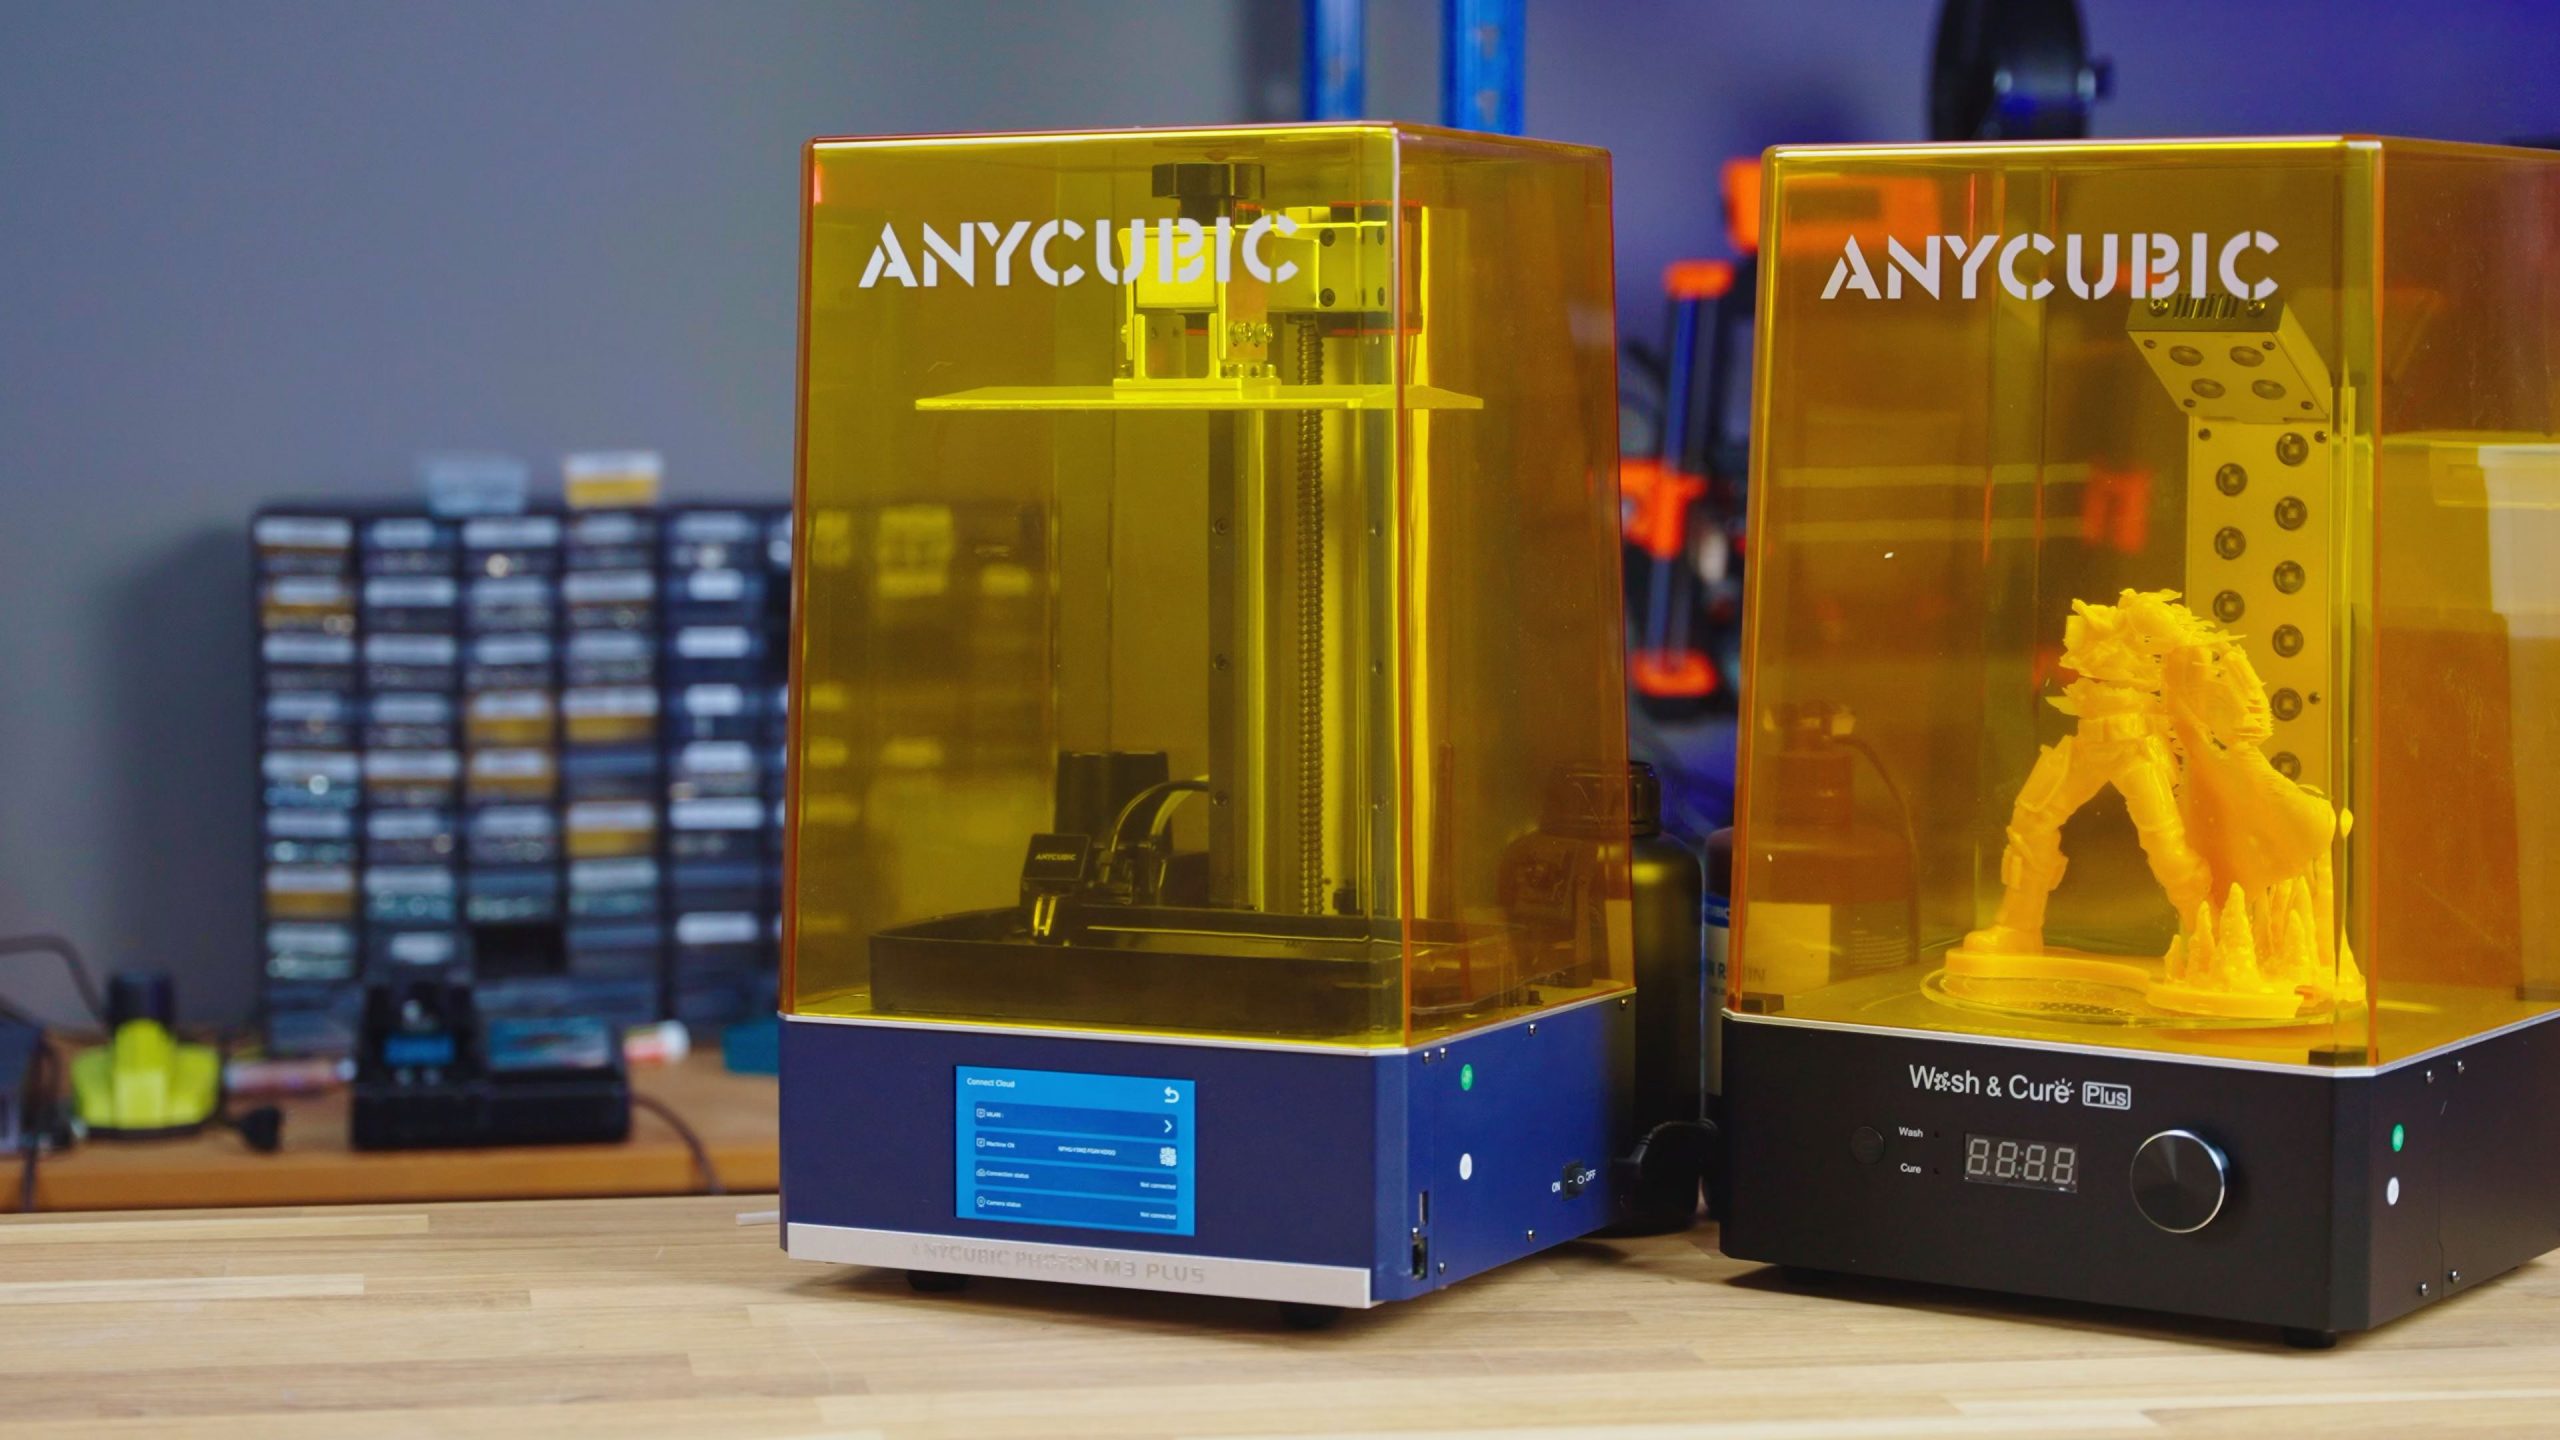
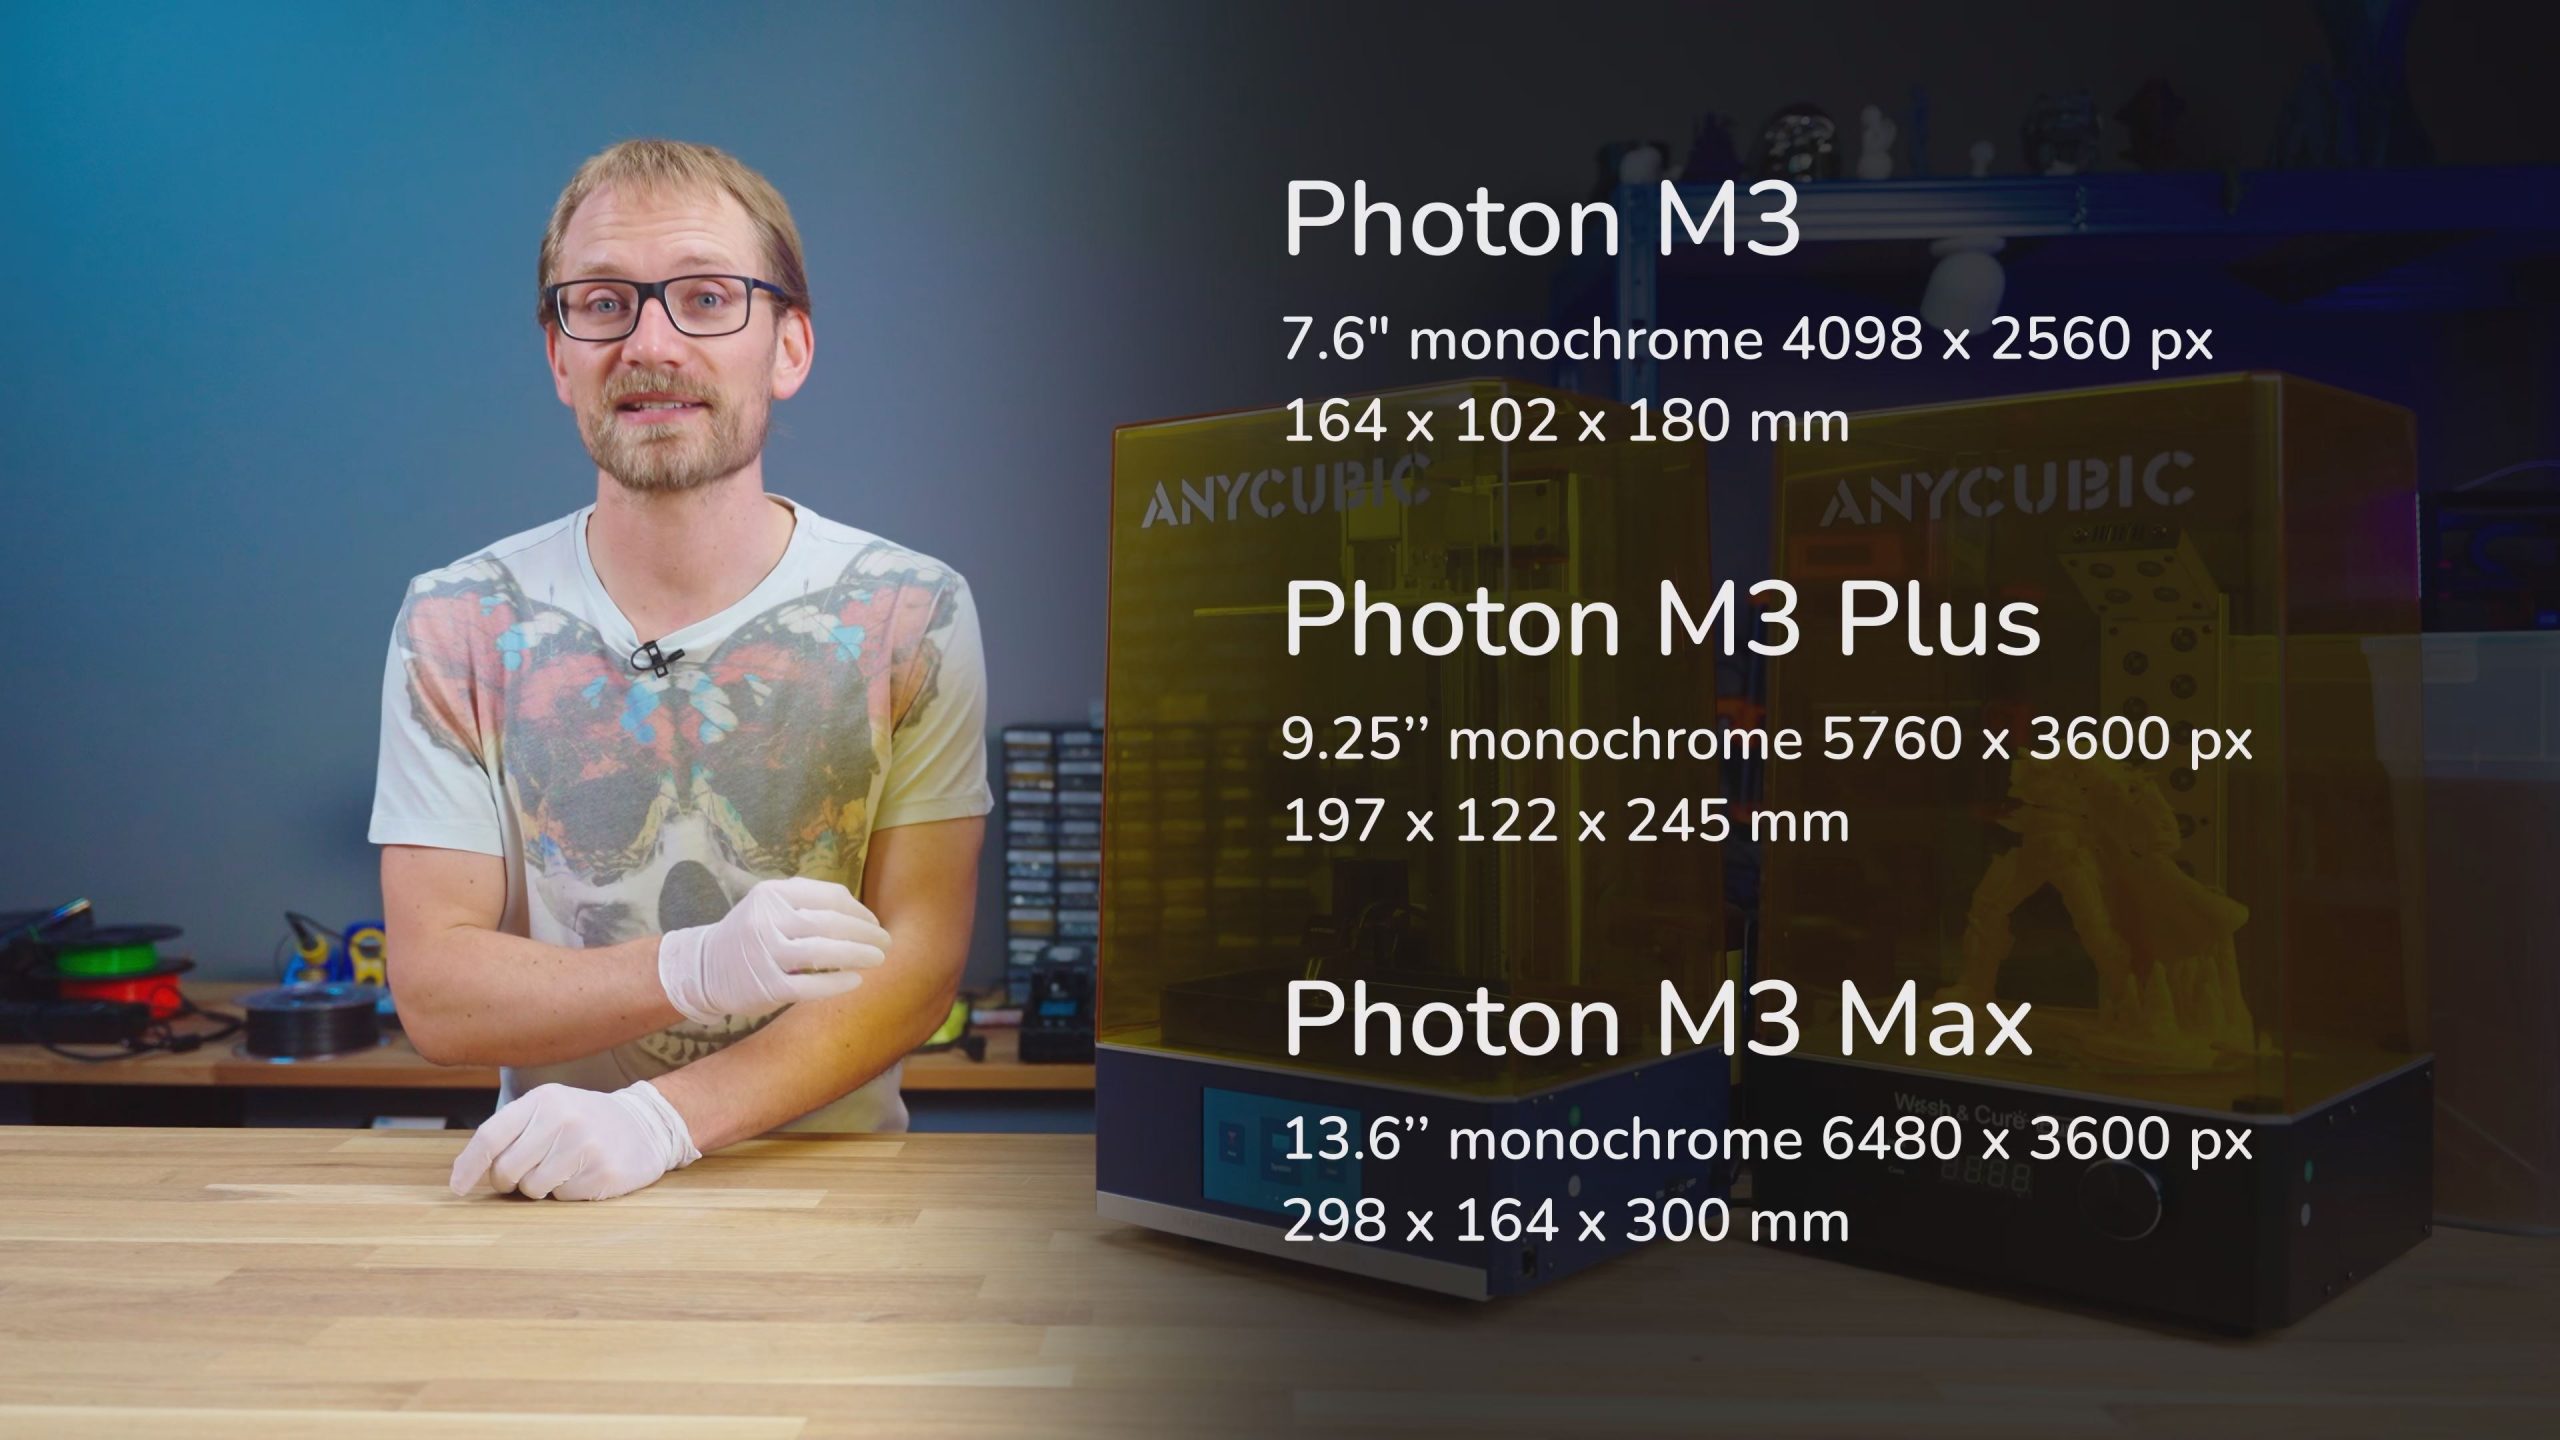
The Anycubic machines all use a custom ecosystem; this is the mid-size M3 Plus, they’ve also got the base M3, which uses a 4K masking LCD, this M3 Plus uses a 6K one and the M3 Max uses a 7K screen. The two larger machines, the Plus and the Max, also come with the more interesting features of the series, and that is network connectivity to their Anycubic cloud – it even has a little camera built-in – and they both have a resin auto-filling module that keeps the resin vat topped up during larger prints.
And what’s actually a really cool addition is the textured PEI release film that promises an easier release of each layer, but I found it also leaves a very satisfying texture on your parts.
Also, this M3 Plus is supposed to be insanely fast, being able to print 100 mm tall in just one hour.
That’s the sales pitch Anycubic gives, so let’s take a look at how well all of this actually works in practice.
Let’s start out with the disclaimer: This machine was provided free of charge by Anycubic, I do not need to send it back, there were no strings attached as to what or how I should cover the machine and no money changed hands. Also, there are some other reviews out there on this printer that ignore some rather striking shortcomings in the name of “oh this was pre-release”. I don’t really like giving a free pass for that, and now that the Anycubic M3 series is released and has been shipping for a while, those excuses kinda stop being valid.
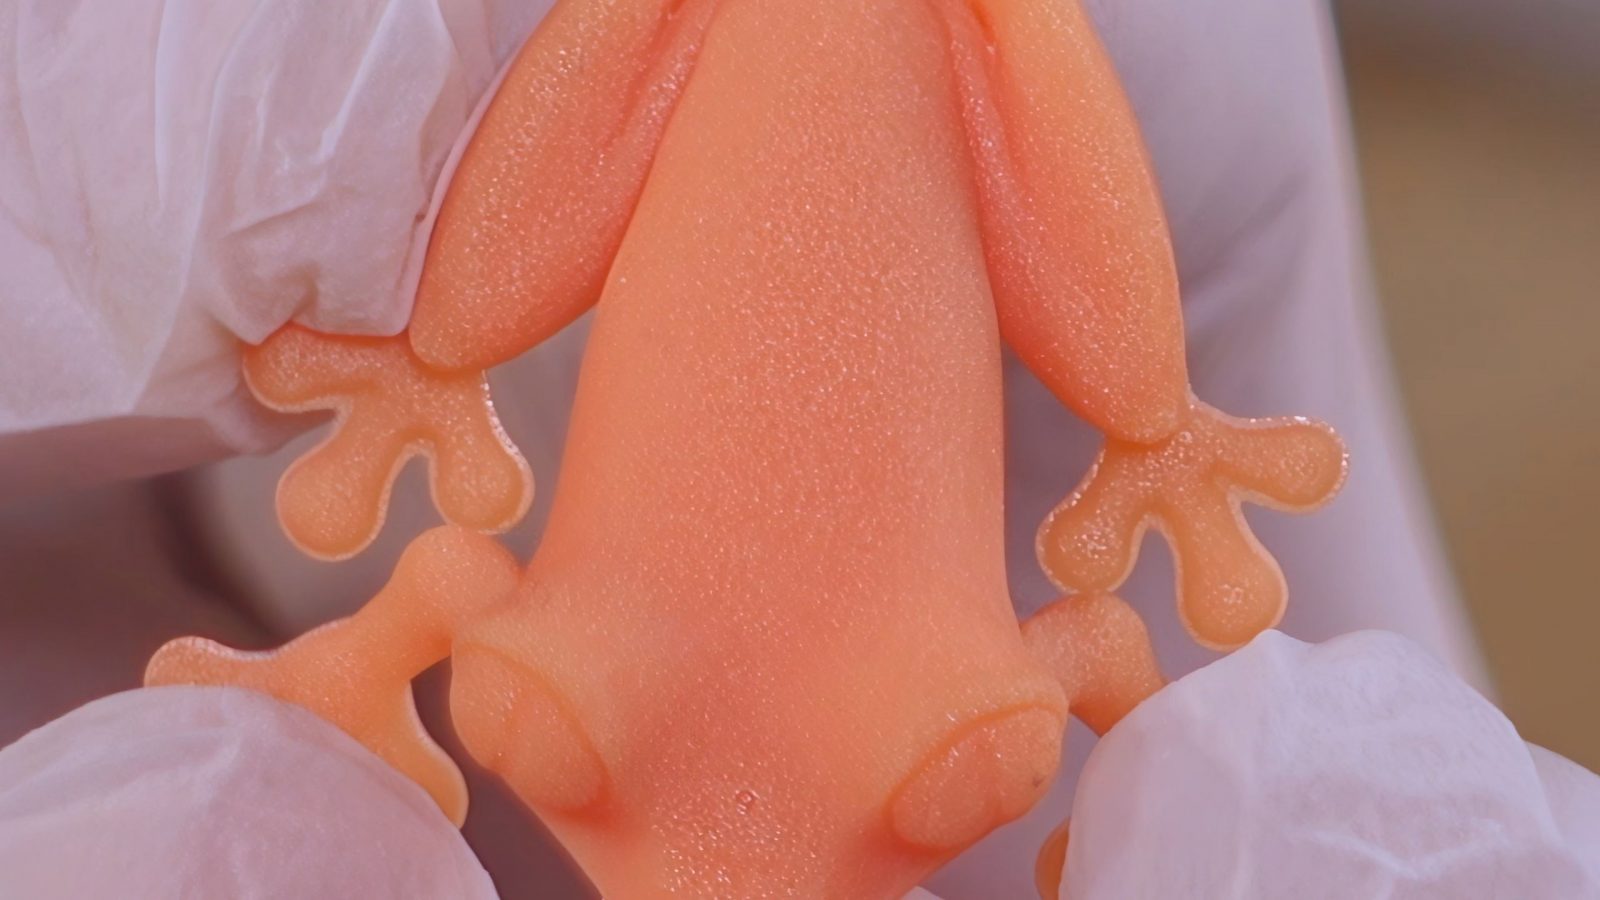
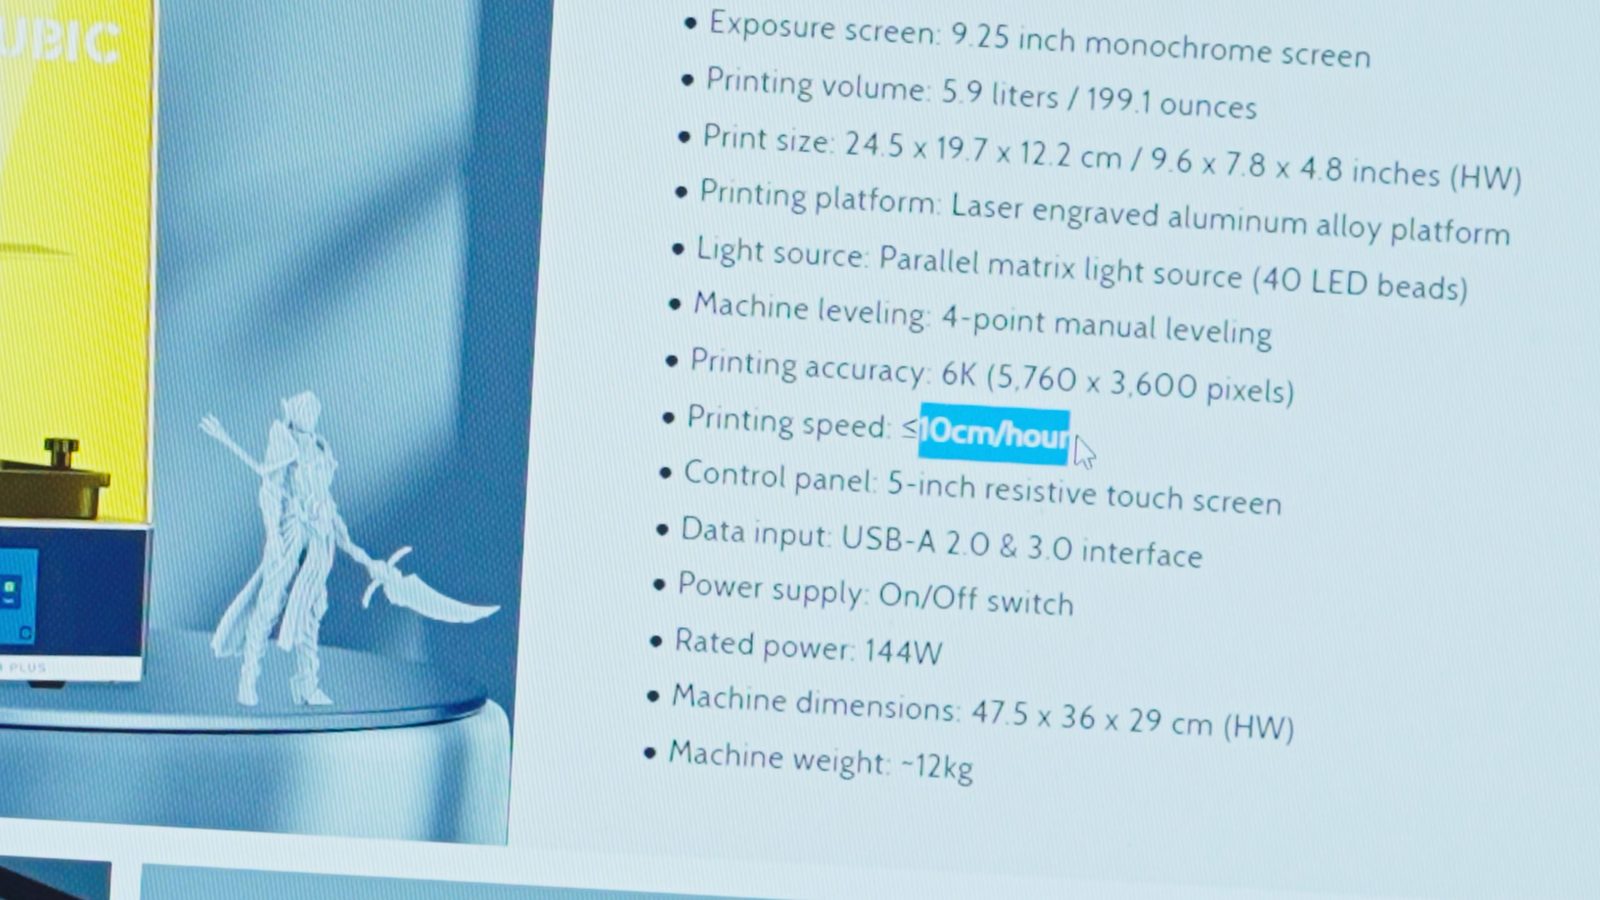
So first and foremost, you’d expect a resin printer to produce high-detail, crisp parts, and the M3 Plus does that. The 6K screen at a build area of roughly 20 x 12 x 24.5cm makes for a pixel size of just 34µm, which is well on the finer side of what MSLA printers typically give you.

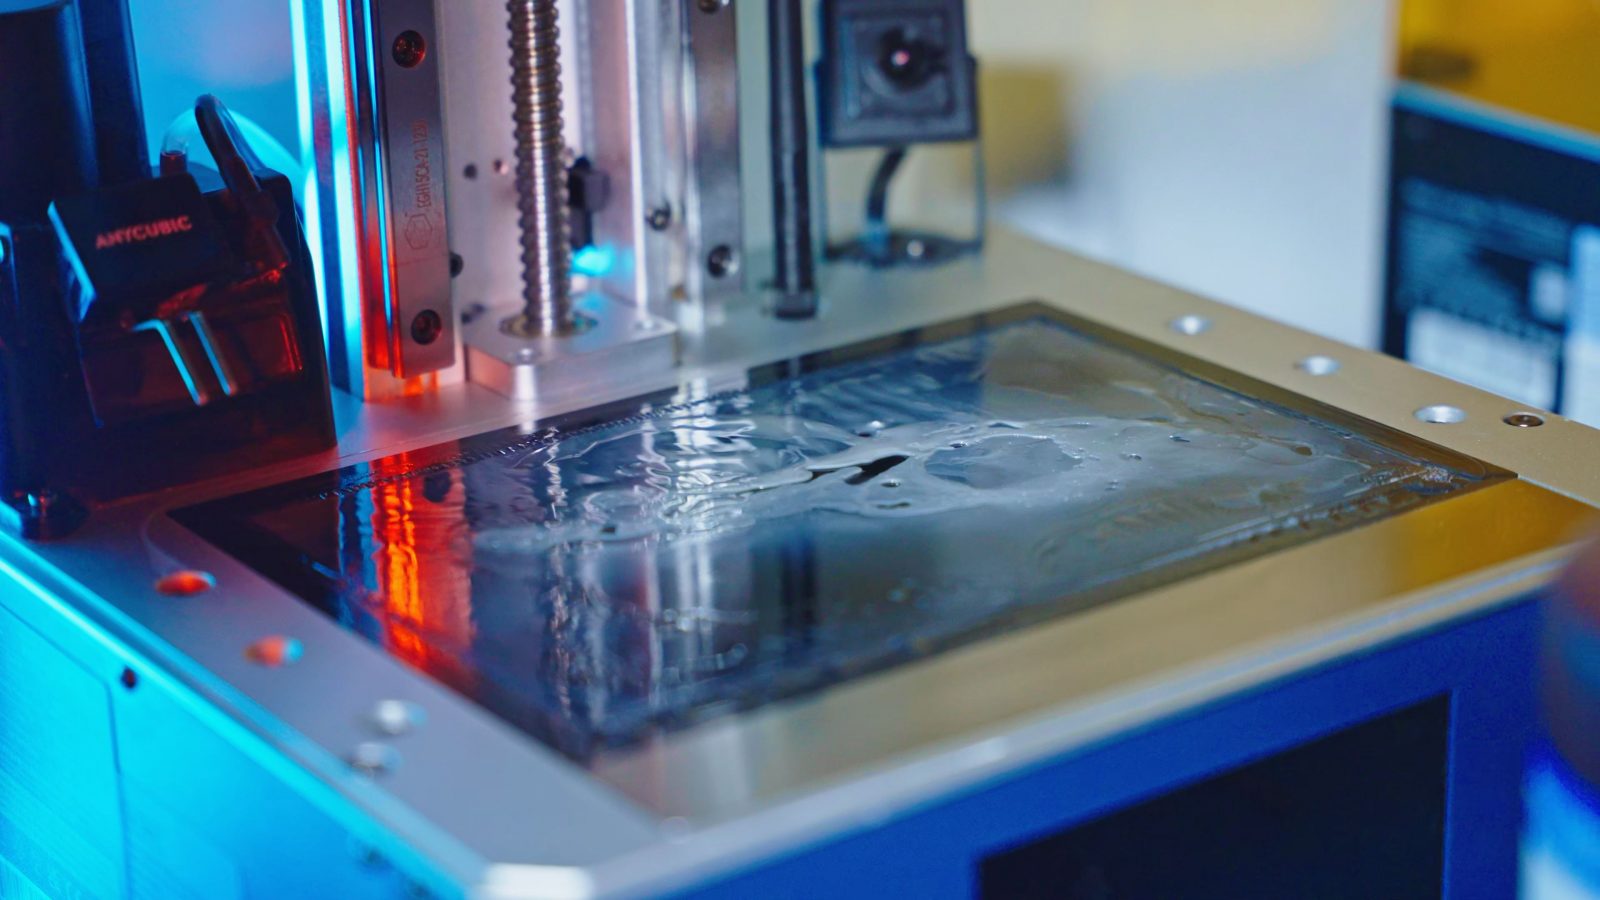
But as you can see, there’s a bit of an issue with mine, as right as I started printing parts for this review, somehow I guess the print ended up poking a hole through the FEP film, flooded the screen with resin and it baked a proper layer of crud onto it. That is unfortunate, especially because during the unboxing livestream I wasn’t able to get the included screen protector on without bubbles or trapped dust, so this screen unfortunately is ruined. But like I said, you can expect a resin printer to print well, it does that, and it’s literally everything else but the prints themselves that differentiate the machines, so that’s the interesting bits and that’s what we’re going to focus this review on.
Vat Auto-Filling Function
One of the cool features is the vat auto-filling function of the M3 Plus and Max. This actually works way differently than what I expected. I thought it was going to be a dog-bowl-filler kinda deal where you pop in the resin bottle upside down, but it’s actually way more complicated than that.
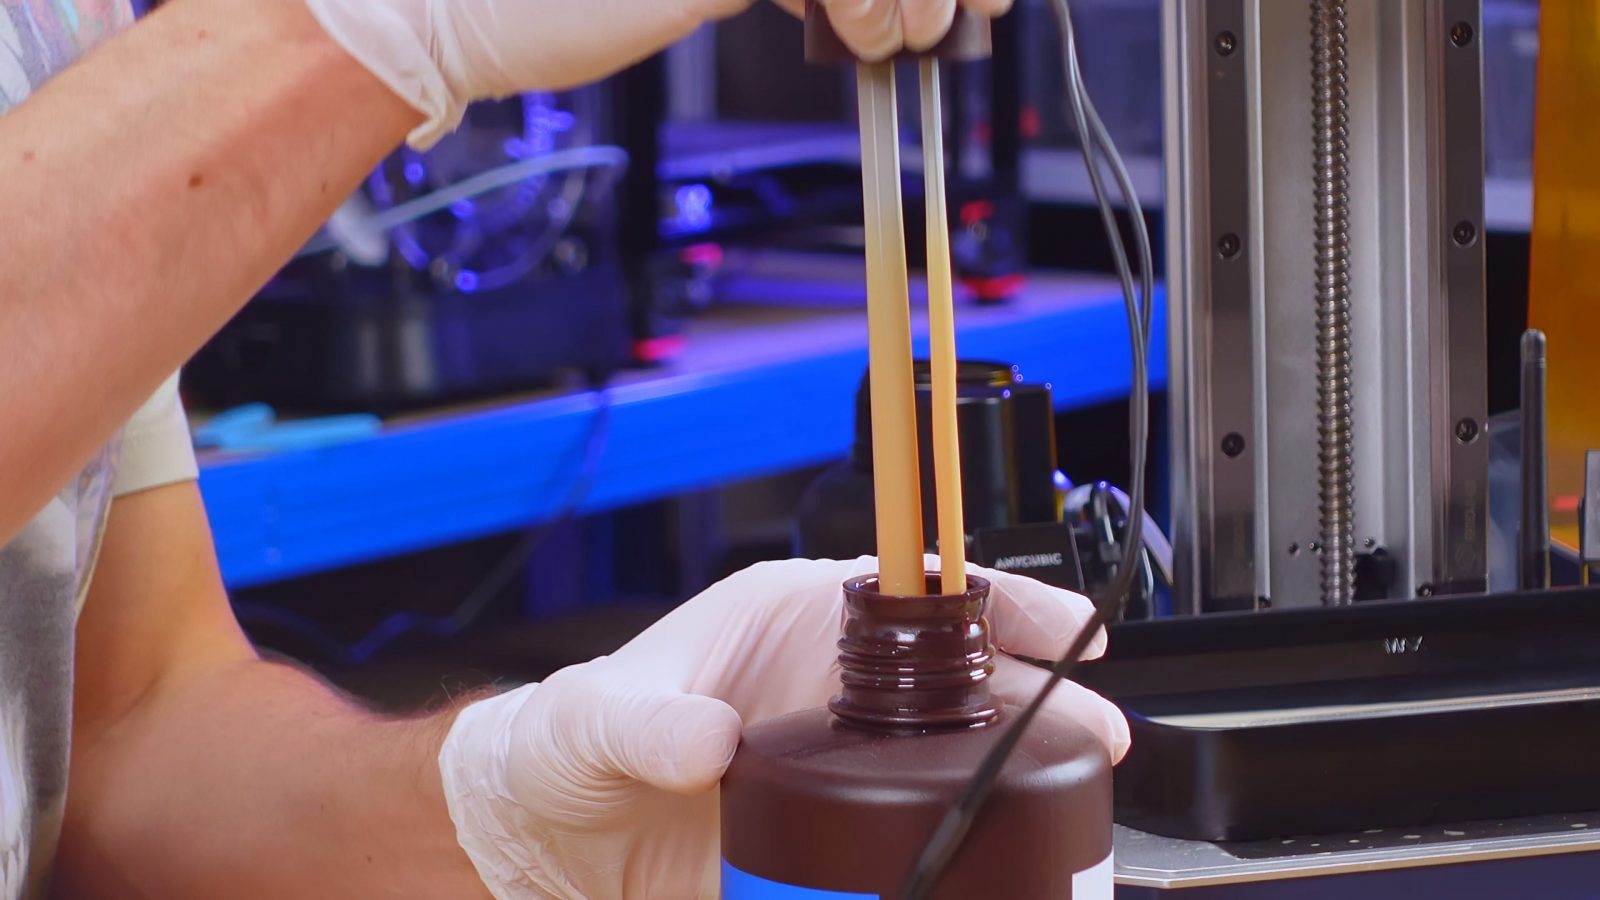
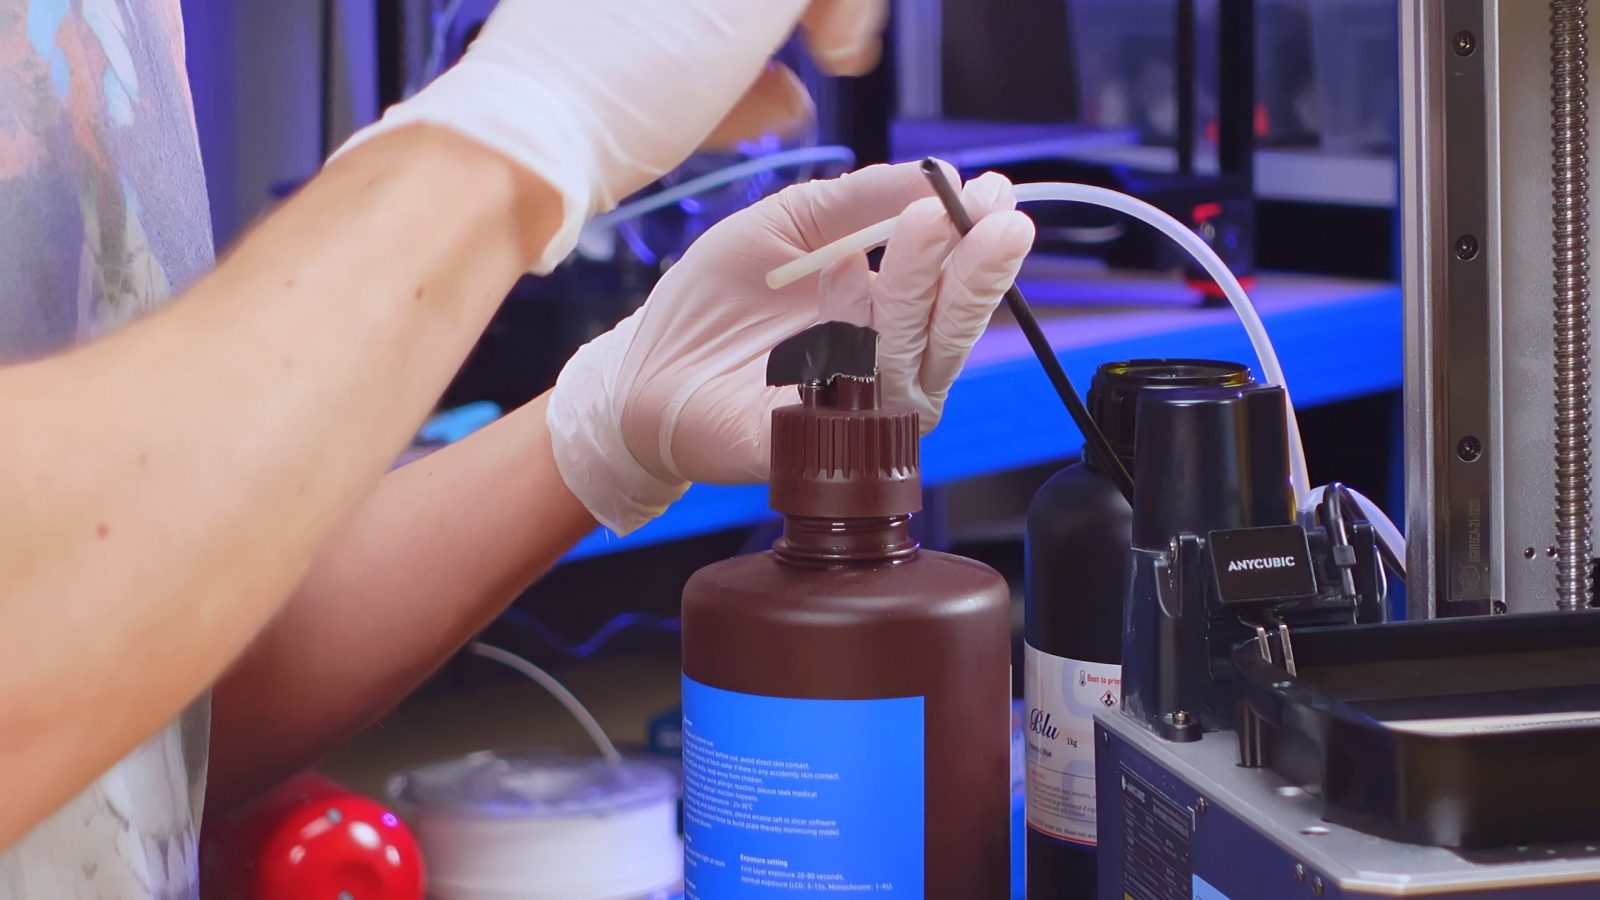
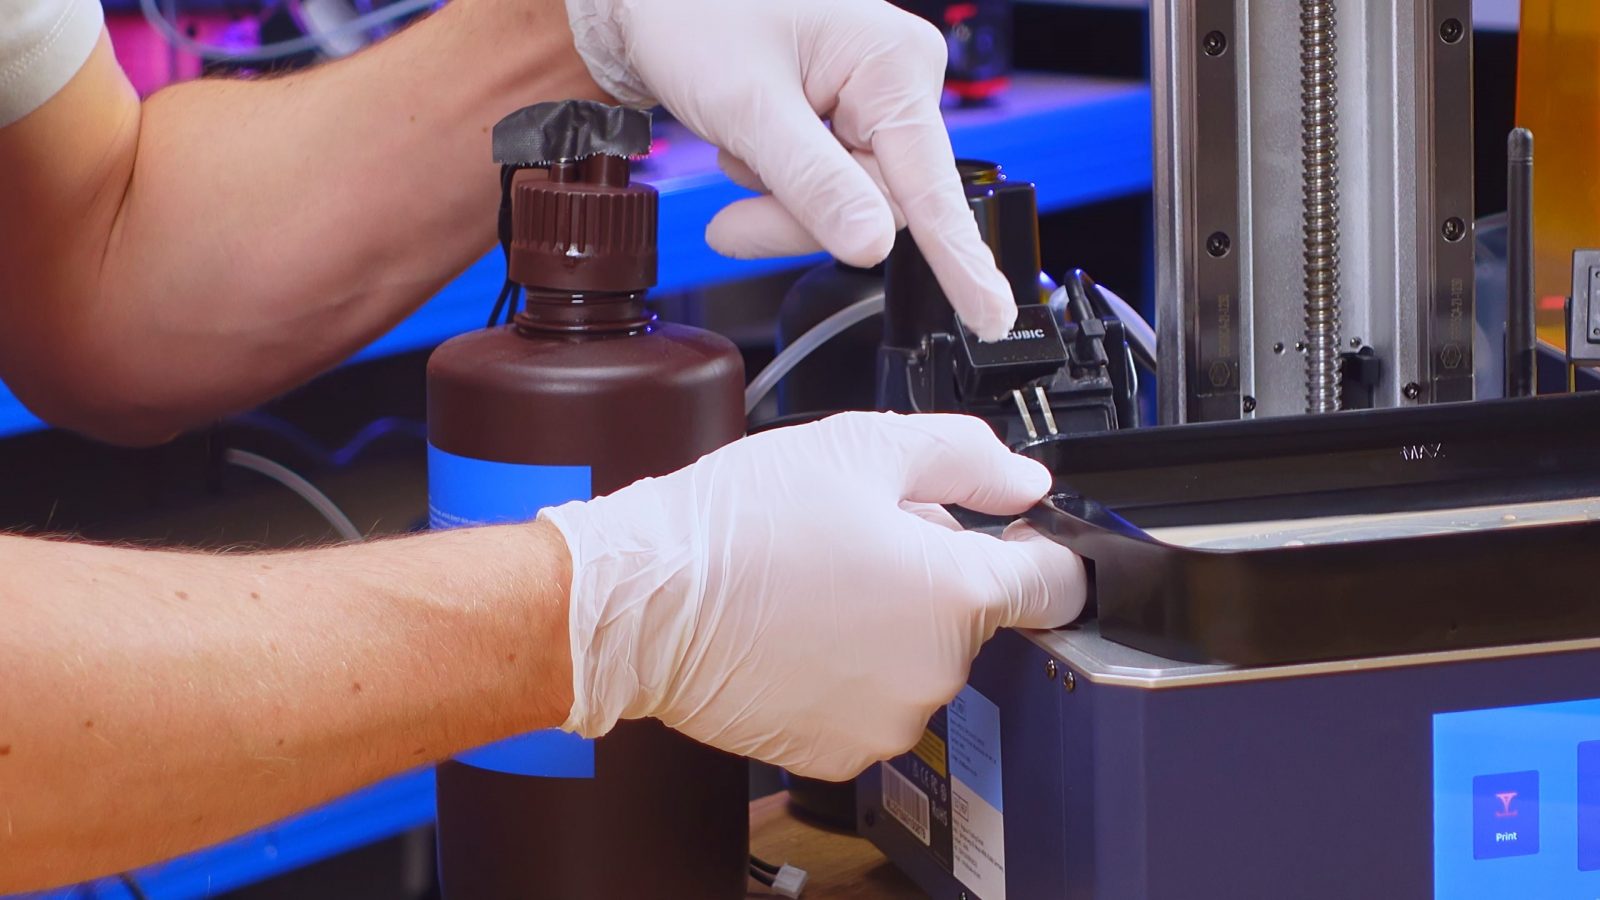
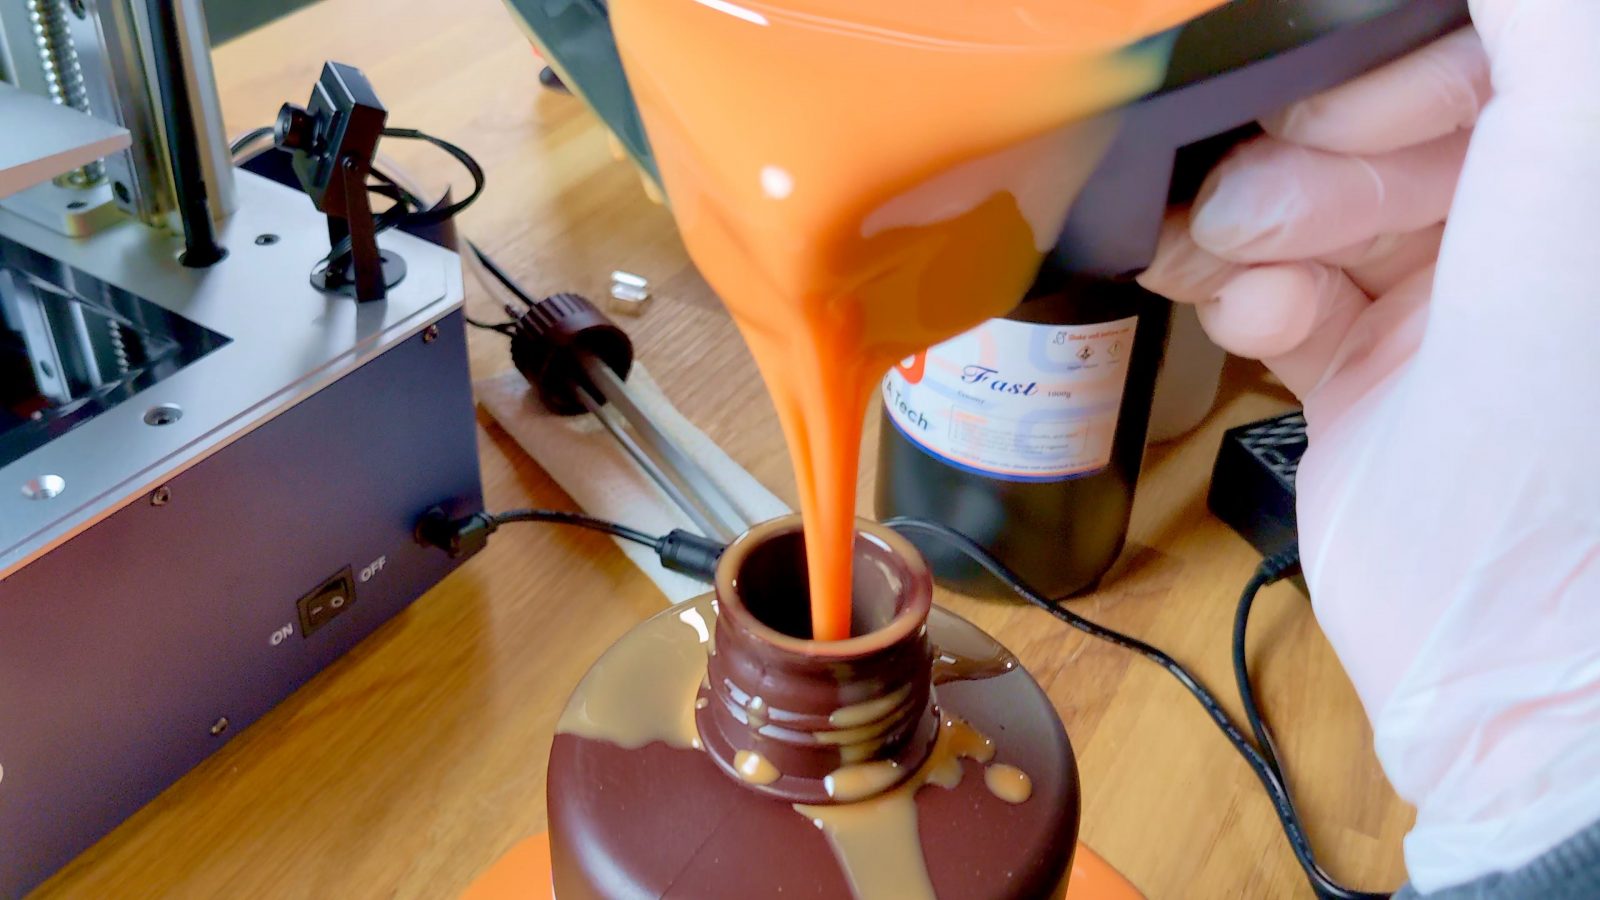
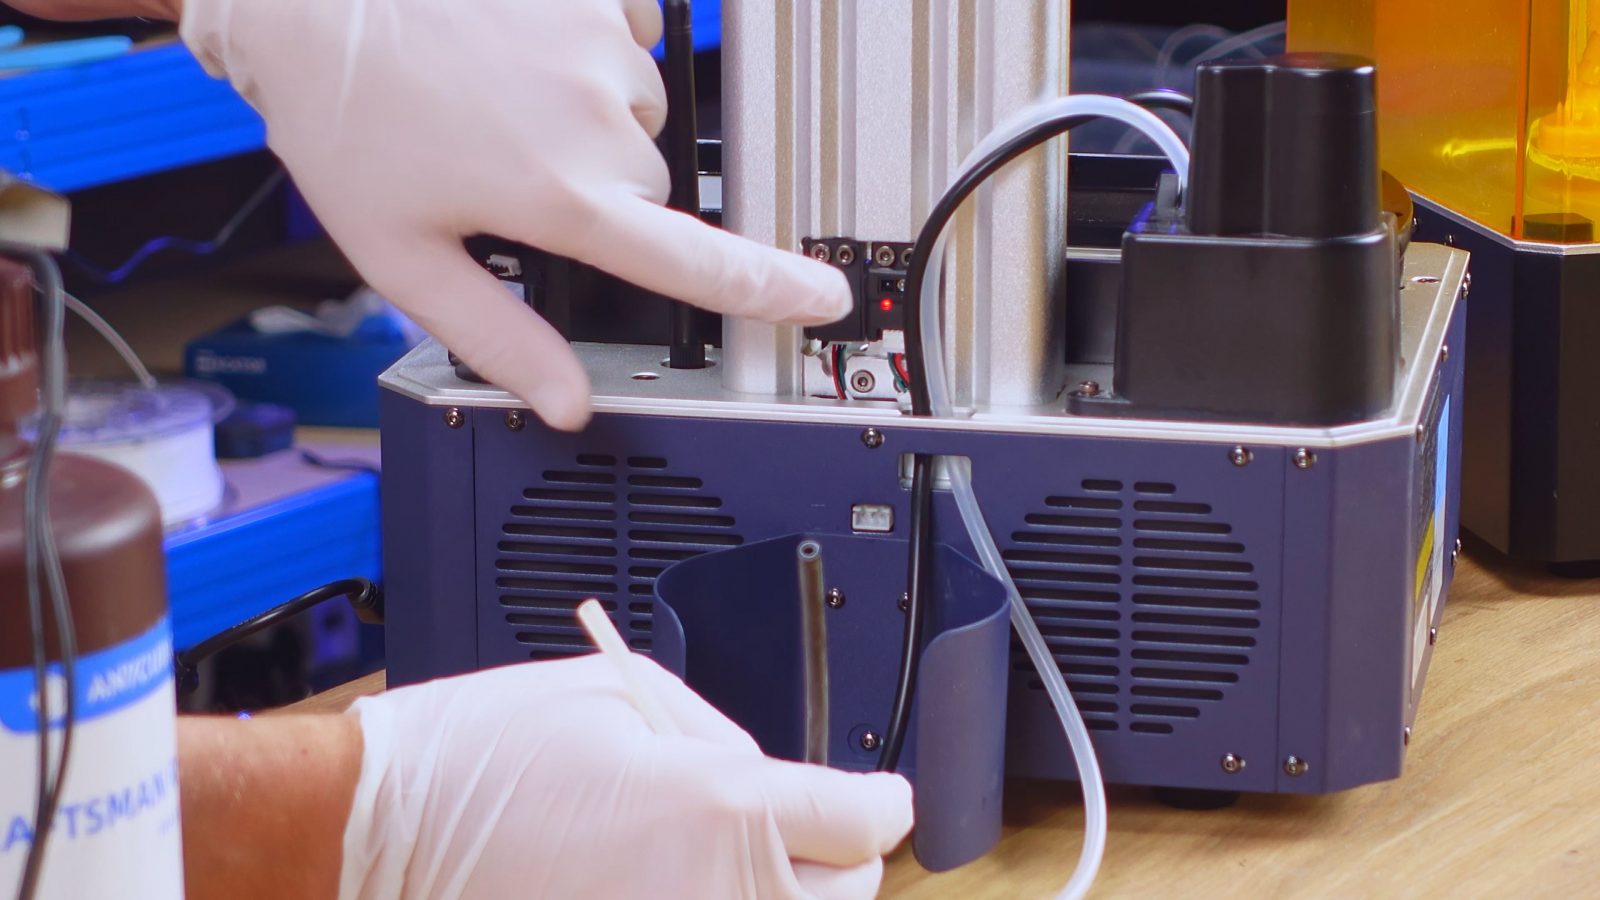
The core piece is this air pump that lives inside the printer, it hooks up to a special resin bottle cap that has these long aluminum studs attached on the inside and two hoses and cables attached on the outside. So what happens is that the air pump actually pressurizes the entire resin bottle, and then because one of the aluminum studs is actually a hollow tube, the resin gets forced out through that bore, through the black silicone hose and into the printer, where it gets squirted into the resin vat. The other rod in the bottle I guess forms a plate capacitor with the tube, and that would change capacitance as the bottle empties, so that would allow the printer to monitor the resin level inside the bottle without any moving parts.
In the printer’s vat, there are these two prongs that dip down towards the resin as you slide in the vat, and those sense the resin fill level in there.
Yes, this is a rather complex system and I have no idea how well it’s still going to work a couple of months in, but I guess worst case, you replace the silicone tubes and you’re up and running again. This actually does a great job at keeping the vat full all the time. Too full. Like, above the max fill line
This is fine for printing, but as soon as you try to swap resins and have to empty out the vat, you’re in trouble. The vat has a spout, but that thing is the worst mimic I’ve ever seen. It’s an absolute trap.
So I guess you’d need to use a turkey baster to drain off the majority of the resin first, or plan for a resin swap a couple of prints ahead, turn off the auto-refill and then run down the resin level on purpose.
You can’t adjust the resin fill level by bending down the sensor fingers, because that will actually prevent you from getting the vat in and out; but you know, you actually don’t even really need the autofill system on a printer this size. If you fill-up the vat all the way, that still is enough for any typical print even when it uses up the maximum build volume. This probably holds up to ⅓ liter of resin.
With the autofill system, you can only use 1l size resin bottles and only the ones that have this exact height and cap thread.
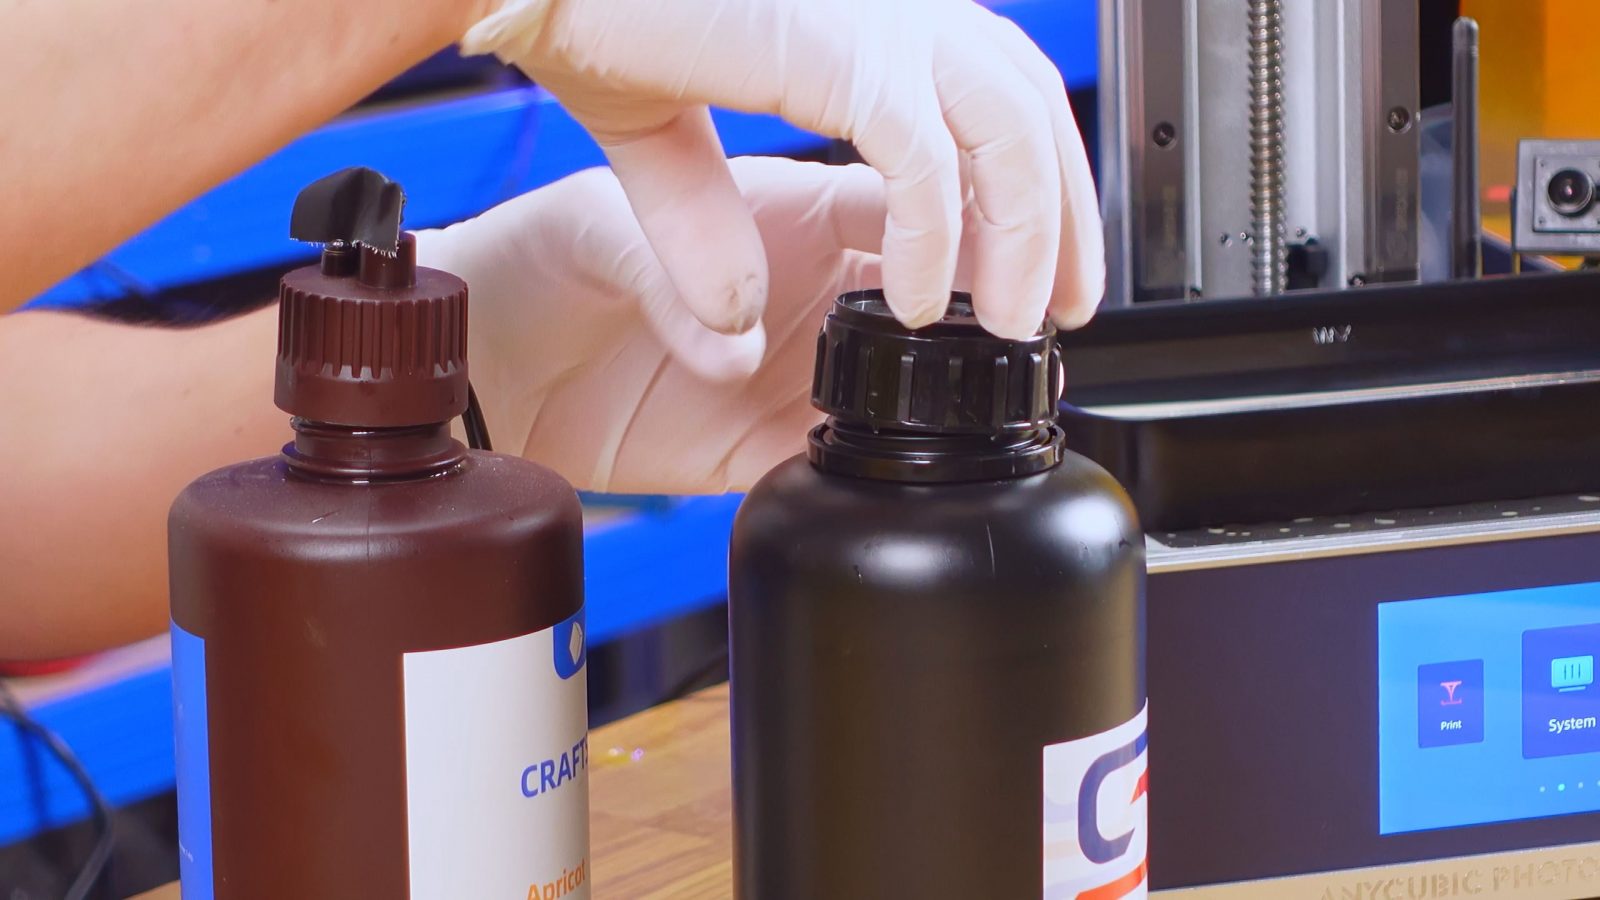
For example, Siraya Tech bottles use a larger thread, so you’d have to transfer those into an Anycubic bottle to use with the autofill system. Then also, the tubing gets in the way of the lid sensor all the time, so overall the autofill system just ends up being an annoyance more than it helps.
Anycubic Cloud Printing Service
On the other side of the Z-axis column, you’ll surely have noticed the camera module that’s mounted there. This is part of the Anycubic Cloud, and the cloud service, in its most basic form, is actually kinda useful when it works.
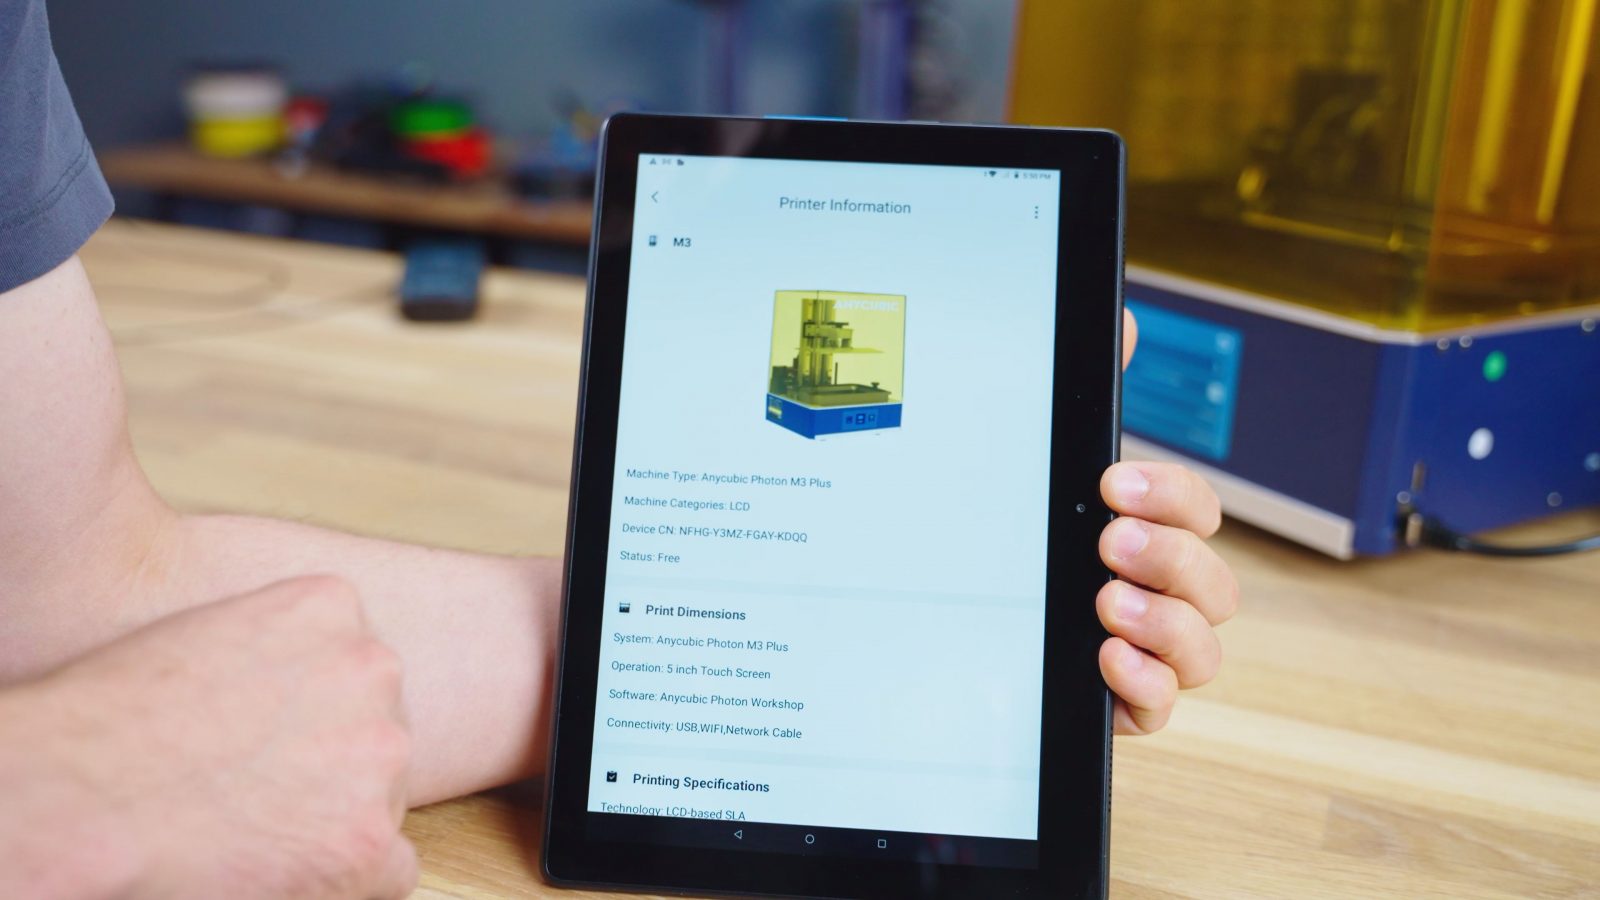
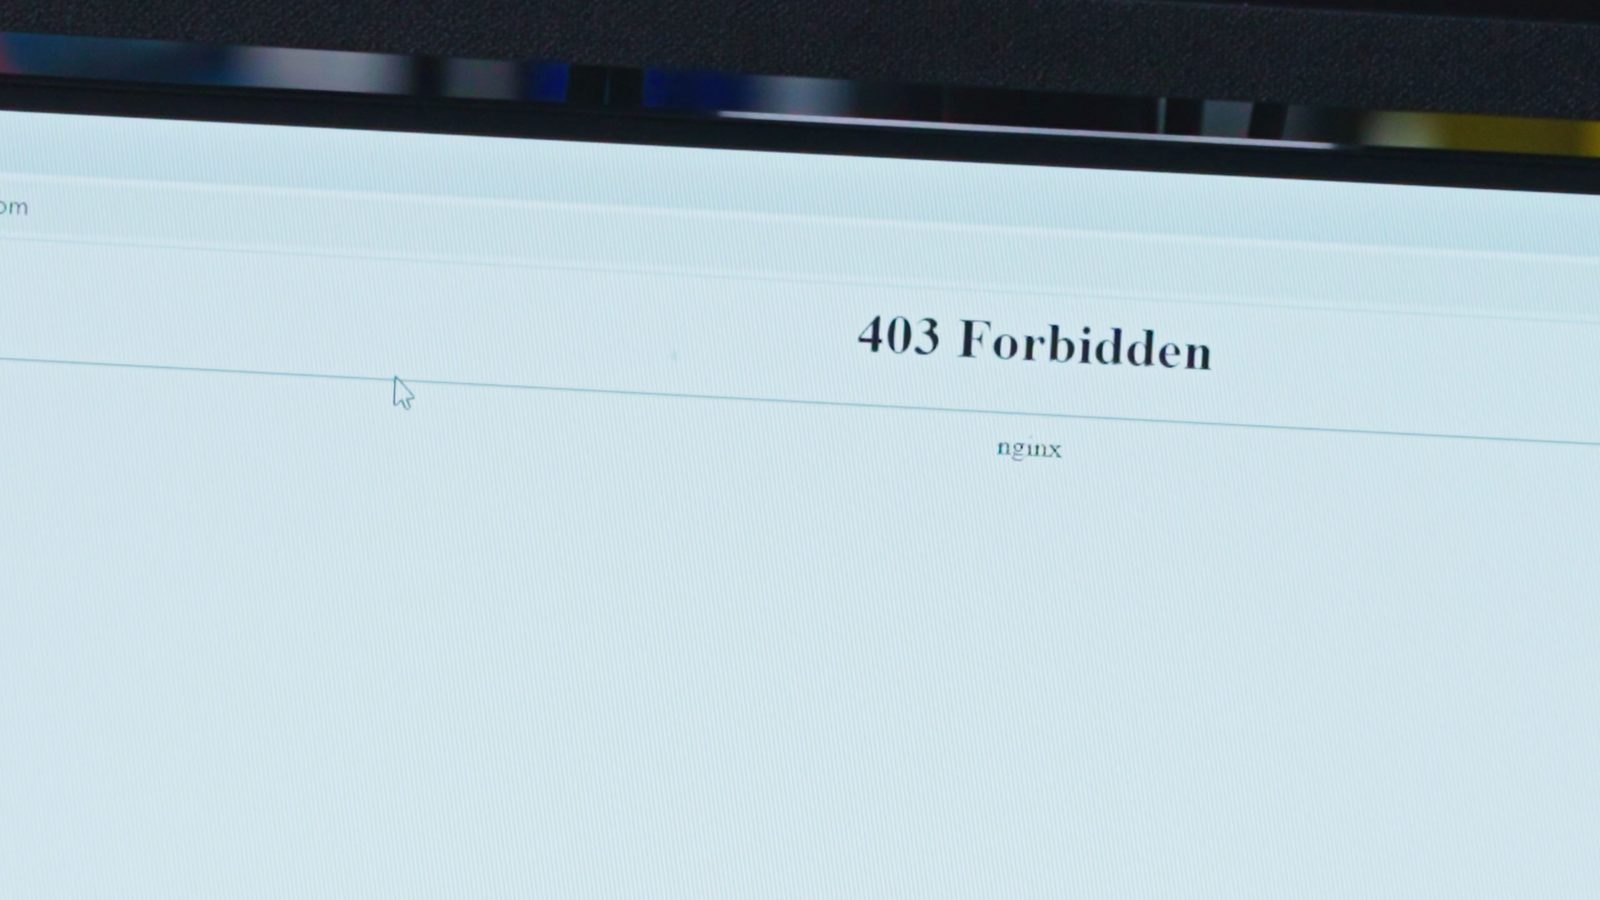
There are four pieces to the cloud printing service: The printer itself, your slicer, which is Anycubic’s Photon Workshop, then the Android or iOS app, and the cloud.anycubic.com website, which is completely dysfunctional, it’s linked from Photon Workshop, but it’s only generating internal server errors once you click past the expired certificate warnings. So really, you’re forced to use the app, because you need that to create a user account and link your printer. All you need to do to claim a machine is to enter the “CN” number from the printer, no confirmation on the machine or anything, and you can remote monitor the printer’s status and start prints straight from the slicer or from the app. Once you’ve printed a part, the file for that stays saved locally on the printer, so you can start printing it again without needing the app, but for new prints, you either start them immediately from the slicer or upload the print file to the cloud and then you have to pull out the app and start them from there. The printer itself doesn’t know anything about files stored in the cloud.
This is all still super unfinished if you couldn’t tell already. Privacy policy? Eh, we don’t need that. And the process of entering the CN number to claim a printer not only straight up didn’t work until the very latest firmware update, which you have to do manually through a USB drive, but it’s obviously a huge security risk. Like I said, there’s no confirmation whatsoever on the printer itself when someone is trying to claim it, which gives basically full control over the machine, and once somebody else has registered it, there is no way for you to kick them out or even reclaim it for yourself.
Also, my M3 Plus isn’t detecting the camera, and I don’t know if that’s a bug with mine specifically or just not supported in firmware yet.
There’s still a whole lot of work to be done for this to be “good”. Like I said, it’s certainly usable right now, but it’s not what I’d consider ready to ship and to put out into the world as a headlining feature of a new machine.
And buying stuff now and betting on it to get improved in the future, that’s a risky game to play. I mean, it wouldn’t be the first time for a cloud service to be announced and hyped up and then just be left to wither and eventually break.
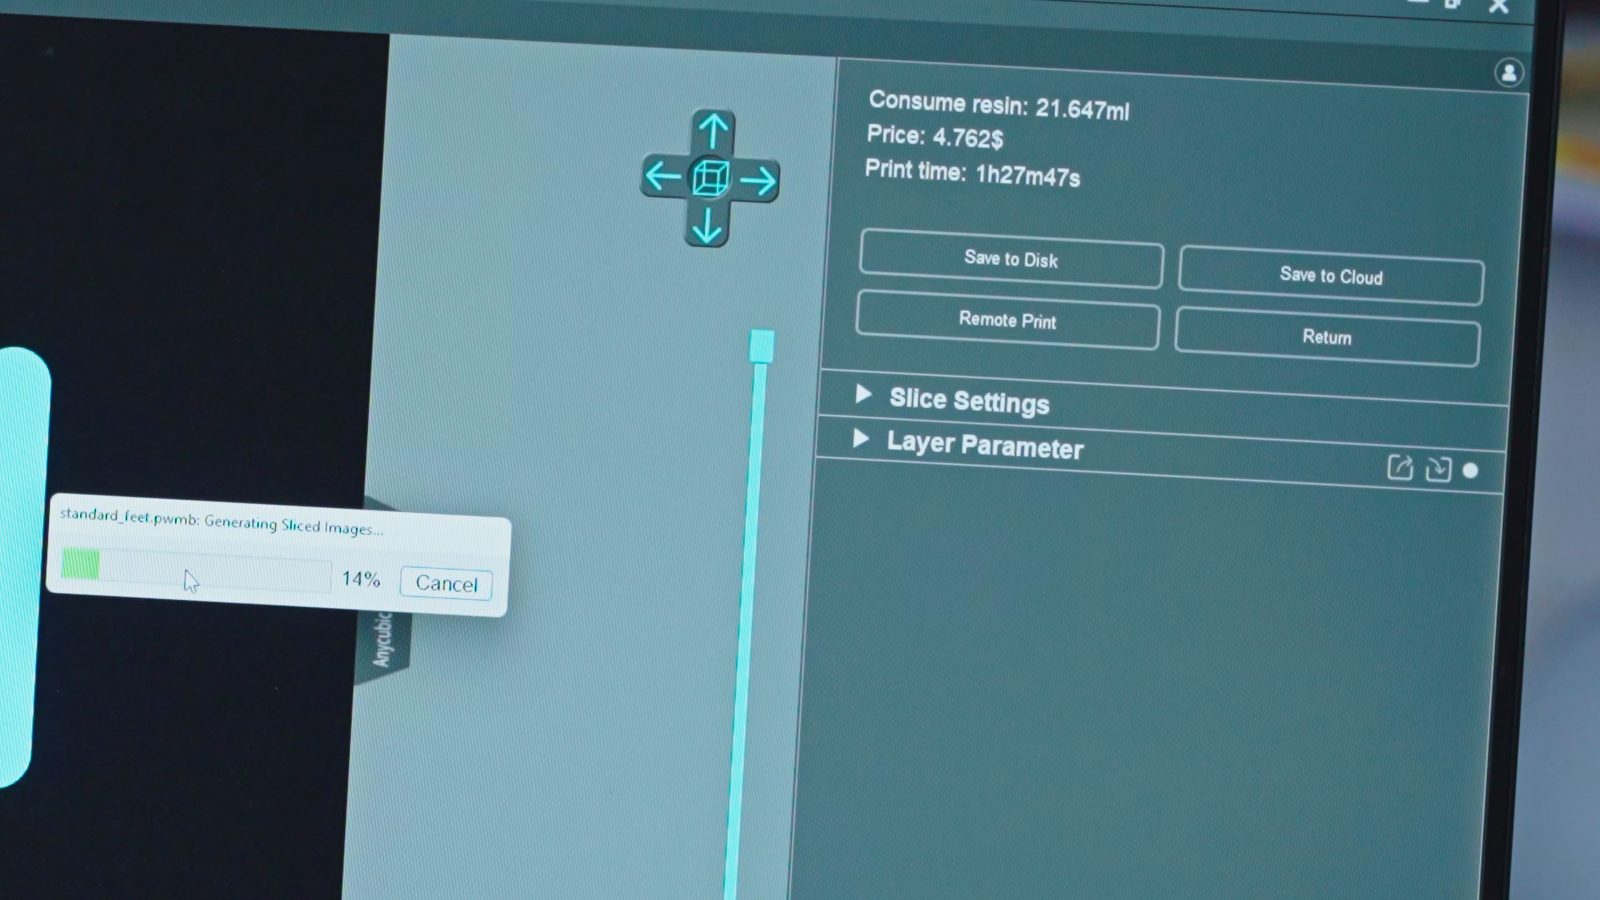
Print Speed and Slicer
Another feature that Anycubic are promoting left right and center is how fast the M3 Plus is supposed to be.
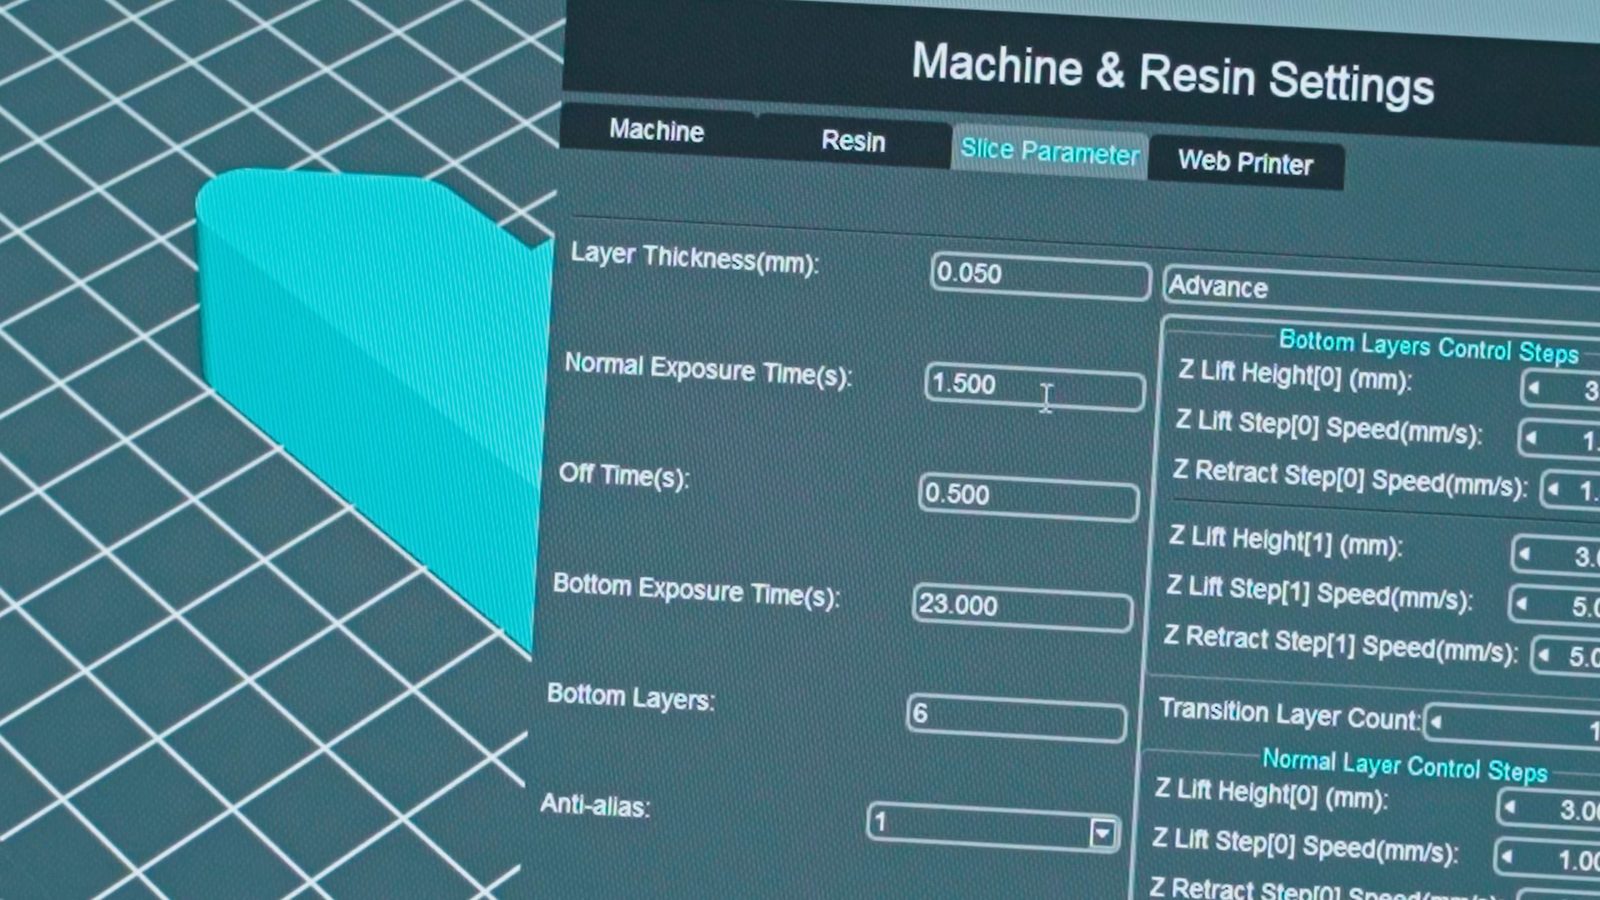
They’re claiming 100 mm of print height per hour, which is insane, that’s twice the speed of the already crazy fast SL1S. The problem is… well, it doesn’t do that. Sure, it has a layer exposure time of 1.5s, that’s totally doable and is, in fact, the default in Photon Workshop, but the peel cycle the printer does and any SLA printer does take way longer than that and is usually the determining factor for how fast a resin printer produces parts these days. Anycubic give you exactly one slicing profile for the M3 Plus, at 50µm layer height, but it only does 20mm of build height per hour, which is, as you probably figured out, a factor of 5 off from their claim. So to get to that 100 mm per hour, I guess you’d need to do 250 or 300µm layers, which is way coarser than a filament printer will do, and also hand-optimize the peel cycle, and then it’s also probably only going to work for a select few models that don’t make use of too much of the build area at once. So throwing a claim like that out there and then leaving it to the customer to figure out how to achieve it, that is at least disingenuous.
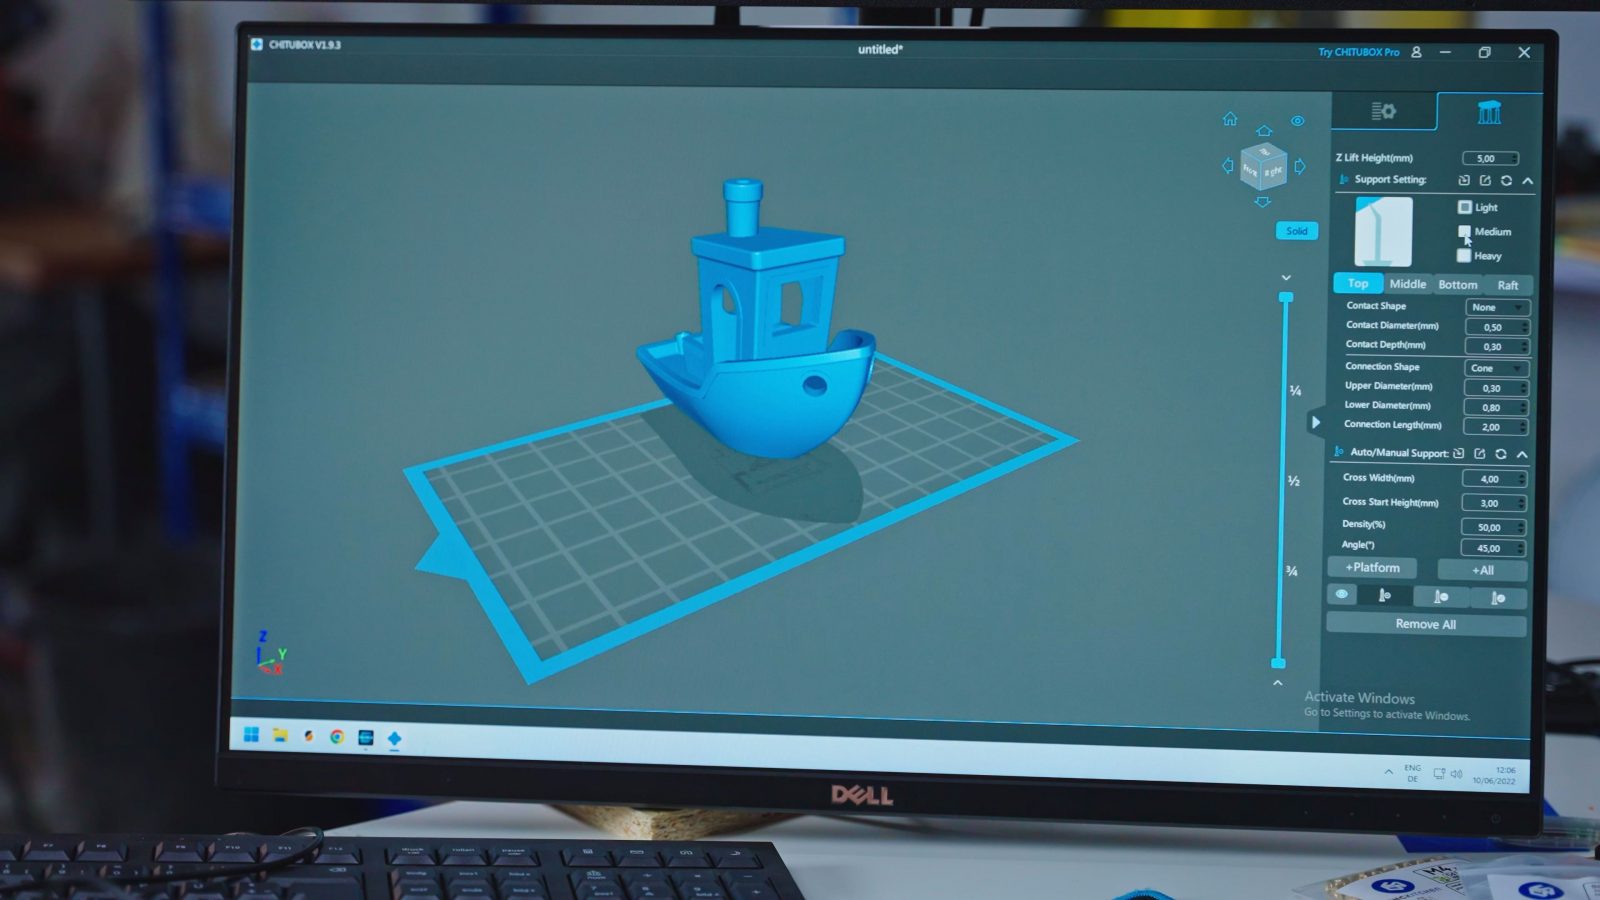
Speaking of Photon Workshop, Anycubic’s slicer for their resin printers, well, it’s basically Chitubox. It doesn’t say Chitubox anywhere, but it sure looks and feels a lot like Chitubox. Which is fine, that works, it does everything you need it to, but it’s pretty slow to use, especially on more complex models. I’ve heard that it’s supposed to be a fork of an earlier version of Chitubox, which does sound pretty plausible to me.
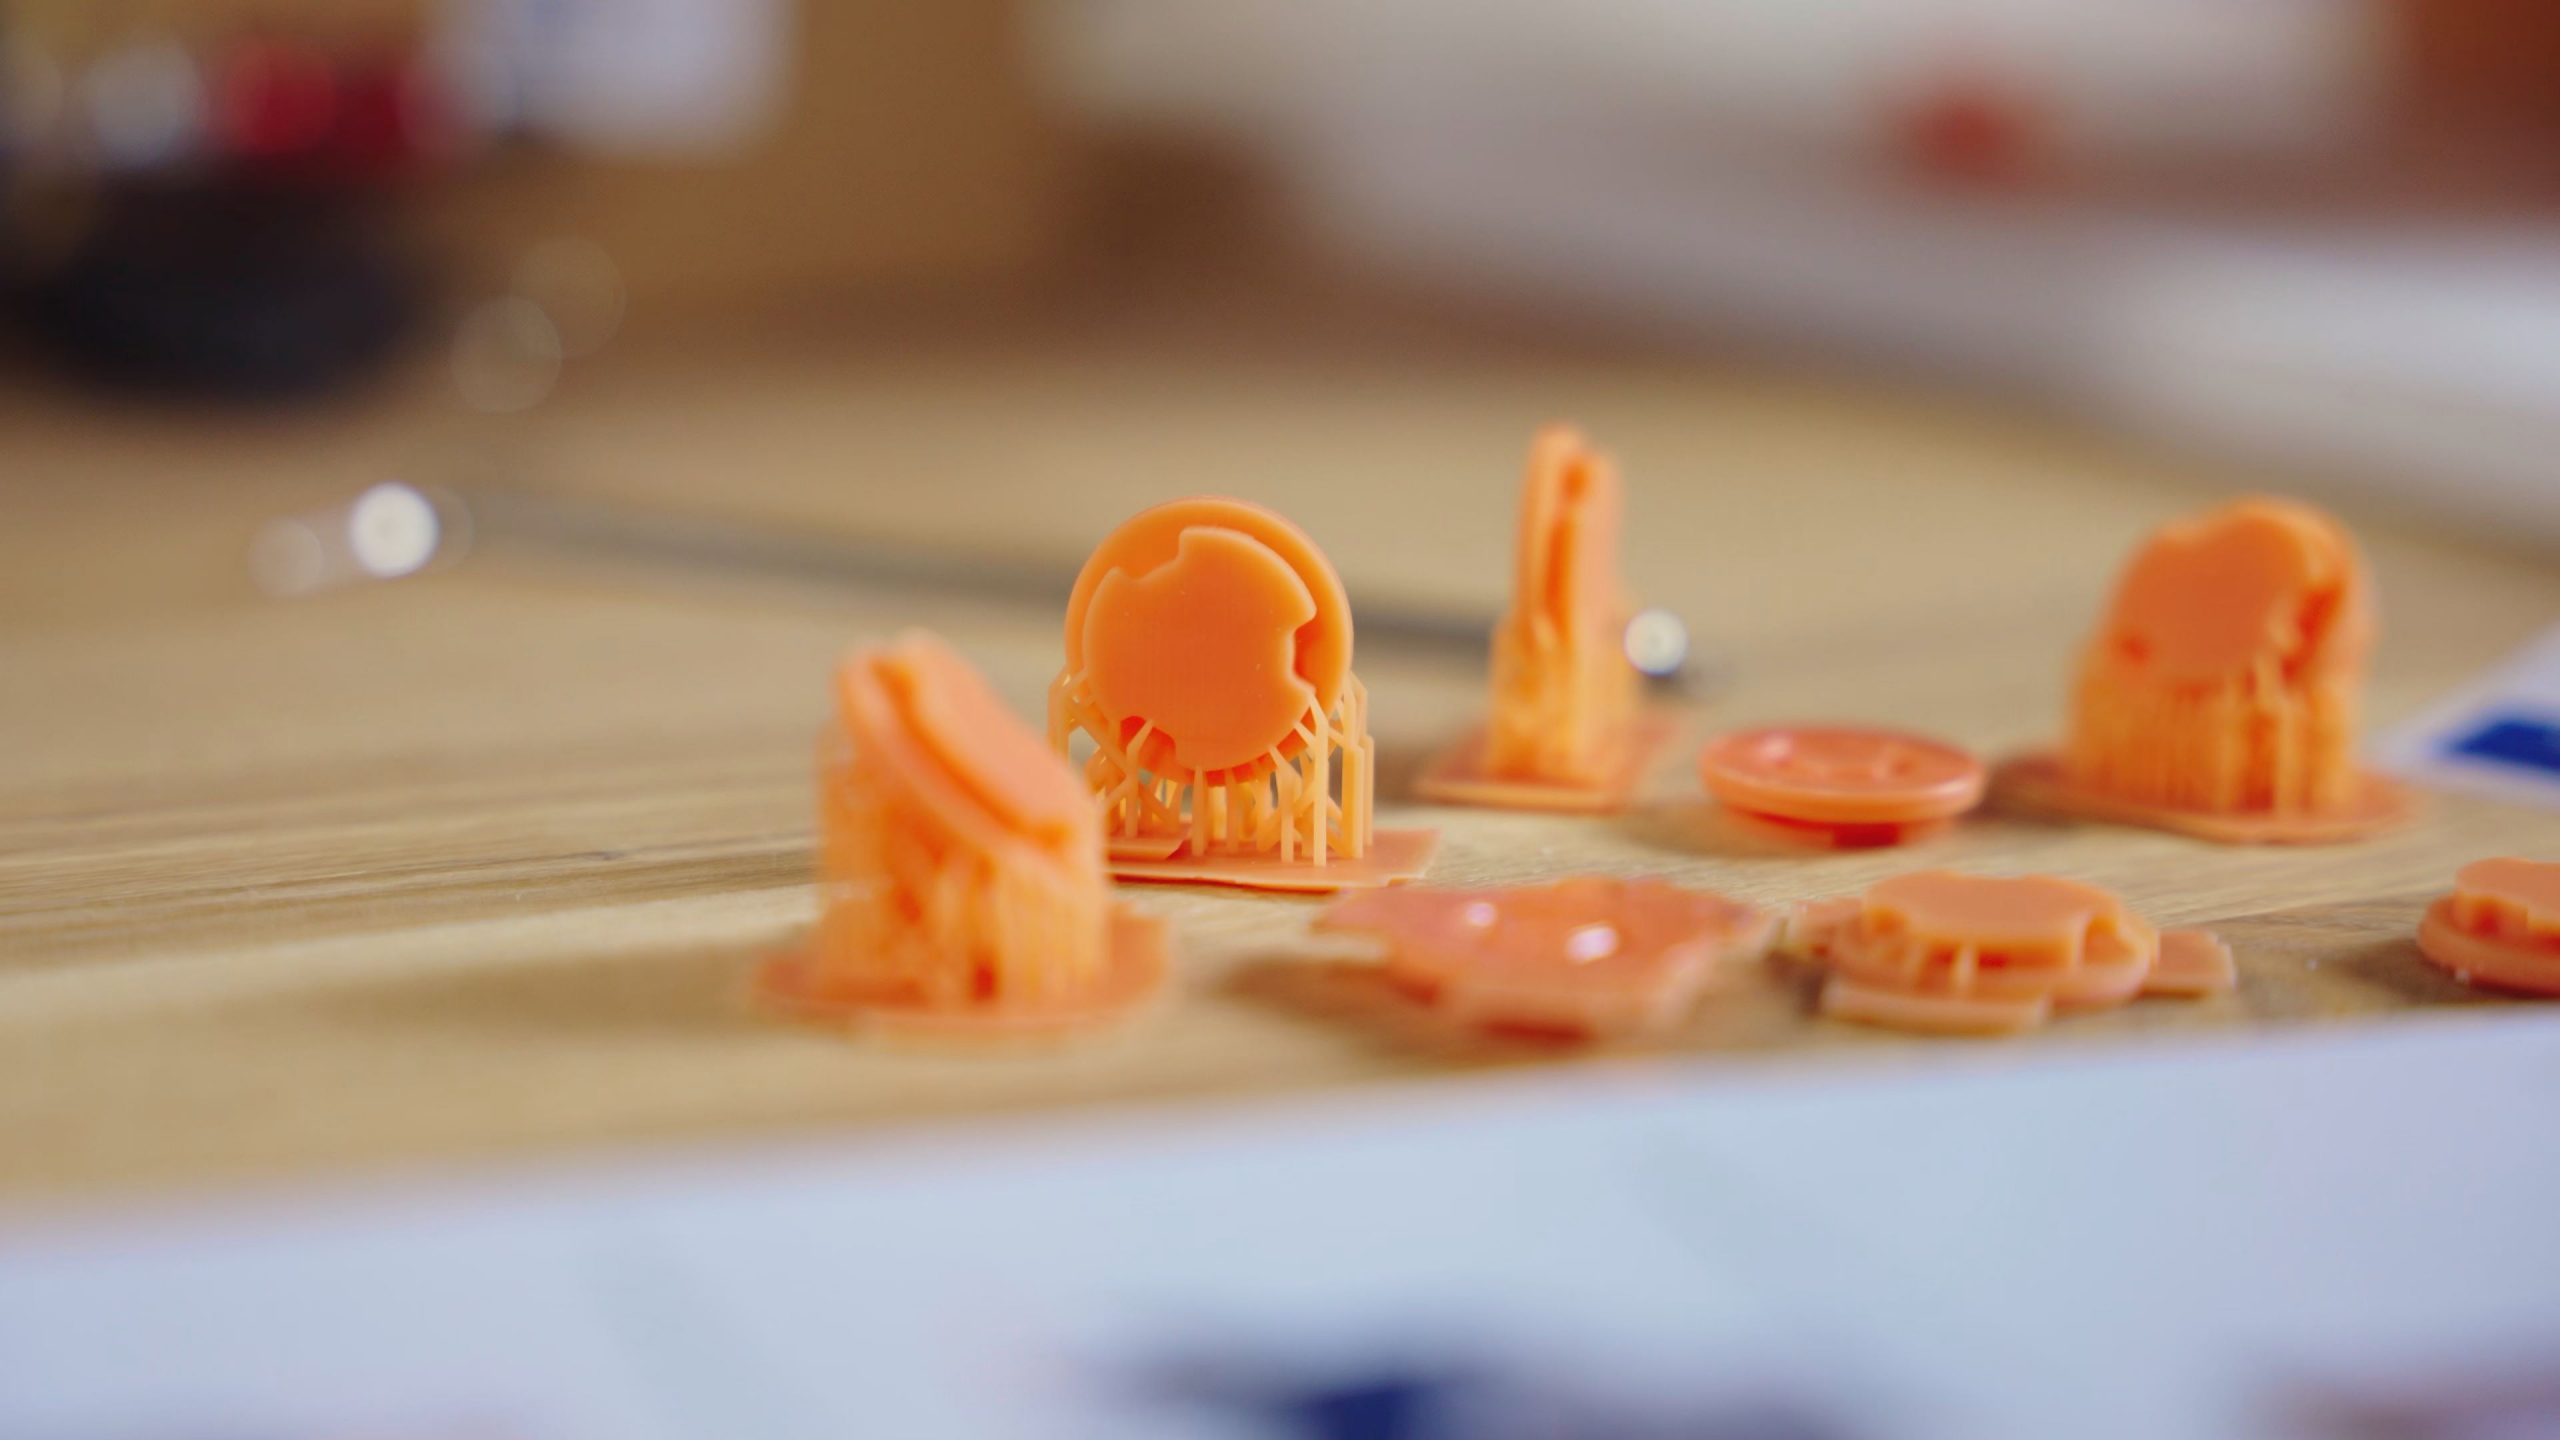
The M3 Plus and especially the M3 Max is what I’d consider large, for a resin printer. And it turns out that large resin printers come with their own set of challenges, like the rather spacious resin vat being hard to handle, because it sloshes around a lot, but another challenge is that your parts typically are rather big. Yeah, who would have thought?
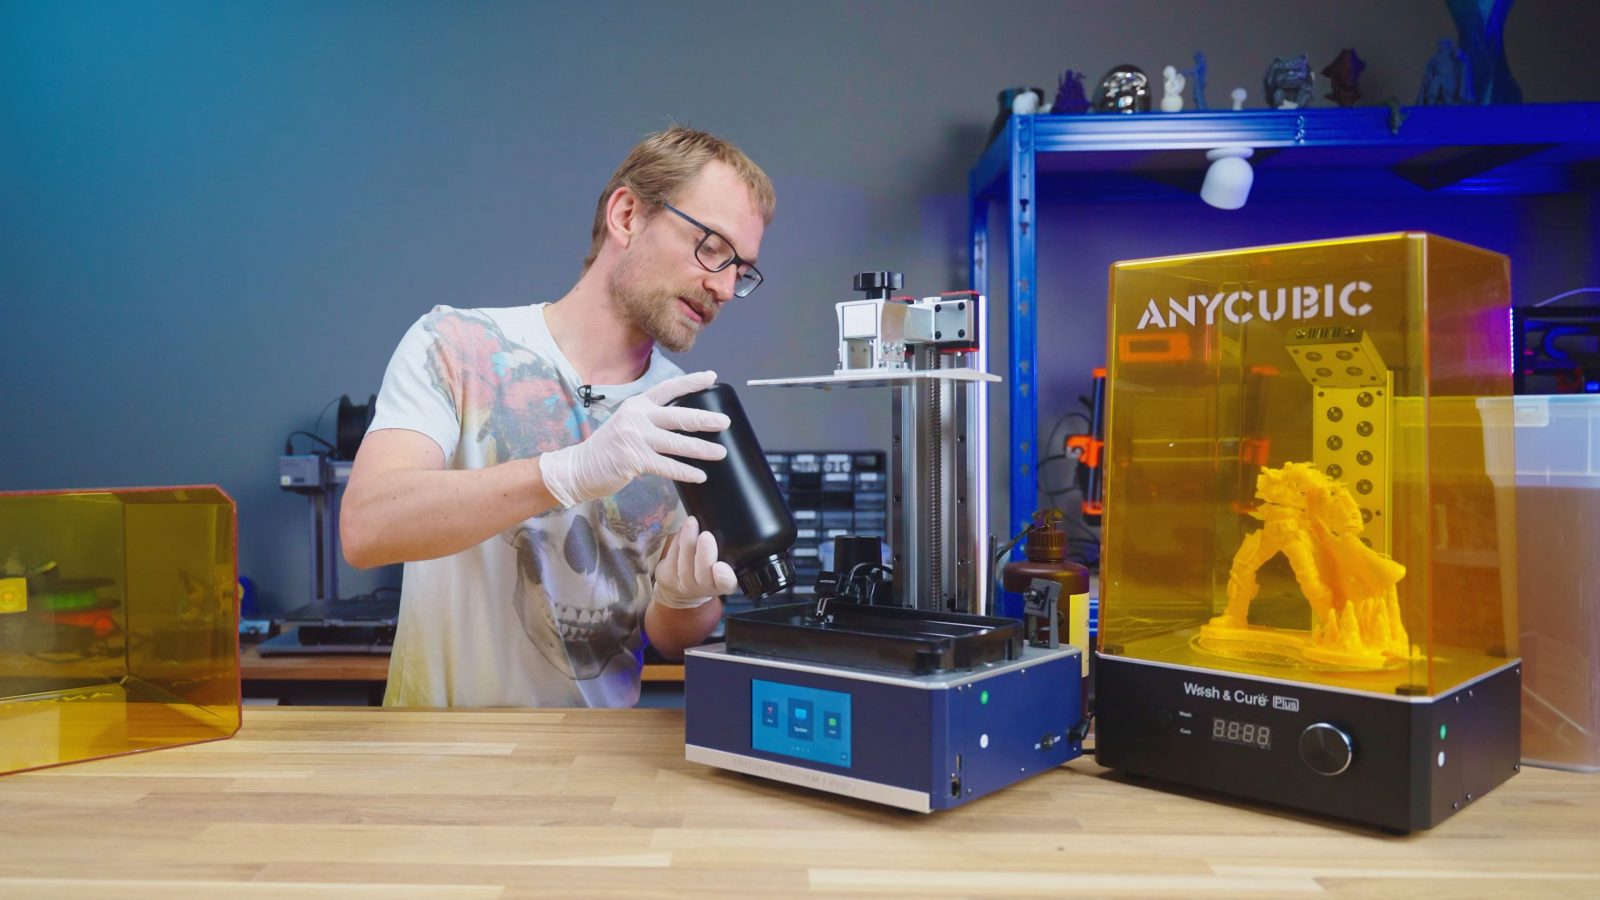
Wash & Cure Station
Anycubic do make a matching Wash & Cure station, and that actually works really well.

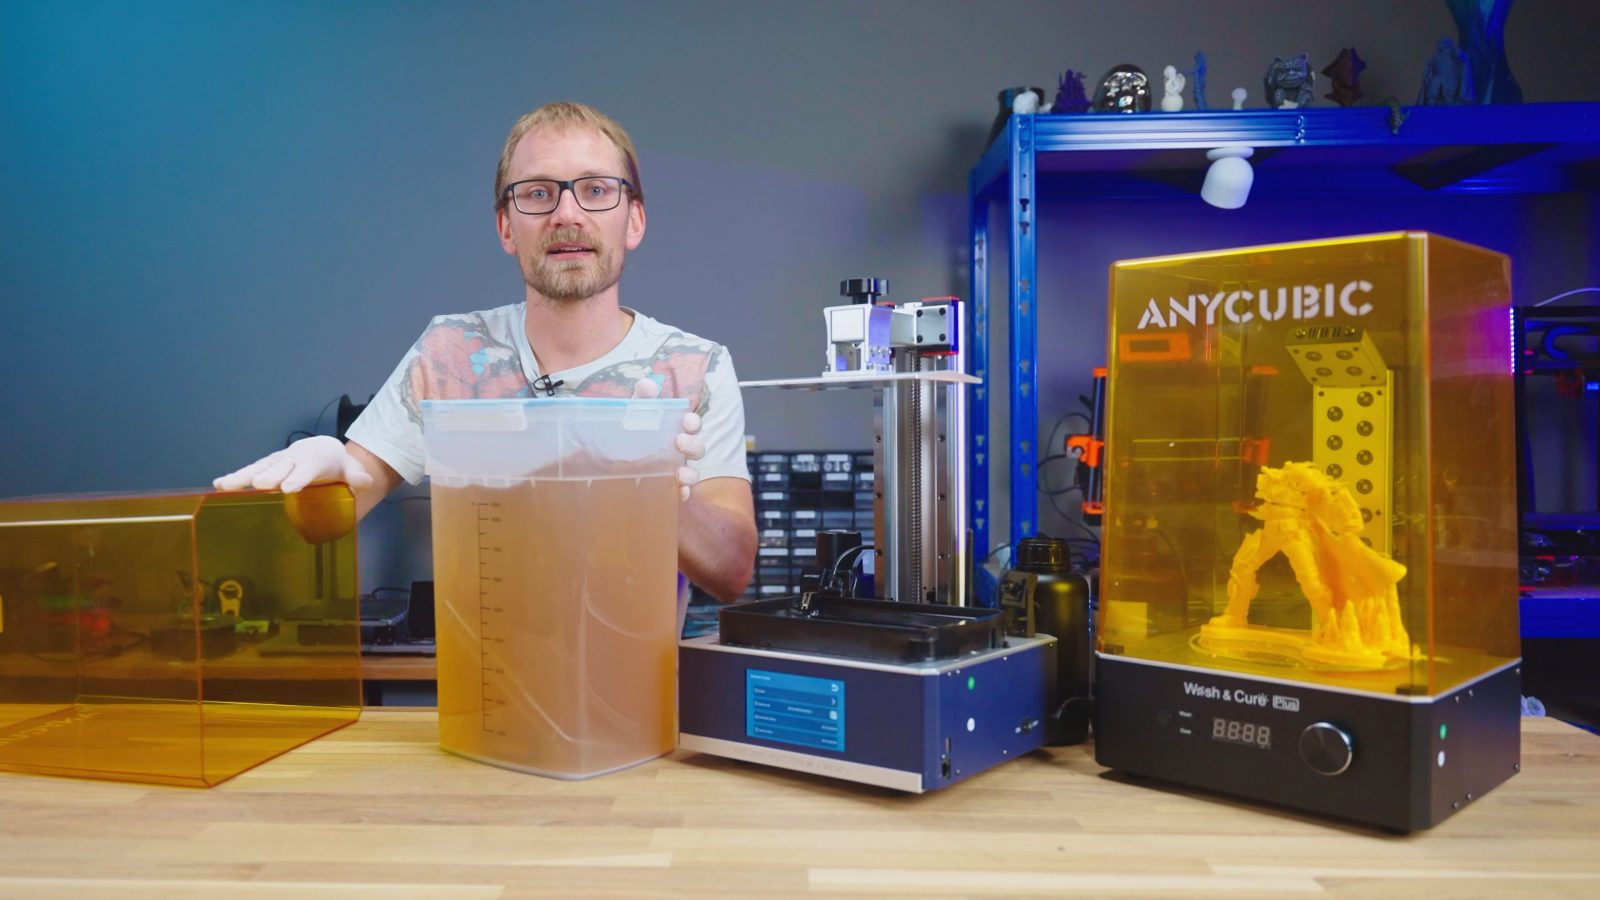
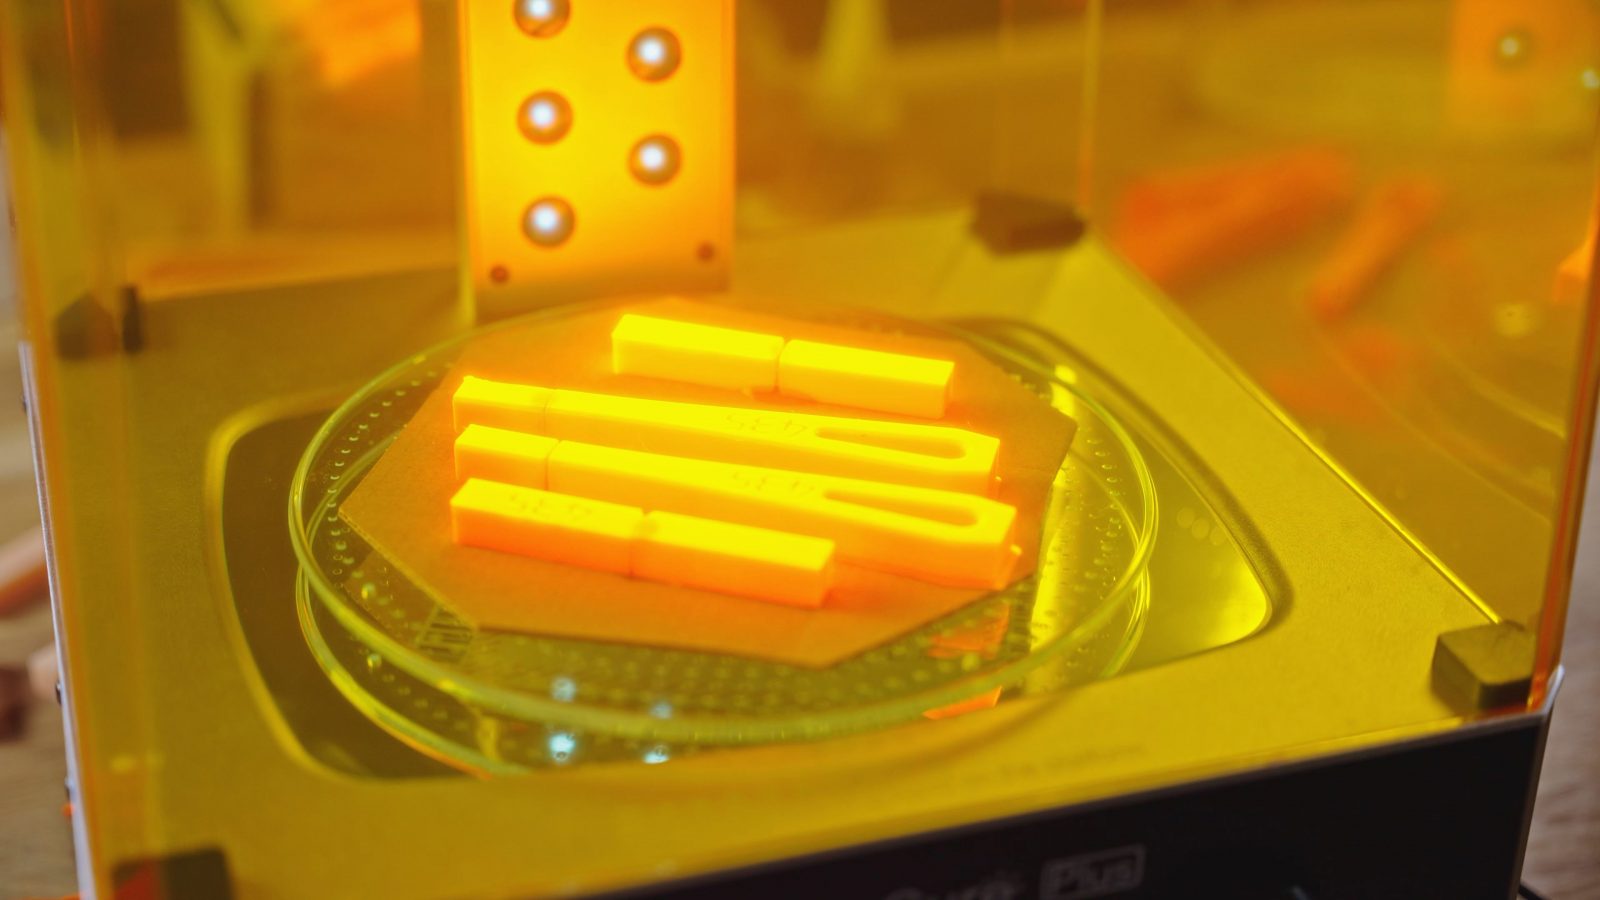
The washing action is really good and they give you plenty of extra room in the tank so that when you actually dunk in a large print, it doesn’t spill over. Of course, I wish it had a drying feature that it could run before it starts curing parts like the CW-1 does, but if you just give parts a minute to evaporate off your solvent naturally, it also totally works. It washes really thoroughly and it cures pretty fast.
Build Plate
So it’s great to see they’ve solved that, but something they didn’t solve is being able to actually remove parts from the build plate and keep them in one piece.
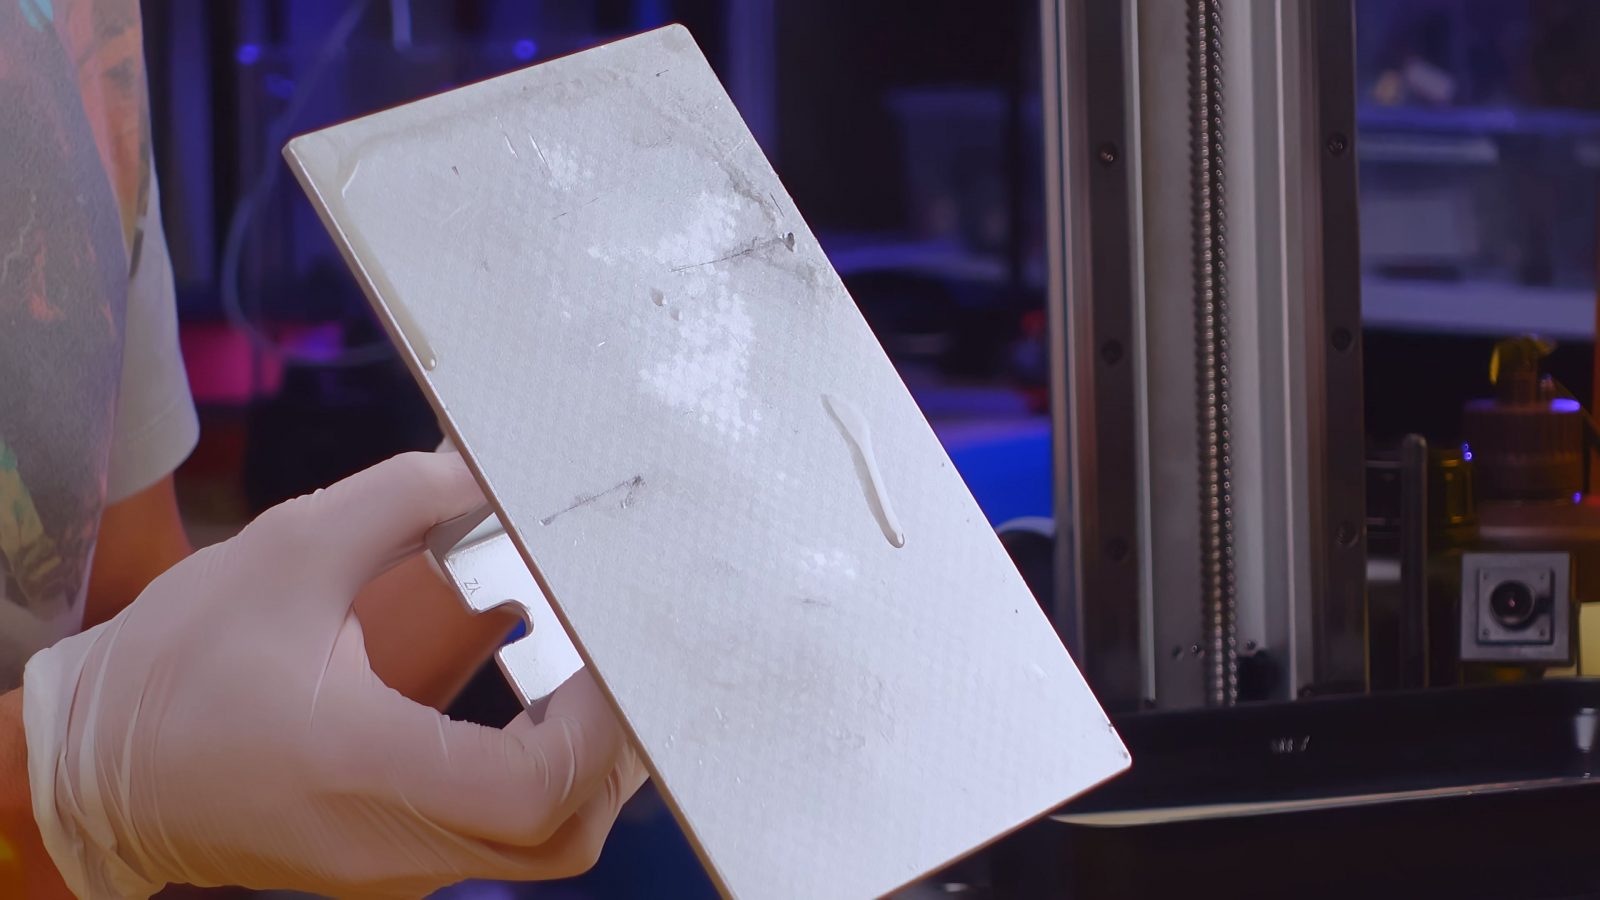

The M3 series uses a laser-etched aluminum plate, and parts stick to that really well. In fact, too well, and the hollowed-out Mandalorian print with the base that is only filled with support material got completely obliterated from me trying to remove it. There is a solution for that, and it’s flex beds, which honestly, I think are kind of a must-have with these larger printers. Unless you’re just printing small stuff anyway, but in that case, why are you getting a large printer in the first place?
My Conclusion
The overall vibe that I’m getting from the Anycubic M3 Plus is that it’s trying to solve problems that don’t really matter, or does so while creating even more hassle in the process, and instead ignores the things that would really make for a better printing experience.
Underneath all that, they’ve hidden a decent resin printer, Anycubic sure know how to make those, but that by itself is nothing special anymore these days.
Thank you all for watching, keep on making and I’d see you all in the next one!
Get the Anycubic M3 Plus on Amazon or directly from Anycubic
Models shown: Mandalorian Figurine by ZachMods
Watch my two unboxing videos for the Anycubic Photon M3 Plus here:
💙 Enjoying the videos? Support my work on Patreon!
Product links are affiliate links – I may earn a commission on qualifying purchases (at no extra cost to you)

Check out my second channel “More Layers” on YouTube for livestreams