
Getting rid of ringing artifacts is a bit more complex than it seems at first, but, good news, the solution that performed the best was also the simplest one. I tried four different setups, including bolting a concrete paver straight to the printer, and I want to share the results with you and I think I can even explain what’s happening in each one.
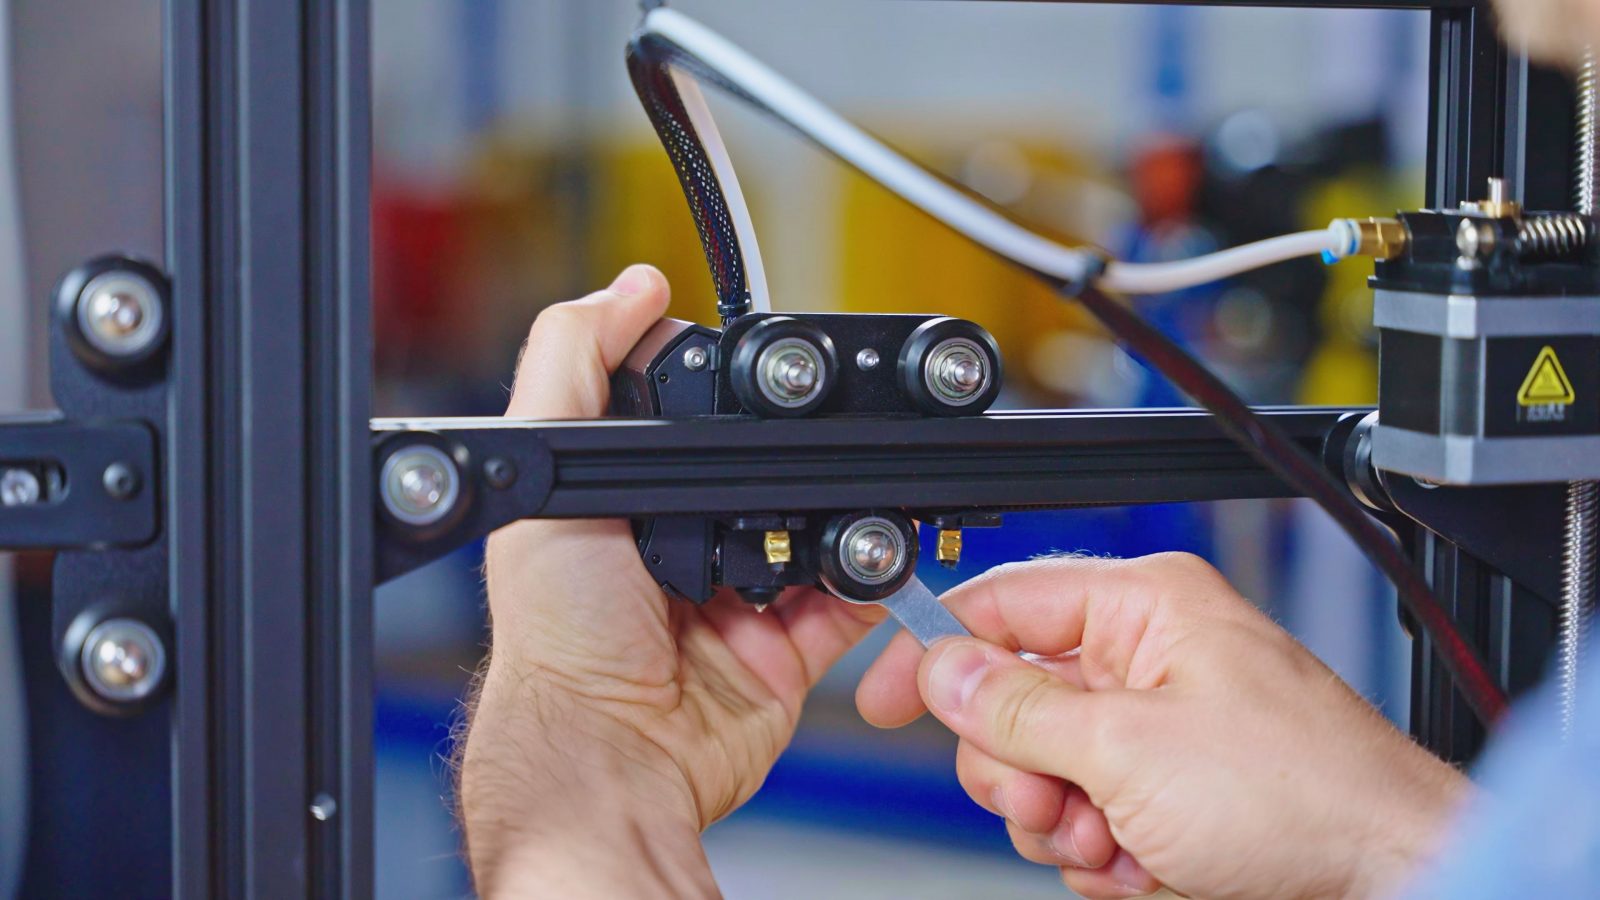
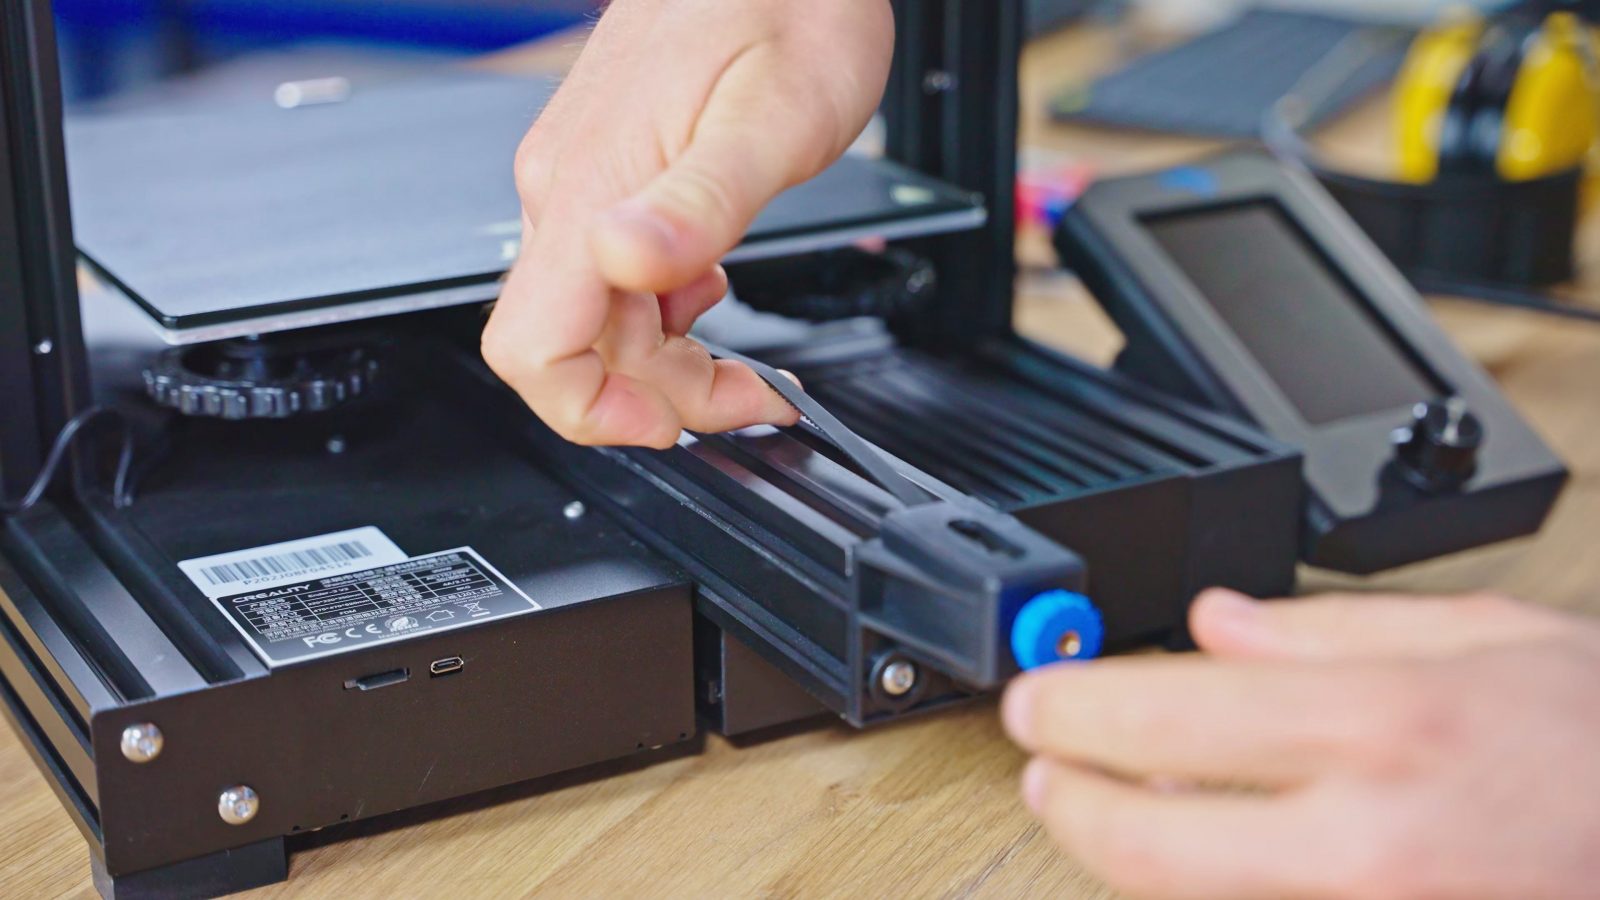
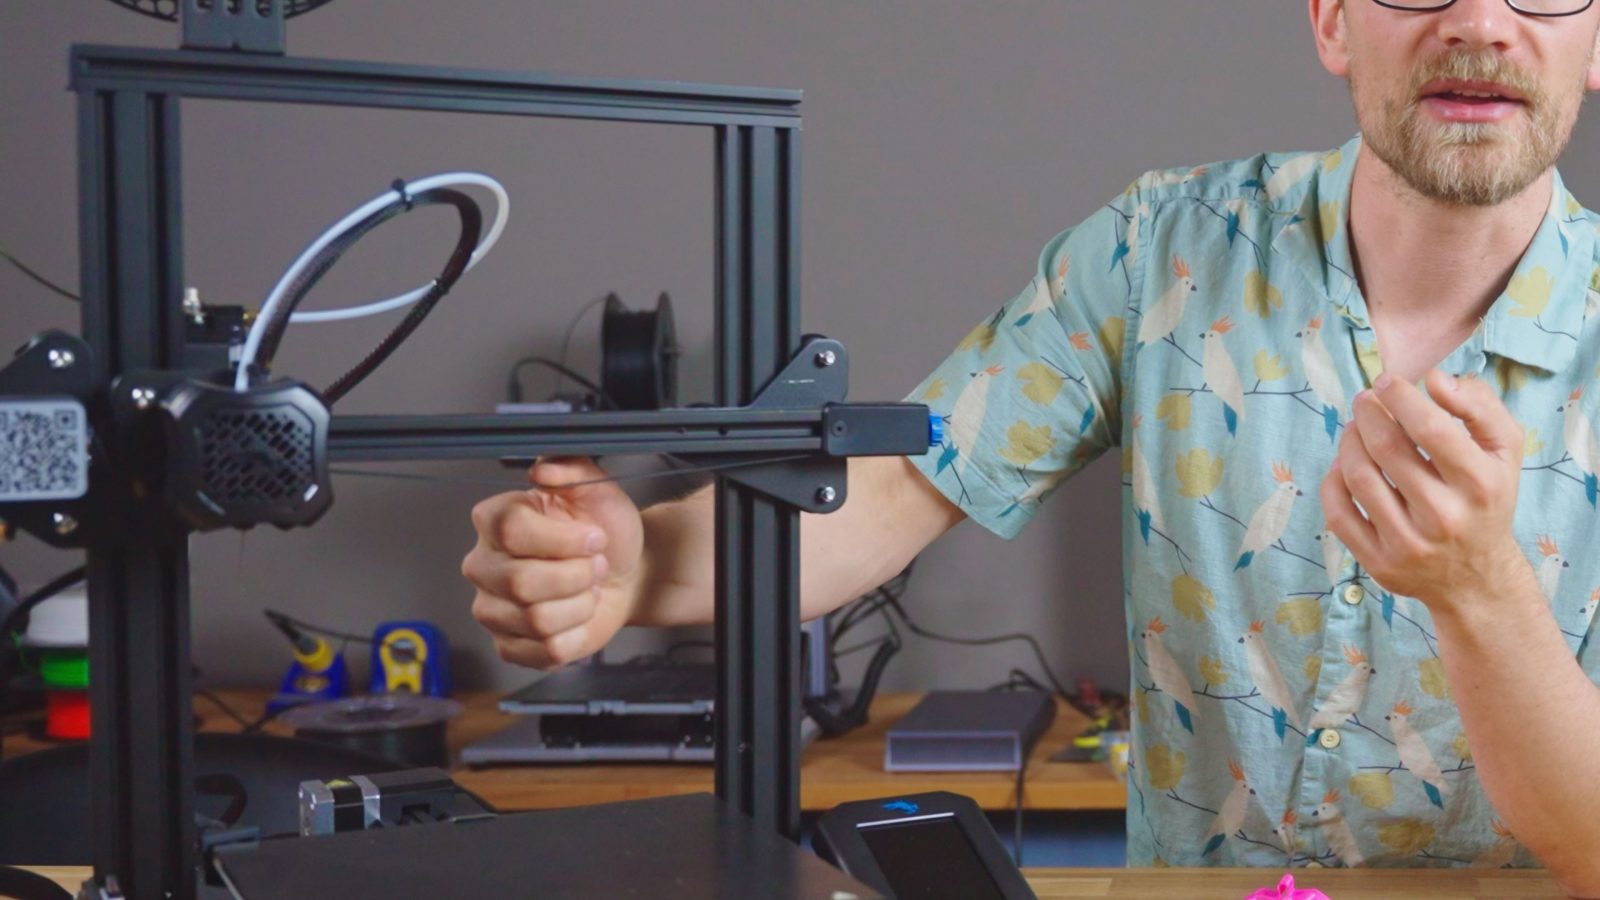
For these tests, I thought I’d use one of the machines I don’t usually grab, so I got the Steality Ender-3 v2 out of storage. This thing is 100% stock, just as I like my printers. It did need a bit of adjustment on the wheels on each of the axes to take out the slop, and I also double-checked belt tension on X and Y and it was ready for some test prints to establish a baseline of what the printer does, you, know, stock, without any help.
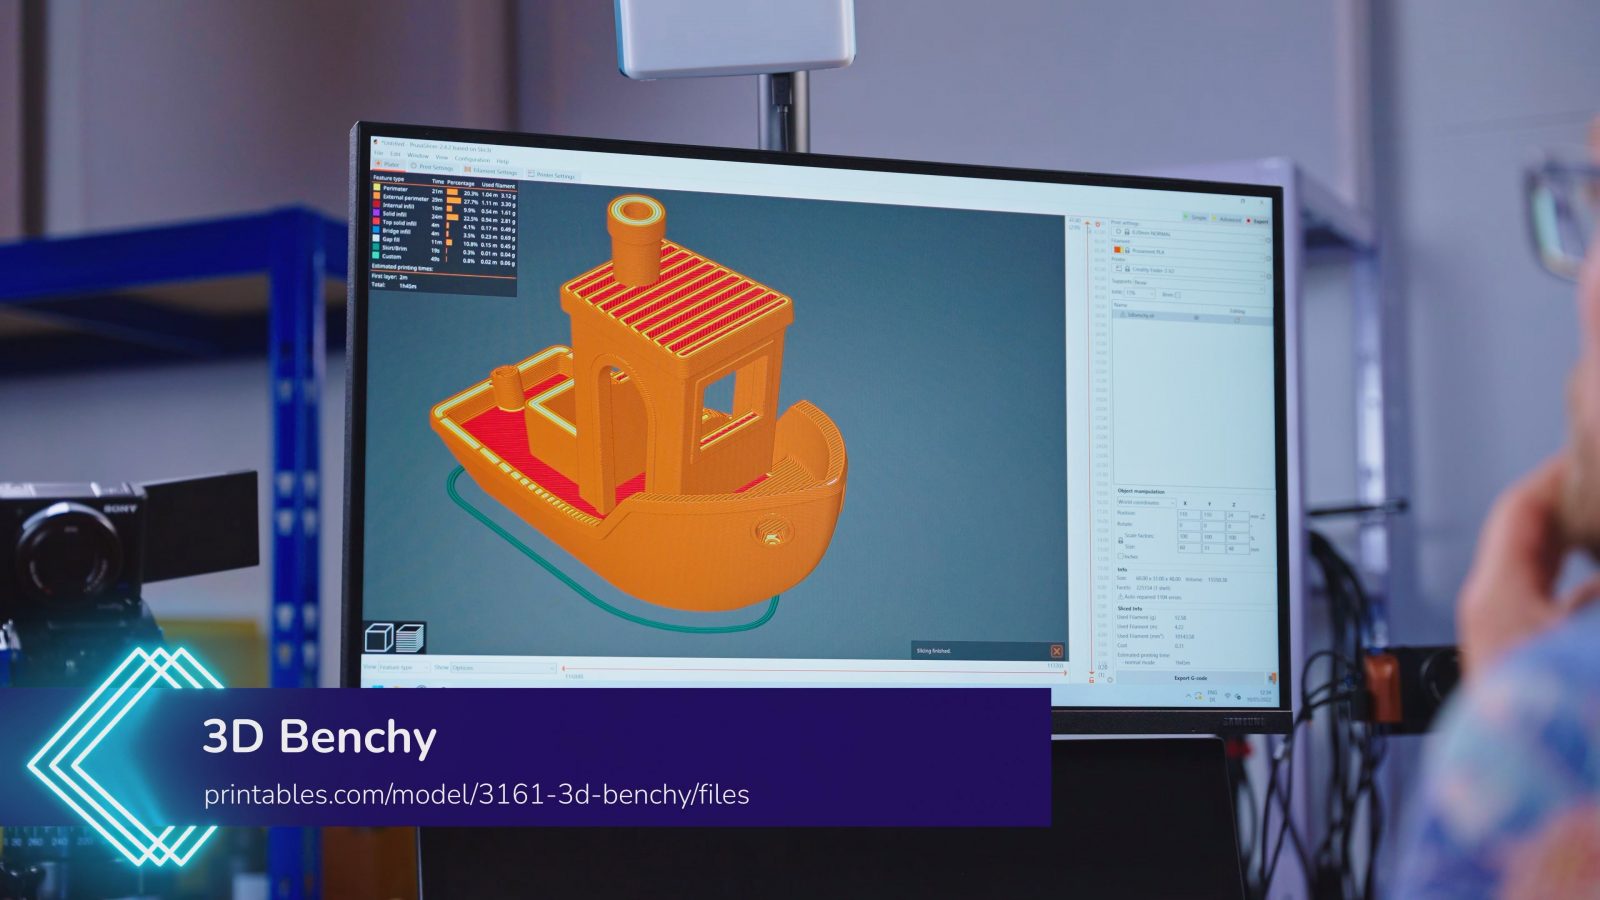
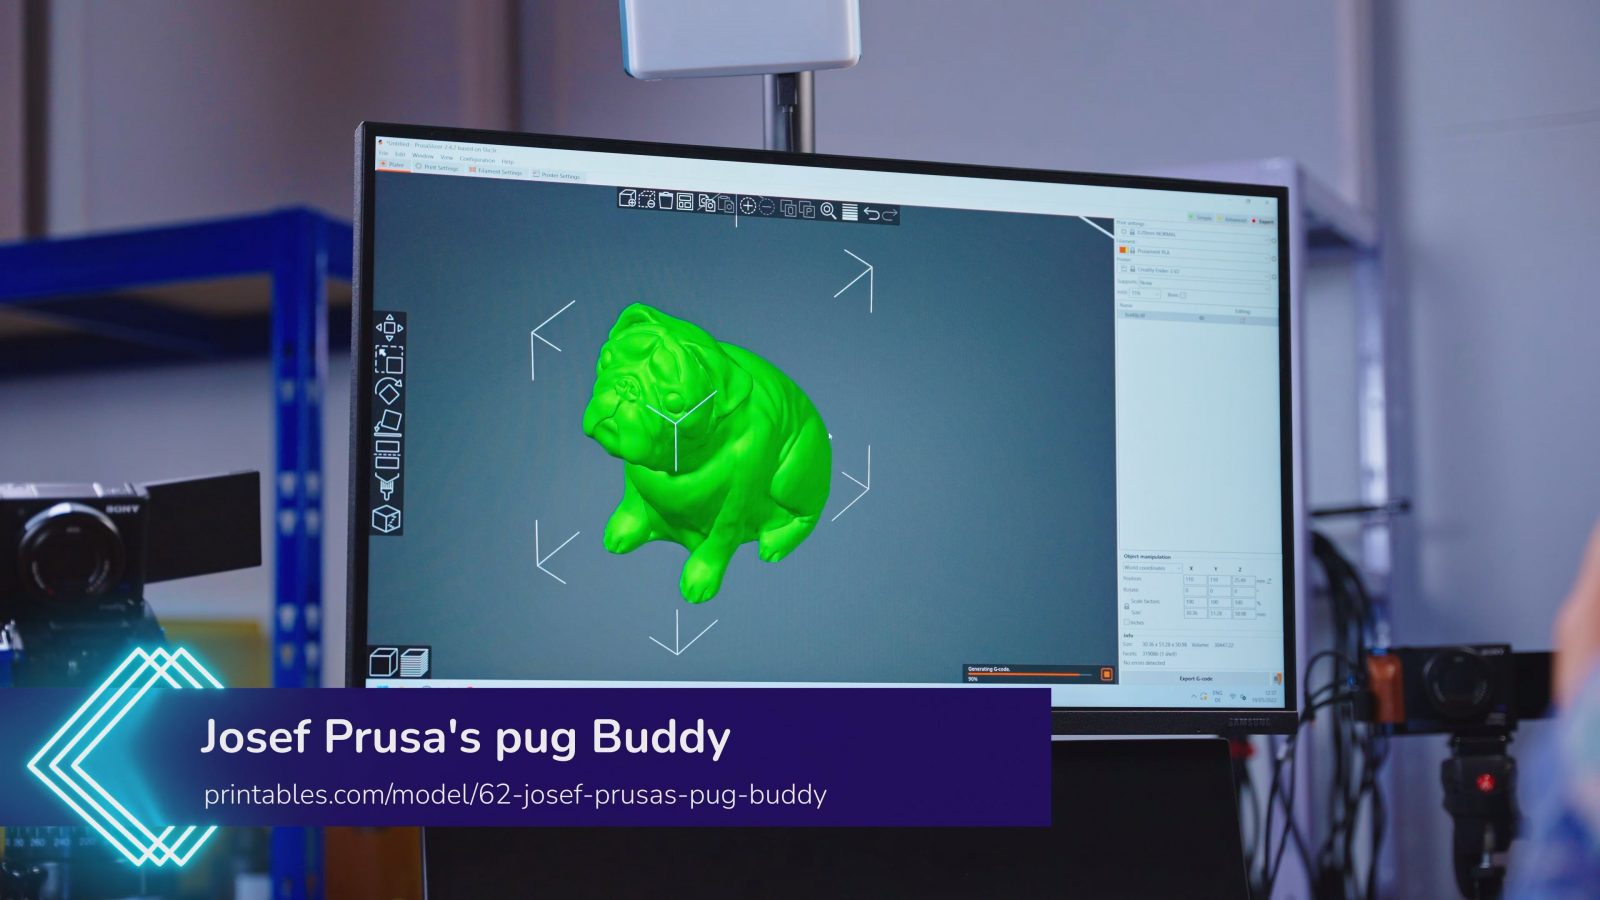
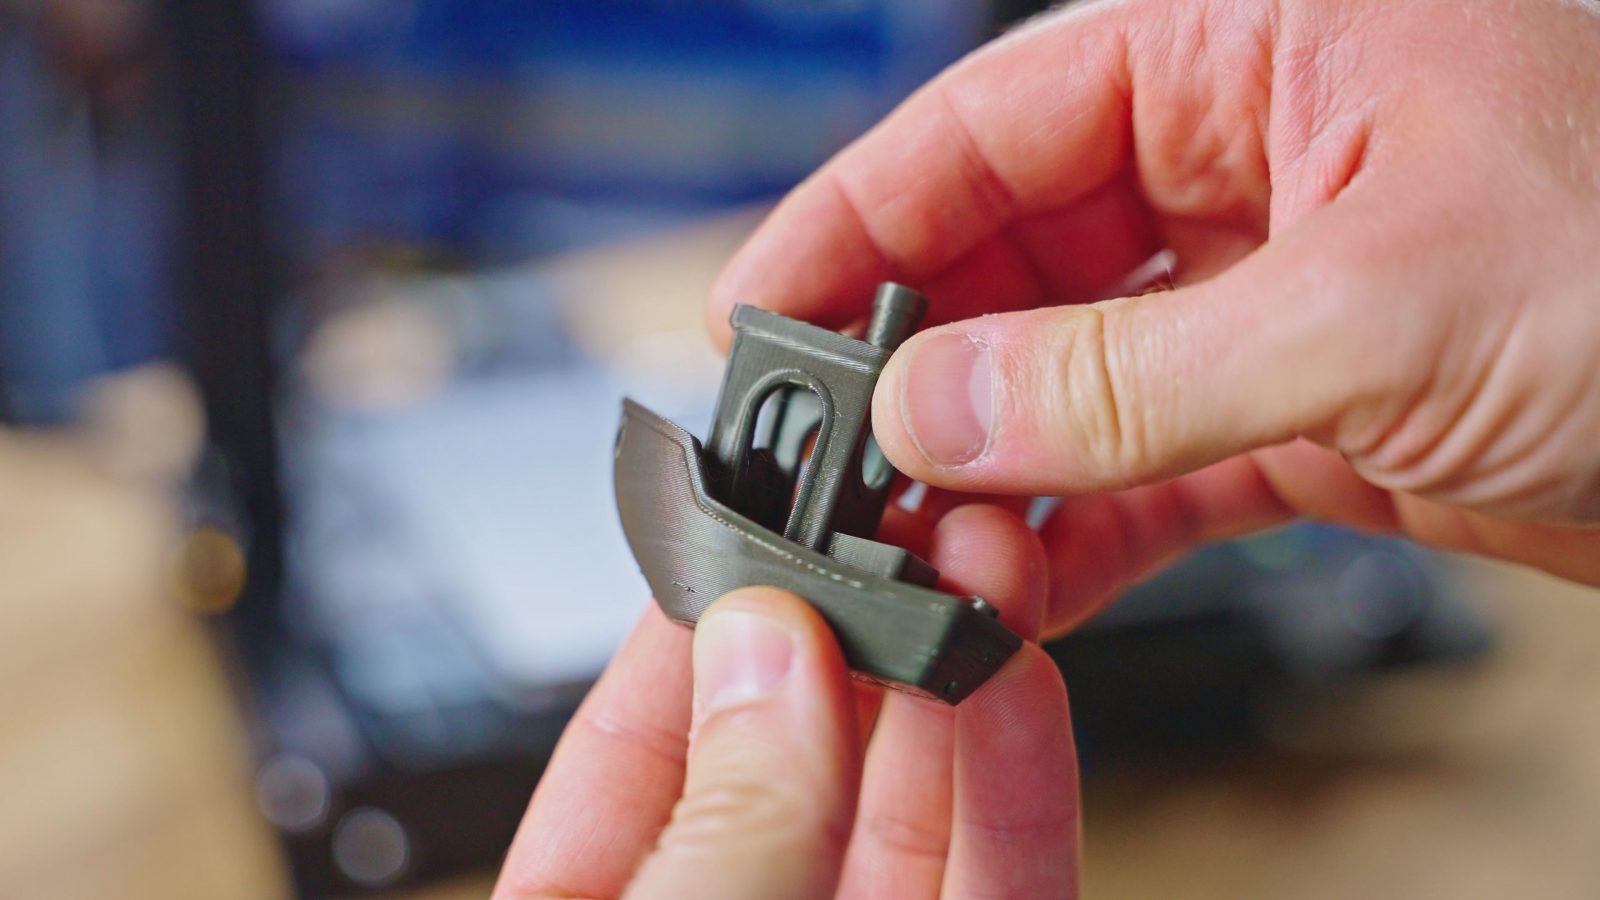
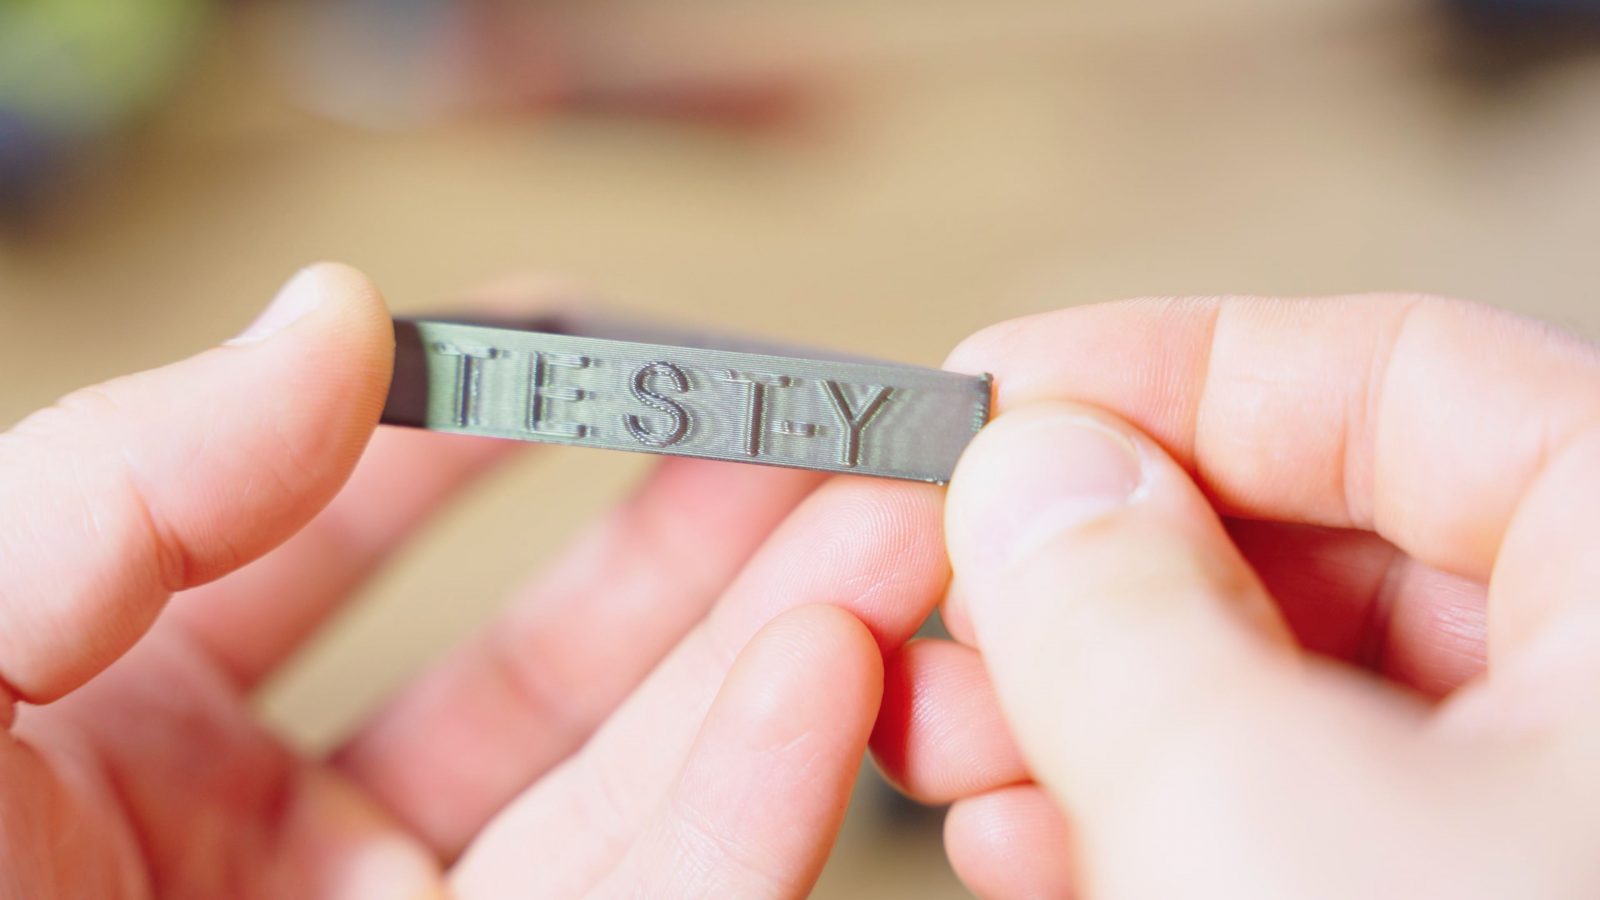
Thankfully Prusaslicer has a profile built-in for the Ender-3 v2, so I used that to slice, of course, a 3D Benchy, then a more organic shape in the form of Prusa’s Buddy, as well as CNC Kitchen’s ringing test part – printed in vase mode because we really don’t care about any of the stuff inside the prints at this point.
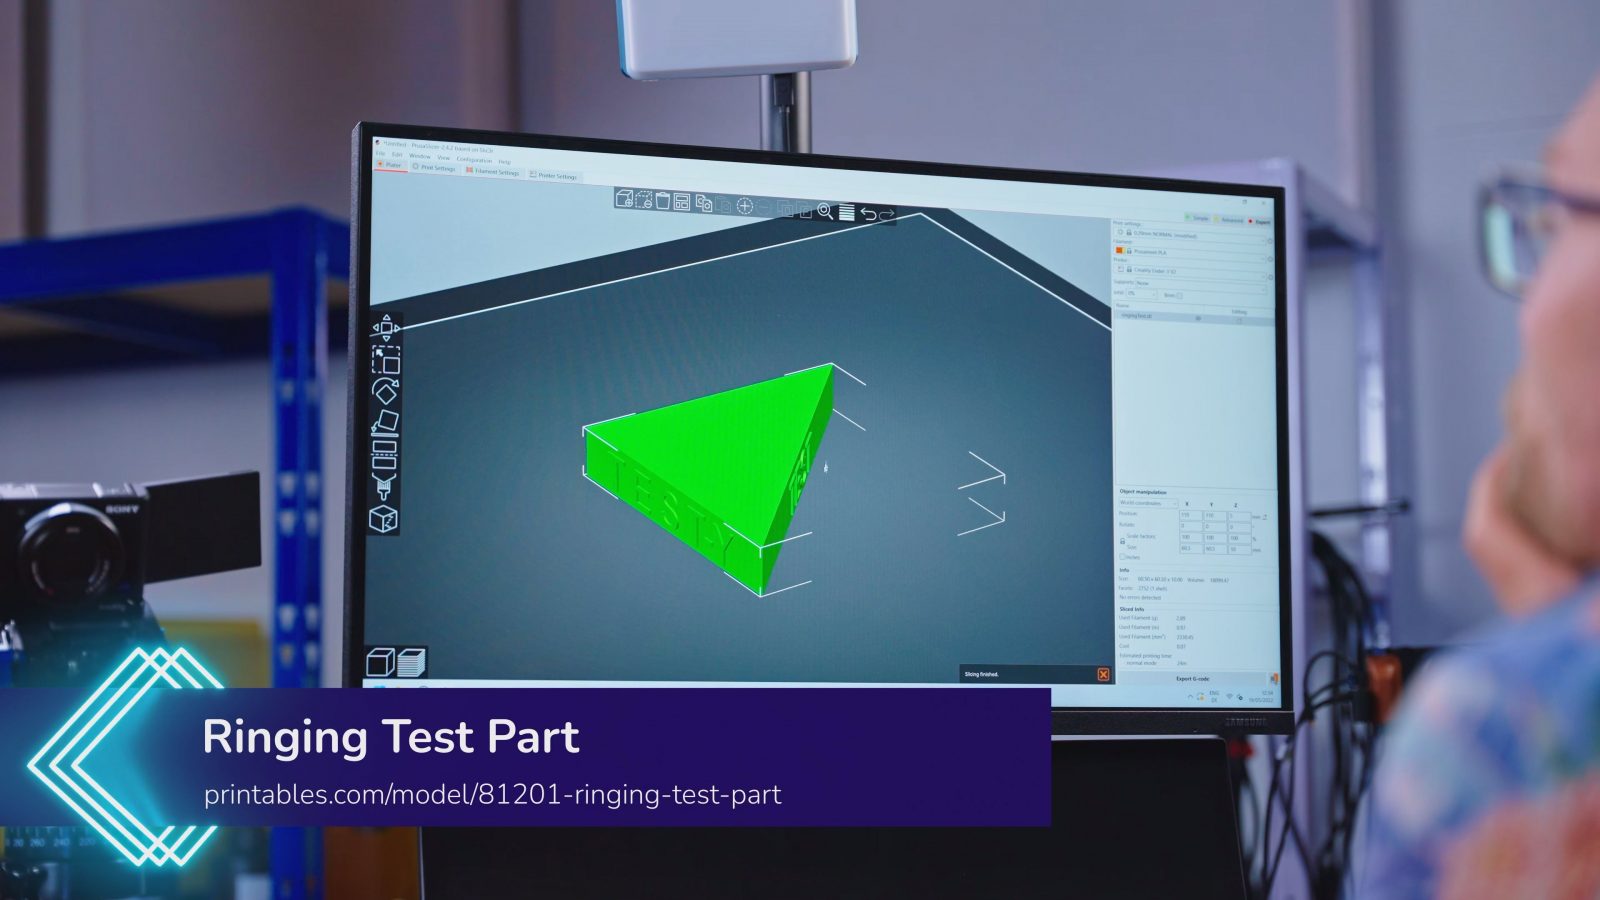
For filament, I’m using Prusament Mystic Green PLA, because, with that shimmer effect, that really tends to highlight any imperfections in parts, especially ringing.
So one thing immediately becomes clear when printing on the Ender-3 v2: We’re not going to see much of an improvement in how well printer vibrations will end up getting transferred to your desk and cause structure-borne noise there – there simply isn’t much in terms of vibrations to start with, thanks to the the Trinamic or Trinamic-clone drivers this machine is using, but also, the fans on here simply drown out any vibrations that might actually be there.
But also, there wasn’t really any ringing on the parts to start with, so I mean, that’s great for the printer, but it also doesn’t give us much to improve on.
Easy solution: Cranking up the speeds, accelerations, and junction deviation limits, and I actually had to up them in the slicer and on the machine, too, typically, the machine limits are set rather high and you can work within those limits by adjusting stuff in the slicer – not on the Ender-3 v2, here the defaults are quite low and your adjustment range without recompiling the firmware is chosen so that the printer can just barely keep up when you crank them to the max. So that’s good, that’s reasonable limits that give us more print speed, more ringing, but also is just slow enough to not completely ruin the parts with skipped steps.
So here’s what we got! Ringing, just as the doctor ordered.
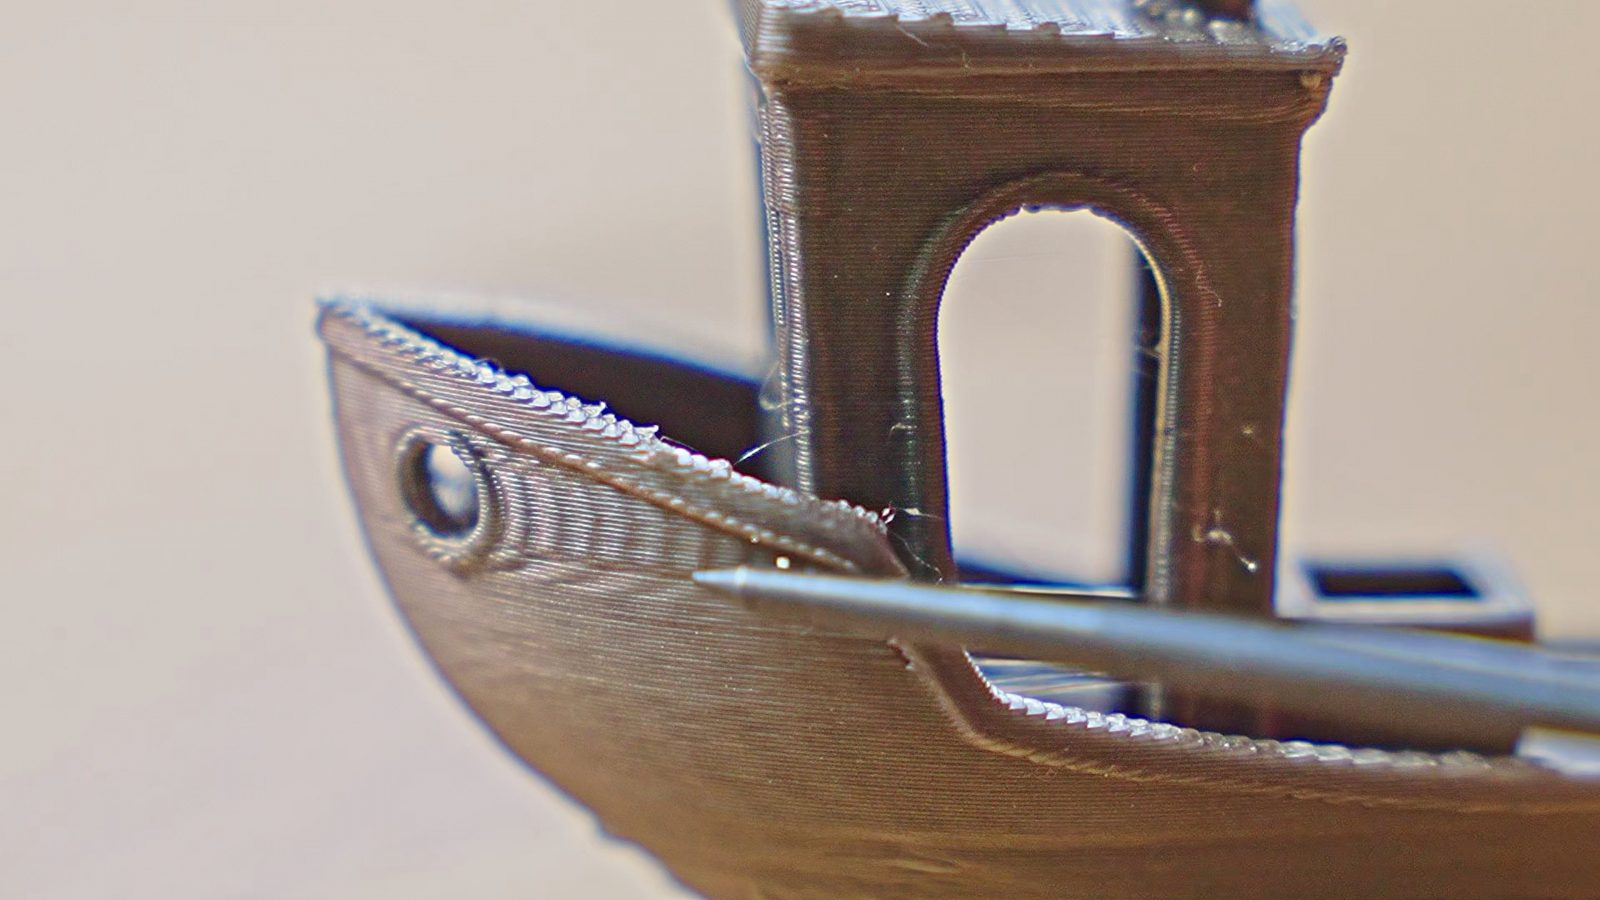
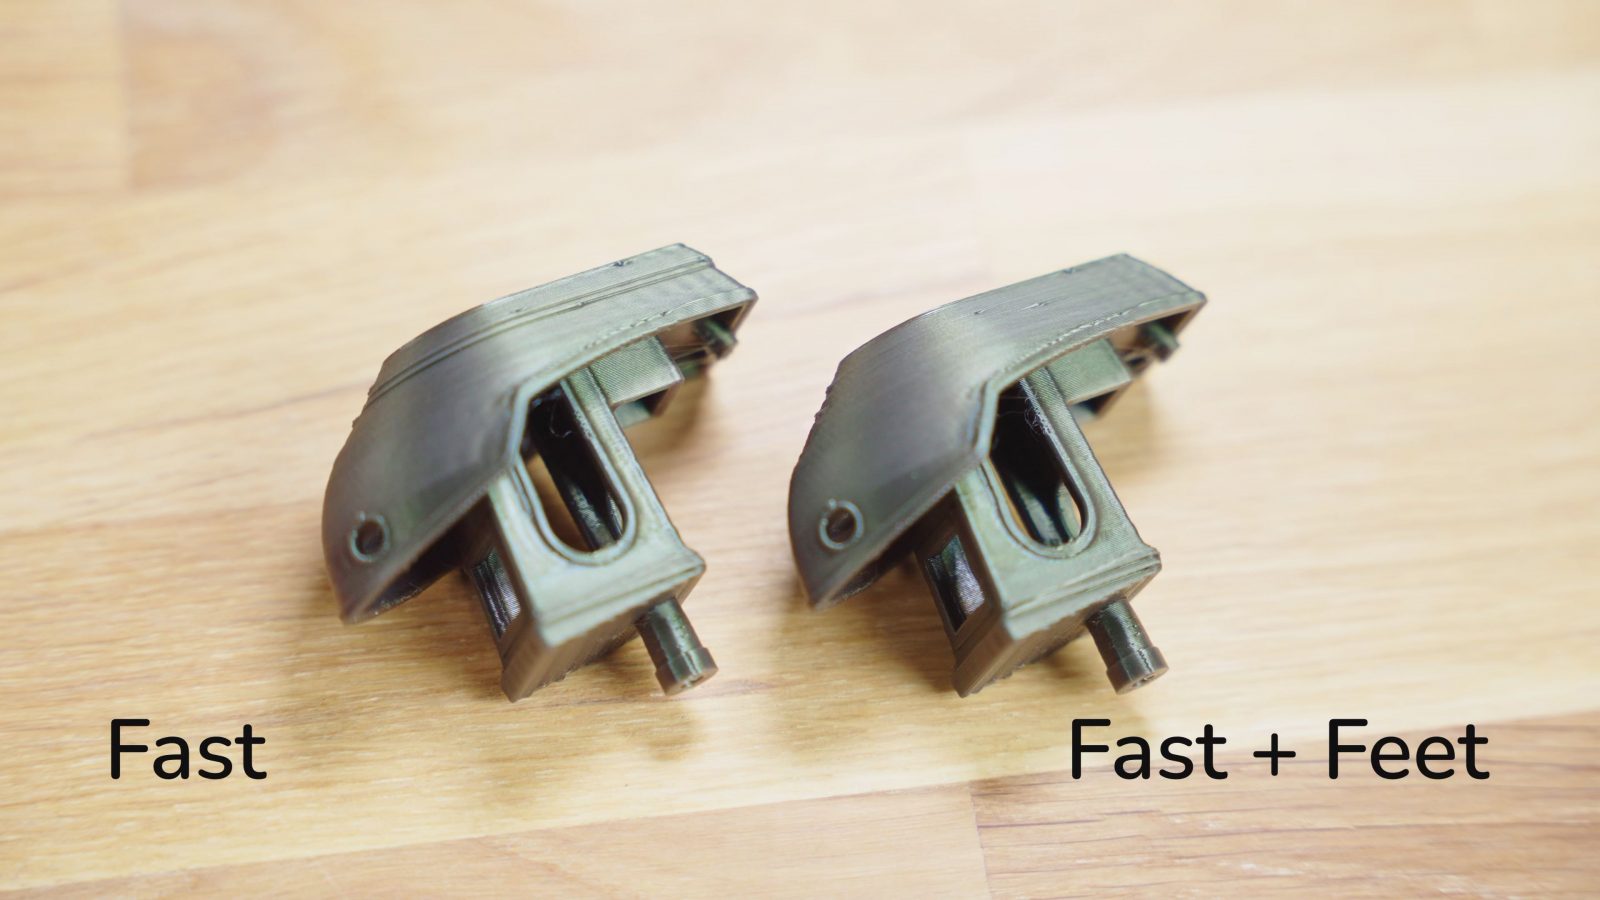
So everywhere where there’s a sharp corner you see replicas of that corner shape along the direction of the printer travel. This is sometimes also called ghosting because you’ll see “ghosts” of those features along the part. It’s most clearly visible on the bull’s eye at the front of the Benchy, it looks like it’s happening at two different frequencies at different heights, but this is because for this area here where it’s only doing a small continuous loop for a perimeter, the printer is actually slowing down to the “small perimeter” speed, so the printer’s mechanics are still vibrating at the same frequency, it’s just that those vibrations being plotted at a different rate.
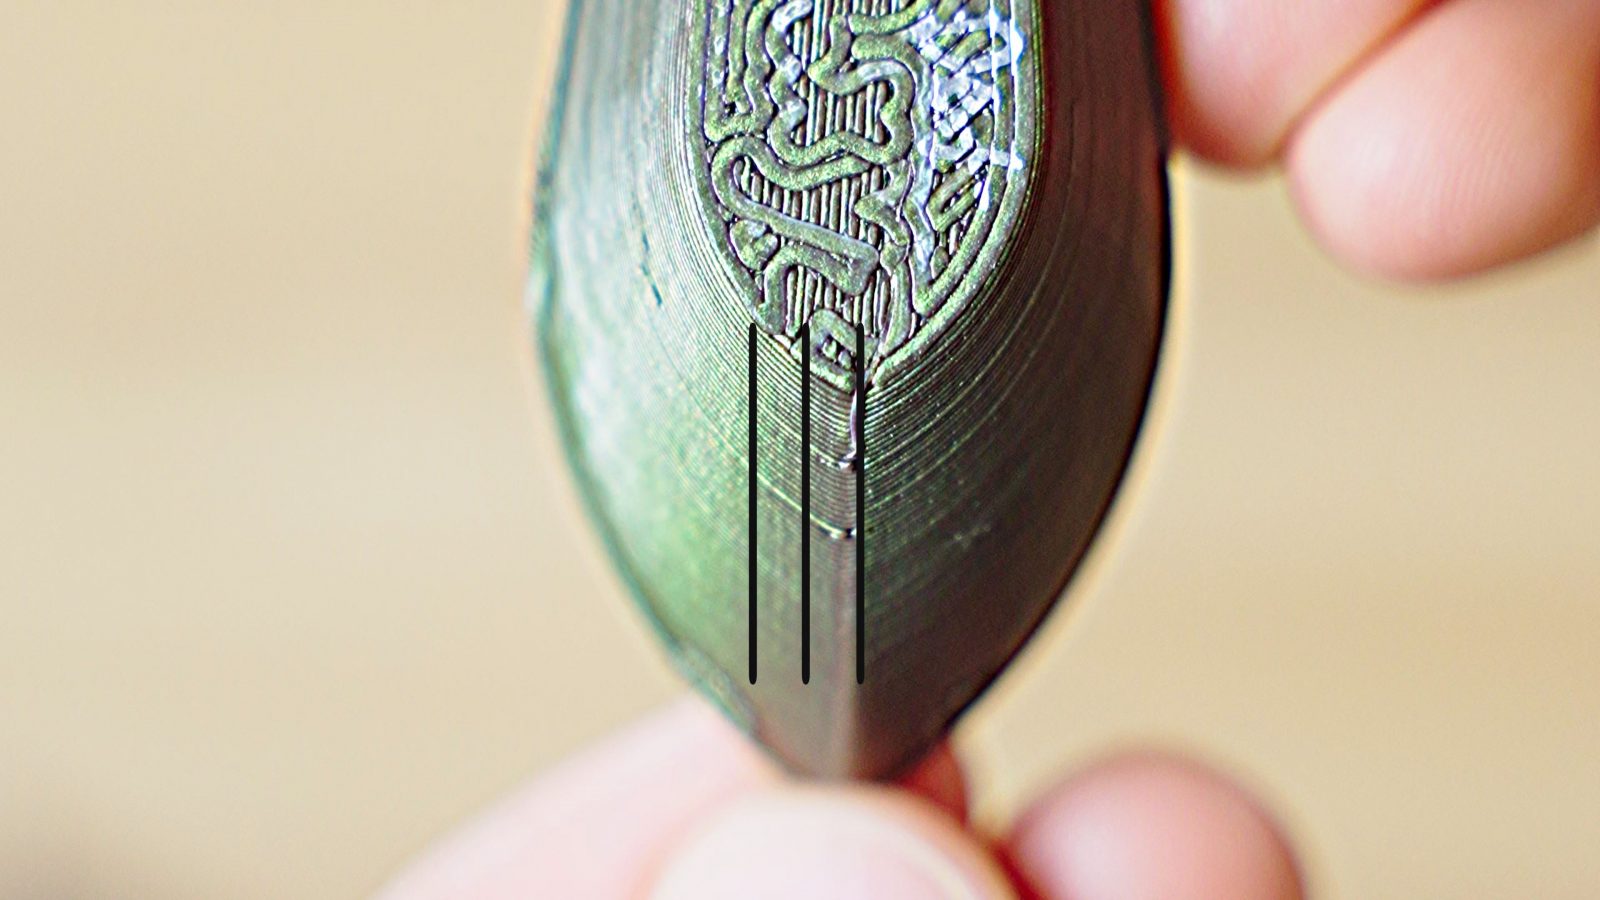
There’s also a different artifact on here that looks like ringing, but it’s actually an entirely different thing, and that’s these lines, very hard to see, that are parallel to each of the printer’s axes. These are treeringing or salmon skin effects, and it’s caused usually by the stepper motors themselves snapping into certain positions. So none of what we’re doing today is going to have any effect on that.
1. Anti Vibration Feet
These are typically used to isolate the printer’s frame from the surface it sits on, but these can also help to reduce ringing. So I printed off four pieces in vase mode on the MK3 that has the Quinly autoeject system installed, which worked really well, so get subscribed if you don’t want to miss the review of that!

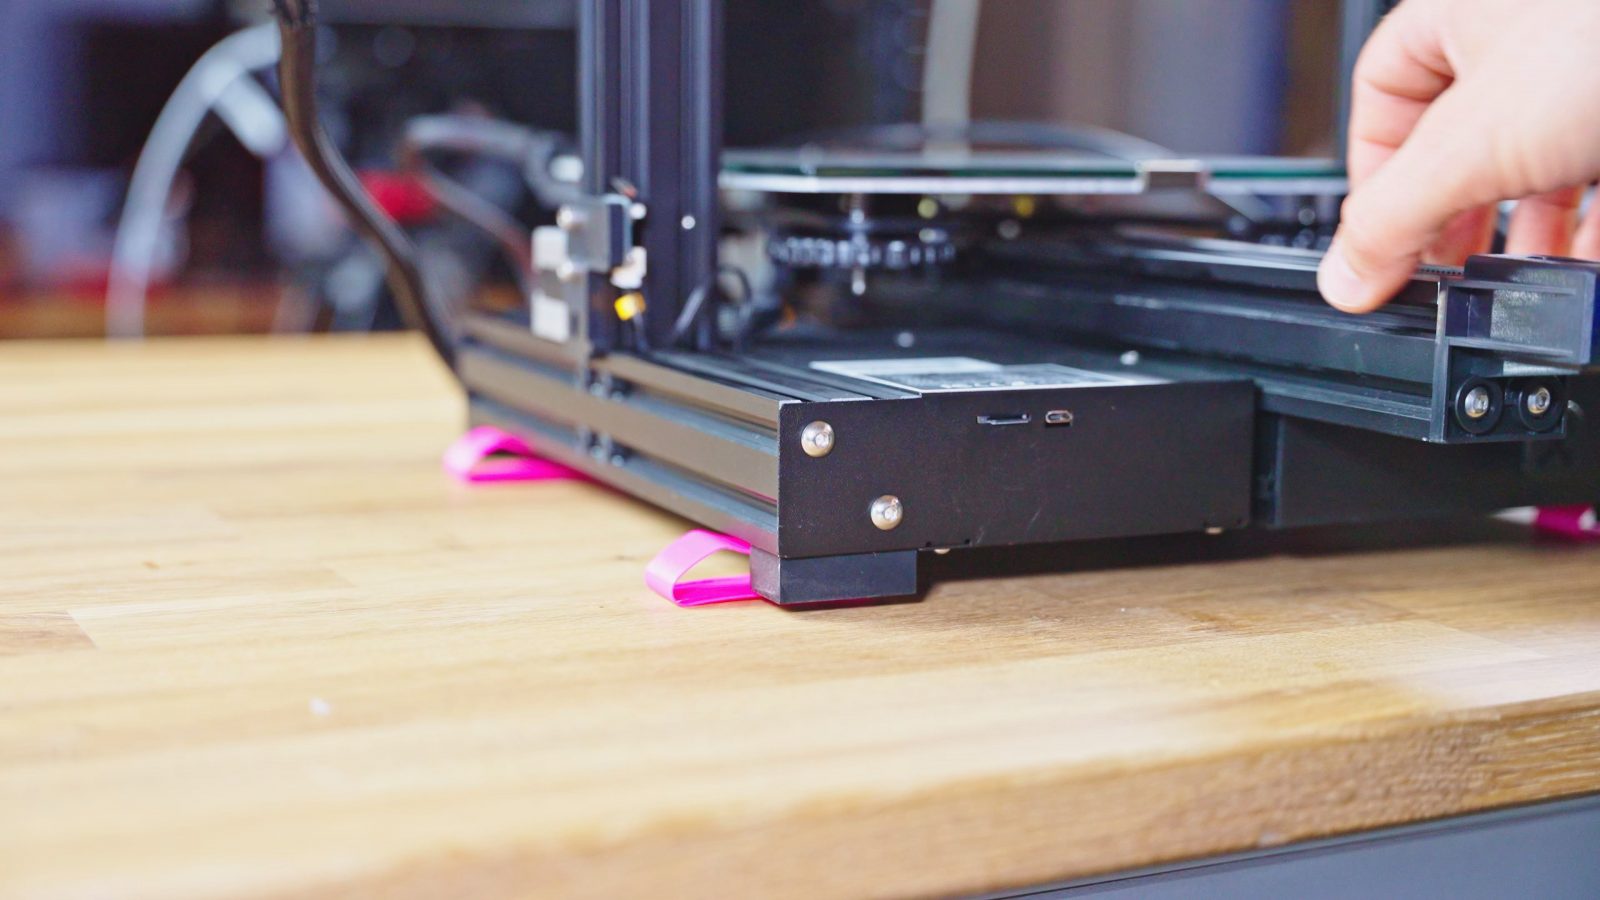
But these feet are by schuetzi99 and they’re not designed specifically for this machine, but they’ll clip into anything that uses a standard extrusion profile. And these made for a surprisingly wobbly printer and after two of the prints, they had sagged enough that some of the printer’s wiring was starting to make contact with the table, but they still seemed to work pretty well if we look at the printed parts we got.
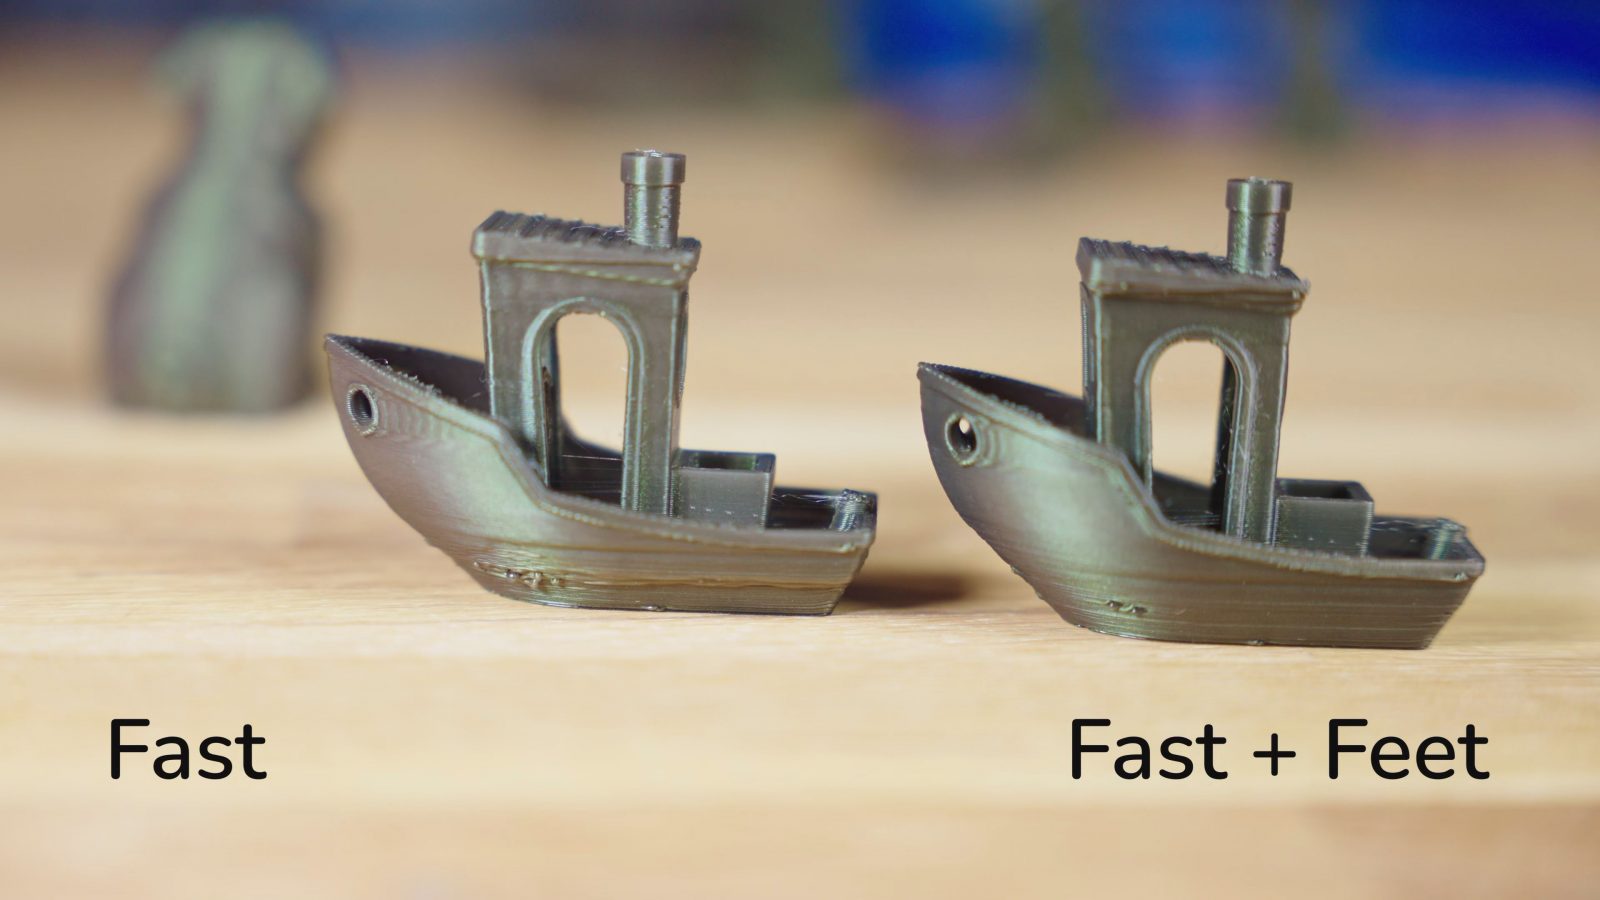
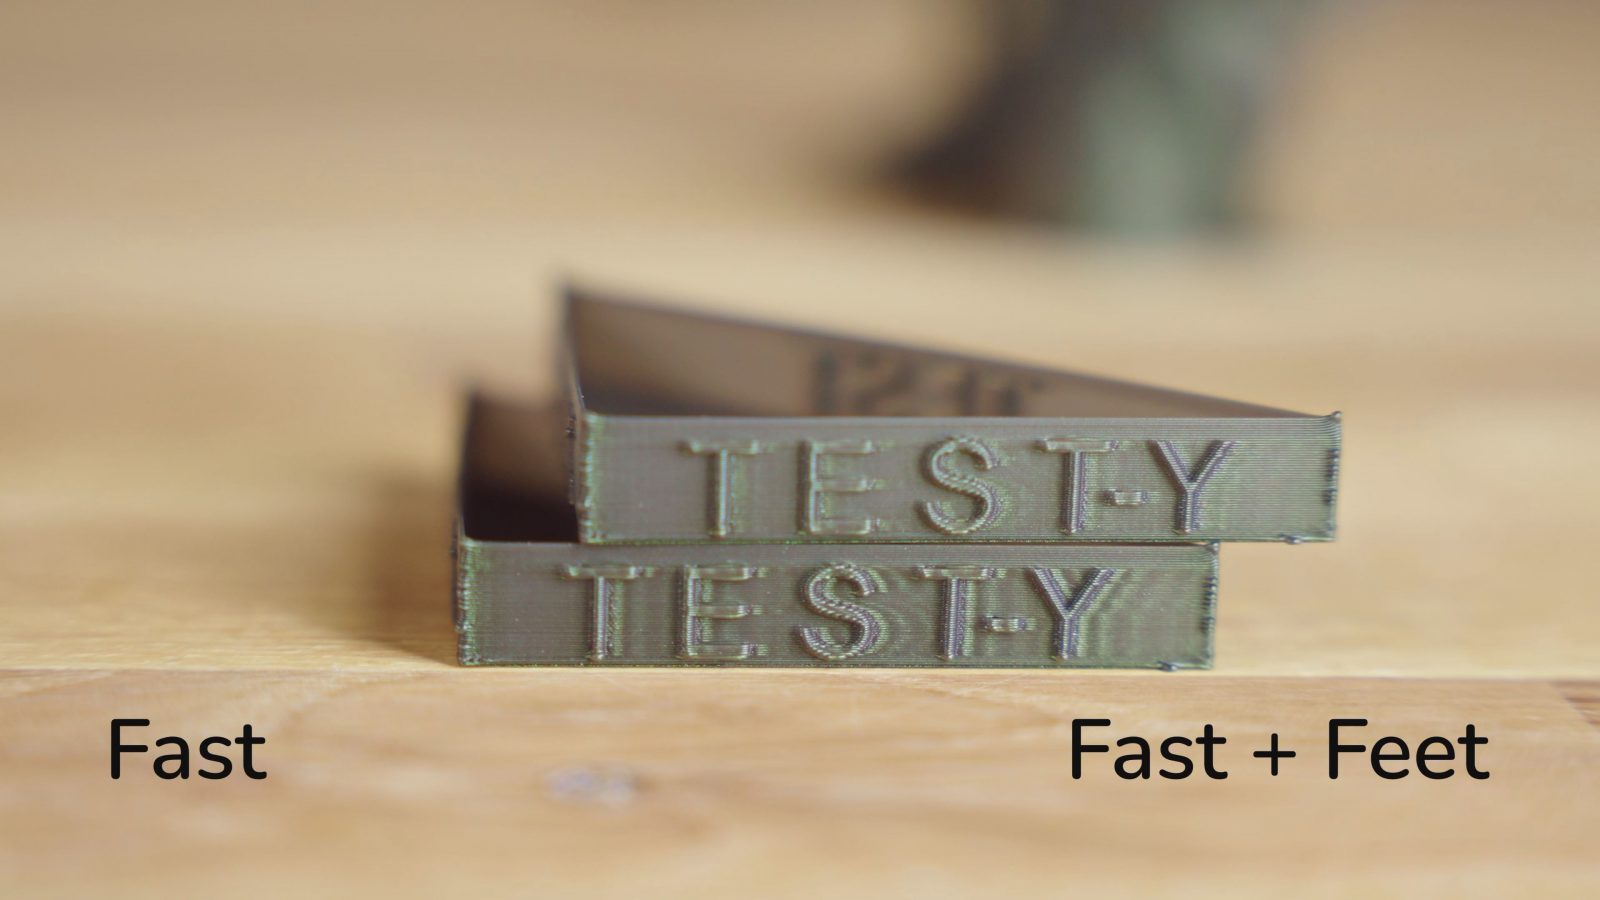
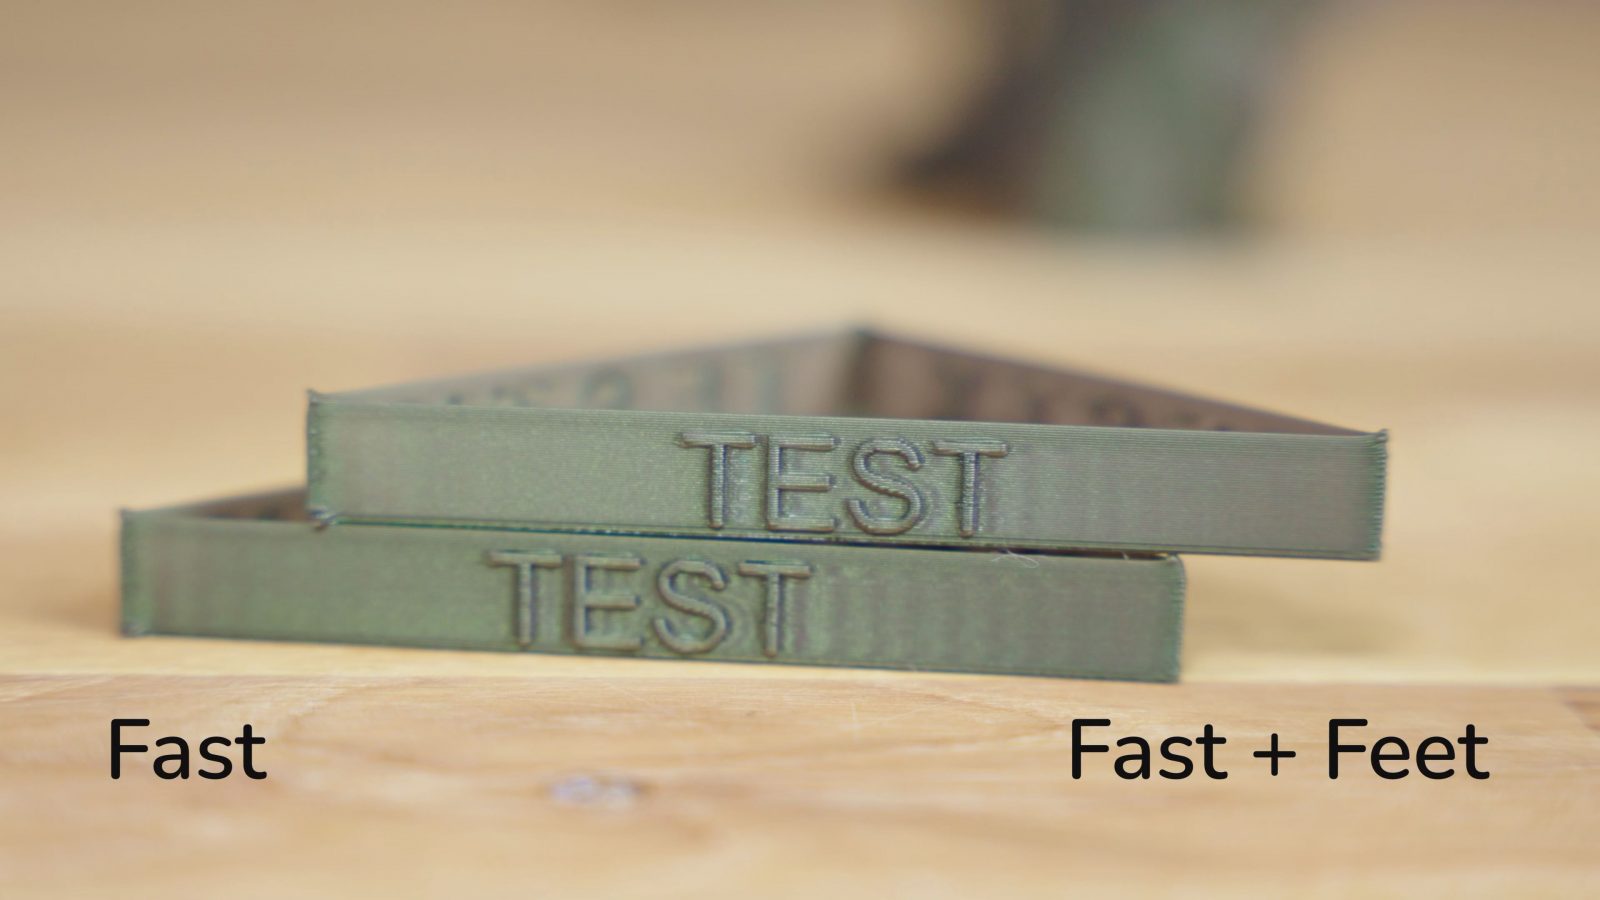
There’s just a significant improvement in how long the printer keeps resonating after it hits a sharp corner, it pretty much dies down within two cycles, with the default rubber blocks as feet, it looks like it would have just kept on ringing for probably a dozen cycles. It’s really hard to see, but it looks like the frequency of the ringing is also ever so slightly higher than with the default feet. And I know, it doesn’t look like it, but I swear, this is the exact same g-code at the exact same settings, literally printed back-to-back.
What’s also interesting is that the layer skip in the Benchy is gone, at least in the lower half, so that’s another indicator that yes, these feet really seem to dampen the oscillations in the printer.
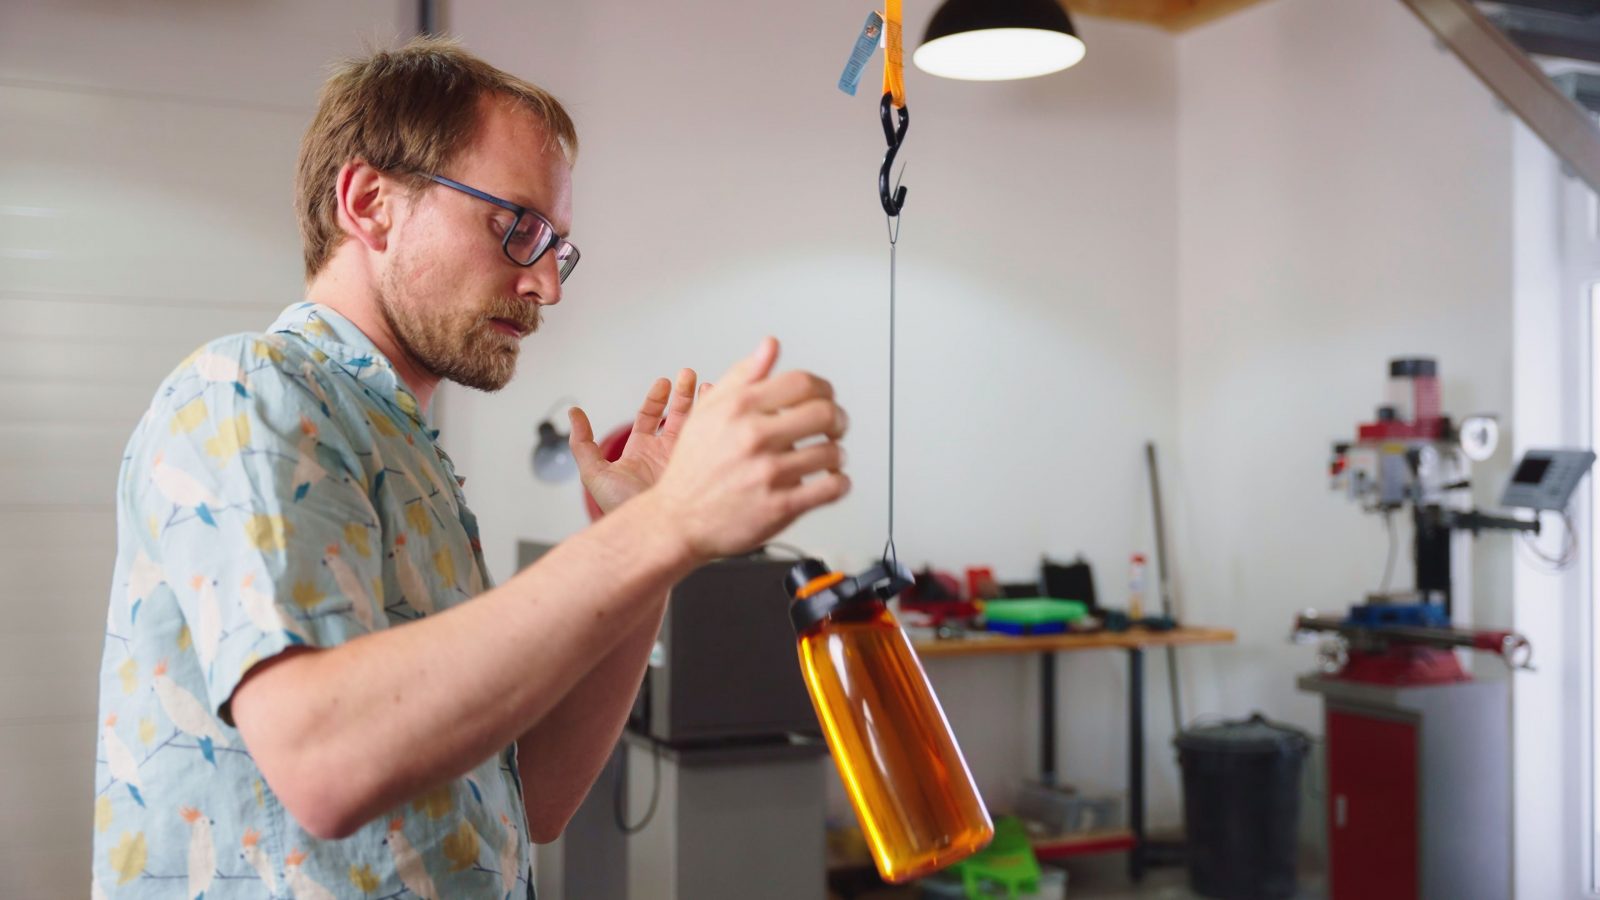
2. Freely hanging on elastic tie-downs
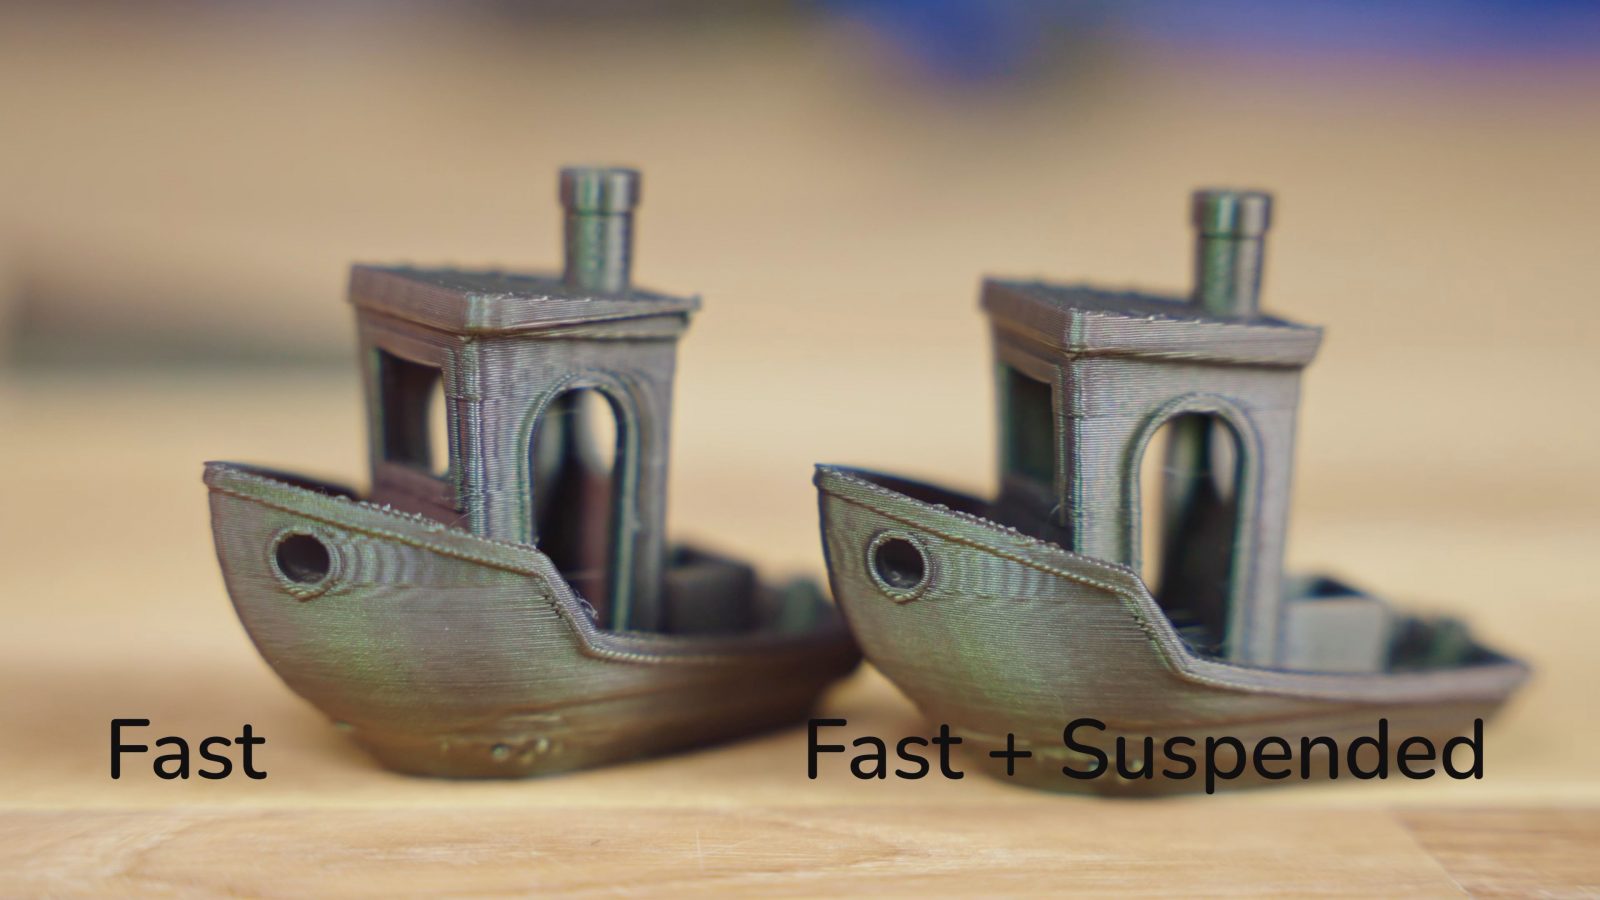
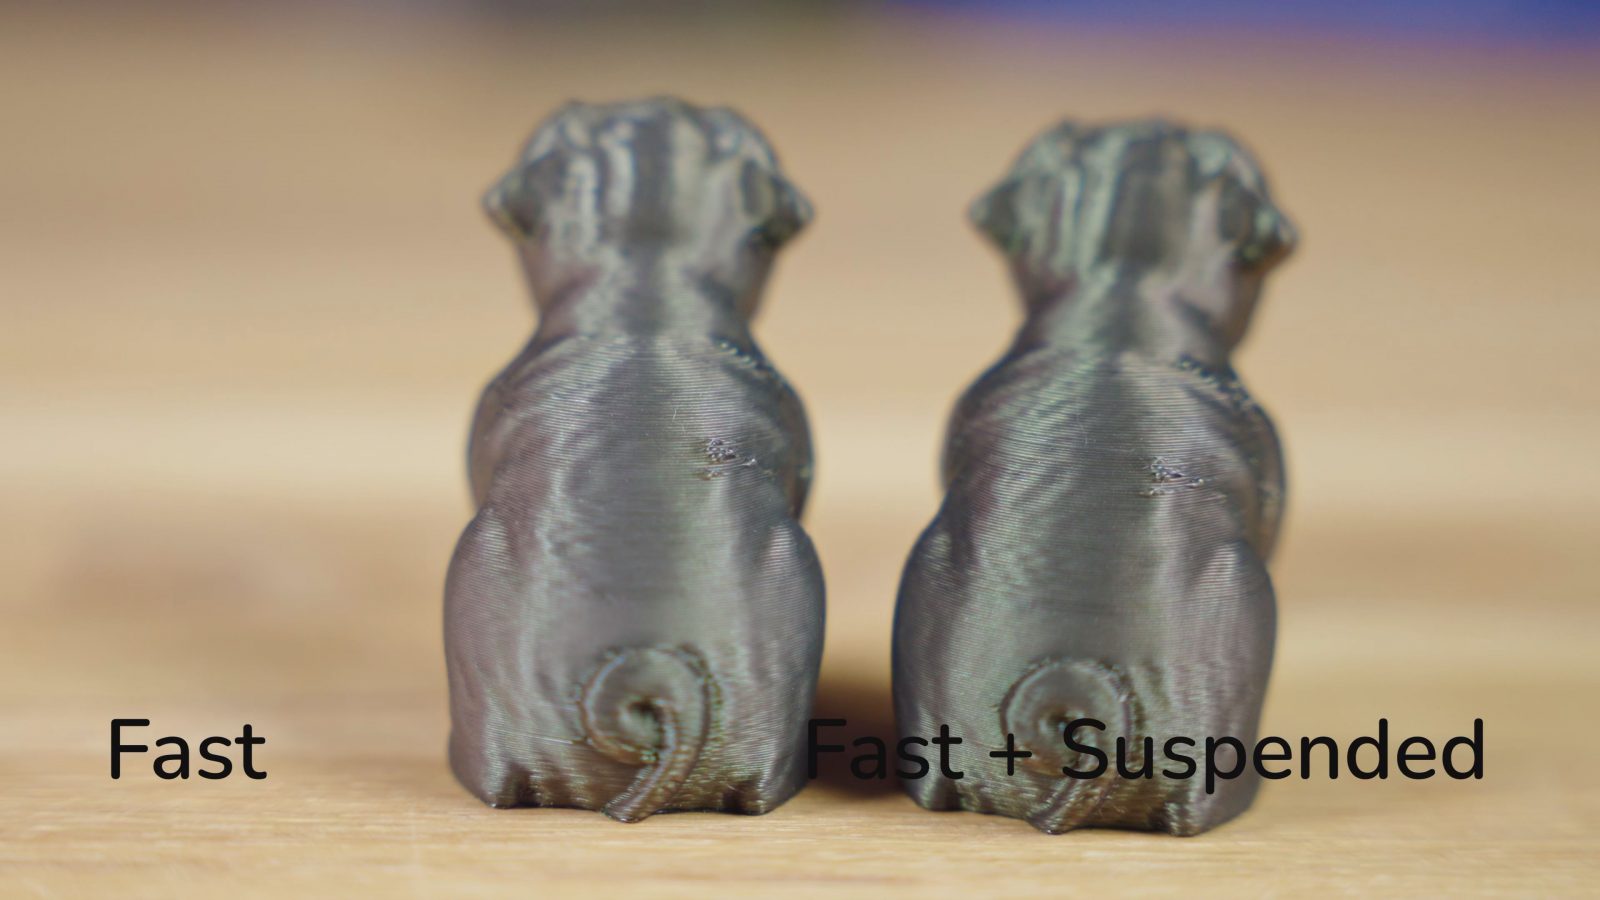
But okay, since suspending the printer on these feet seems to have improved things, let’s try suspending it completely. So I grabbed some elastic tie-downs and tried to suspend the printer from the gallery in here, and, well, turns out that these are a lot more elastic than I was hoping for. So I replaced the majority of that with a ratchet strap and doubled up the elastic rope, and now we have a printer that can swing around completely freely and it even has some up and down elasticity.
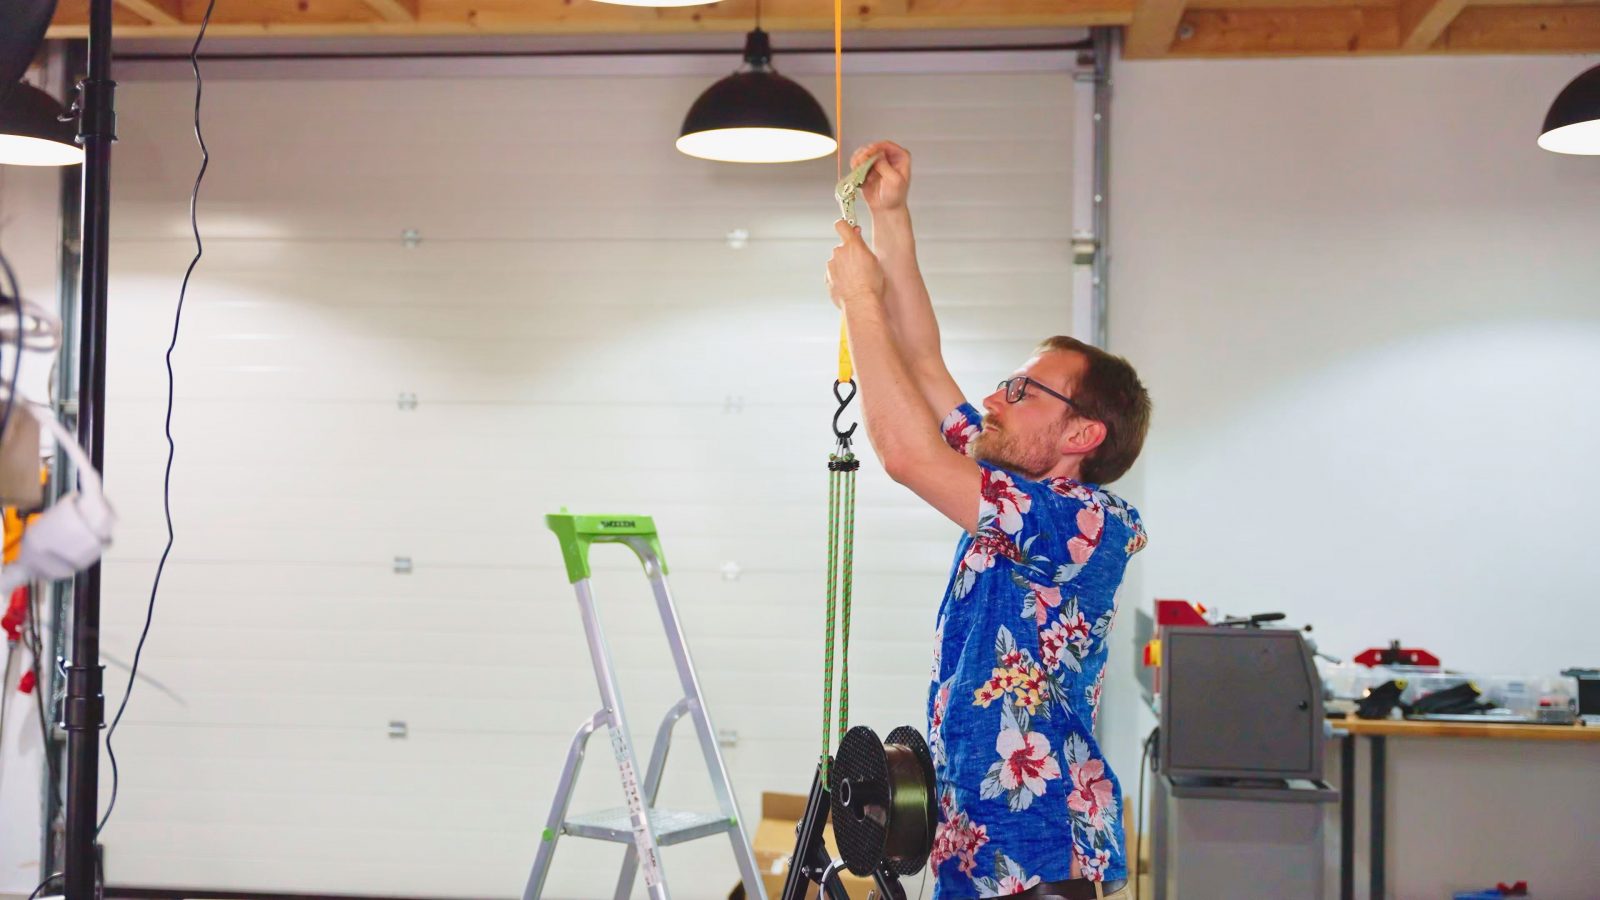
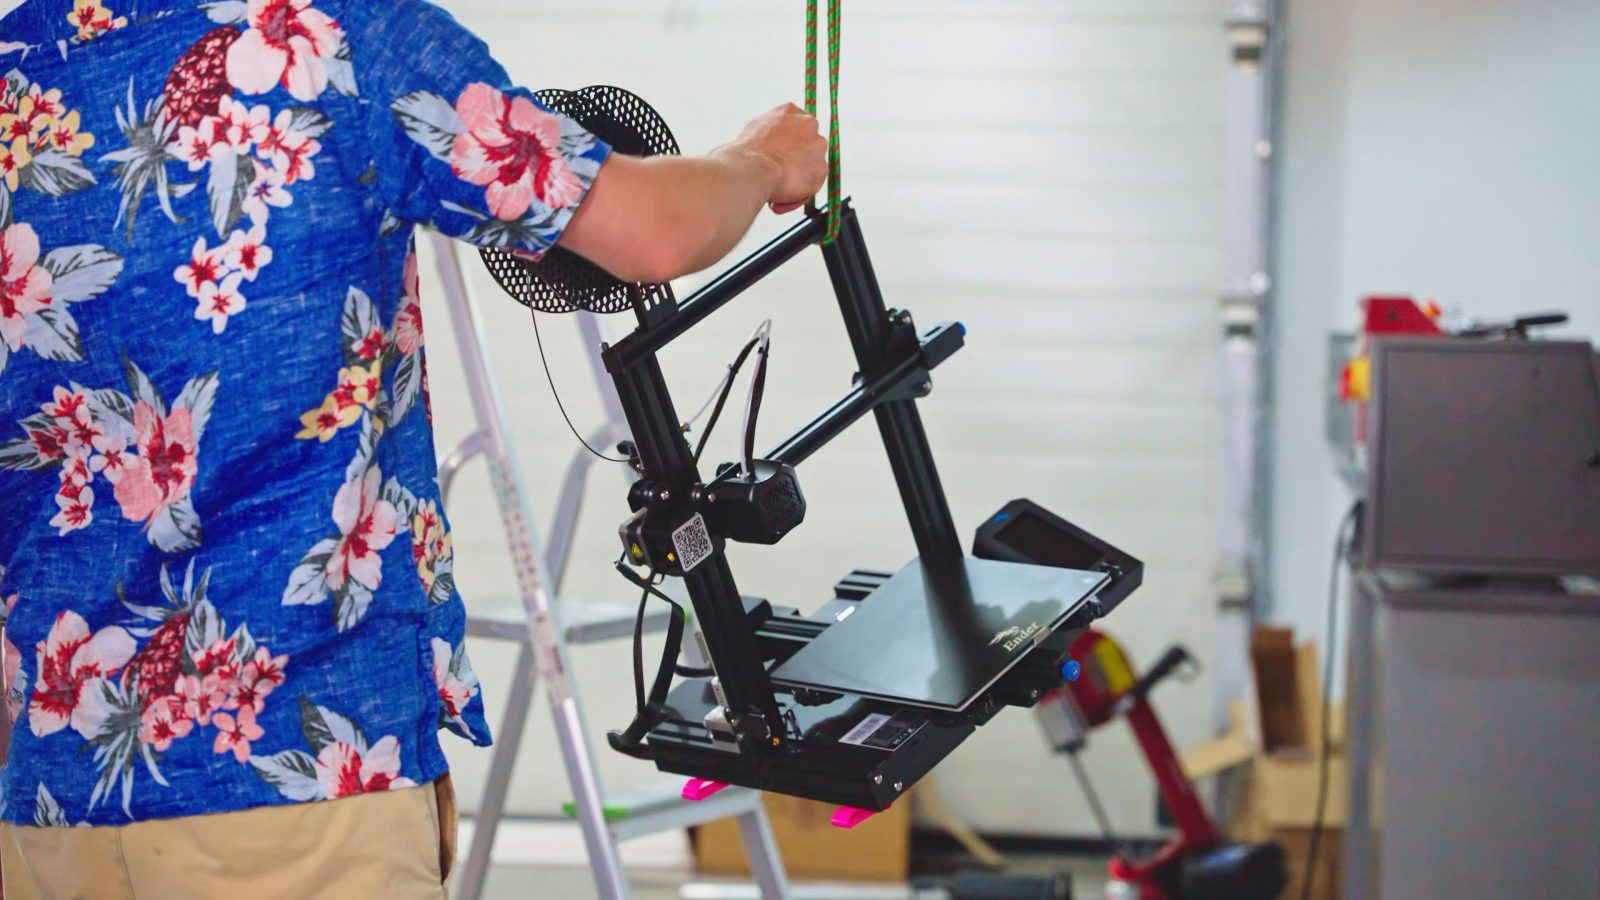
So this should be amazing for isolating vibrations from your building, but will it also work for reducing ringing within the printer? Well, no, not really. It looks super cool while it’s printing with the entire thing shifting around as it changes its center of gravity, but the prints look identical to the ones done with the stock feet. If anything, the CNC Kitchen test part looks worse than the one with nothing done to the printer at all.
So if reducing constraints on the printer frame didn’t help, maybe we can go the other way and increase constraints.
3. Attached to concrete
Our weapon of choice for that: Concrete. Well, we’re not going to pour any, but I’ve got these concrete pavers that I can attach to the printer base pretty easily.
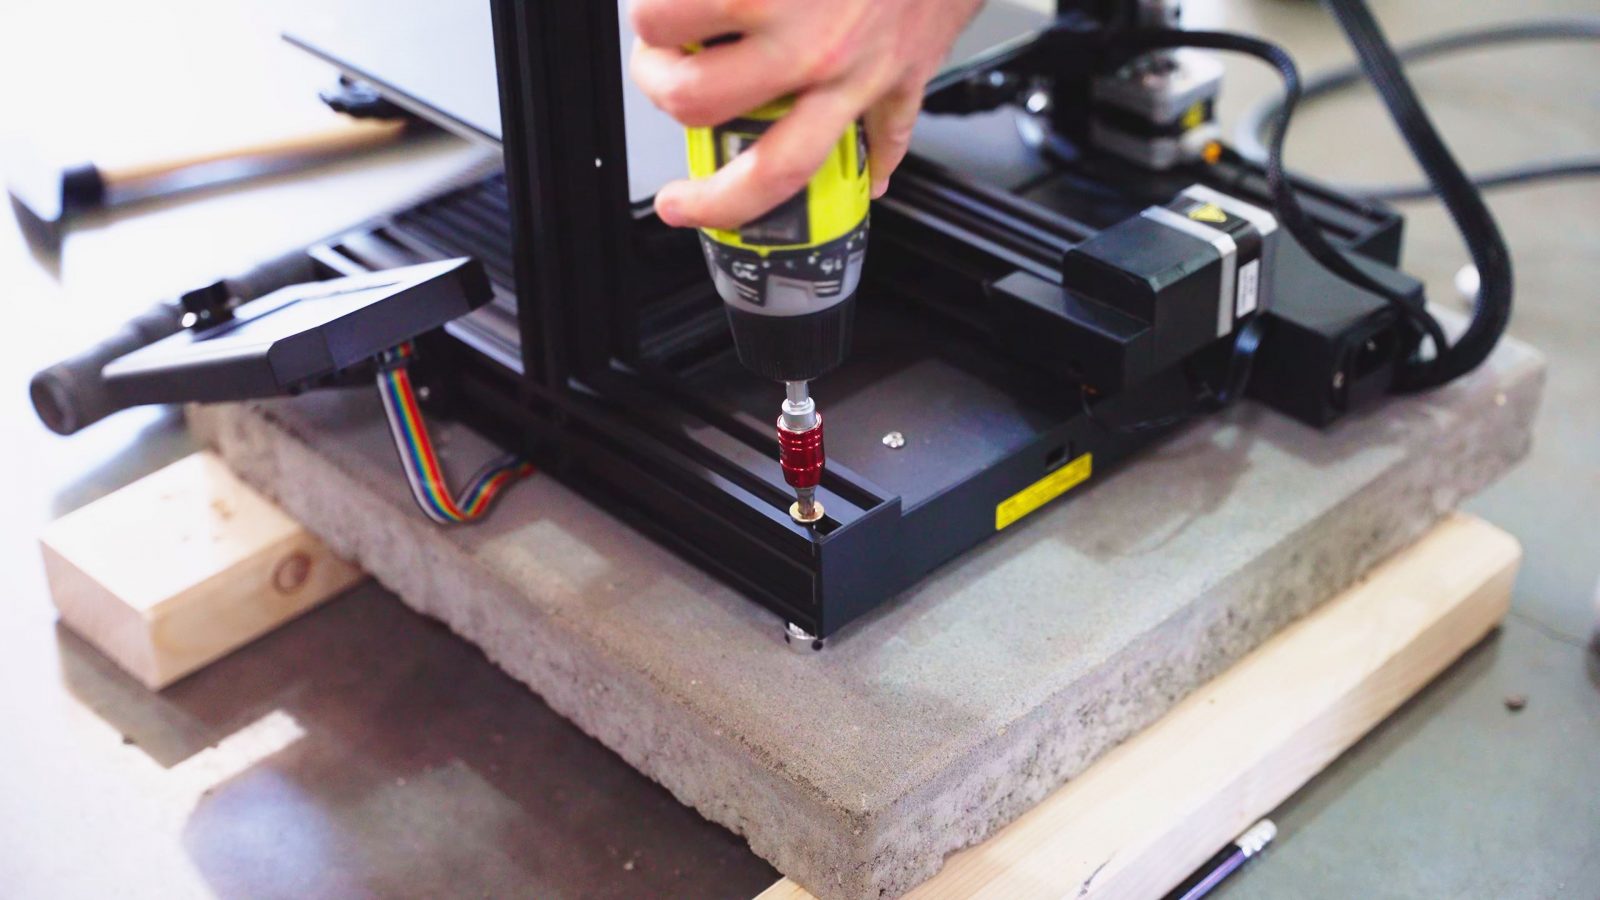
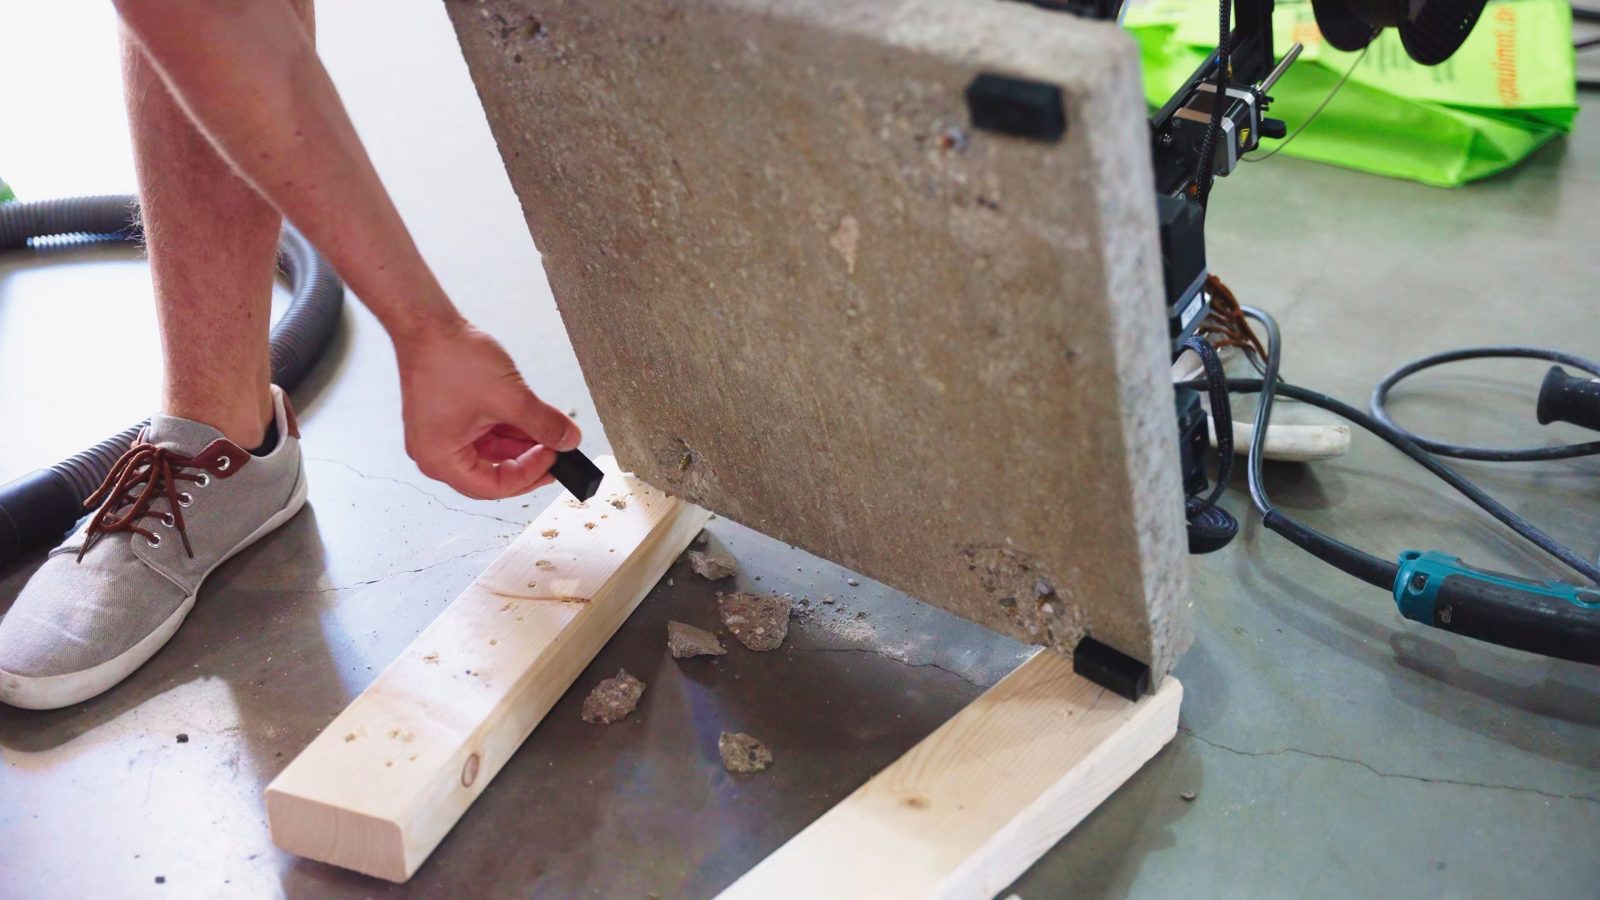
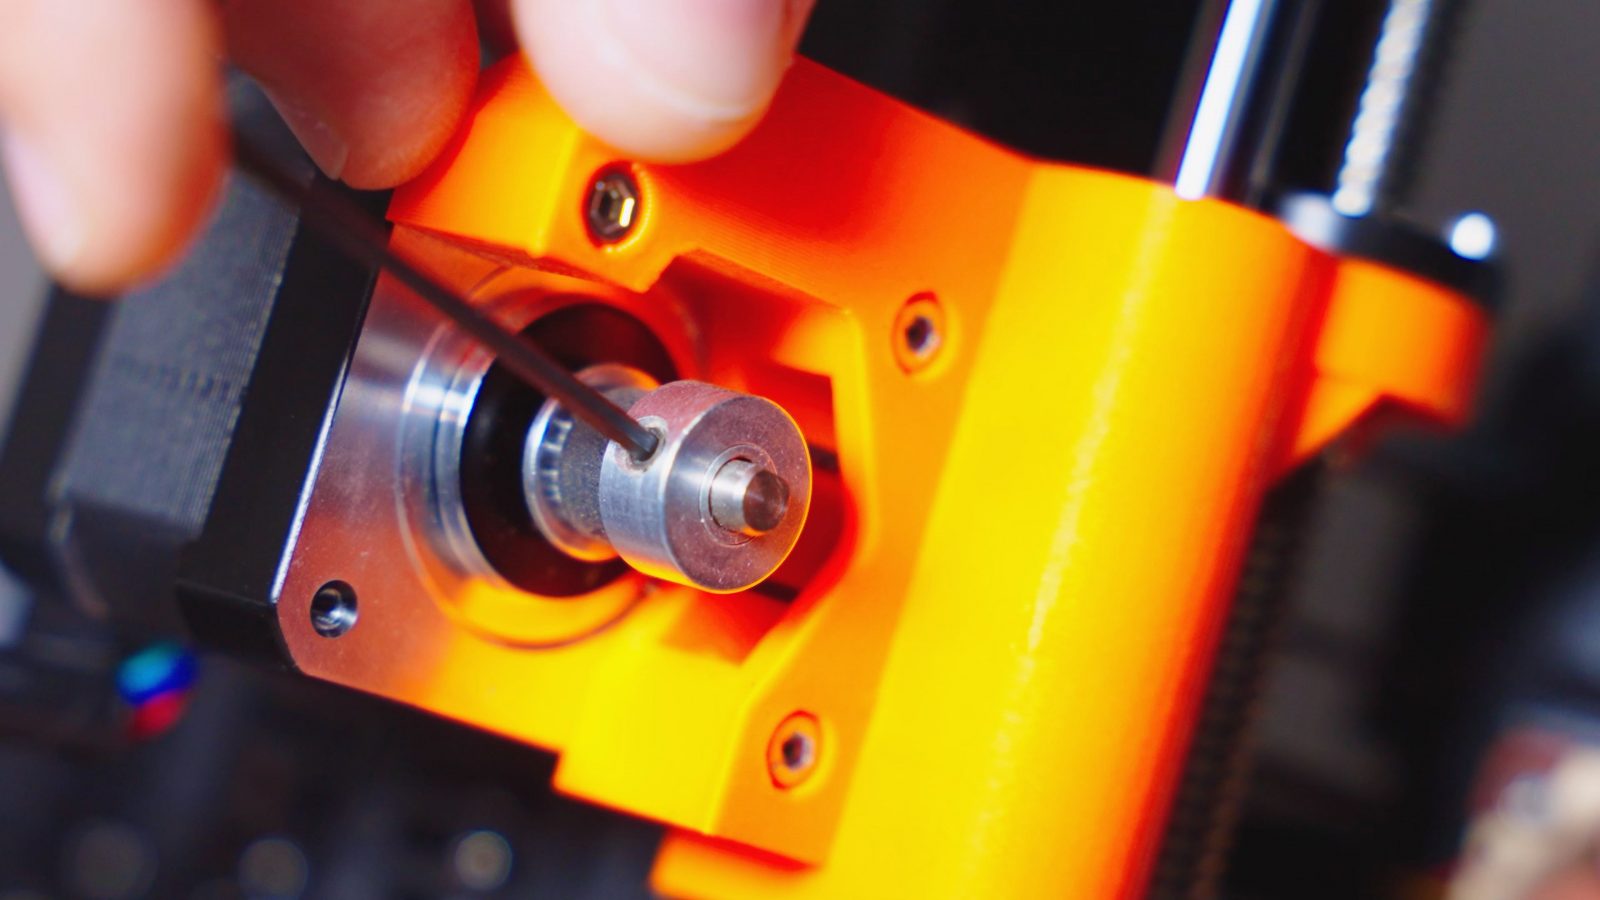
I could use fancy brackets, but since I don’t care about this printer too much, the most straightforward thing to do is just to drill through the frame, drill into the paver, add some spacers so we don’t clamp down onto the printer’s wiring and we can screw everything together. It’s definitely a chunky boy now! For good measure, I added the original printer feet onto the base of the paver and we’re ready to print another set. Aaaand… it’s not much.

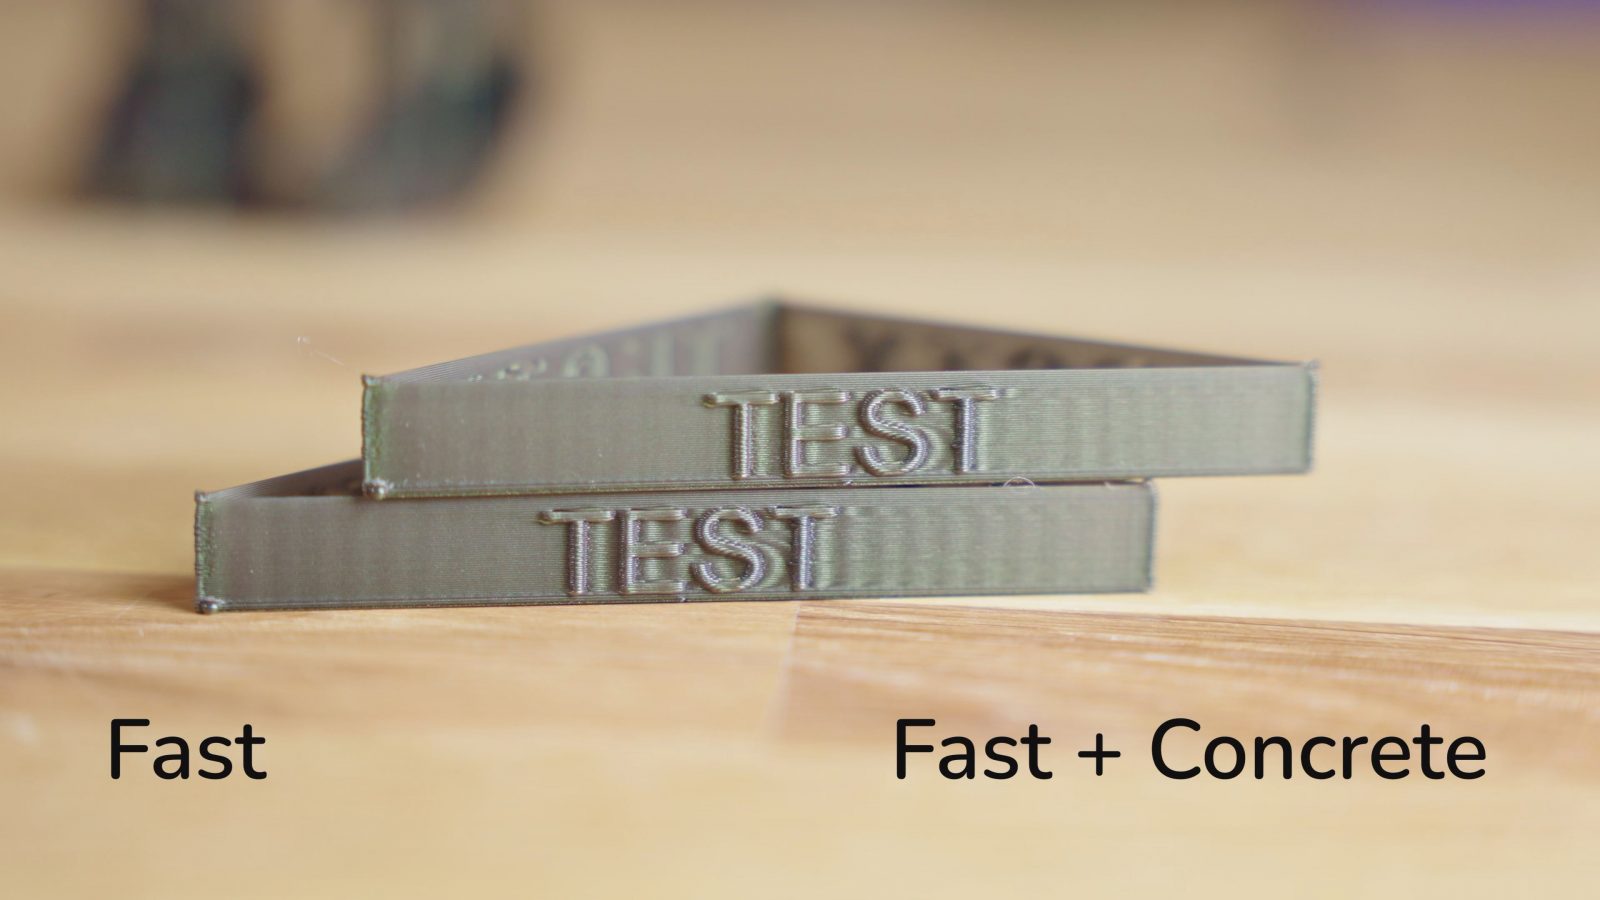
The prints look slightly better, it looks like this setup killed the resonance that caused the layer shift at the top of the Benchy and the test piece shows that the at least the Y-axis did profit from the extra weight attached, but it’s not nearly as good as the anti-vibration feet.
Trying to explain the results
So what’s happening here? Well, let me start by explaining what these resonances are that we’re seeing here. They wouldn’t be a problem if our machine was infinitely rigid or built infinitely light, but in the real world, we have things like belts, brackets aluminum parts that have some amount of flex to them and even the rotational axis on the stepper motors has a certain elasticity to it. Also, of course, all the parts have some weight in the real world, too.
So let’s say we’re referencing the printer frame, what both the X and Y axes are, is basically weight on a spring. We’ve built a mechanical oscillator. We can give it some motion input, but the harsher the input is, the more we’re going to excite this system, which is why lower accelerations on a 3D printer will always lead to prints that have less ringing.

Now, because I’m using a steel spring here, this is going to oscillate for a good while before it calms down. A 3D printer’s belt is closer to something like the elastic ropes, and if we use one of those, we can see that it calms down much more quickly. Not instantaneously, but definitely reasonably fast. And that is because these have damping to them. Damping essentially takes energy out of the system and turns it into heat, and we can kinda see that if we simulate some oscillations on these printed feet. This is what you want.
When we use a dampening element like this in the printer, we’re essentially burning off the oscillations that cause ringing into a bit of heat. That might actually be why these feet sagged so quickly – they were just doing their job, and they’re just printed from PLA.
That’s also why suspending the printer or bolting it down to concrete didn’t change much about how the printer resonated – because neither being able to freely swing around nor that rigid block of concrete did much to remove any of the energy of those oscillations.
CNC folks know about this and fill their machine frames with sand, which apparently dampens extremely well. Of course, they’re less worried about ringing on an axis but are instead fighting vibrations from the cutting head, but at the end of the day, it’s the exact same challenge.
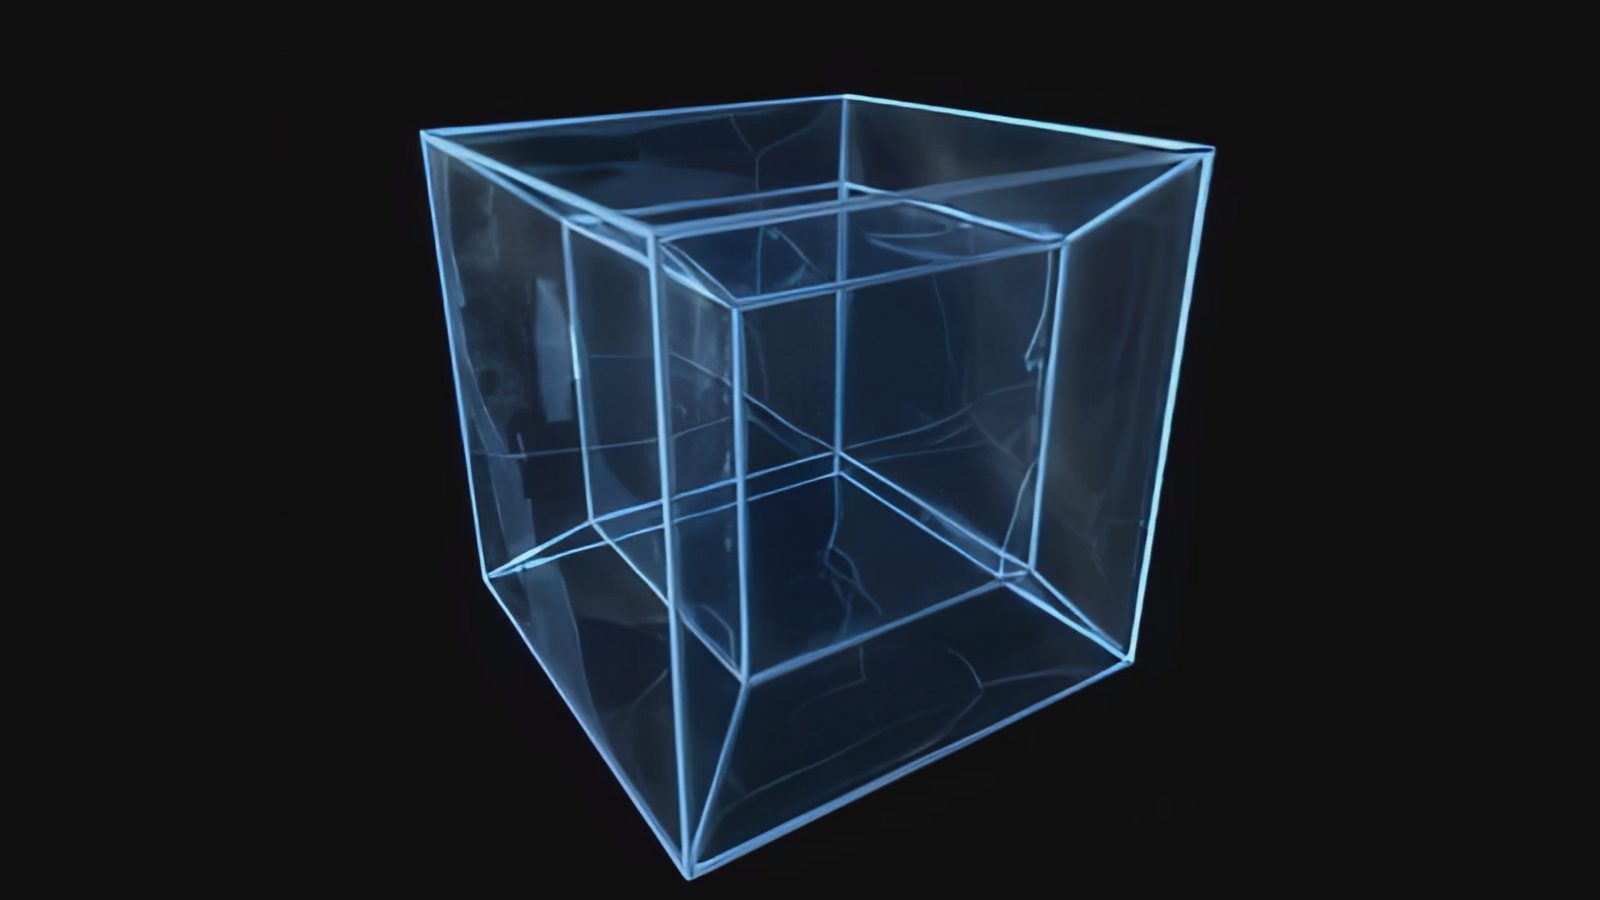
So should we fill 3D printer frames with sand, too? Maybe! I mean, it’s not the worst idea I’ve ever heard of. As long as weight can be kept off the moving parts, it might actually work pretty well. Let me know in the comments if that’s something you’d like to see me try out. Also, the rubber ropes, I think those could work, but not with it just suspended down from the ceiling, but maybe strapped into like a 4D-cube-looking thing? I briefly saw that somewhere, but I can’t find it now. But definitely something to try out.
But yeah, the humble vibration dampening feet come out as the victor. I honestly never thought much of these, but they seem to work really well both for reducing ringing and for reducing how much your table ends up vibrating, too. Just maybe don’t use these with printers that don’t have rigid bases like the MK2 Prusas, that can cause more issues than it solves.
In either case, I hoped this was interesting for you, it definitely was for me. Subscribe for more, support the channel on Patreon or through YouTube memberships to make it all possible, thank you for watching, keep on making, and I’ll see you all in the next one, bye!
Models shown:
Anti-vibration feet by schuetzi99
3D Benchy by Creative Tools .printables.com/model/2236…
Ringing Test Part by CNC Kitchen
Products used:
💙 Enjoying the videos? Support my work on Patreon!
Product links are affiliate links – I may earn a commission on qualifying purchases (at no extra cost to you)

Check out my second channel “More Layers” on YouTube for livestreams