
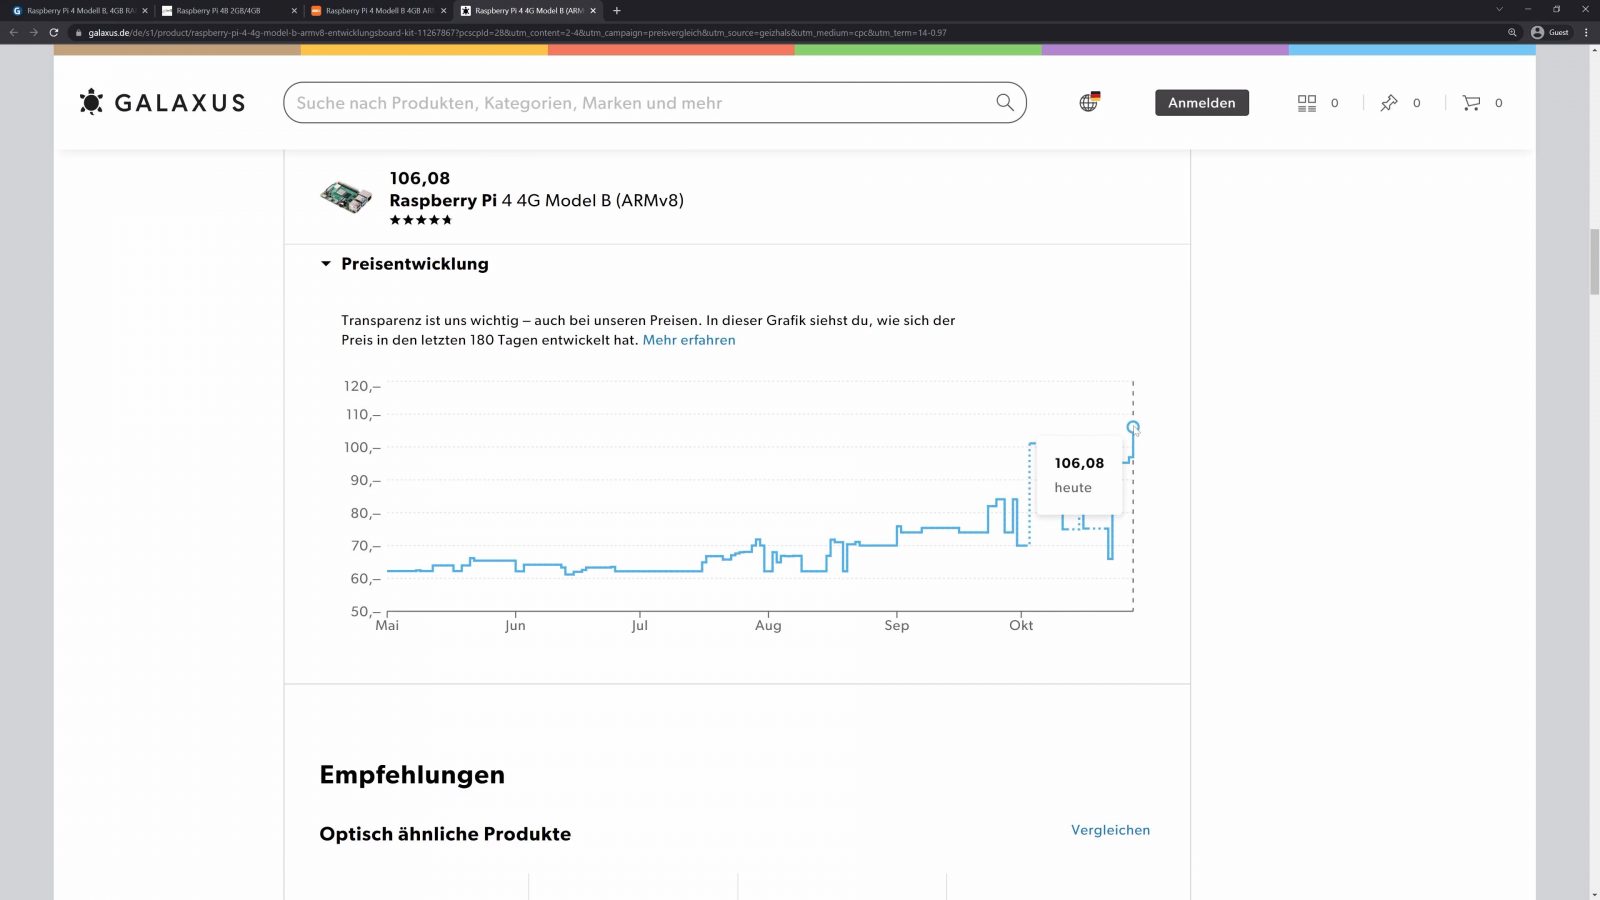
If you’ve tried to buy a Raspberry Pi recently, you’ll have noticed that that is actually quite hard to do right now.
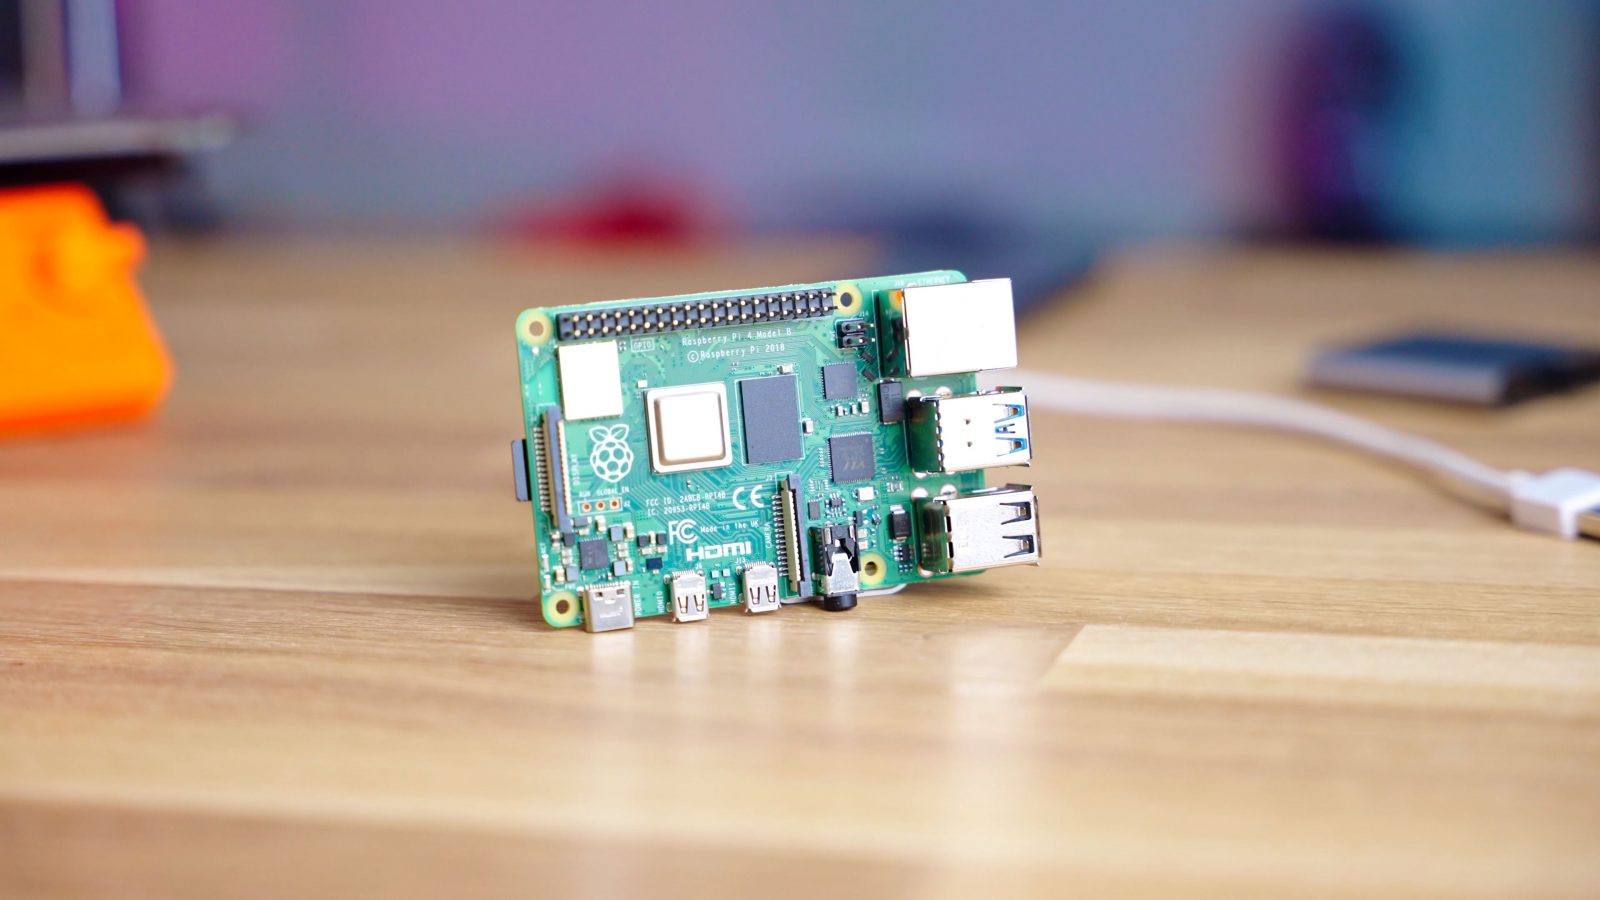
For example, for the 4GB Raspberry Pi 4 that used to sell for around 50 bucks, the cheapest offer that actually has them in stock is starting to demand scalper prices closer to 100 bucks.
So if you want to run OctoPrint and still need a quality power supply and USB cable, a webcam, and SD card, you could end up spending close to 150 bucks.
But what if I told you there is a cheaper way. What if you could run OctoPrint on your old Android phone that you’ve got sitting around anyway? Or, in fact, you can easily buy a brand-new phone or tablet for what you’d be paying for a single Raspberry Pi and that is going to already come with a power brick, USB cable, and a much better camera built-in than what you’re going to get with any webcam. And that’s also going to give you a way of controlling OctoPrint without pulling out an additional device.
So today we’re going to try out Octo4a, which lets you run a full OctoPrint setup including plugin support and everything on pretty much any Android phone and the only thing you need is a USB adapter like this one for five bucks.

Use your old phones
So for today’s test, I’m not going to use my daily Pixel 5, because I don’t want that to be tied to a printer for hours at a time. Instead, I’m going to be using a Xiaomi Poco F2 I had previously, it’s got an 8-core processor clocking up to almost 3GHz, as well as 8 GB of RAM, so it’s easily faster than any Raspberry Pi. Unfortunately, it was the second Xiaomi phone that just randomly died on me. This one simply doesn’t charge anymore, but it’s otherwise technically fine, but the Xiaomi 9T I had before that one day just turned its screen off and never turned it back on so that one’s done. Thankfully, though, we can pretty easily work around the broken charge feature on the Poco F2 Pro, so let’s do that real quick.

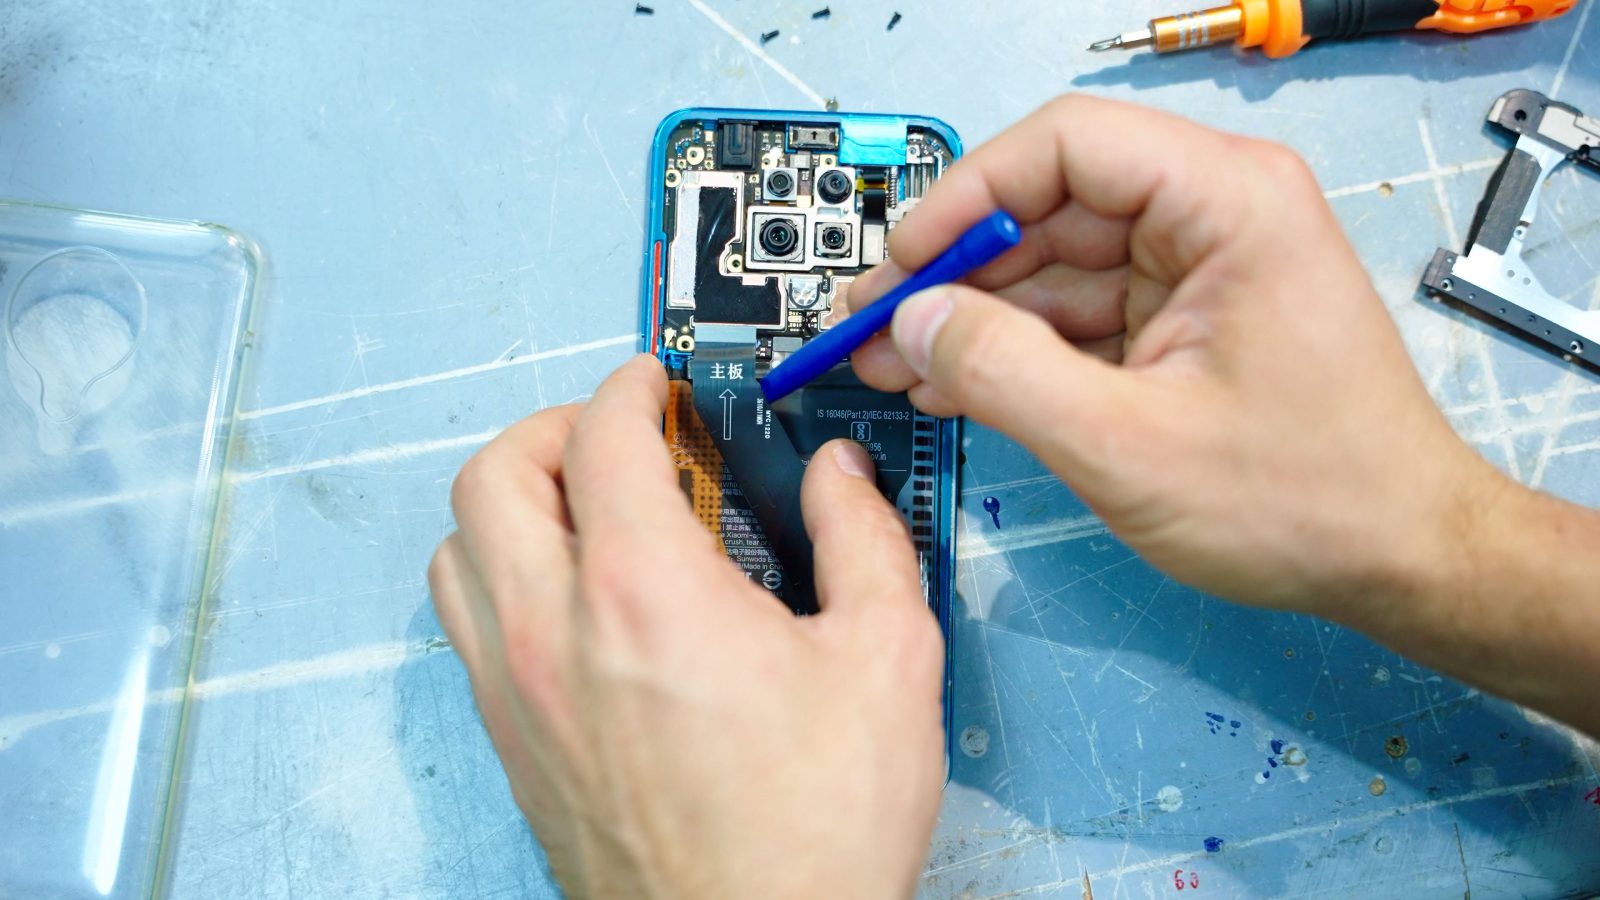
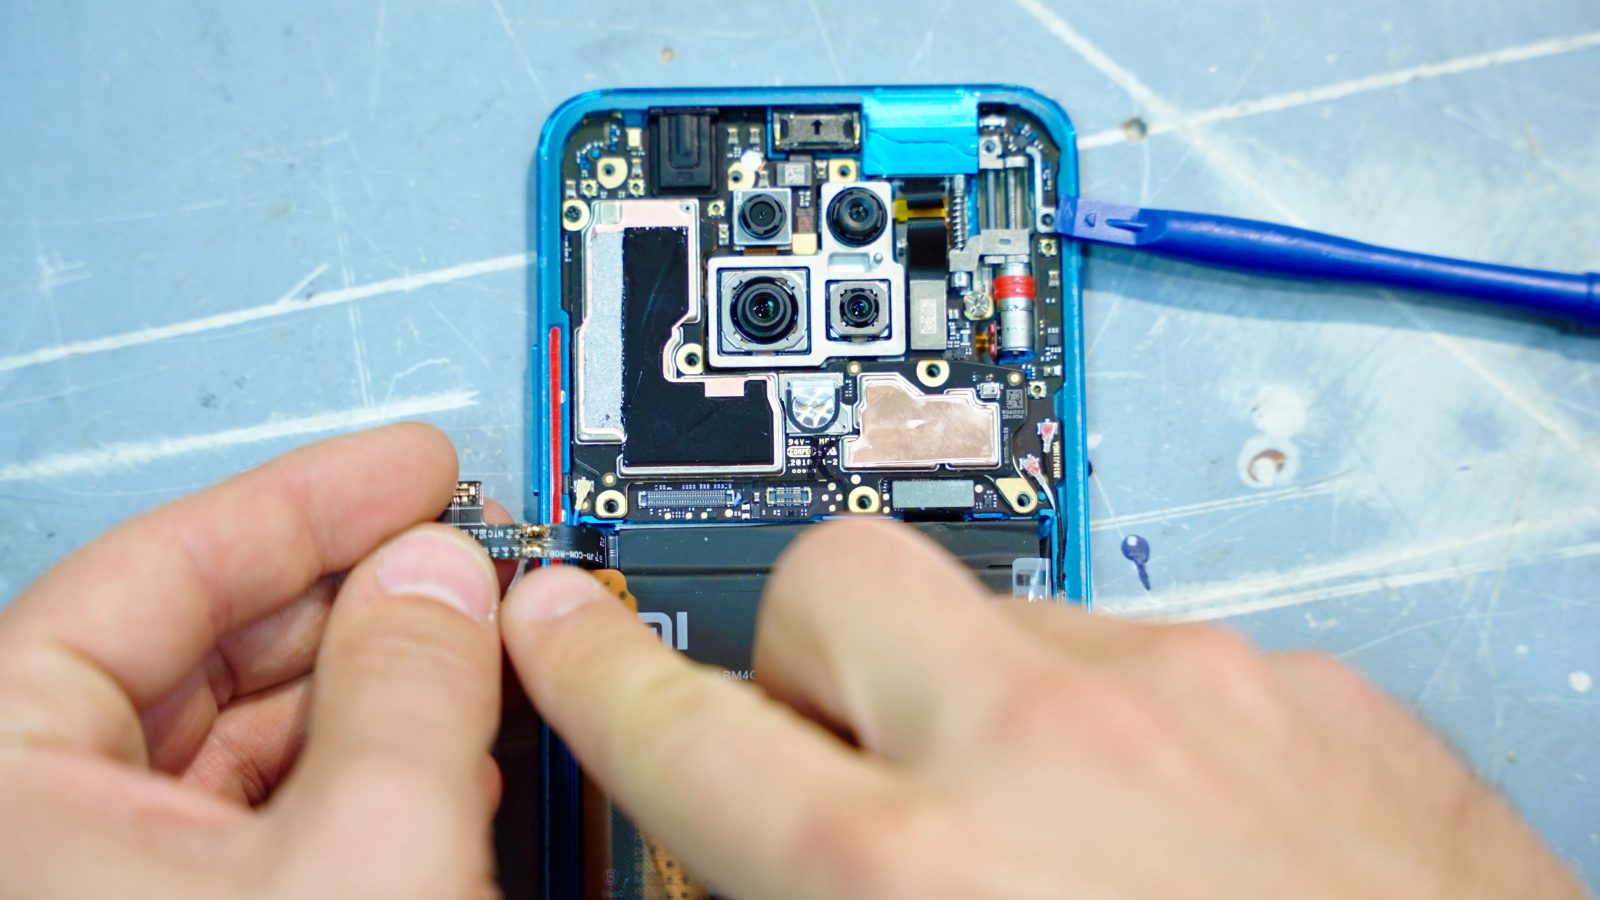
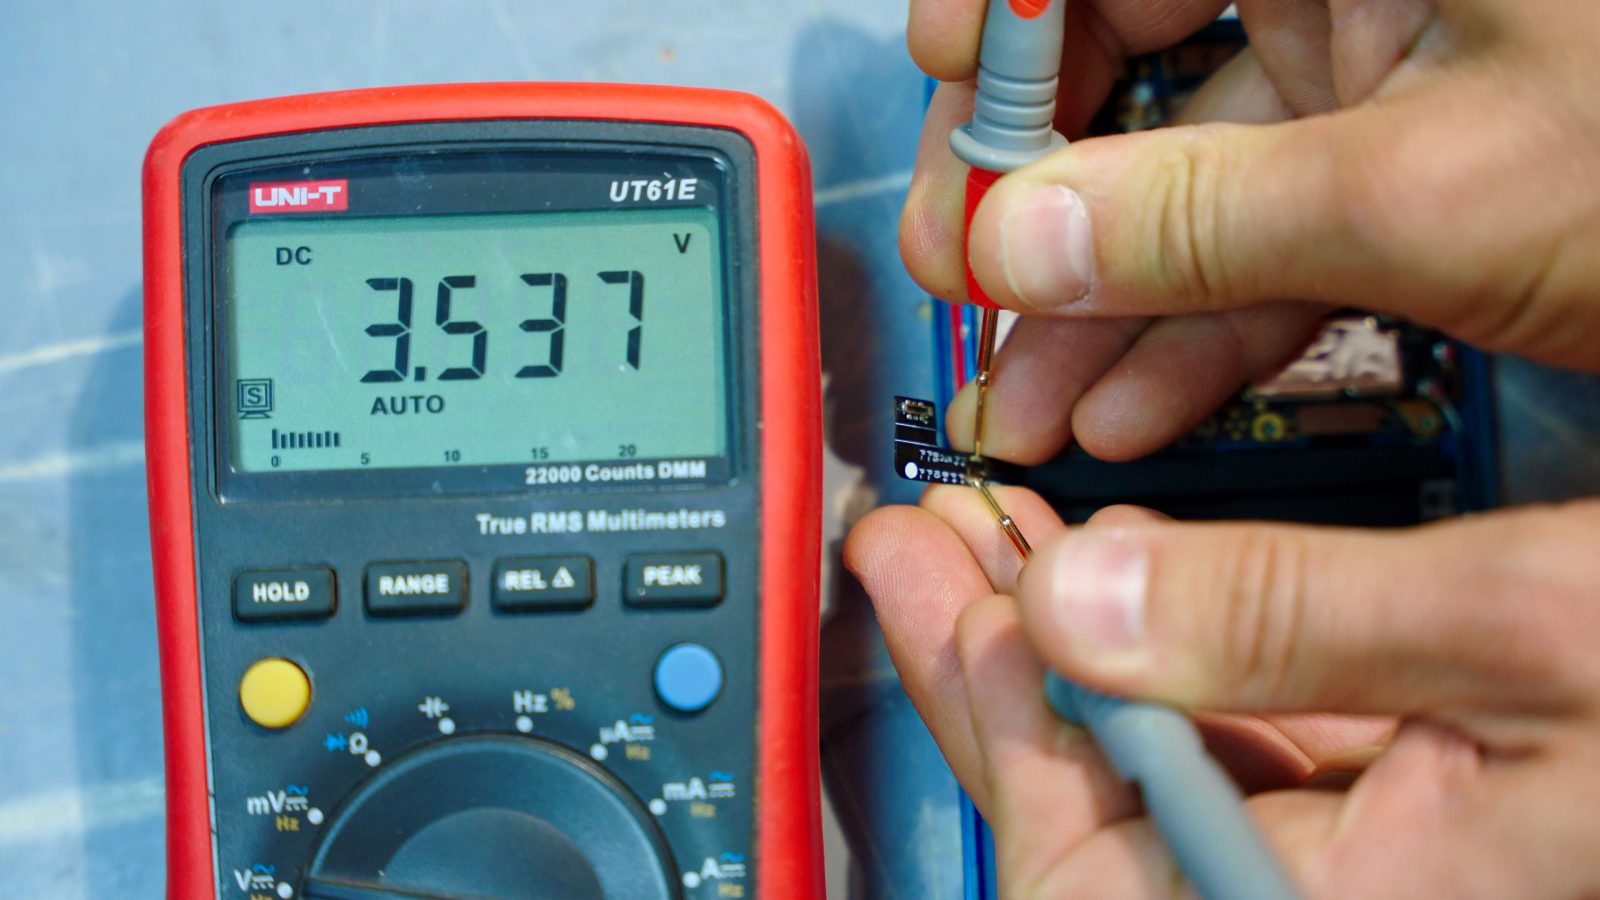
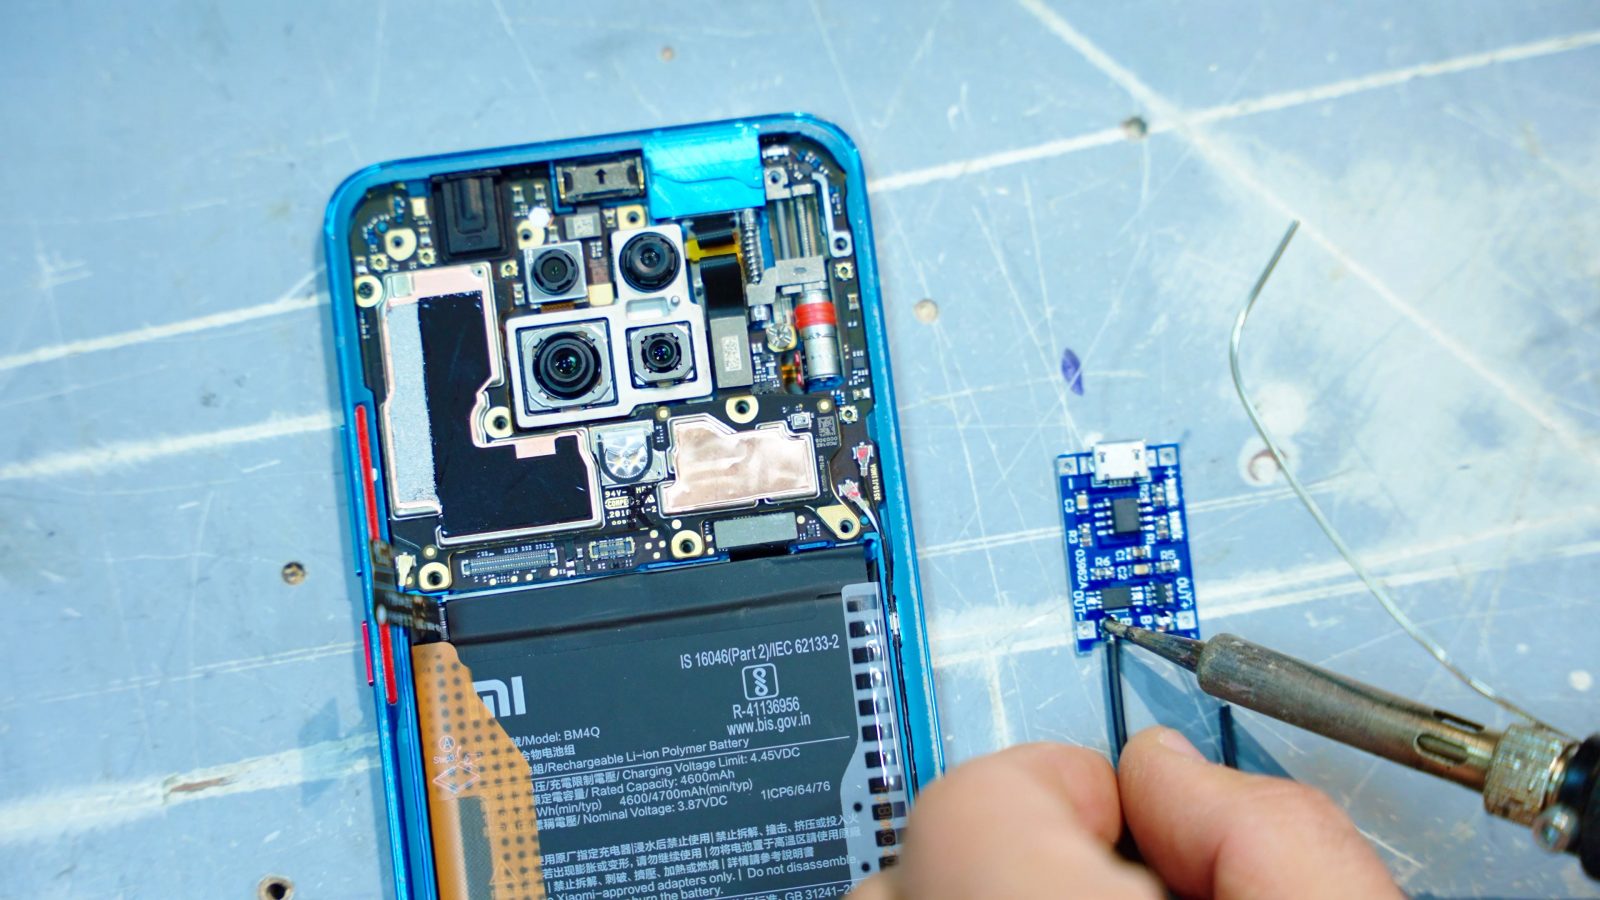
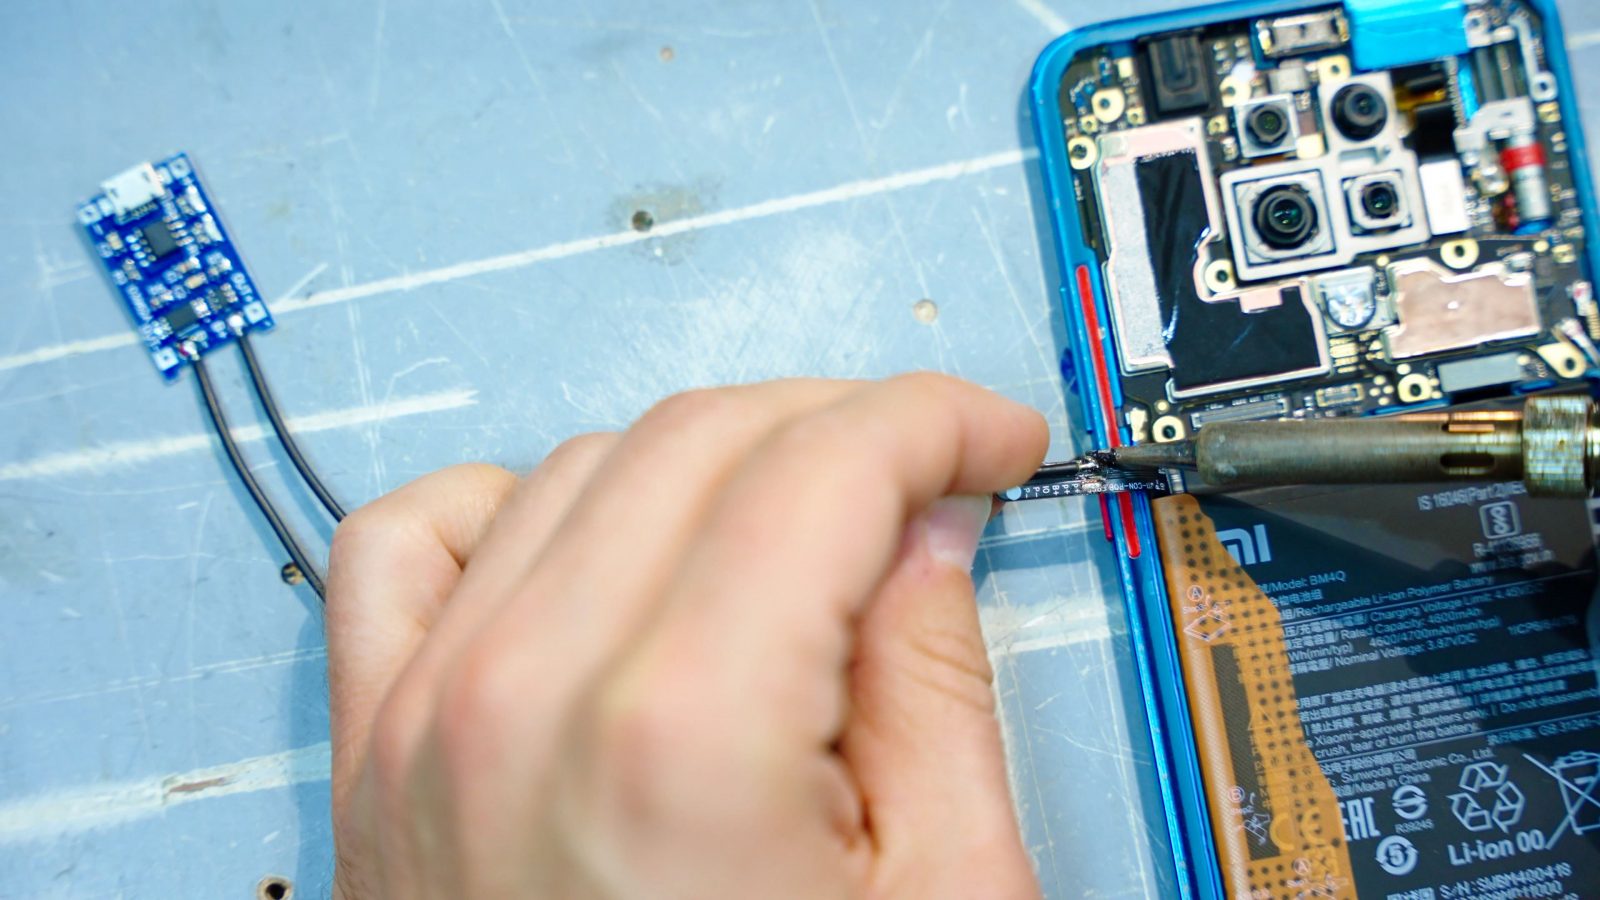
The back is already off, so all I have to do is take off the plastic shroud, unsnap the connectors like little legos, and then solder in a little Li-Ion charger PCB directly to the battery terminals on the back. If you’re going to attempt something like this, please make sure you know what you’re doing or ask someone who does, because shorting out or damaging a lithium cell like this can go catastrophically wrong pretty easily.
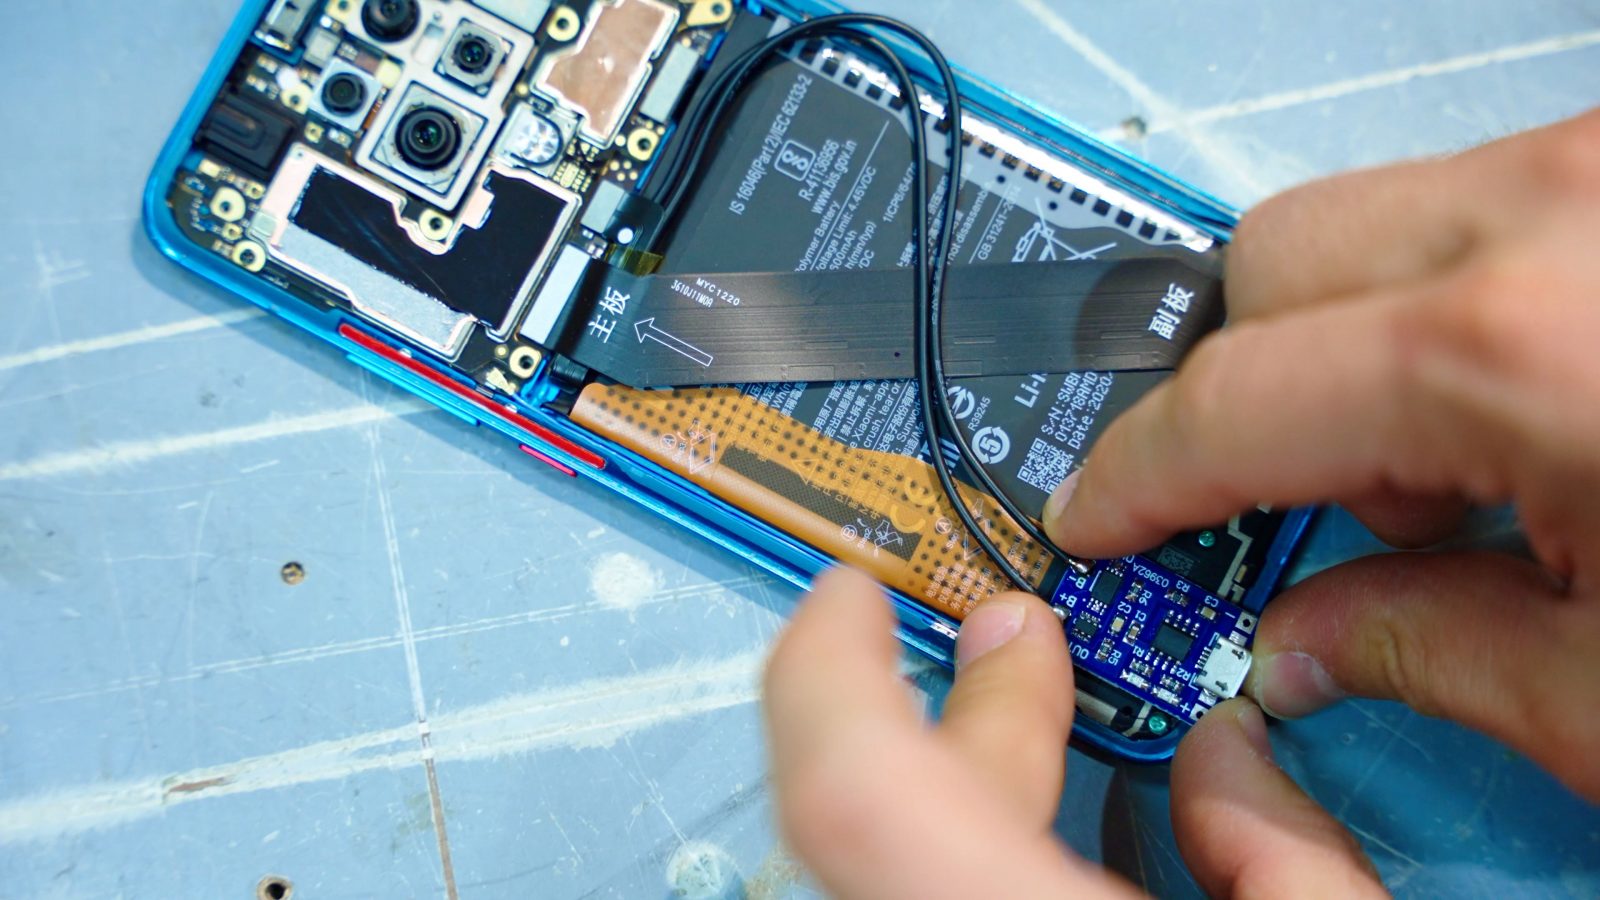
So here we go, a “perfectly” usable Xiaomi Poco F2. I mean, I guess you could use it like that, it’s already abominably unwieldy as-is.
As a second phone, for reference as to how old and how weak of a phone you can still use I’m also going to throw in this Google Samsung Galaxy Nexus. This thing is from 2011, has a 1.2GHz dual-core processor and 1 GB of RAM. Performance-wise, it should be roughly comparable with a Raspberry Pi 2, which already isn’t exactly recommended hardware for running OctoPrint, especially once you start running plugins. And as a middle ground, I’m also going to chuck in an LG G6, which was already a very affordable phone brand new, but you can now get them used for next to nothing. 2. something GHz quadcore, 4GB of RAM. This should be about comparable or actually a bit faster than a Raspberry Pi 4.
Connect your phone to your printer and keep it charged
So, next up, the question is of course, how do you actually connect to your printer, because these phones don’t exactly have a USB port that you can just plug stuff into. Except that, they do. So Android phones generally support what is called USB-OTG, USB on-the-go, so with a simple adapter like this one, you can turn the USB port on the phone into a full-size and fully featured USB host port.
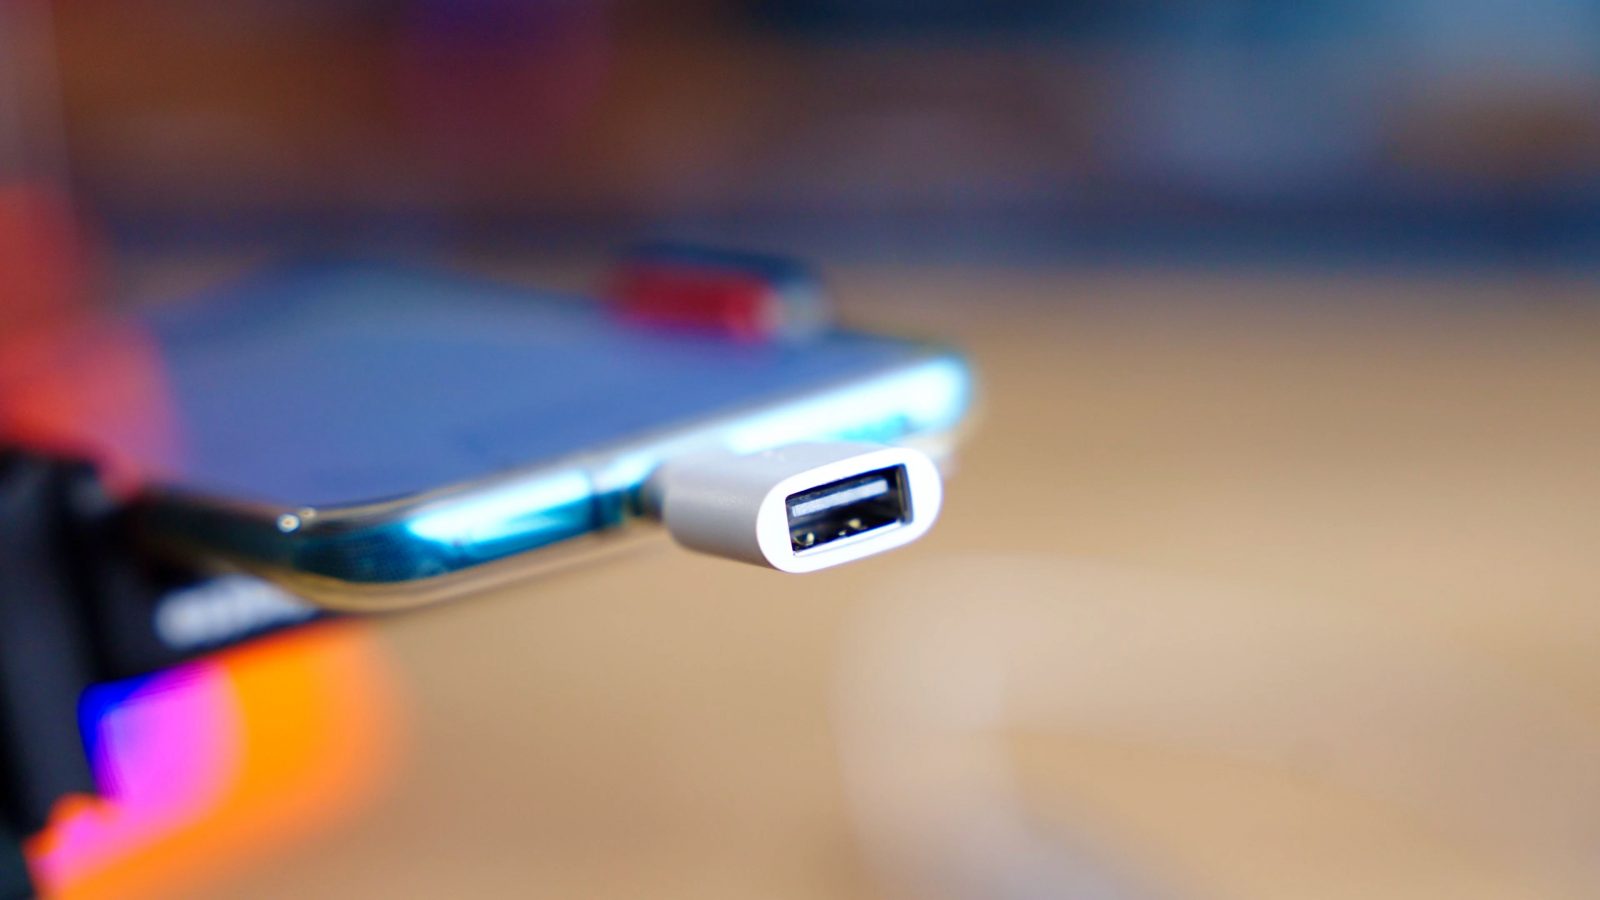
You can actually plug all sorts of stuff into this port, including USB hubs, thumb drives, Ethernet adapters, or webcams if you so desire. So this is really just a simple plug-and-play operation. You plug in the adapter, you plug in whatever device you want and you’re good.
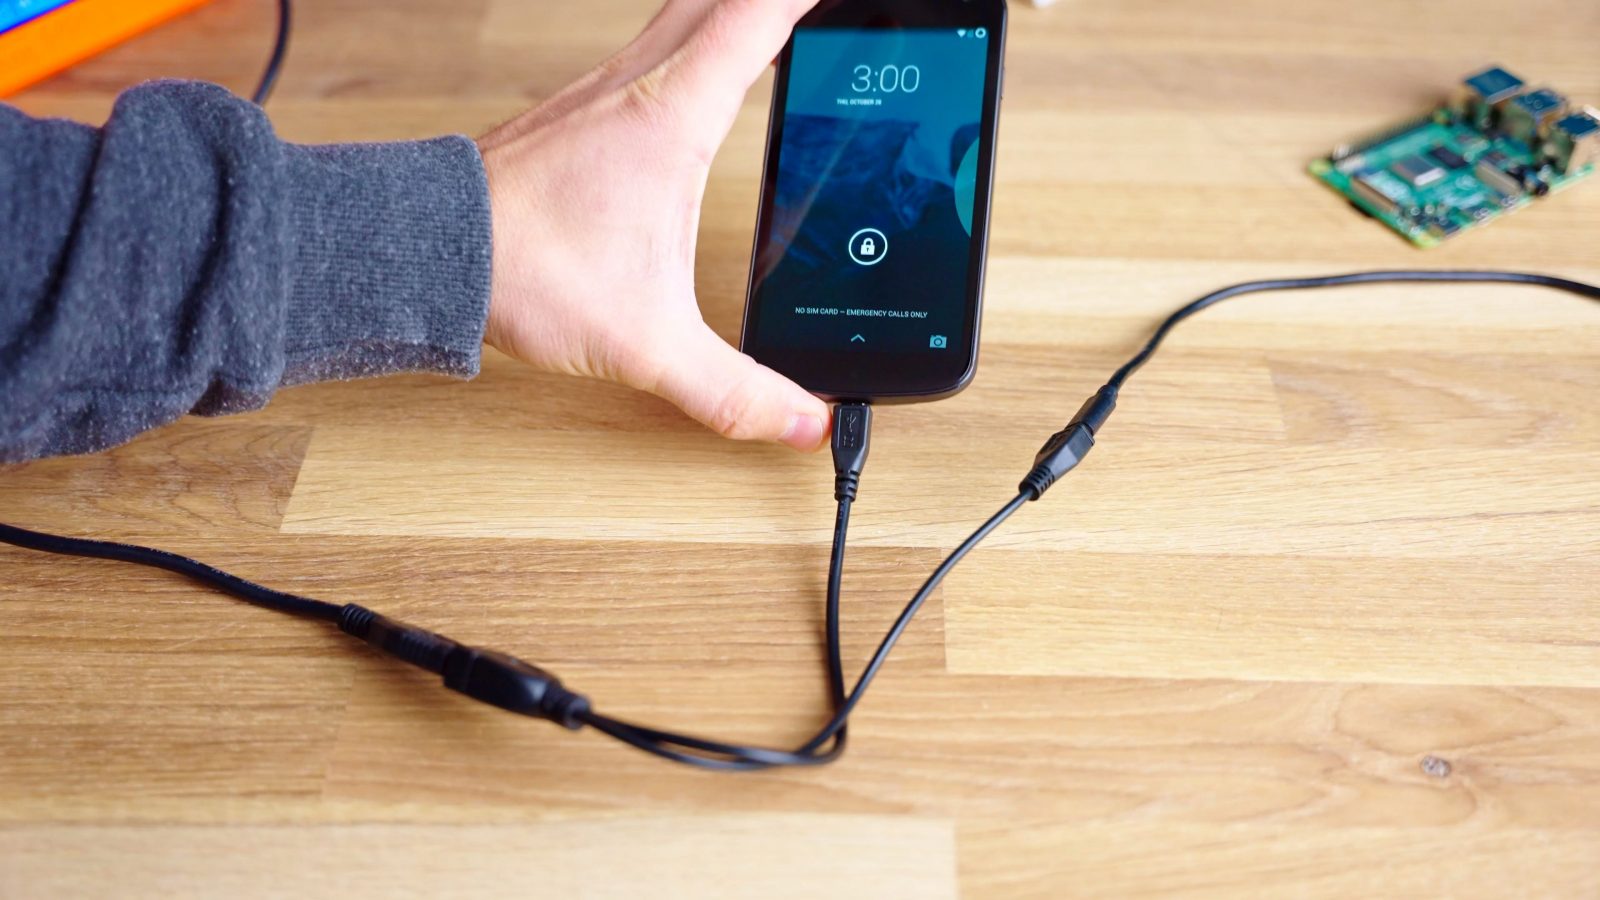
But you may have noticed a little challenge with that: How do you keep your device charged? Because as is, you’re taking up the only option of supplying power to the phone – with the built-in USB port. With the POCO, of course, we have conveniently already worked around that by completely bypassing the regular charging circuit, but for normal devices, you can get either a little Y-cable for about 5 bucks, which gives you the USB host port, but it also lets you plug in your regular charger.
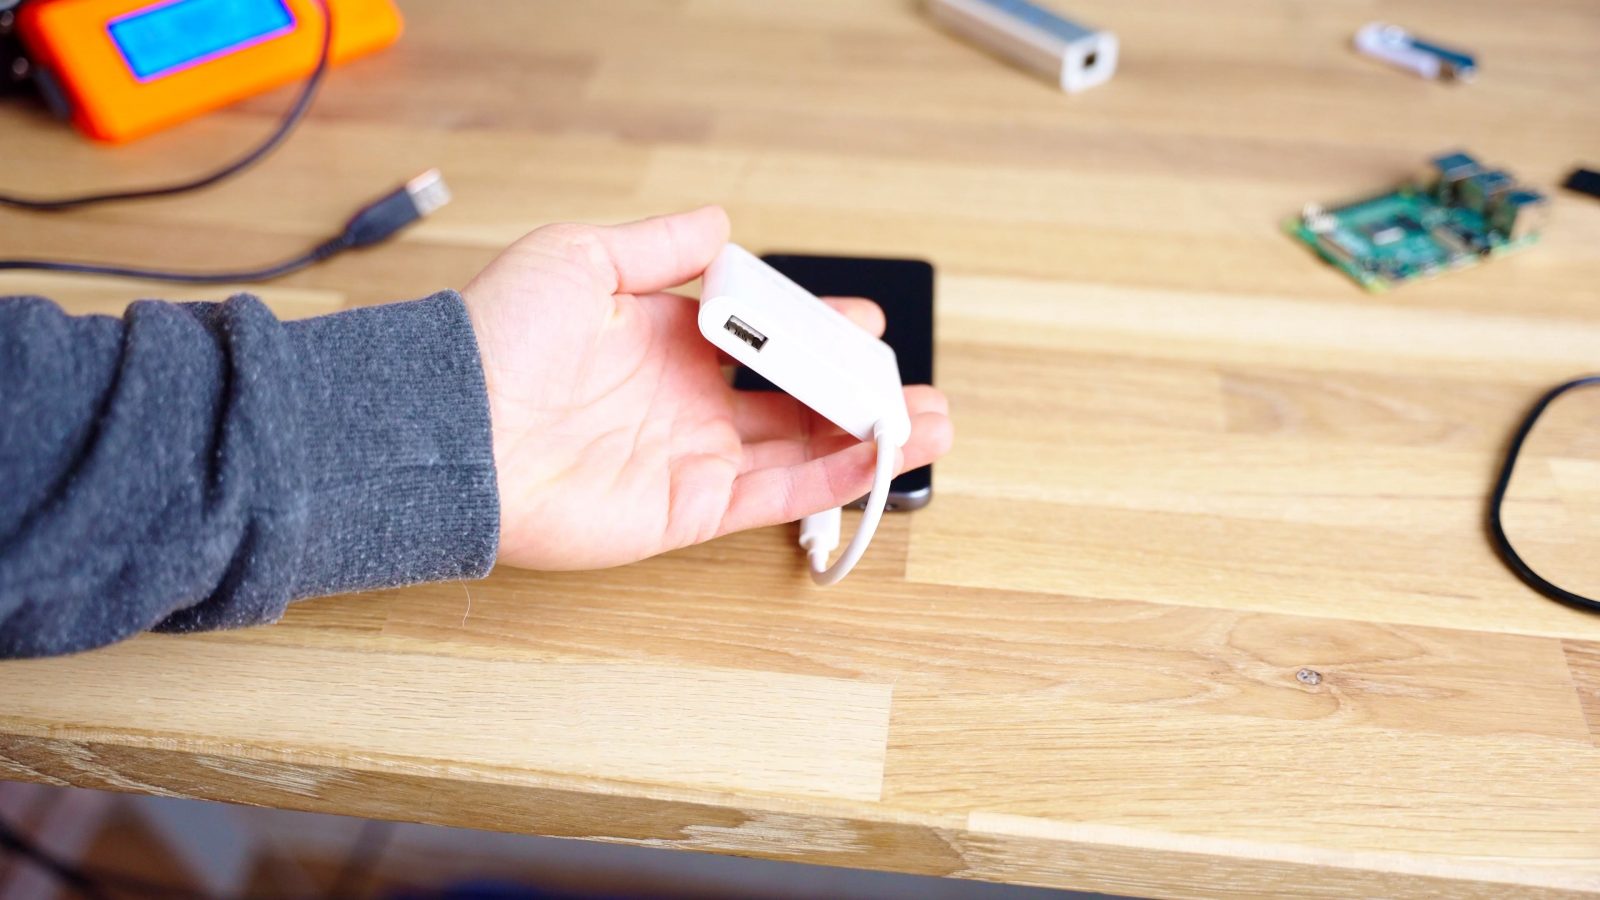
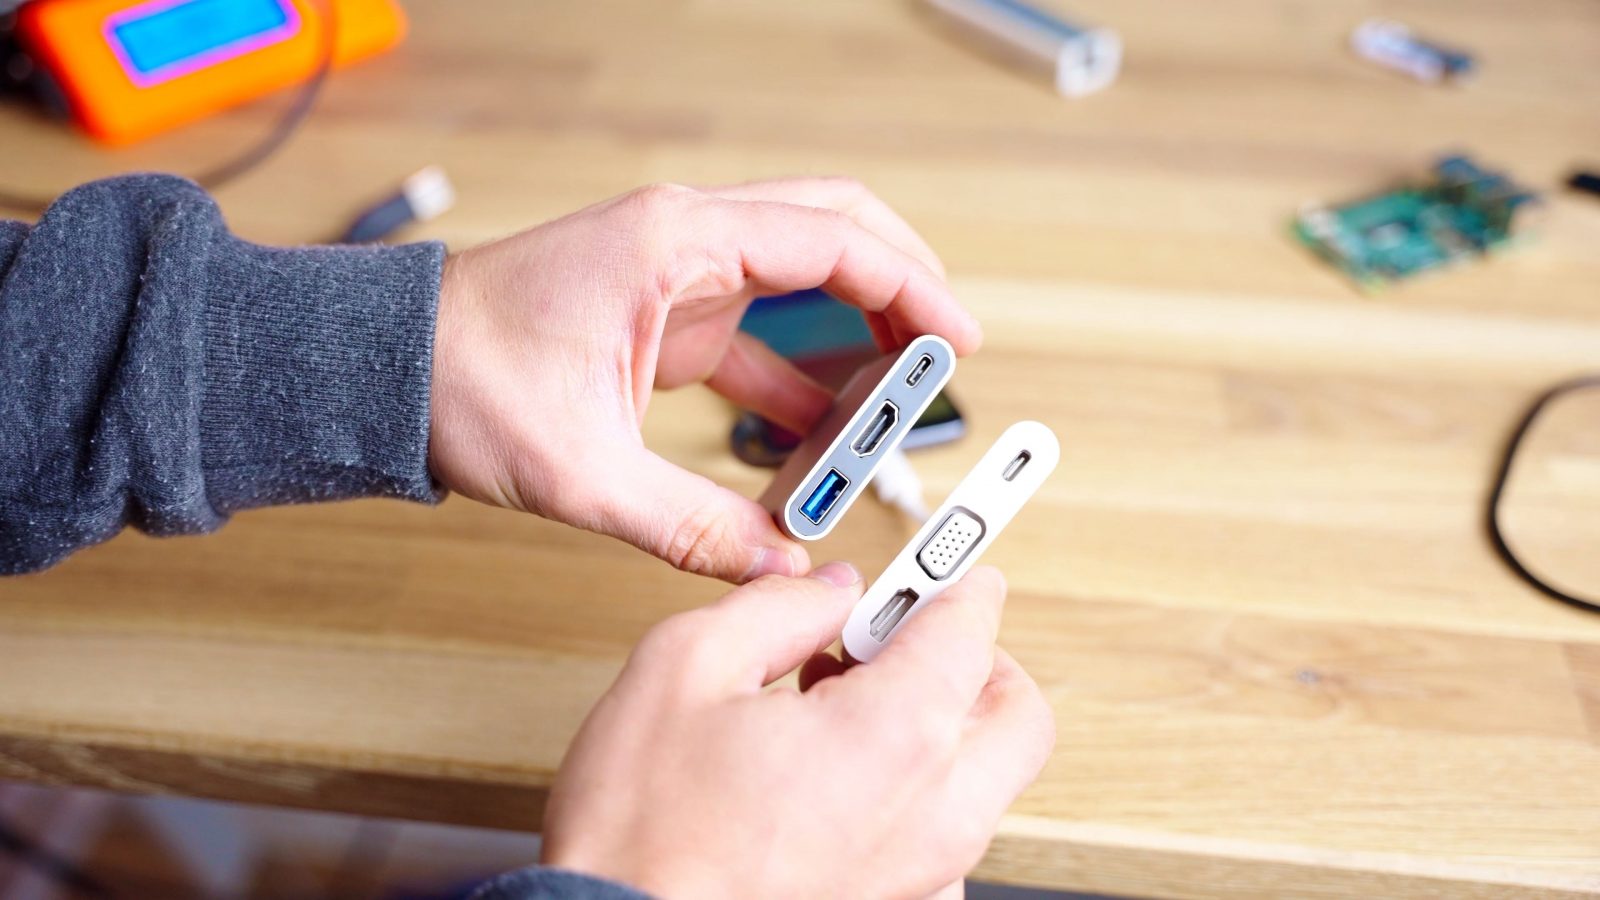
Make sure the cable you’re getting actually supports charging the phone, some just supply power to the device you’re connecting. For newer devices with a USB-C port, thanks to laptops not having ports anymore, you can now pretty easily find these dongle adapters now for about 10 bucks, which again, give you the host port, a USB-C power delivery charge port, and often also HDMI, which is probably not going to work on a phone, but you can also get them with a wired ethernet port built-in if you don’t want to rely on WiFi, and those Ethernet ports will work with your Android phone.
Alternatively, you could also use a wireless charging puck and fasten that to the back of your phone, but I have a feeling that that probably isn’t the best solution.
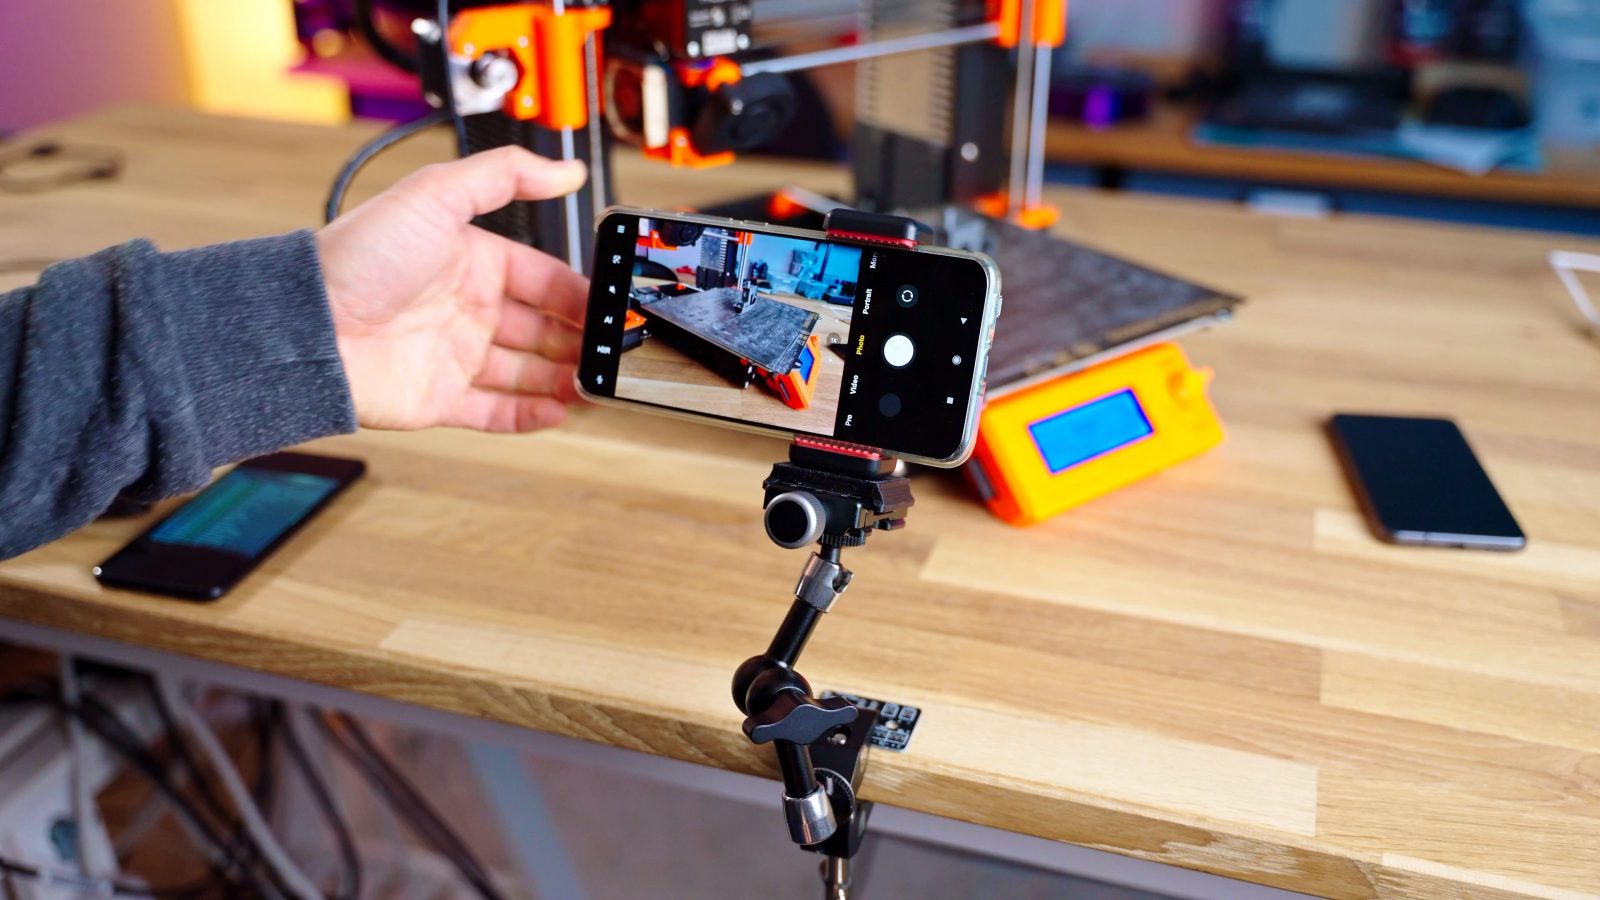
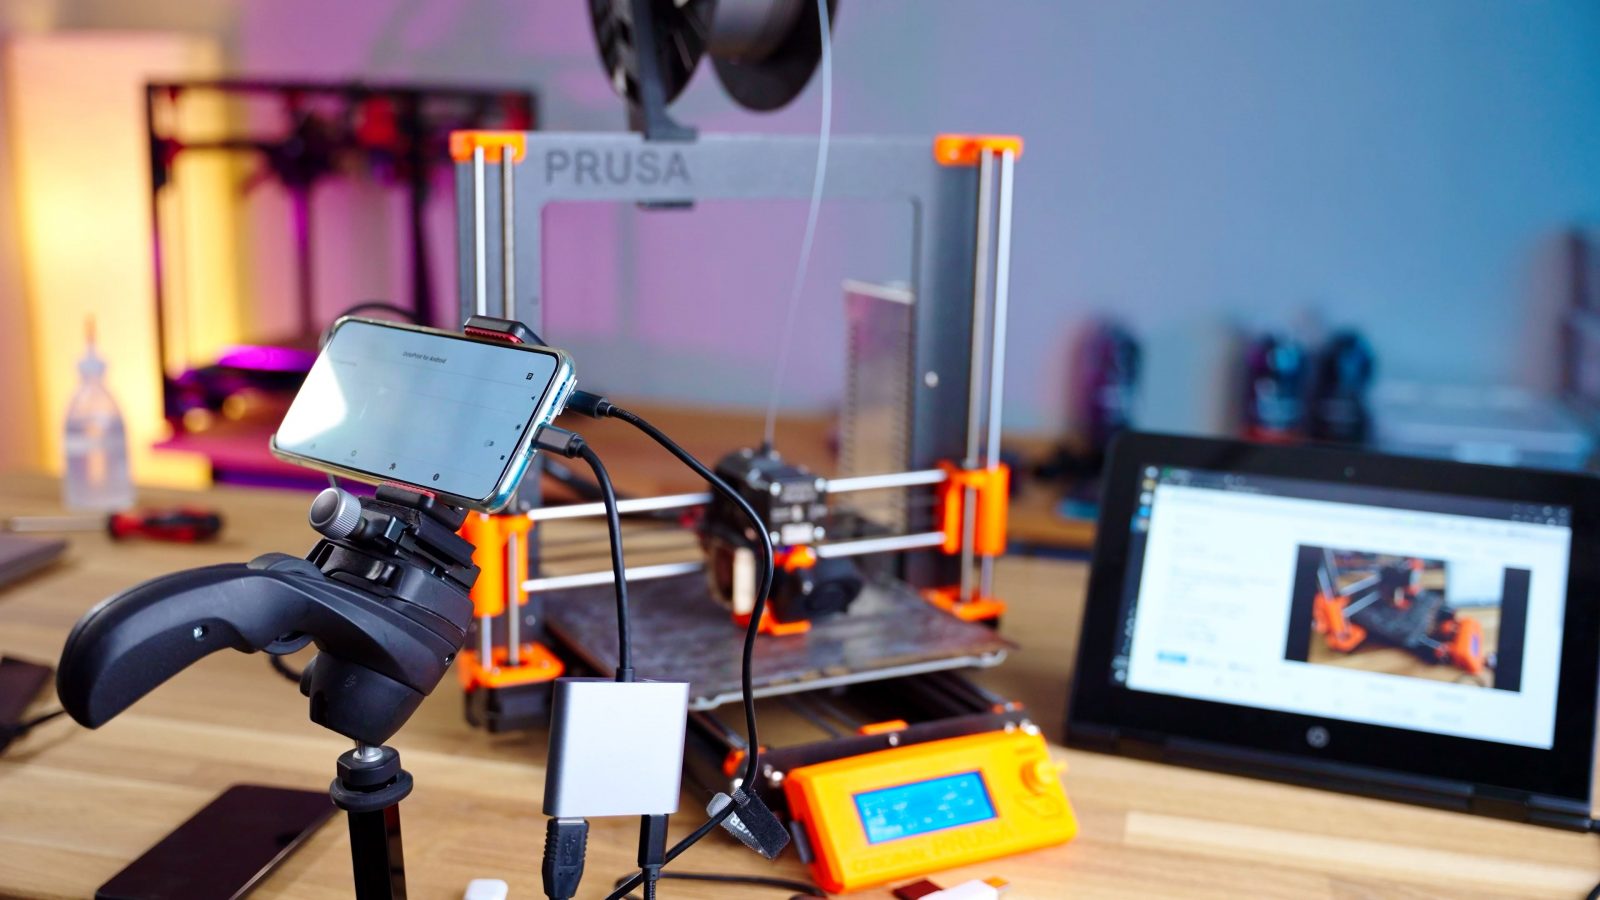
Since we’re going to be using the phone’s built-in camera as a webcam, we also need some way to mount it in a convenient location, and you can totally print a mount or use whatever solution you would have used for a webcam. I took a look through my camera rigging bin and picked out this super clamp, magic arm, and spring-loaded phone mount and now I can position this however I want.

Download, install and configurate Octo4a
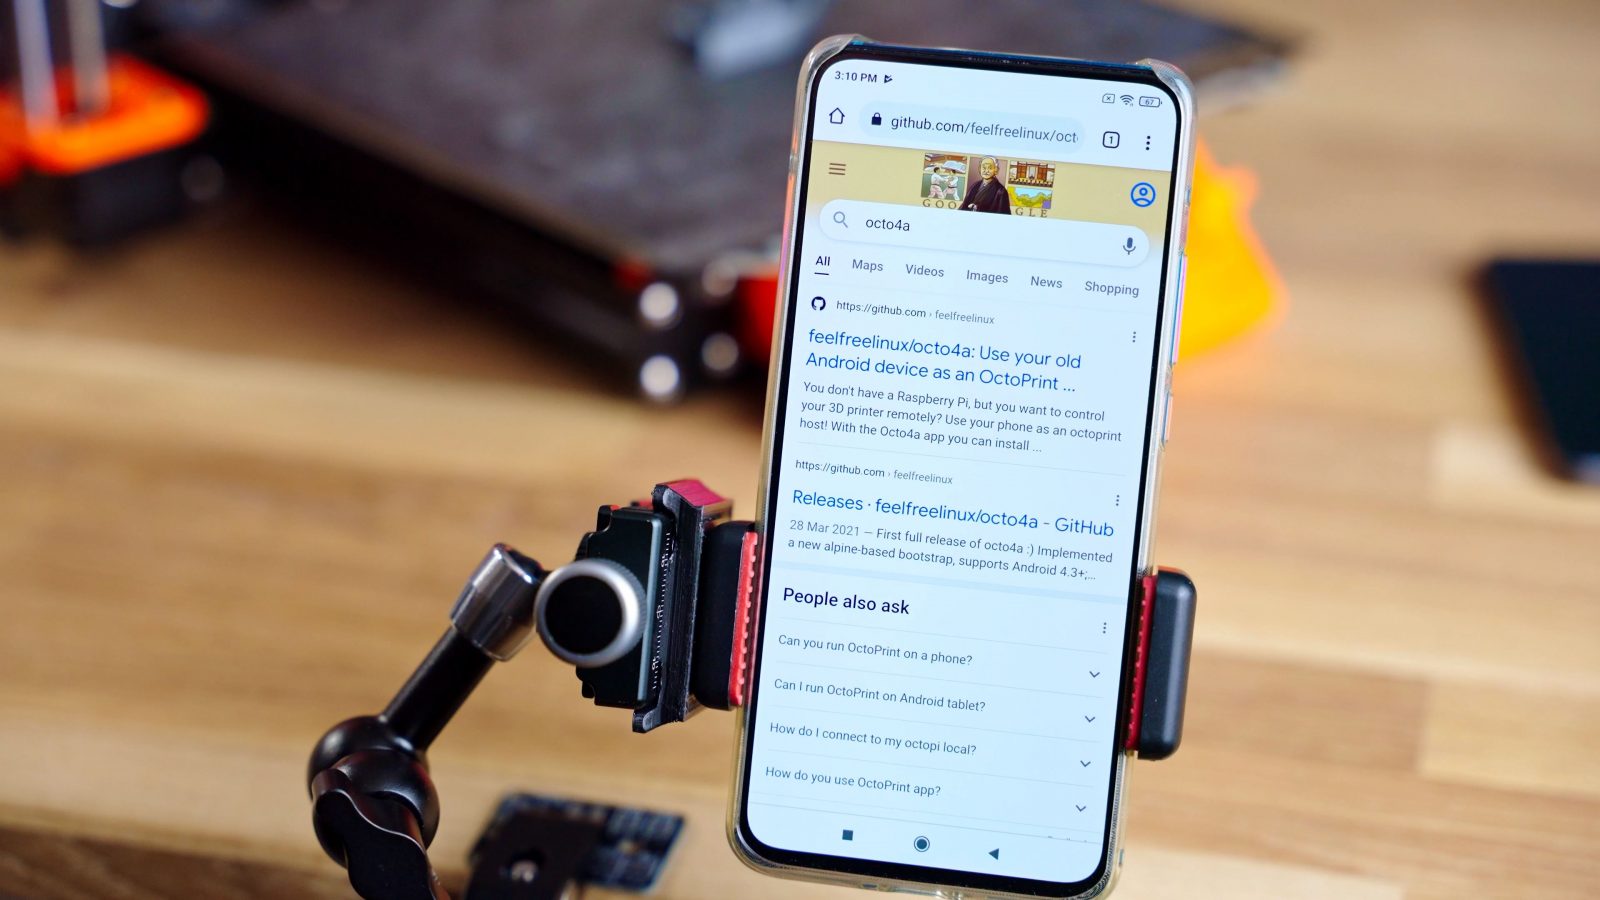
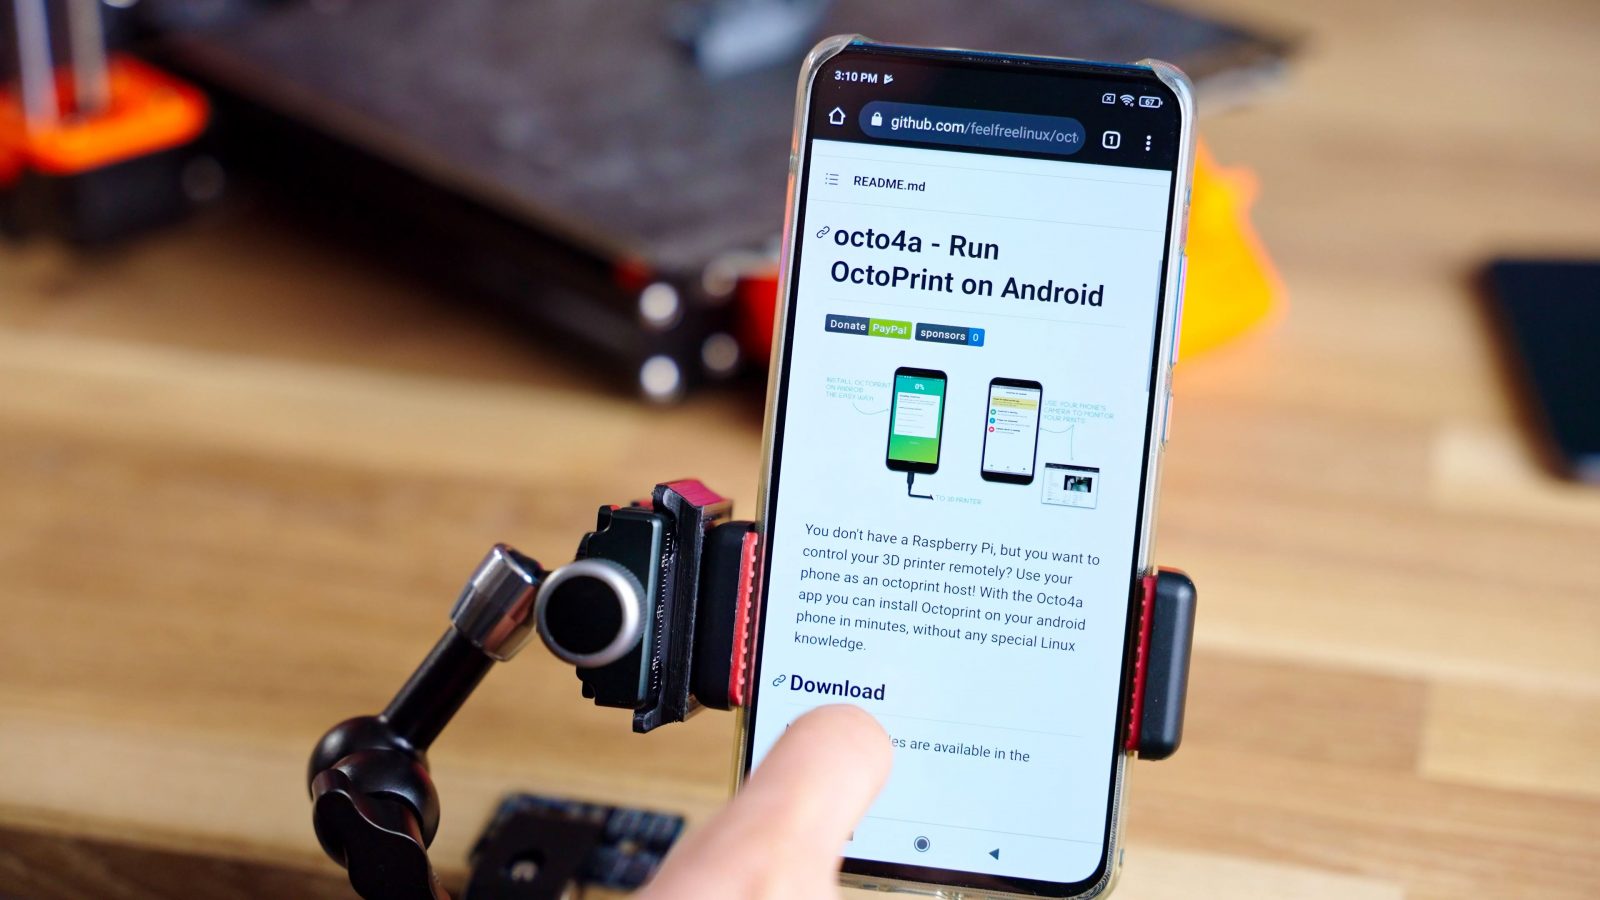
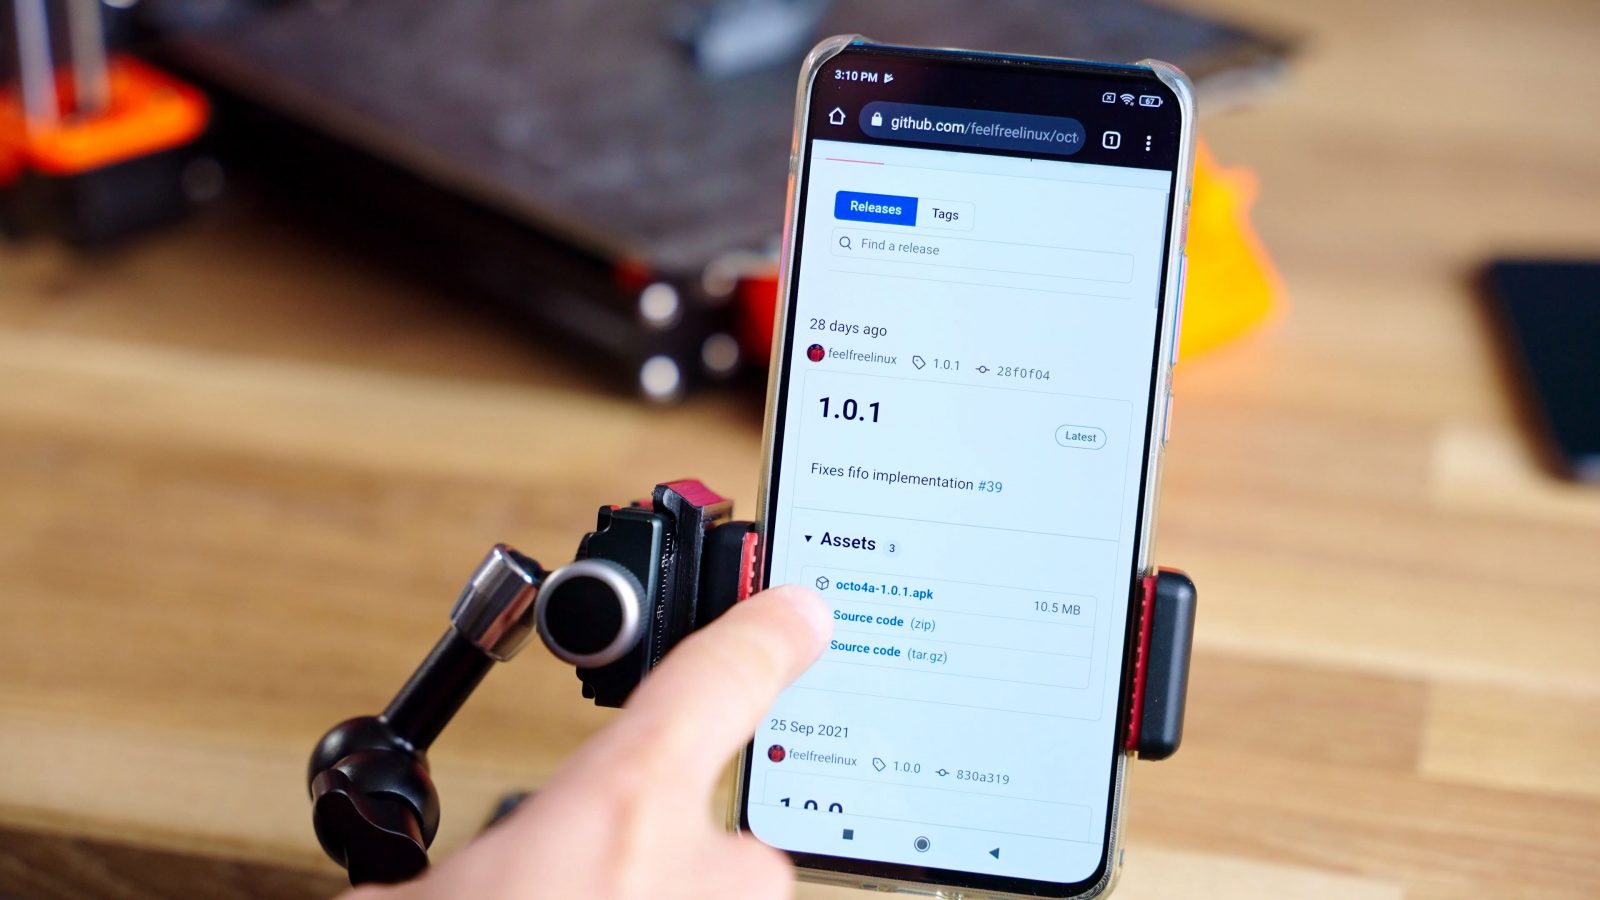
Let’s move on to software, and this is actually the easy part. All you’ve got to do is download the apk for Octo4a from github and install it. An apk is essentially an installer file for Android. Now, your phone is going to ask you whether you actually want to install this.
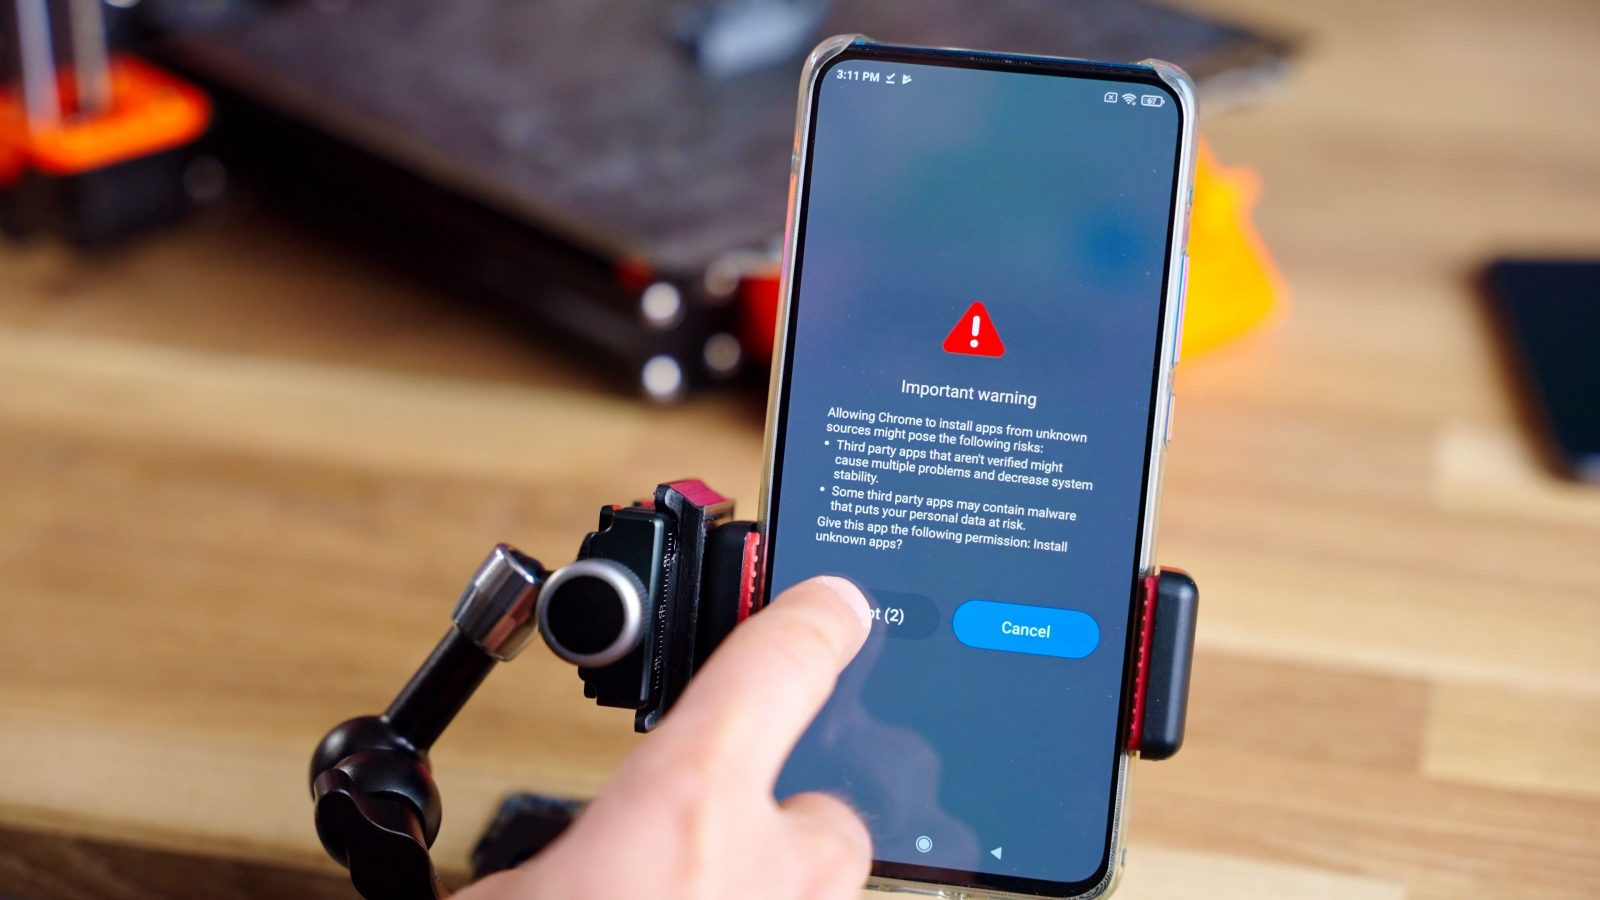
The thing is, typically you get your Android apps from the Google Play stores, but because of the way Octo4a works, it can’t actually be distributed through the Play store. Now, there, the apps are at least somewhat checked for whether they do malicious stuff or not. If you “sideload” an apk, you’re not getting any of those checks anymore, and it’s essentially the same as running some software you downloaded onto your Windows, Mac, Linux, BSD, Solaris, or TempleOS computer. I’ve written a couple of emails with Filip who makes Octo4a, and he seems like a nice guy, but just in case it turns out that he isn’t – don’t blame me. Octo4a is free open-source software, so while that’s not a guarantee that the apk is good, too, it’s a very good sign at least.
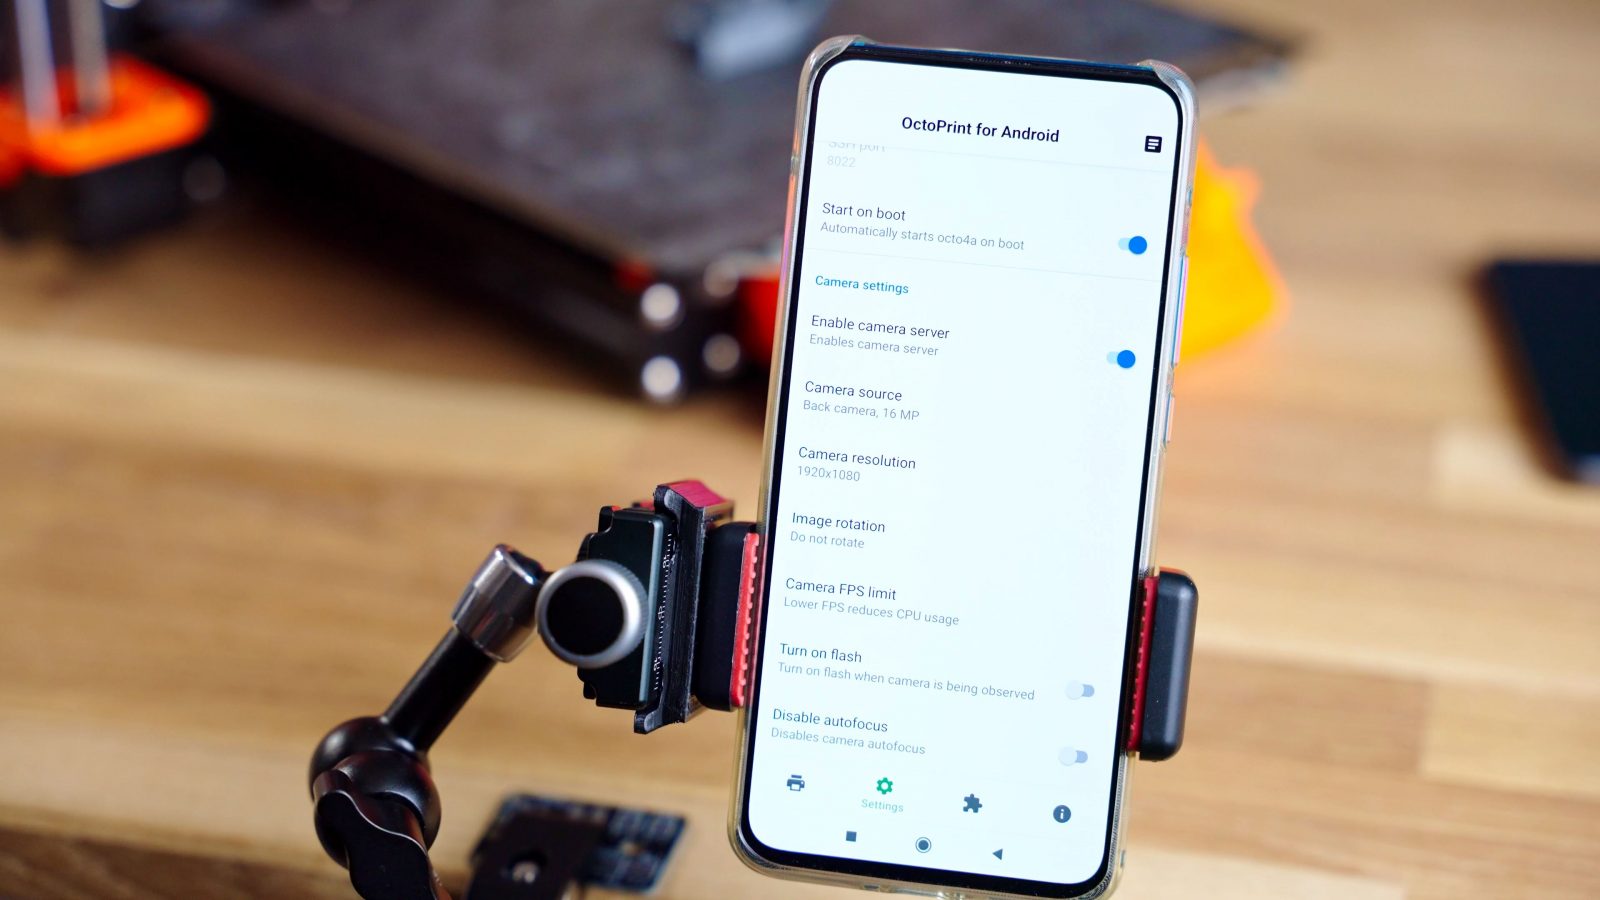
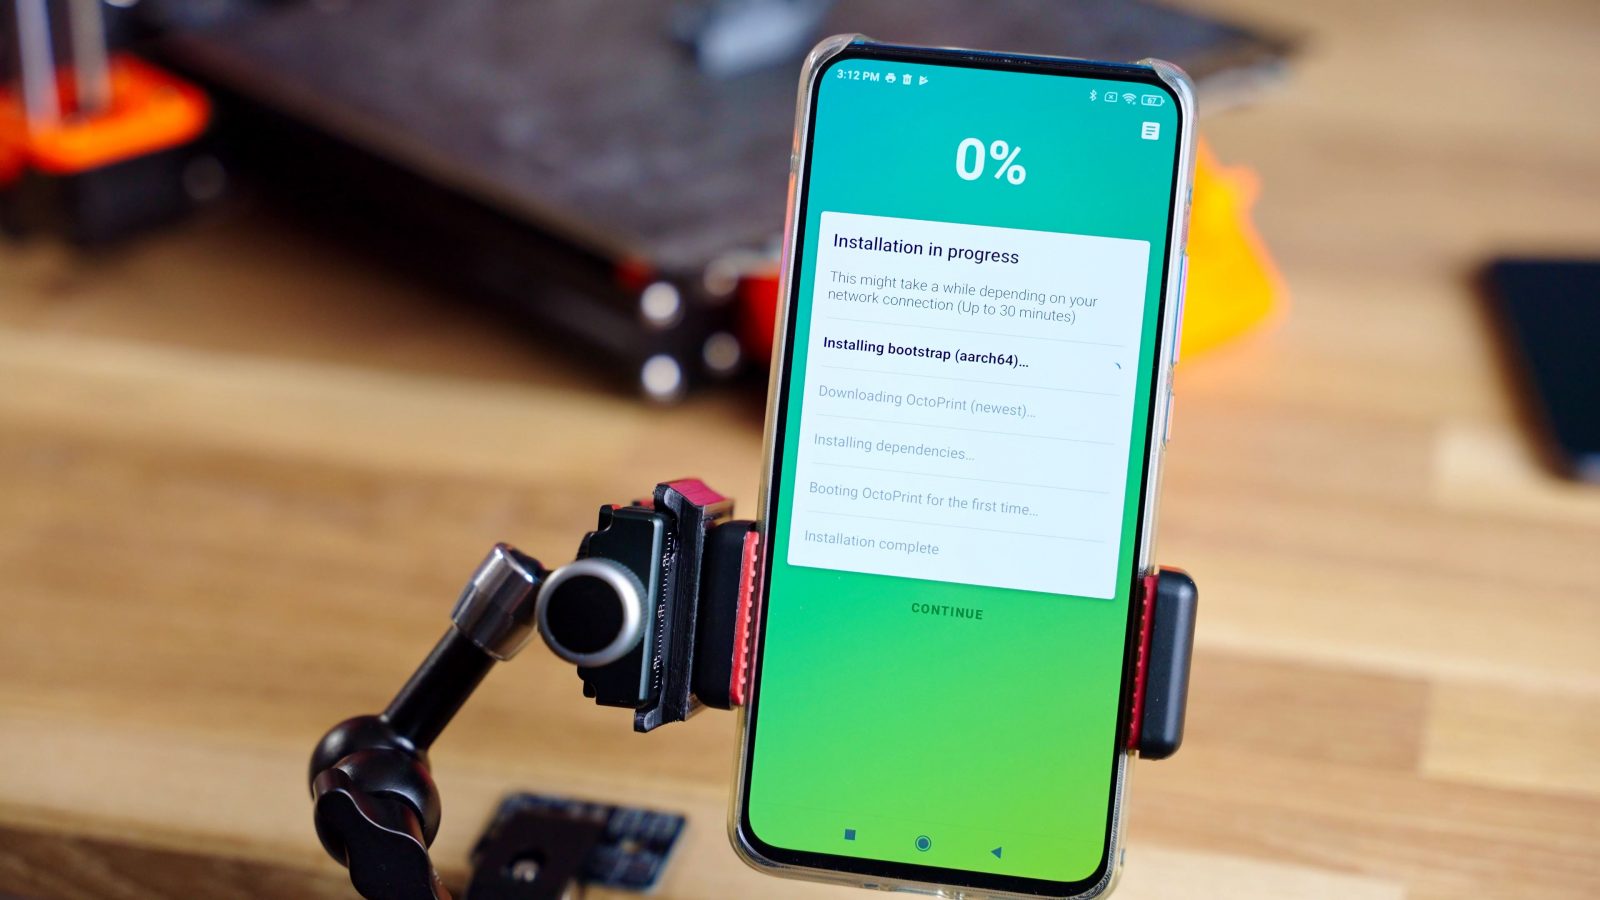
Once you’ve installed and opened up Octo4a, it’s going to pull a fresh version of all the files that OctoPrint needs to run as well as OctoPrint itself. There are a couple of things that you can – and still should – configure before you start diving into OctoPrint. So head over to the settings tab and hit “download dependencies” – plugins like Octolapse need some extra files to run, and if you don’t click this thing, you’re going to get an issue when you try to install Octolapse. Next, head down and configure your camera. I like to use a 1920×1080 resolution while limiting the fps to 15 – this is going to save a lot of bandwidth and processing power, but you still get a really crisp image for checking your prints and for time-lapses.
One thing that I got sometimes is that when I had the phone in portrait orientation and then rotated it into landscape while Octo4a was already fully running, it would actually show a portrait crop of your frame, so when you set up your phone, orient it correctly, and then turn on the camera server in Octo4a.
If you want, you can also enable “start on boot”, or even turn on SSH access into the OctoPrint environment, but you’re probably not going to need that.
In any case, you can now open up your favorite browser on your computer, point it to the address and port Octo4a shows you and you should get the OctoPrint interface we all know and love.
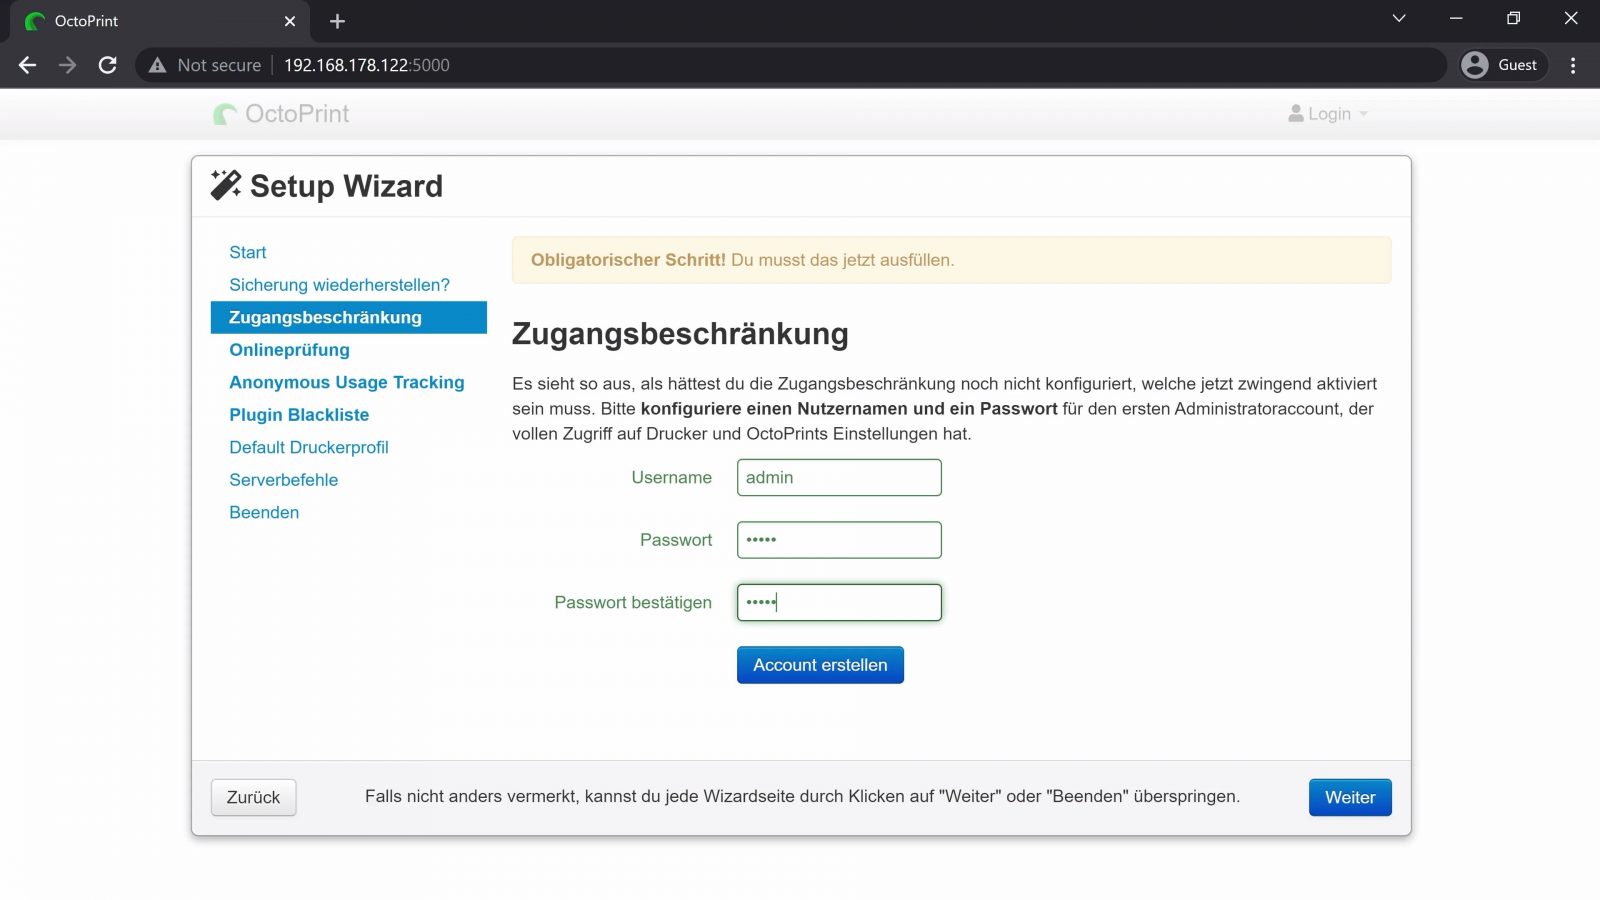
Now, honestly, from here on out, the setup is basically the same as with a regular OctoPrint install on a Raspberry Pi. Go through the setup assistant, pick a password, etc.
As I said, it’s a full-featured version, it can run plugins, you can do time-lapses, all of that. So for the rest of the setup, jump over to my latest video on OctoPrint – which I’m going to link to at the end of this video.
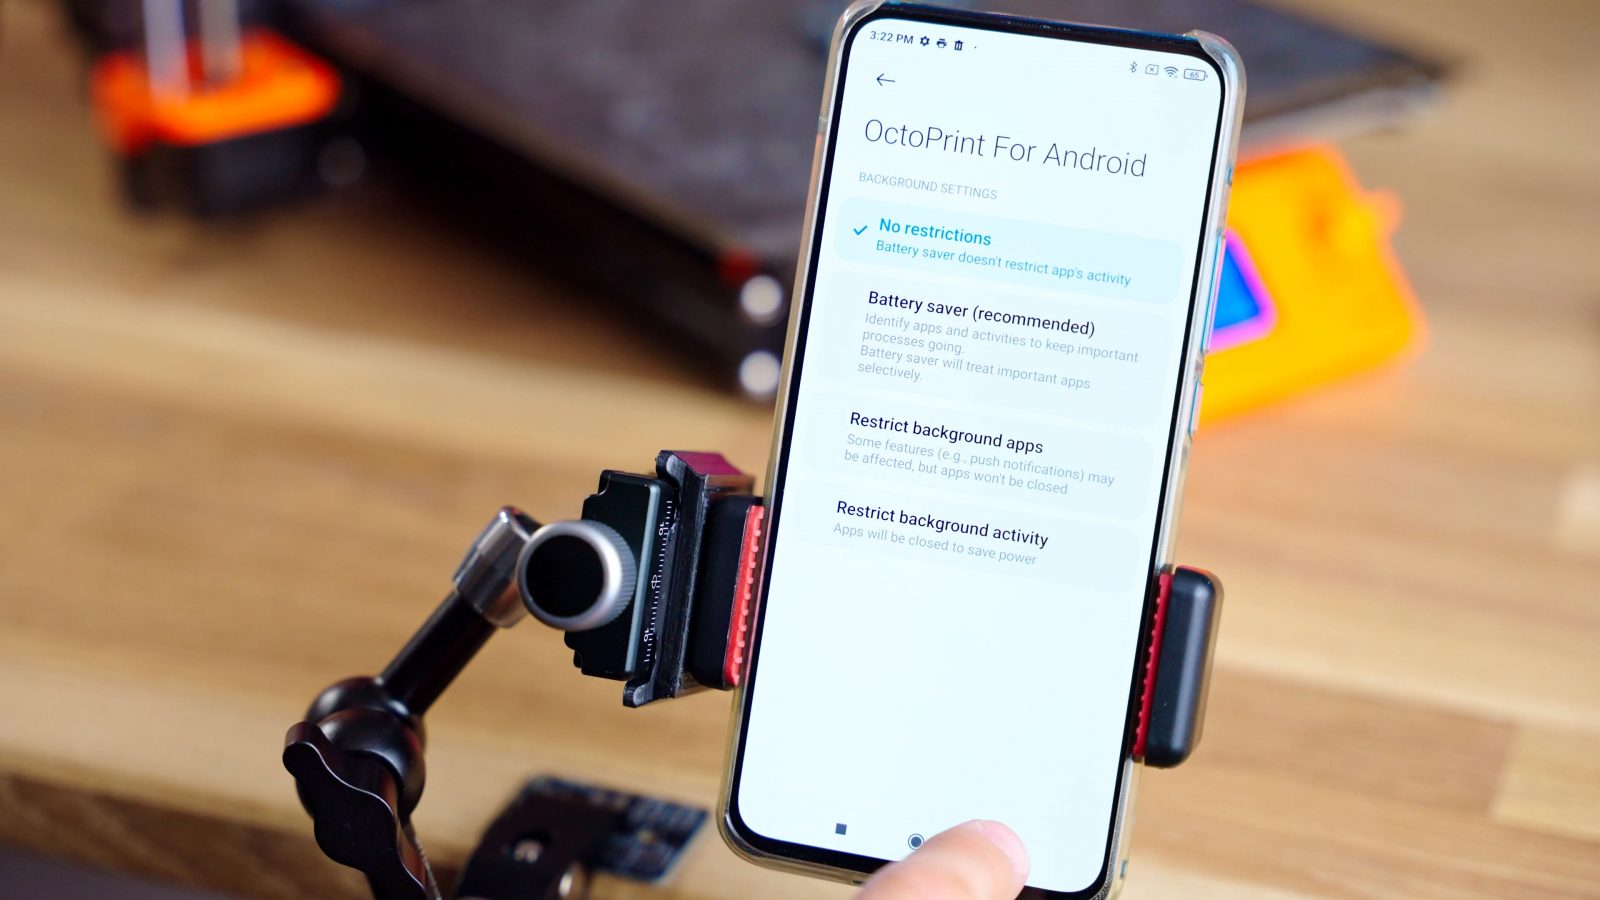
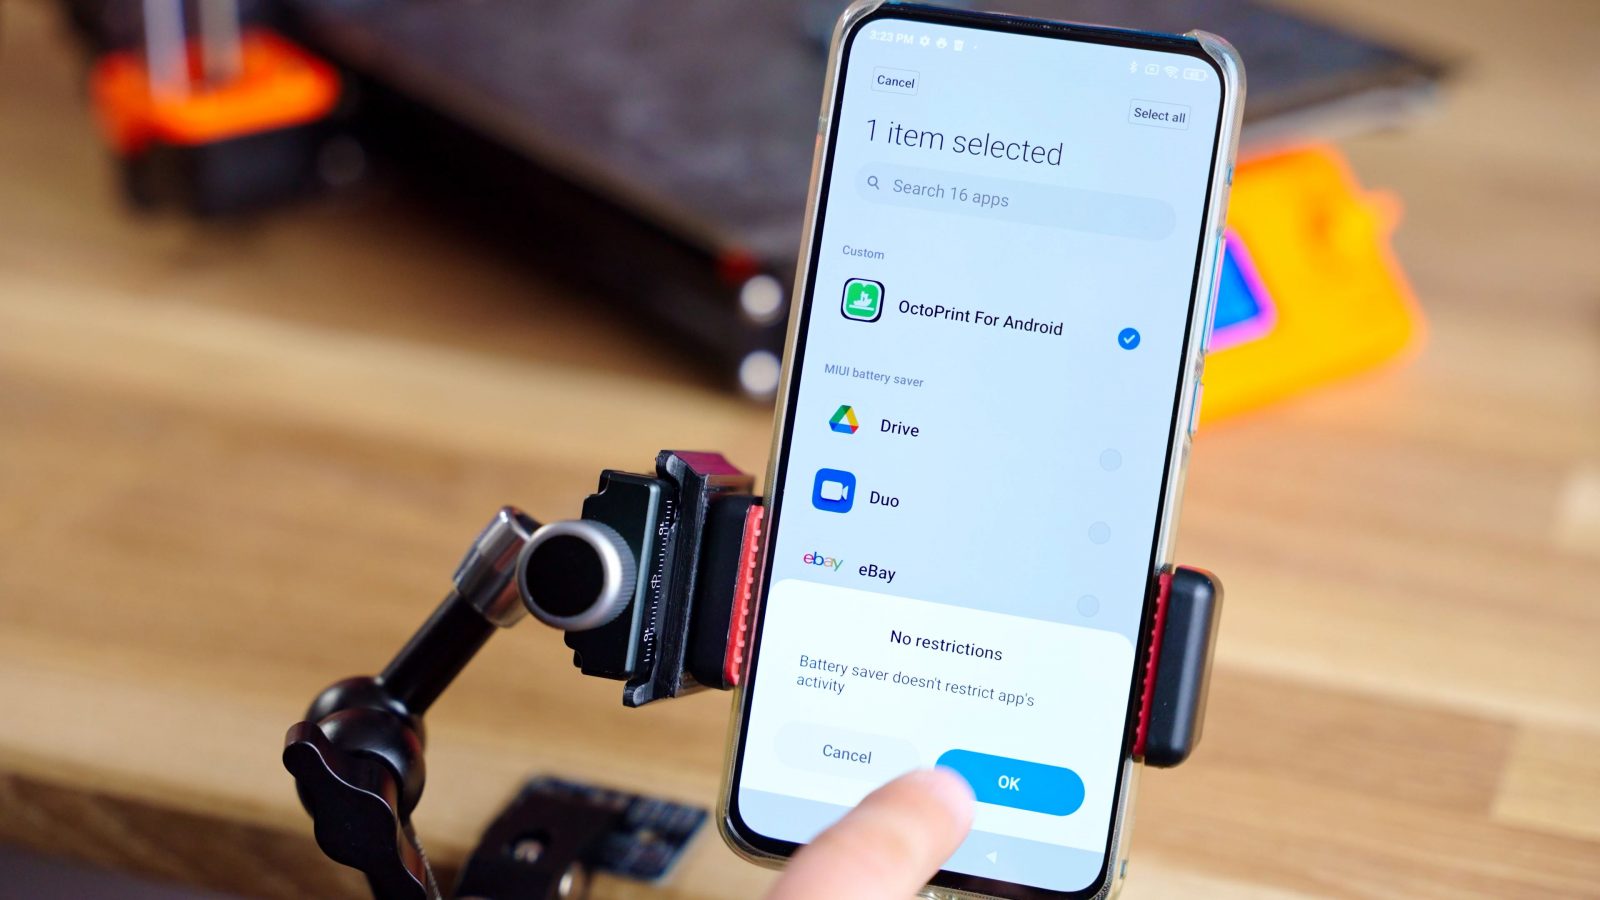
For now, there are a couple more details we’re going to need to address in Android so that Octo4a and OctoPrint actually run reliably. So the first thing is adjusting energy-saving options. Especially newer devices with custom Android builds like the Xiaomi devices have very aggressive power-saving measures once the screen turns off, so what can happen is that Octo4a, and with it OctoPrint, just get completely suspended, which, as you might guess, isn’t great when it’s running a print. Where exactly you’re going to find those settings is going to depend on your exact device, but make sure to check through the app list and check the settings for Octo4a, make sure it’s set to “unlimited” battery use and not to “optimized” or anything like that; then go in through the battery menu point in settings and, again, make sure to turn off any “adaptive”, “optimized” or “smart” options for the whole device and also check specifically for Octo4a again, and then if your device has some manufacturer-specific smart-ass assistant settings menu, that can often also hide some more power settings that could mess things up.
Octo4a also automatically asks you if you want to change one of the settings to allow it to always run in the background and you should definitely press “allow” here. The next screen to open up battery settings doesn’t really do anything yet, but if you dug through the menus and changed everything you could, you should be good here.
But if you then still run into issues with too aggressive power management, you could try enabling the option to always leave the screen on while the phone is plugged in, which you can do in Android’s developer options, but keep in mind that if your phone has an OLED screen because it’s going to leave the screen on, it’s probably going to have some pretty nasty burn-in after just a couple weeks of use. At least set it to minimal brightness if you do that.
Performance
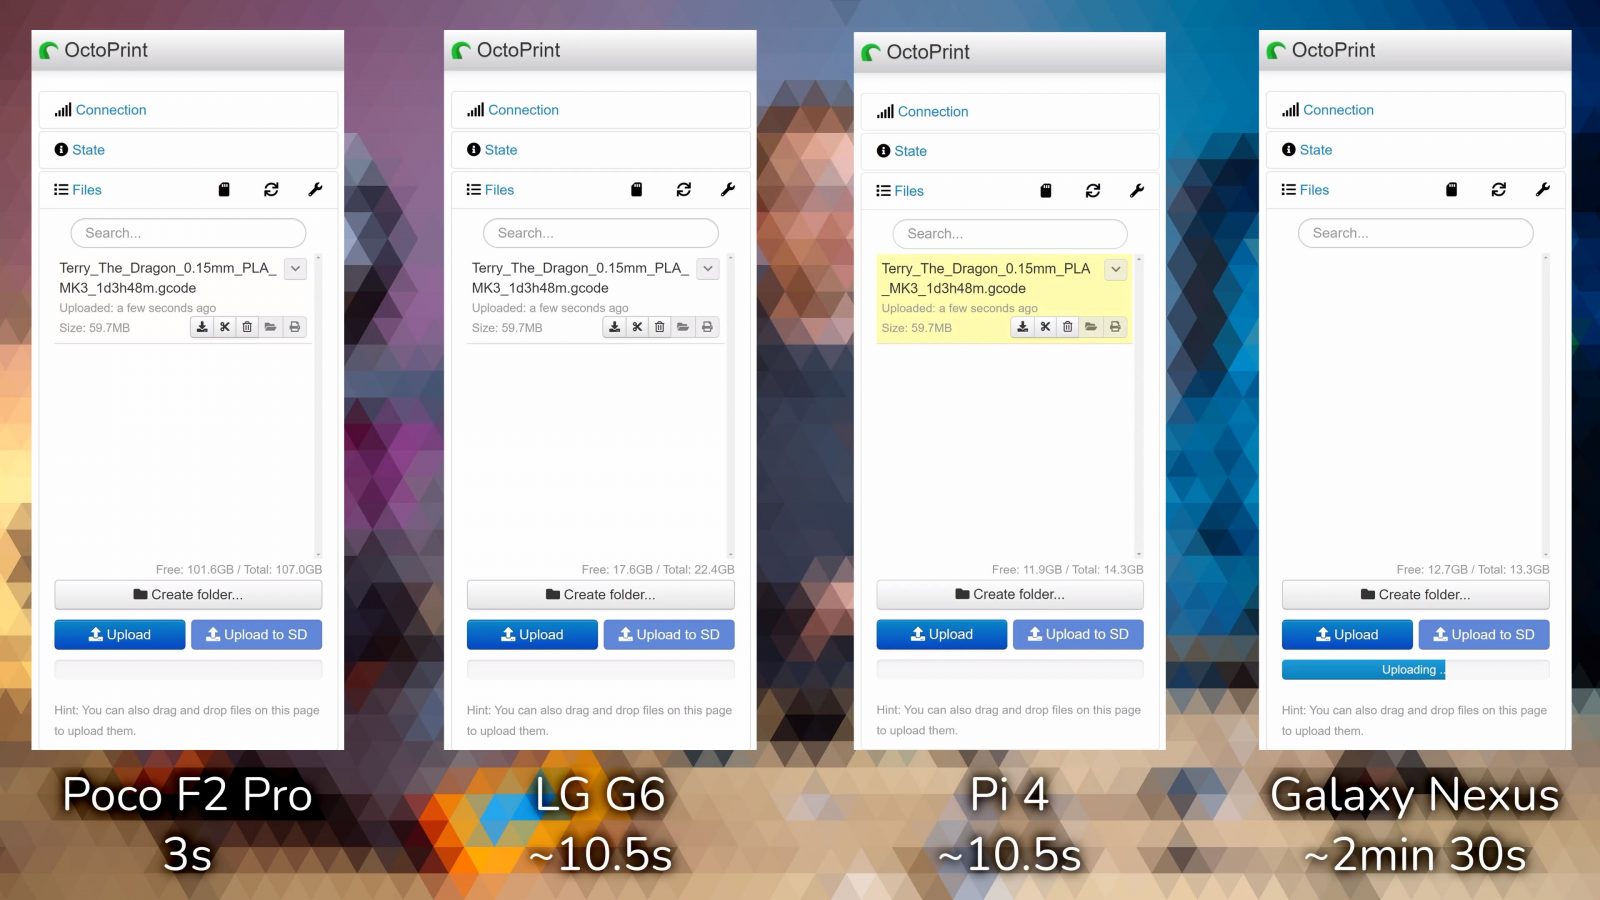
So what is it like actually using OctoPrint running on a phone? Well, it’s about as expected. Let’s start with performance. I tested how long it takes to upload a larger 60MB gcode file to get a general sense of how well things are working, and there are some real differences.
The Poco F2, the device with the most raw horsepower, finishes first at just three seconds until the upload is complete.
The LG G6 and Raspberry Pi 4 come in at 10 and 11 seconds, which is slower, yes, but still perfectly usable.
The Galaxy Nexus takes 2 minutes and 30 seconds. I mean, if you’re just using your slicer’s background upload and then have the print auto-start, that’s probably fine, but unless you’re just printing small, simple parts, that’s probably going to be pretty painful in the long run. All of this was tested 2m away from a WiFi 5 access point and after giving the phone and OctoPrint some time to calm down after starting up.
Now, for website load times, all three phones and the Raspberry Pi were almost instantaneous so I don’t know if there’s some caching going on or if OctoPrint’s interface is just that well optimized, but you still feel the difference in how long, for example, the settings menus take to save and just in general snappy-ness.
Now, that might not have disqualified the Galaxy Nexus yet, but because it’s also running a rather old version of Android – Cyanogenmod with Android 4.4 – the entire experience was rather buggy, too. I did get the camera feed working and the printer connected at the same time once, but between the app crashing, not seeing the printer’s USB interface, or just generally weirding out, it wasn’t fun to use. But hey, this thing is ten years old. I feel like anything just a bit newer would actually work.
And if we look at the experience you’re getting with the four-and-a-half-year-old LG G6 and the Poco F2 Pro from last year, it’s pretty much flawless. The only thing that I could find is that with the Poco, you can’t use these passive adapters, and you have to use a dongle dock with the power plugged in. The G6 works without the power plugged in, the Poco doesn’t, that might be down to the broken charge circuit, but once you figure that out, it’s literally just like any other OctoPrint install. The interface is snappy, it’s reliable, plugins work, and with stuff like OctoLapse now having access to the phones’ main cameras, you actually get really crispy time-lapses through that. It’s a really good experience.
I tried if there would be hiccups when you do stuff in the UI, or upload files while a print is going, but it’s just really smooth everywhere.
And as a bonus, you can even open up a browser on the phone, point it to localhost:5000 and you get the full OctoPrint interface, or a mobile-friendly one if you use the Touch UI plugin. You could even use a tablet and just have that be your main printer touchscreen.
I think Octo4a is a really good solution, to the point where honestly, if you’re just looking to get OctoPrint running, I would rather buy a cheap Android phone now than mess around with the Pi, printing a case for that, trying different USB cable because some aren’t reliable and so on. Octo4a works well, it’s pretty easy to set up, in the best case, you don’t even have to buy anything for it and give a second life to a used device. I like that.
If you like that, too, make sure to support OctoPrint and Octo4a – they’re projects that give away their work for free, so show them some appreciation if you find them useful.
Products shown (on Amazon):
💙 Enjoying the videos? Support my work on Patreon!
Product links are affiliate links – I may earn a commission on qualifying purchases (at no extra cost to you)

Check out my second channel “More Layers” on YouTube for livestreams