
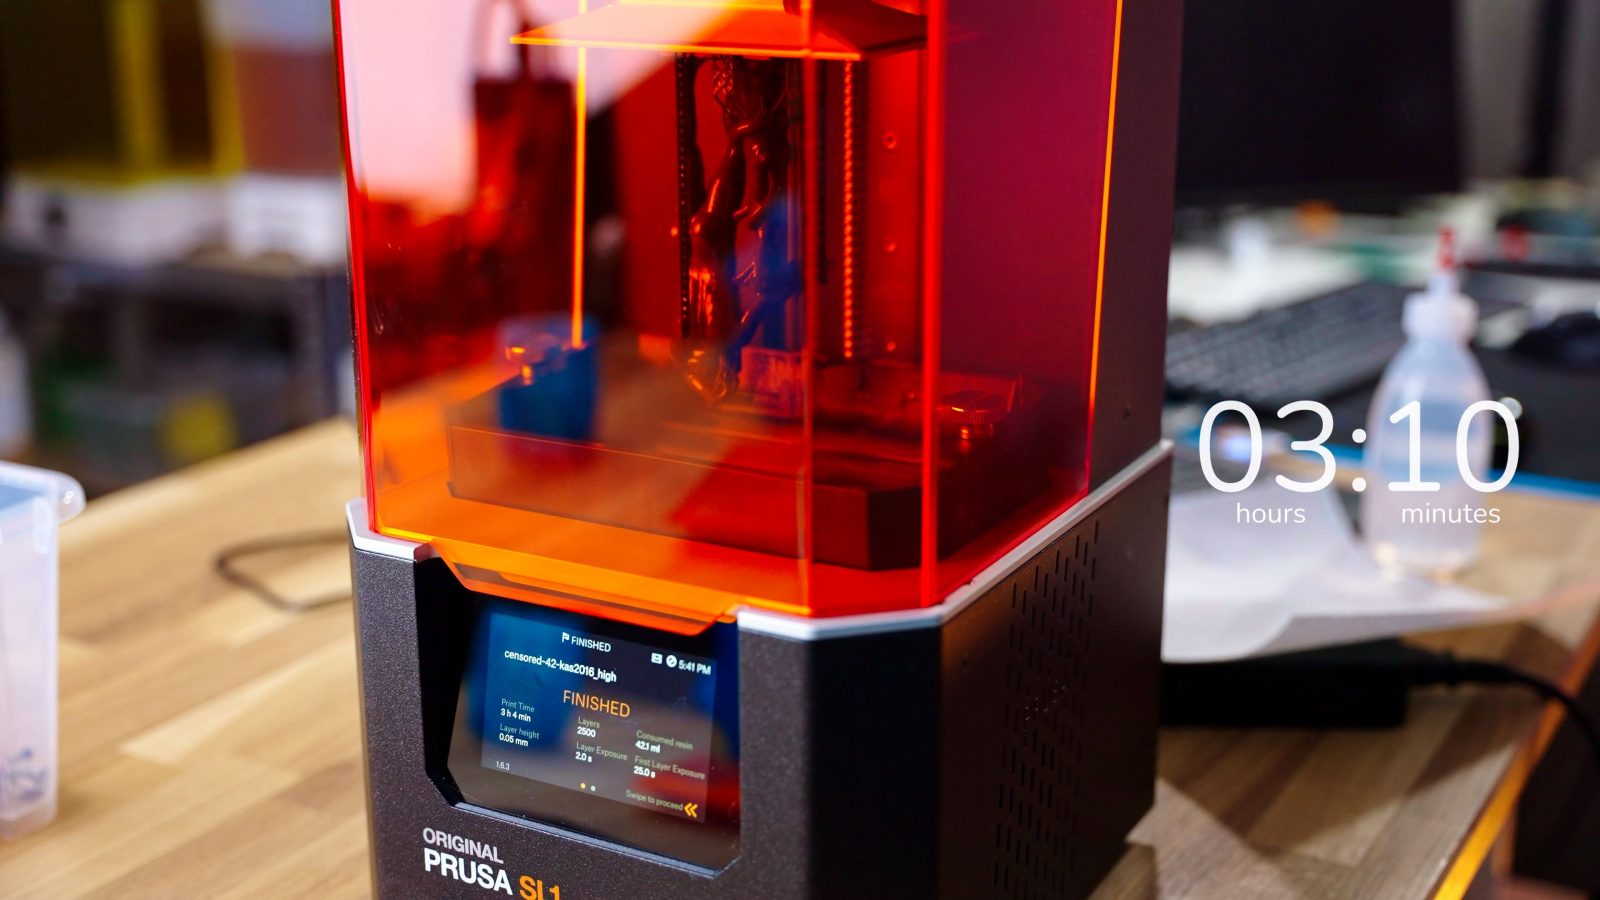
This is the Prusa SL1S – and it’s pretty fast! In fact, in most cases, it’s faster than every 3D printer I own, including filament-based ones. This is a resin printer, obviously. It’s also the smartest 3D printer I’ve ever used, to the point where sometimes it’s even outsmarting itself. And it’s also the most expensive 3D printer setup that I have, coming in at almost 2,000€ for the printer itself or 2,500€ for the bundle with the CW1S curing and washing machine, which you should definitely get if you don’t have one already.
It’s kind of expensive, but it’s also kind of good! And it’s really, really fast.
Let’s start with the disclosure: The original Prusa SL1 was given to me by Prusa free of charge, as was the SL1S upgrade kit. As always, there were no requirements whether, how, or what I should cover about it and Prusa did not get any influence in this review whatsoever.
So, I’ve already reviewed the original Prusa SL1 a while ago, but let’s get you caught up on what the SL1 and the upgraded SL1S are: First of all, they’re resin printers. If you’re wondering why there are so many resin printers on the channel at the moment, it’s because that’s where you’re still seeing quite a bit of progress happening vs filament printers, where we haven’t really seen all that much improvement over the last couple of years.
What stays and what´s new?
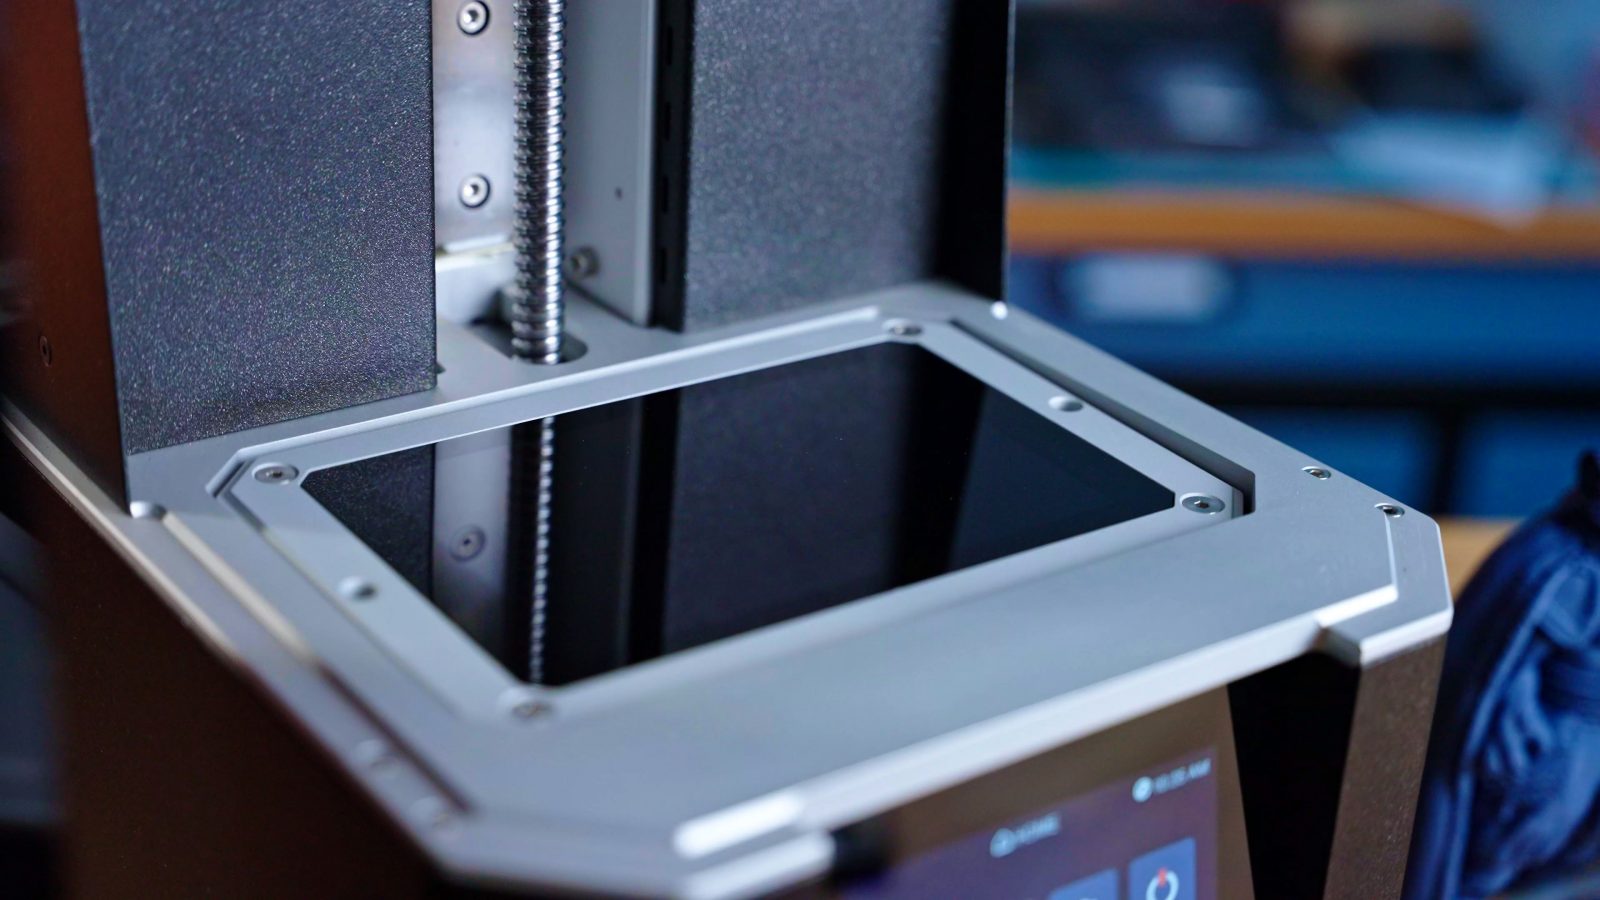
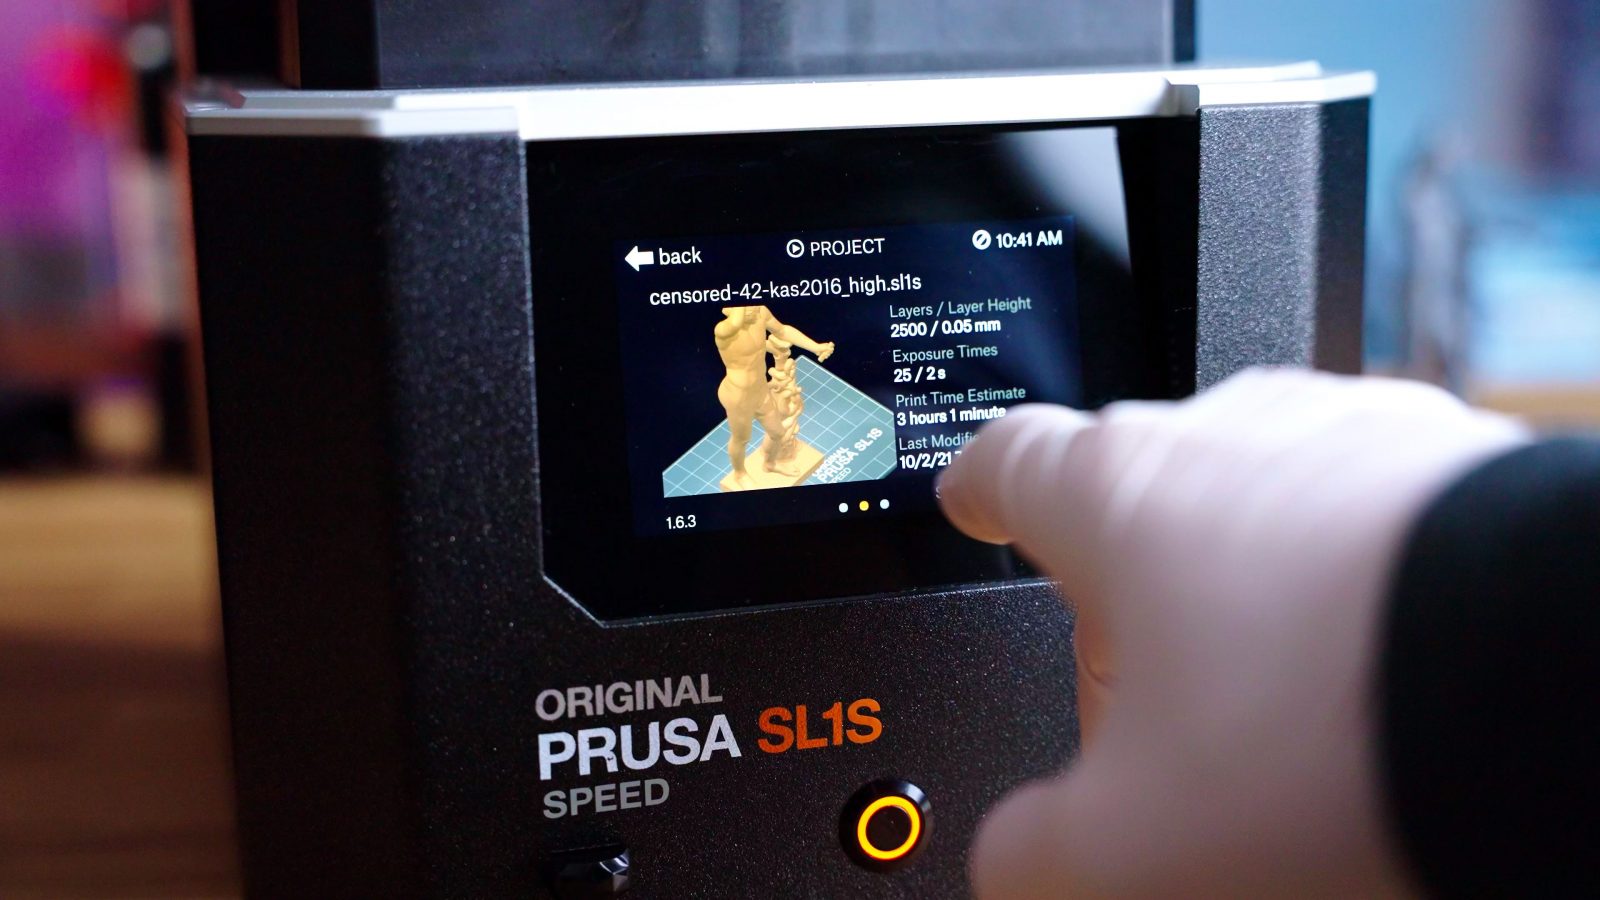
So the Prusa SL1 and SL1S are both in the “compact” resin printer class. The SL1S uses a roughly 6” masking LCD that gives it a build volume of 127 x 80 x 150mm.

3.5 hours print time
This is roughly how large it can print. And for context, this print only took 3 ½ hours. That’s why this is not just called the “SL1S”, but the “SL1S Speed”. So compared to the SL1, it keeps the tilting mechanism, which allows it to peel off even fine details from the FEP film that sits over the masking screen without ripping the print apart, and it also keeps the ballscrew z-axis, the frame, mainboard, the glorious touchscreen, and the smell-absorbing activated carbon filter, but it gets a new monochromatic screen, which lets through much more light and is also warranted for 2000 hours of use now instead of the 500 hours for the SL1.

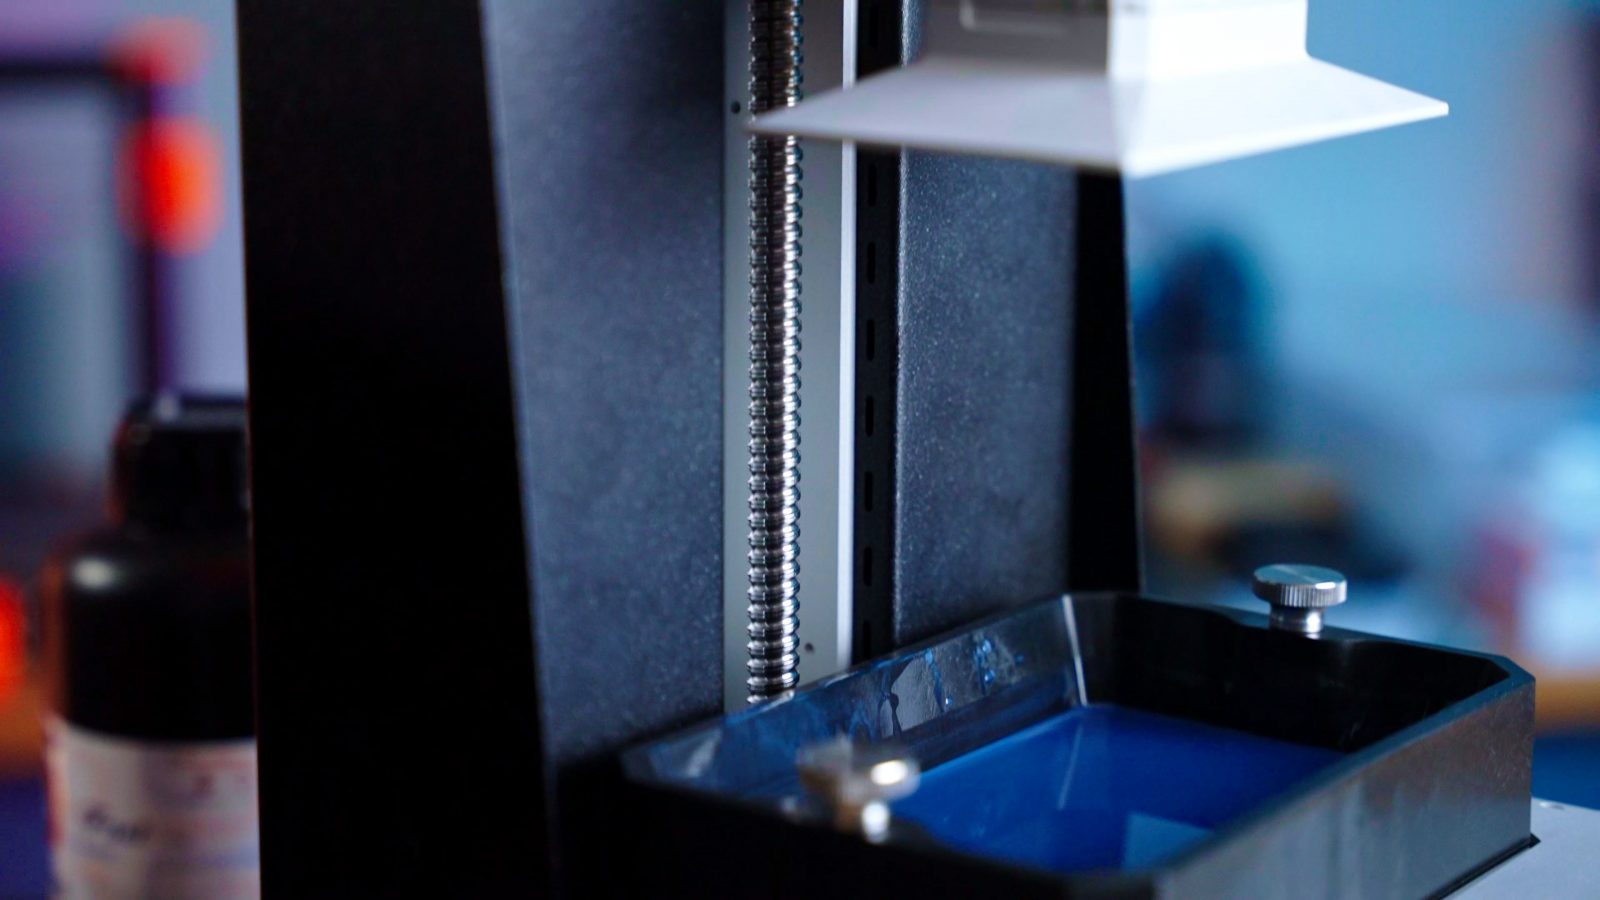
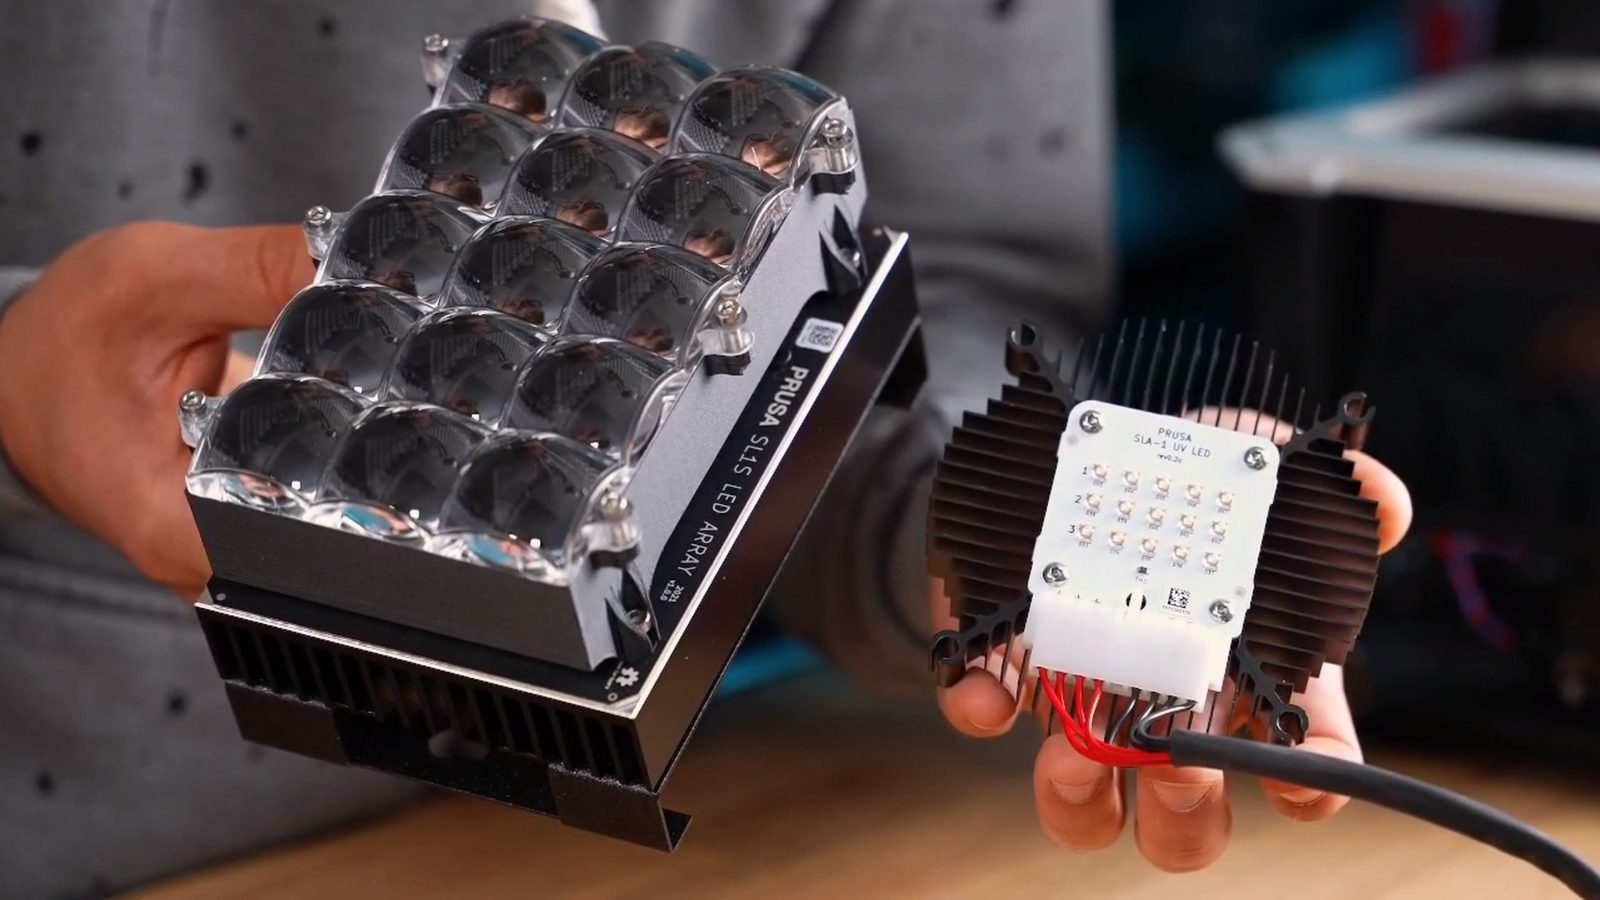
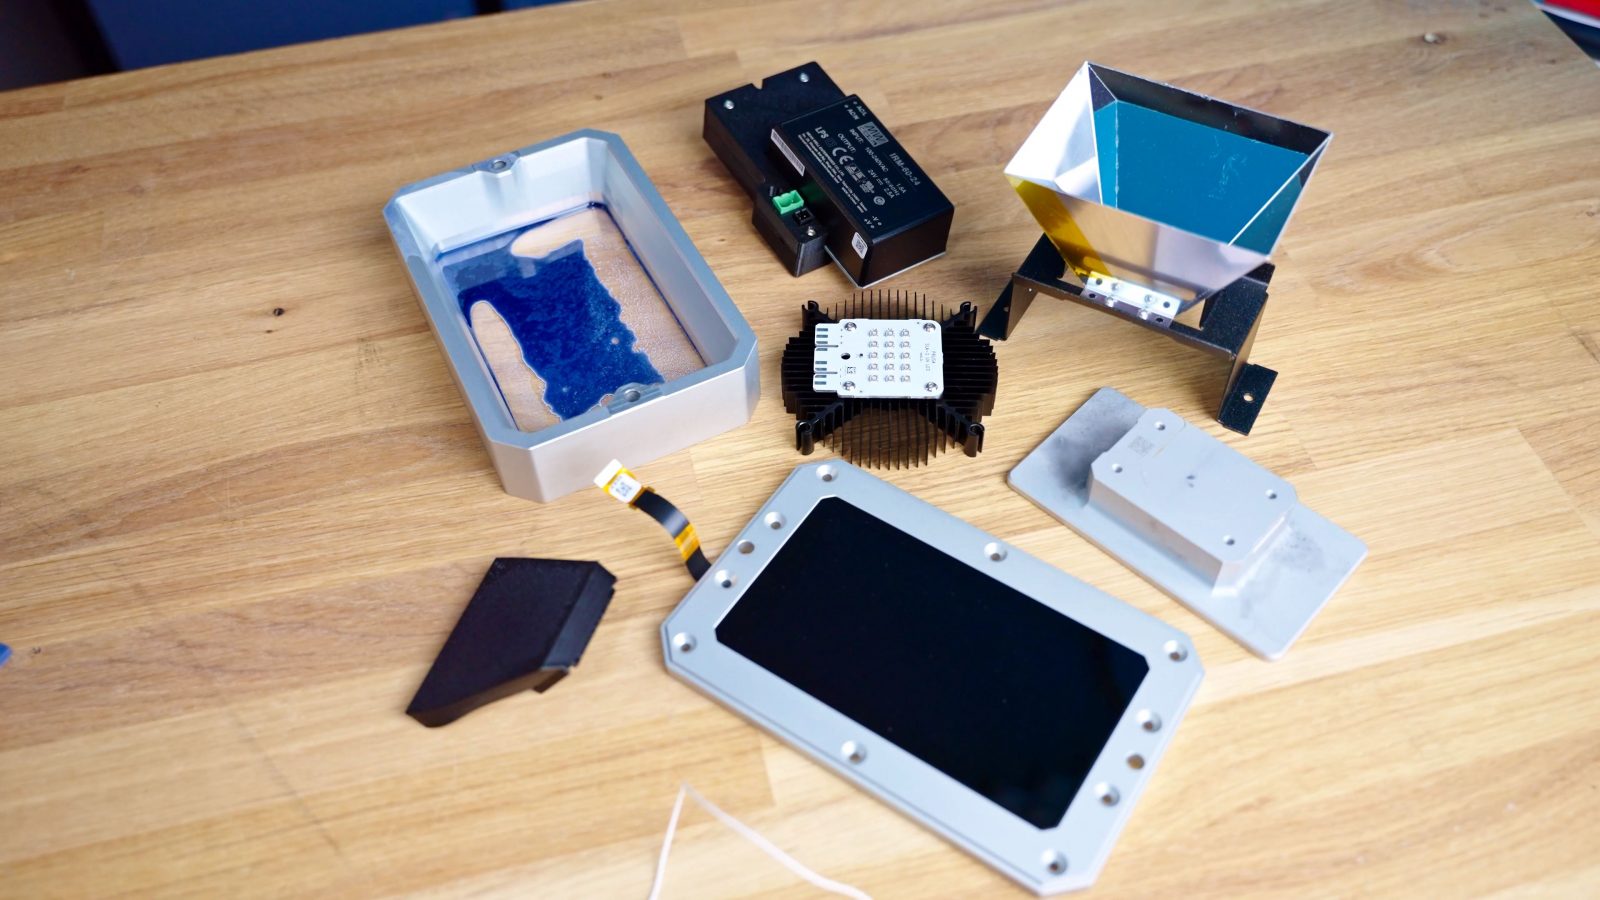
And it gets a new UV curing LED assembly that has heaps more power and a new custom-designed lens assembly, which means you get not only more light but also better-controlled light-curing your parts.
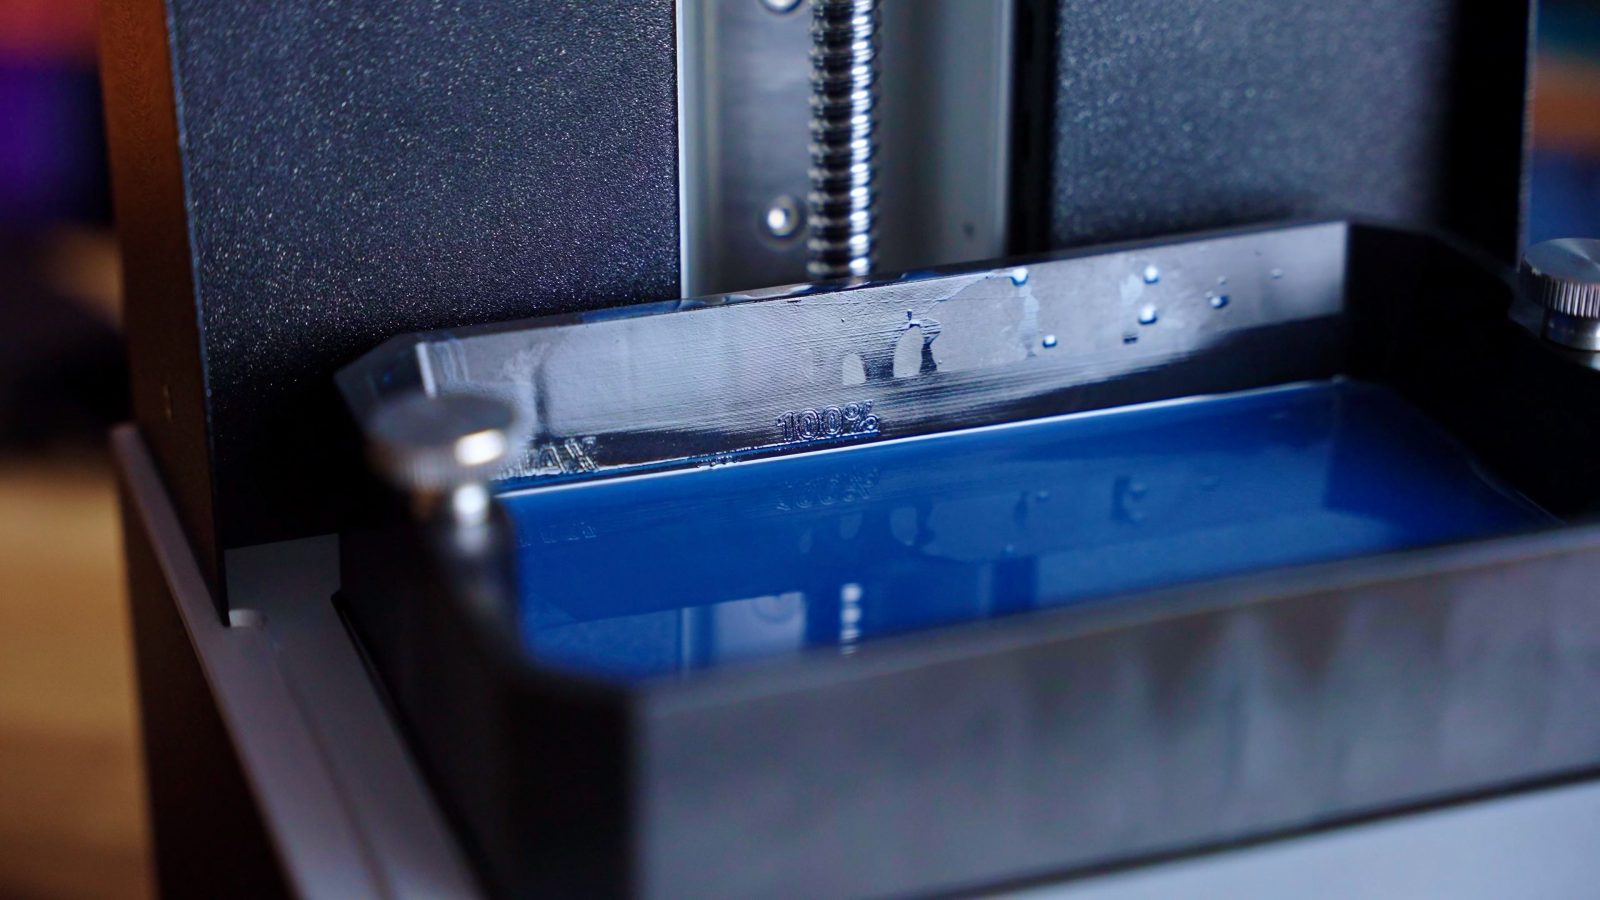
And then because not only the actual curing of the resin takes time, but also the peeling cycle, they made the resin vat lighter by using a graphite-reinforced Nylon instead of milling it from a slab of aluminum, so that the tilting mechanism can work faster without overloading the motor driving it.
SL1S 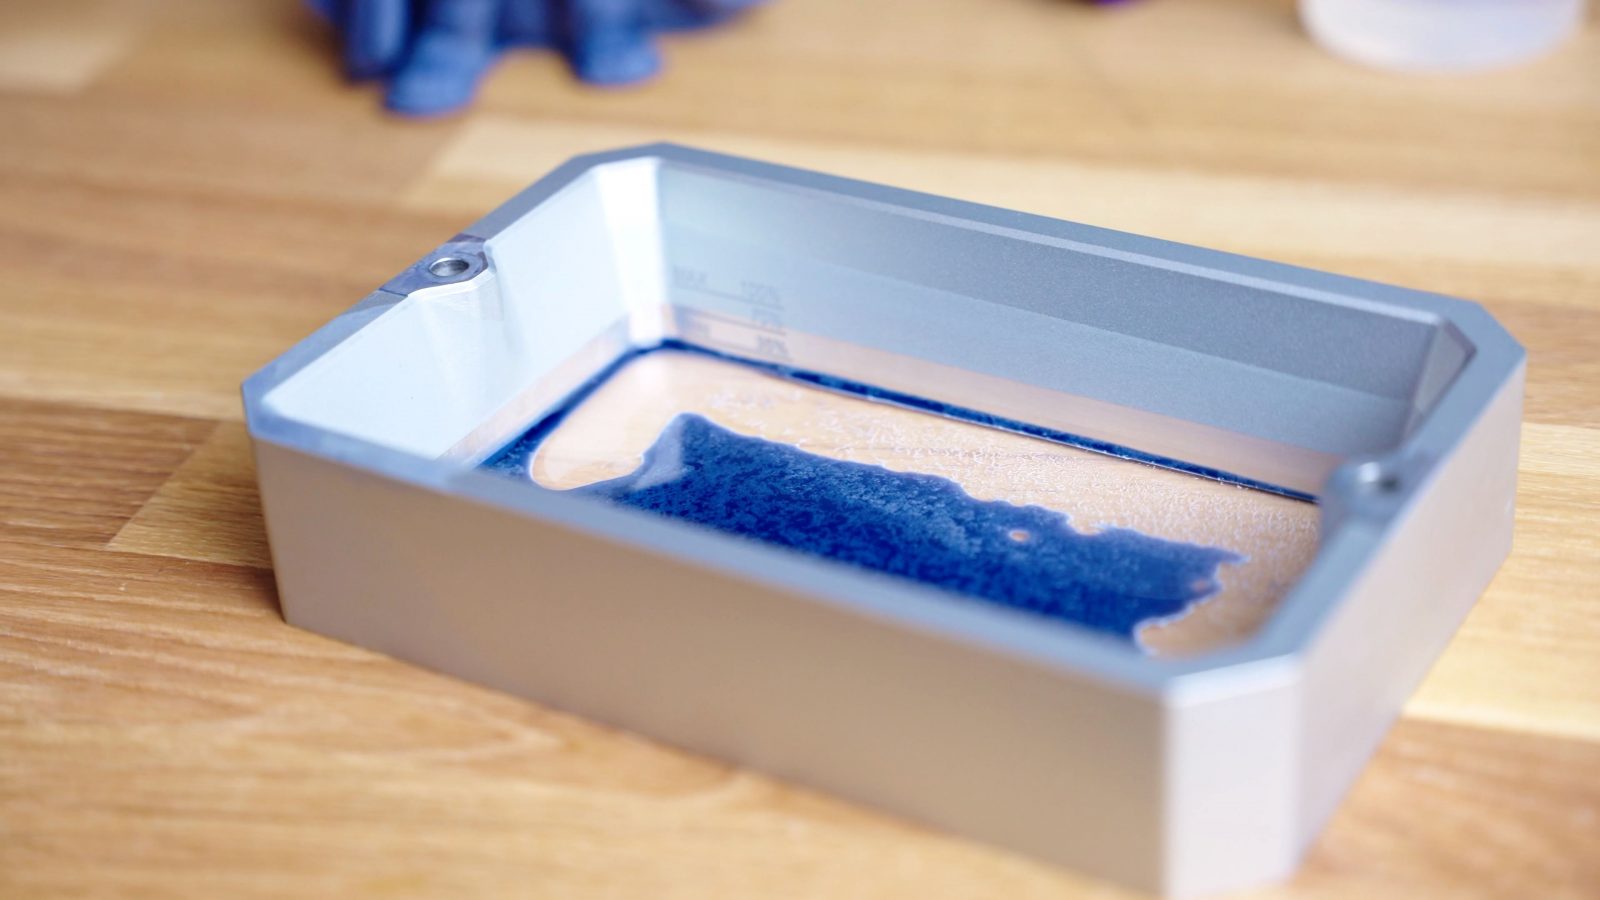
SL1
Print Speed
The results? Pretty much exactly three times the print speed from the original SL1. This YouTube-friendly version of the Lycean Apollo scan by the Statens Museum for Kunst took 9 hours on the SL1, 6 hours on the Mars 3, and just 3 hours on the SL1S, all printed at the normal layer height of 50µ, making for a total of 2600 layers. Three hours is pretty good for this!
I also printed one on the MK3, and that took 9 and half hours at 100µ layers, but it was already being throttled by the minimum layer time requirement. The thing is, though, the only factor that determines how long a masking LCD resin printer takes for a print at a given layer height is how tall the object is, so I could be printing 10 of these at the same time and it would still take just 3 hours, while a filament printer would start inching into “days” of printing if you were to try the same.

It’s also the reason why this 75% scale Armel the Polar Paladin took only 3 ½ hours on the SL1S. It’s pretty fascinating, really. And you can push the SL1S further if you want to, this was only with the standard 1.8 second layer cure time and the default “faster” tilt settings, but I’m sure you could still get the tilting action faster and take the curing time way down and still get good prints. These parts all felt really well cured already straight out of the printer.
Print Quality
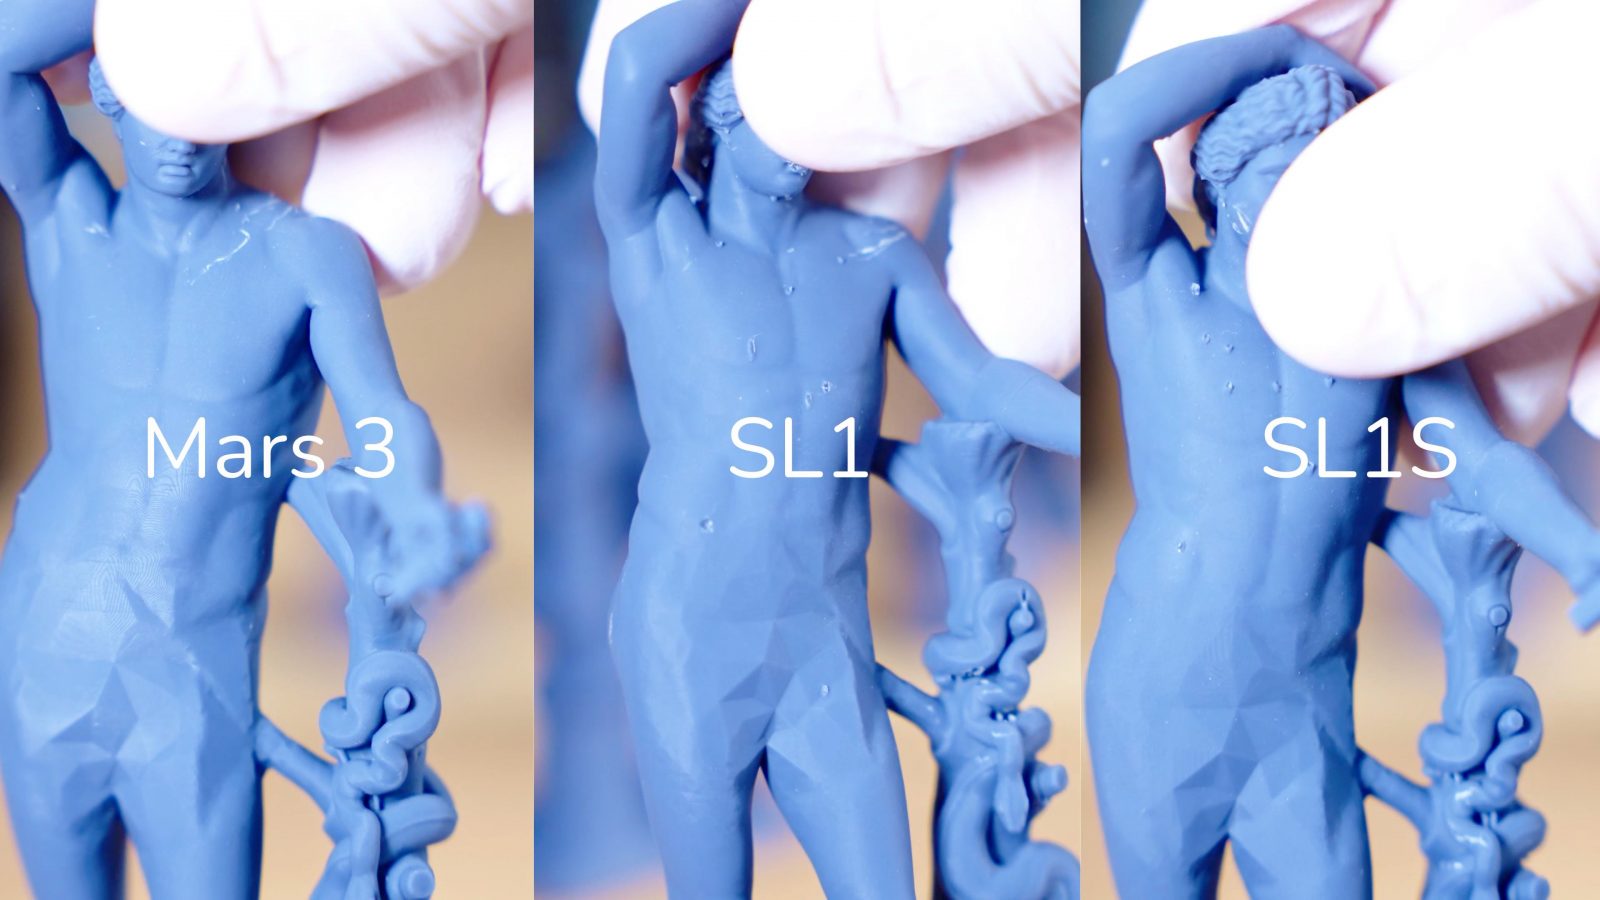
How does it stack up? Now, obviously, all the resin printers these days have an excellent print quality that should be more than sufficient for pretty much everything you could throw at them, but there are still differences. First of all, there is actually a noticeable, but not massive improvement in detail reproduction. It’s impossible to spot in actual details, but for example, where it’s trying to reproduce that fine-grained texture on the footing, each layer on the SL1S has some more crisp contour details than the somewhat less crispy contours on the SL1.
SL1S 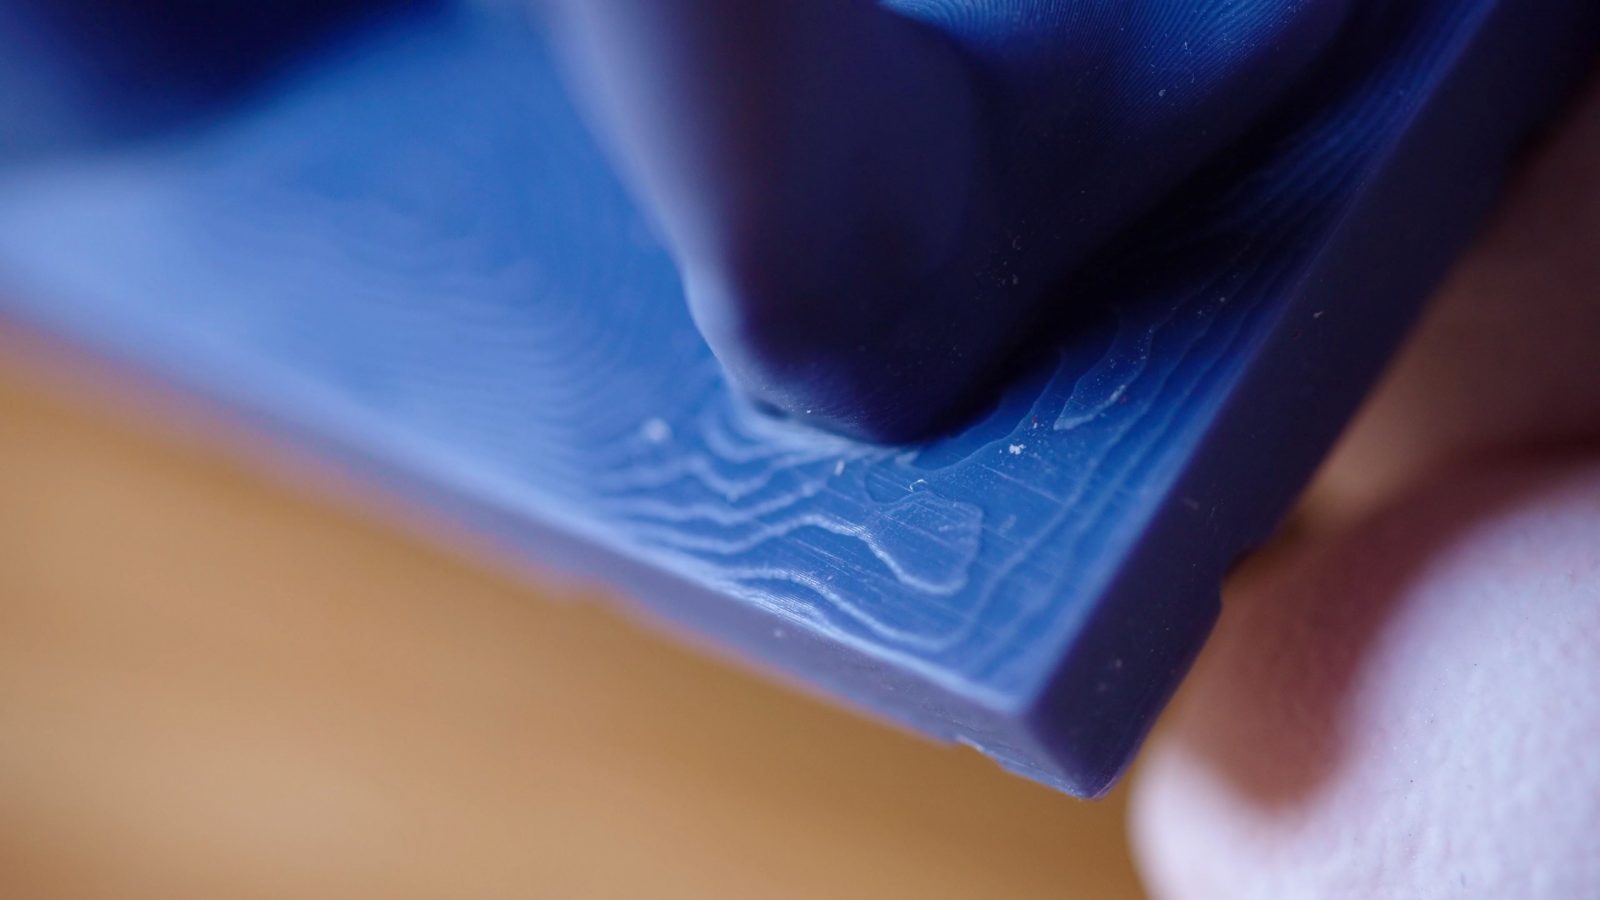
SL1
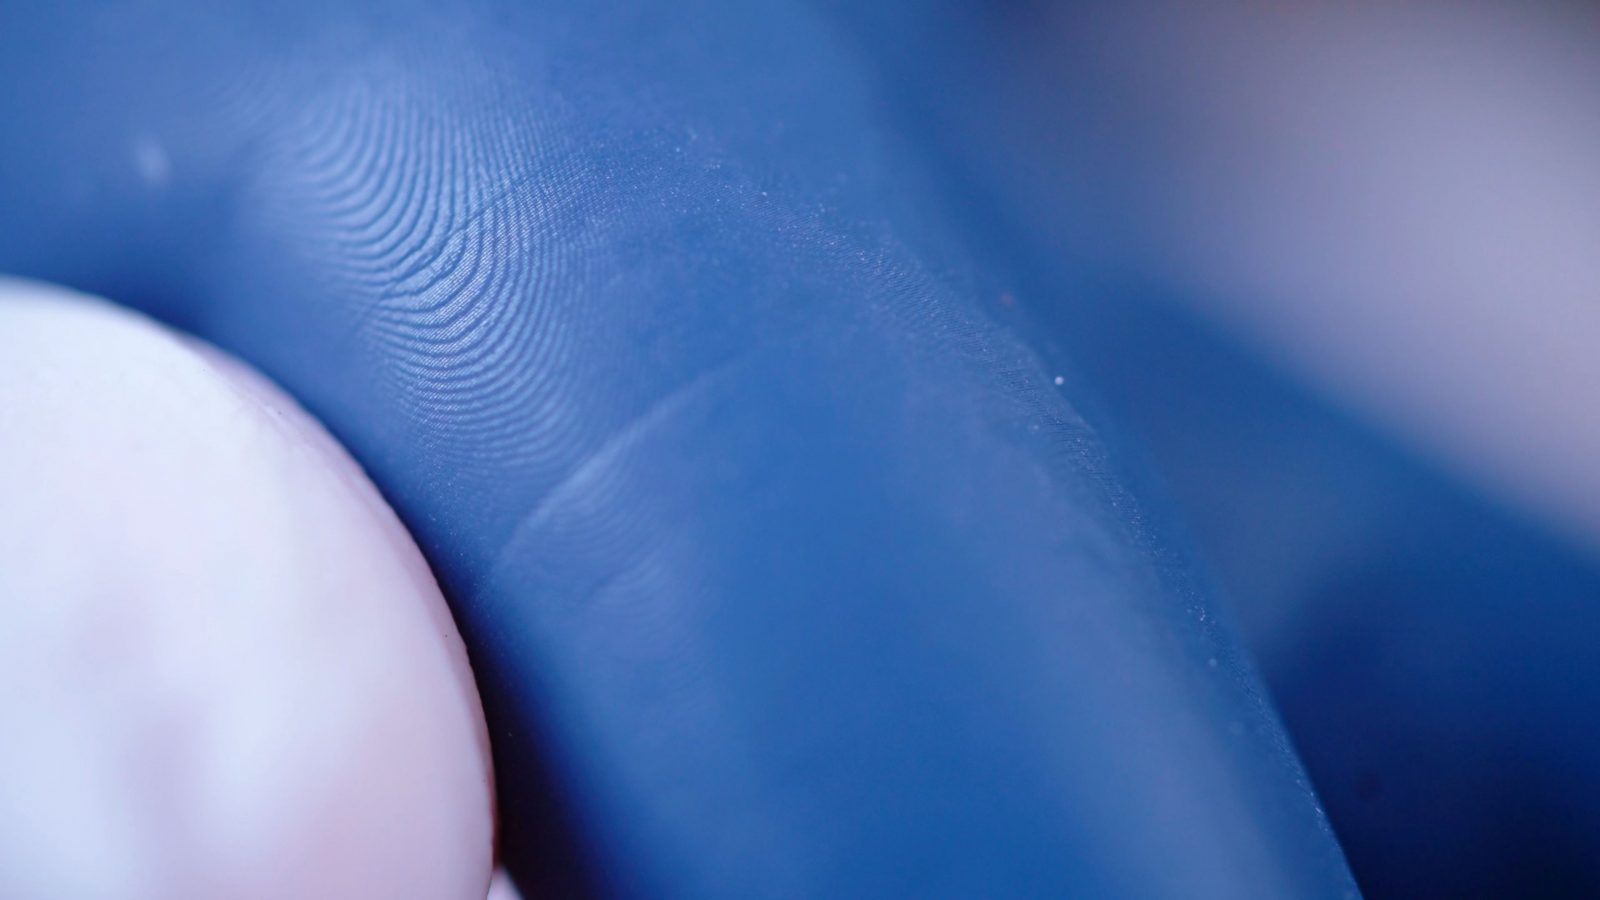
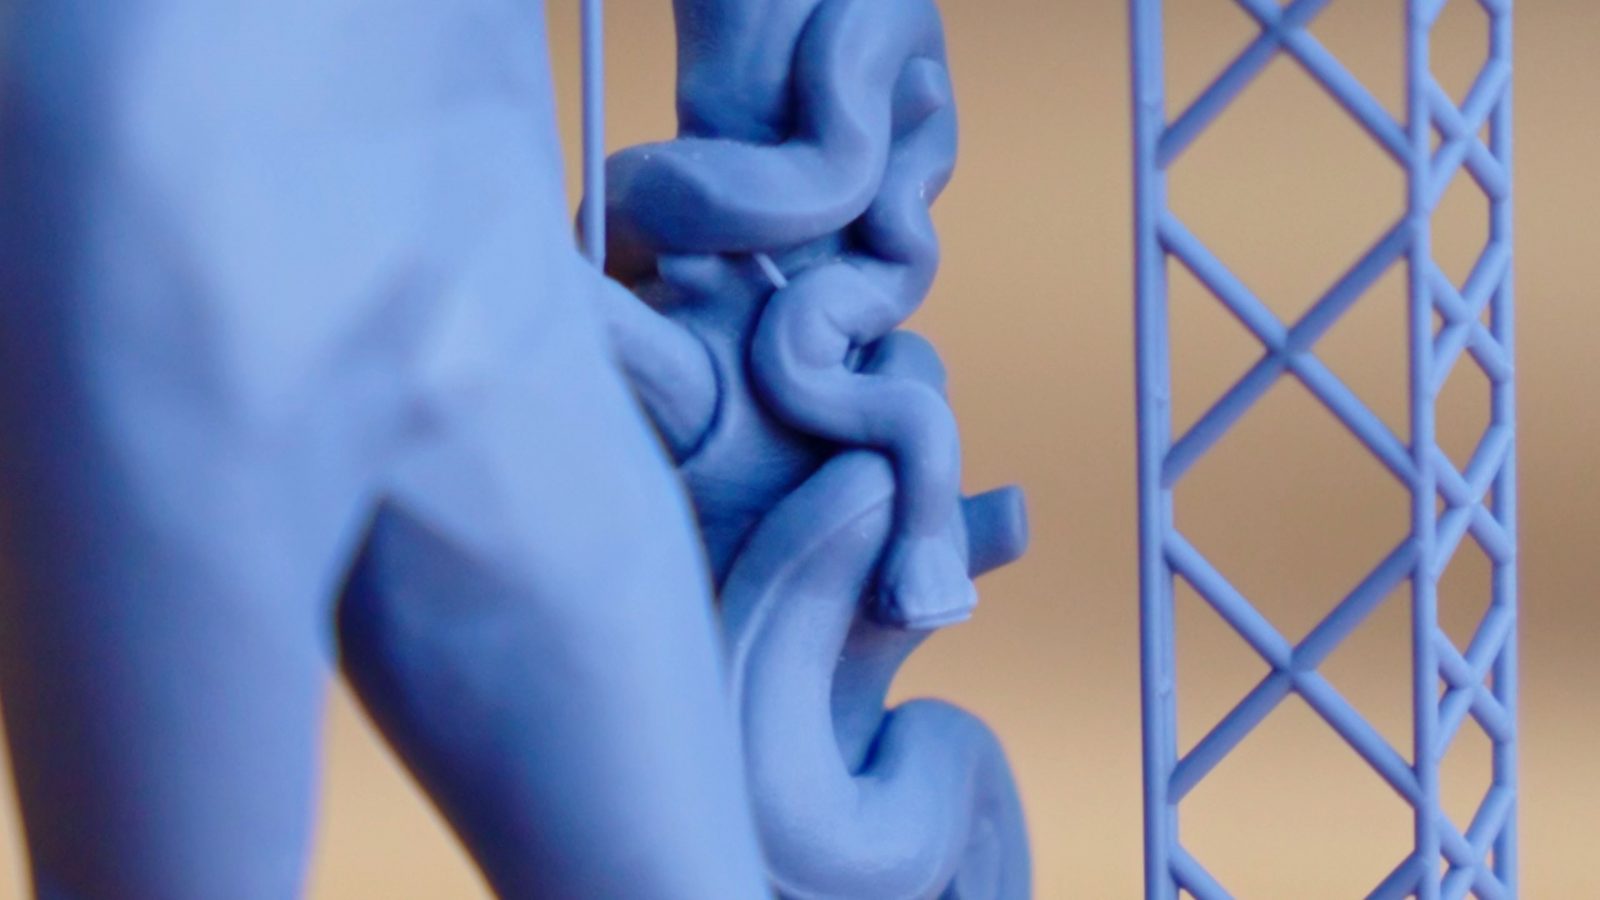
And this is even though the SL1S technically has a slightly lower pixel density on the masking LCD than the SL1S. But what is very noticeable is the difference in how shimmery the prints are, which indicates how well anti-aliasing works, and the SL1S is by far the least shimmery compared to the SL1 and the Mars 3. So even though you can still see the LCD’s physical resolution reflected in the surface finish, it is actually visibly quite pleasing already without any finishing.
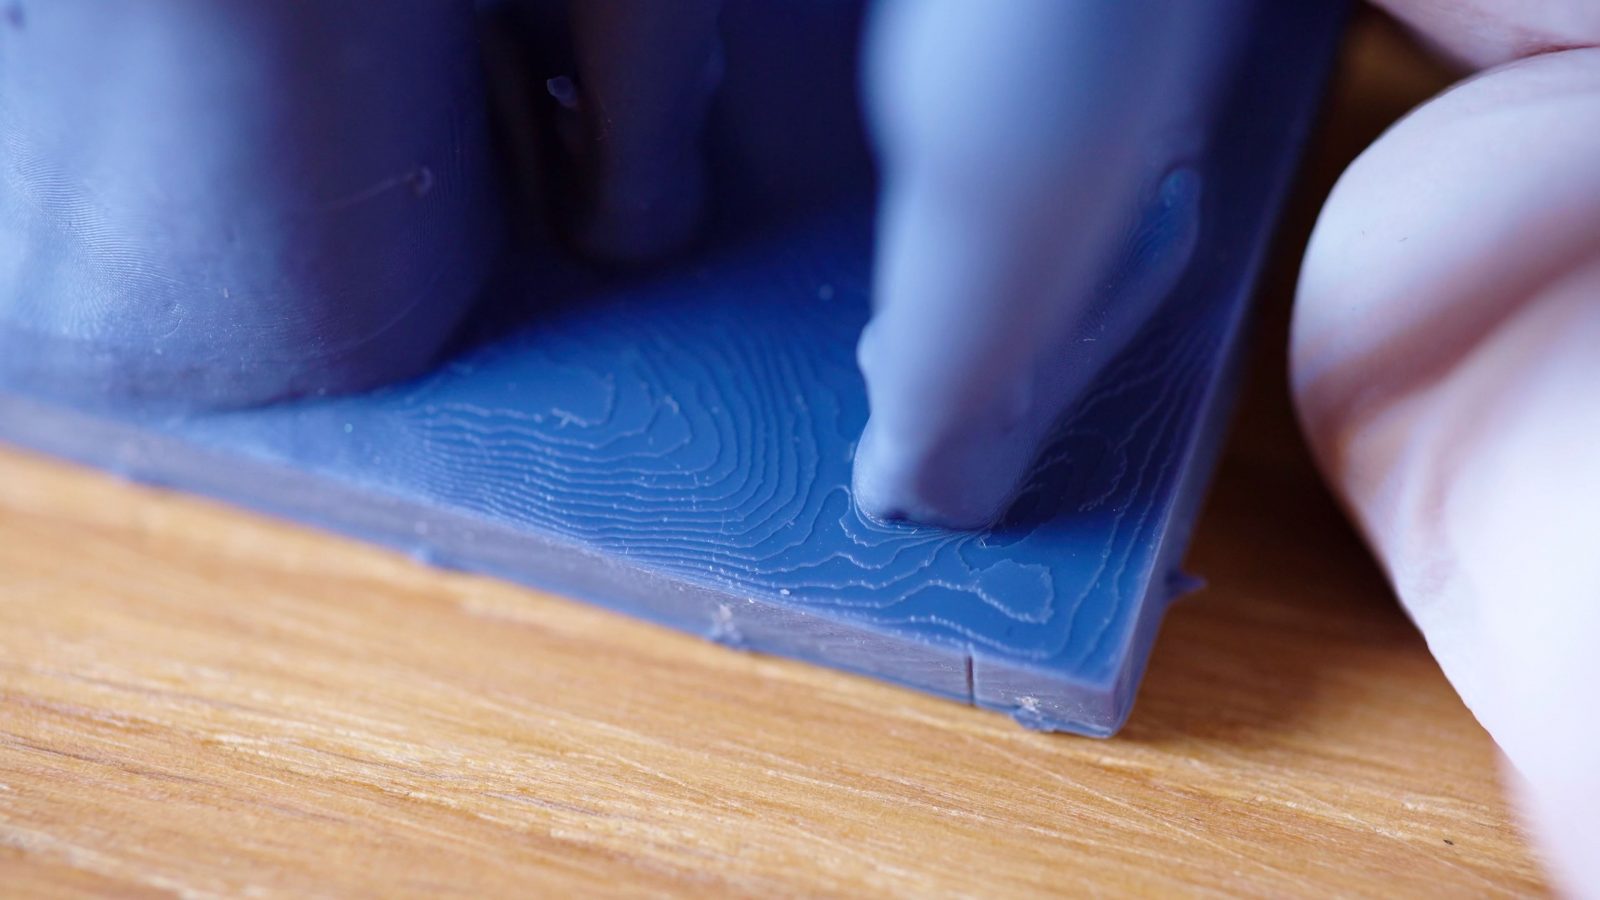
Another thing you can also see in both the prints of the SL1 and the SL1S is how well the tilting mechanism works for getting clean peels on each layer change.
Mars 3
On the Mars 3, you can see the random horizontal imperfections, and this has been something that’s been visible on every resin printer I’ve used so far that didn’t have a tilting platform, and it’s apparently because sometimes the layer doesn’t quite release in the same way as the others and it creates this line. SL1 and SL1S just don’t have these.
But one thing you may have noticed is that the prints from the SL1 and SL1S are actually smaller than the one from the Mars 3. And they are actually too small. The print is supposed to be 130mm tall, but it’s actually just 126mm. You can also see that the base is smaller. Now, I don’t know why this is happening, and using the SL1S and getting wrong-sized prints is a big problem. All these parts are exactly 2600 layers and are set to 130mm height in the slicer. But the thing is, I’m pretty confident that by the time you’re watching this video, it’s already going to be fixed. To me, this sounds like a slicer, because really the only thing you could miscalibrate in the printer itself is the Z-axis, but X and Y are also affected.
Slicer

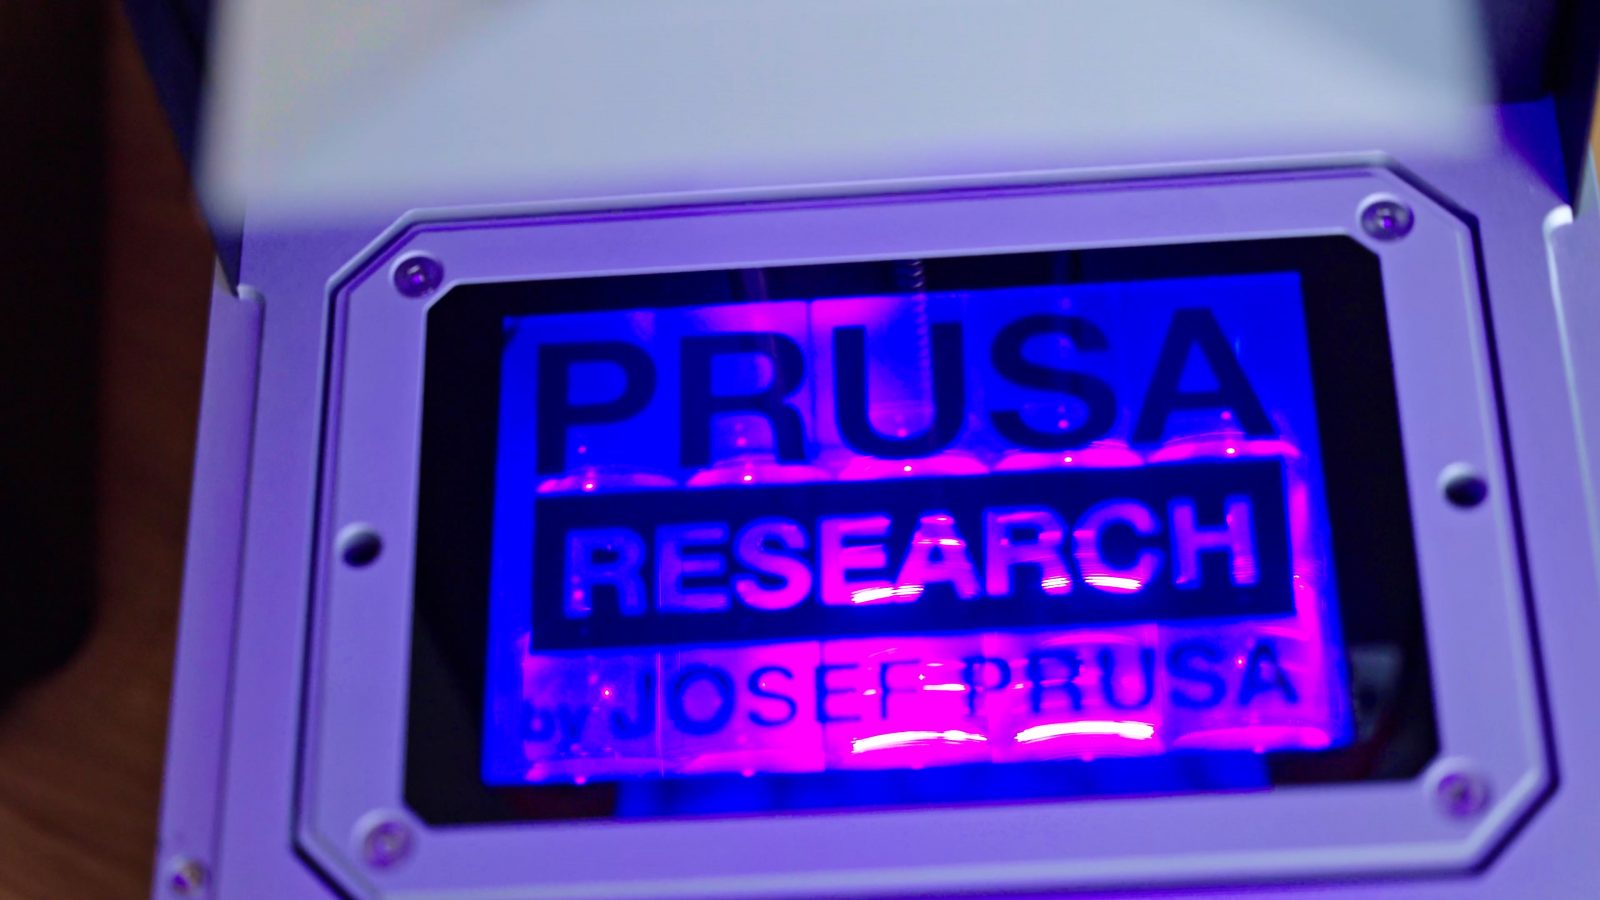
The SL1S, just like the SL1 and every other Prusa printer has good stock profiles in PrusaSlicer, which is free, open-source, fully-featured – and you can use it with other printers, too. And just the same vice-versa, there is nothing about the SL1S that prevents you from using other slicers like Lychee Slicer. They’re currently working on getting the SL1S added. Also, the SL1S itself is also open-source. All this is very much unlike some of the other masking LCD printers.
I really like using PrusaSlicer, particularly because it has so many and such good profiles built-in for the Prusa machines. I’ve never found the need to go profile tweaking in PrusaSlicer, except for, of course, changing the actual print settings. The support generation is PrusaSlicer actually turned out to be better, than the one in ChituBox Pro that I used for the Mars 3 – initially I was saying that ChituBox Pro was producing better supports than Chitubox basic, but I’m not so sure about that anymore.

It again produced those long, stalky supports that end up not really doing much, and it also completely forgot to support the snake’s head on this. Like, I mean, there’s an actual snake animal on here, not what you’re thinking right now. On the print from the Mars 3, that just doesn’t exist and you’d have to add manual support to get it to print right.
Now, the resin-specific interface and features in PrusaSlicer aren’t that well-baked yet. They work perfectly fine, but I find that they’re often awkward and confusing to use.

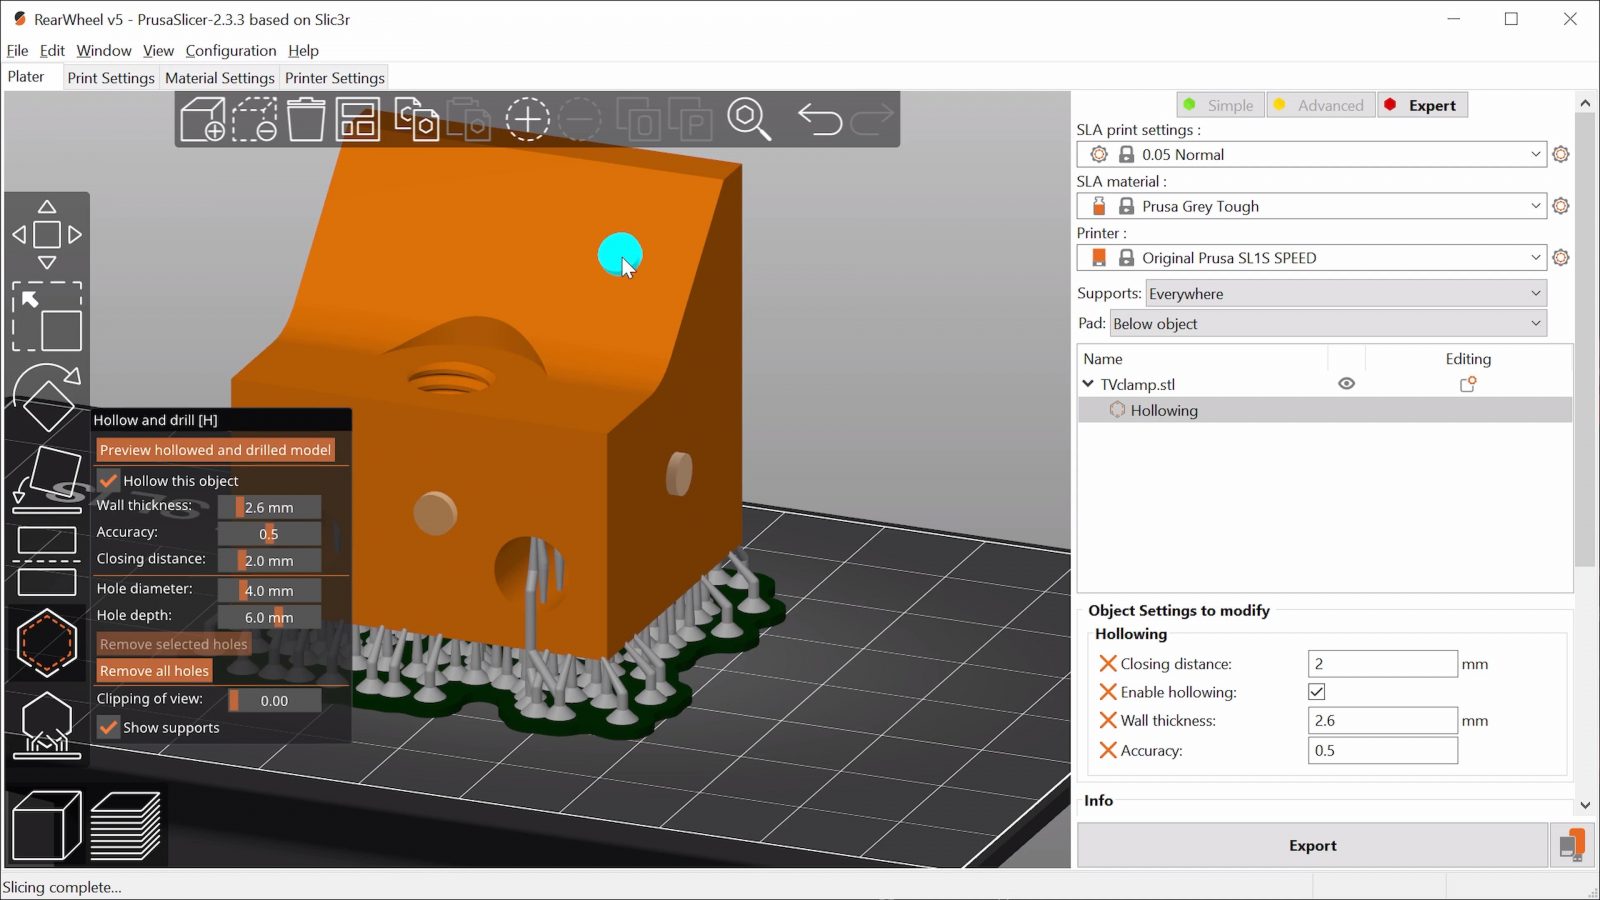
Like, why can’t I just type in a value?
How should I know that clicking on the object drills a drain hole?
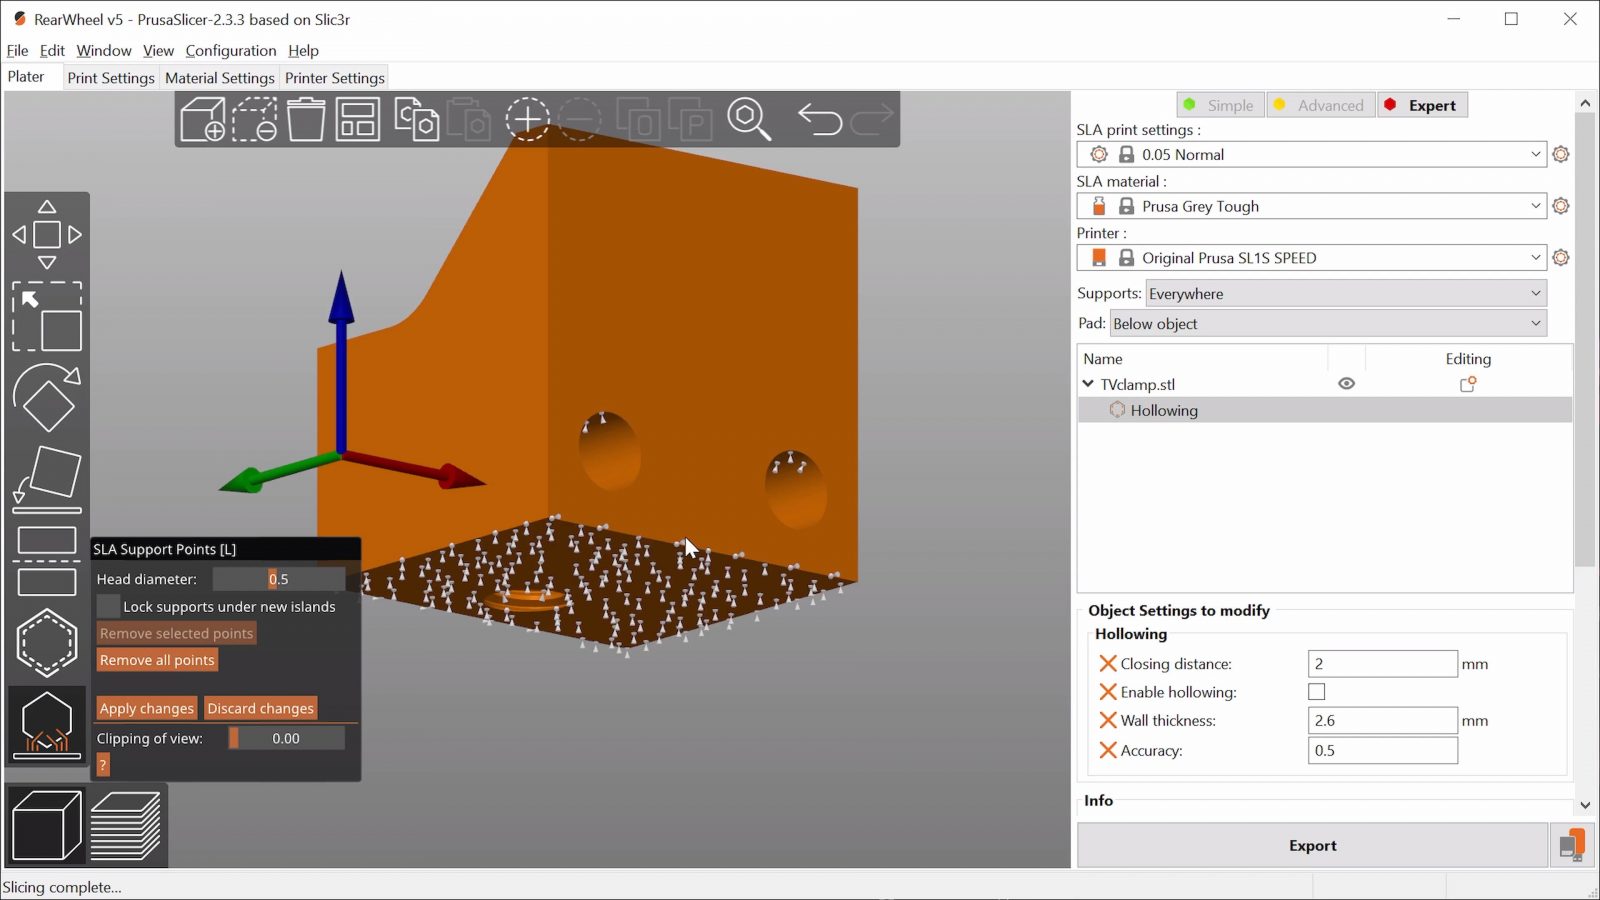
Why is there no preview for support points?
It’s got its usability quirks, even though on a functional level, it does everything you need.
No fun with the Upgrade-Kit
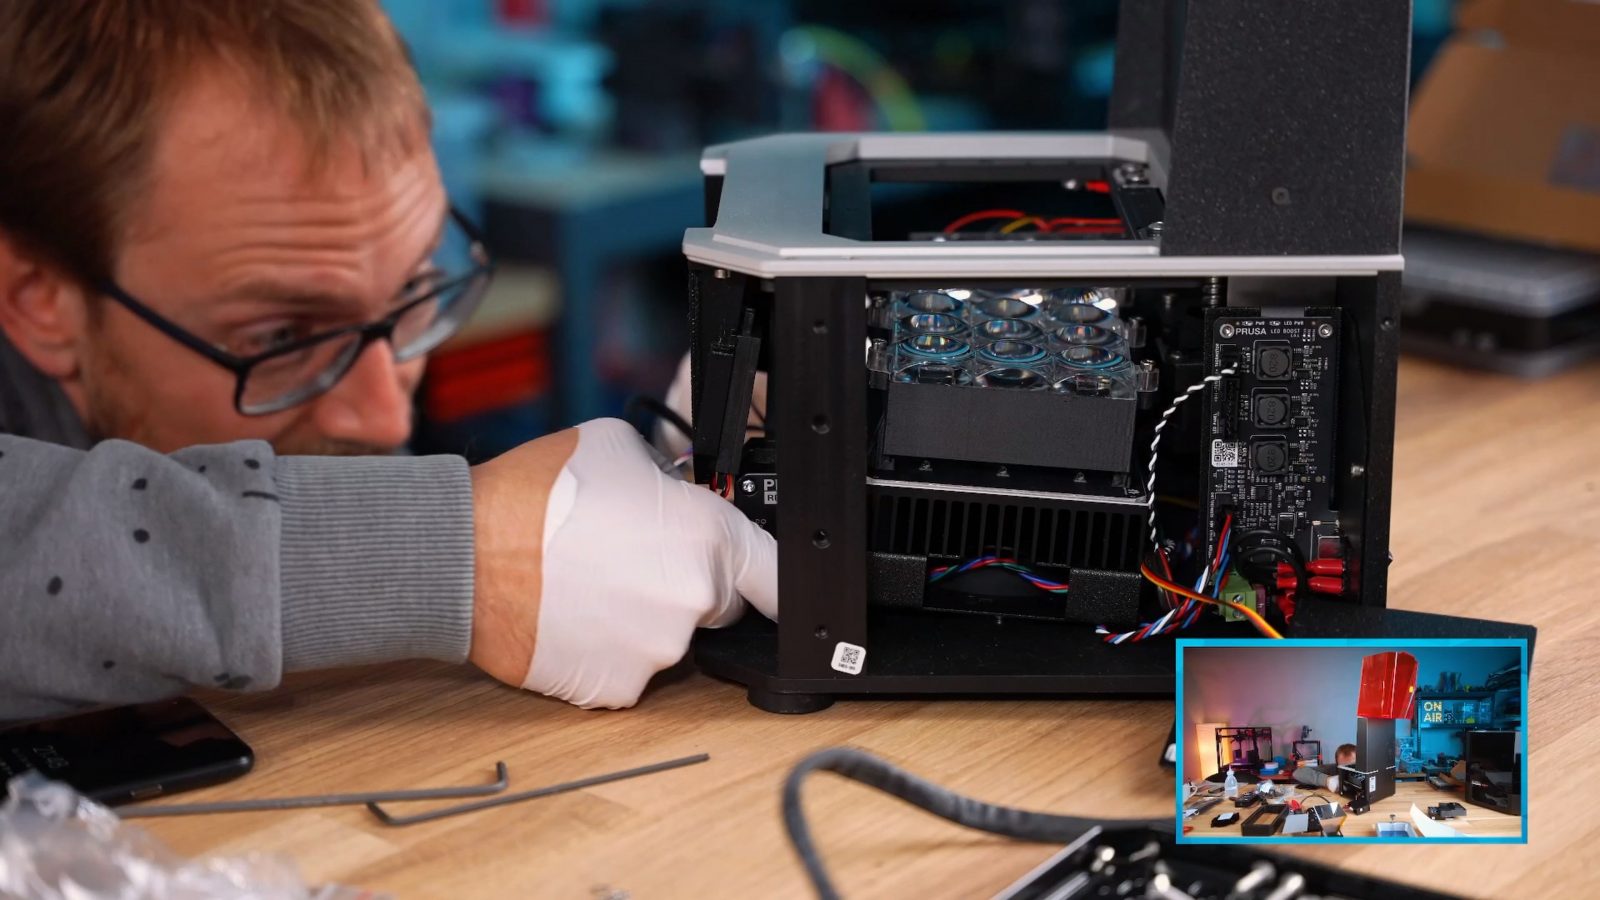
There are a couple more rough spots on the SL1S itself that I need to address. If you’ve seen the livestream, you’ll know that this is a printer I upgraded myself from the SL1 to the SL1S, but even the original SL1 I built from the kit, which I don’t think they even offer anymore. There might be a good reason: Working on the SL1 and SL1S is not fun.
It’s a super tightly built printer and replacing parts like the LED assembly with one that takes up about three times the space and then having to awkwardly attach that to the existing mounting points with printed adapters – super finicky.
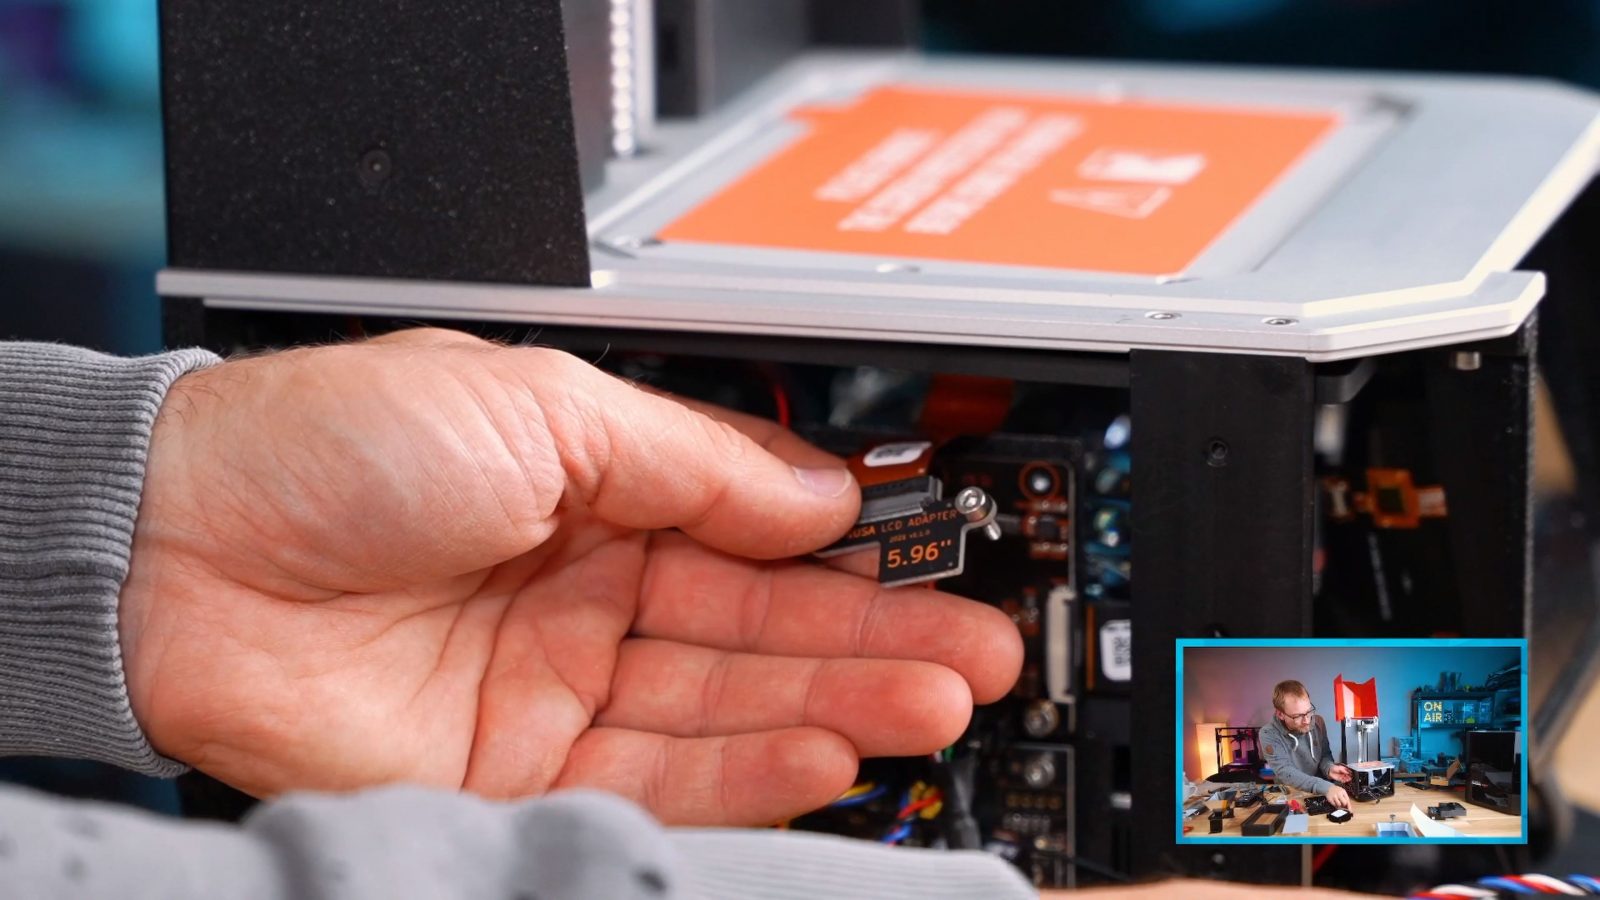
Also, plugging in the new hardware into the existing mainboard uses two adapters – one adapts the little lego-style connector to the FPC cable of the new screen, and by screwing down that adapter PCB, you’re putting so much pressure on that connector if you just barely overtighten it. That connector is just not made for that.

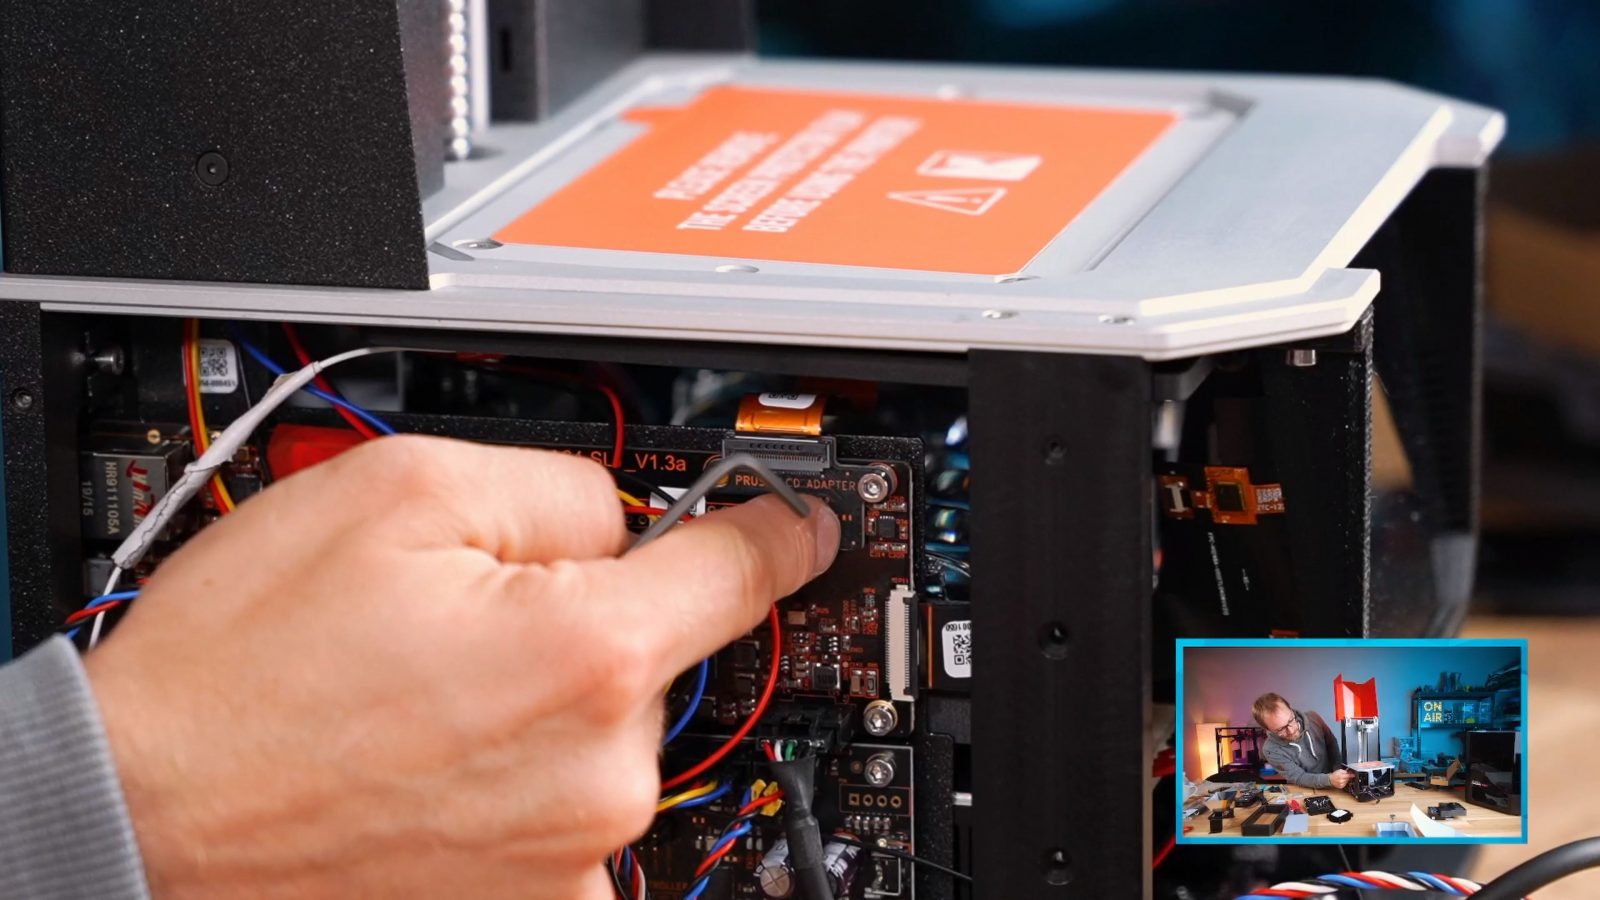
Then, this cable down here, has a locking connector and because the spot you need to plug it into is just a plain, straight pin header, they give you this printed adapter that lets you clip that connector to something. Really, it’s just an alignment help because it doesn’t really lock anything.
Like, you can clearly tell that this is an upgrade that the original SL1 was never designed for, and that results in some questionable adaptations of the existing hardware. It works, but I would rather not have to see how it works.
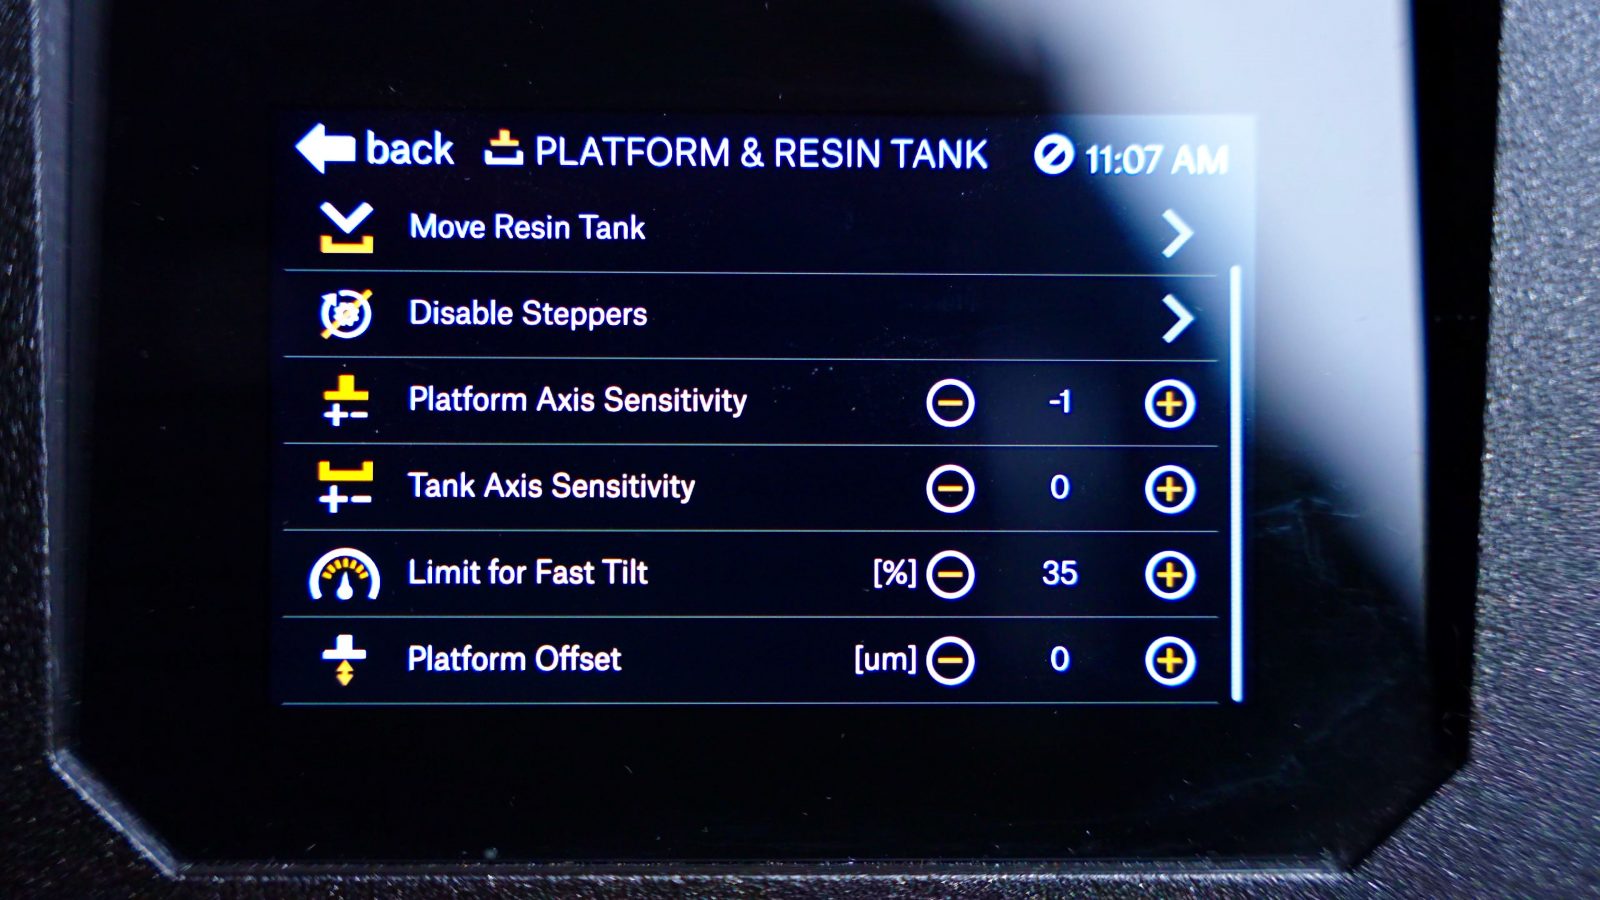
Then also, specific to the upgrade, it looks like it actually kept the calibration settings from the SL1, meaning bed offset and sensorless homing sensitivity, which caused some issues during the upgrade livestream. The interface does try to help you with links to help pages when it catches an error, but in this case of the homing triggering too early, that page basically told me to tear the entire printer apart and tighten down the Z-axis assembly, when in fact it’s just two taps in the settings menu. Which… isn’t mentioned.
Firmware
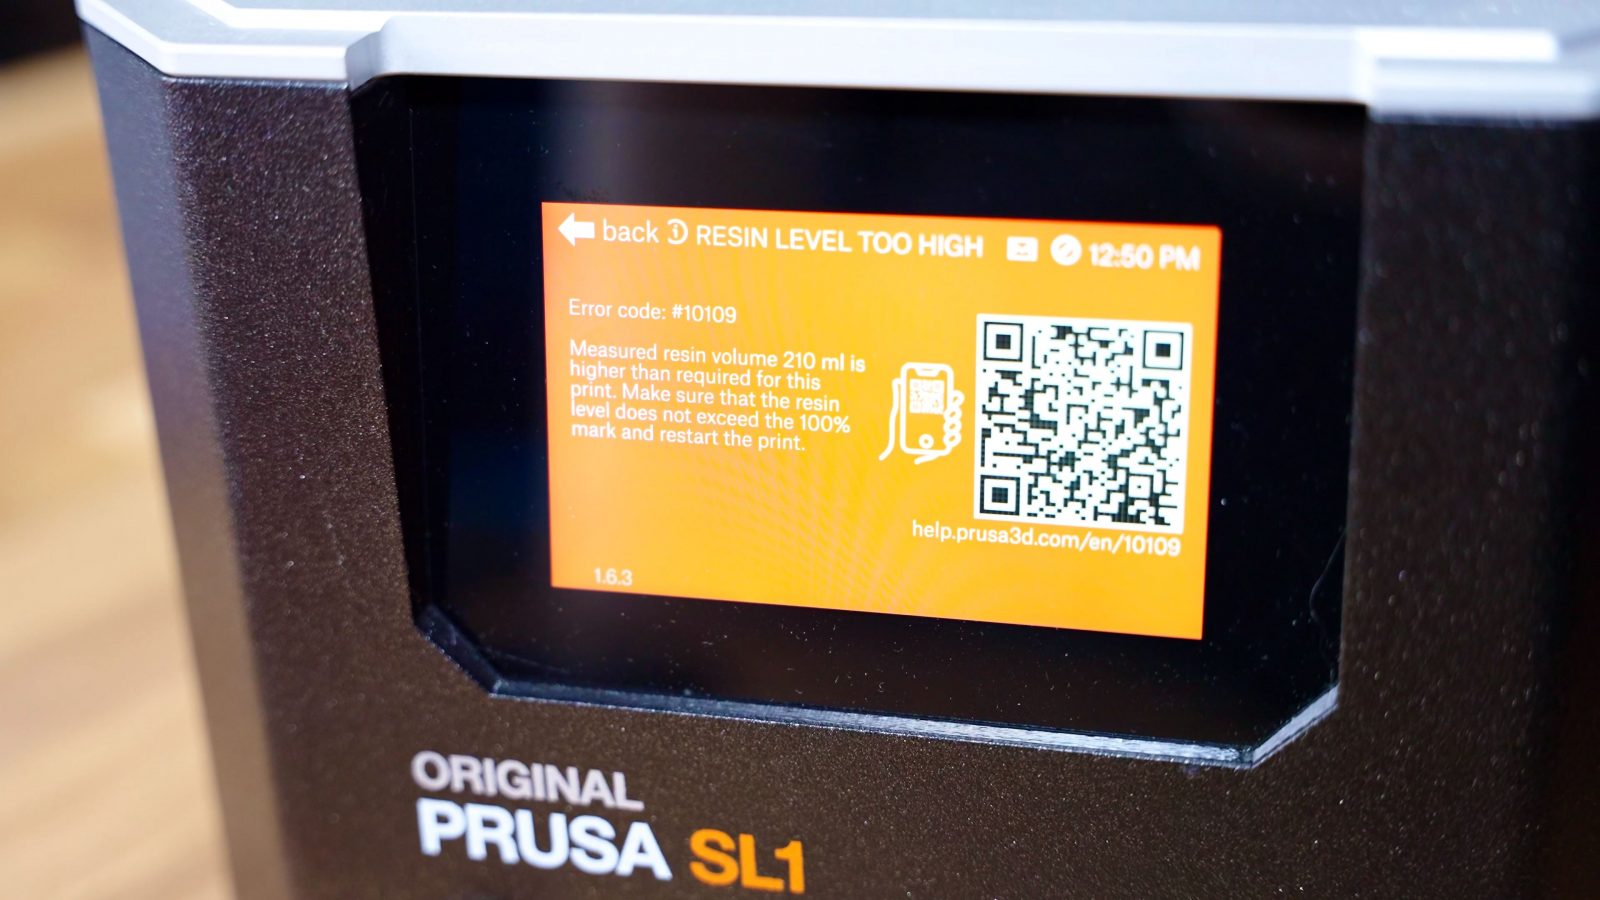
The firmware is still one of those spots that could use a bit of polishing. For example, the SL1S still keeps the resin sensor, which makes sure you have enough resin to complete the print, but not so much that it spills over the vat when it tilts, but it seems to be a fairly common problem that it thinks there’s too much resin in the tank when, in fact, you aren’t even close to the 100% mark. I saw that once, and after simply restarting the print, I never saw it again, but yeah, this is something that could just be solved by for example automatically retrying the measurement cycle when it detects that something isn’t right. Prusa has often already fixed early issues like this in their other printers, and I’m sure this is going to get ironed out, too, in a future over-the-air update. This printer has WiFi and wired ethernet, so that makes that really easy.
Conclusion
So, is the SL1S worth 2 grand by itself and should you upgrade your SL1? Well, before we answer that, what I noticed is how cheap, comparatively, the upgrade kit is. The upgrade is 400€, which is impressive considering that you get a new masking LCD, UV LED, print platform, resin vat, and power supply. This means: Is the frame, mainboard, touchscreen, and Z-axis worth the remaining 1600€ to get to a complete SL1S? Not really. I mean, the value you’re getting is not just the hardware, it’s also in part the R&D cost, continued support with firmware and software updates, of course, the free software itself in the form of PrusaSlicer. And then all of this is open-source, which is an additional risk that needs to be factored in. If you get the upgrade for 400 bucks, that’s already covered by your purchase of the original SL1. The Prusa SL1S platform definitely is not cheap, but it is still the platform that I find myself most inclined to use when I need to get a resin print done. It’s the most well-made resin printer that I have and it objectively produces the best prints. It’s a good printer at a premium price. That comes with non-subscription software.
Now, should you get the upgrade if you already have an SL1? That depends. It’s good value considering what you’re getting, but unless you need the larger build area or the massively increased print speed, the SL1 is probably still fine. Or if you want to have a couple of extra resin vats at hand for swapping between different materials, since the new injection-molded vats are obviously much cheaper than the old billet-milled aluminum ones.
You are throwing away a lot of perfectly fine parts with the upgrade, so I think a good point would be going for the upgrade when you’ve worn through the masking LCD and would need to replace that anyway.
I hope that gave you a good overview of the new Prusa SL1S speed, if you’re interested in getting one, there are affiliate links in the description below, or if you want to support the channel in some other way, watching and subscribing is great, but you can also check out YouTube memberships or Patreon, and you can find all info on that right below the like button.
Models shown
💙 Enjoying the videos? Support my work on Patreon!
Product links are affiliate links – I may earn a commission on qualifying purchases (at no extra cost to you)

Check out my second channel “More Layers” on YouTube for livestreams