
As of today, the Elegoo Mars 3 is locked down to only work with Chitu System’s Chitubox slicer – and any future printers from any manufacturer will be locked down, too, as long as they are built on the Chitu ecosystem. The firmware running on these printers is set up to only accept files that are signed off by Chitu’s software, and while there’s been a promise of an “SDK” being made available eventually, we don’t know which conditions, restrictions, and license fees, that eventually, you as the user will pay, that SDK will ultimately come with.
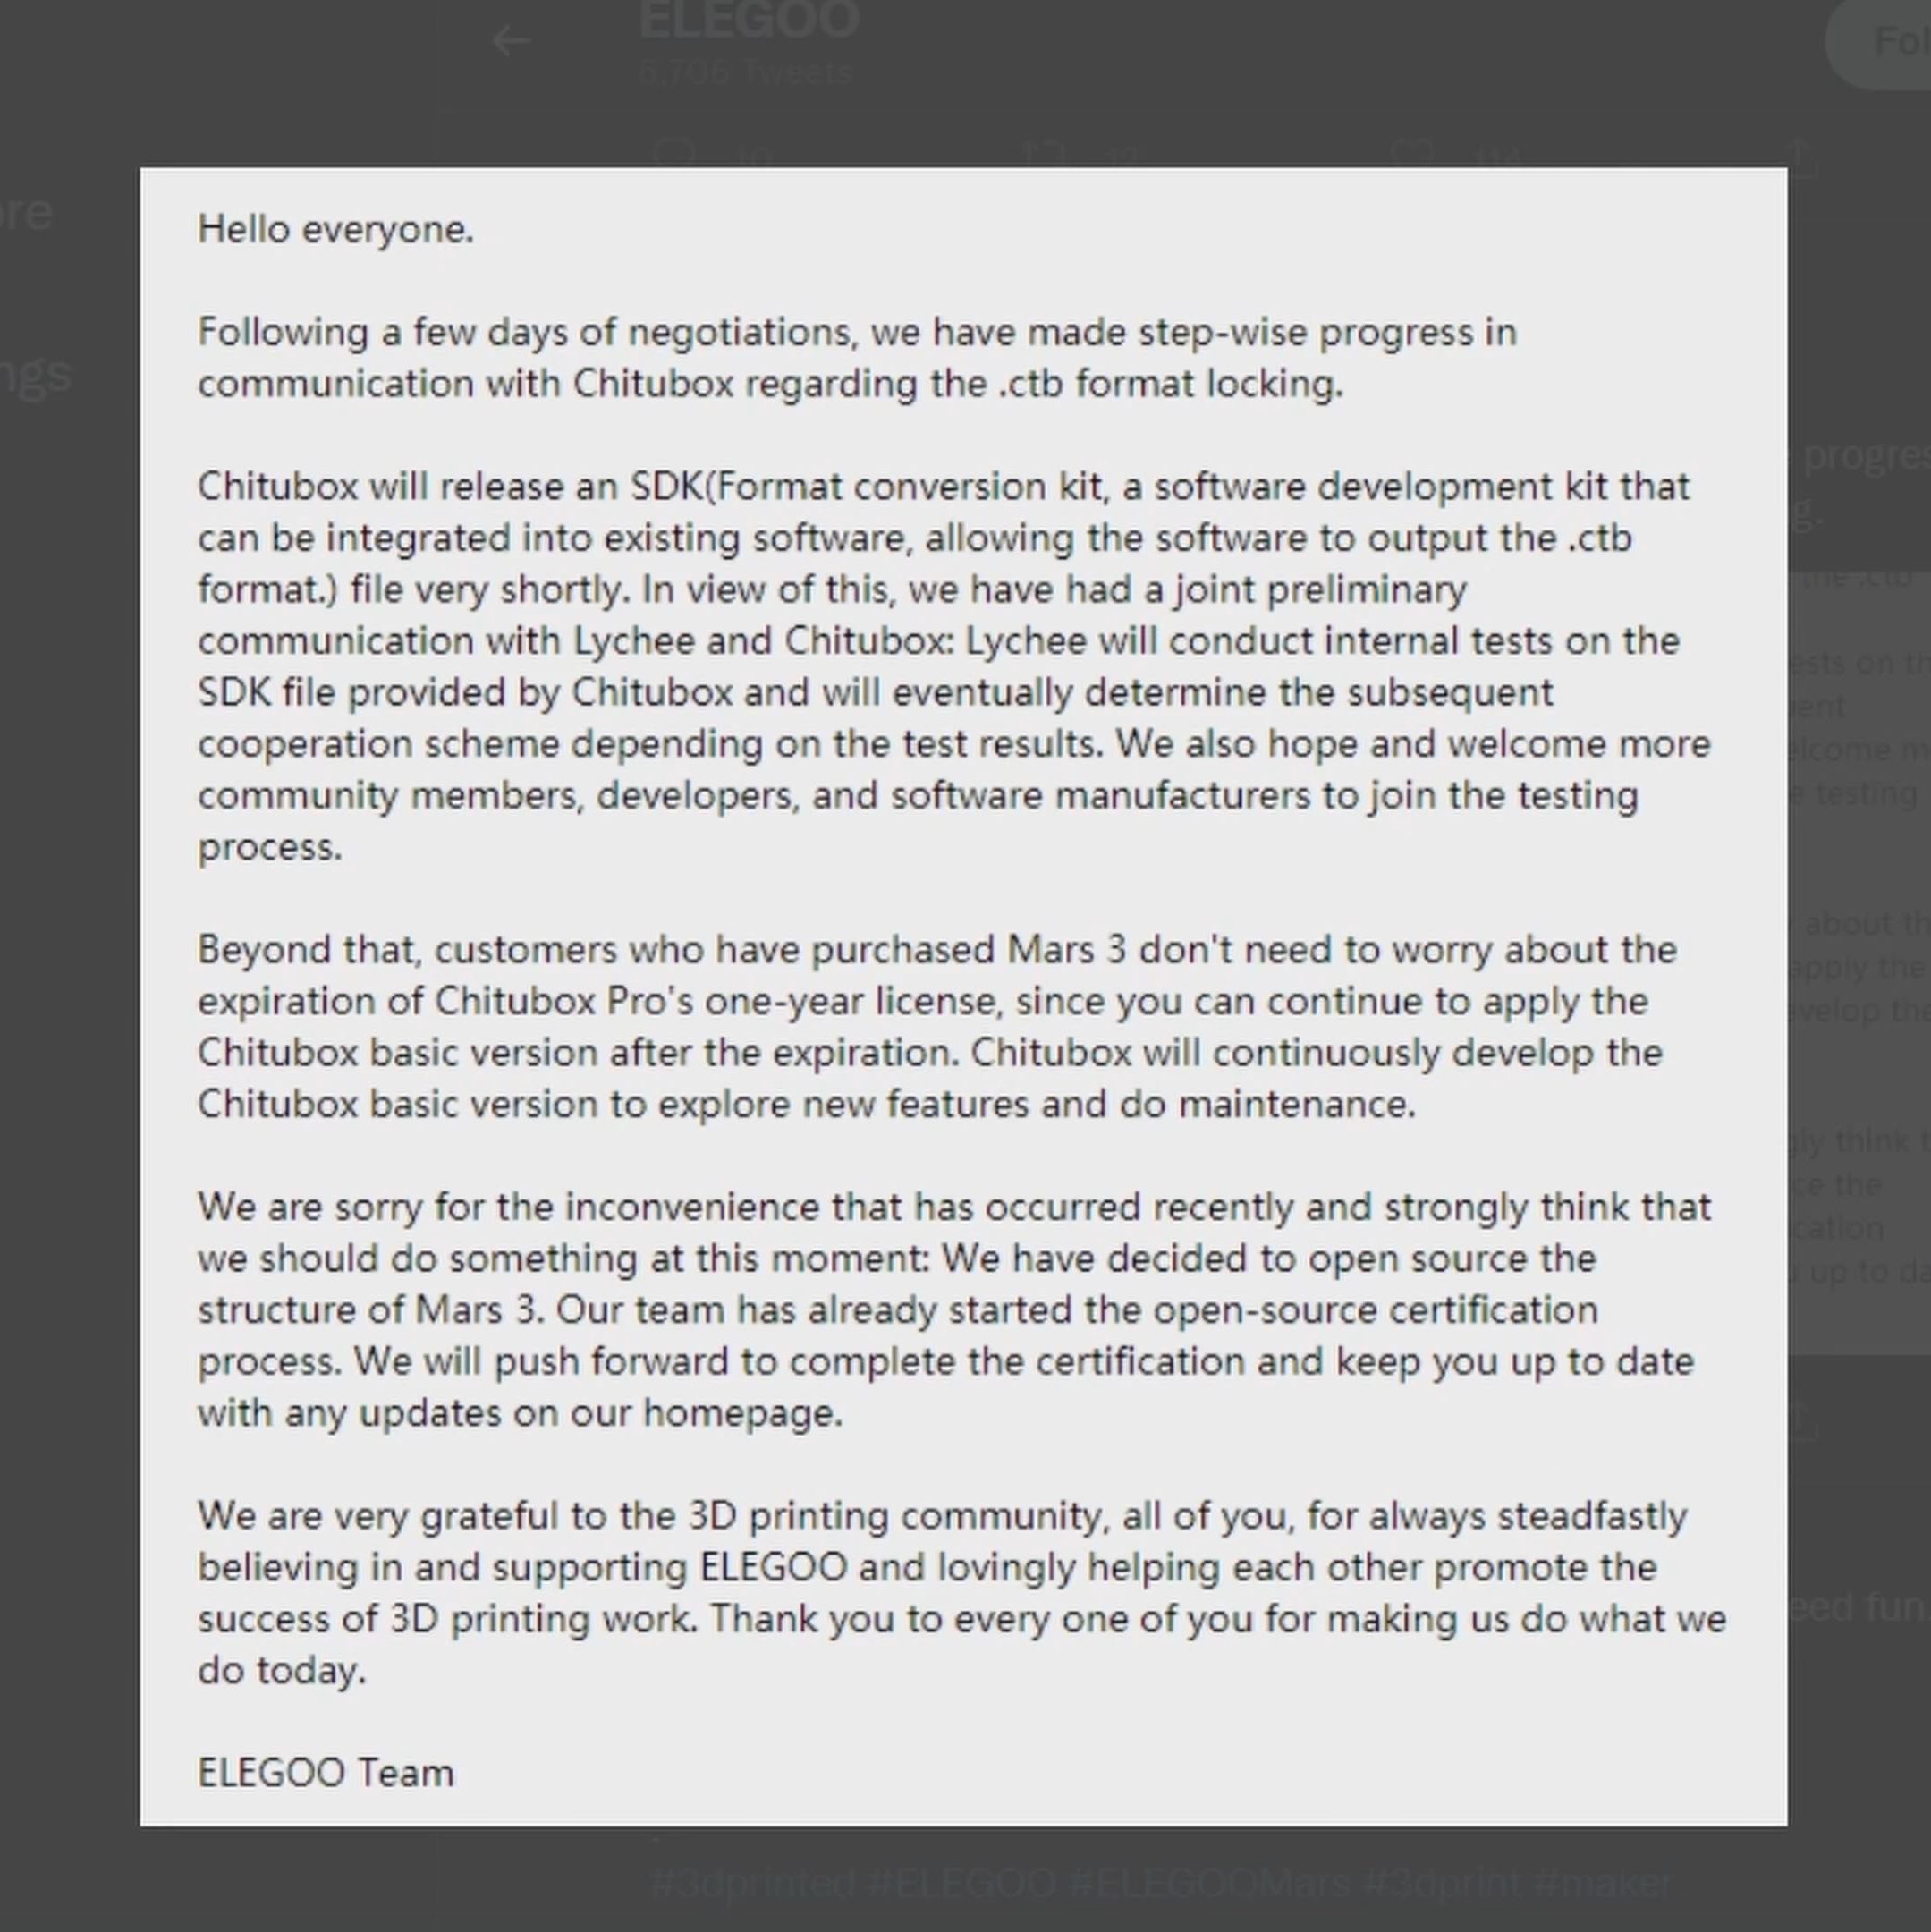
The official Chitubox slicer comes in two versions – a feature-limited, free version and a “Pro” version that comes as a $170 a year subscription service.
So with Chitubox being the only software option that you can use with these printers, let’s check out what the differences are between Chitubox and Chitubox Pro and whether the “Pro” version is even worth $170 a year.
Disclosure, I guess? I am using the free version of Chitubox, and the Pro version that was included with the Mars 3 provided to me by Elegoo. Chitu Systems also independently contacted me about joining their affiliate program, which would pay me a referral fee every time somebody bought Chitubox Pro through a link I could place, however, I declined that offer.
Interface
So, as soon as we open up Chitubox Basic and Chitubox Pro here, it’s pretty clear that these two are related, but Pro simply has a much more intuitive interface.
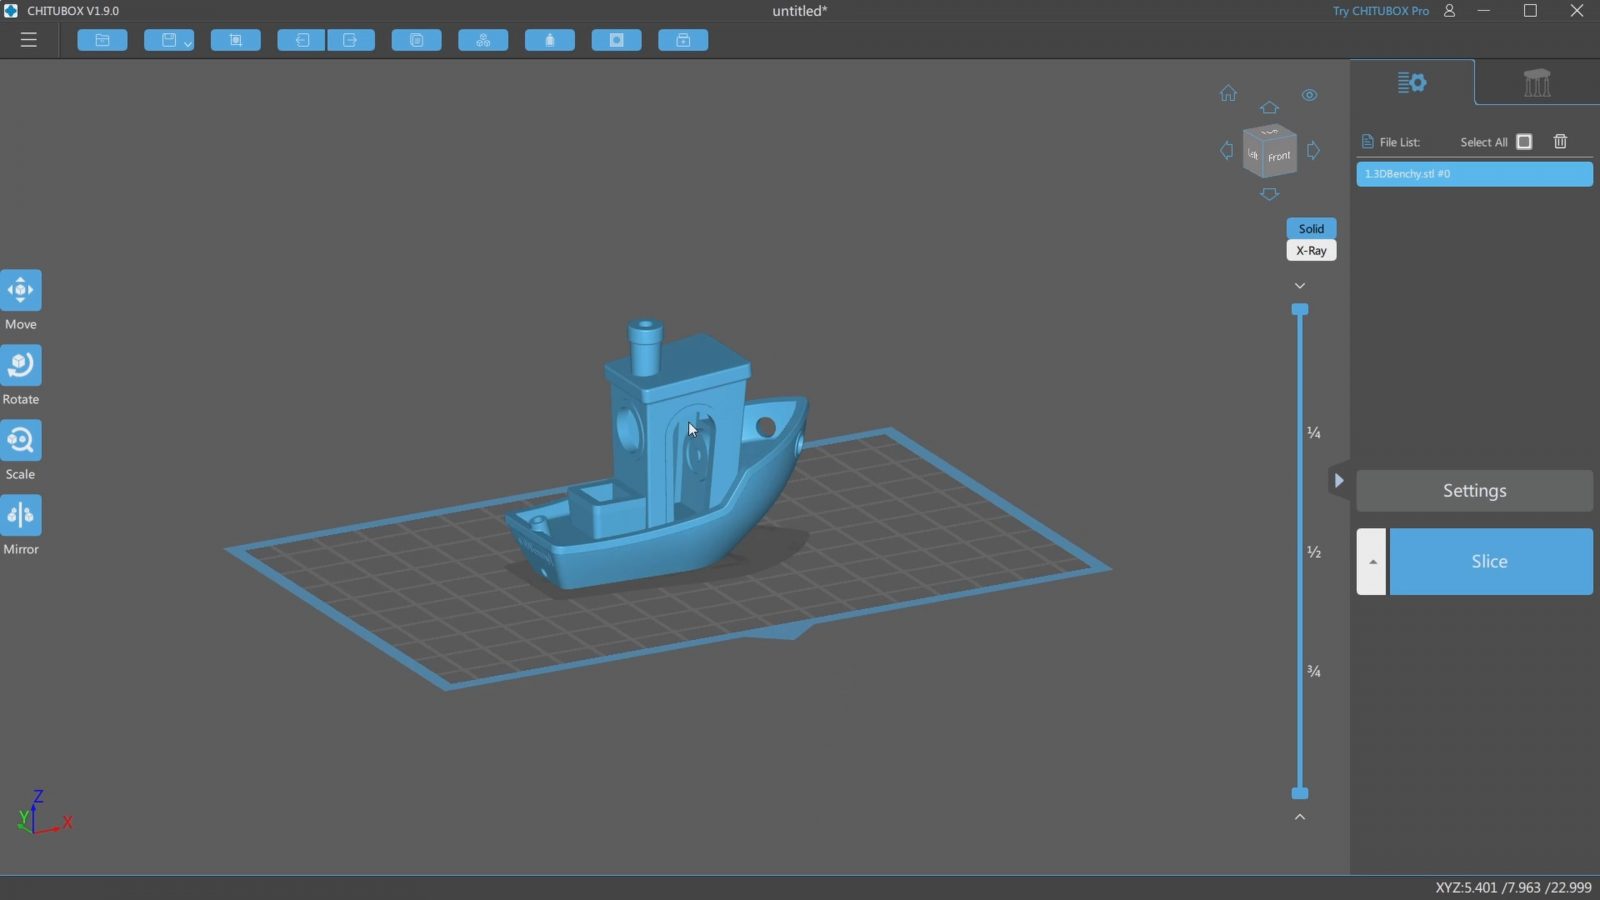
Basic 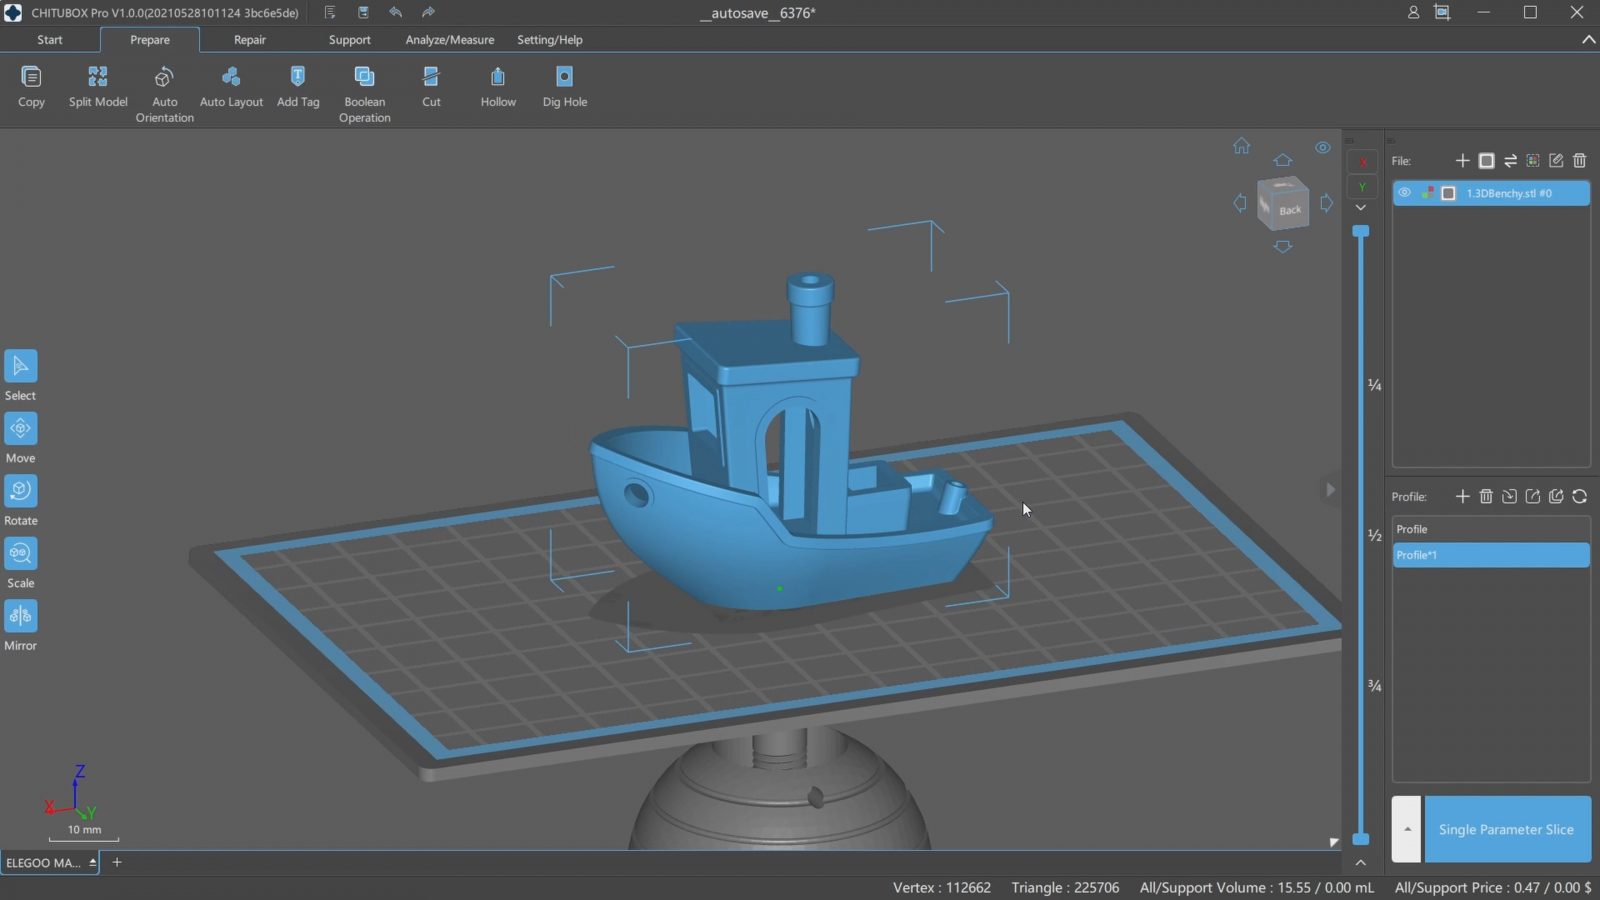
Pro
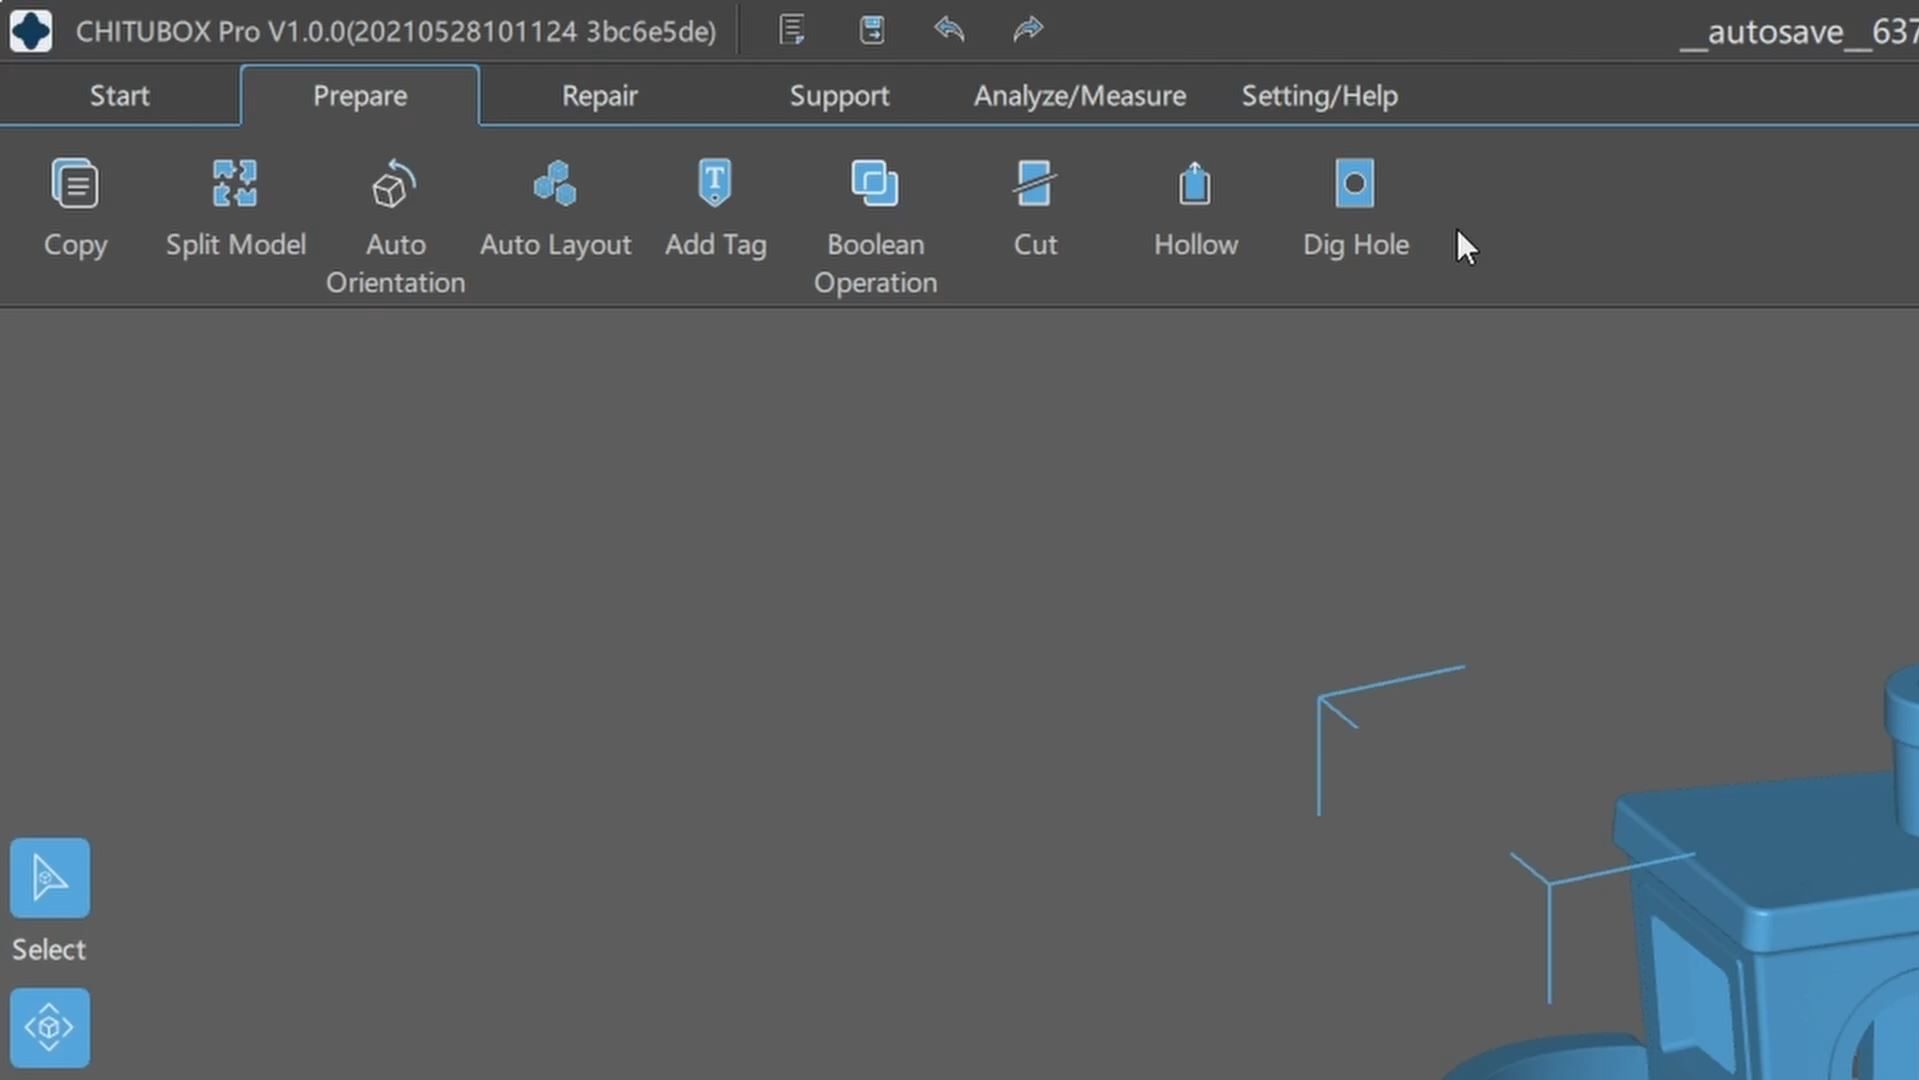
Basic gives you some features up in a toolbar at the top with tiny, unlabeled icons, and then you switch your workspaces between layout and support generation, and from layout to the print preview, and then you can save out your print files.
Basic
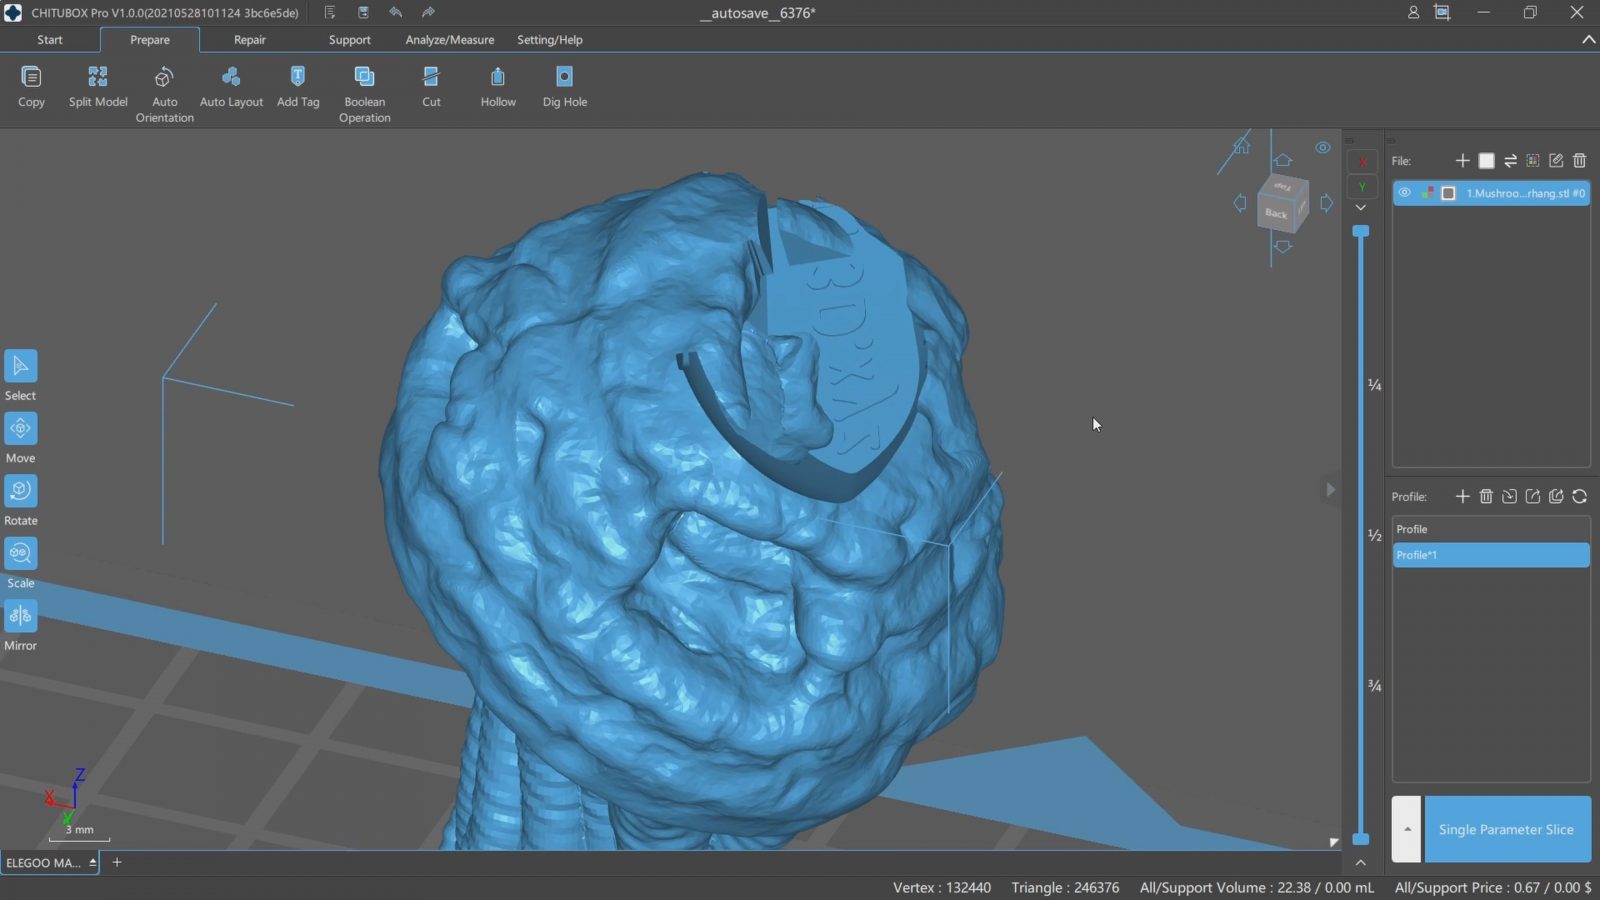
In Pro, you’ve still got your options bar to the right, but at the top, you now have a ribbon-style interface that, yes, works really well, but it also makes Pro instantly look a lot more feature-rich compared to Basic, but a lot of the features that are now concentrated up in the ribbon are just simply in this central spot now instead of being cluttered throughout the UI.
Pro
It’s almost as if Chitu Systems saw their old Chitubox, back then still called Chitubox “Free”, decided it needed a new UI because the old one was so messy, made a whole new UI, and then decided “oh, this turned out better than expected, let’s charge for this and just keep the old one around for the free one”.
I’d love to show you nice side-by-side layouts, but both Chitubox versions use some weird windows framework that not only glitches around when you move the window, but it also doesn’t support any of the Windows hotkeys to snap the window to one half of the screen or minimize and maximize it. I’ve actually managed to swing the window off-screen a couple of times and then had no way to get it back on screen. The only option was to kill it from the task manager.
And as far as nuisances with usability go – neither one is particularly usable on a laptop with a touchpad or on a touchscreen, moving around and rotating the view properly simply is impossible without using an actual mouse. Or a trackpoint, that should work pretty well, too. Seems like a rather big oversight in 2021.
Differences between both versions
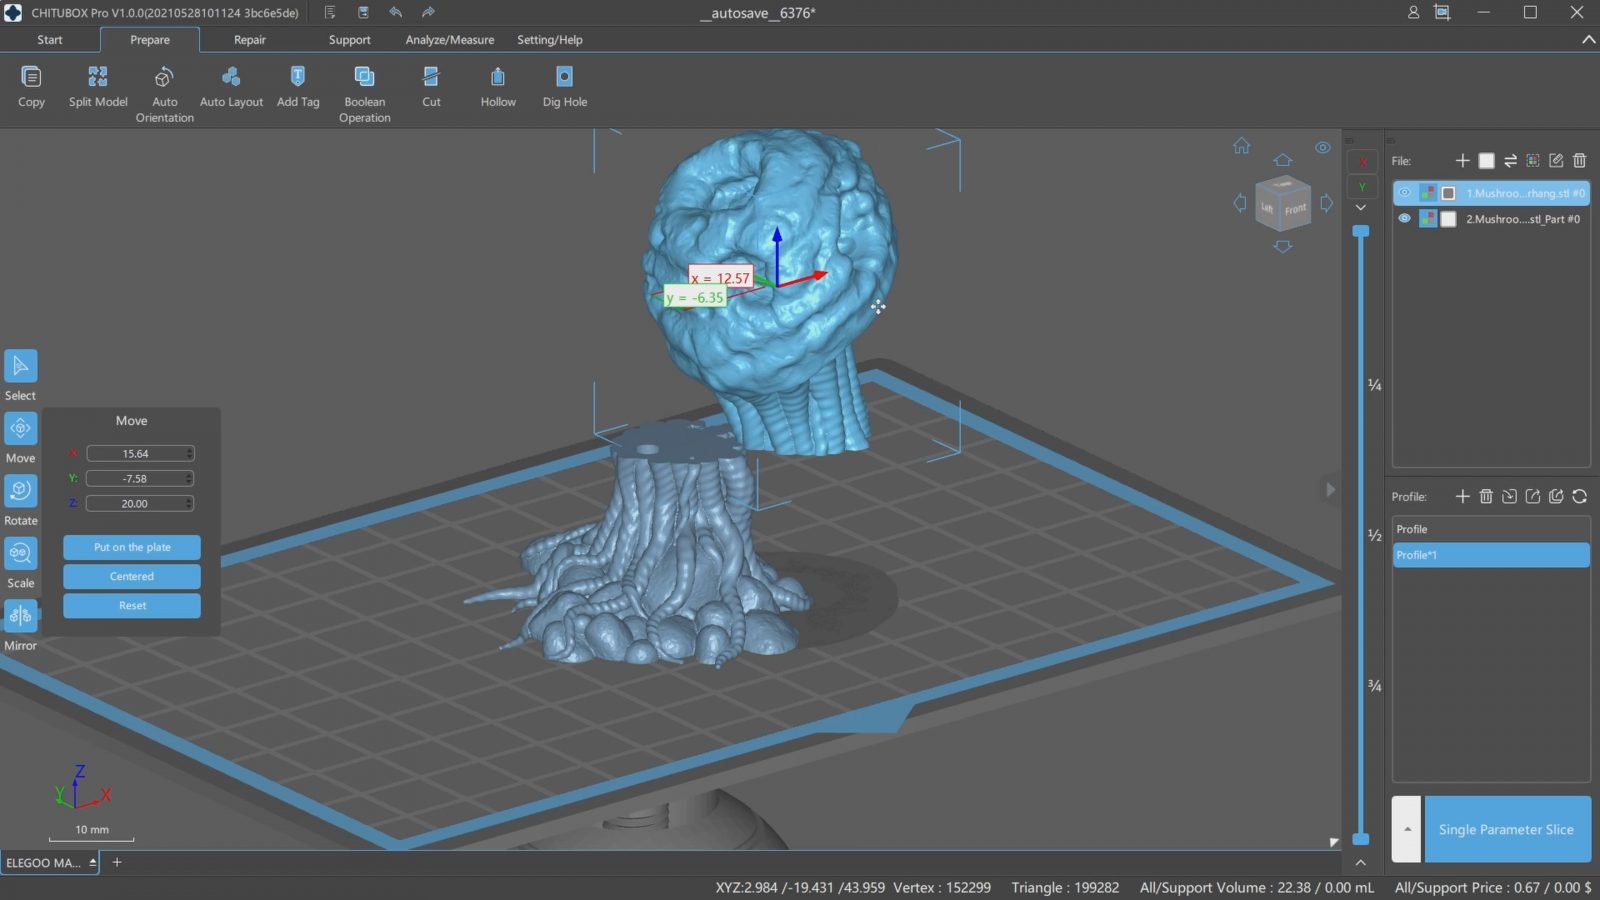
So before we get into all the “new” features that Chitubox Pro has added, let’s look at the differences in the features that both of them share and that, arguably, you absolutely can not do without for resin printing. So of course, you get the super-basic tools for moving, scaling, and rotating parts. Both versions have a “flatten by face” tool, basically, “lay flat”, Pro also has an Auto Orientation tool that, I guess is supposed to choose an orientation that is optimal for printing, but I’m not quite sure how it actually decides “optimal”.
Basic 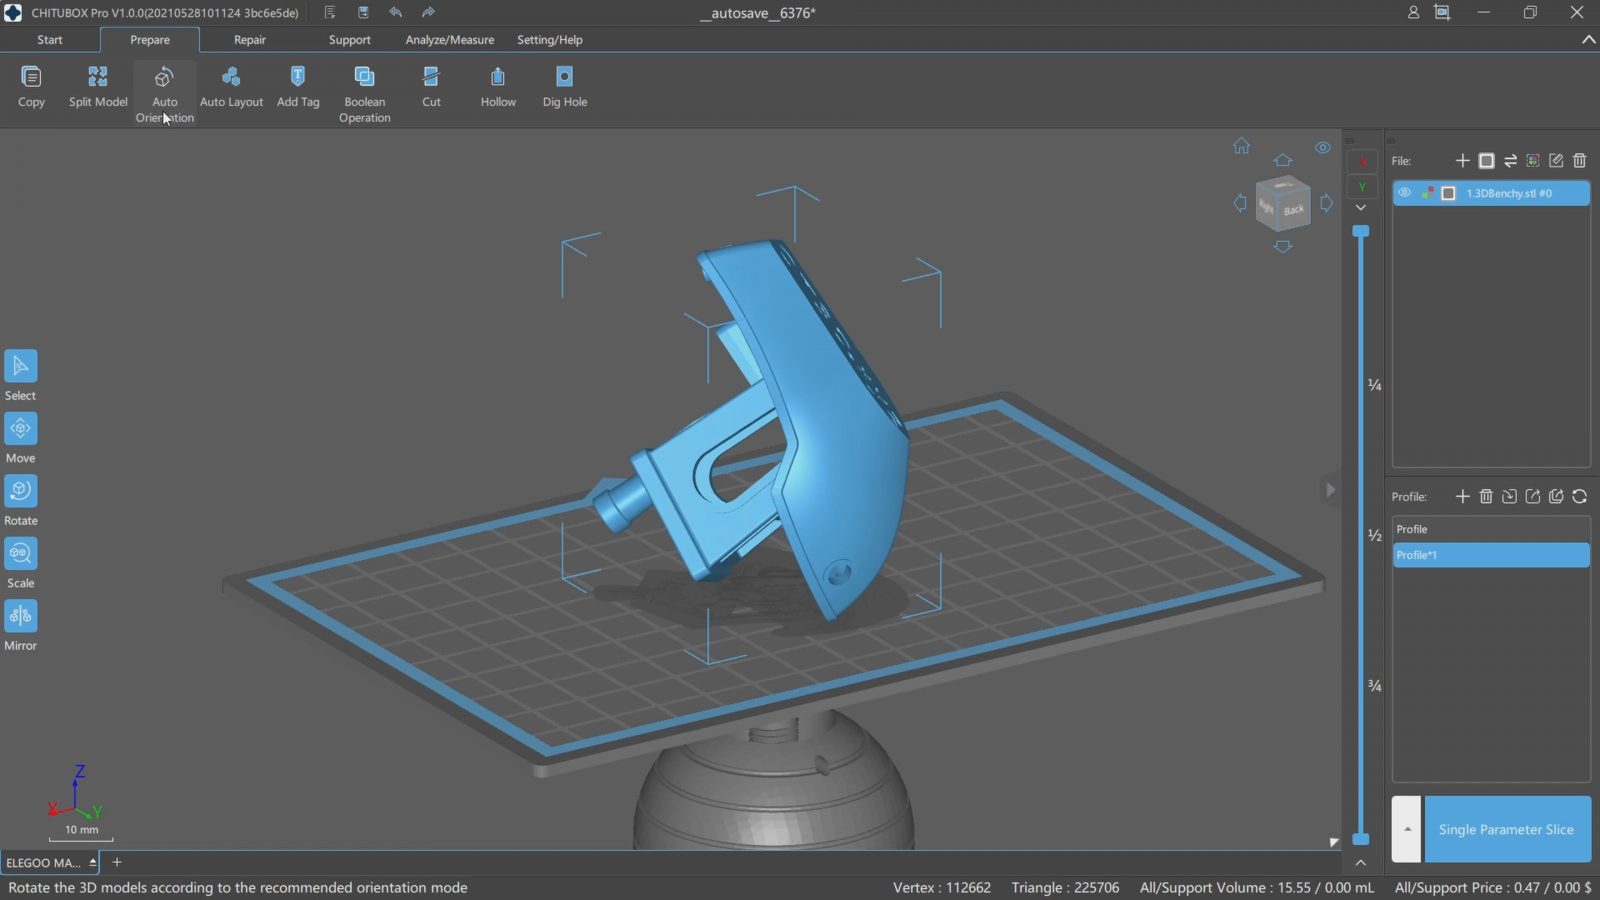
Pro: Auto Orientation
It never chose the orientation that I would have gone for, and also, it produces a different orientation every time you run it, so… is it just random? I can’t quite tell.
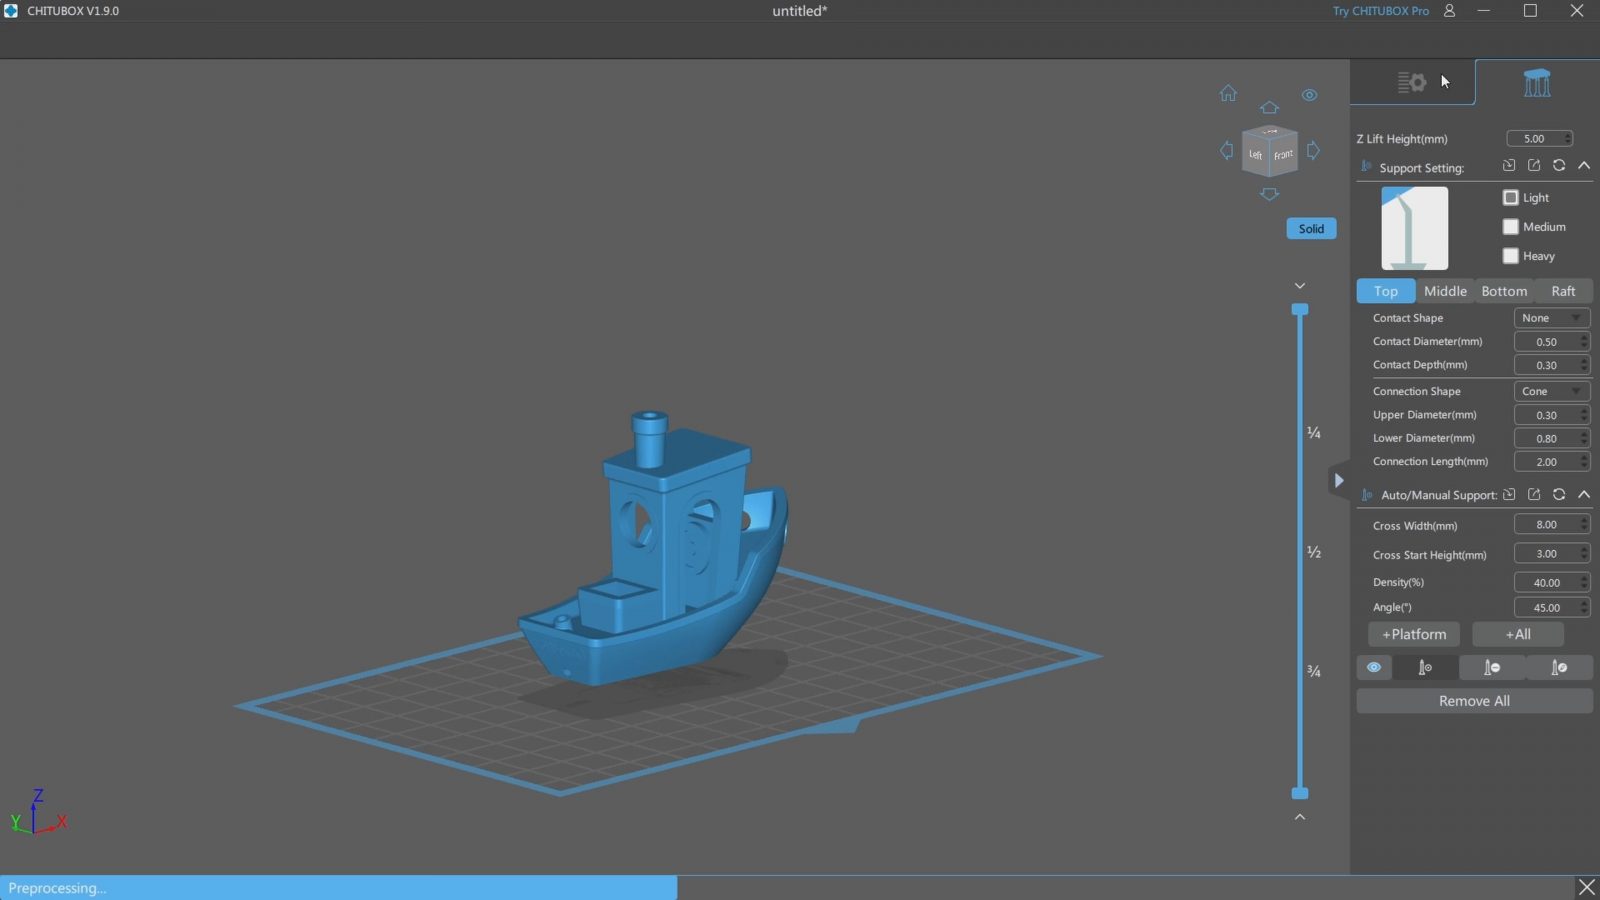
Both Pro and Basic also have a hollowing feature that works well, you can set the wall thickness and how much processing time it should take to get the inner contour right, and you can even add an infill structure that still allows the trapped resin to escape.
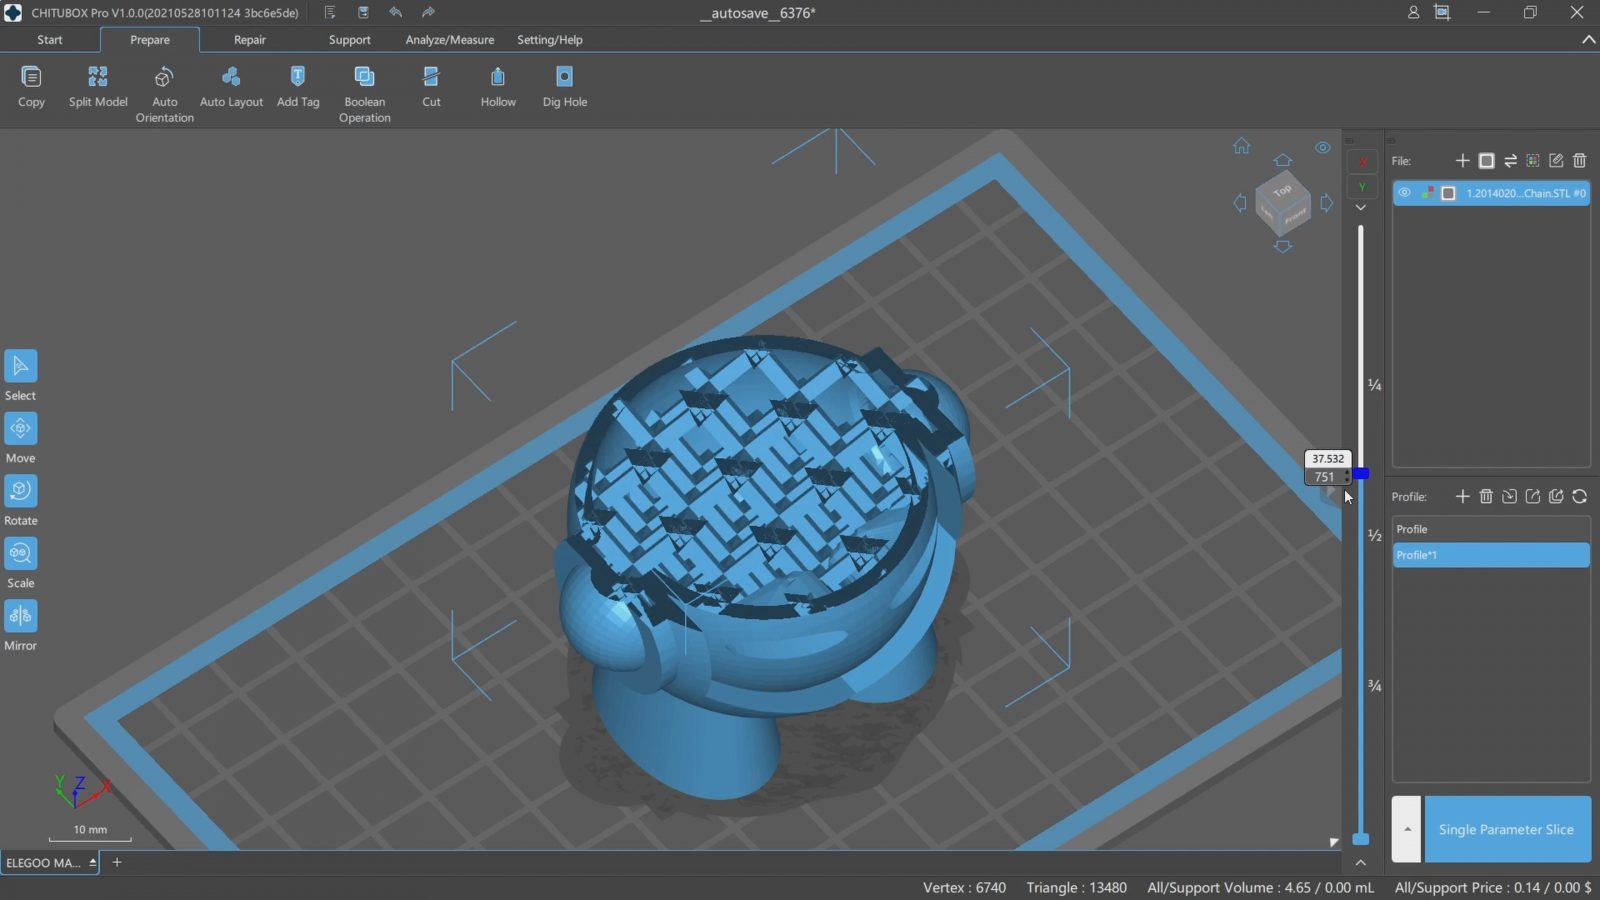
So the other core feature for resin prints is support material – for some reason, it is a much bigger thing for resin, even though the geometry that the printer can do without supports is practically the same as with filament printers. I guess that’s because supports on resin prints come off cleaner, and the extra detail capability on resin printers encourages printing more complex models that will need supports more often? Anyway, the support feature on Pro and Basic looks similar as far as the settings go, and you can even export the settings from one and import them into the other, but the results are quite different.
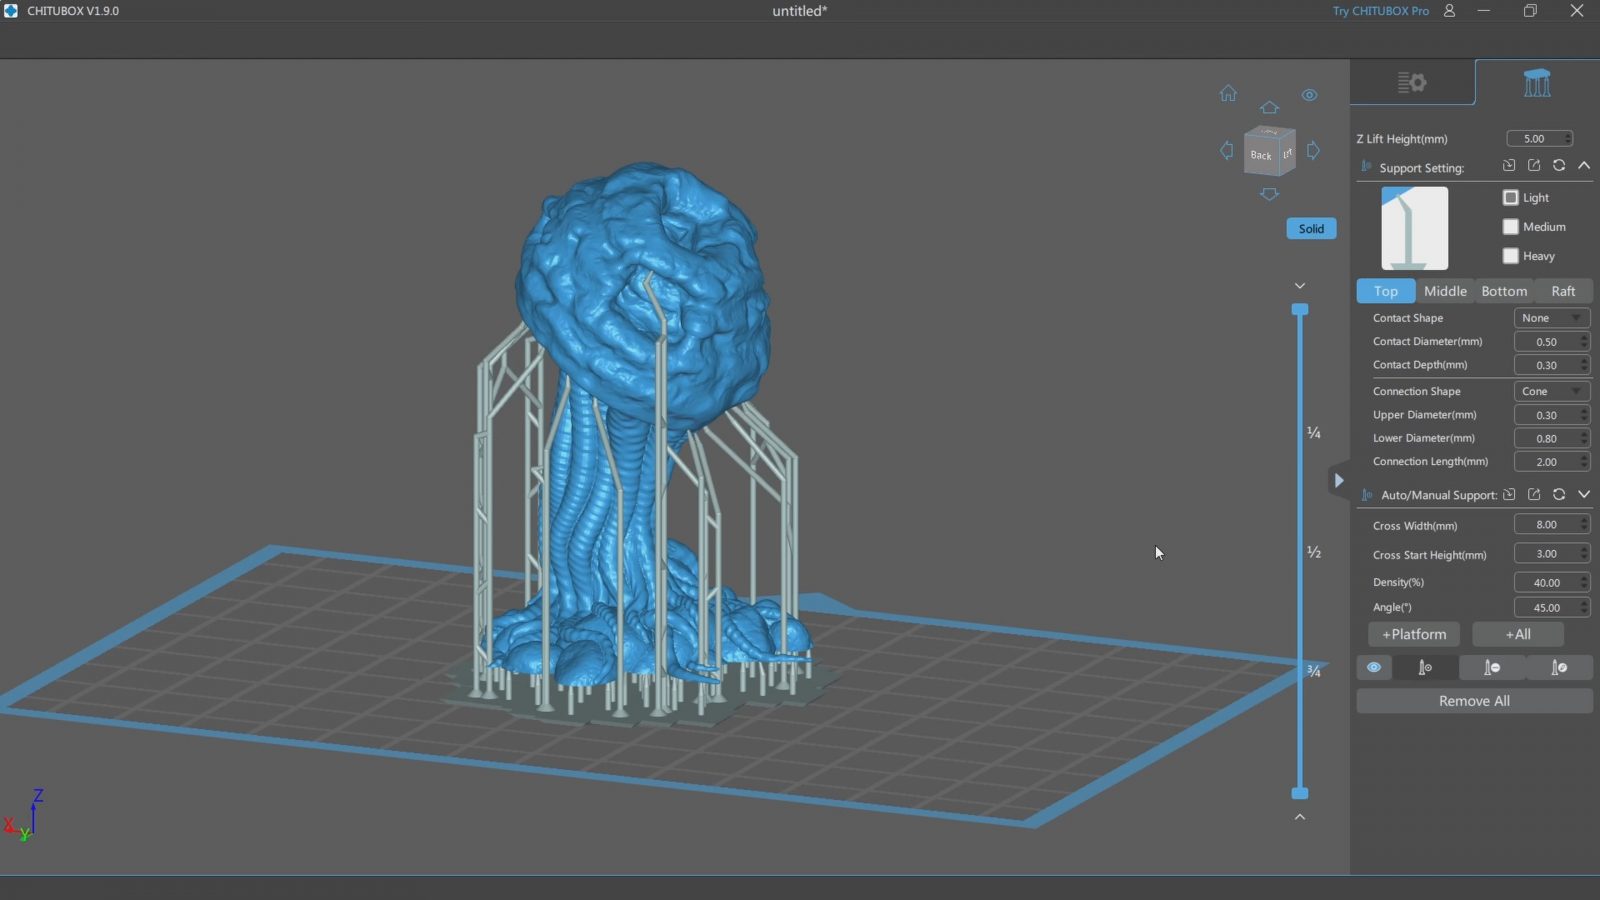
Basic 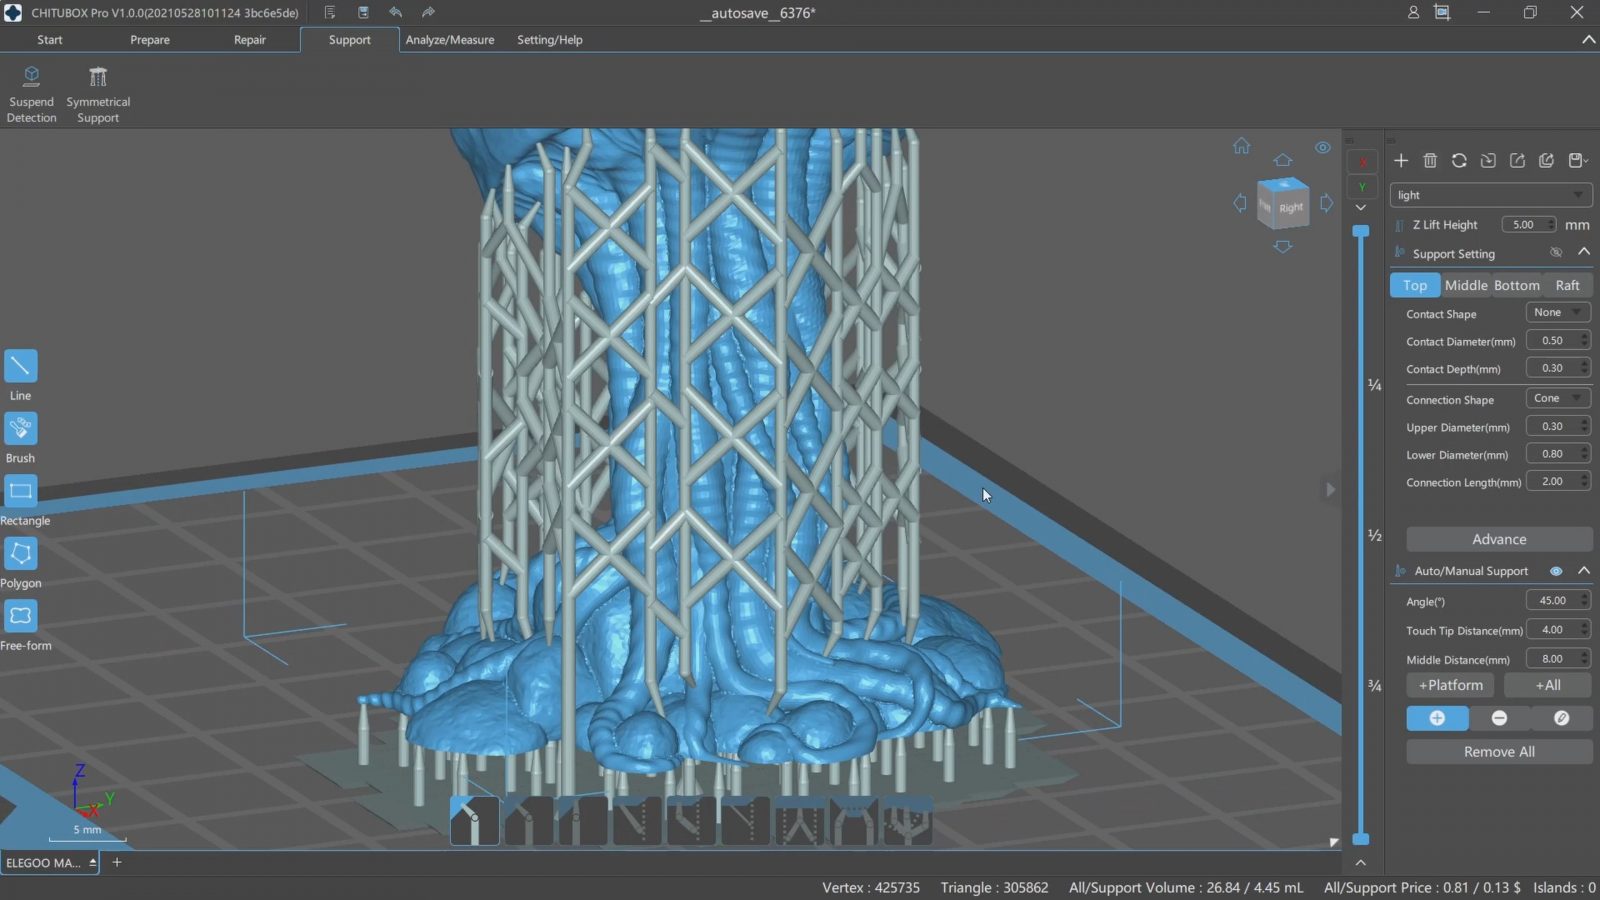
Pro
So just going for auto supports on both, Basic is a lot more hesitant about starting a support on the model itself and instead opts to do these longer stalks that reach out over to the model. These just aren’t good, they’re super wobbly and don’t have the best chances to print well in the first place. Pro also looks like it’s tying the individual support stalks together better, there is a setting for that in Basic as well, but they still look more solidly braced in Pro. But since there’s no way to generate actually identical supports, that’s hard to judge. In Basic, you only get a setting that determines how “dense” the contact points are on the model, while in Pro, you can directly set the distance between each contact point in millimeters. Both approaches to this setting work, but I do prefer the one in Pro.
The Pro version also gives you the option to paint on support material, either by doing selection areas or by using an actual paintbrush tool.
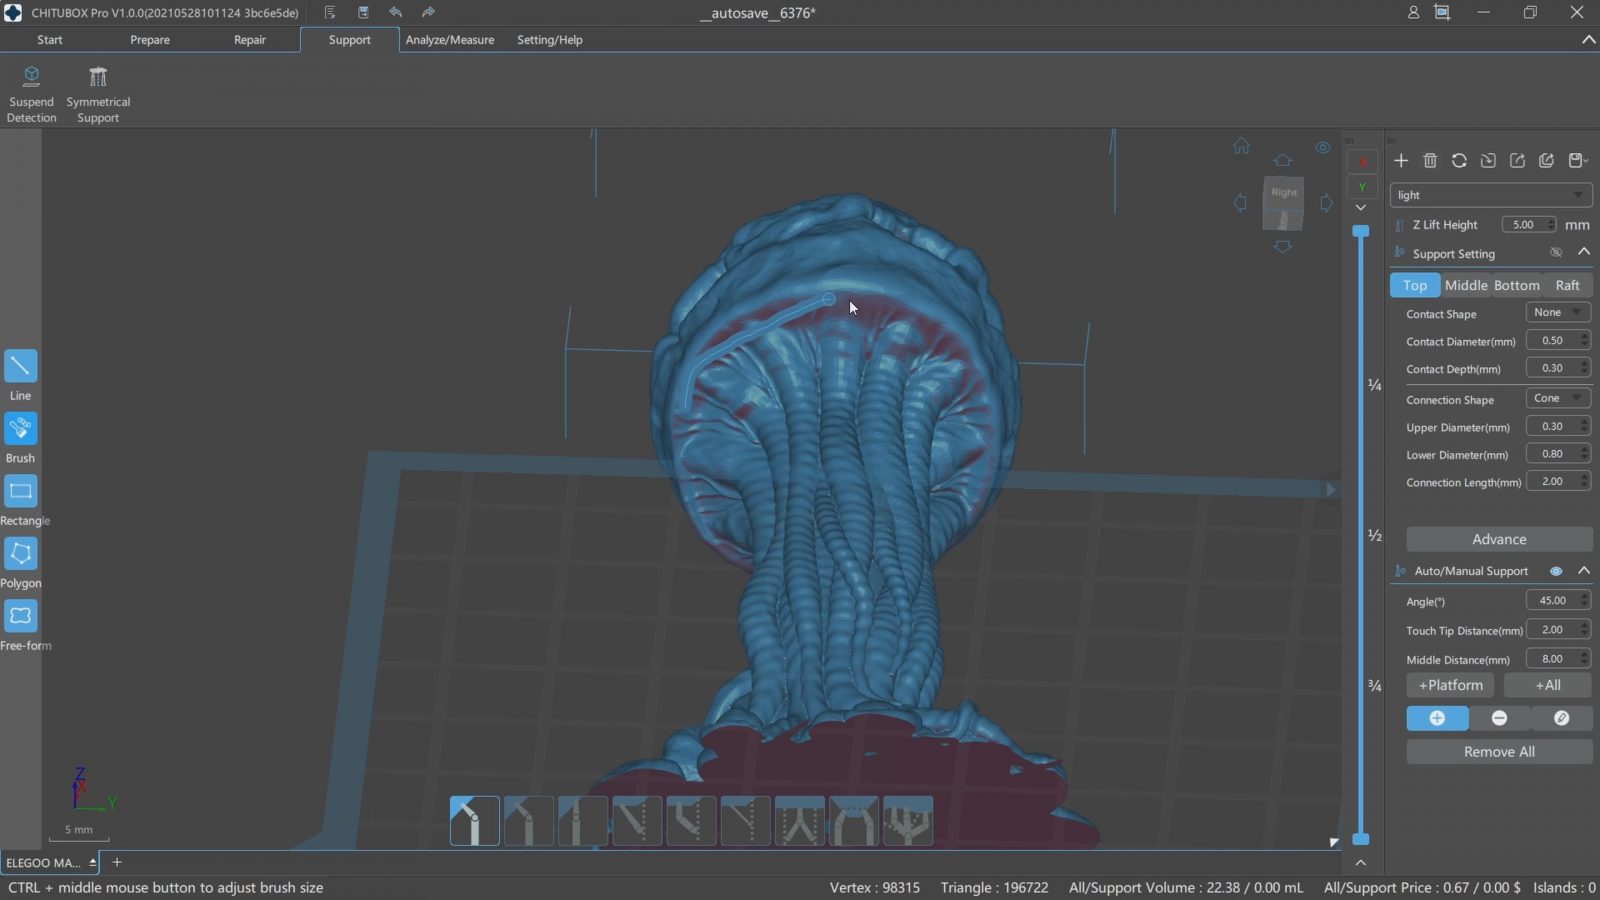
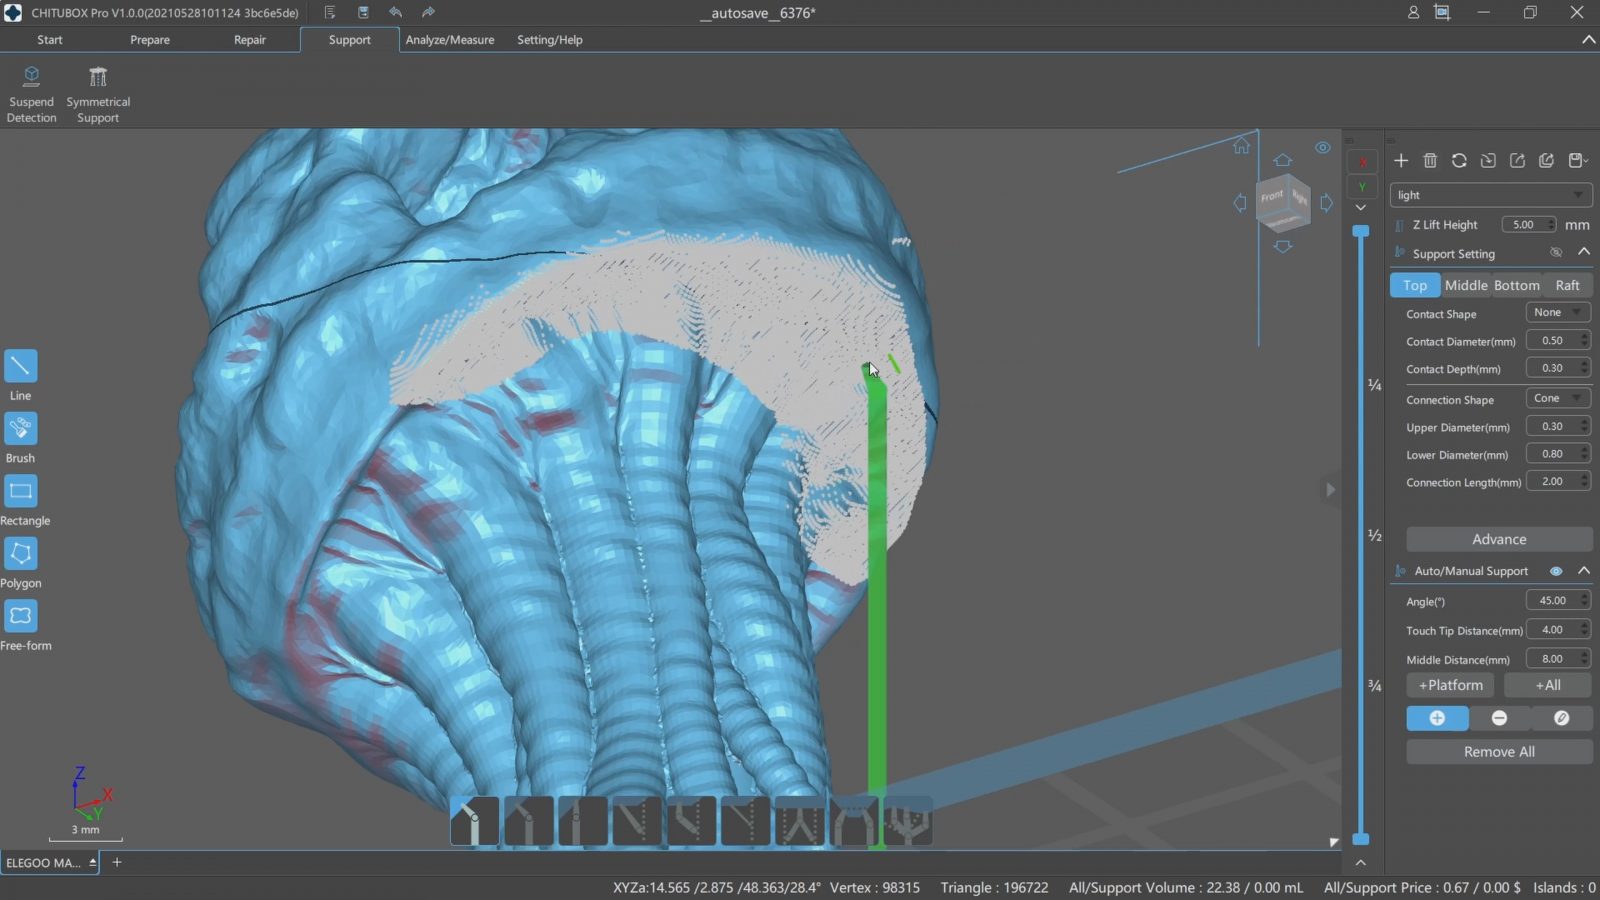
The result of that is good, especially when you use a slightly higher support density to make up for the fact that you’re overall using fewer supports and instead concentrating them on the areas that need them the most. The tool is a bit counter-intuitive to use, but when you handle it just right, it does exactly what you’d expect from it. I wish it had the option to create, like, a weighted paint where some areas have more or less dense supports, but still, the better support algorithm and the ability to use them selectively is definitely the killer feature of Chitubox Pro. And when you’re placing individual support towers by hand, it also gives you the option to choose which support top piece you want for connecting the support to the part, while Basic always chooses an appropriate one for you.
But because the slicing itself is absolutely identical between Pro and Basic, I mean, the profiles are the same, the print times and material use is identical, if you process the same file, you get the same result, really, the differences are in how you can prepare that file before it gets sliced.
But nothing is really stopping you from preparing your files somewhere else. For example, I tried PrusaSlicer for generating supports, you can just use the SL1 profile and tell it that your model has a super large build area and it will happily process STLs of any size.
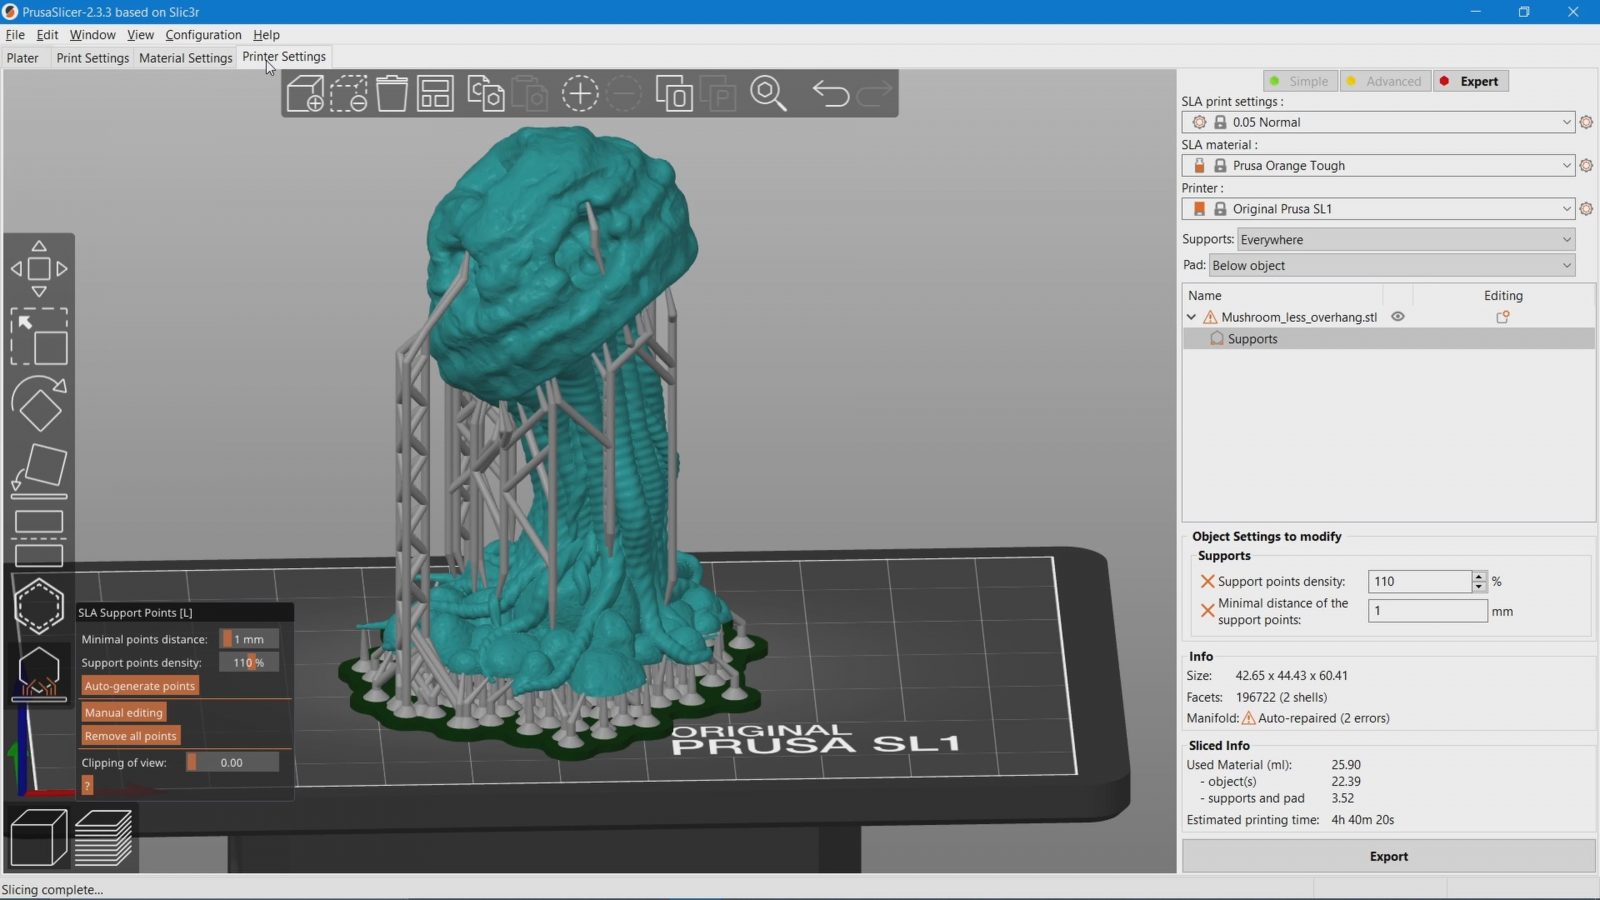
PrusaSlicer
And the SLA support material in PrusaSlicer is excellent as well and very similar to what Chitubox Pro generates. It doesn’t do paint-on-supports for resin prints, yet, but in any case, you can simply export the processed and supported part as an STL from PrusaSlicer and re-import it into Chitubox Basic and you get practically the same results. Or if you want another software, Meshmixer works, too, as does Lychee slicer, Blender, whatever you want to use.
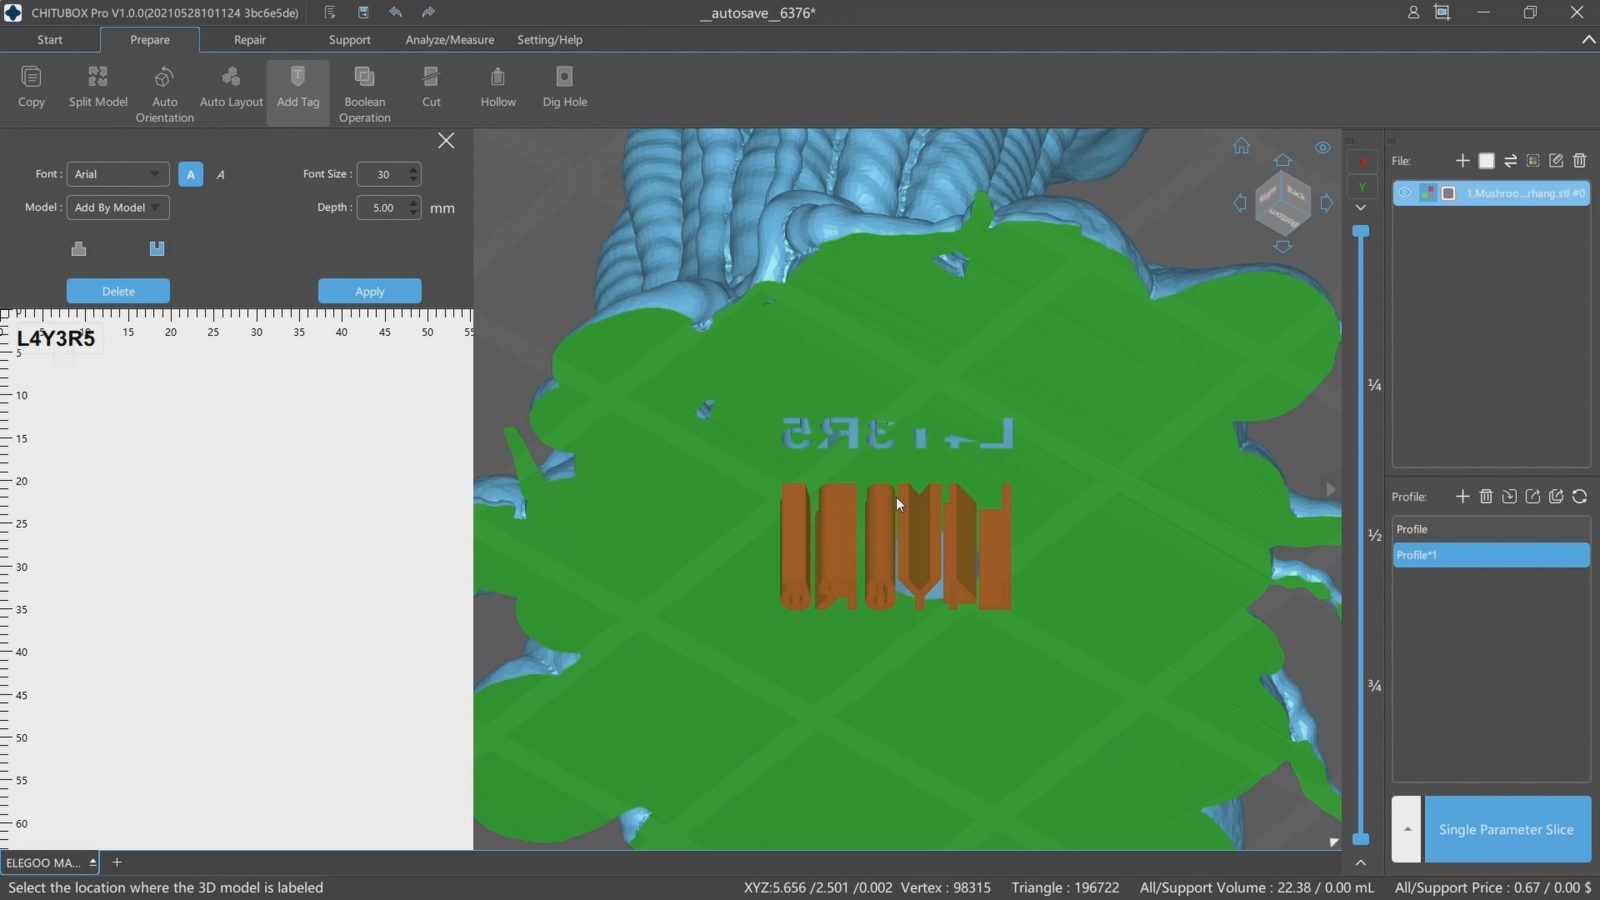
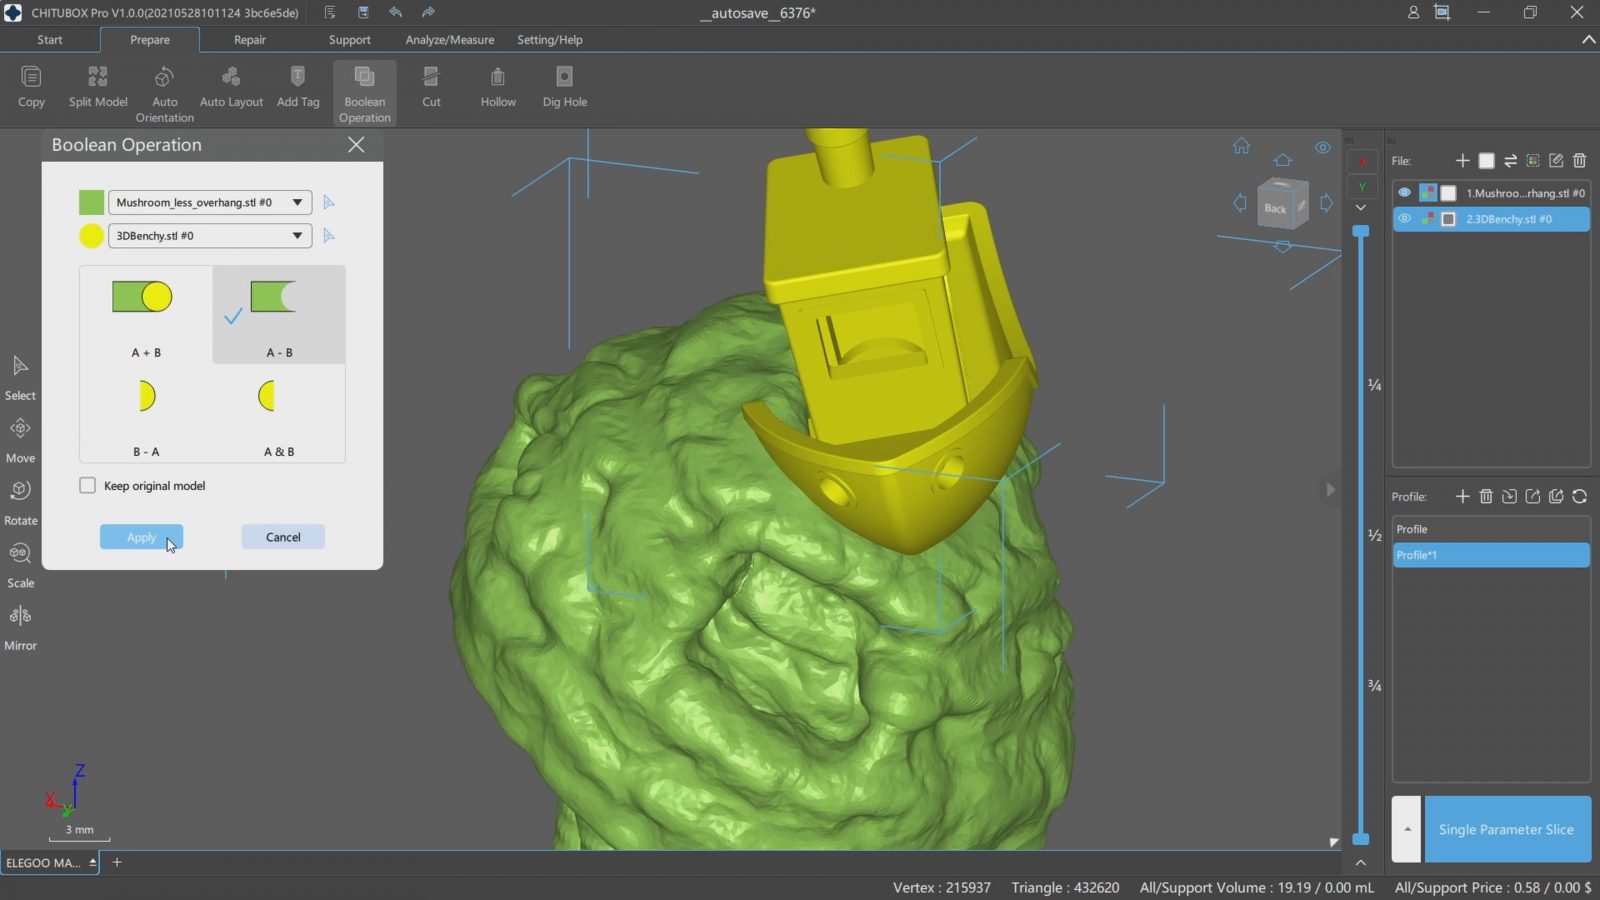
And the same is true for all the other new additions that are exclusive to Chitubox Pro, most of them aren’t actual features specifically for slicing parts or specifically preparing them for the resin printing process, you know, stuff like splitting models into individual bodies, doing a plane cut, adding text to a model, advanced STL repair, like very in-depth, almost Meshlab-level reworking features, or doing boolean operations right in Chitubox, like, I don’t see that functionality as part of what the slicer is supposed to do, I’d say that’s really all stuff that should happen in the “modeling” stage, not during slicing, especially since, you know, if you slice an updated part, you’re going to have to do it all again.
It only makes sense to have these features when you’re not the one creating the files you print, like if you’re running a print service bureau, or you’re in a company that’s so large that you have no way of communicating with your modeling team, but then I doubt you’d be using Chitu-based printers, but even in those cases, there is just plain better software for those tasks.
And the last feature in Chitubox Pro, save the fact that you can measure parts of the model, I mean, that might be useful sometimes, but I barely ever use it, the last feature is “Multi-parameter slicing”.
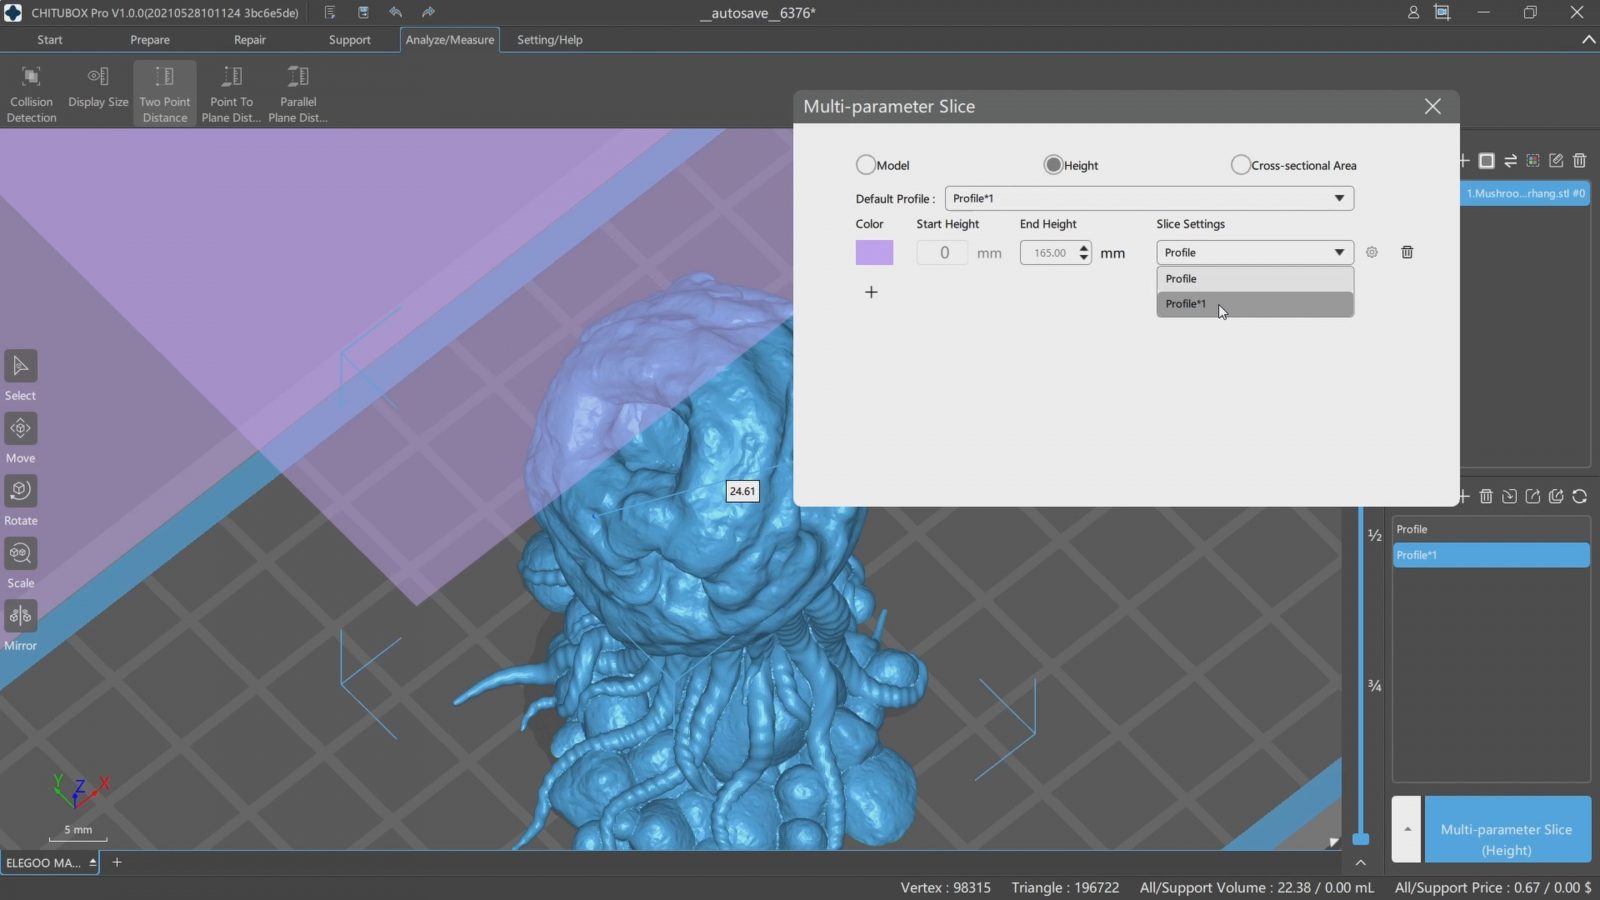
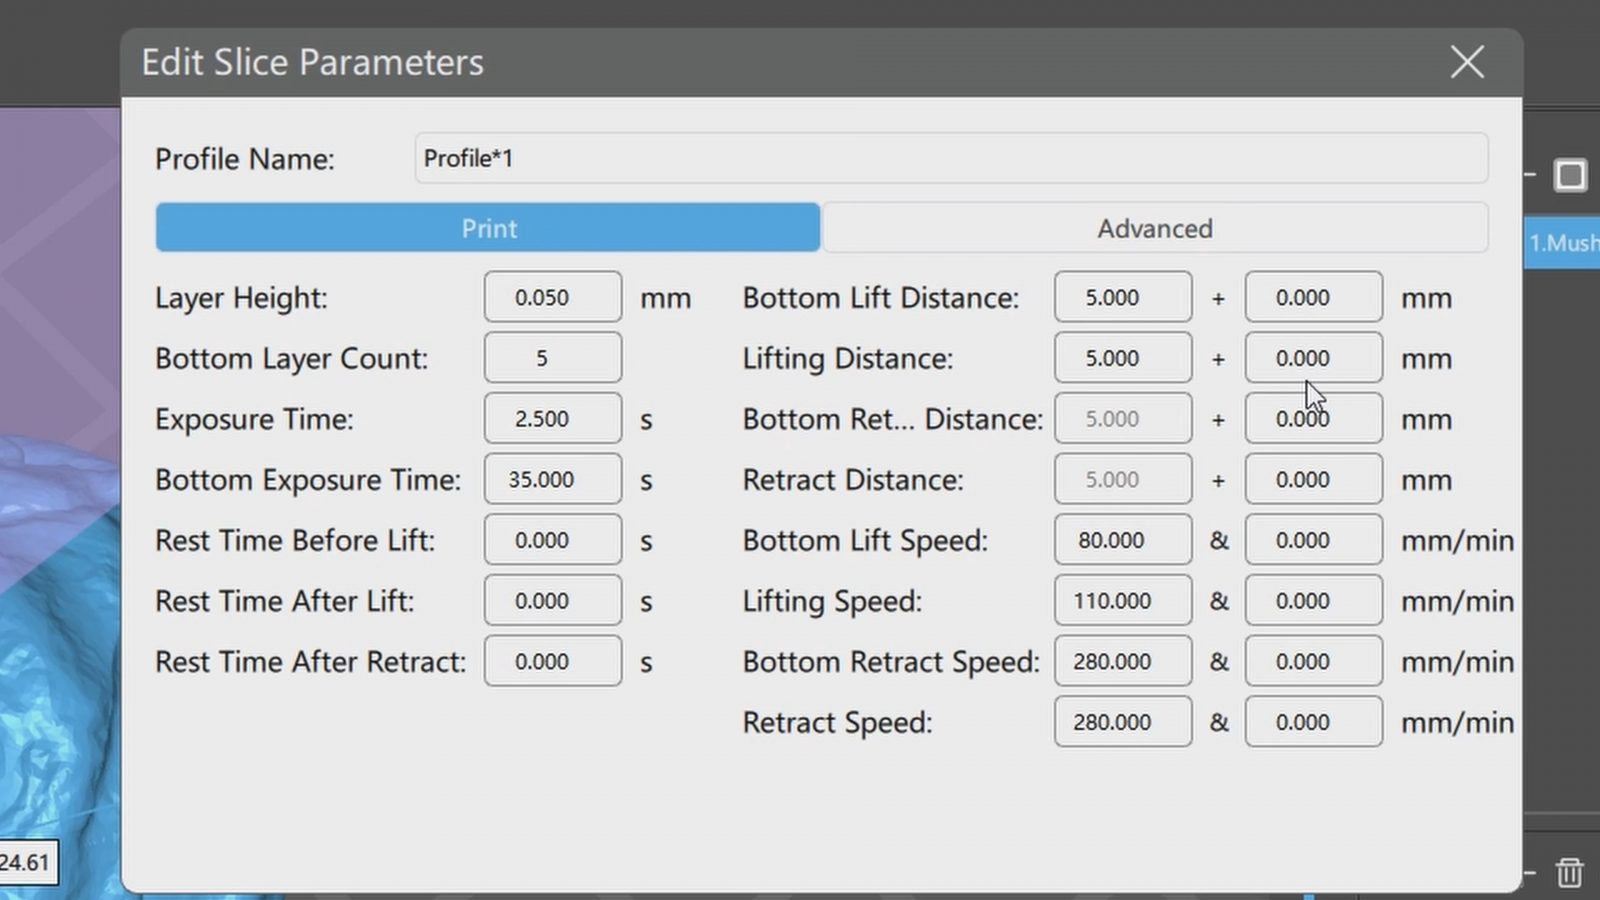
It’s basically Simplify 3D’s “processes”, and it lets you choose a completely different print profile based on either height section of your model, or on how large the cross-section of a layer is, or, simply by model. And each profile is literally every setting for a printer, so you can change things like layer height and exposure times, of course, but also lift speeds and anti-aliasing settings. That can come in pretty handy when you’ve got a model where you’ve got one area of your part that’s super fragile and you just want to go a bit slower, but you’re ok with thicker, faster layers everywhere else. Note that this is not any sort of “smart” setting adjustment like automatic variable layer height, or perhaps in the case of resin printing, detecting those smaller features and backing off the peel speed, this is simply you choosing a section of your part and saying “I want this printed this way”. Which, if you need that feature, can still come in pretty handy.
Performance
Now, one thing that I ran into is that Chitubox, both the Pro and the Basic version don’t exactly have the best performance. Yes, there are actual rendering bugs like in Chitubox Basic, when you move the camera, your part moves first and then the rest of the scene lags behind, or in Basic and Pro, if you zoom in too far, you actually end up in backward-land. There’s probably a signed integer for zoom level somewhere that overflows. But the raw performance also is not great. Supports, yes, those take a while to generate, no matter what software you use, but just looking at how smooth e.g. moving the camera around in an averagely complex scene, it’s stuttery. The same setup in PrusaSlicer probably doesn’t quite hit 60fps, either, but it’s a lot better. This is not a super beefy machine that I’m testing this on, it’s a quad-core i5 with 8GB of RAM, but it doesn’t even look like it’s actually making use of the resources it has. I also tried the boolean cut, and yeah, that one has some serious wait time to it. Trying the same thing in Blender – much faster.
Do you need Chitubox Pro?
So is Chitubox Pro worth $170 a year? No, absolutely not, for most people. So, in a typical use case, probably the only thing you’ll actually be using is the improved support material. Which you can generate in third-party tools as well. Chitubox Basic supports are totally usable, too, but the ones from Pro or PrusaSlicer are just more reliable in more situations, and being able to control where supports should be generated without placing every single support tower by hand is pretty nice.
But as always, if you really need those features, then you’ve got to get the version that supports them. I really hope that the Basic version stays at least as good as it is today. It wouldn’t be the first time for a company to slowly strip away features from their free offerings and eventually going “but yeah, you can pay for them”. I don’t know if there is a built-in expiry date for the current Chitubox Basic versions, but with newer versions already demanding you to for example update the printer’s firmware, which conveniently, also locks down the older printers you might have, I can see Chitu trying to go down that route. I’m not sure they would actually do that, but it would fit in with them pulling the sneaky lock-in move with the firmwares in the recent printers.
In any case, I hope that helped shed some light on what new innovations Chitubox Pro brings to the table.
💙 Enjoying the videos? Support my work on Patreon!
Product links are affiliate links – I may earn a commission on qualifying purchases (at no extra cost to you)

Check out my second channel “More Layers” on YouTube for livestreams