
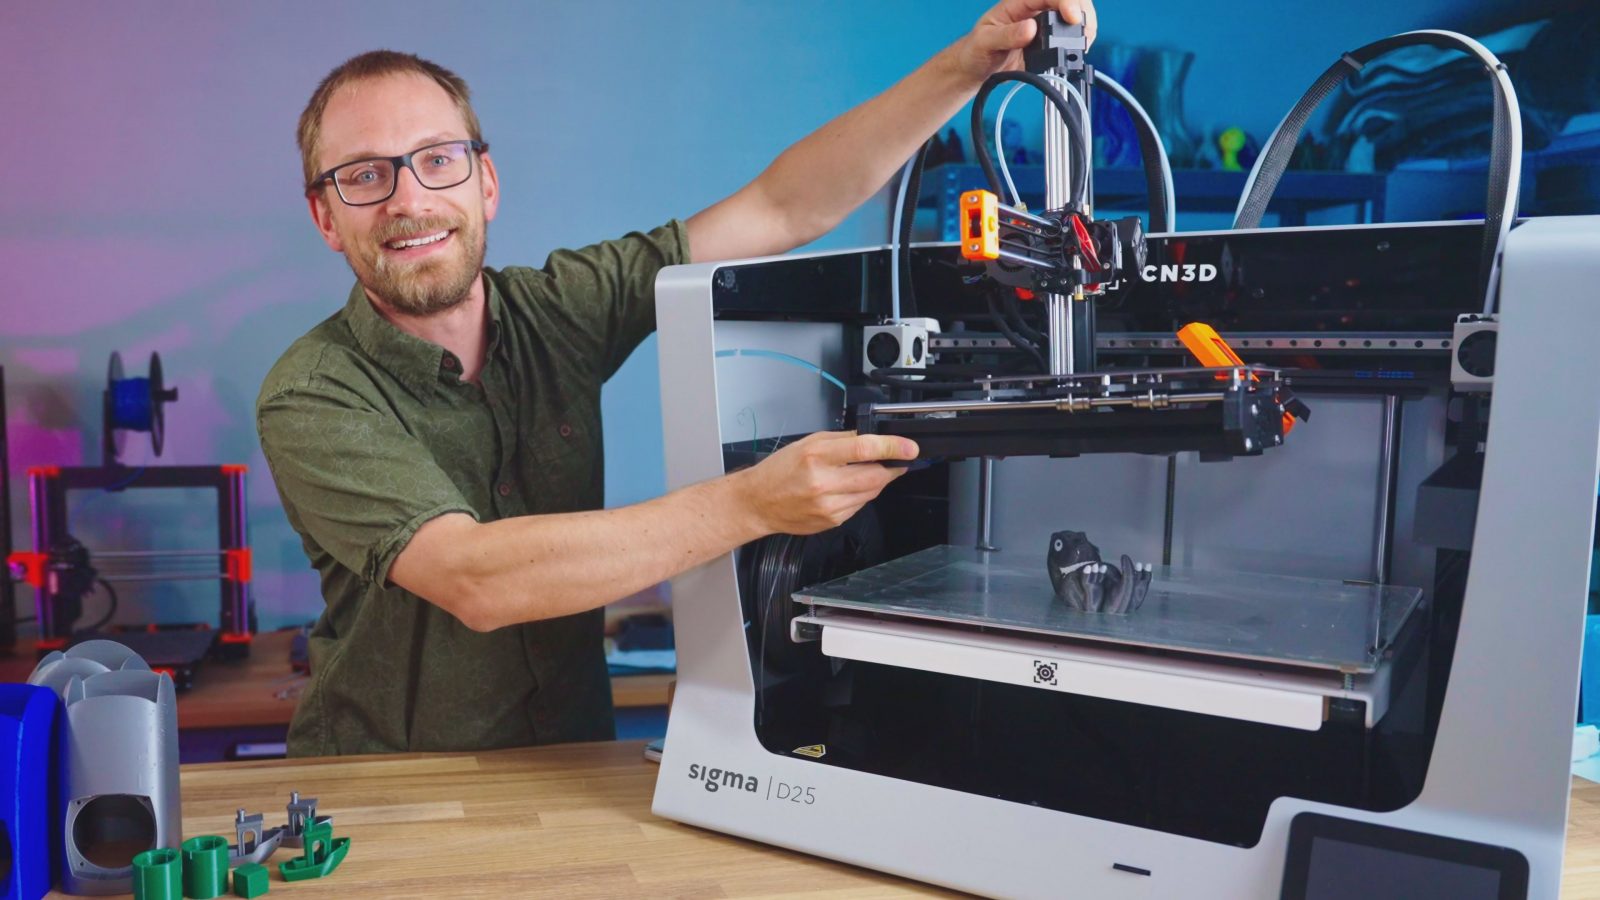
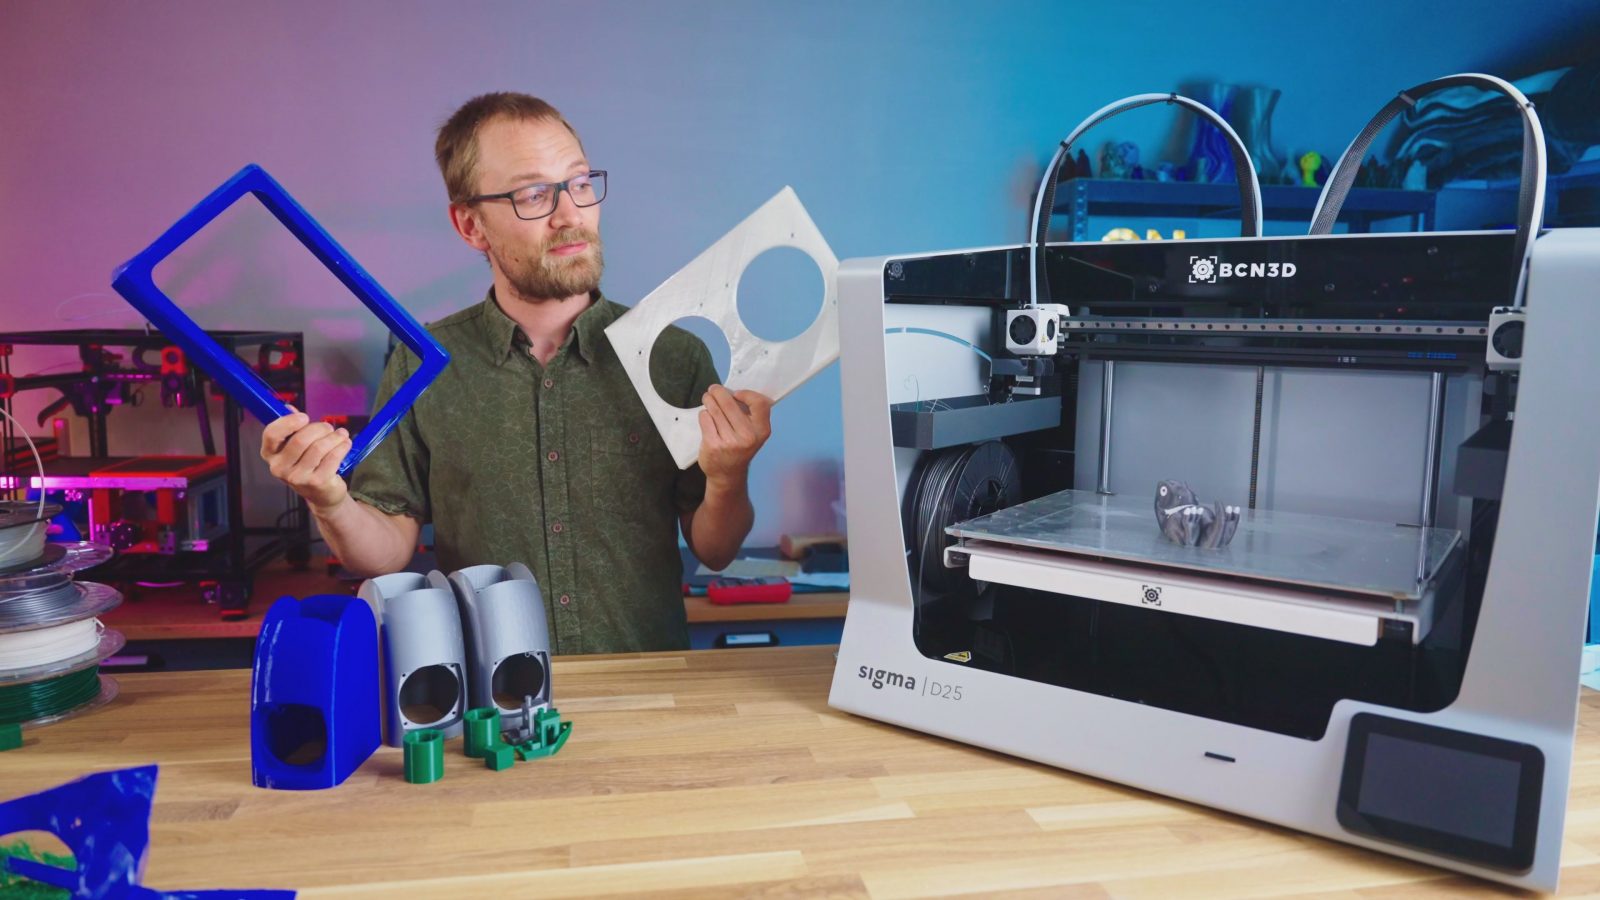
I love it when companies are doing something that is different, something that nobody else is doing, and carve out their little niche where if you have a specific set of requirements, then this is it, this is the best solution to that. And the BCN3D Sigma D25 that we’re going to review today is exactly that – it’s a large printer from a reputable company, and it’s got dual extrusion with two independent toolheads that each runs on its own X-Axis. Oh, and did I mention how frigging large this printer and its build volume is? Here’s a Prusa Mini for comparison! Look at that!
But as with all niche products, there are some tradeoffs you’re going to have to make. Thankfully, with the Sigma, they’re not that severe. Well, most of them.
Let’s start with the disclosure: BCN3D sent me this printer for this review, I do not get to keep it, and no money changed hands. And as always, BCN3D did not get any influence in this review whatsoever.
BCN3D and their IDEX Printers
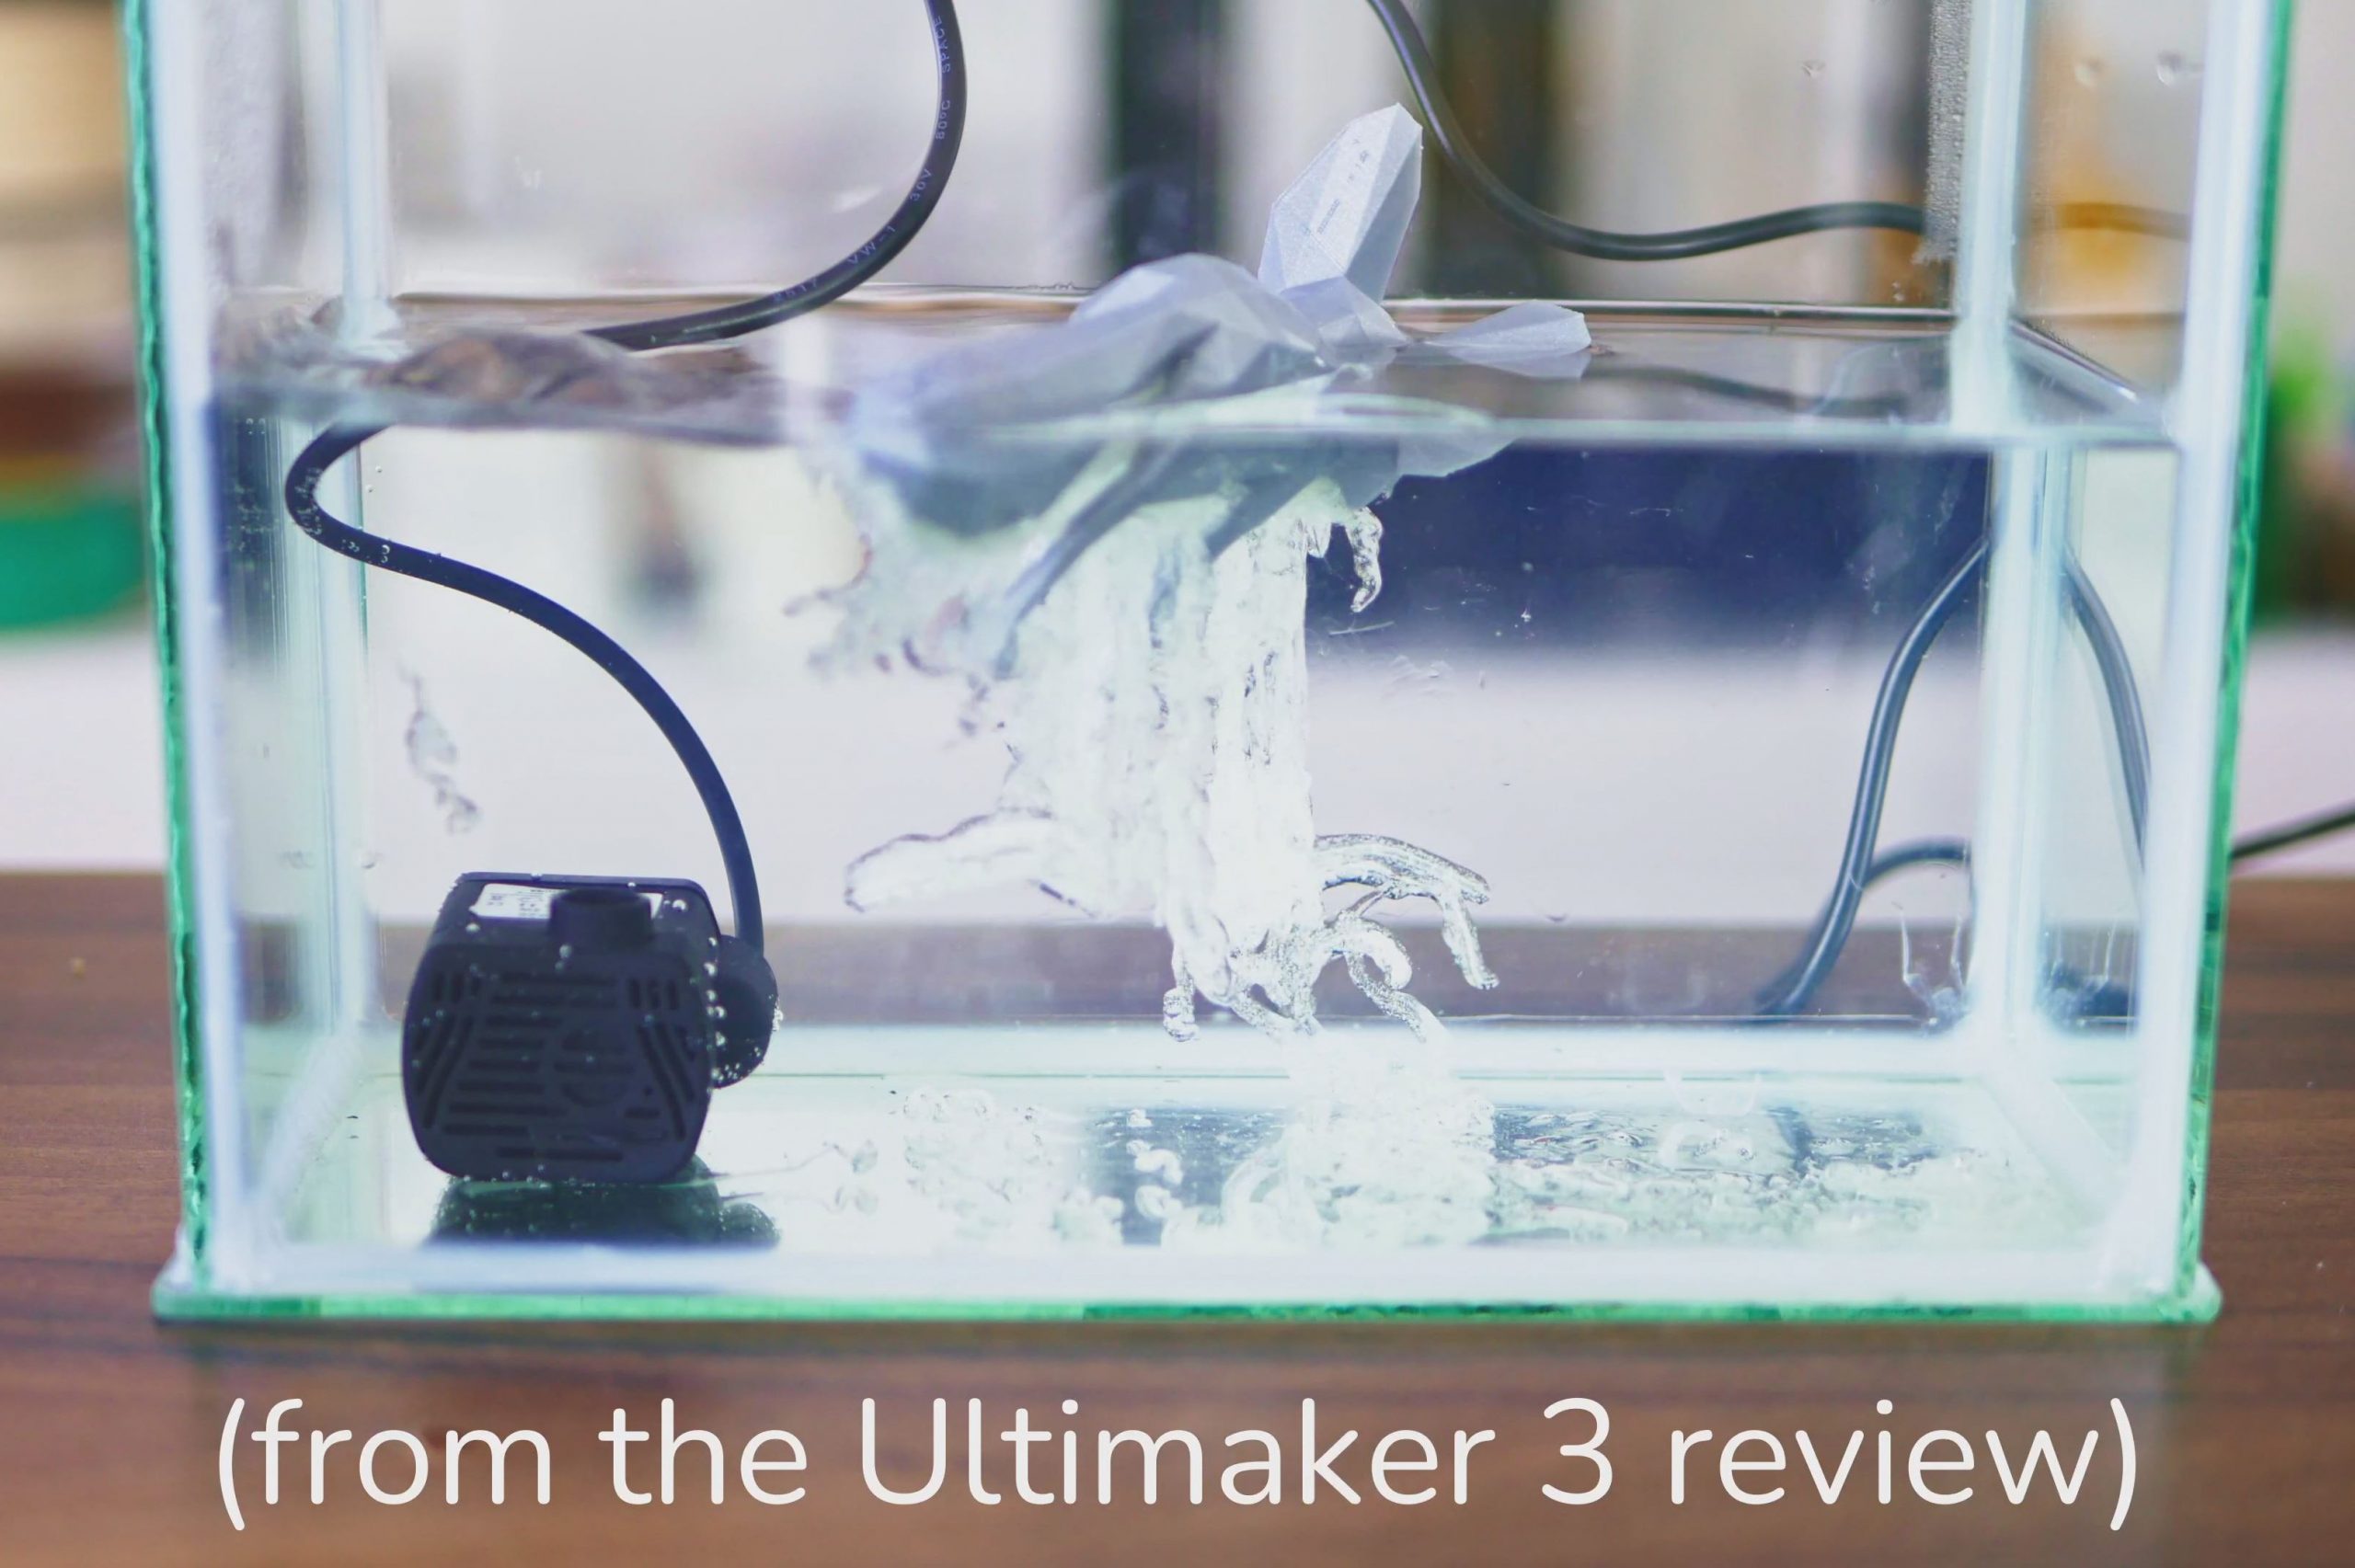
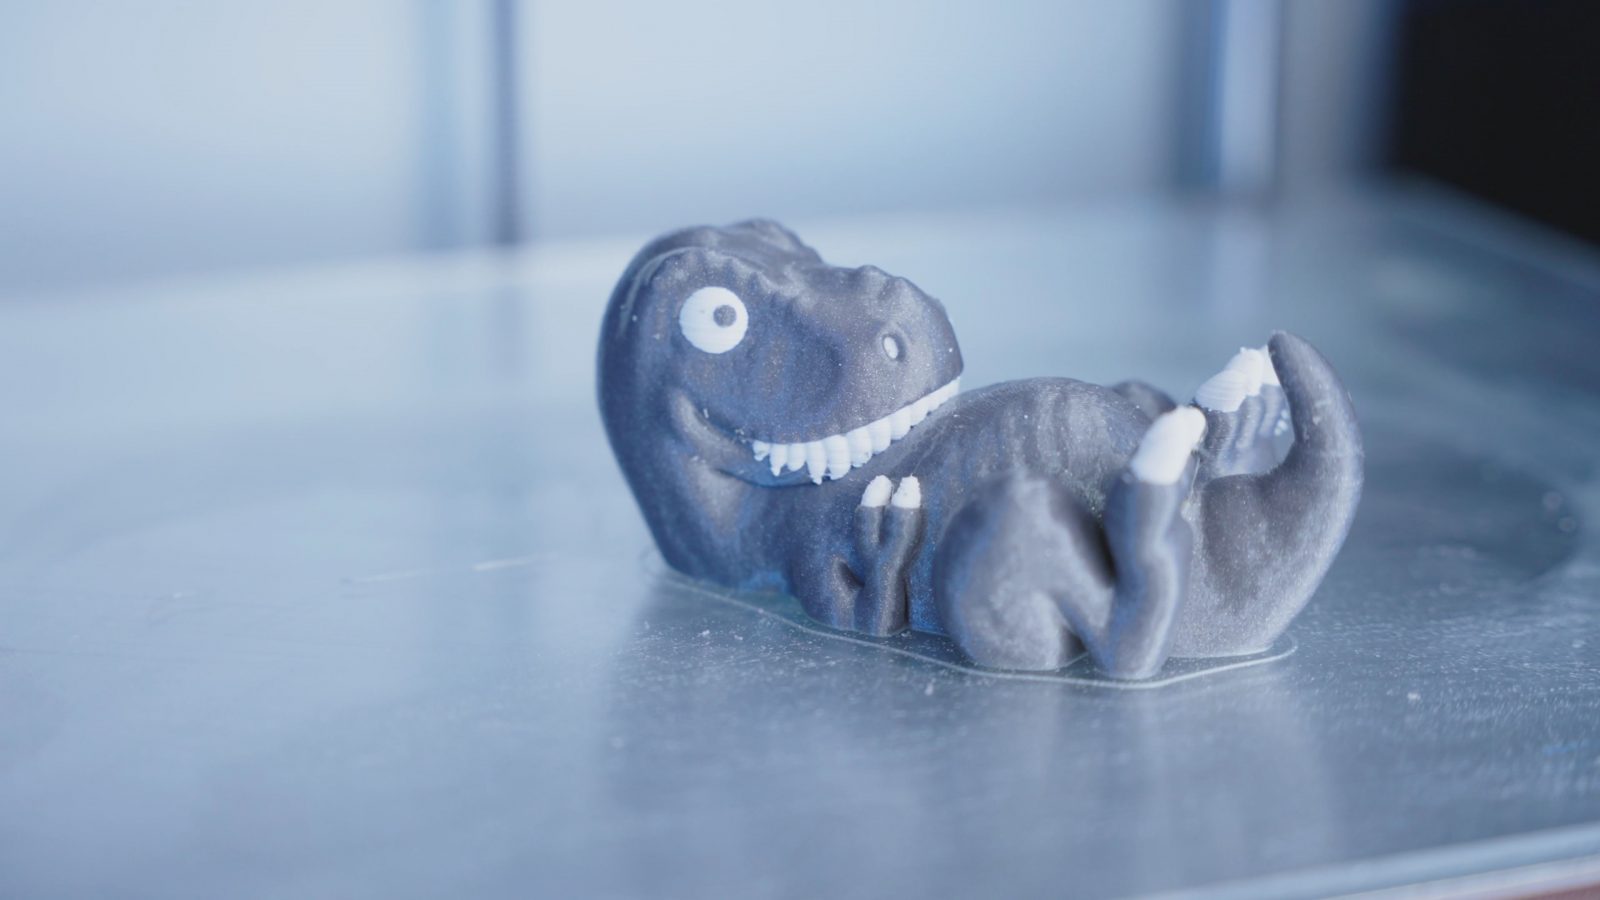
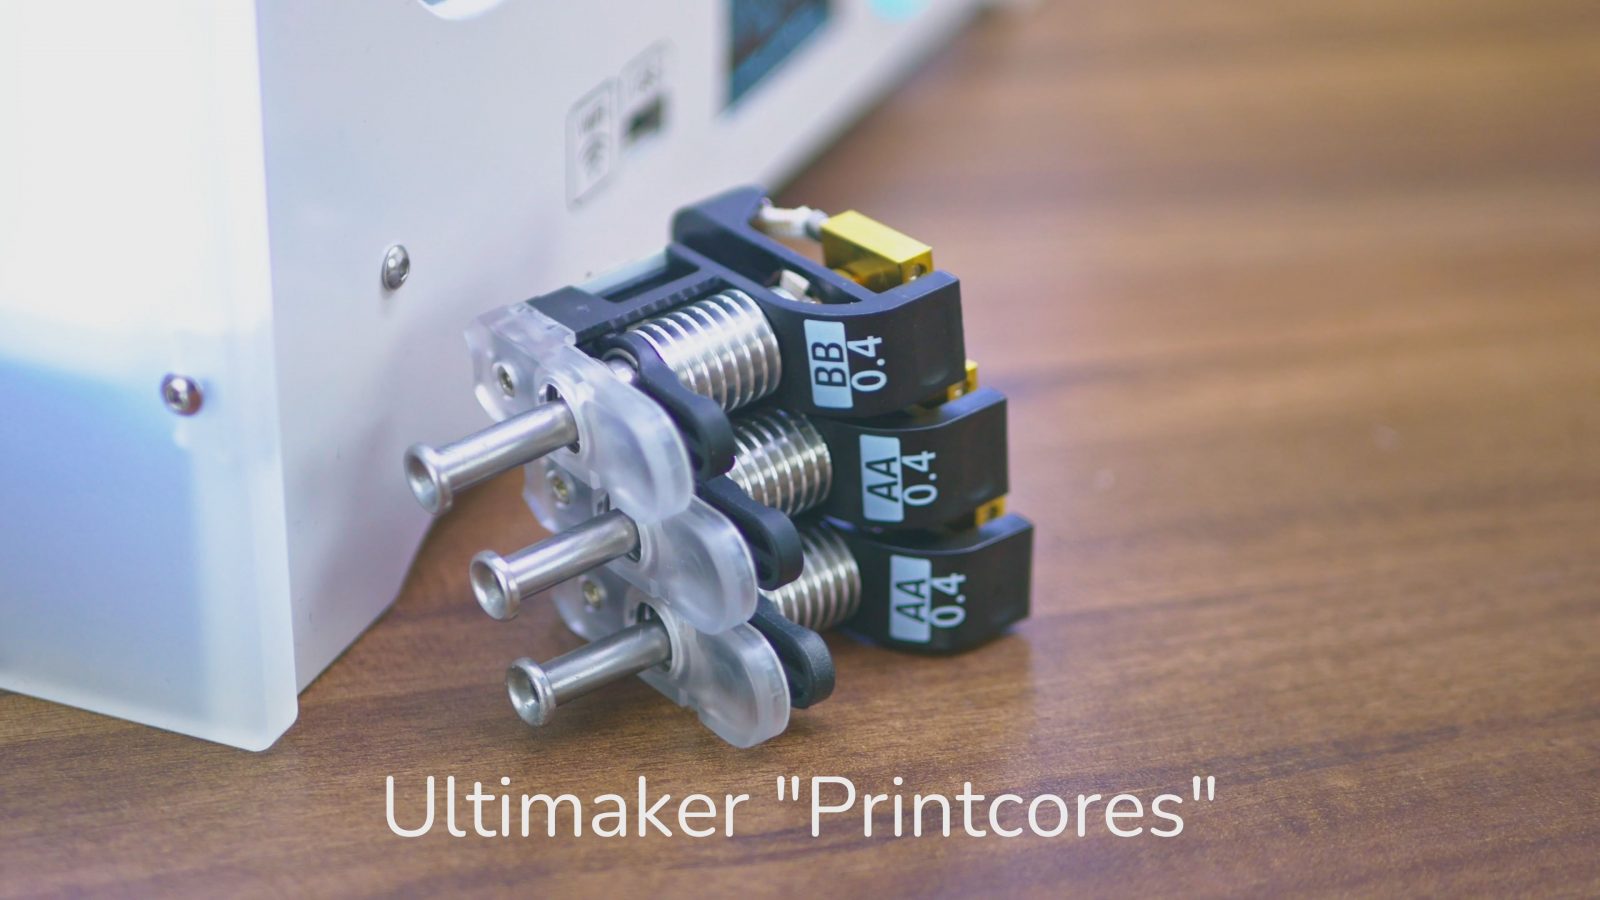
Who are BCN3D and what is the Sigma D25? BCN3D is a company from Spain whose whole thing is making what they call IDEX printers – independent dual extruder machines. That means unlike, say, on an Ultimaker, where you’re carrying around two hotends on a shared toolhead, on an IDEX printer, usually you’re only ever moving one over your print space and the other one is parked off to the side. The main advantage is that you mostly don’t need to worry about the idle hotend dribbling out little bits of molten filament over your print after the printer has switched from one to the other. And of course, dual extrusion then lets you do either multi-color prints, or multi-material prints where you, for example, print a flexible hinge into an otherwise rigid part, or you can stick with a single material for your part and then use the second extruder to print a support material that is either easy to peel off or can be dissolved away after the print has finished.
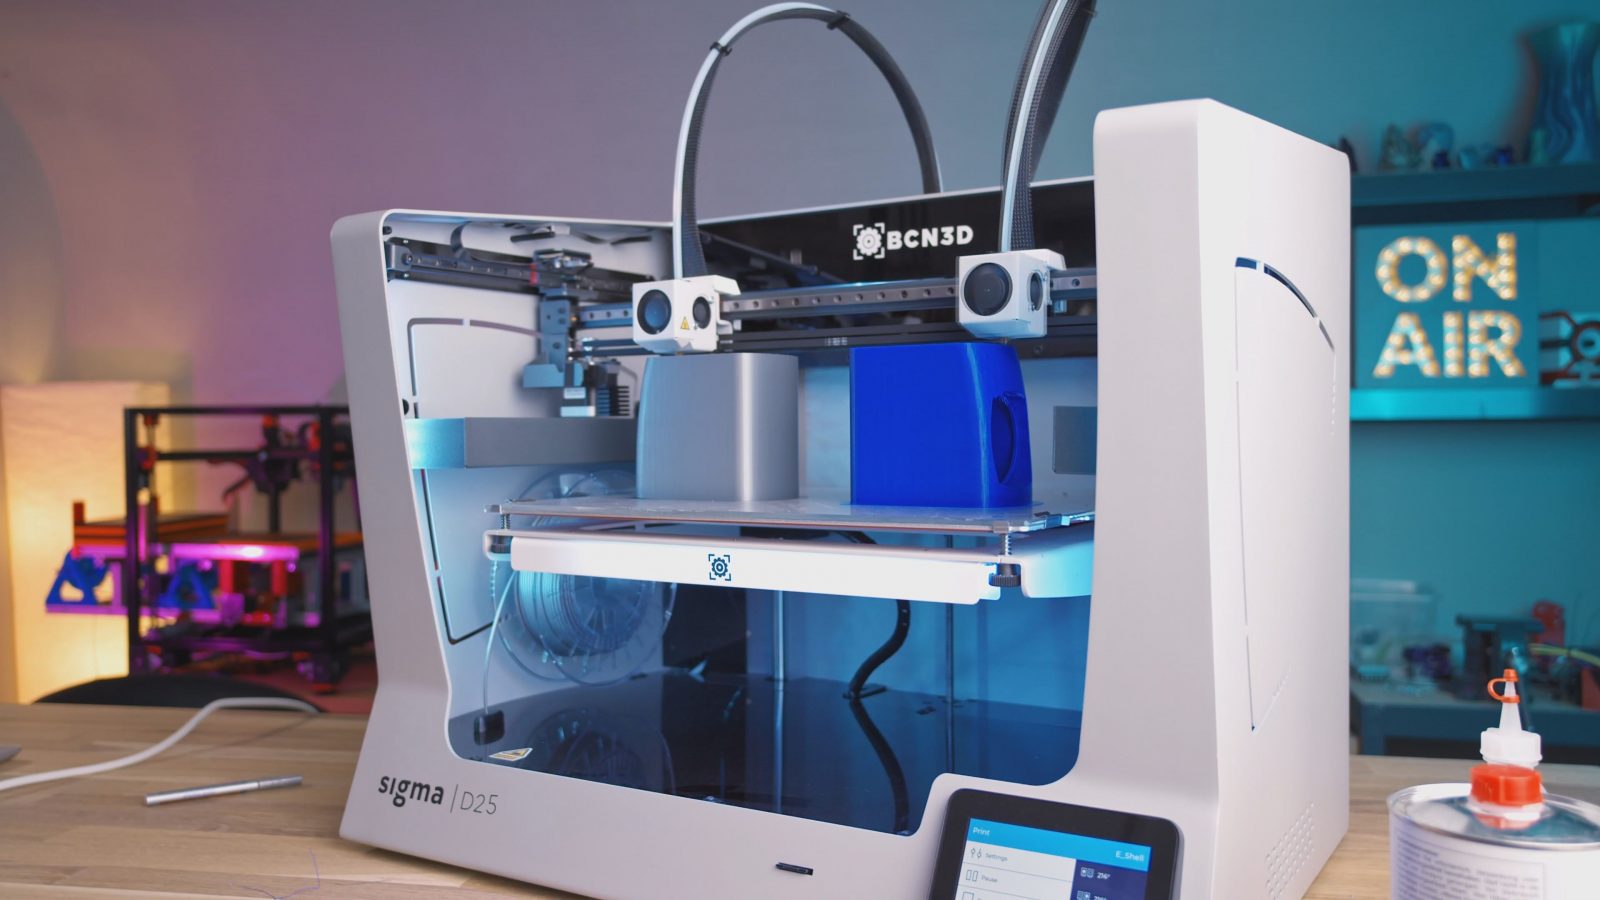
But because the Sigma has those two completely independent extruders, it can also run in duplication or mirror mode, where one toolhead follows the movements of the other and you simultaneously print the same part twice, either as a symmetrical pair or as a copy. I don’t think that’s what you specifically buy a Sigma for, but it’s a nice bonus feature that you basically get for free because of the way the printer works.
The Sigma D25 is basically BCN3D’s lowest-end model, but they’re using a shared platform for their entire lineup. Above the Sigma, you got a bunch of different versions of the Epsilon, which add things like an enclosure, filament storage, or a longer Z-axis.
Basic Components: Toolheads, Hotends, Extruders
The basic components all seem to be the same.
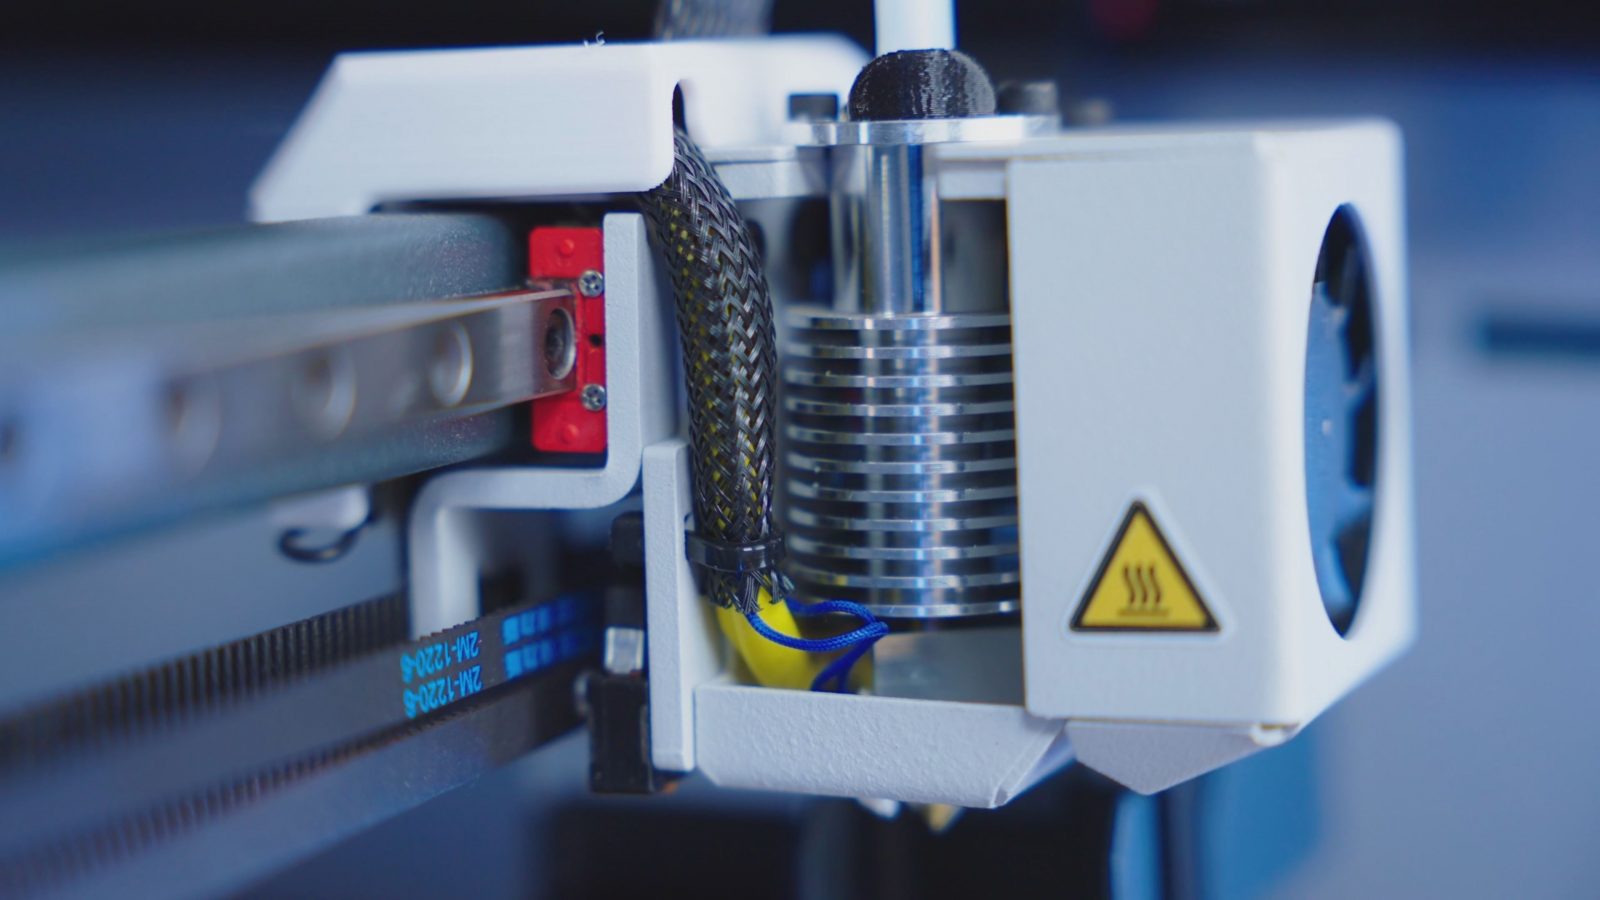
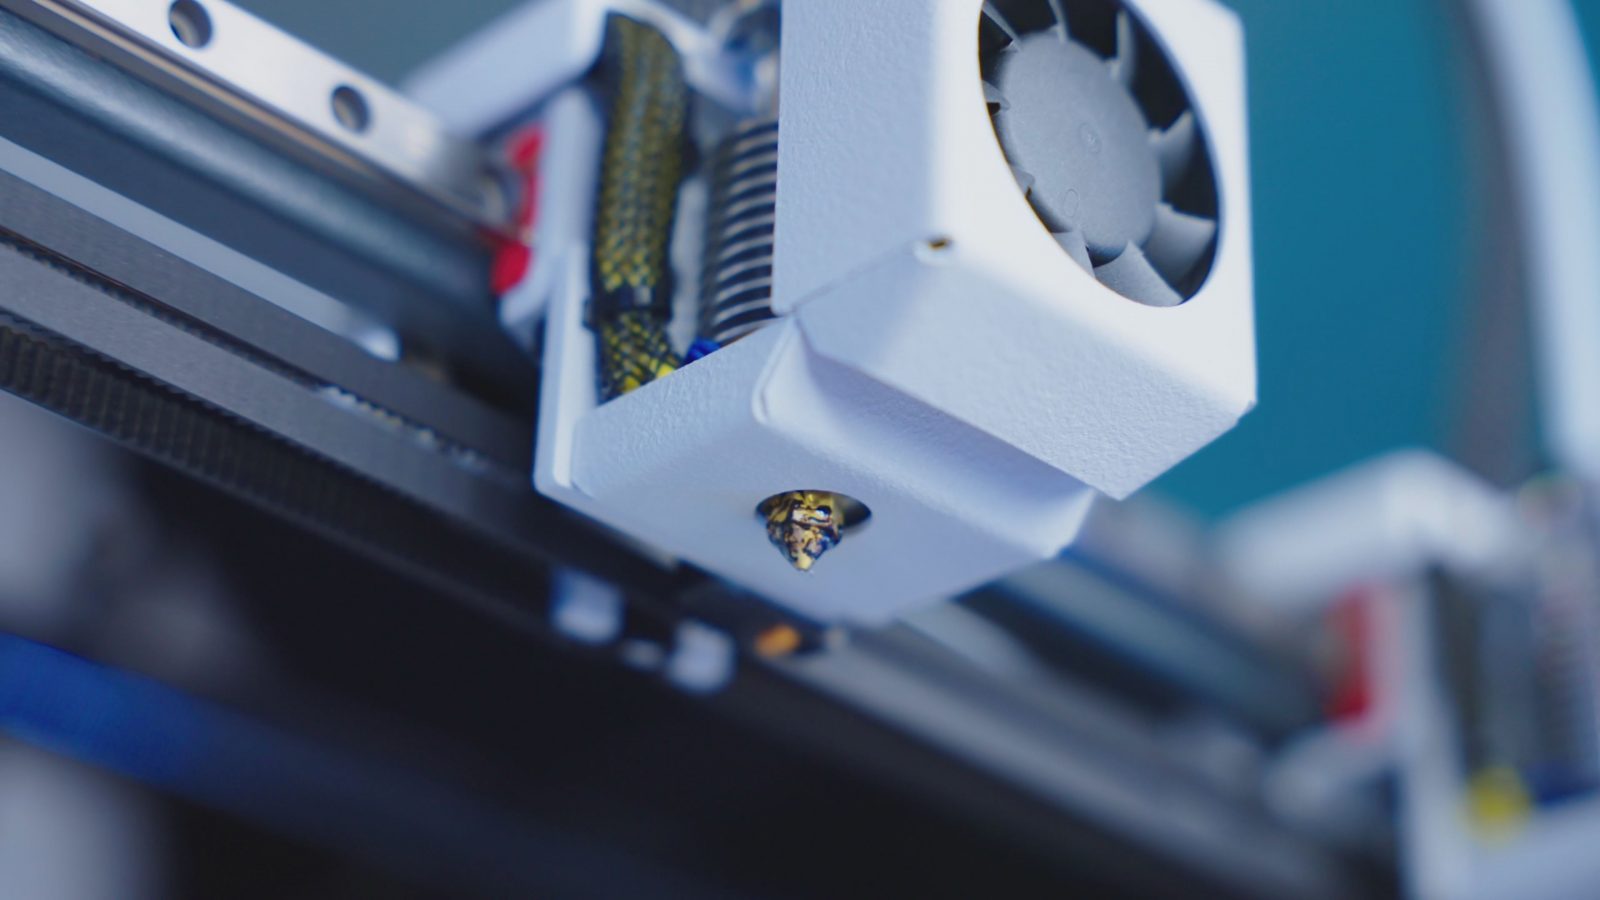

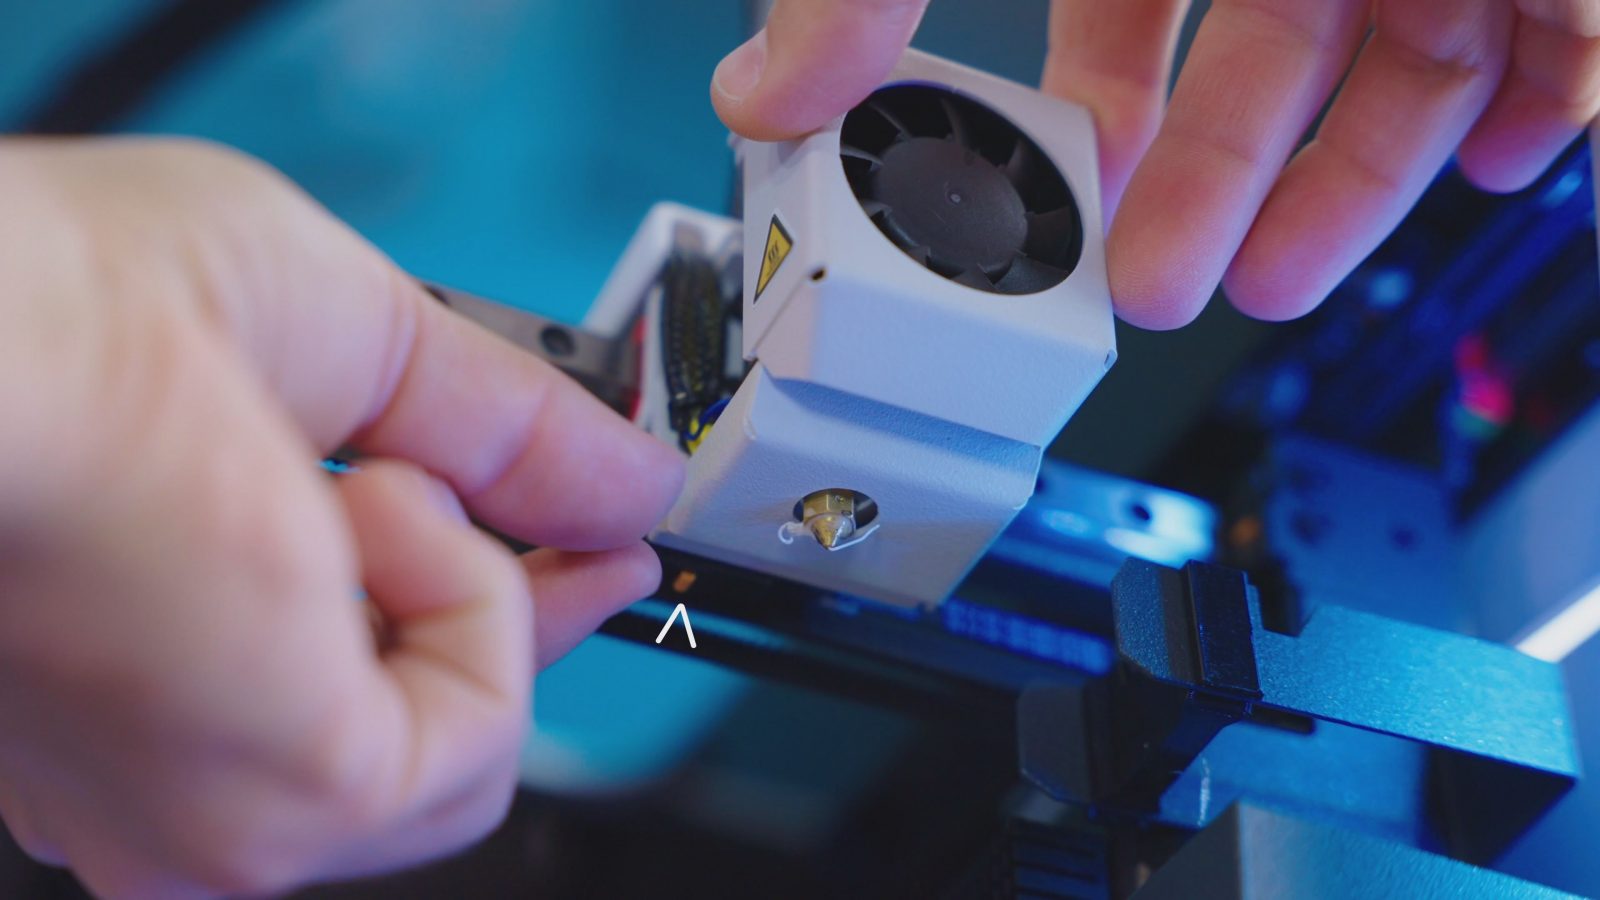
Two toolheads, the hotends are made by E3D, and they’re basically v6s with a weird shape, the extruders use Bondtech dual-drive gears and it’s all tied together in a large dual Bowden setup. The extruder specifically, and I don’t know how much the hotend played into it as well, but that was the biggest hindrance in the old Sigma R17, so it’s good to see those parts upgraded.
Build Area
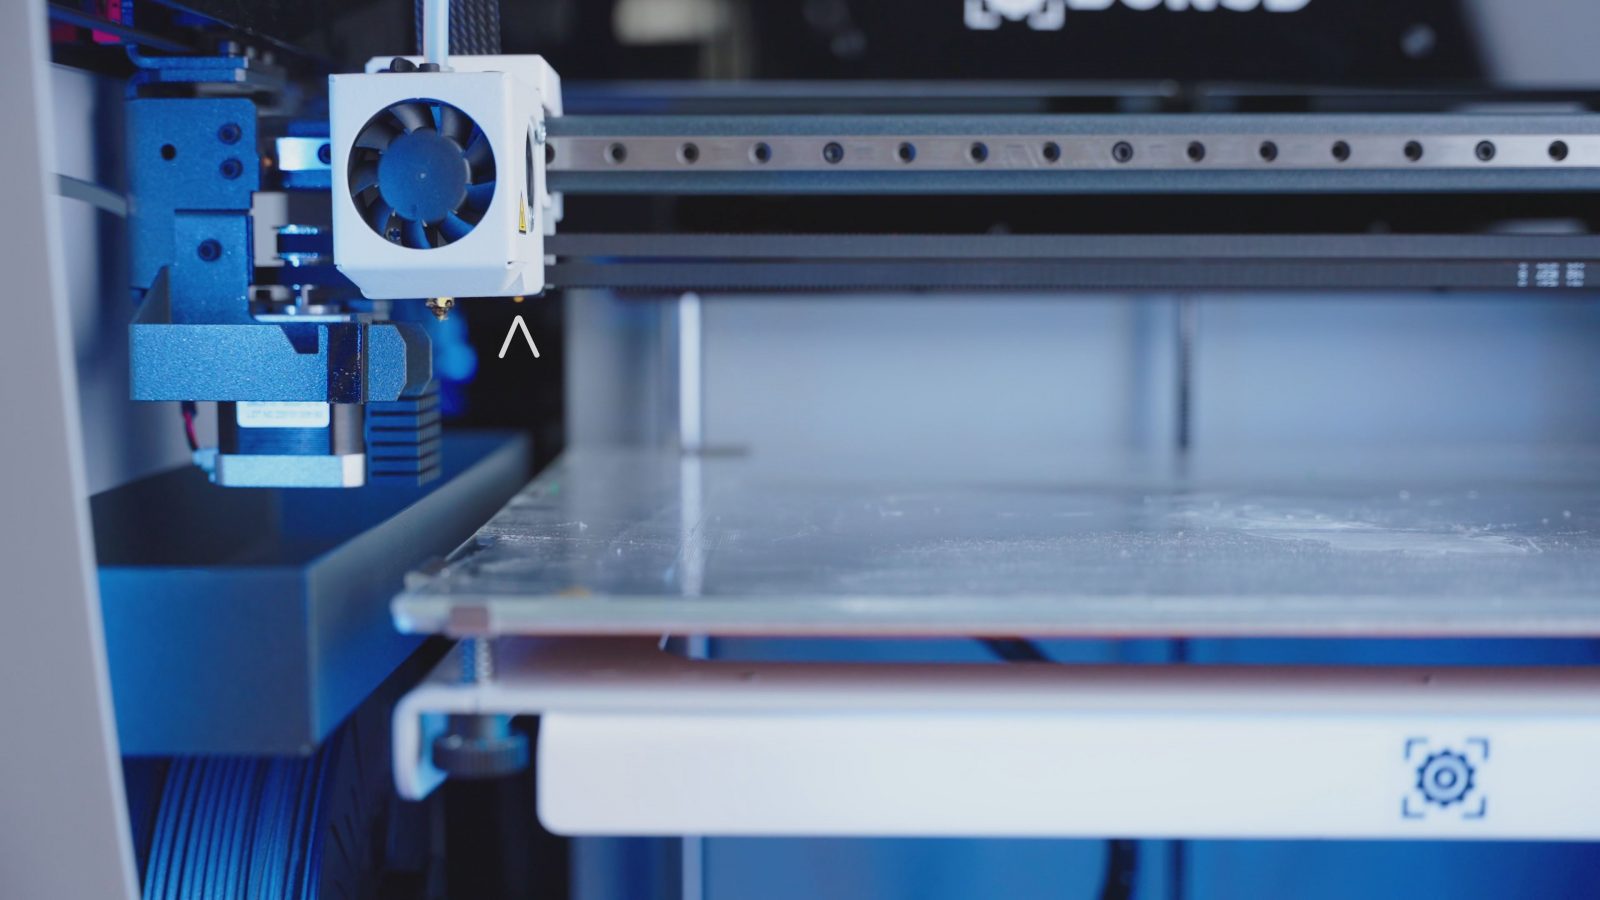
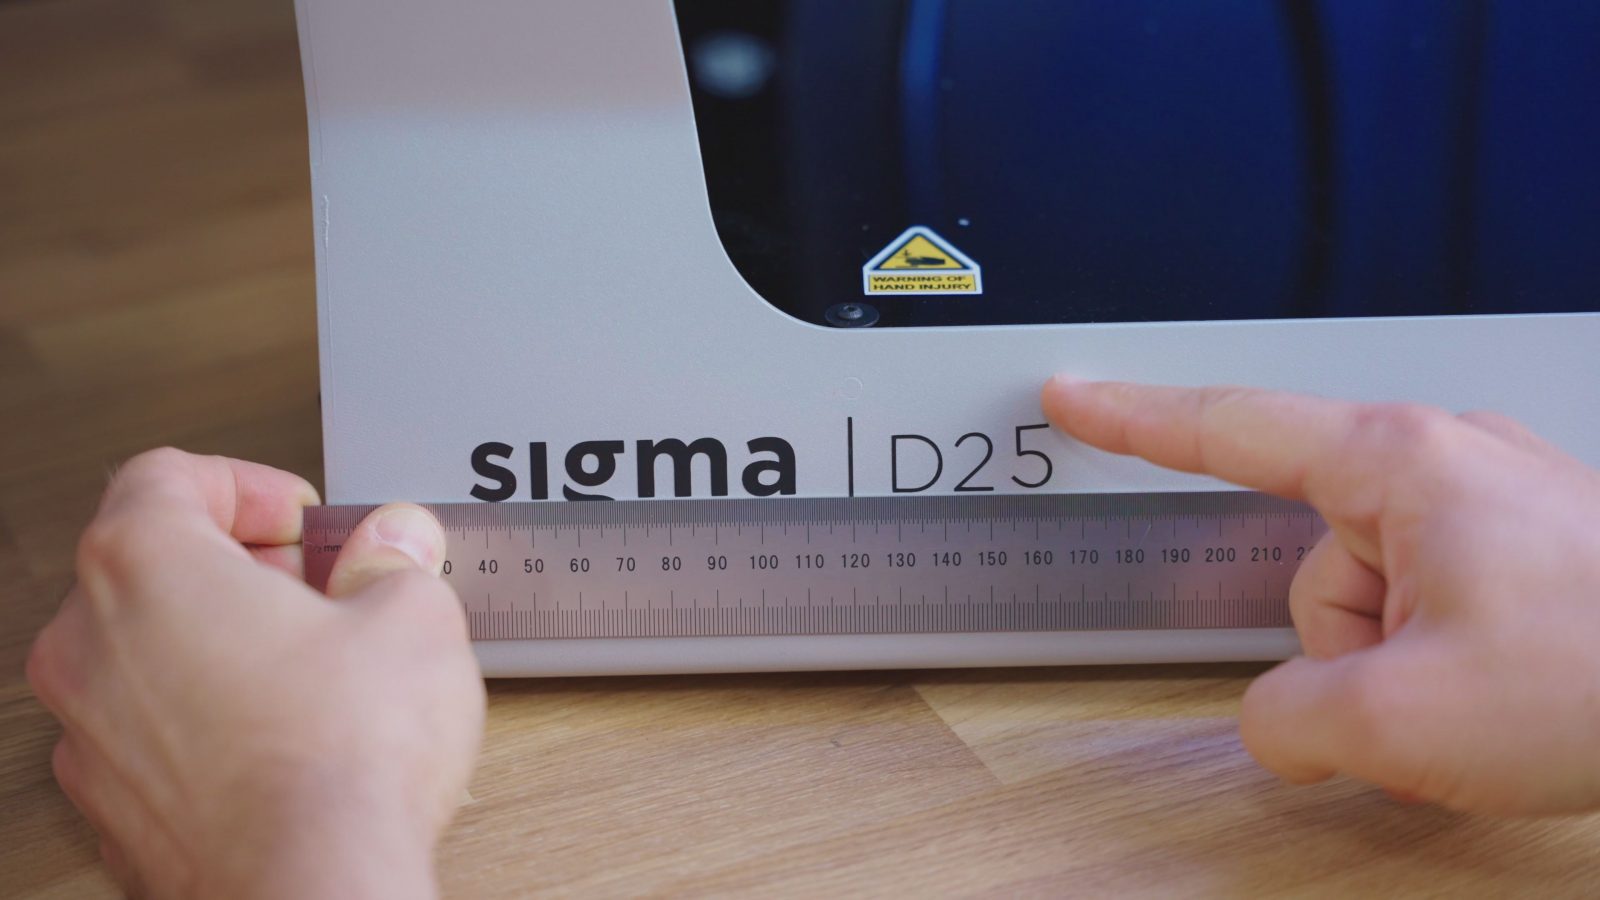
The D25, though, has a massive 420 x 300mm usable build area, but it only goes 200mm tall – which I think is great.
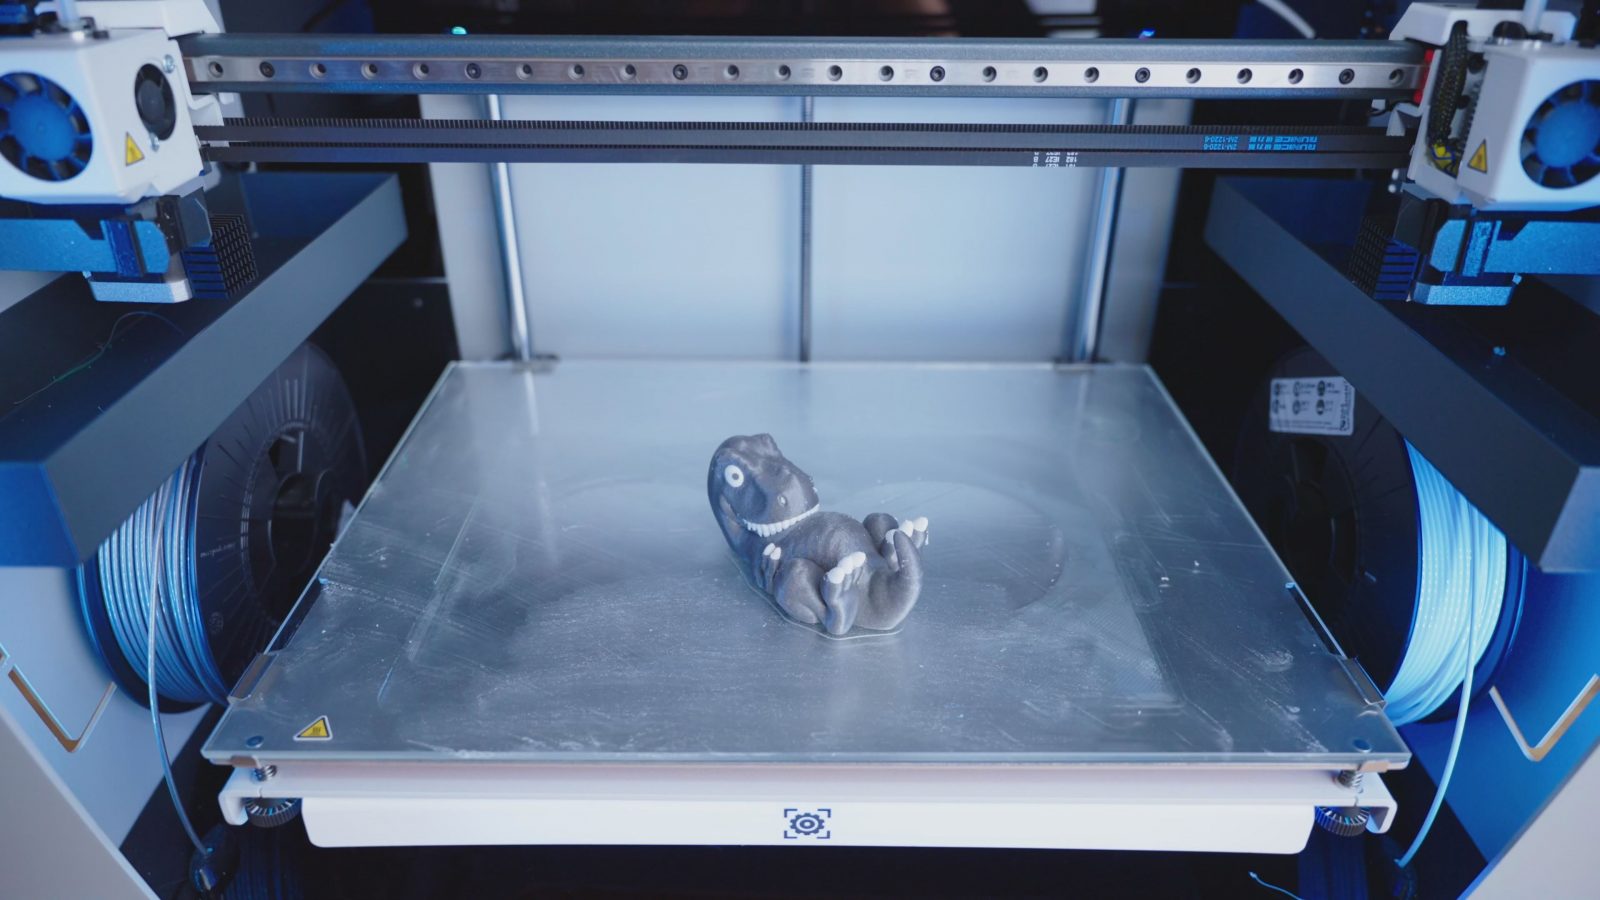
Sure, making the Z-axis longer usually is the cheapest way of extending a printer’s build volume, but personally, I almost never print parts that are taller than 10cm or so, and I’d think for most practical applications, it’s going to be similar. I mean, here, you’re extending the print space in the directions where you get the most strength out of your parts, in X and Y, instead of relying on layer adhesion when printing parts upright.
It does, however, make the Sigma D25 an incredibly chunky boy – because it’s so wide and bulky, it’s almost impossible to move around on your own, and it also does take up quite a bit of surface space.
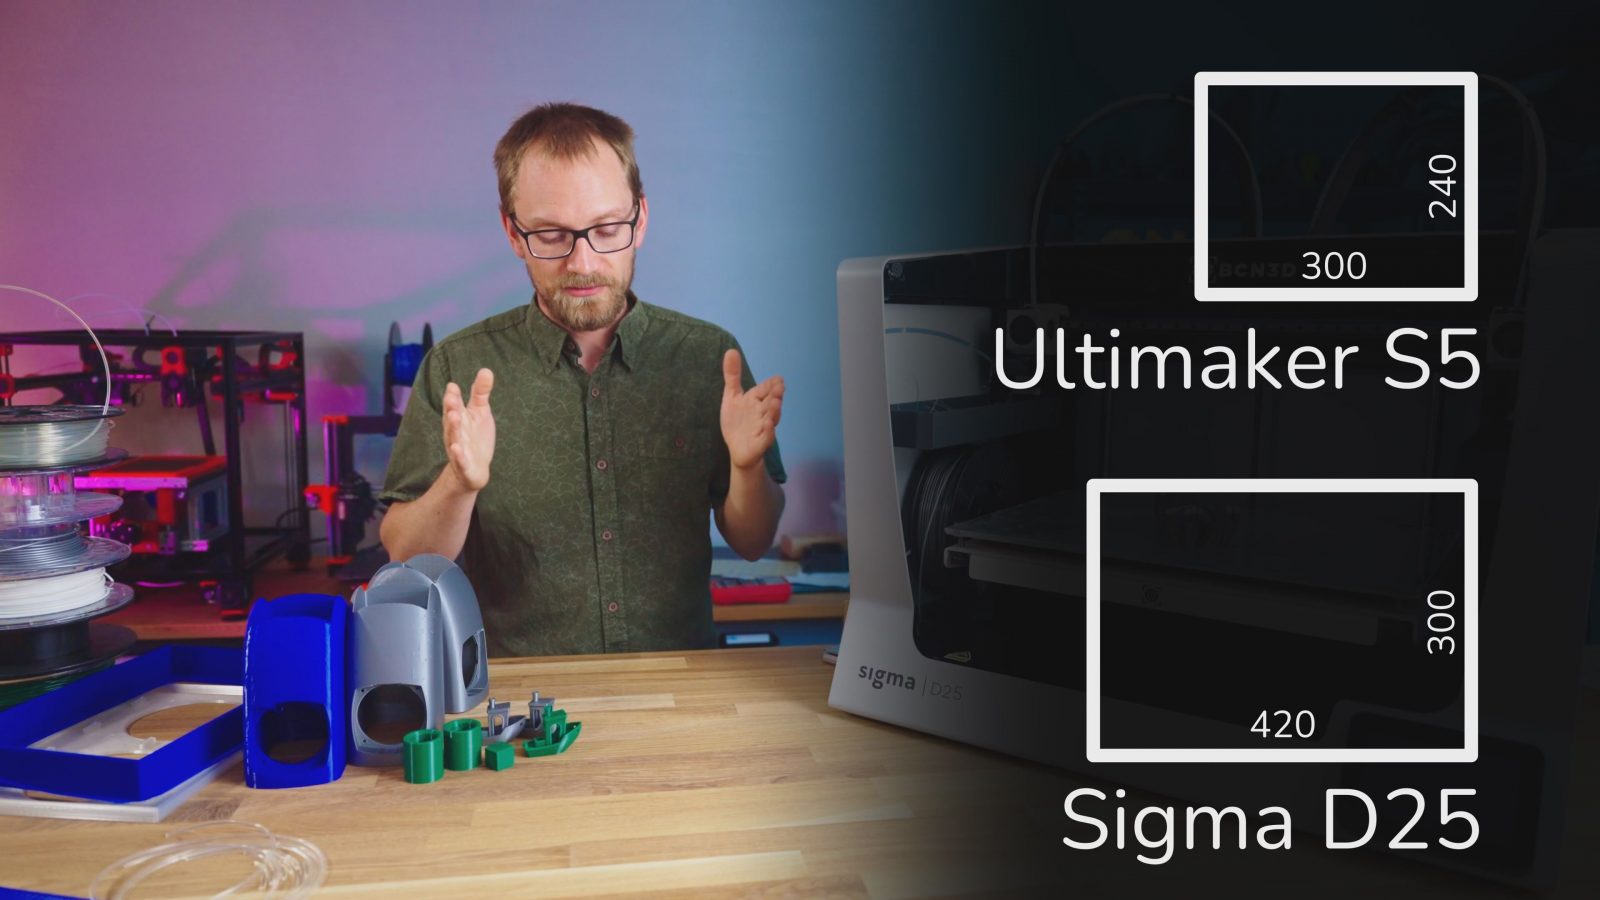
But I looked through what alternatives there are to the Sigma D25, like just starting at the size – a printer with a 420mm wide usable print space… some of those exist, yeah. But I’ve not found one that does dual-extrusion, too, and of course, isn’t a $100,000 Stratasys or something. I thought the Ultimaker S5 was maybe a contender, because it’s, like, Ultimaker’s larger printer, but that one “only” has a 300 x 240mm build area.
So when I tell you the D25 is around 4,000 bucks, links in the description, that’s actually not expensive at all for this machine. Yes, I know, it’s a lot of money for a 3D printer, but you also get a lot of 3D printer for it. That’s even more impressive once you consider how small of a company, comparatively, BCN3D are. They’re not shipping millions of printers a year, but honestly, I think the amount of development effort that was put into their printer lineup is way more than what those cheaper mass-market machines are seeing.
Print Quality
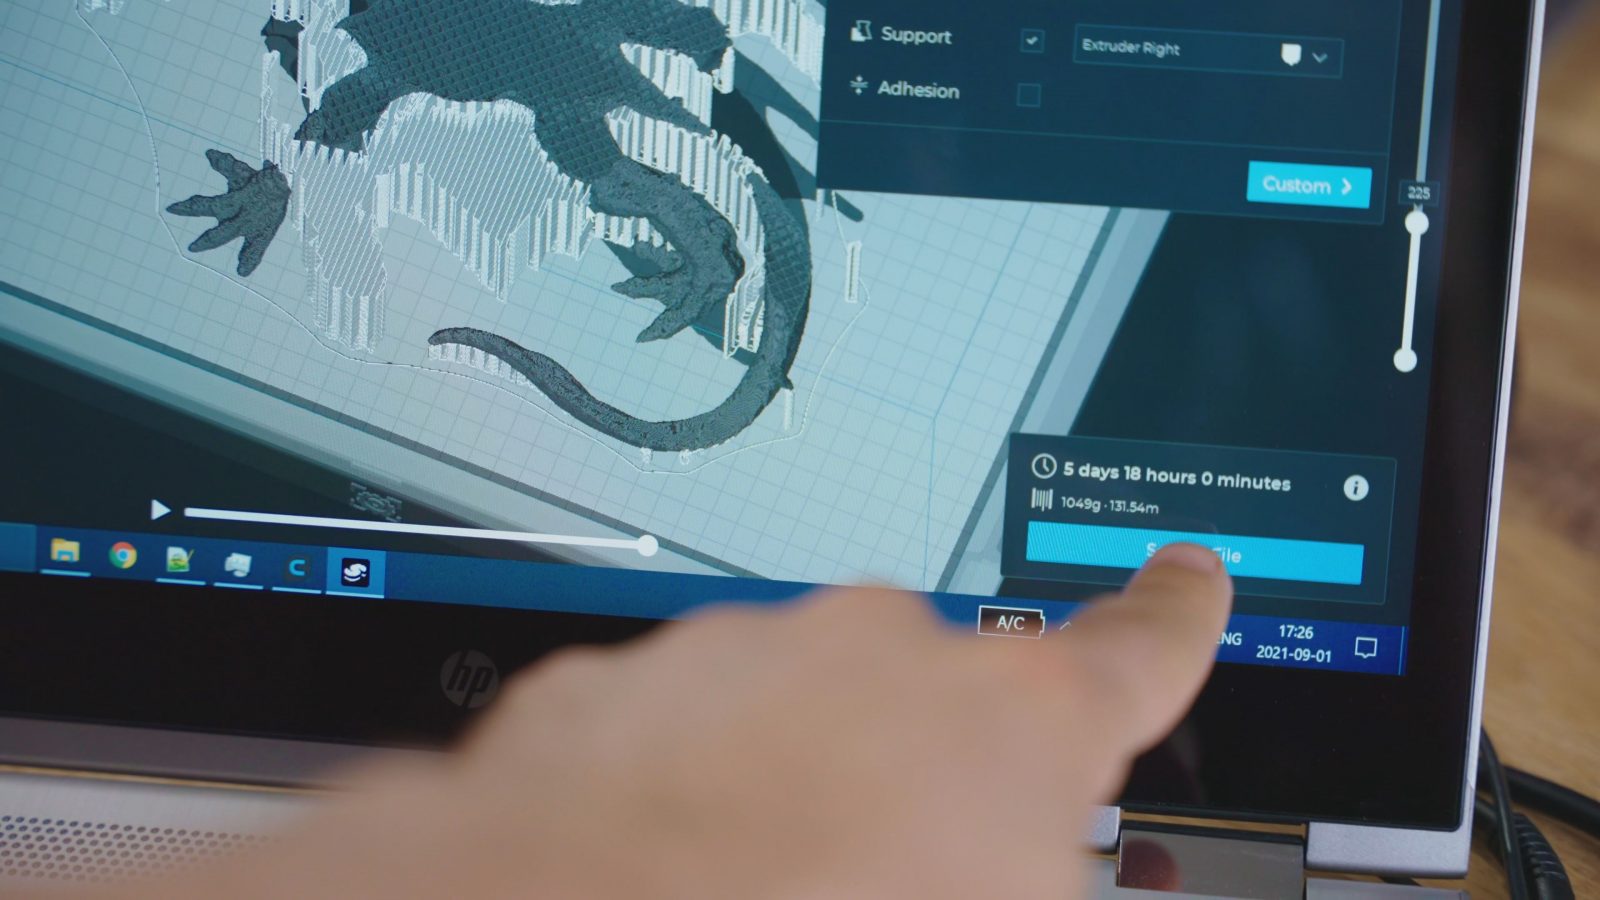
So let’s get to the important bit: How does the Sigma D25 print? Really well. Sometimes. So, getting test parts out on the D25 took a bit longer than usual. It’s a large printer, right, so trying to test with prints that make use of that space just results in long print times that you have to wait for. Using a realistic model to use up most of the build volume in dual-material mode takes something like five days.
But also, I was trying to figure out why some prints, like this one, came out beautifully, and others look like absolute garbage. Like, if it prints like this all the time – perfect, amazing, fantastic.
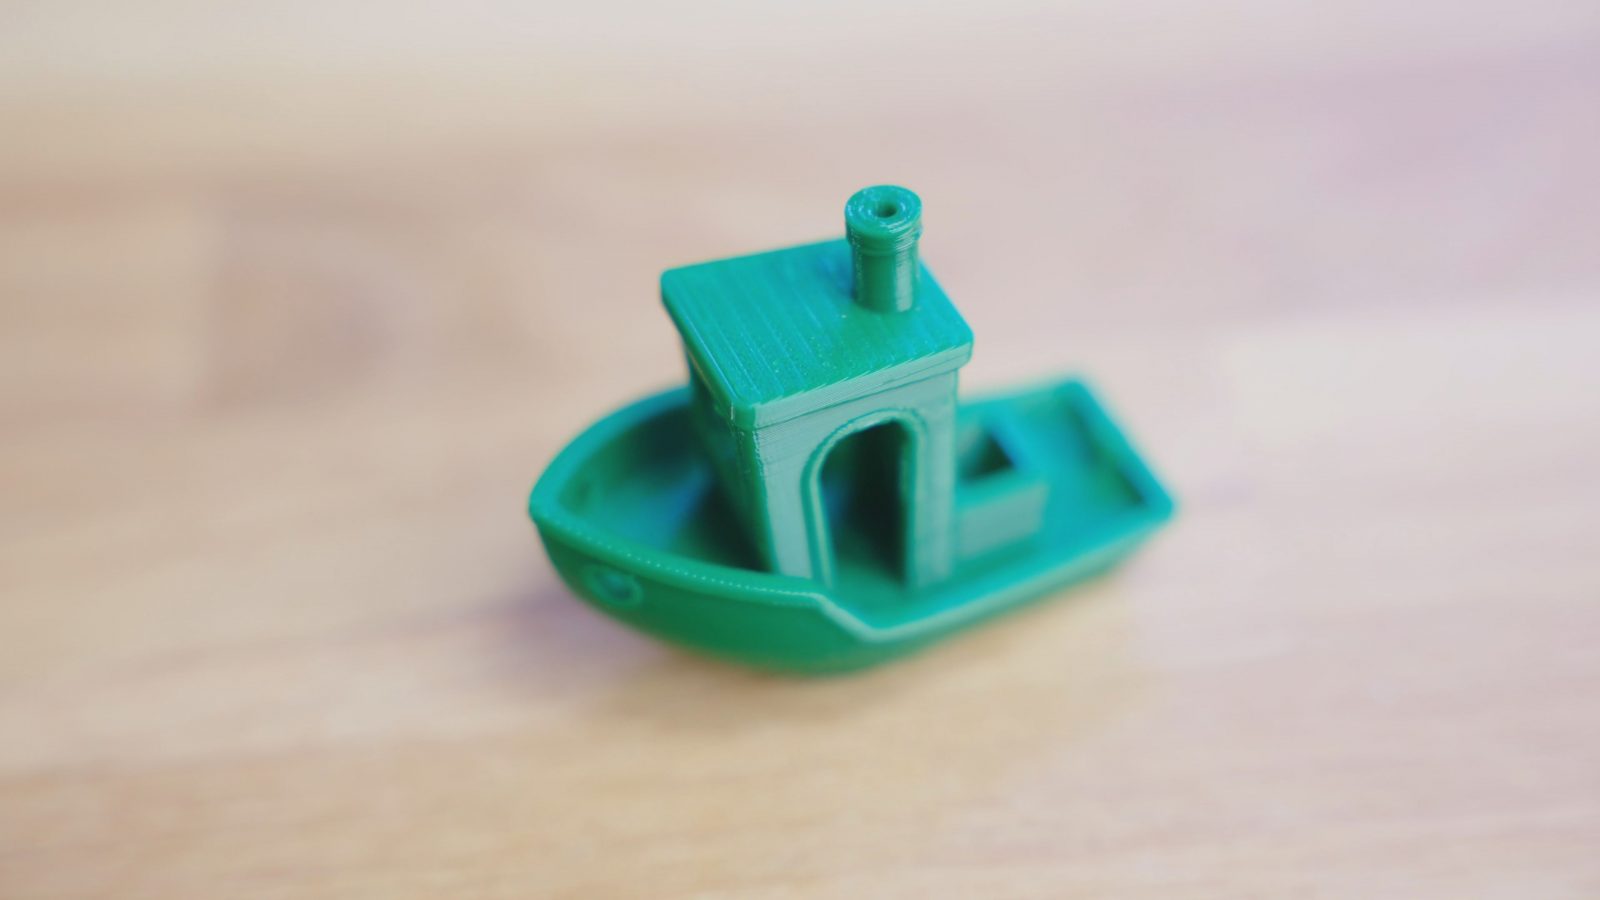
If it was producing flawed prints like this all the time, then the D25 would be absolutely worthless. But it was doing both, these are all prints from the D25, back-to-back.
Slicer “Stratos”
BCN3D gives you a modified version of Ultimaker’s Cura to use with your printer. Usually, I’d say, hey, instead of forking stuff or trying to program your own slicer, just submit your profiles to the devs of Cura, PrusaSlicer, etc, and just use that. There’s no need to maintain your own. But this is one of the few cases where forking makes sense – you have the extra duplication and mirror print modes that probably would be hard to get working nicely with the preview and all that in regular Cura or Prusaslicer. Plus, BCN3D do regular updates and the Sigma R17 ran with Cura 15.04, basically, then the slicer when I started testing the D25 was based on the newer Cura 3, I think, and halfway through testing, BCN3D released their newest slicer, which they are now calling Stratos 1.0, based on the newest Cura 4. So all good there, Stratos works great, I mean, it’s a fully-featured Cura with just a couple of modifications to make it work better with the BCN3D machines. But it still didn’t explain why some prints looked so bad and others looked so good. Until I started digging through the profiles because it looked like it was just the infill speed and acceleration settings cranked up way too high. And it was, but only in the PLA profile. These nicer prints are PETG. You don’t expect there to be such a drastically different profile for just a different filament type.
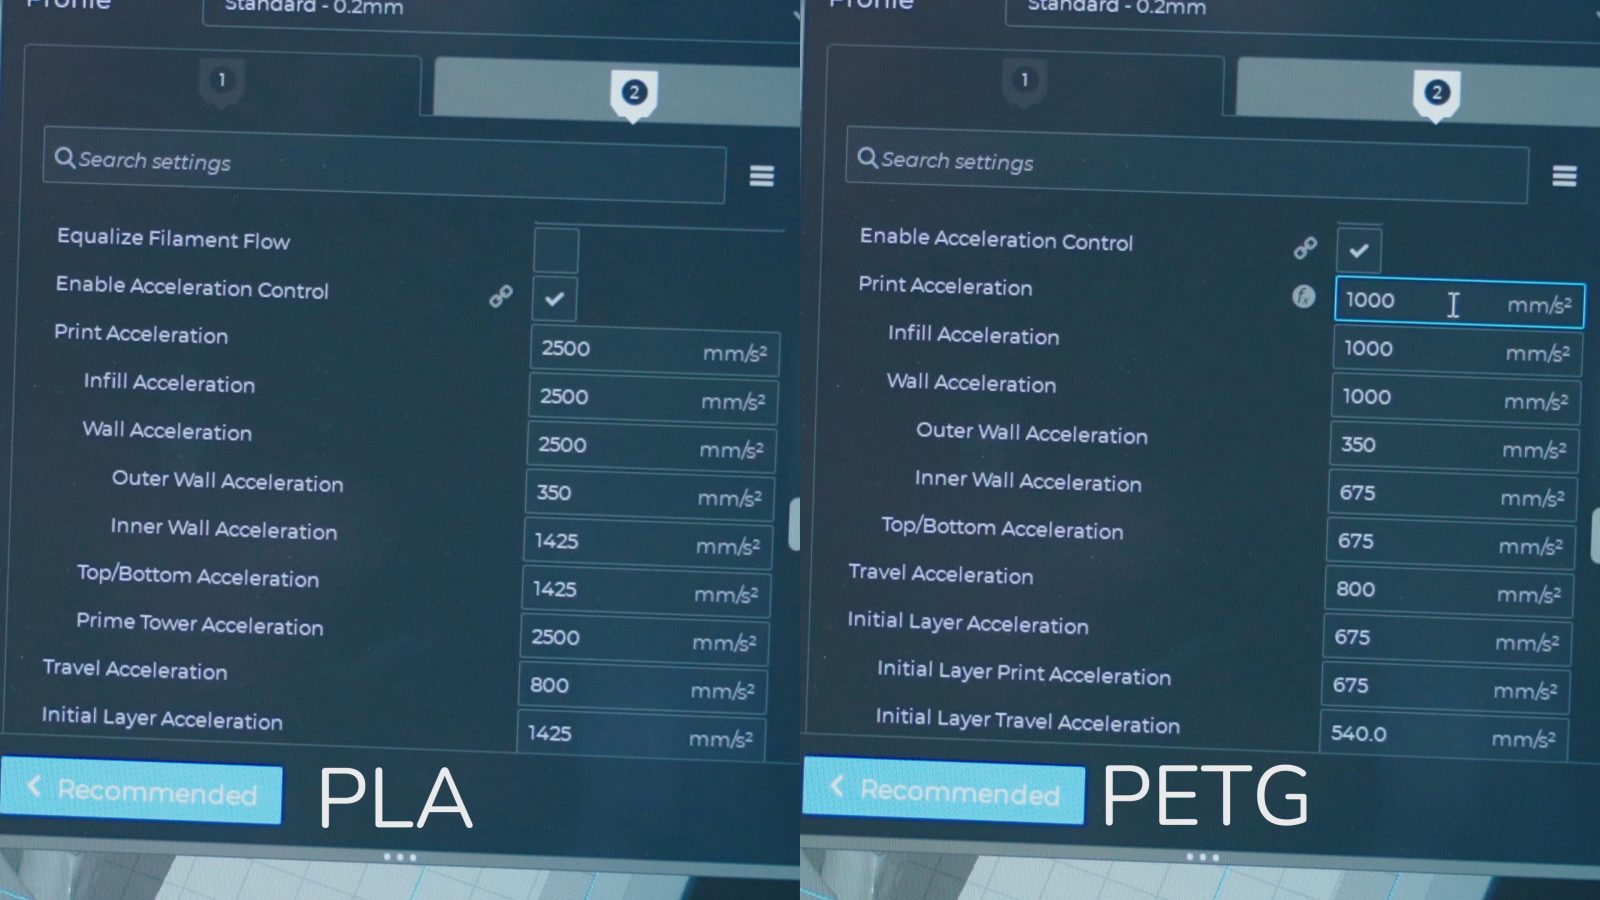
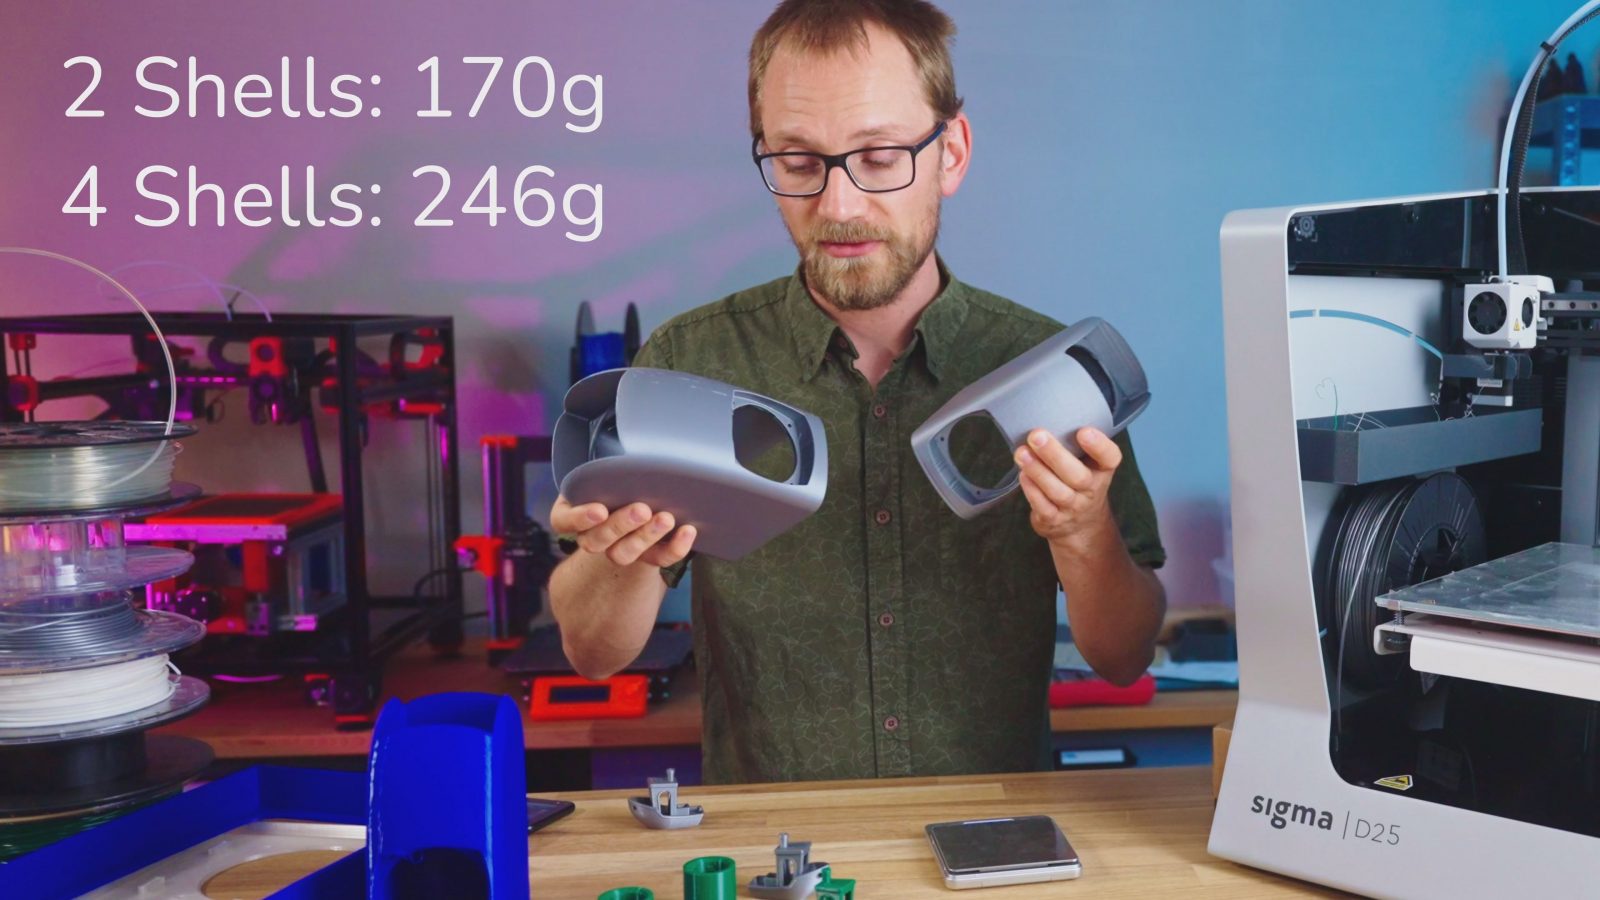
That’s definitely an oversight on BCN3D’s side, and it must have been in their slicers for a while since I saw that difference both in the old BCN3D Cura and in the new Stratos. Hopefully, that gets updated with Stratos 1.0.1, because, I mean, the Sigma is capable of printing really well. It almost looks like whoever set up the PLA profiles already tried to hide the issues from those insane accelerations, because by default, the Sigma D25 prints with 4 solid shells, instead of your normal 2. It doesn’t really hide much, but it uses so much more filament, unnecessarily in most cases.

2.85mm Filament
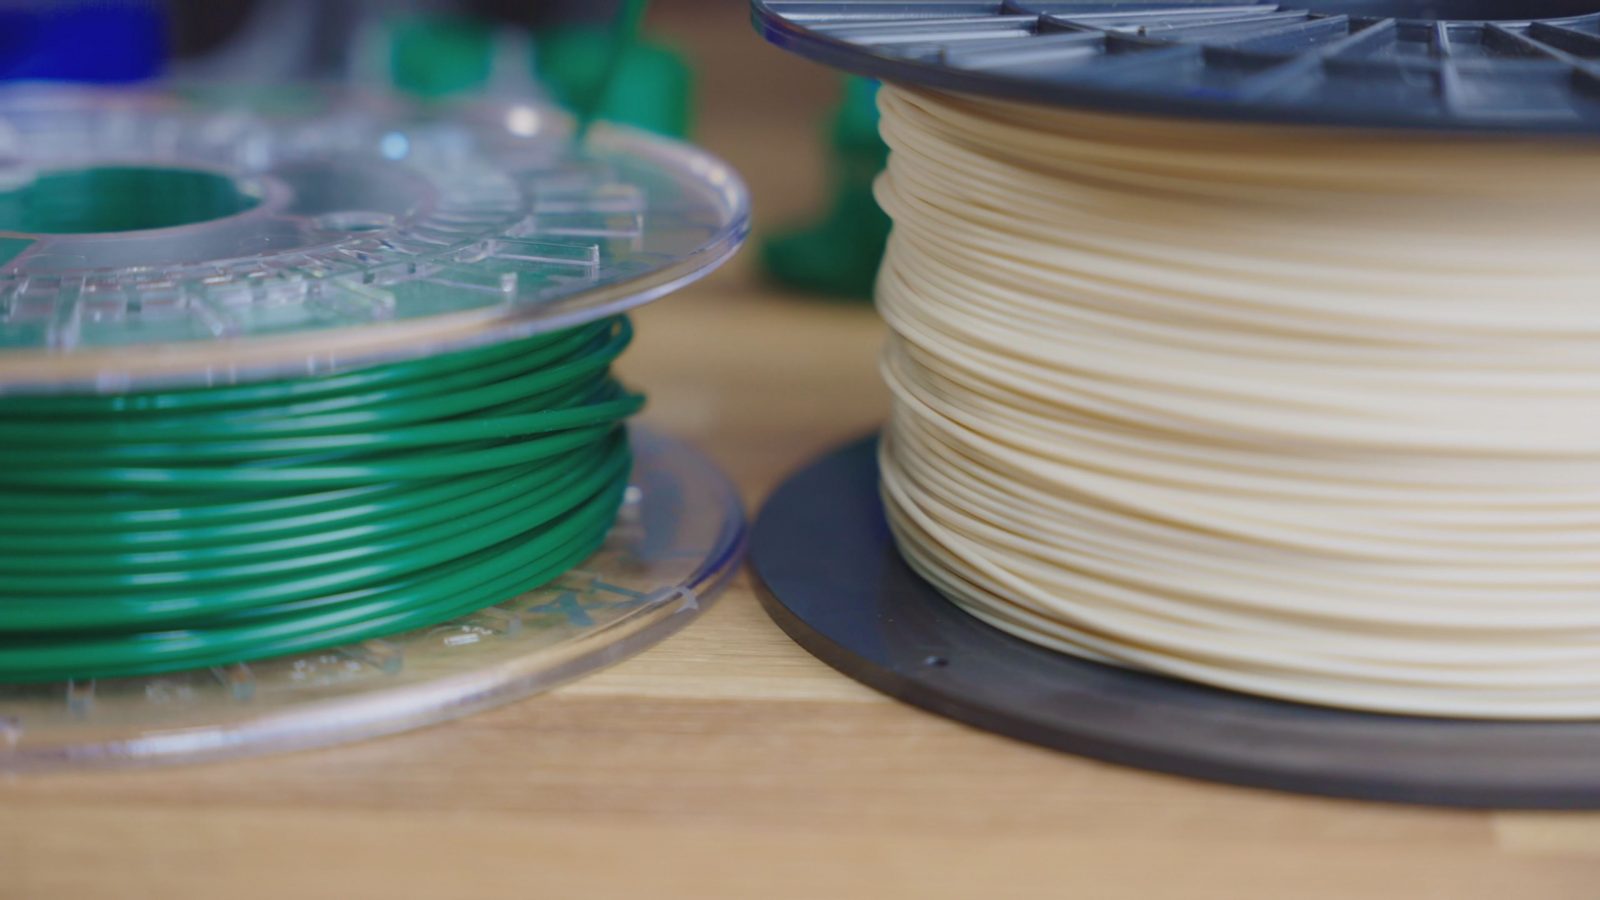
Speaking of filament, the Sigma uses 2.85mm. For those of you who are new to this whole 3D printing thing, 2.85mm or 3mm filament, back then known as welding rod, that’s what 3D printers started out on before most of them moved to 1.75mm, which is easier to drive for an extruder, can be melted faster in the hotend, and is generally easier to handle because especially with PLA, the smaller stuff is just less rigid and still. The Sigma R17 notoriously had problems where PLA filament would often break inside the filament guide if it sat unused for a couple of days and that would make for some really stringy prints because retractions would be able to pull the filament back from the hotend. Out of the probably hundreds of filament spools I have, I had four 2.85mm ones, and I had to order extra PETG just to use the Sigma, but the PLA filaments all snapped inside the Sigma D25. I really wish they would move to 1.75mm. Just because Ultimaker is still using 2.85 doesn’t mean BCN3D has to as well.
BCN3D Cloud
And obviously, a lot of the things that BCN3D does are inspired by what Ultimaker does. One of those is BCN3D Cloud, which honestly I’ve not used much, but the Sigma D25 has an Ethernet port and I guess you can also plug in a WiFi dongle and use that, and then monitor and upload prints through a browser.
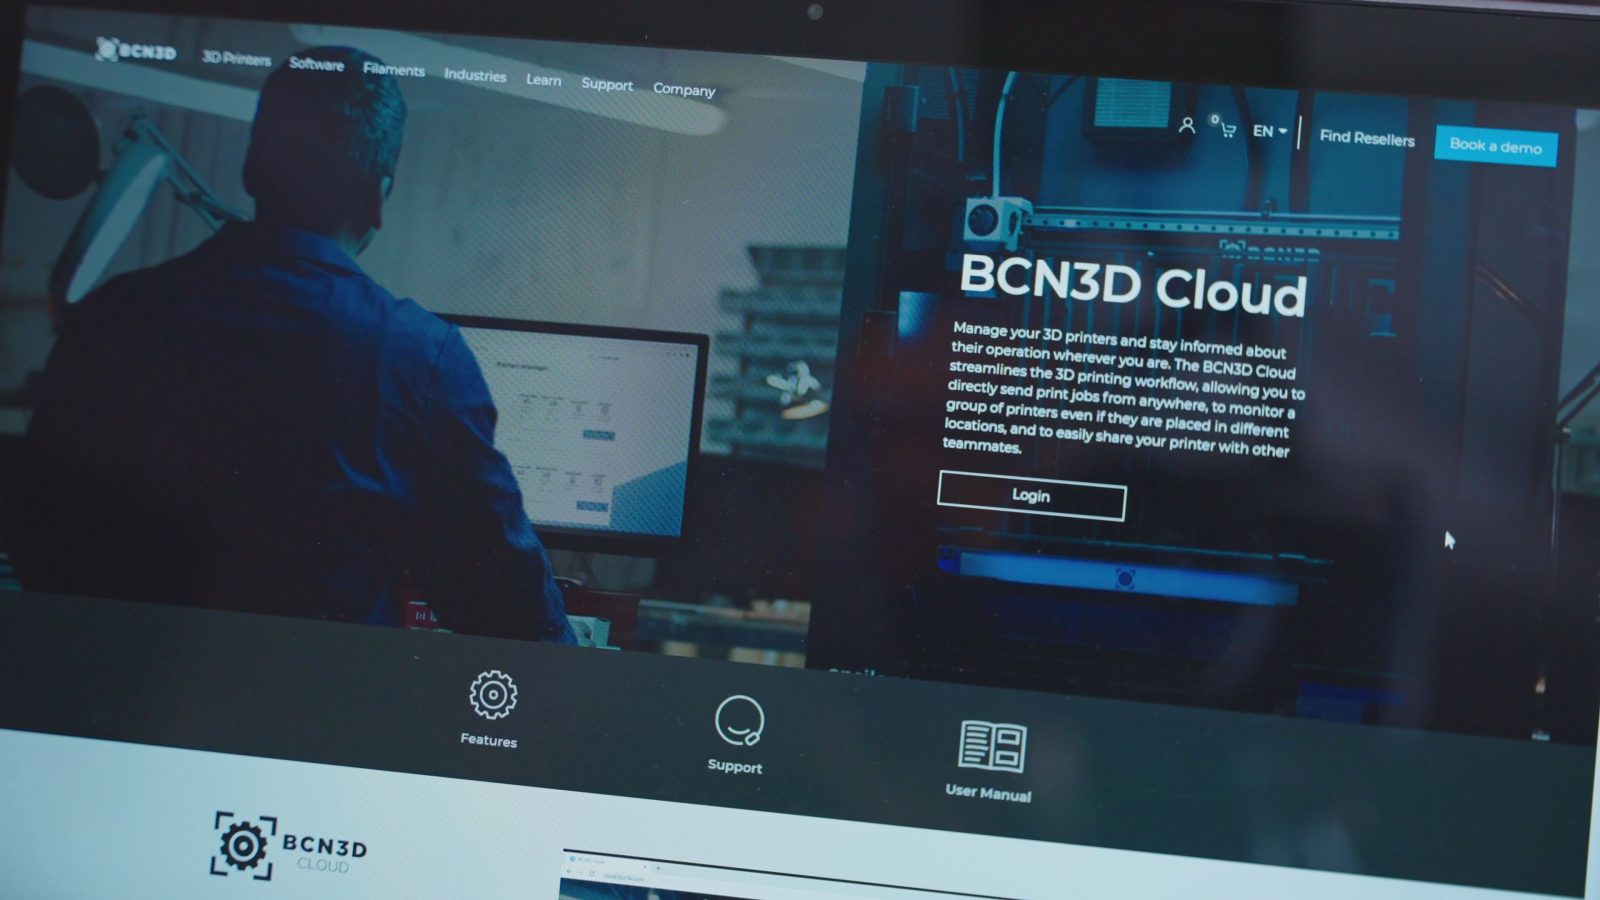
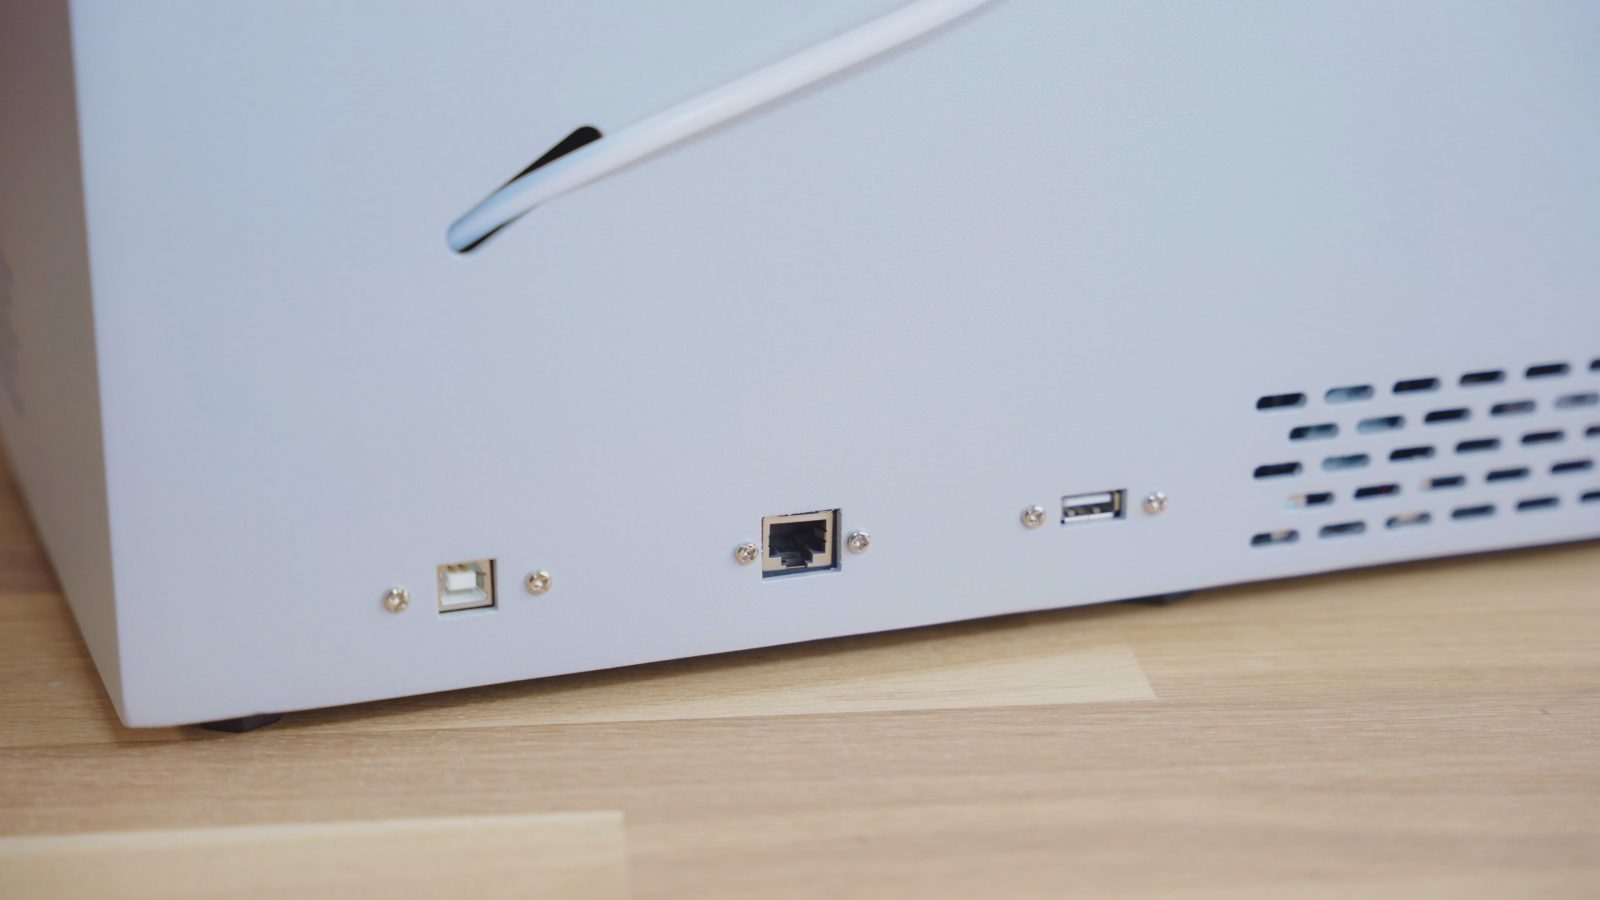
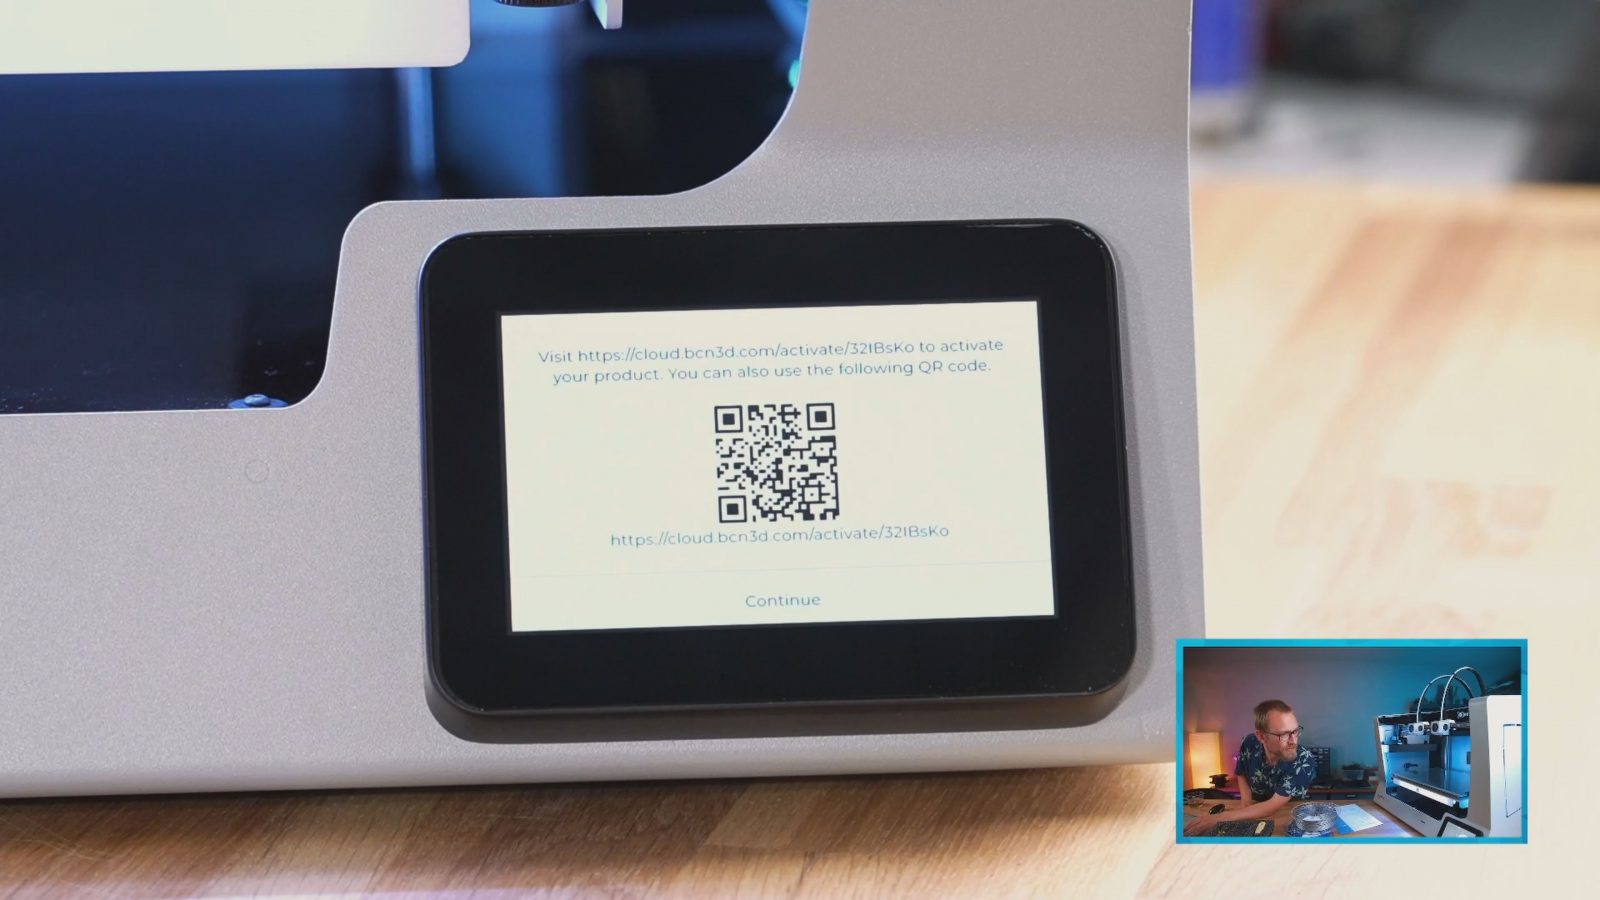
There’s no webcam in here, so you don’t get much information during a print. However, where I did run into the BCN3D Cloud stuff was during initial setup – the printer forces you to create a cloud account and register the printer’s serial number to unlock the first run wizard. I guess you can do the initial calibration using the individual assistants, but that’s not really how it’s meant to be used. And then also, after every print, the machine asks you to rate how it came out, even when you’ve not hooked up the printer to the internet at all.

To me, that was just a nuisance, I guess you’d be able to see statistics of how your printer is performing in the cloud service, and possibly BCN3D get feedback on how well their Cura profiles work, but I can’t imagine anyone actually standing there and going, oh, is this a three-star or a four-star print, no, you just want to skip the nag screen, so you just end up punching in whatever. I doubt the data out of that would be useful.
Hardware
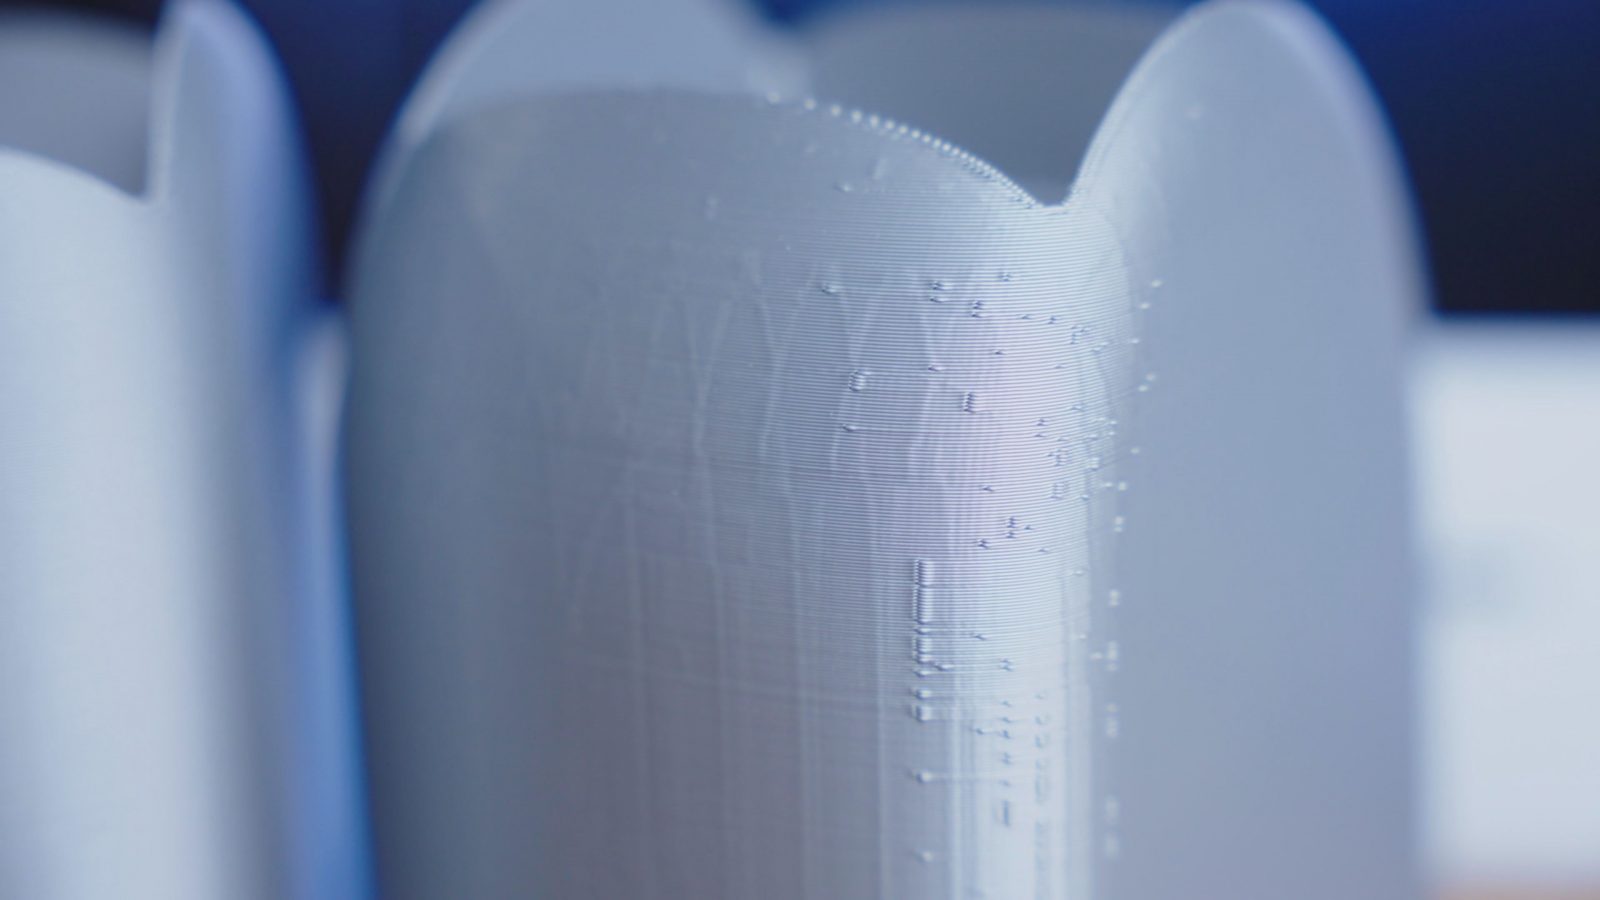
I realize we’ve not talked much about the hardware on the Sigma yet, and I think that’s pretty cool when, you know, the printer is not just a set of aluminum profiles that runs the same software as everybody else. So let’s get that covered. We did talk about the Bondtech-gear extruders and the E3D-made hotends, but one thing to note is that this entire machine is…. incredibly slow. I don’t know how else to put it. The base print speed in the “nicer” PETG profiles is 30 mm/s, and even slower for details.
Even with the PLA profile, these two parts took 24 and 15 hours to complete. I feel like the machine could handle a good bit more speed, but one of the solutions from BCN3D is larger nozzles. Not just swapping in a larger nozzle, but a completely new hotend that has a larger nozzle. They sent me this set of hotends once for the Sigma R17, I think it’s still compatible, but you’re not supposed to swap the nozzle itself, but instead the entire hotend.
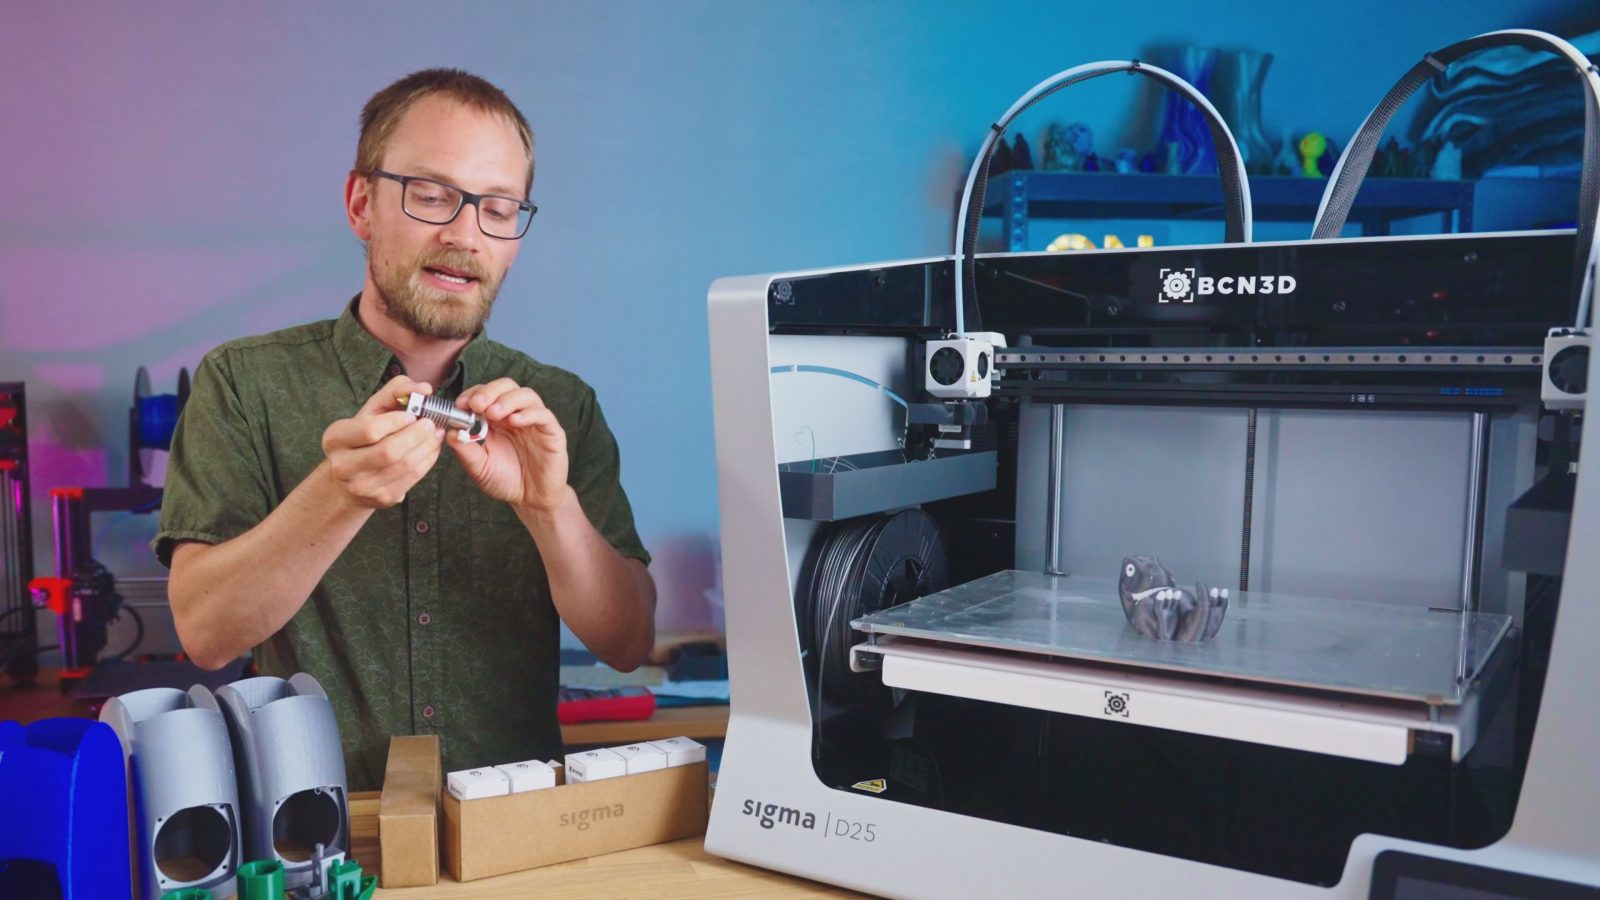
And I get it, Ultimaker is doing it that way, too, and to be fair, there is a lot less that can go wrong when you undo the two screws and two connectors to swap a hotend than if you had to undo the nozzle and then hot-tighten the new one at the correct torque without bending the heatbreak, but yeah, it does seem a bit wasteful.
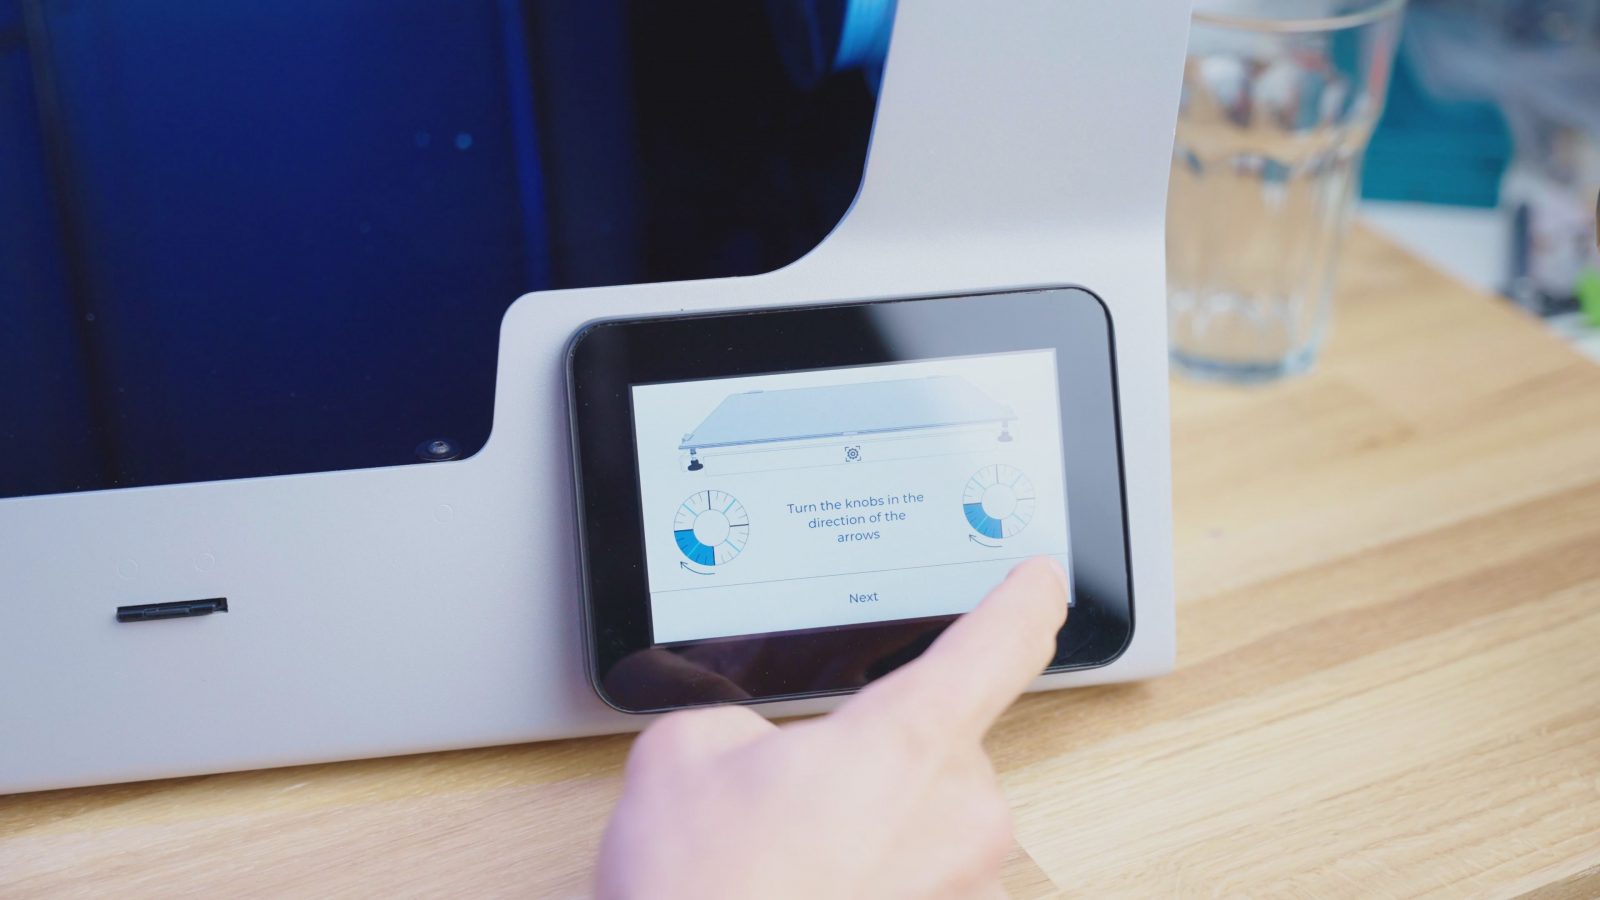
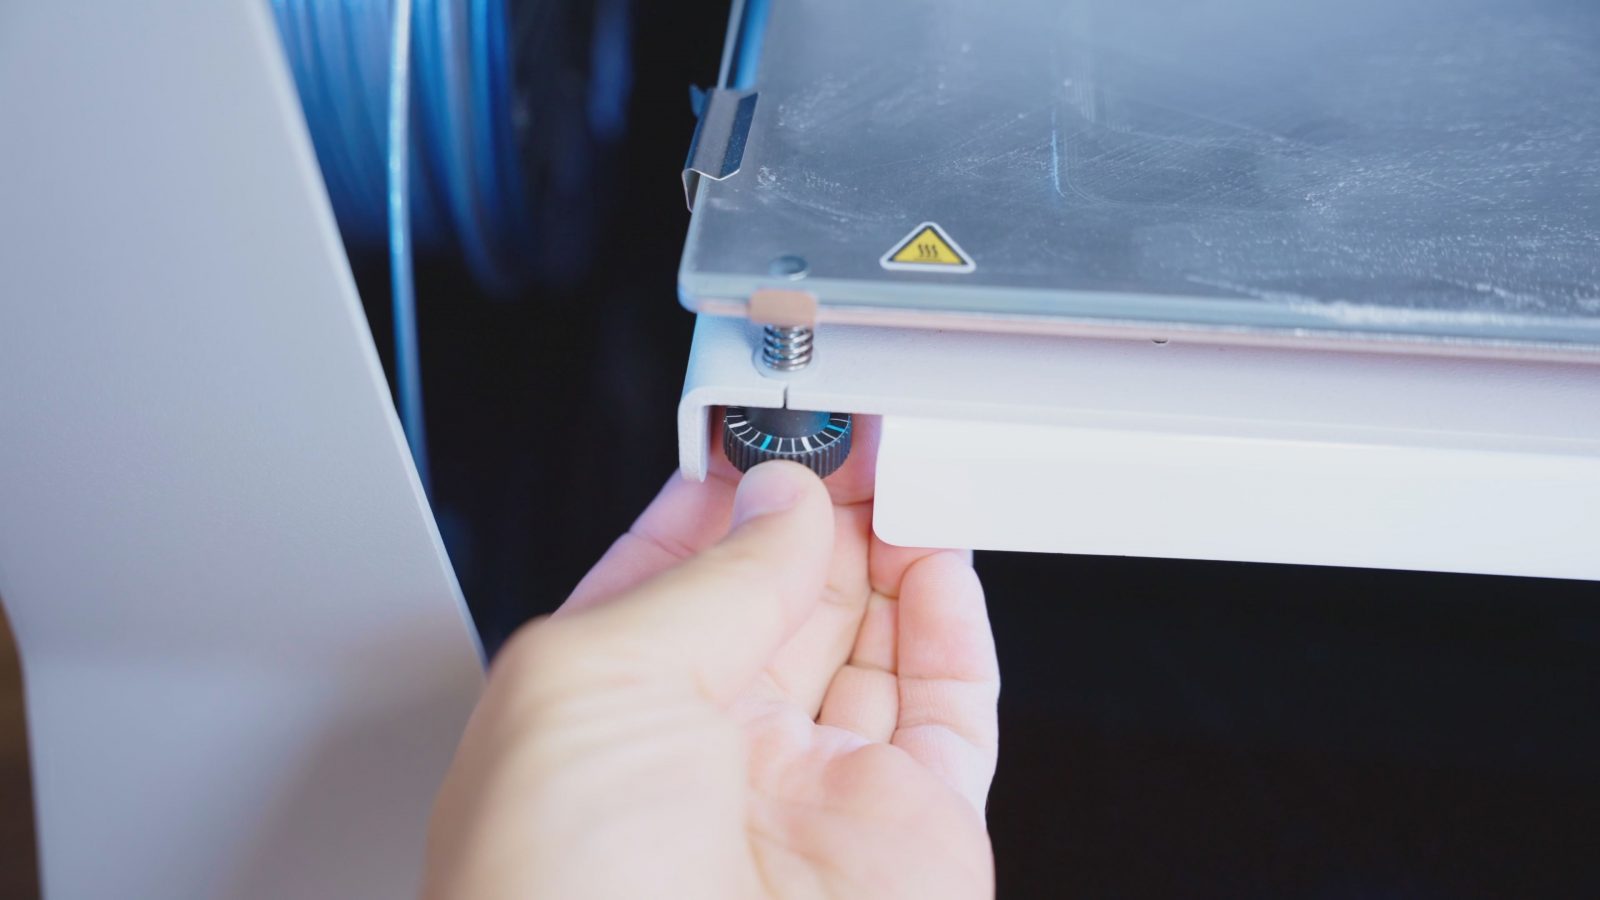
But not only is the print speed slow, but also heat-up times. It takes almost half an hour to get the bed up to temperature for printing PETG. It’s a silicone heater on an aluminum sheet, with a glass plate over top, this is a lot better than the massive airgap that was on the Sigma R17, but there’s an issue where the inserts on the aluminum sheet are sticking out and creating a bit of an air gap, as well as bending the glass a bit. First of all, this should be a flexplate, especially on a printer this big, and also, I was having some real trouble keeping this thing consistently level. Sure, the calibration wizard that tells you how far to turn the adjustment knobs to get the bed perfectly level is still absolutely fantastic and it works great, but I had to run it basically before every print to get especially larger parts to reliably stick.
Sometimes the nozzle was digging into the layer of glue stick on the bed, sometimes half of the first layer would be way too high, but it was rarely consistent. You can see it with the brim here, one half is perfect, the other was printed up so high that it’s not much of a brim at all.

Maybe it has something to do with the way the bed structure is mounted, using a pair of what looks like M3 screws threaded into this plastic Delrin block, in any case, it’s quite wobbly despite being a rather bulky construction.
Bed probing happens with a microswitch on either toolhead, the left one probes the left side, the right one on the right side, and both probe the front, but unfortunately that’s not being used for mesh bed leveling, it’s just for the calibration assistant. Maybe adding that layer of auto mesh leveling on top of the pretty good mechanical leveling would solve the first layer problems I was having with the Sigma D25.
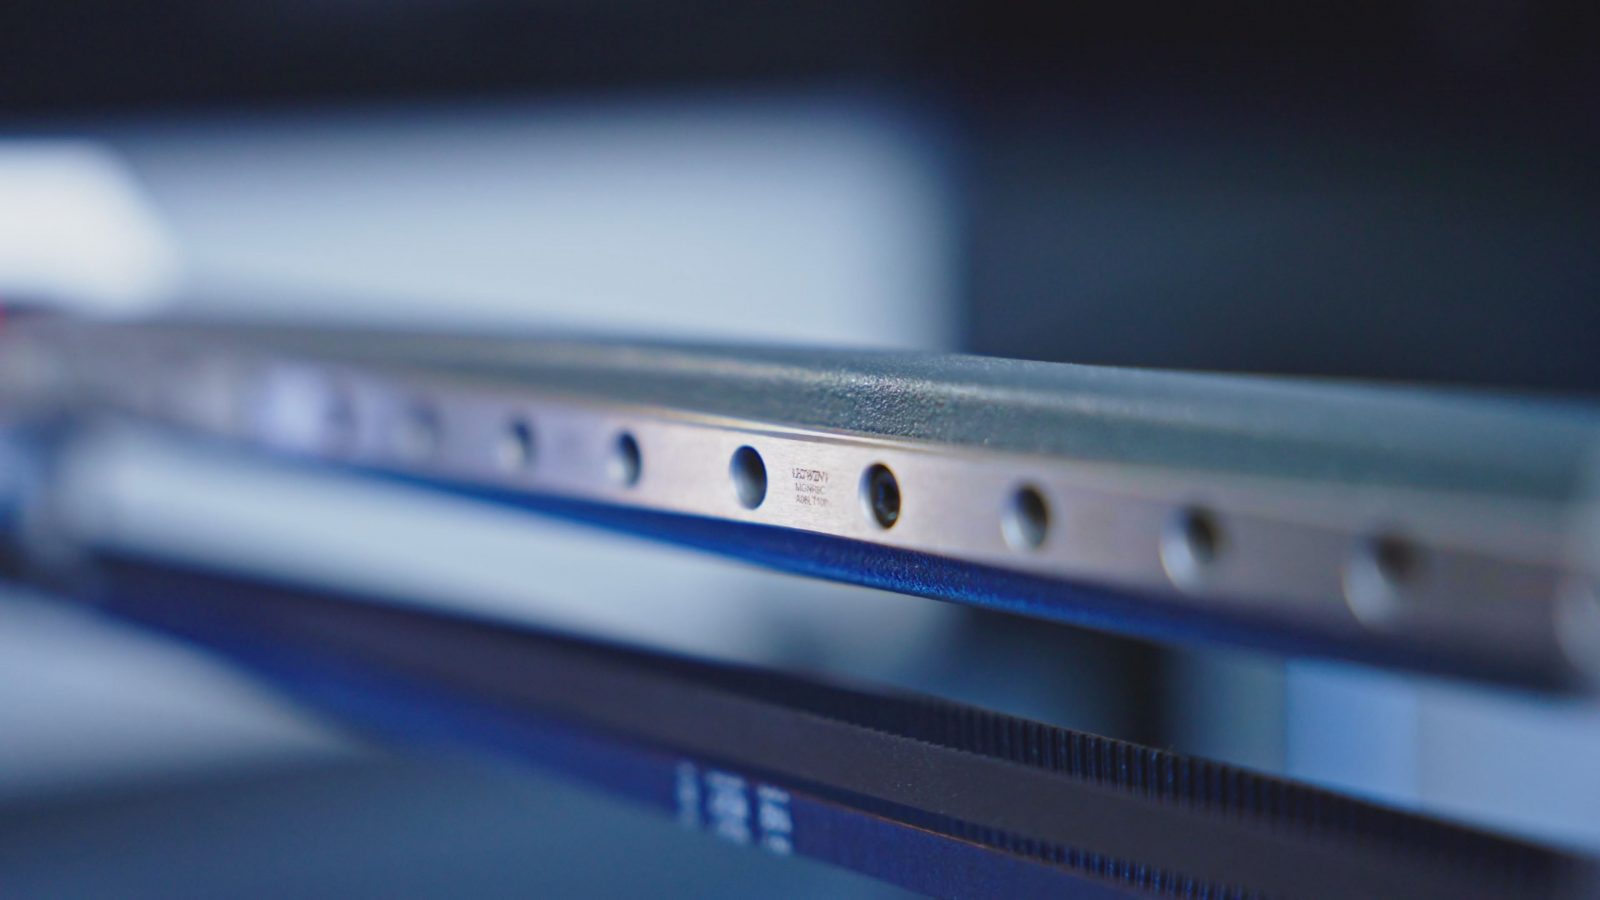
It is overall a printer that doesn’t cheap out on parts – you got genuine Hiwin rails on X and Y, and if you look down into the electronics compartment, it’s basically textbook wiring in here.


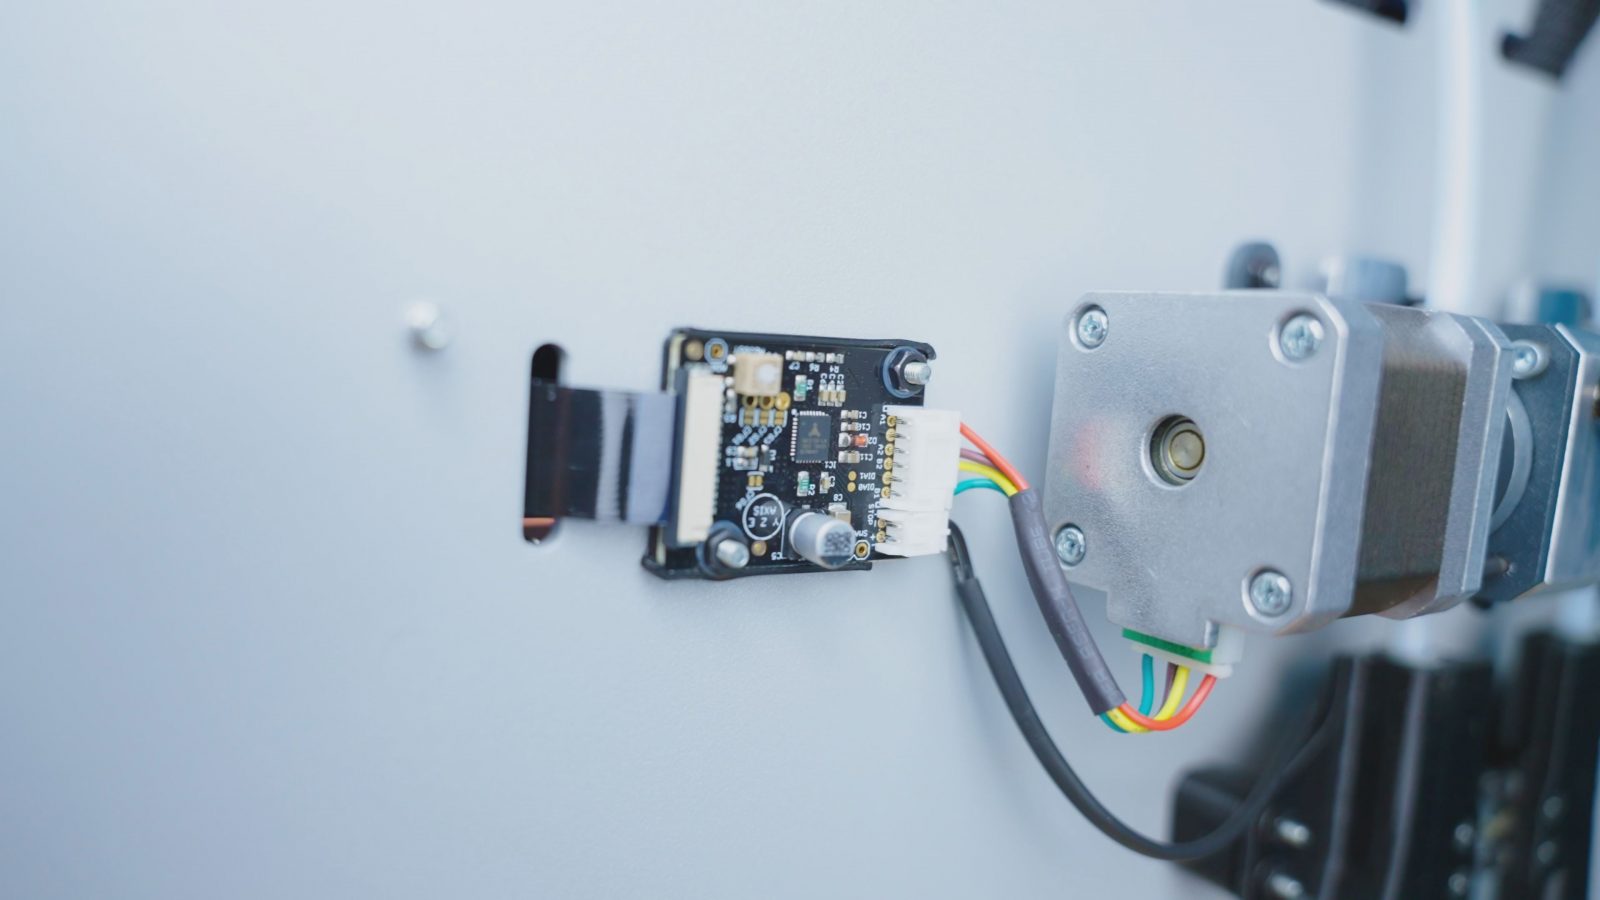
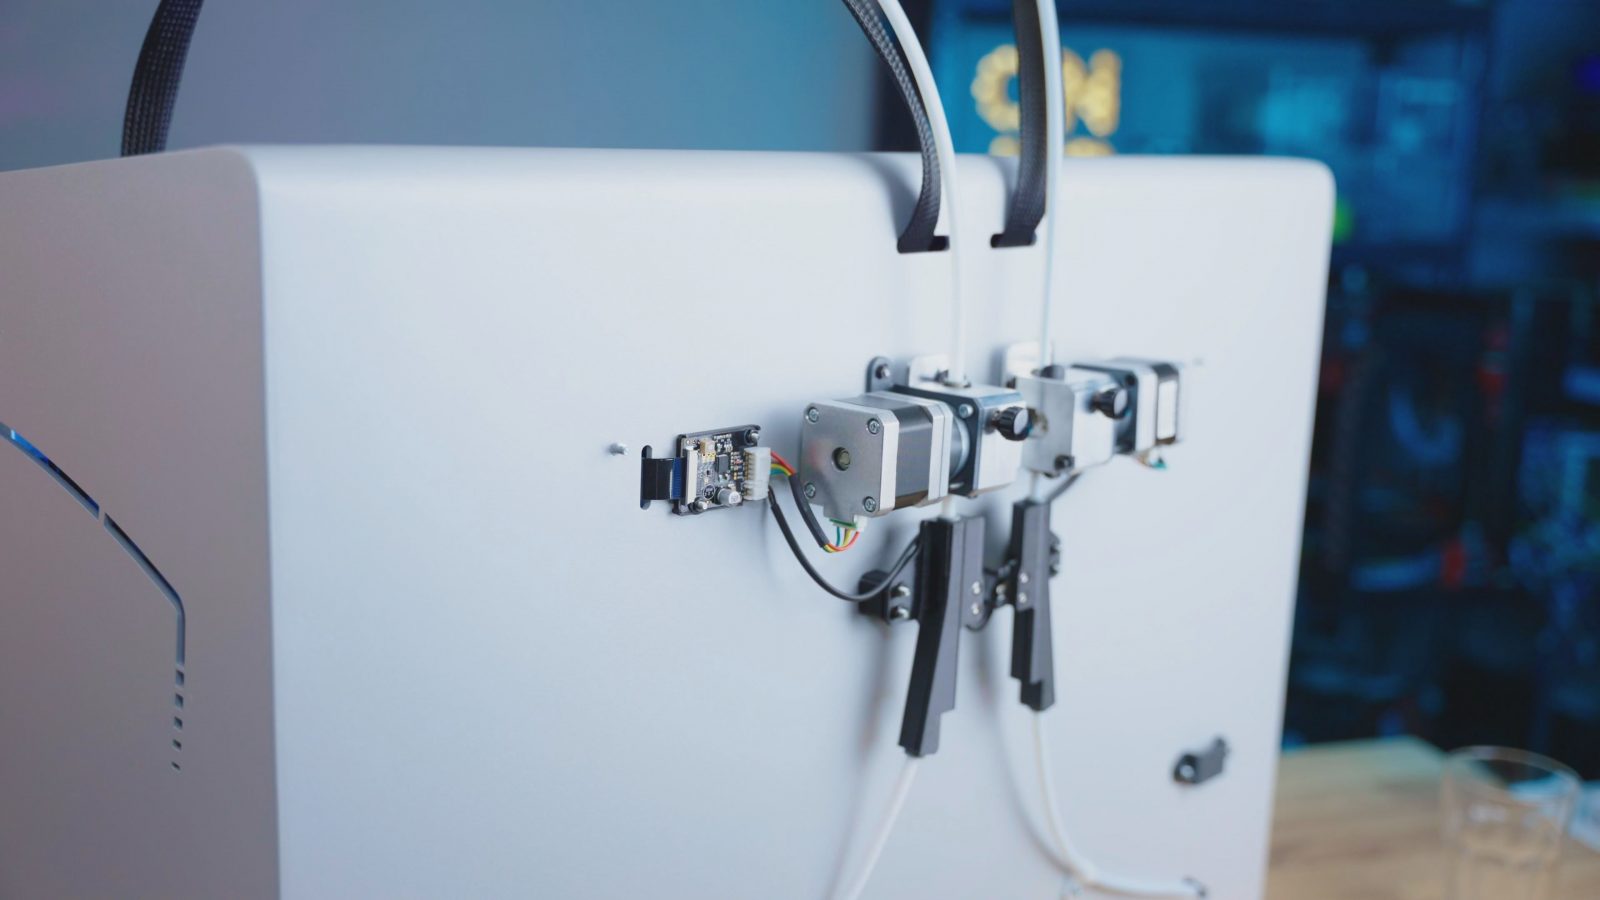
It uses two Meanwell power supplies, one is dedicated to the heated bed, the other is for the rest of the printer, they’ve got a Linux board in here that does networking and controls the touchscreen and the mainboard, which, interestingly, has no motor drivers on it, because those are all right next to the stepper motors they’re driving. That’s a great solution to reduce the wiring length of the switched motor wires, which helps with electromagnetic compatibility and motor performance. Though maybe I wouldn’t have used an SSR to switch the 24V heated bed, as an SSR tends to waste quite a bit of power and a decent MOSFET would probably have cut down heat up times a bit, but it works.
Touchscreen
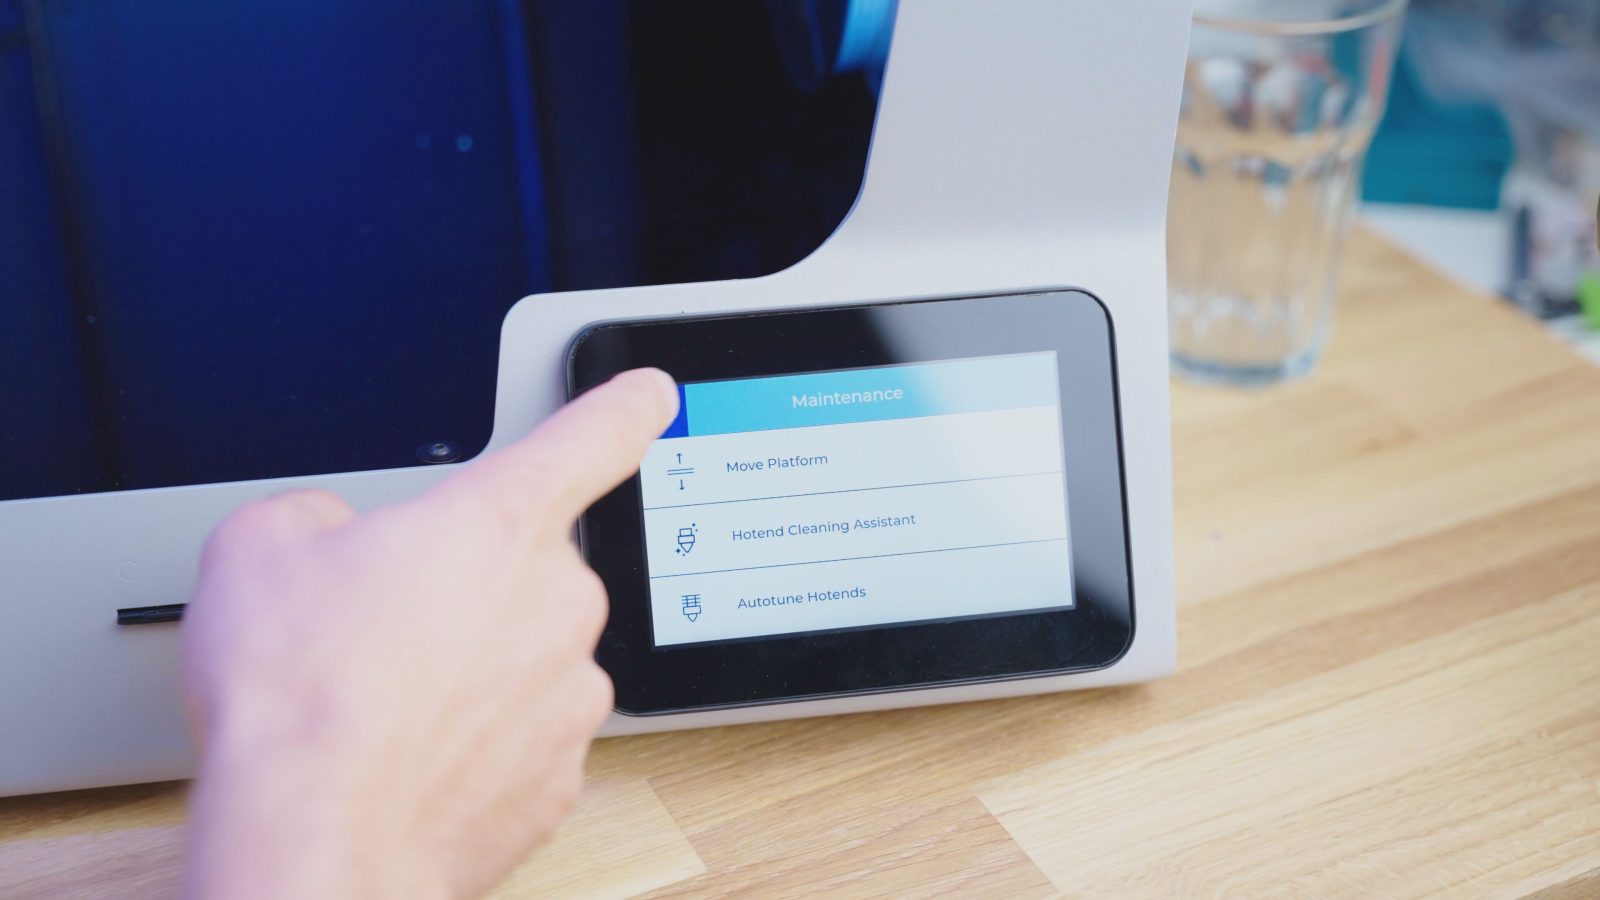
The touchscreen on the front of the printer is beautiful. It’s large, it’s super bright and it does have adjustable brightness, and it’s one of the few touchscreen interfaces that work really well. Maybe that’s because it doesn’t actually do many of the “advanced” features like being able to set a temperature manually on the hotends, and in some edge cases using for example the assistants for swapping filament can be a bit counter-intuitive because it forces that workflow onto you, but overall it is a fairly polished experience.
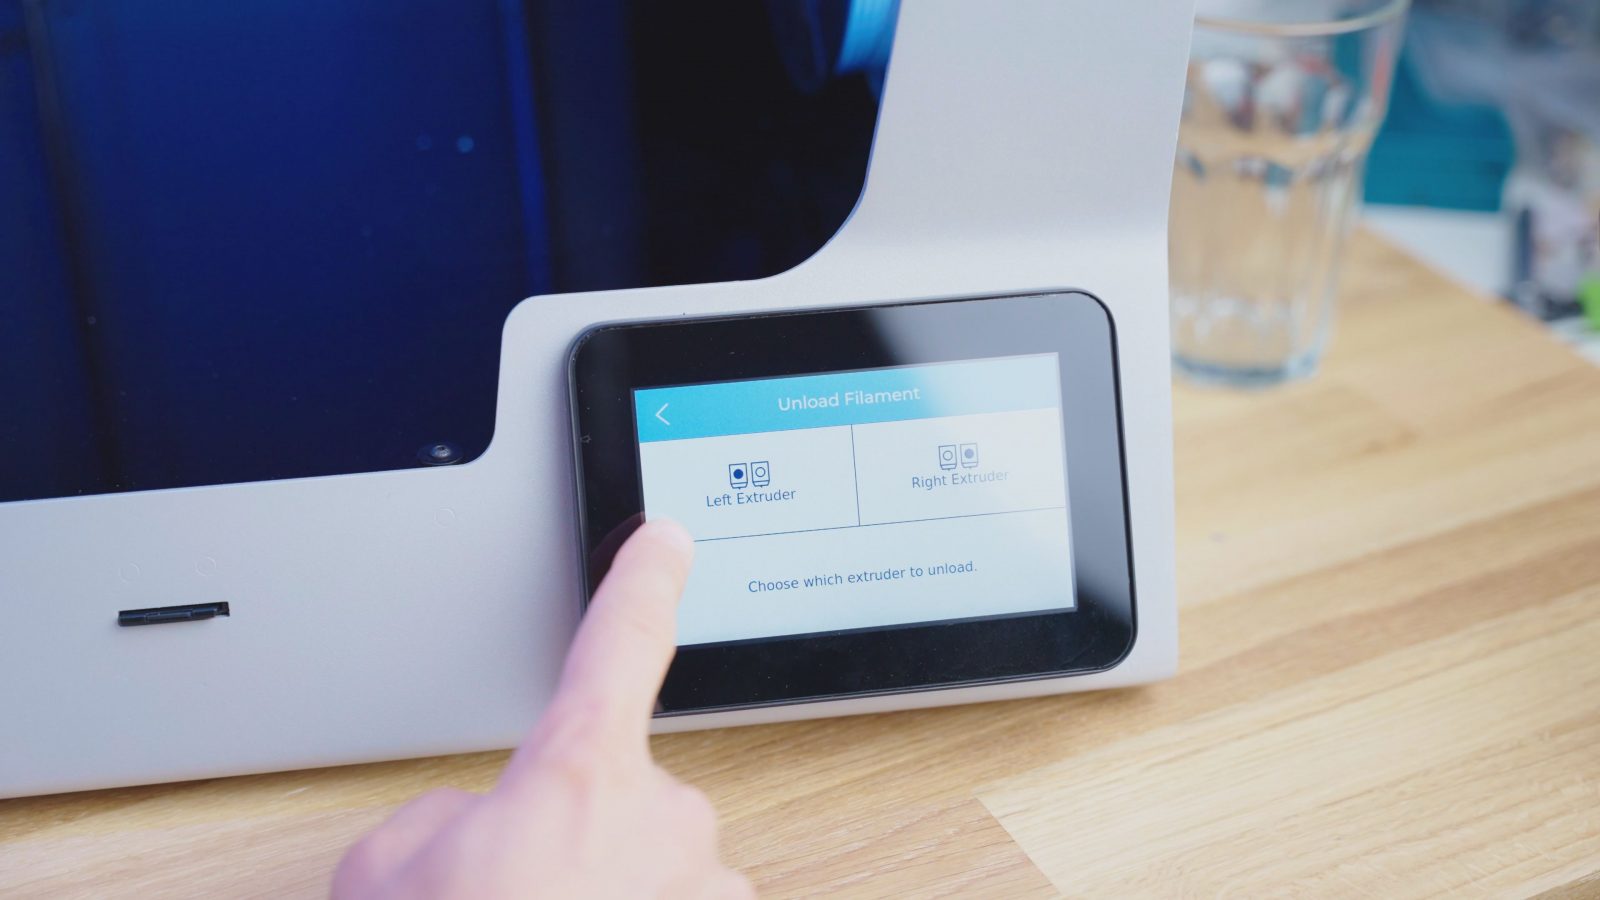
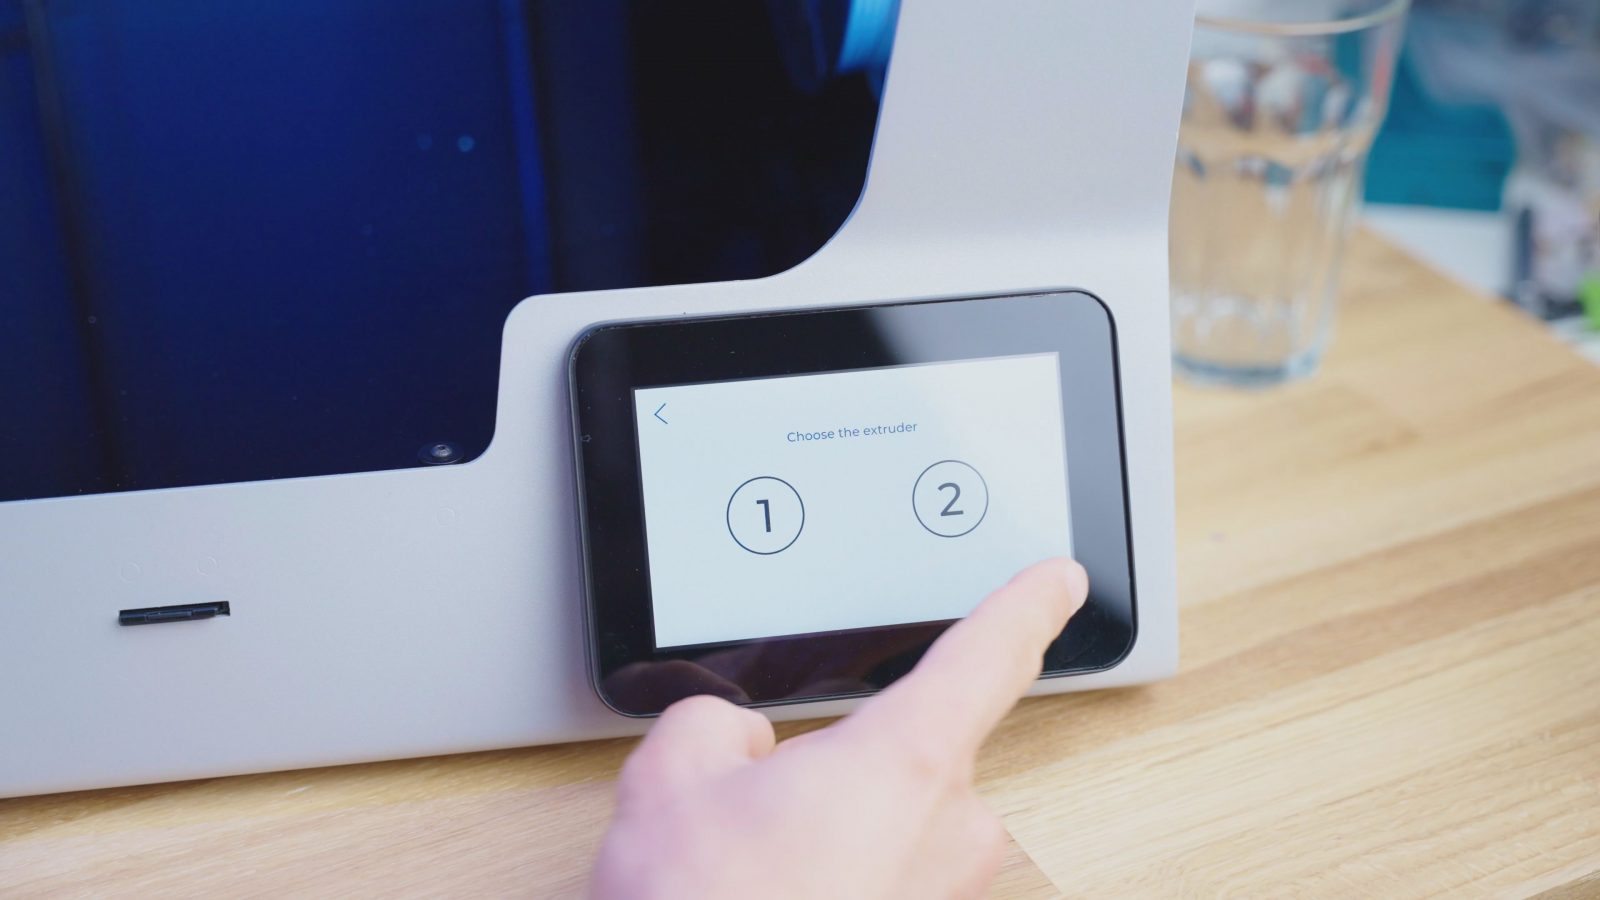
Though on the topic of swapping filament, that’s actually one of the spots where you do get to see a bit of roughness still, first of all, when unloading filament, the two toolheads are called “left” and “right”, but when loading, you can see it’s a totally different UI experience and now they’re called “1” and “2”, and also, I had some trouble loading the left extruder once when I had PLA break inside the feed tube because as it turns out, it wasn’t actually feeding just the left extruder, but every time I pressed “feed more filament” it would switch between feeding the left, and then the right, and then the left extruder and so on. That still needs a bit of work. Also, I wish they made use of that beautiful color touchscreen a bit more, for example with print previews, or even just telling you which materials a part was sliced within the overview list or how long it’s going to take. It does stop you from printing with the wrong materials loaded, so that’s nice.
Filament System
The filament system is pretty slick with options to mount your spools either inside the printer if you only have access to it from the front, or on the back, and then you’ve got this multiplexer bit that allows you to feed filament into the same extruder from either path.
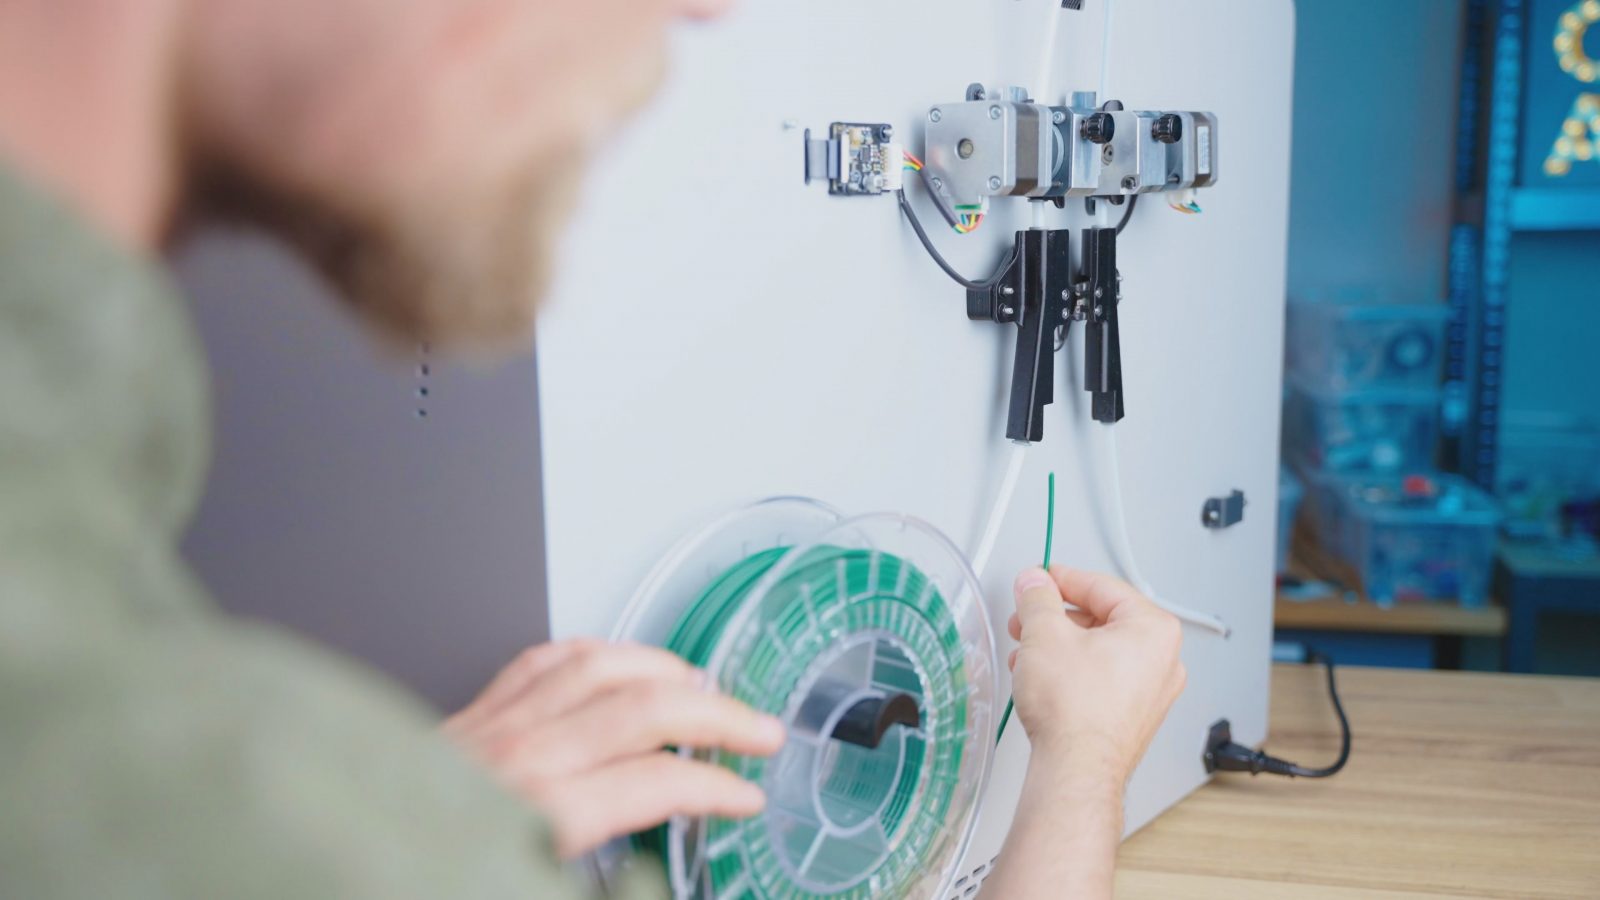
Do you know what I would love to see, though, since the Sigma already has a pair of filament sensors? Continuous printing for single-material prints, where you load two identical spools of filament and then it automatically swaps over to the other one when one is empty.
Look and Finish
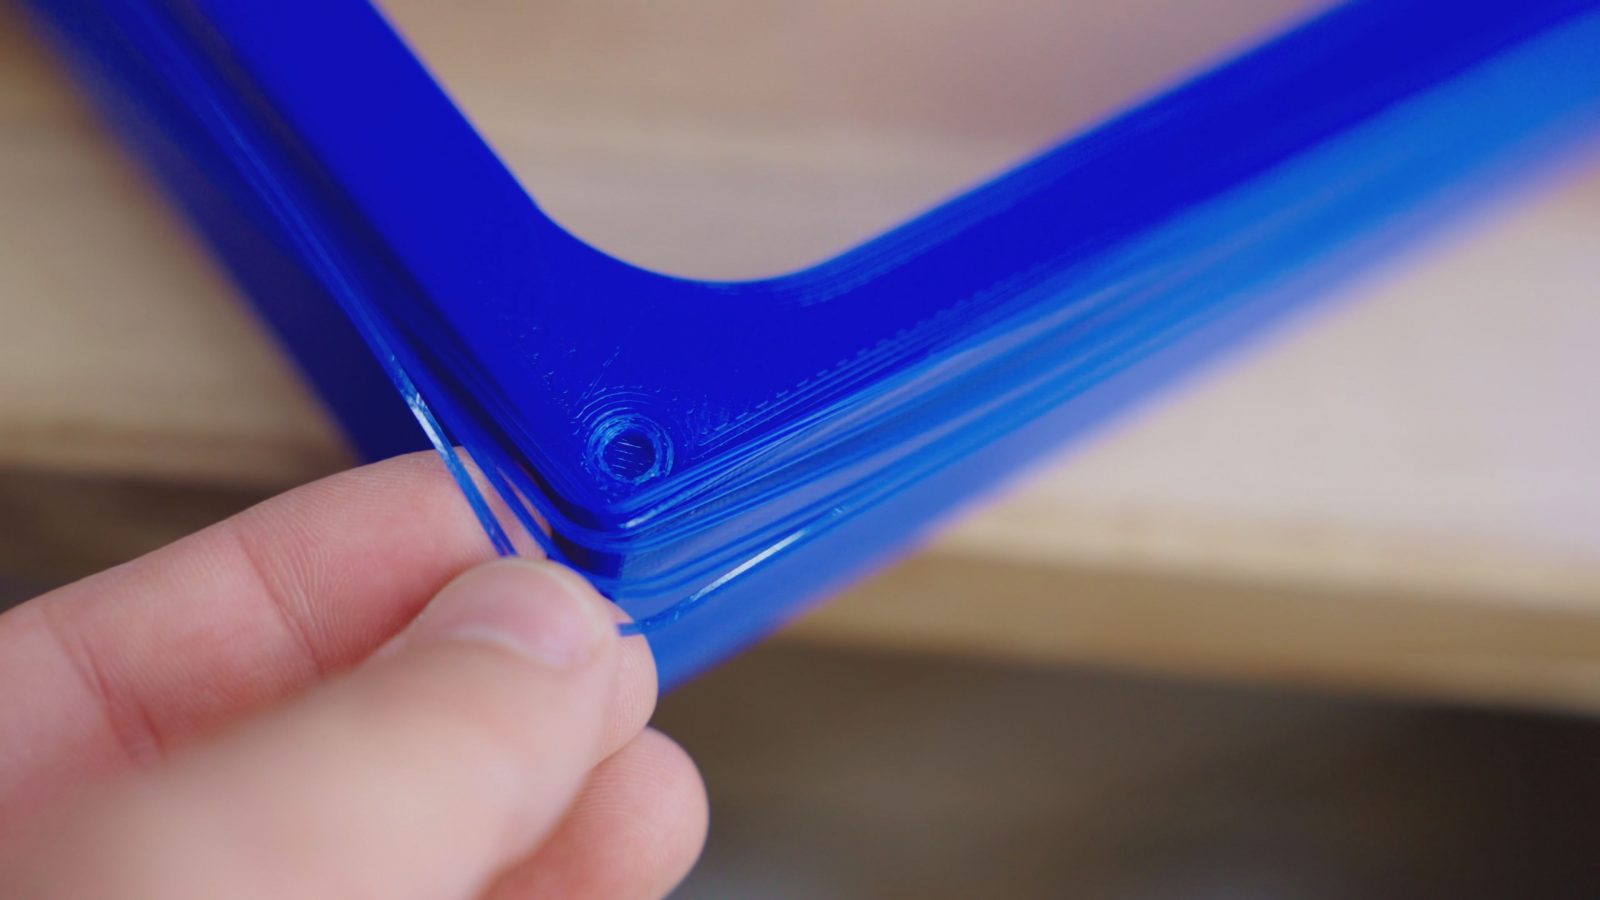
If you look at the printer close-up, you can very clearly tell that this is more on the side of being a hand-crafted, low-volume machine. First of all, everything is very simple, either sheet metal, or laser cut acrylic, or simple CNC-machined blocks, and some spots like the frame are a bit rough-looking, with swarf from the laser cutting process still being very visible under the powder coat, or, on this particular machine, two of the frame panels actually opening up to a gap.
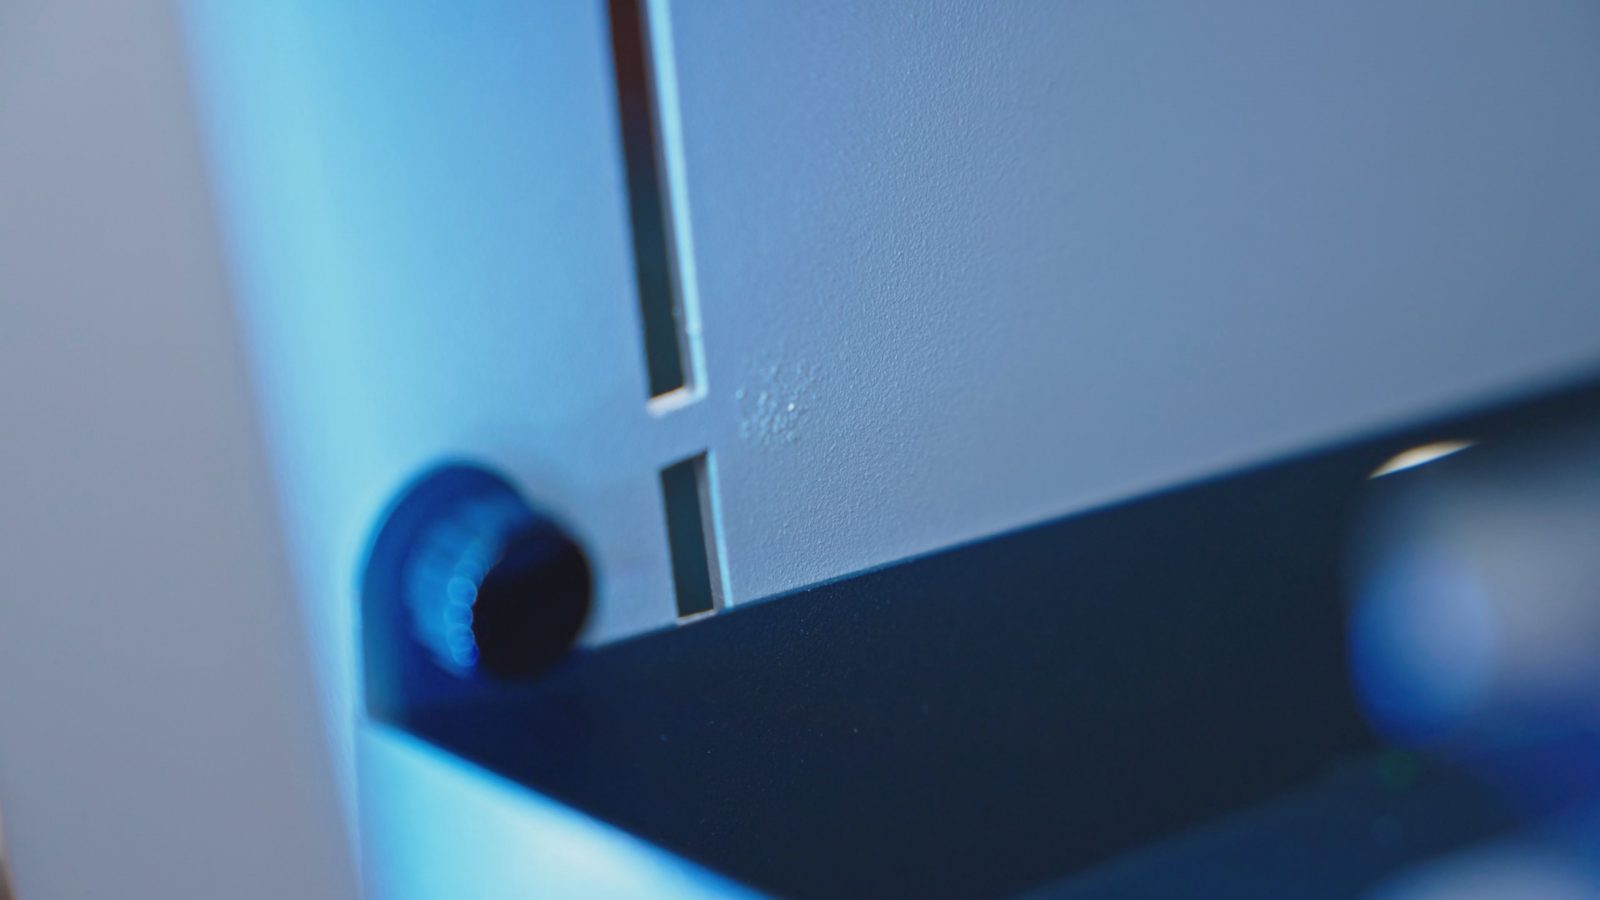
They do a great job of making the Sigma look like a polished, professional machine, but there’s no denying that it does still have a bit of that low-volume, artisan flair to it.
Loudness and Noises
Because it is a mostly metal frame with no plasticky bits in the motion system, it is also a rather loud machine. Sure, it’s got Trinamic drivers, but every bit of noise and vibration is being transferred straight through the entire frame. The fact that they’ve got a pair of fairly noisy always-on fans doesn’t matter at that point, but yeah, it’s not a particularly smooth-sounding or even a silent machine.
Conclusion
I find it fascinating how much there is to say about a machine when it’s not just another cookie-cutter recipe, and again, my hat comes off for BCN3D doing so many things on this printer that are innovative and different and unique. As I said, if you need the capabilities of this printer, there’s nothing else that fits the bill – especially not for the price. Sure, if you just plan on running this in duplication mode, just get a pair of Prusas for half the price, but for large-format and dual extrusion prints, this is it. The first layer issues and the honestly, just straight-up bad PLA profiles are a bit of a showstopper for me, but I’m sure the profiles are going to get updated and the situation with the bed might be a fluke on this very printer only.
In any case, the Sigma series does hold a very special place in my heart simply because it is such a unique printer.
💙 Enjoying the videos? Support my work on Patreon!
Product links are affiliate links – I may earn a commission on qualifying purchases (at no extra cost to you)

Check out my second channel “More Layers” on YouTube for livestreams