
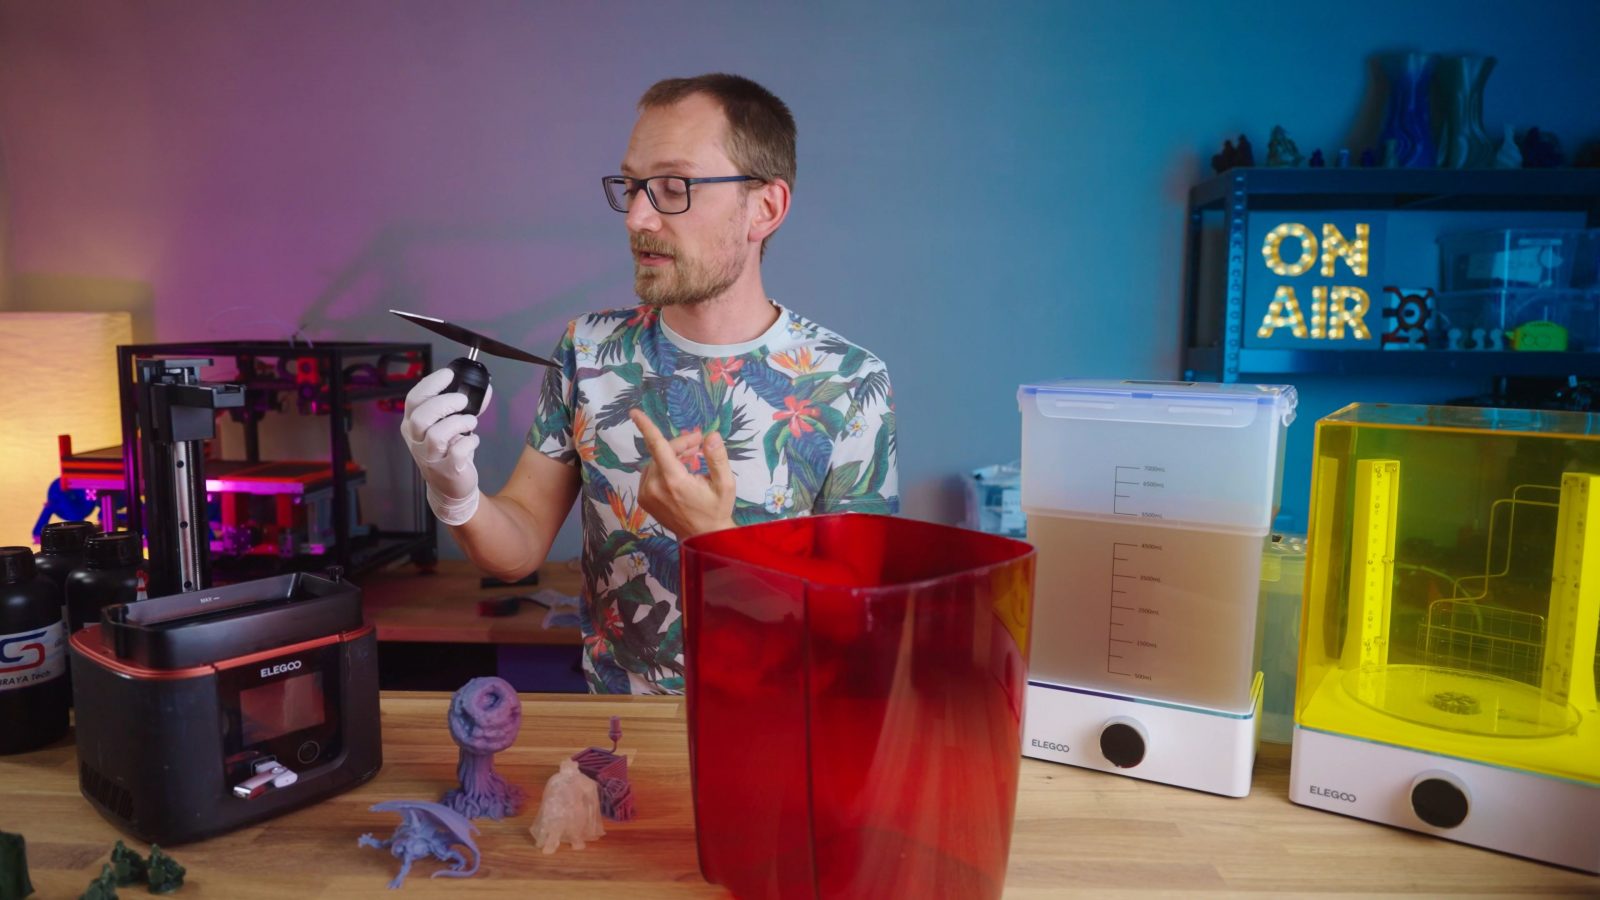
So this is Elegoo’s newest resin printer, the Mars 3. It seems like these machines are basically on an annual release cycle now, where it’s the same as with smartphones – new major release every year, and then a “Pro”, “A” or “C” version in between. But sort of alongside the Mars 3, they also released the Mercury X bundle, which is a set of a cleaning and curing machine that fits the Mars 3 and now finally, also the Saturn. The Saturn didn’t use to have any matching washing station, and that’s something I find is essential for using a resin printer properly.
So today we’re going to check out the Mars 3 and the Mercury X and we’re also going to have a look at the situation around the restrictions that now come with the Chitu ecosystem that Elegoo and basically everyone is using to build their machines.
What´s New with the Mars 3?
Just like the upgrades between the previous generations, it’s now again got a slightly larger build envelope, higher resolution on a monochromatic screen, and stronger UV LEDs that allow it to cure layers faster.
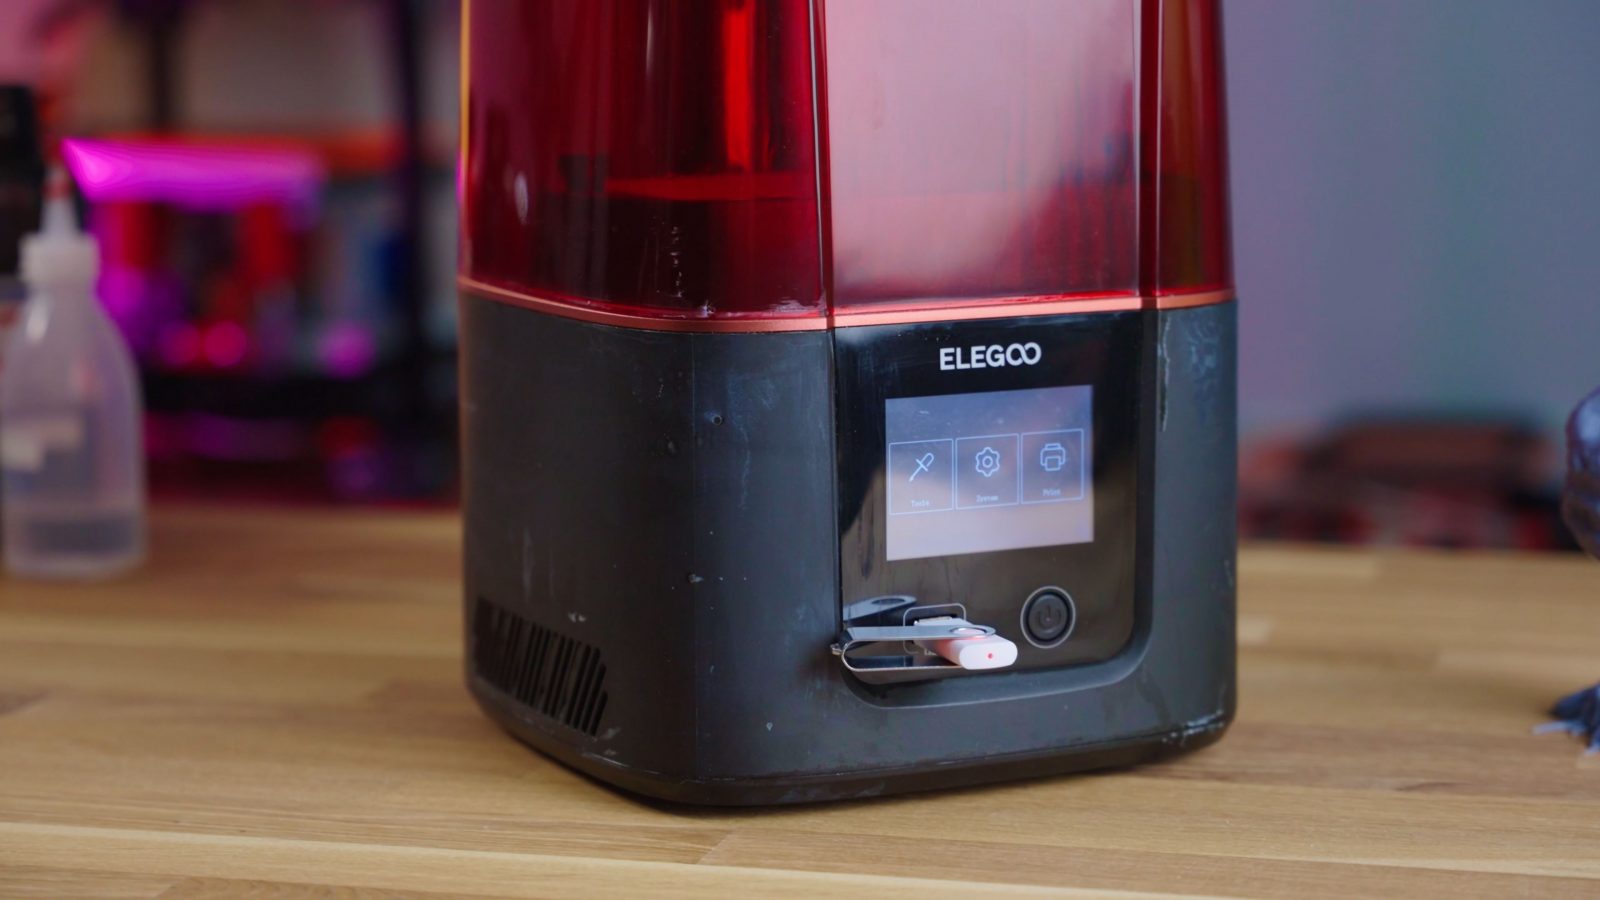
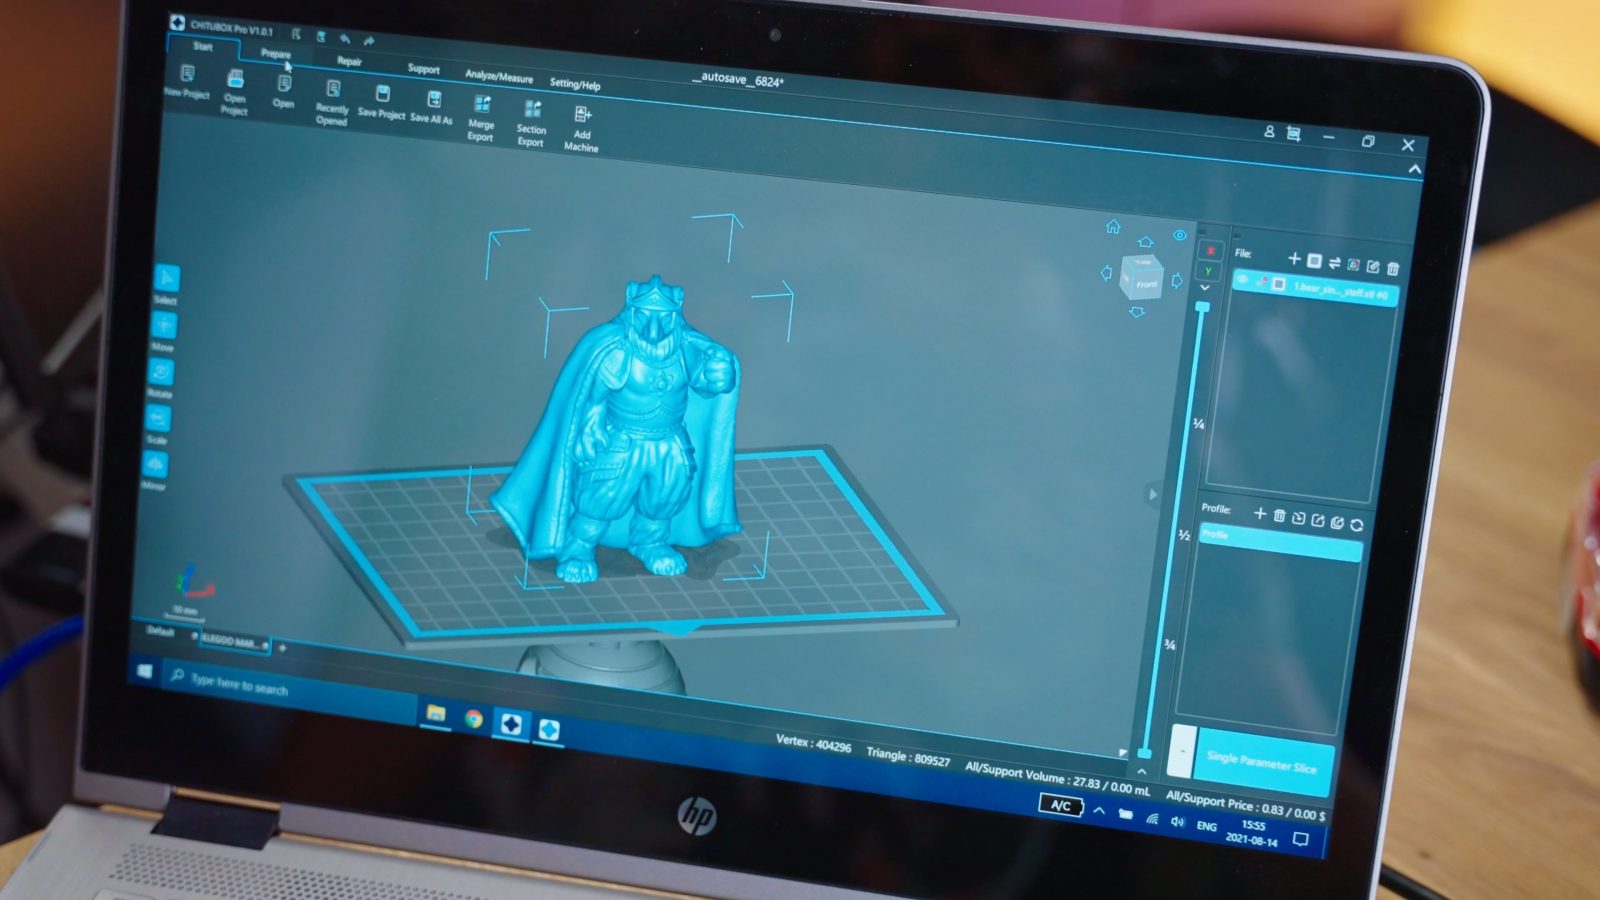
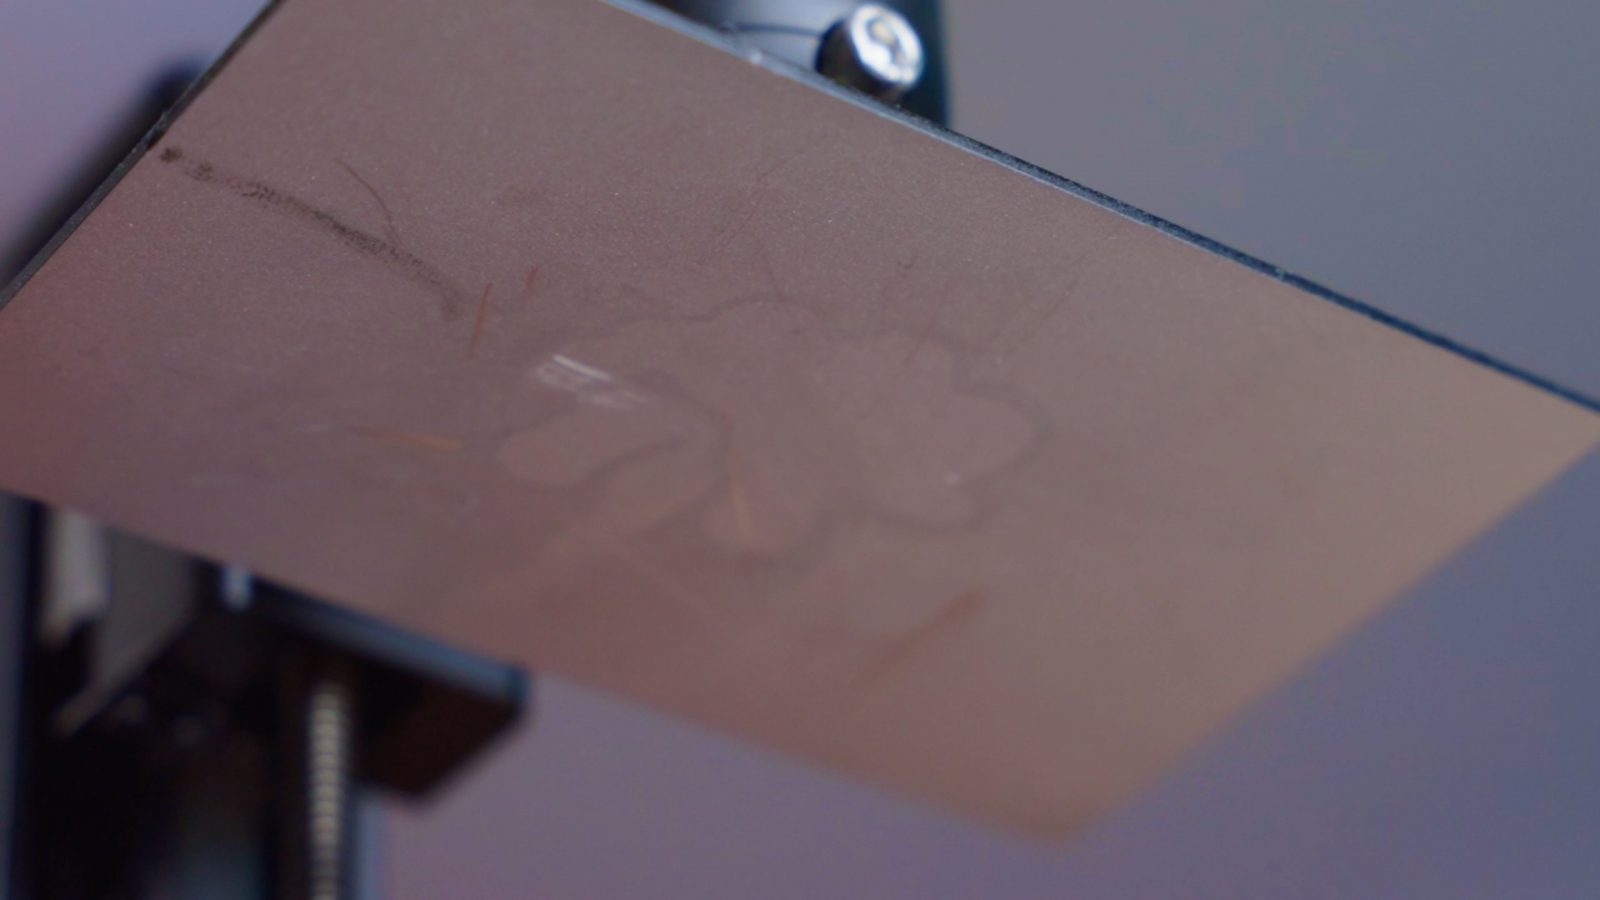
It also comes with a one-year license of the Chitubox Pro slicer, which does a lot of things that the basic, free Chitubox non-Pro can’t do. It gives you a lot more control over the slicing process, but more on Chitu later. On my machine, you can also see that’s it’s quite messed up already – I managed to slosh resin out of the vat when I tried to turn the Mars 3 around for the camera, but I expected the weight and friction of the earlier Mars machines. This one is a lot lighter, so I almost yeeted it across the room. And of course, the resin didn’t exactly stay in the vat. It’s fine after a bit of cleanup.
But the Mars 3 is not just a more capable printer, it’s also one that feels like it’s finally been cost-optimized. Aside from it feeling very light and therefore pretty cheap, that’s not really a bad thing. With the injection-molded base and lid, it’s not really any less sturdy or functional, but it means that they’ll have more budget to spend elsewhere on the machine. One downside that I noticed is that the lid and base don’t seem to be entirely resistant to either the resin or the ethanol I usually use to clean up around resin printers, and especially on the lid, you can actually see the plastic getting matte where I tried to clean off some of the resin splashes. I actually saw some of the red plastic starting to rub off.
You still get the quick-release ball head-adjusted bed platform, this time around they’re again using a sandblasted surface, and the only moving in the entire printer part aside from fans, the Z-axis, is super robust and well-built, perfect for the job.
For the actual resin printing hardware, it’s a really nice upgrade over the previous Mars printers as well.
4K Screen
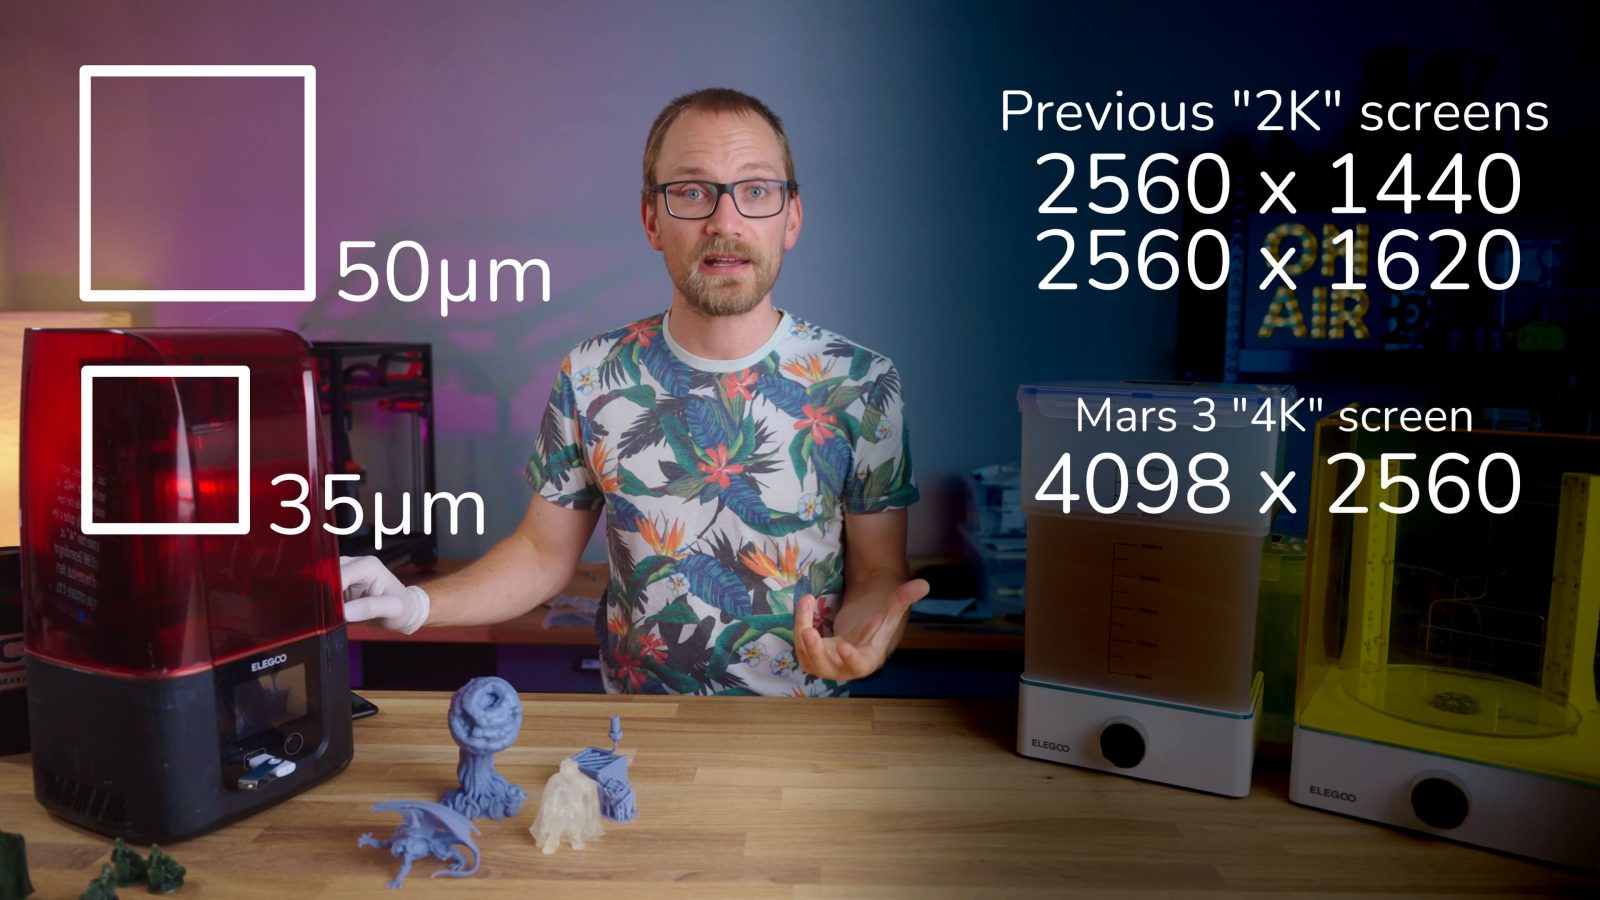
Now, the 4k screen is of course the big feature, but it’s not that life-changing as it first sounds.
The previous machines all had around a 50µm pixel size, the Mars 3 is now down to 35µm. The previous screens, even though they were being called “2k” screens, were more like 2.5k or 1440p, so around 4MP, while the new screen is actually quite a few pixels more than “4k” at about 10.5MP.
Prints
Depending on which of the previous Mars printers you compare it to, you see more or less of a difference from that in the finished parts – in my experiments, with antialiasing working, the Mars Pro actually had the smoothest surface reproduction, while the Mars and Mars 2 Pro had very visible voxels, which is noticeable even without a crazy macro lens in the way the surface reflects light.
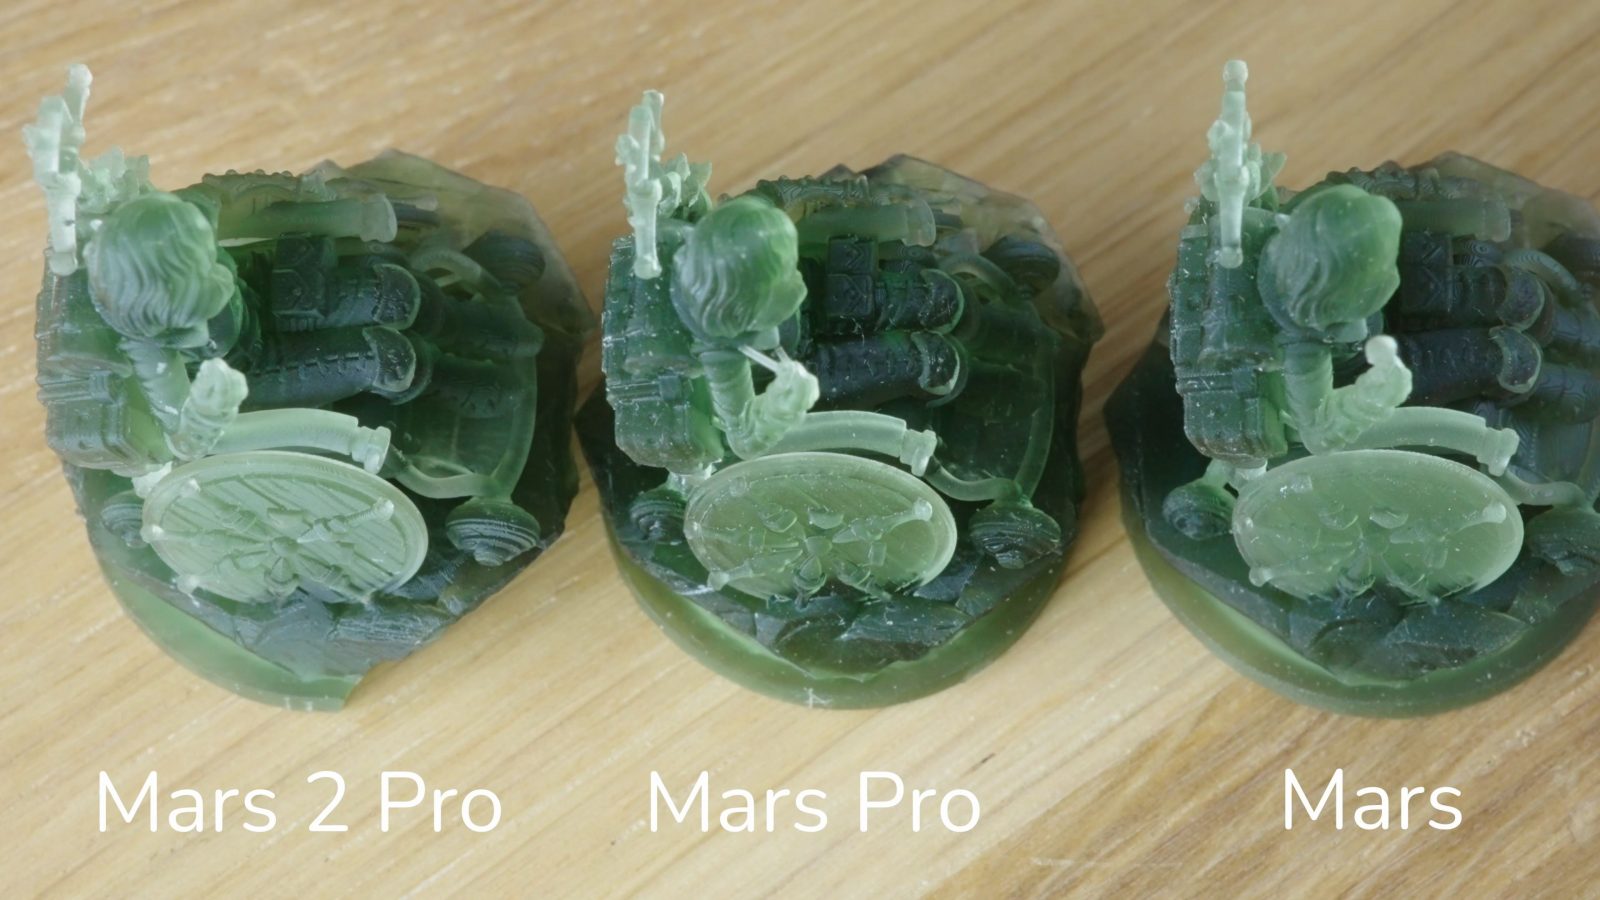
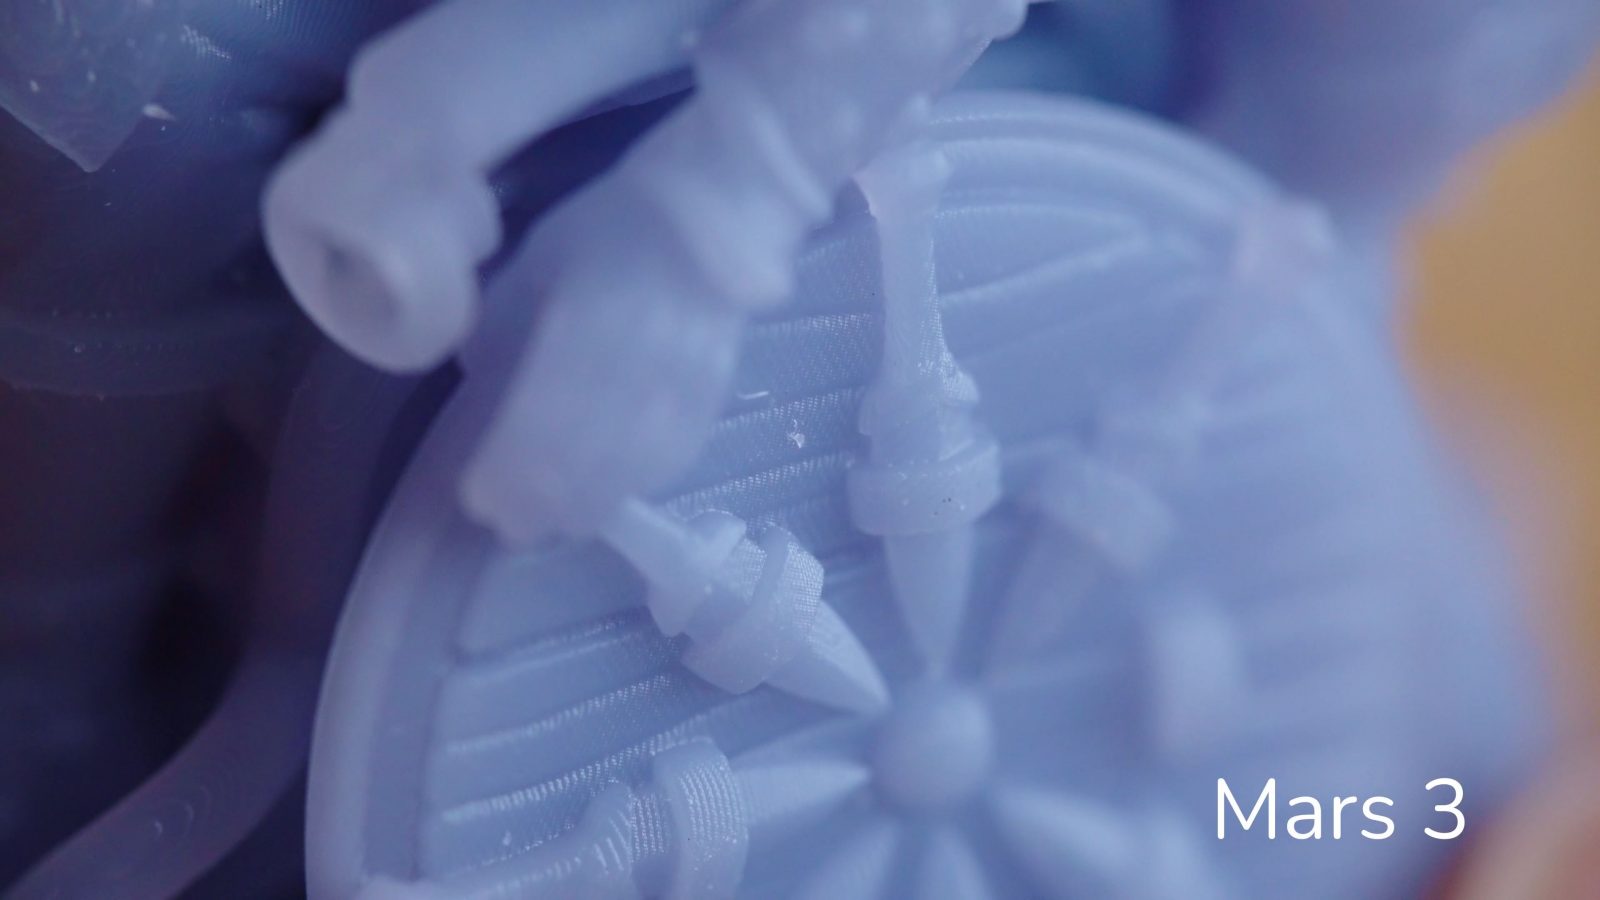
For example, the shield here has a bit more shimmer on those machines and is smoother on the Mars Pro and the Mars 3. So the extra resolution is not really going to give you extra detail reproduction, even the original Mars was already really good at that, but it is going to make surfaces smoother.
For print times, it’s pretty similar to the Mars 2 Pro – at the default 50µm layer height, the vertical build speed is almost identical, but of course, you do get a slightly larger bed, and since the entire surface is cured at the same time, the more you fill it up, the less printer time each item is going to take up. The only thing that matters is how tall the items in your print are, not how full the bed is as with filament-based printers.
Overall, the Mars 3 itself is good, it’s a really good machine and it’s nice progress over the previous machines. It does lack the activated charcoal air filter from the Mars Pro series, but honestly, as long as the lid sits properly on the printer base, there’s practically no air gap anyway so really, the only times that any fumes and smells would escape is when you lift the lid to fill the resin or remove your prints.
Washing and Curing Station
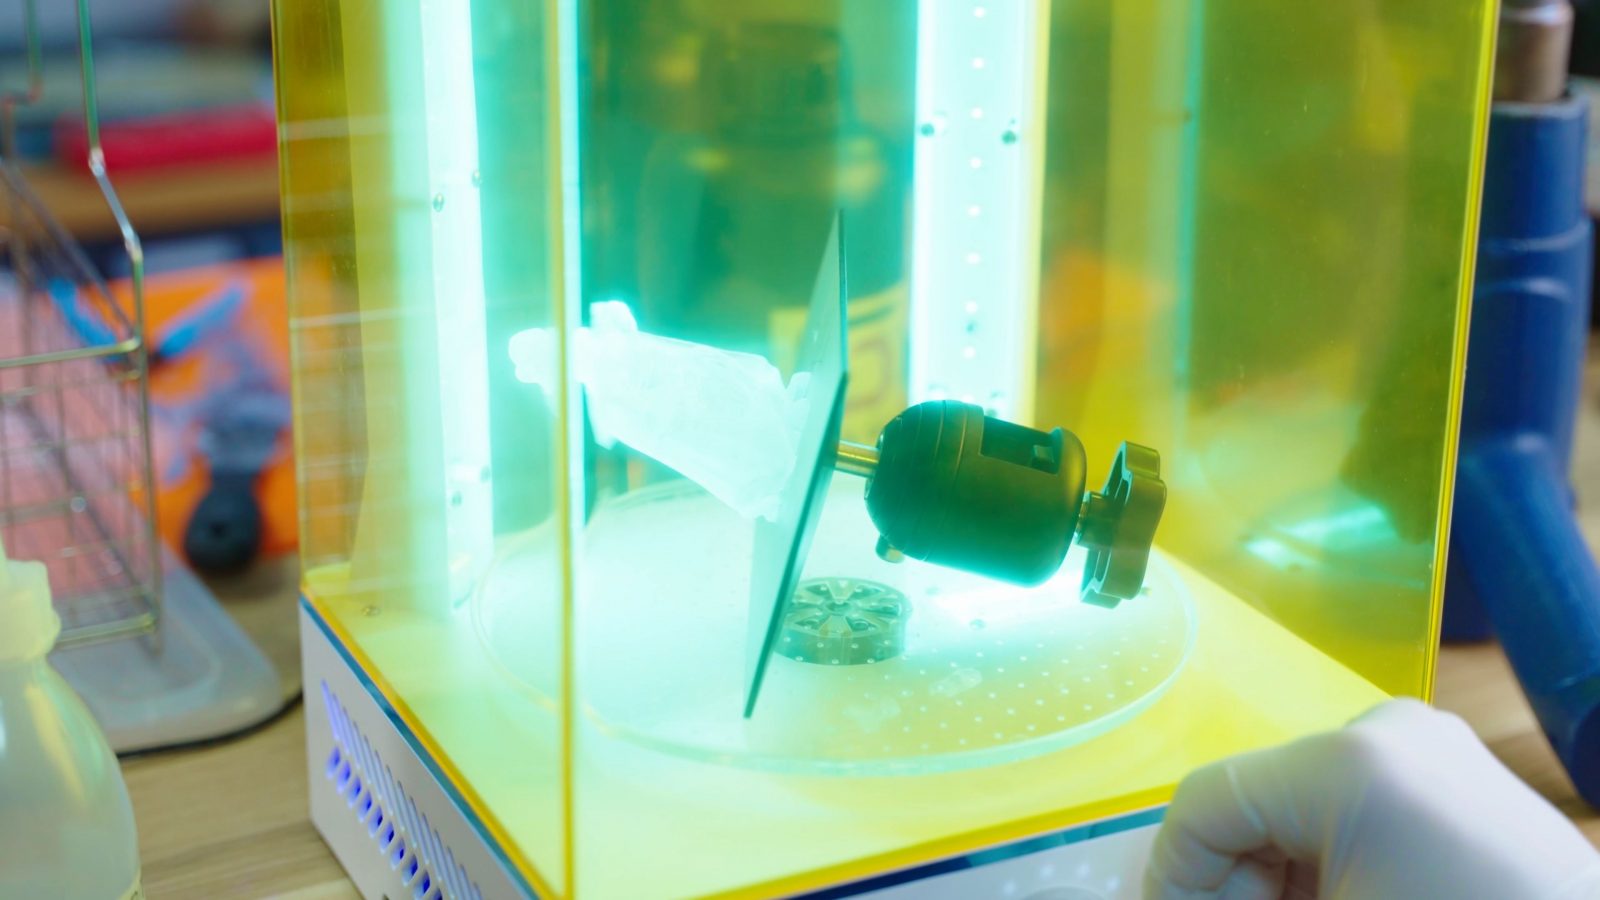
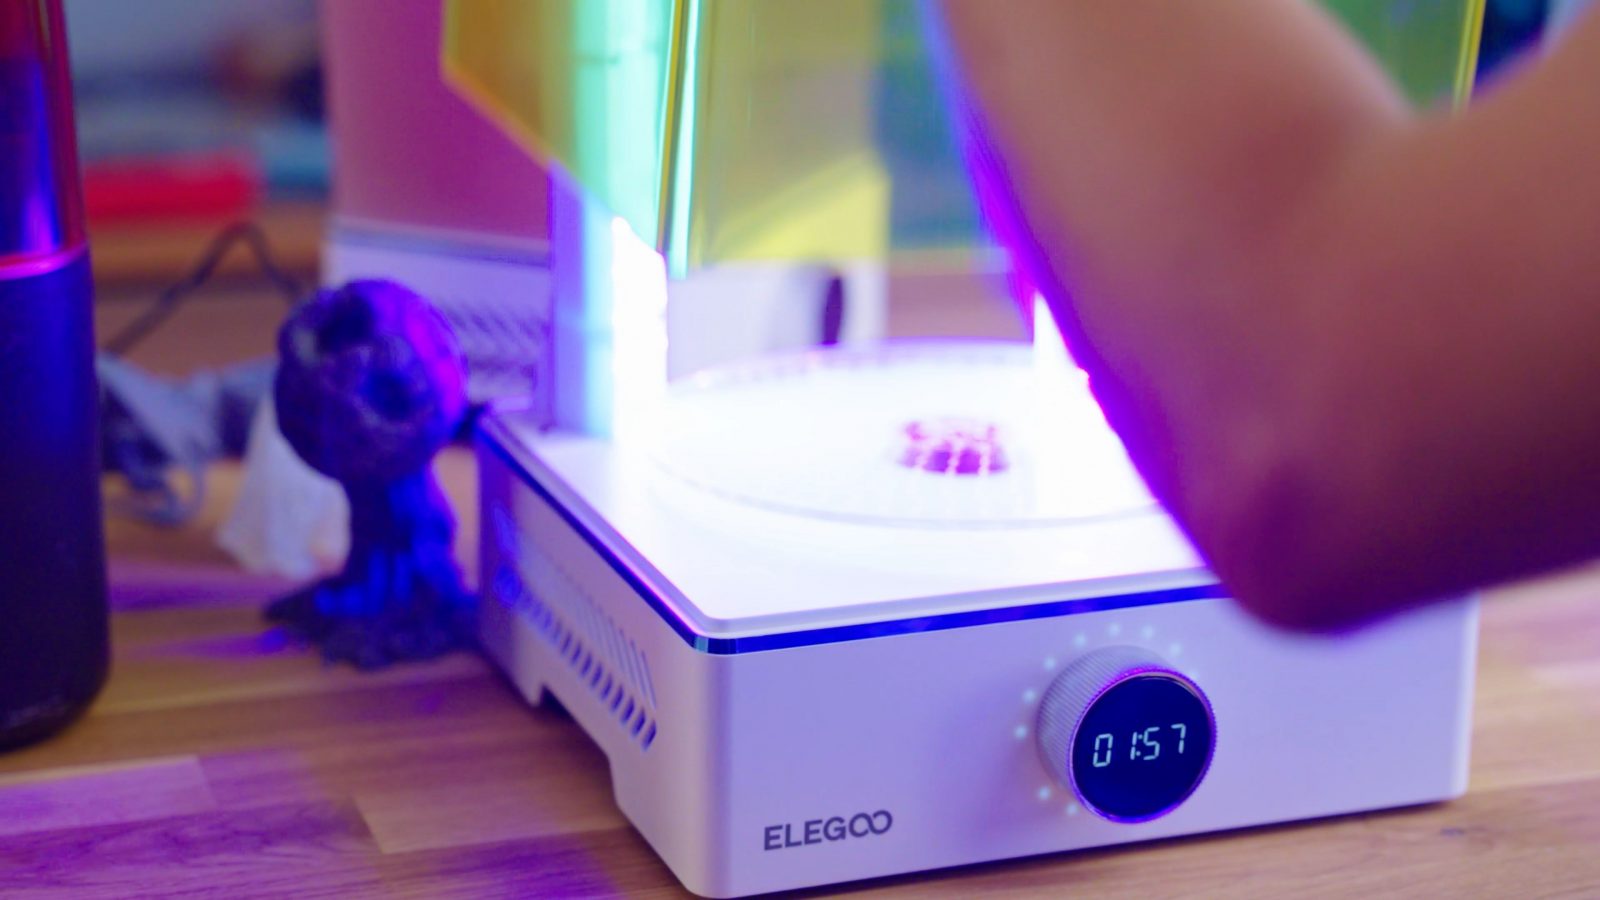
But of course, no resin printer is complete without a setup to wash and cure the parts once they come off the printer. Elegoo used to have the Mercury curing can and the Mercury+, which was a Prusa CW1-style 2-in-1, where you have to take out the cleaning tank to then use the same machine for curing, the Mercury X bundle now is two separate machines, and they come in at $150 for both, which I think is pretty good.
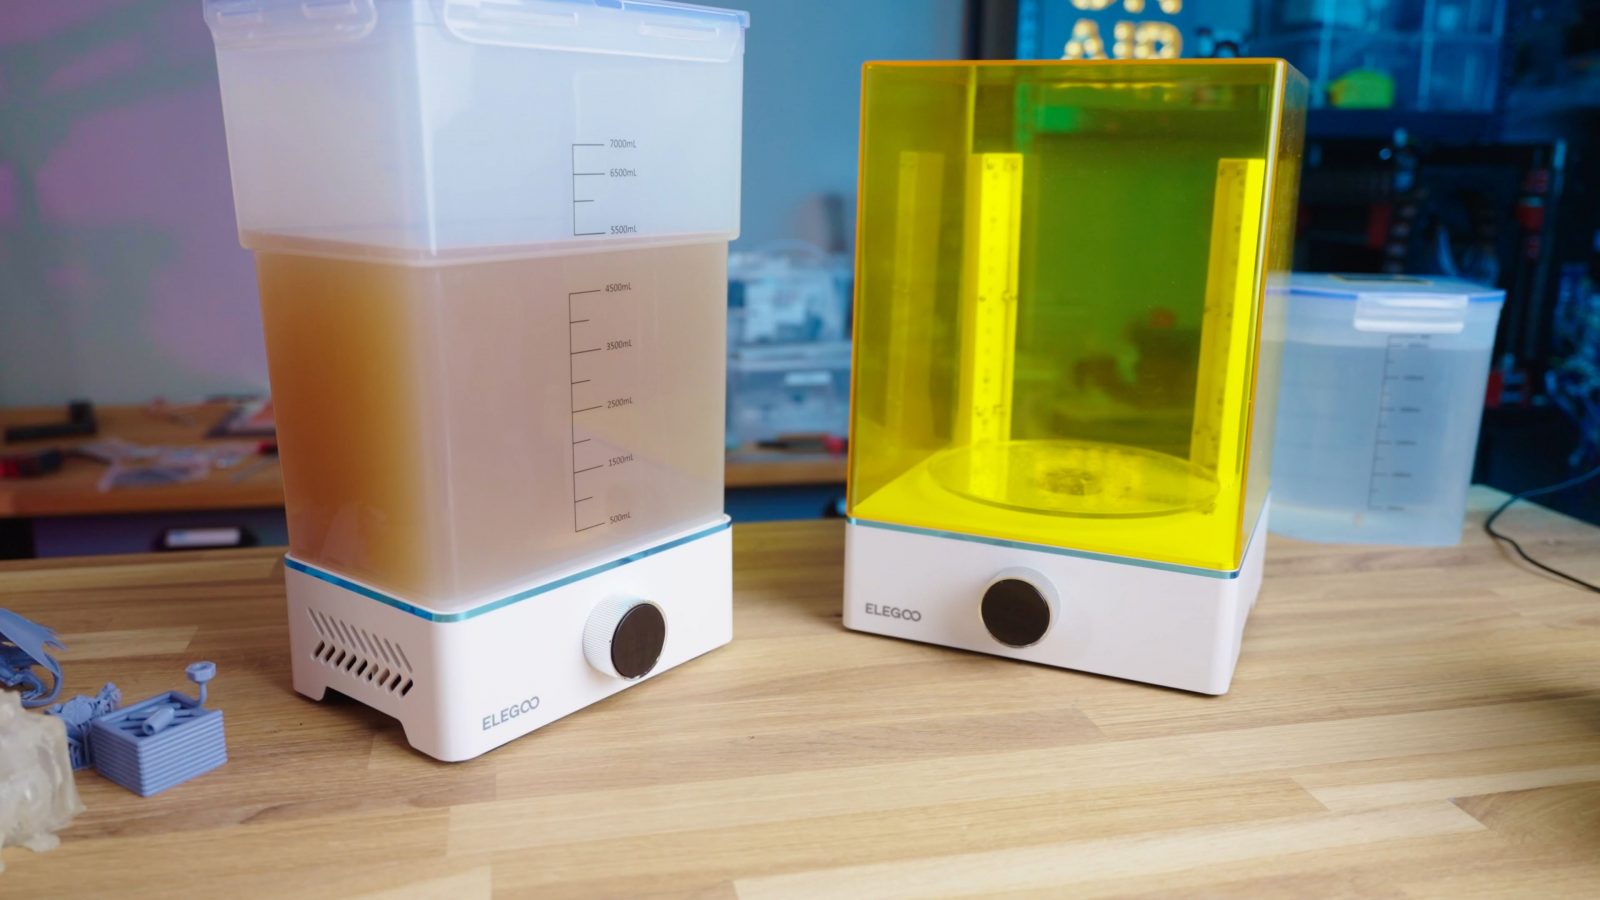
If you have the space, having two separate machines is an absolutely superior solution to having to juggle around a tank with resin-saturated isopropanol or ethanol. Especially at this size, where you fill up the tank with 5 and a half liters of flammable liquid. That’s as much as four and a half Canadian bags of milk or almost three freedom-sized bottles of coke. It’s a lot.
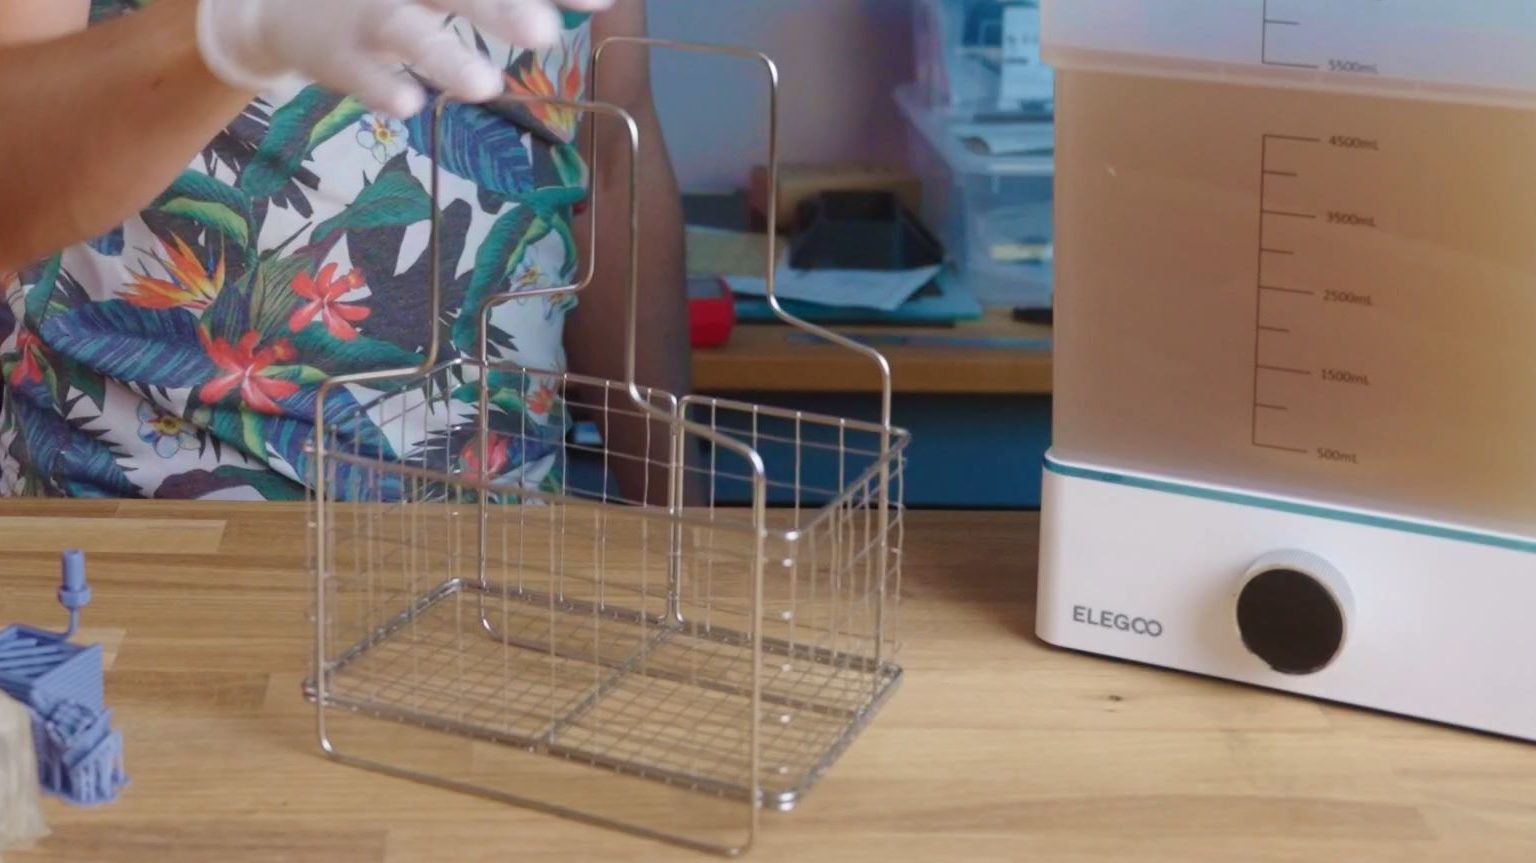
Of course, you do need that much because this thing not only fits two build plates at a time from the Mars 3, it also fits one at a time from the Saturn. However, if you want to wash printed parts from the earlier Mars machines, you will need to separate them from the build plate uncured and then use the fryer basket, because the bed won’t be held up properly inside the cleaning tank.
What I typically do when the parts come out of the first wash, is that I rinse them in clean ethanol again, for that I use the tank from the older Mercury Plus since these containers have really good seals, but then you somehow have to dry the parts before you cure them. Using a paper towel is not an option, because at this point, the surface is still sticky and super sensitive to being marred and you can really easily leave glove prints or little rubbed-off fuzzies on there. So what I’d do on the CW1 is just use the built-in drying mode, which heats up the entire curing space, and then turns on the UV LEDs after a timer has passed. Having the parts warm when curing supposedly also helps with strength after curing. With the Mercury X, I ended up using a hot air gun set to low and just dried the parts off like that, which does work.
Whenever possible, I like to pre-cure the parts while they’re still on the platform and then take them off and completely cure them, and that just minimizes the amount I have to touch the uncured parts, which leaves your gloves clean and also, of course, doesn’t introduce any surface blemishes. Thankfully, with the Mercury X machines being big enough for prints from the Saturn, the curing machine is also big enough for most prints from a Mars 3 with the build plate.
Like the Mars 3, both of the Mercury X bundle machines are extremely lightweight as well. Again, that does make them feel cheap, but functionally, they are absolutely fine. Maybe, I don’t know, drop a bag of sand into the base just to weigh them down?
One thing I noticed with the curing machine is that the sensor in the back here, which is supposed to turn off the UV LEDs, isn’t super reliable.

I’ve had both cases where either I had a part sitting right behind the machine and that meant that it did not turn off when I lifted the lid, but also, sometimes it wouldn’t turn on and just flash and flicker when the lid was, in fact, properly positioned on the machine, but those are minor annoyances. Overall, the Mercury X is a good cleaning solution as well, maybe in a Mercury X Pro, add a heater, and these things would be perfect.
Chitu Hardware and Software
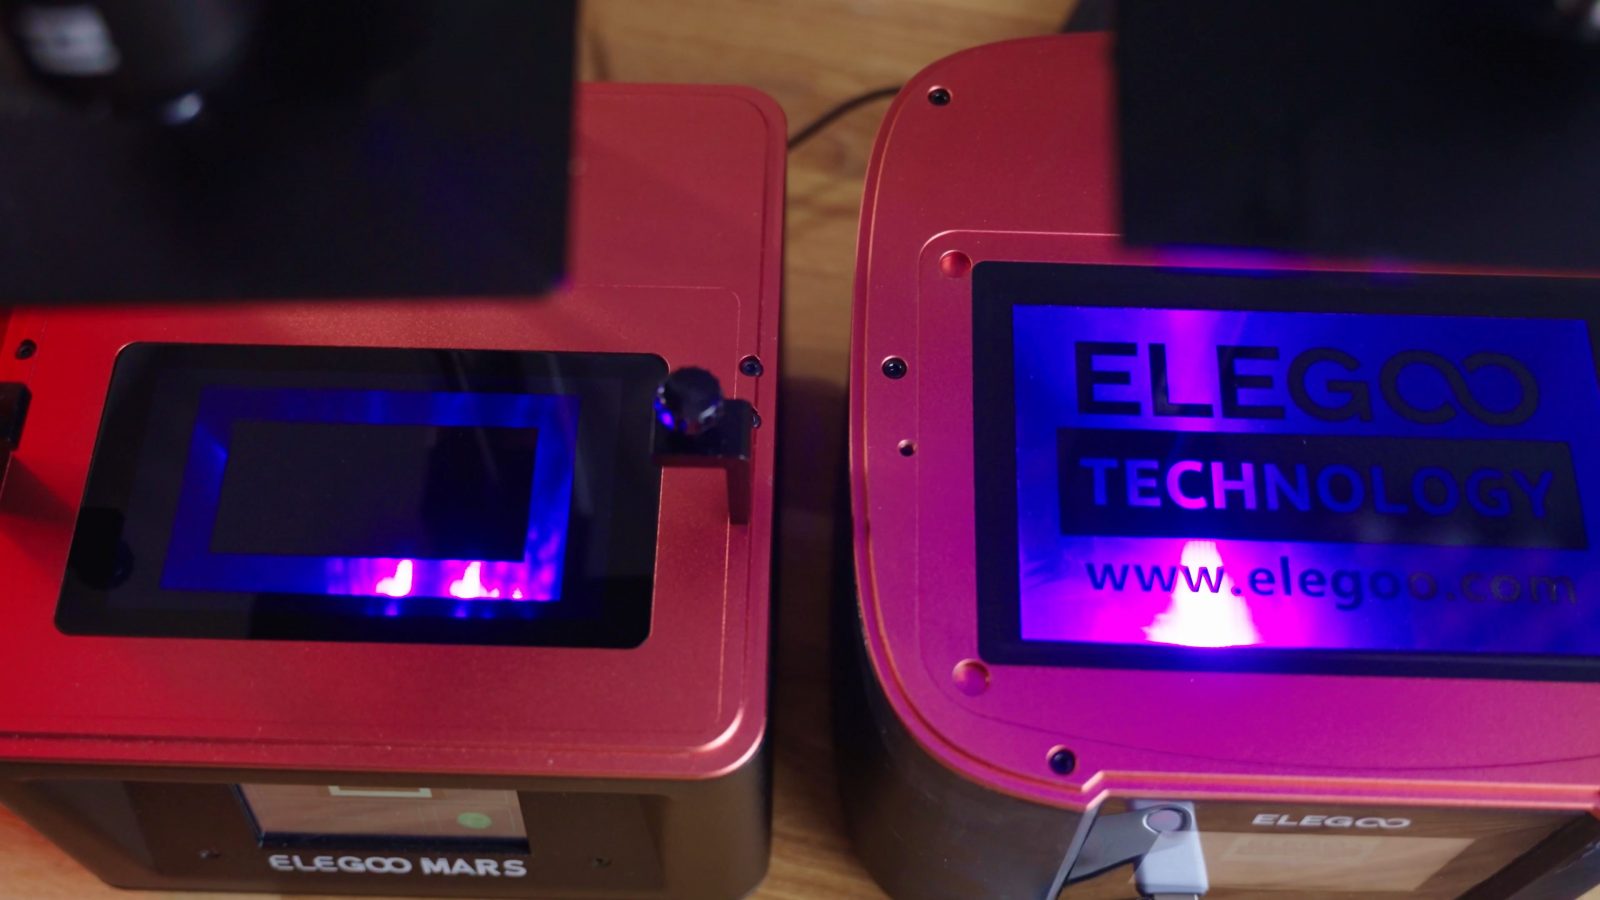
So back to the Mars 3, and the hardware and software that it’s using. If you’re familiar with the cheaper resin printers, you’ll know that they are pretty much all using the same mainboard, firmware, and slicer. Possible also the same masking LCD screens out of a selection that works with the mainboards.
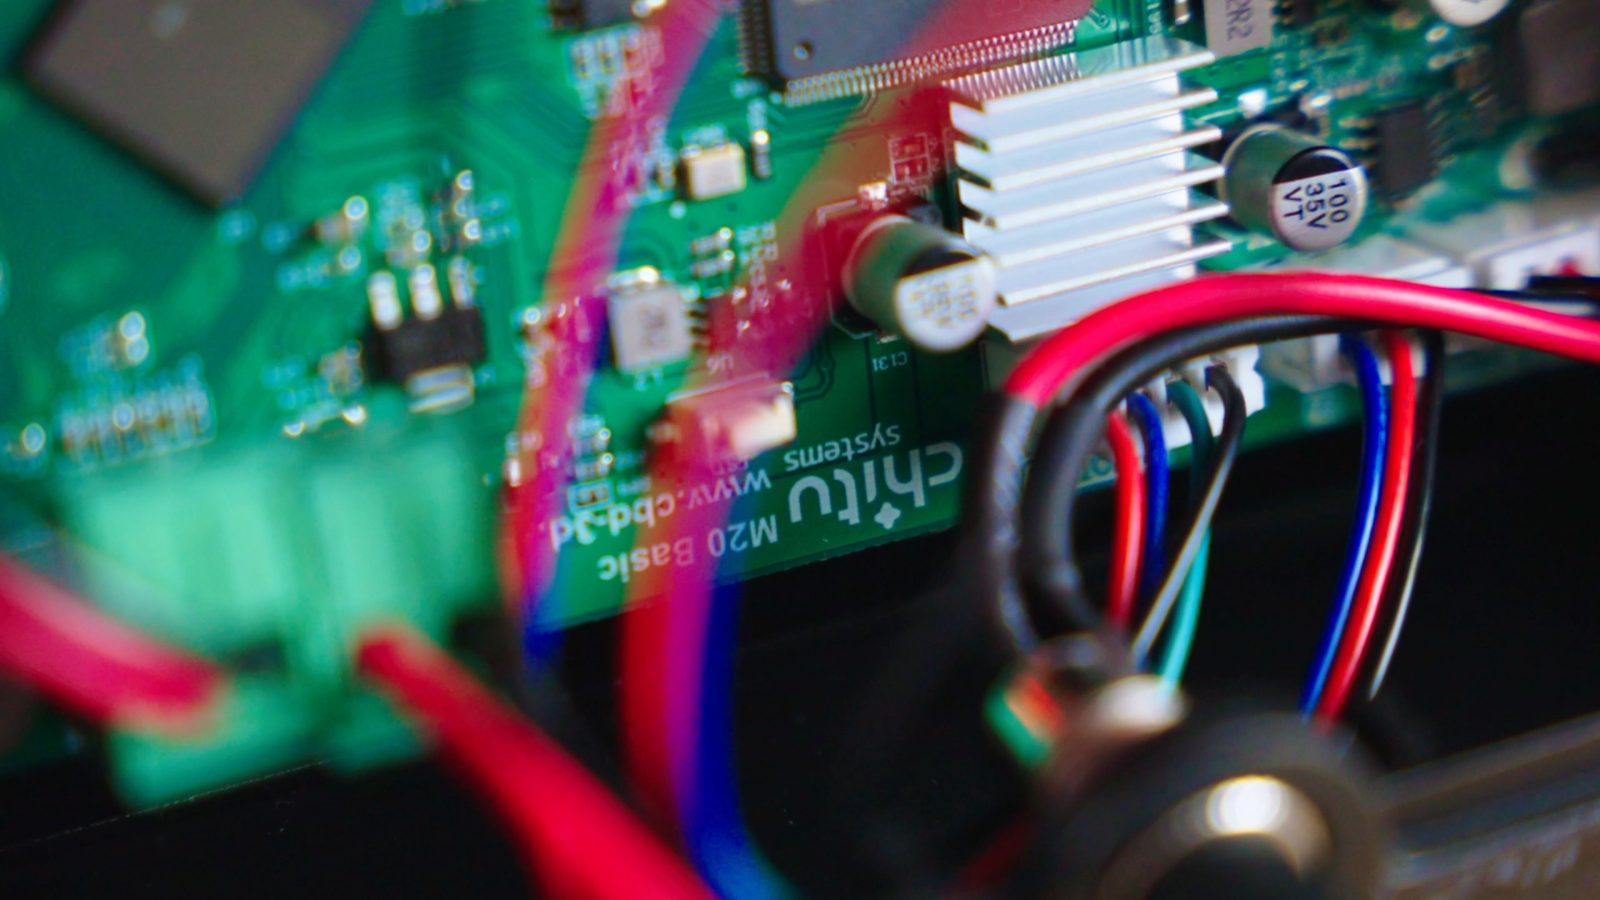
And all of this stuff is made by Chitu, you get the logo every time the printer boots up, the mainboard is clearly labeled, and of course, you’re also going to be using Chitubox for slicing. And having this sort of building-block kind of ecosystem has helped manufacturers make really respectable resin printers without having to invest a whole lot of time and money into everyone figuring out all the basics themselves. Instead, they buy the Chitu hardware, add their own enclosure, resin vat, Z-axis mechanics, and branding and they’ve got a full product that they can sell. It’s probably not quite that easy, but you get my point. But what it also means is that Chitu has full control over the entire toolchain – everything between importing your STL file and the printer making your part is Chitu software and hardware. So of course, now Chitu has a chance of capitalizing on that de-facto monopoly, and decided to release a fully-featured, paid slicer, Chitubox Pro, and, as a surprise to no one, at the same time lock everyone else out. Which wouldn’t have happened if everyone was instead collaborating on an open-source platform.
With most filament printers, you could just generate your gcode files with a different slicer – no one is forcing you to use, I don’t know, Simplify 3D or the manufacturer’s software like Voxelprint, you can choose out of a dozen free slicers and your printer will happily run those files as well. But with the Mars 3, the firmware on the printer is now set up in a way where it’s only going to accept files generated and signed by Chitubox or Chitubox Pro. That means that the two options that I know of, which are either using the freemium Lychee slicer or a conversion tool with PrusaSlicer, will not work anymore. If you need more features than what basic, free, Chitubox software offers, you’re going to have to cough up $170 for Chitubox Pro. Every year, because of course, it’s a subscription. The Mars 3 comes with a one-year license of Chitubox Pro, and that’s what I used to slice my files for it, and it’s nice, it does a lot of extra stuff, but is it worth that much? That’s as much as buying an entirely new Mars 1 every ten and a half months.
Chitu has also announced the release of an “SDK”, which would allow third-party software to generate files for printers like the Mars 3 again. But right now, at the time of me recording this video, there are still unanswered questions about that SDK. Like, why lock down the printer when you would then completely open it up again with an SDK? I do expect one of a few things to happen with the SDK, either, they introduce restrictions on what the slicers that use it will be able to do feature-wise, or it’s not going to be free for the user, requiring a paid license as well, or it won’t support all the feature of a specific machine or introduce some sort of other nuisance and limitation that ends up pushing users towards buying a Chitubox Pro license instead. It would be stupid from a business standpoint not to protect their Chitubox Pro sales when they’ve already got the upper hand. And remember, even with an SDK, Chitu still controls the full ecosystem, so they can still basically do whatever they want.
So I wouldn’t bank on the SDK restoring full freedom, and when deciding whether you should get the Mars 3, you should make up your mind whether you want to shell out for Chitubox Pro or if you’re ok with using the basic Chitubox. Personally, I would be fine with using the regular Chitubox if they don’t end up stripping it down even more, but, again, if you need more than what the basic version does, The price of Chitubox Pro is something you will need to factor in.
Conclusion
At 300 bucks, the Mars 3 itself comes at a fair price. It’s a good machine, but so are the older Mars printers, and you can get basically the same core printing experience with a Mars 2. It’s a bit slower, a bit smaller, but it’s going to be hard to tell with a naked eye which machine your parts will have been printed on.
💙 Enjoying the videos? Support my work on Patreon!
Product links are affiliate links – I may earn a commission on qualifying purchases (at no extra cost to you)

Check out my second channel “More Layers” on YouTube for livestreams
Check out the Meltzone Podcast (with CNC Kitchen)!