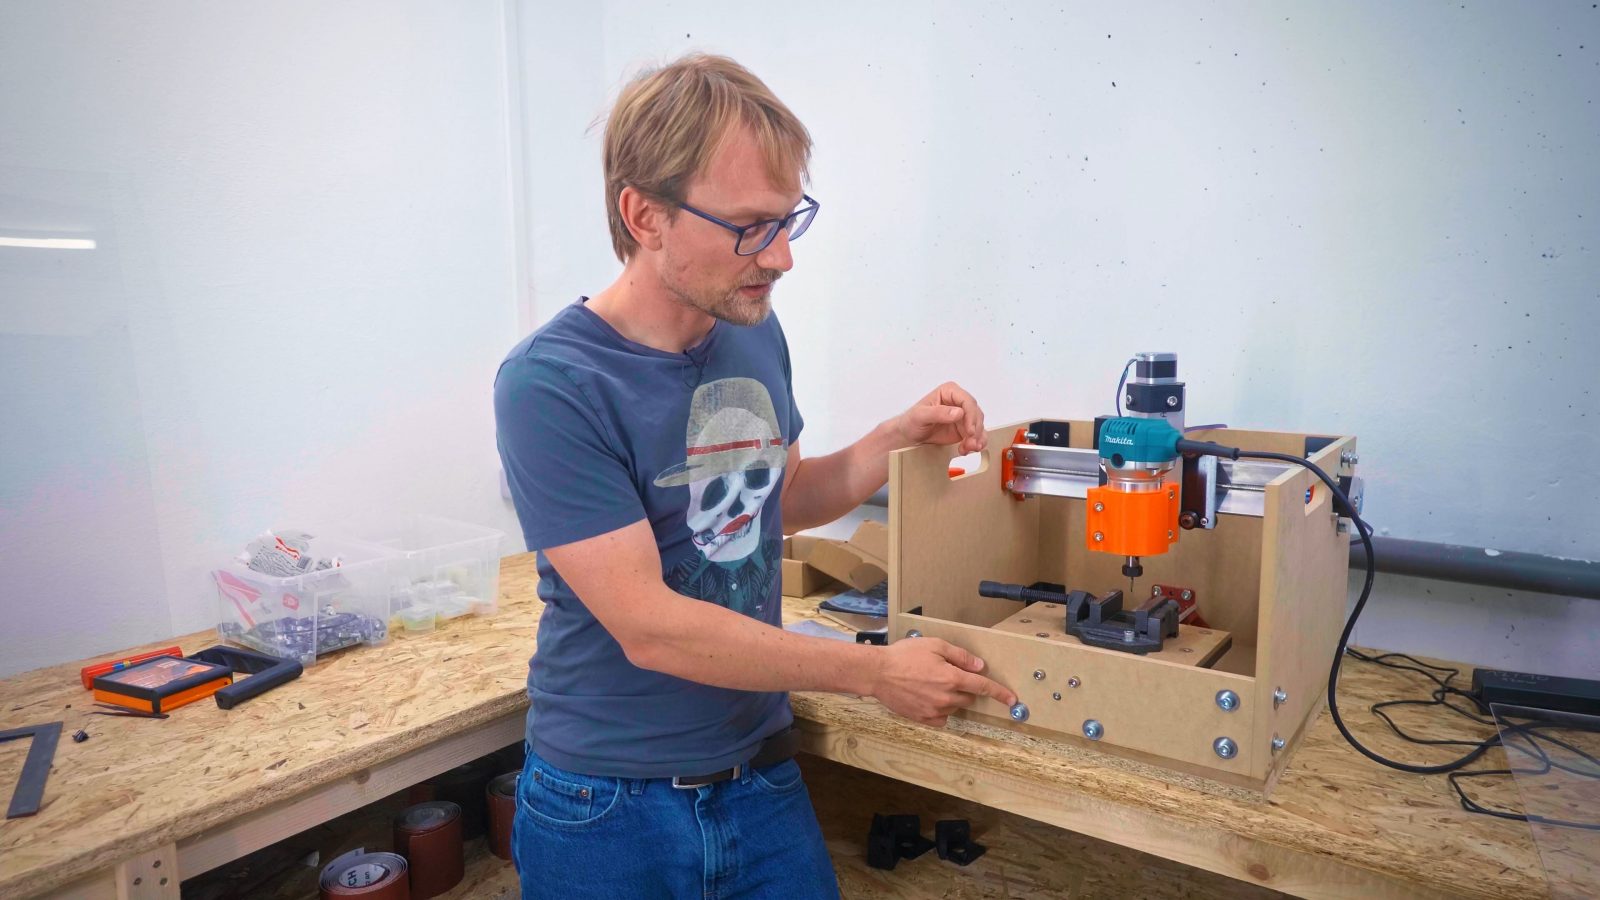
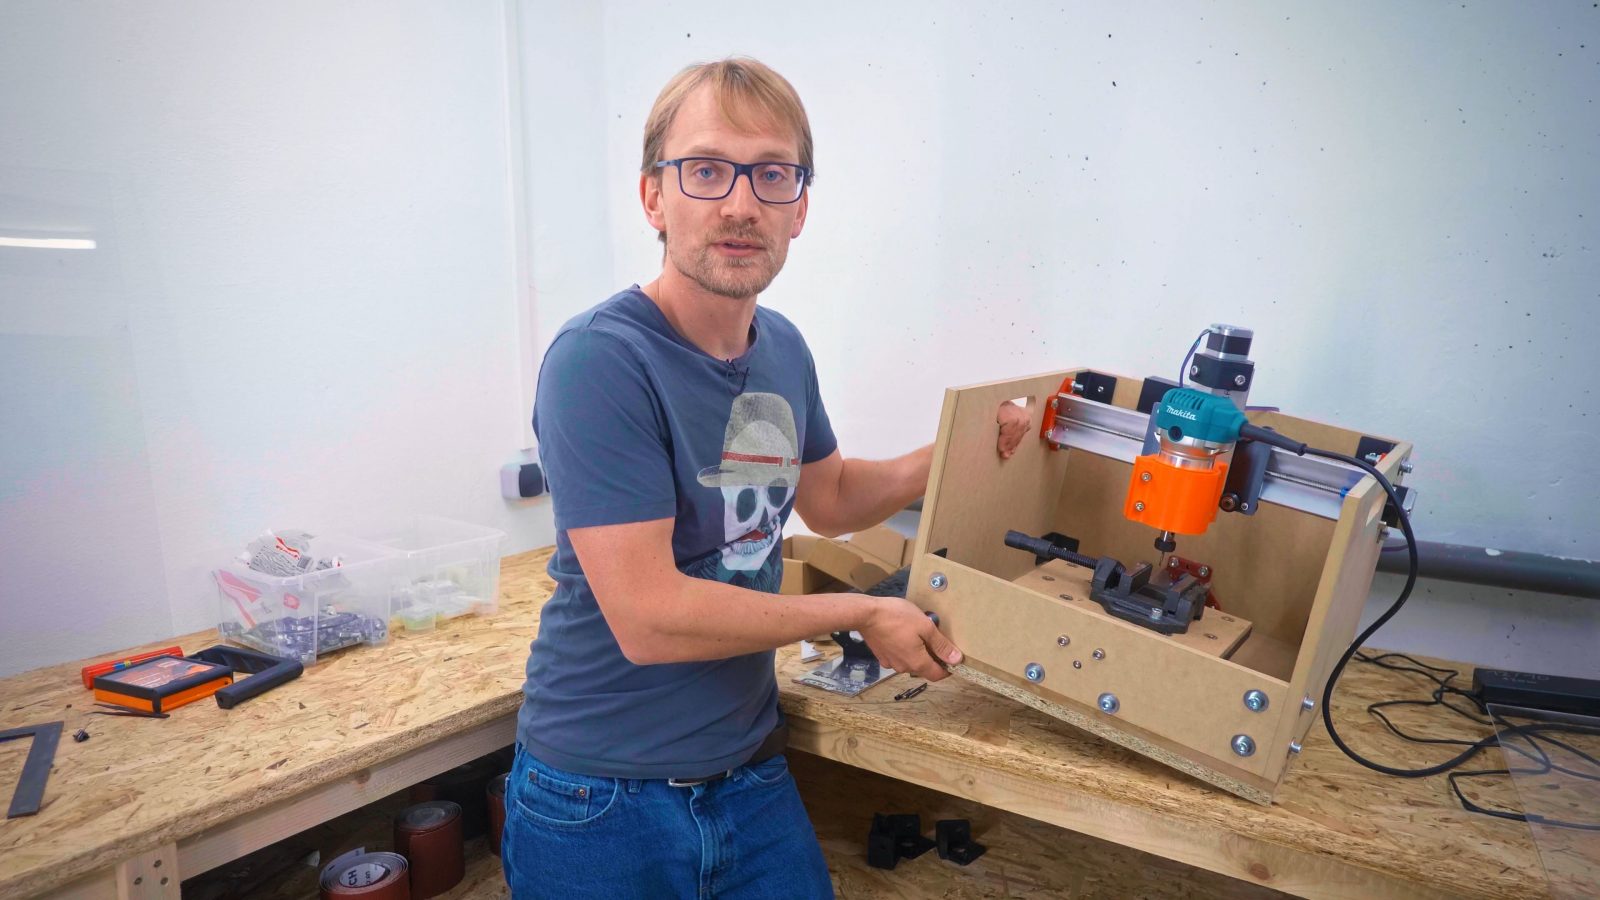
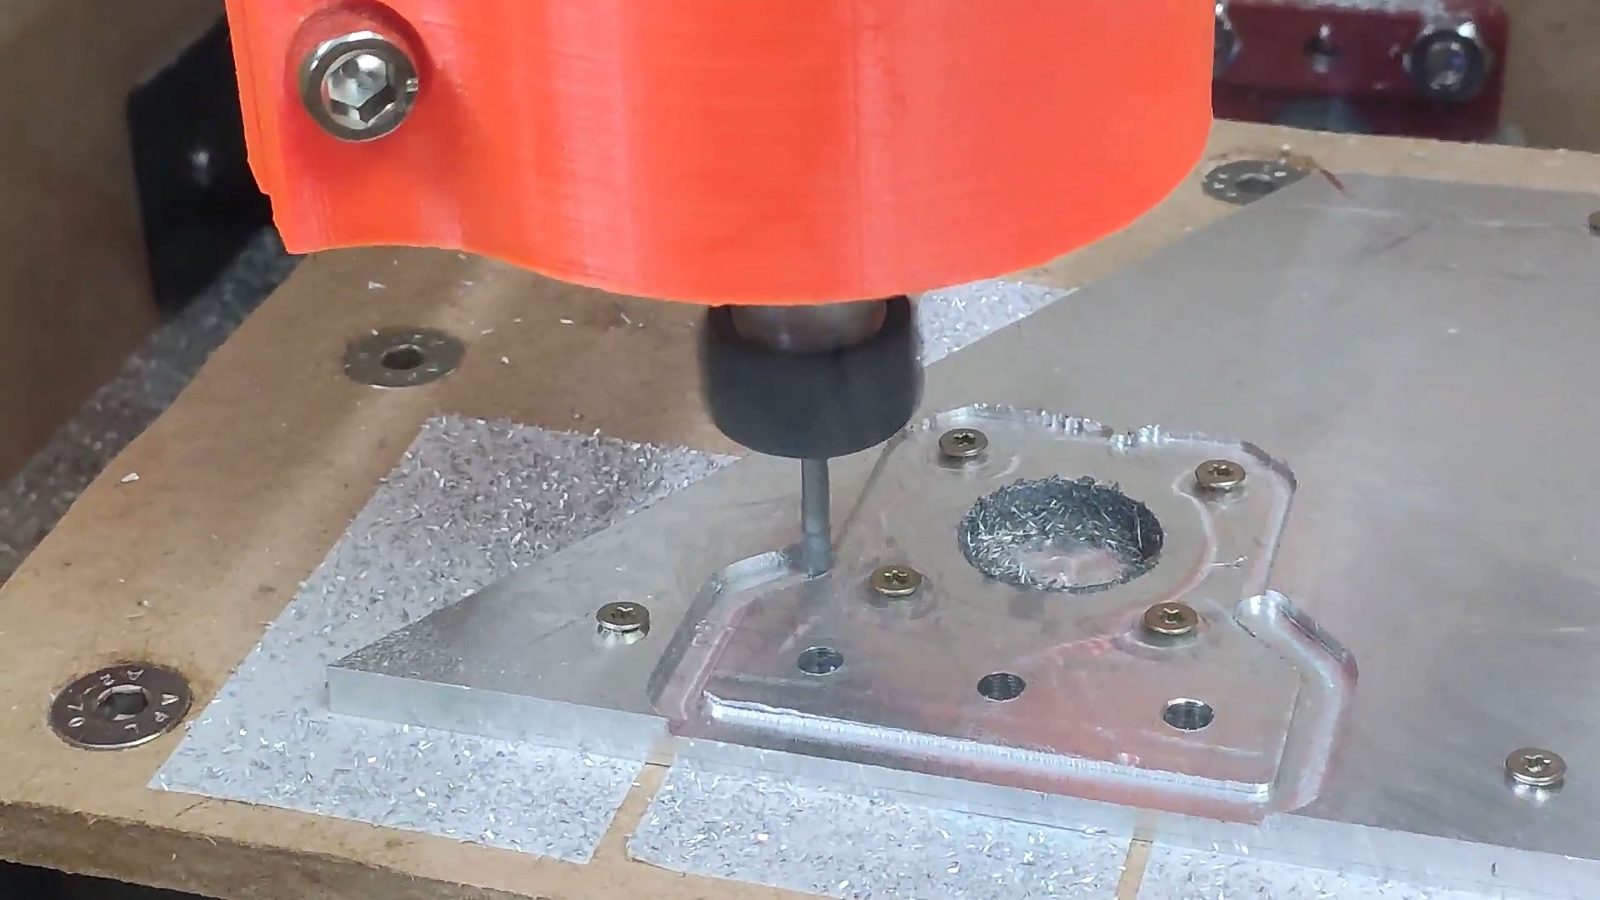
Today we find ourselves in my former printcave – the printers have moved on to the studio, but I’m keeping the dirtier tools here in the basement. And one of those tools is the Sienci Labs Mill One CNC, which for the rest of the video, I’ll call Bob for stupid, but obvious reasons. Bob is a moving-bed CNC router, kinda similar to the Carbide 3D Nomad, and as-is, it was ok, it was usable for light wood cutting and so on, but there were a few things that were bothering me about it, and in my mind, if I fixed those, I would be able to use it for at least cutting aluminum, and that would make it a massively more useful machine for me. The folks making this open-source router were happy to see some mods, so I went at it and now it cuts aluminum. Sorta. But better than before. So let’s go through what issues I tried to fix, what worked and what didn’t.
Okay, let’s get going with the end brackets here.
So, Bob has a pretty sleek build with three axes that are built similarly, but also use identical printed parts. Especially for 3D printed parts, they really don’t need to be identical, but still, it’s cool to see that multifunction built in.
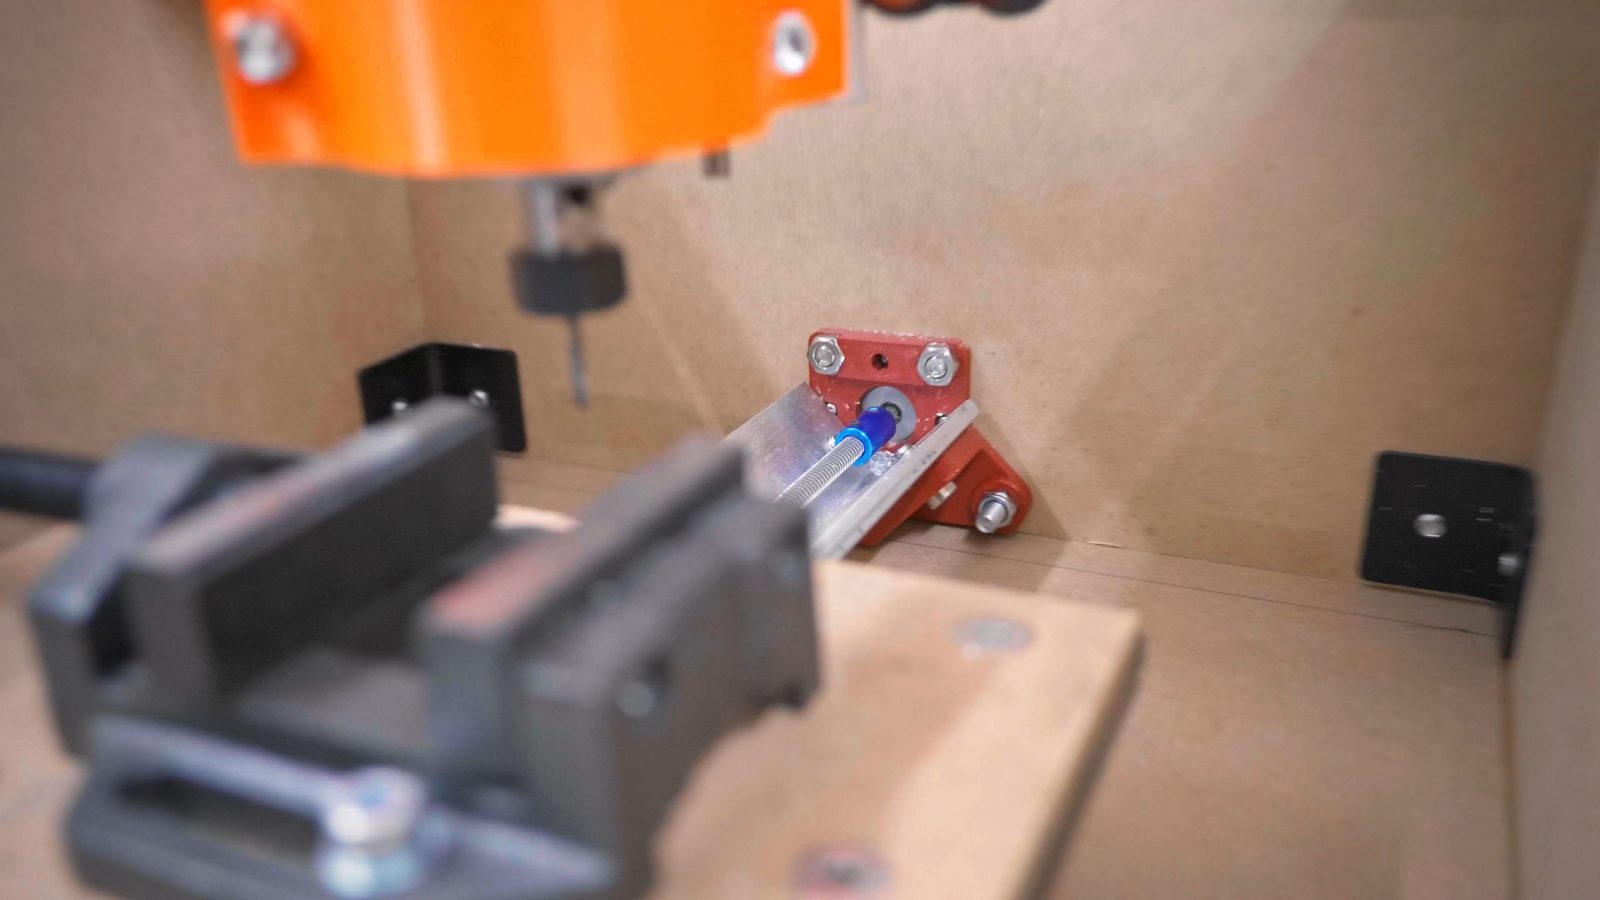
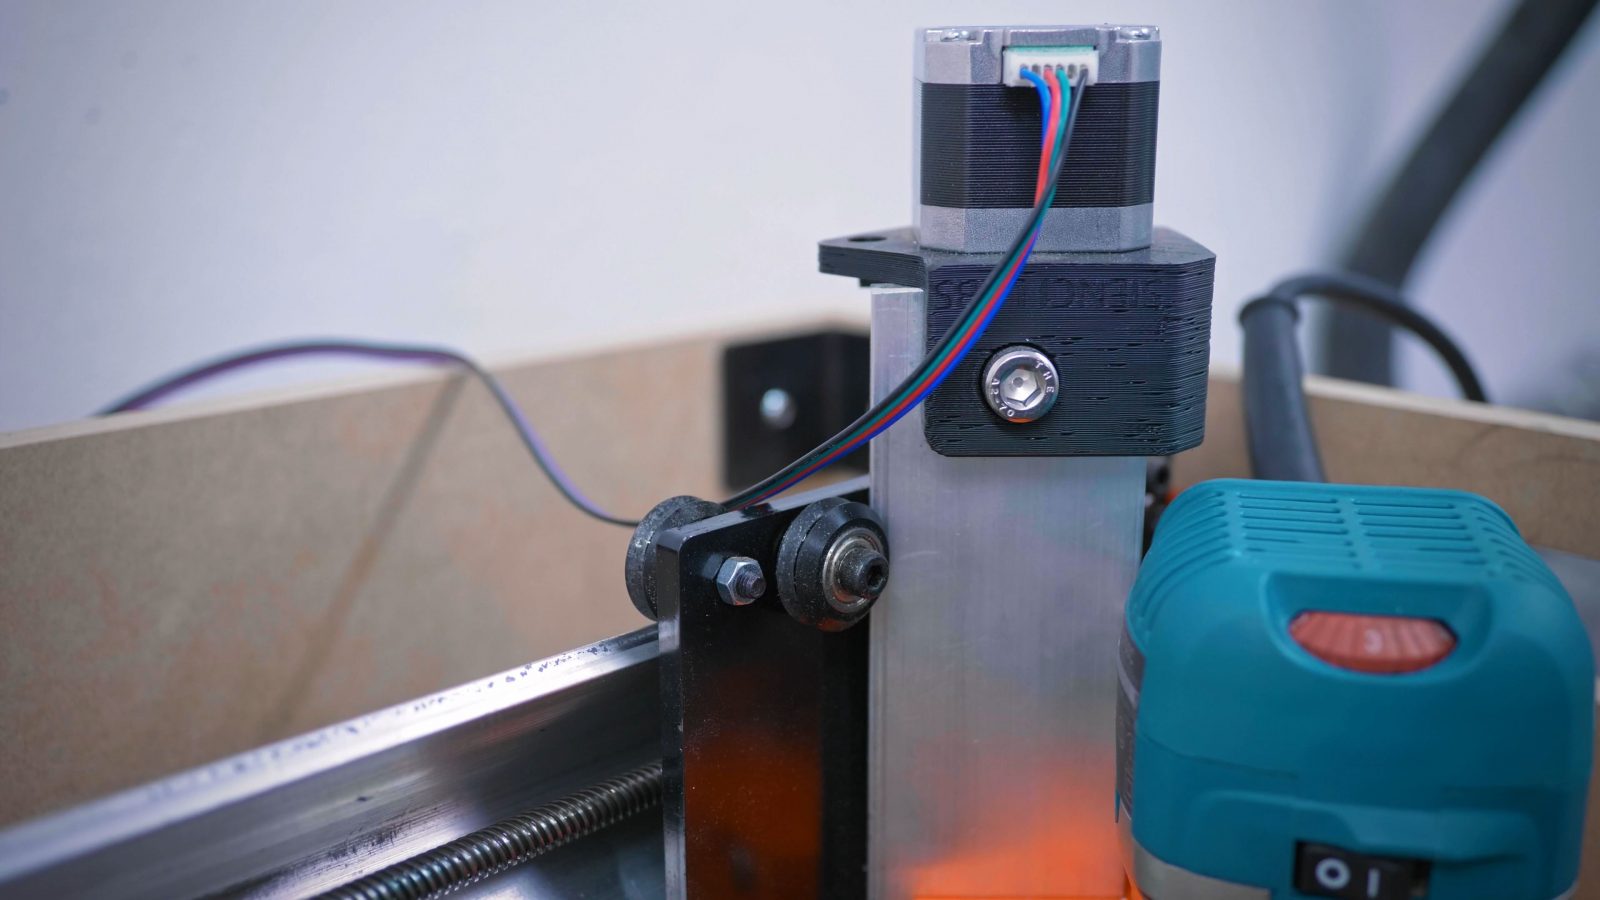
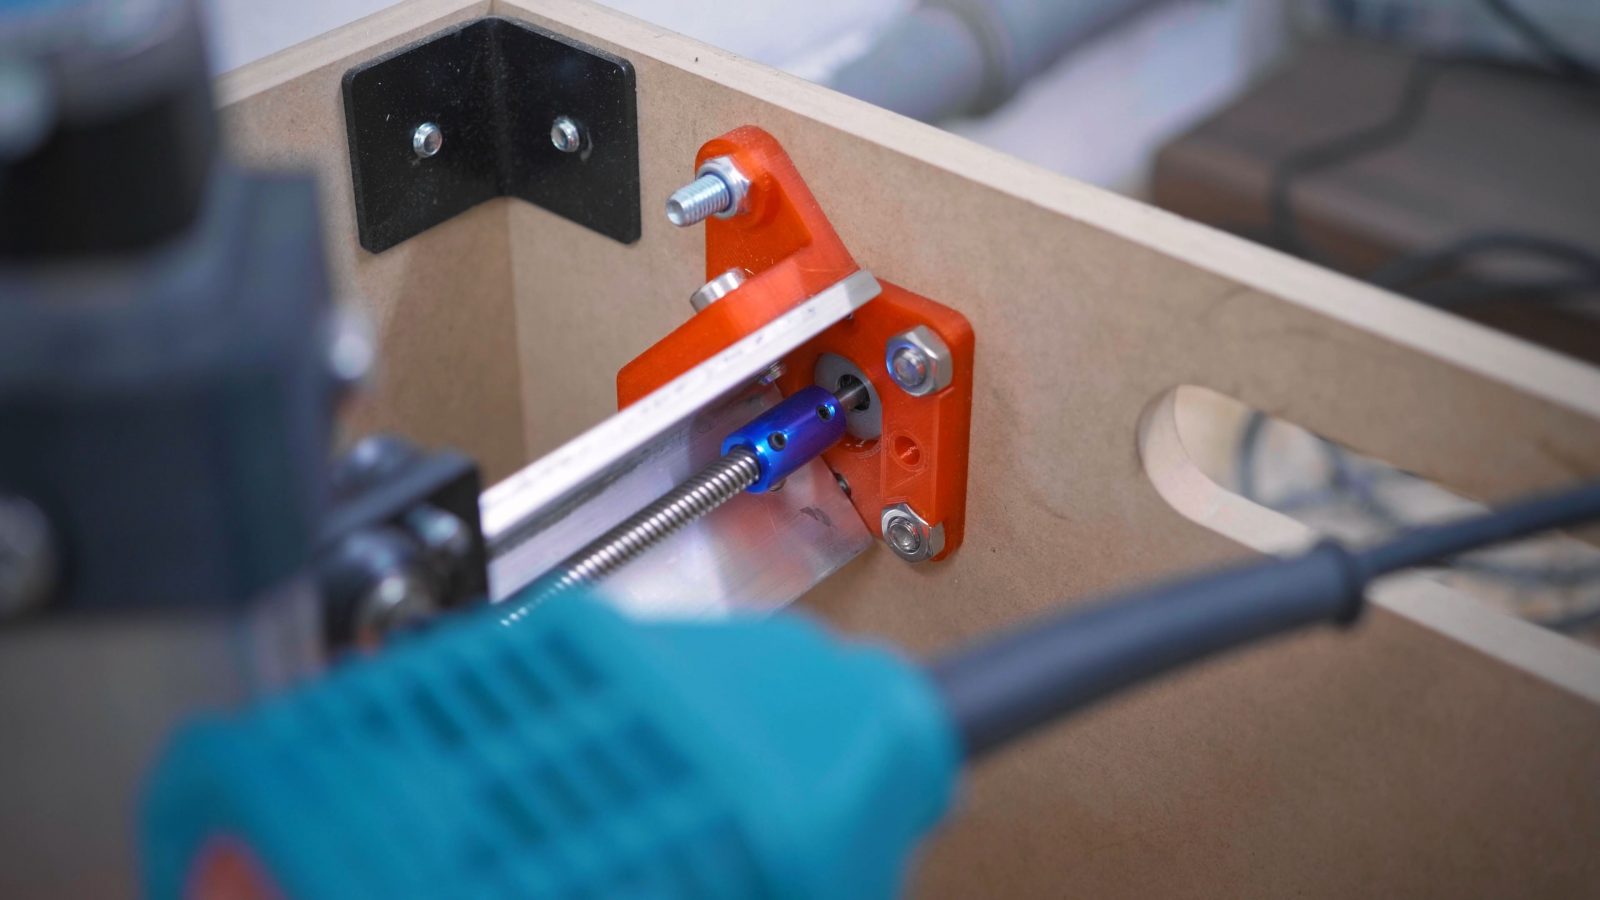
So it’s a main aluminum profile that they’ve got some openbuilds wheels running on, a leadscrew in the center, some sort of a carriage that runs on it and then these brackets at the end that either bolt the track to the frame or hold a stepper motor to drive the leadscrew. Or both.
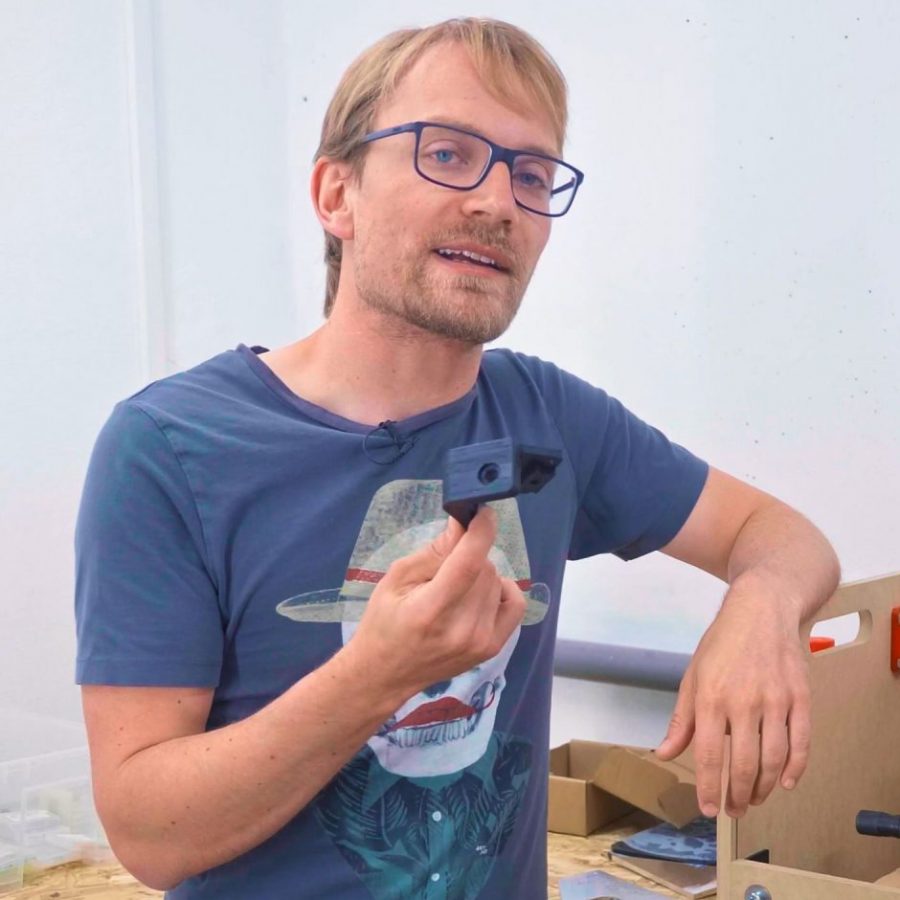
Now, these are the original brackets, and with those, the X and Y axes were incredibly easy to twist about, and you could see the profile actually sliding around on the MDF.
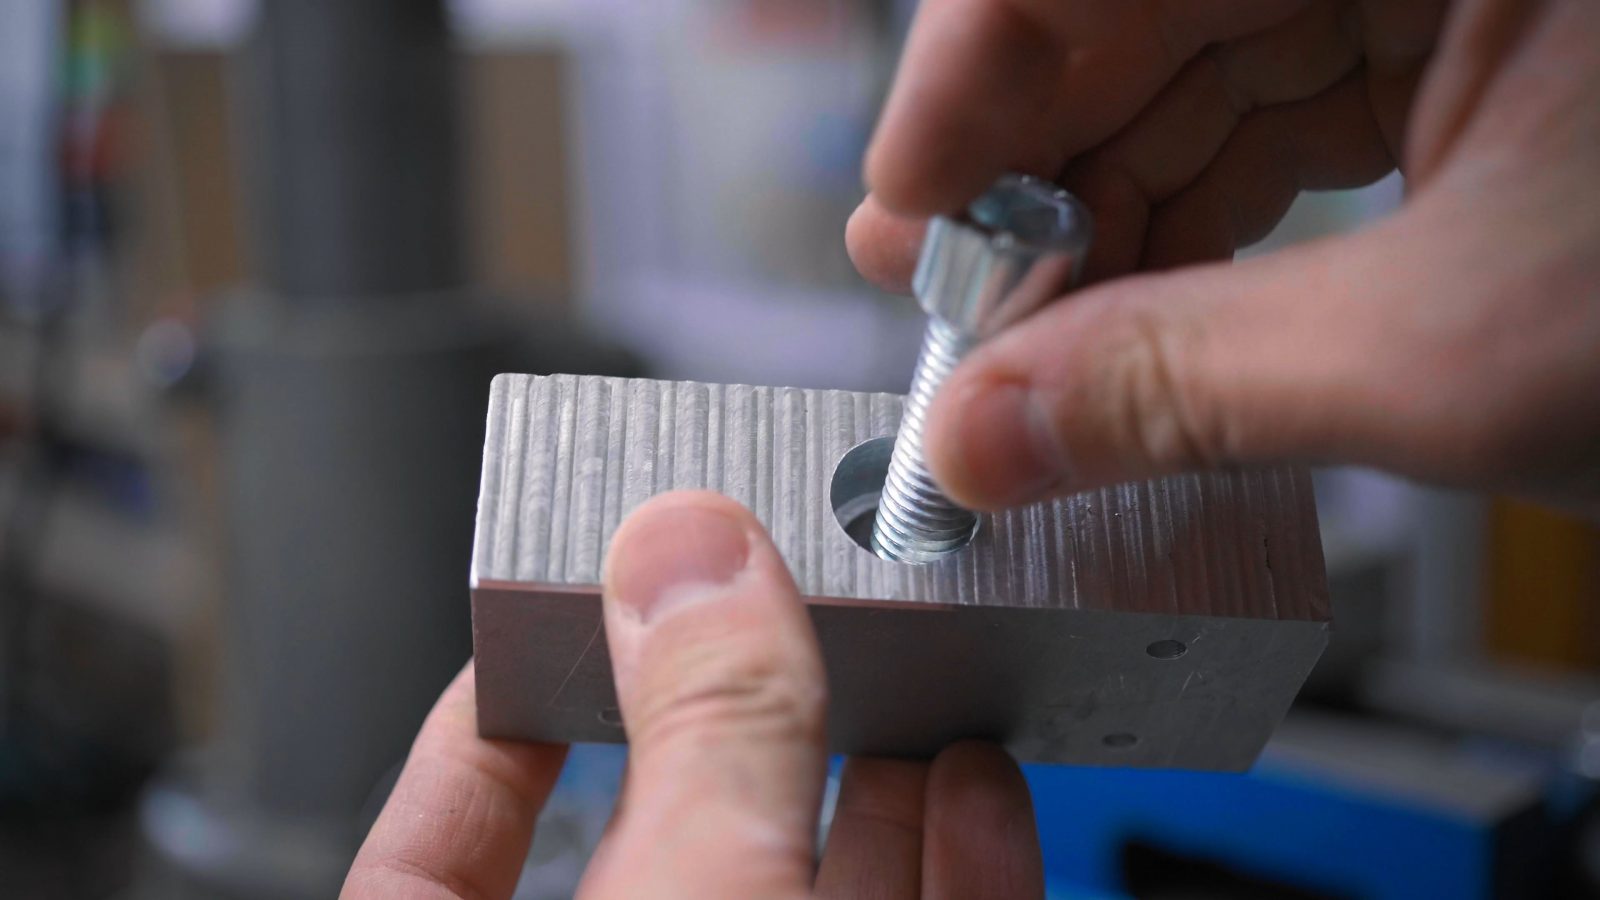
Of course, flex like this is deadly for cutting any harder material, and since there is still plenty of flex in the other bits, making this machine more rigid in whatever way you can manage is kind of important. My simple fix for these brackets: Adding two more bolt holes as little ears – these actually fit in all the places where the original part is used, on top of the Z-axis it would look a bit silly, but but with two extra holes drilled on each end of the X and Y axes, those were already significantly stiffened up.
I don’t have a before, but I can take out two bolts and kind of show you the difference. I could have made these parts even more rigid, though.
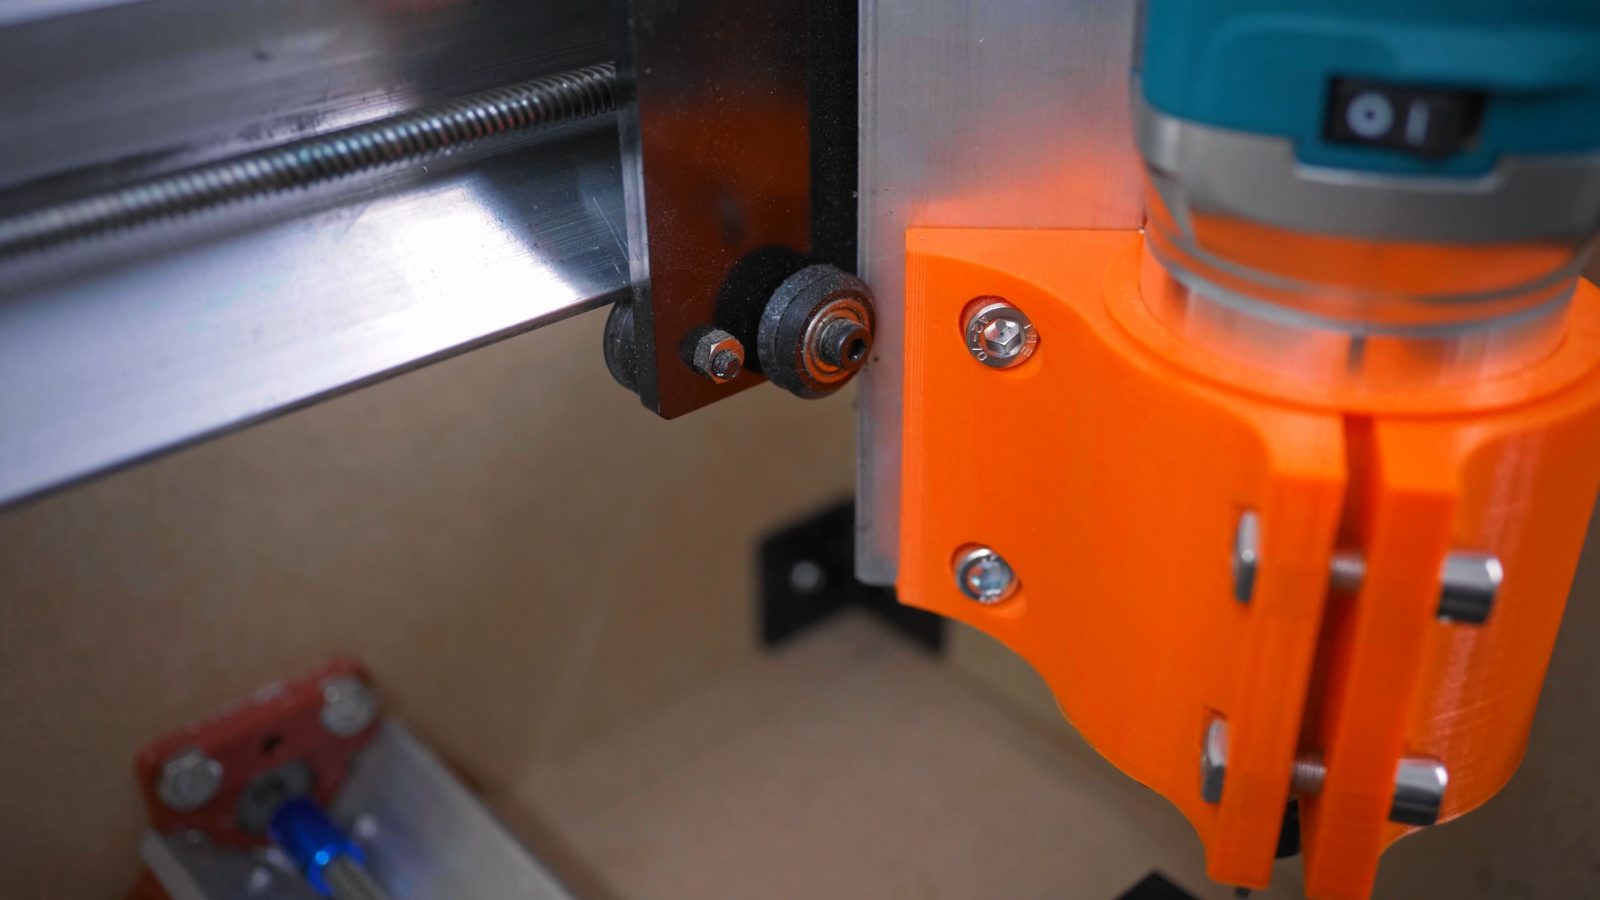
The other bit is this spindle or router mount. By default, it’s less than half as tall and only uses two screws to attach to the aluminum profile, and as such, it does flex when the router and the endmill engage with your material and produce cutting forces.
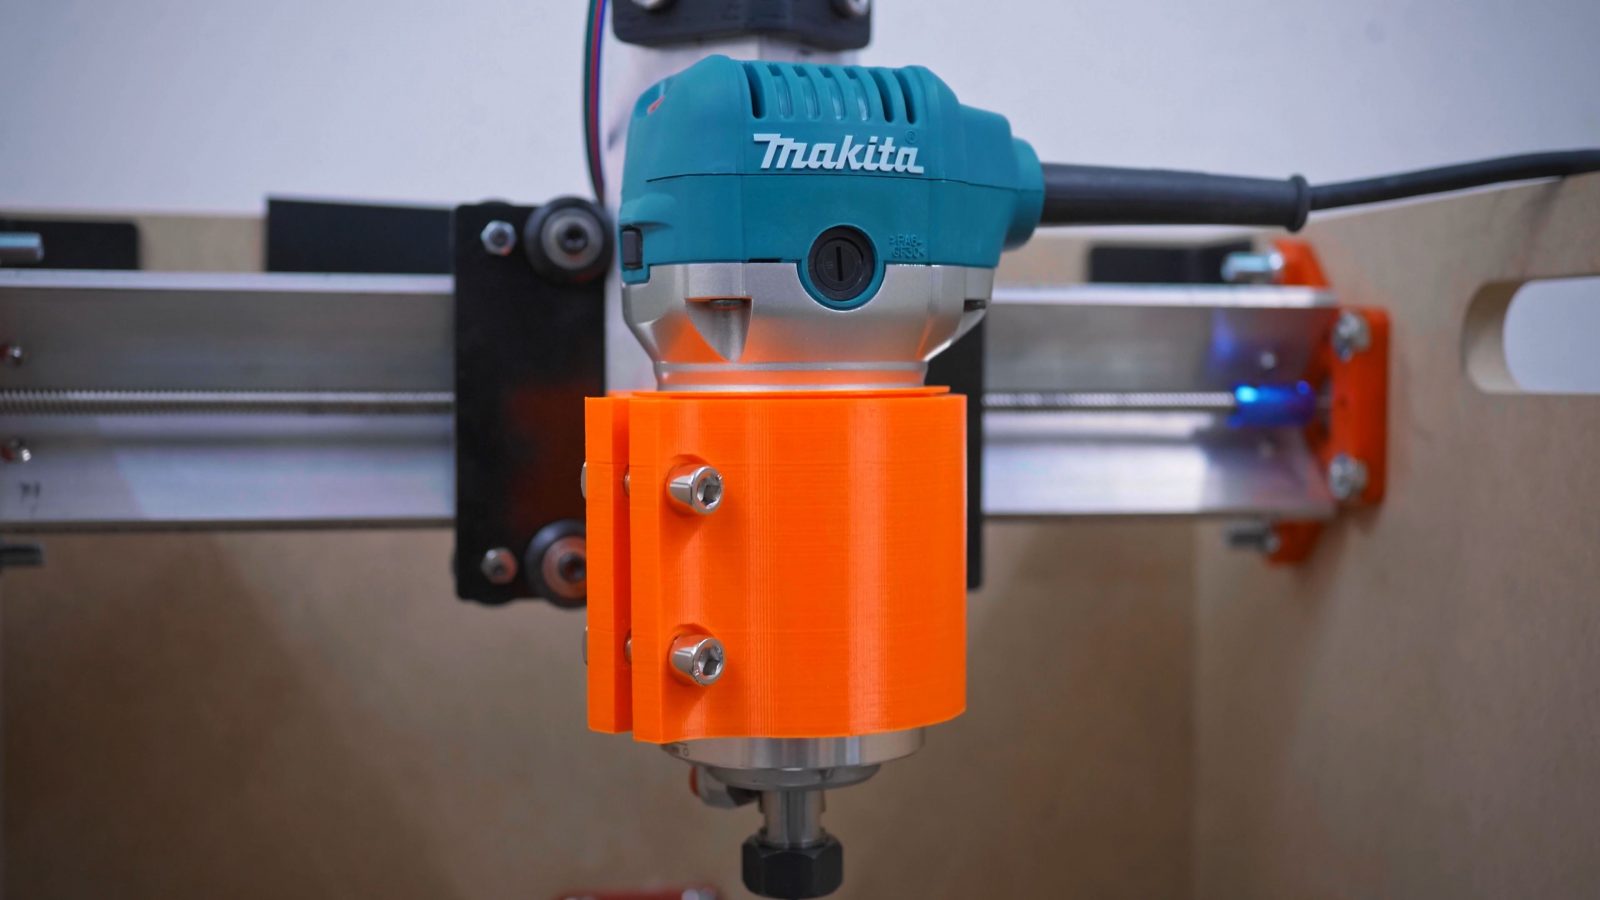
So yeah, made that longer, added two more screws, done. There’s a little adapter sleeve in here because I didn’t nail the router’s diameter first try and I didn’t want to reprint the entire thing. Oh well.
Now, on the choice of router for Bob. There’s two, three maybe different types of spindles used in hobby machines. One is this style of trim router.
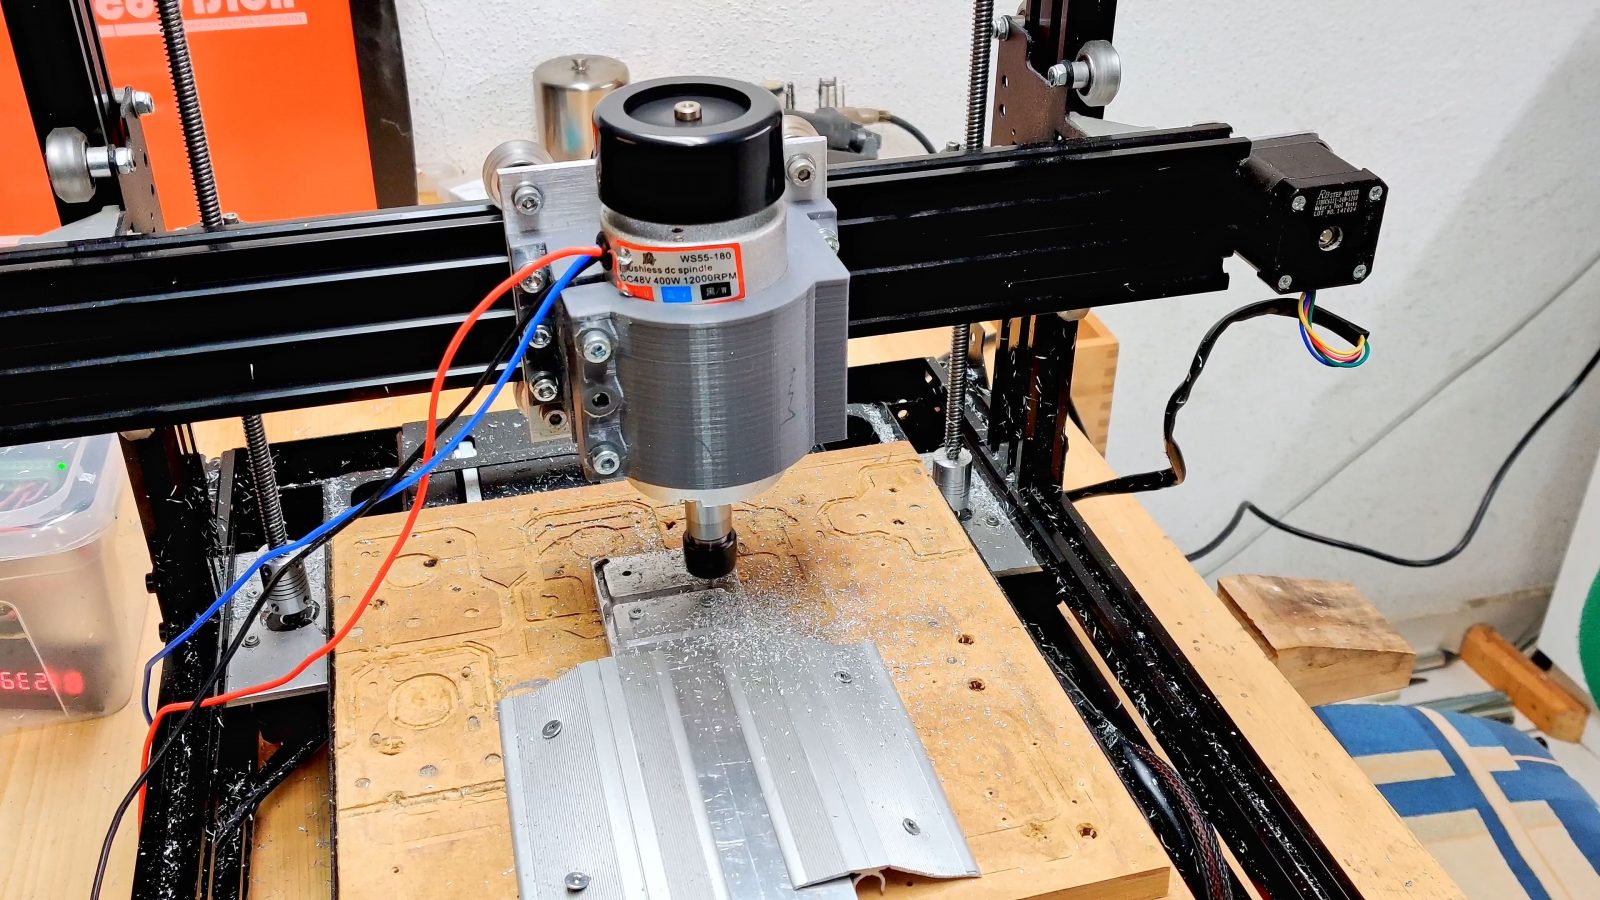
Then there’s the low-end brushed or brushless “spindles” with around 400W of power, which are basically just a motor with an ER11 collet screwed on.
And then there’s the brushless water- or air-cooled spindles, typically a kilowatt or more. Now, aside from form-factor, cost and noise, the biggest factor for whether a spindle is going to work for you is the RPM range. I do like the simple brushless ER11 spindle that’s now living on the MendelMax Mill, but that only goes up to 12k RPM. Sounds like a lot, but because these machines aren’t really rigid enough to be running ¼” or 6mm endmills, the go-to tooling is ⅛ – and that needs to be run quite fast to cut properly. I’m running this single-flute endmill at about 20k RPM and I have a feeling that I maybe should even be going a bit faster. The Makita I’m using can be set between 10 and 30k RPM and that range should work for both smaller and larger tools than what I’m using.
It’s also a very cheap option, actually, since it doesn’t need a power supply or driver or anything, but the downside is that the collet it comes with only clamps 6mm endmills – not ⅛”. You can buy a custom-made ⅛ collet, but after shipping and tax, that would cost me as much as the entire tool.
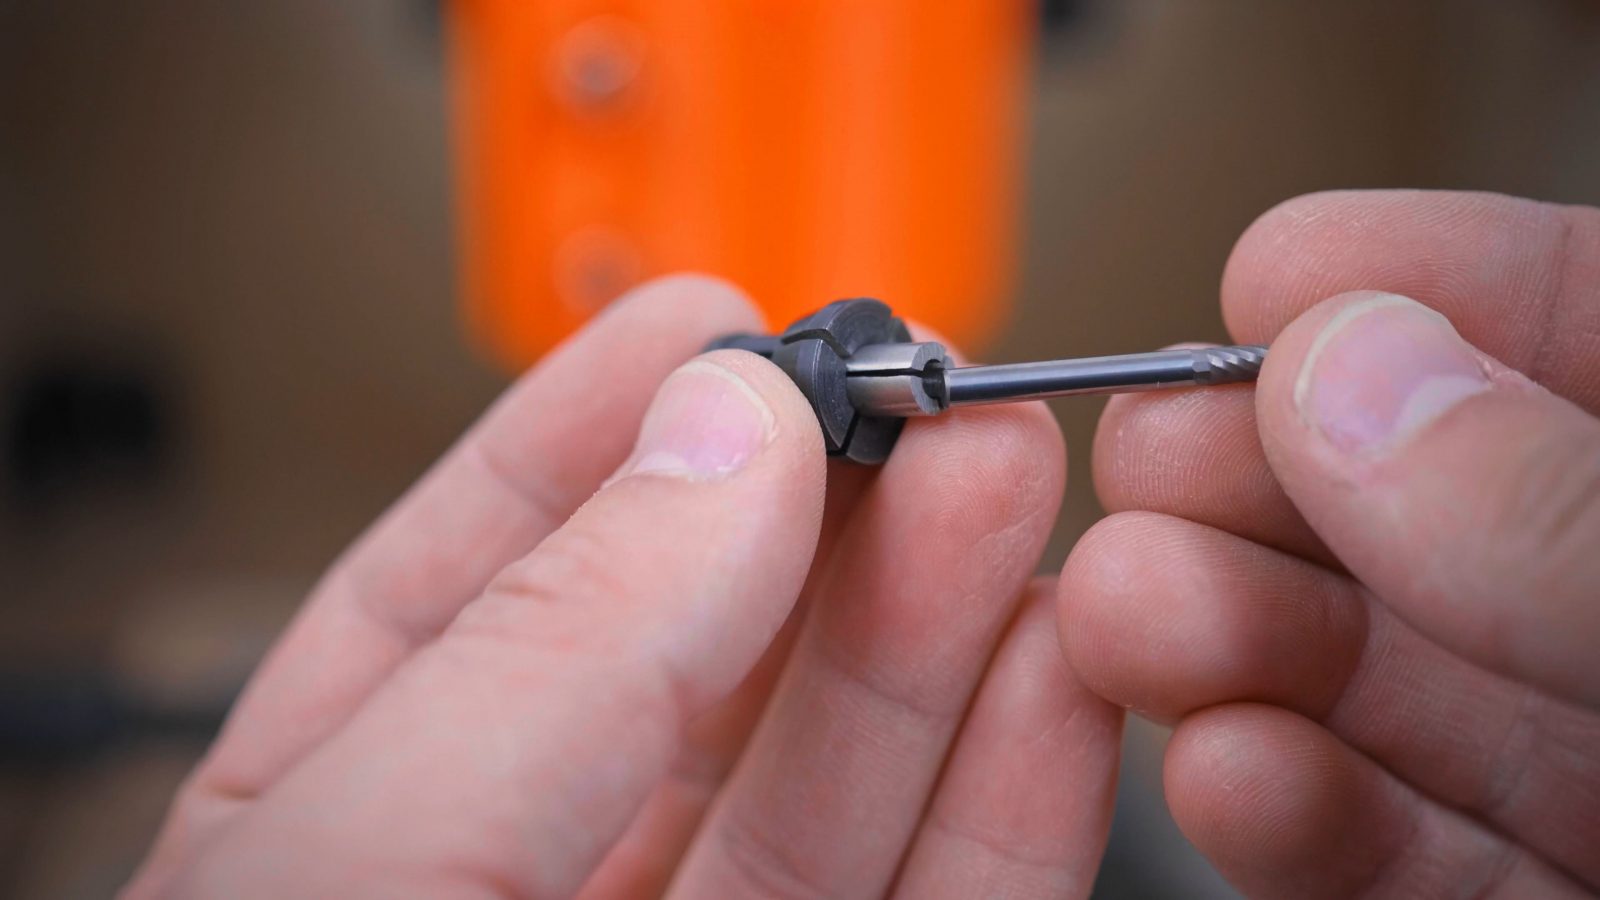
So for now, I’m using these adapter collets, which do add a bit of runout, but hey, if they’re good enough for Winston Moy, then they sure are good enough for me.
If you don’t know Winston Moy, go check him out, that guy is a wizard on the Carbide 3D machines, which punch in the same weight as Bob.
So ok, that’s the router or the spindle. Which cuts… your workpiece. And by default, you get no option for workholding on Bob, there’s just this slab of Delrin that isn’t flat or square with your axes, so you really need some sort of wasteboard that you can then mill flat and true in the machine itself.
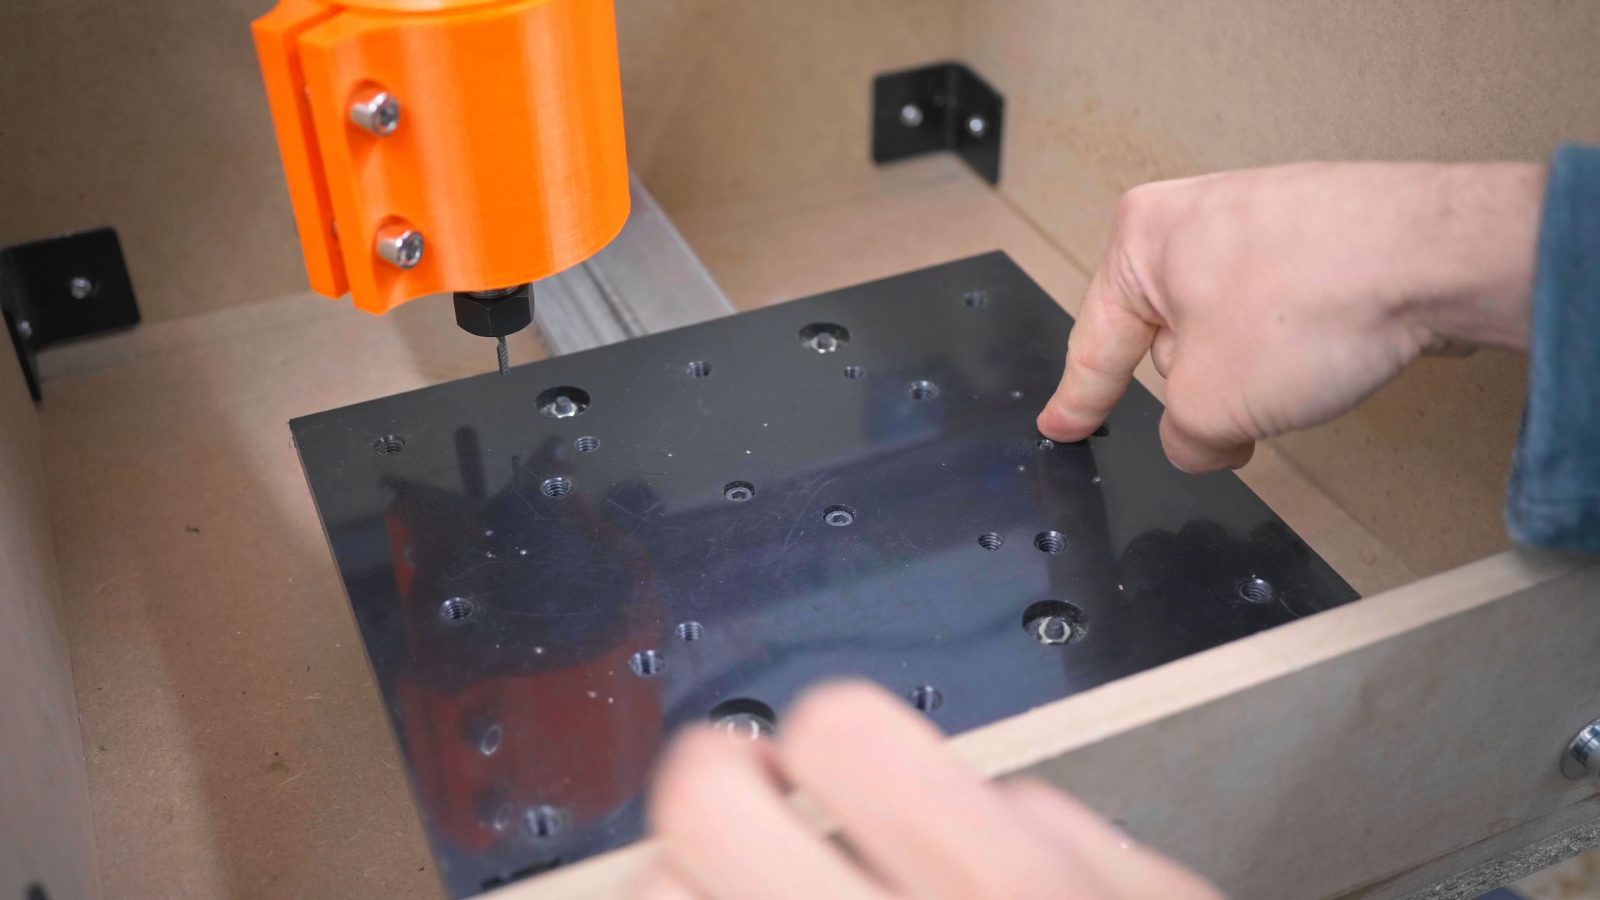
Of course, you could tape something to the stock Delrin, but I wanted it a bit more secure, so I has Bob mill a few holes into itself and then tapped them to M8 to screw down the wasteboard properly.
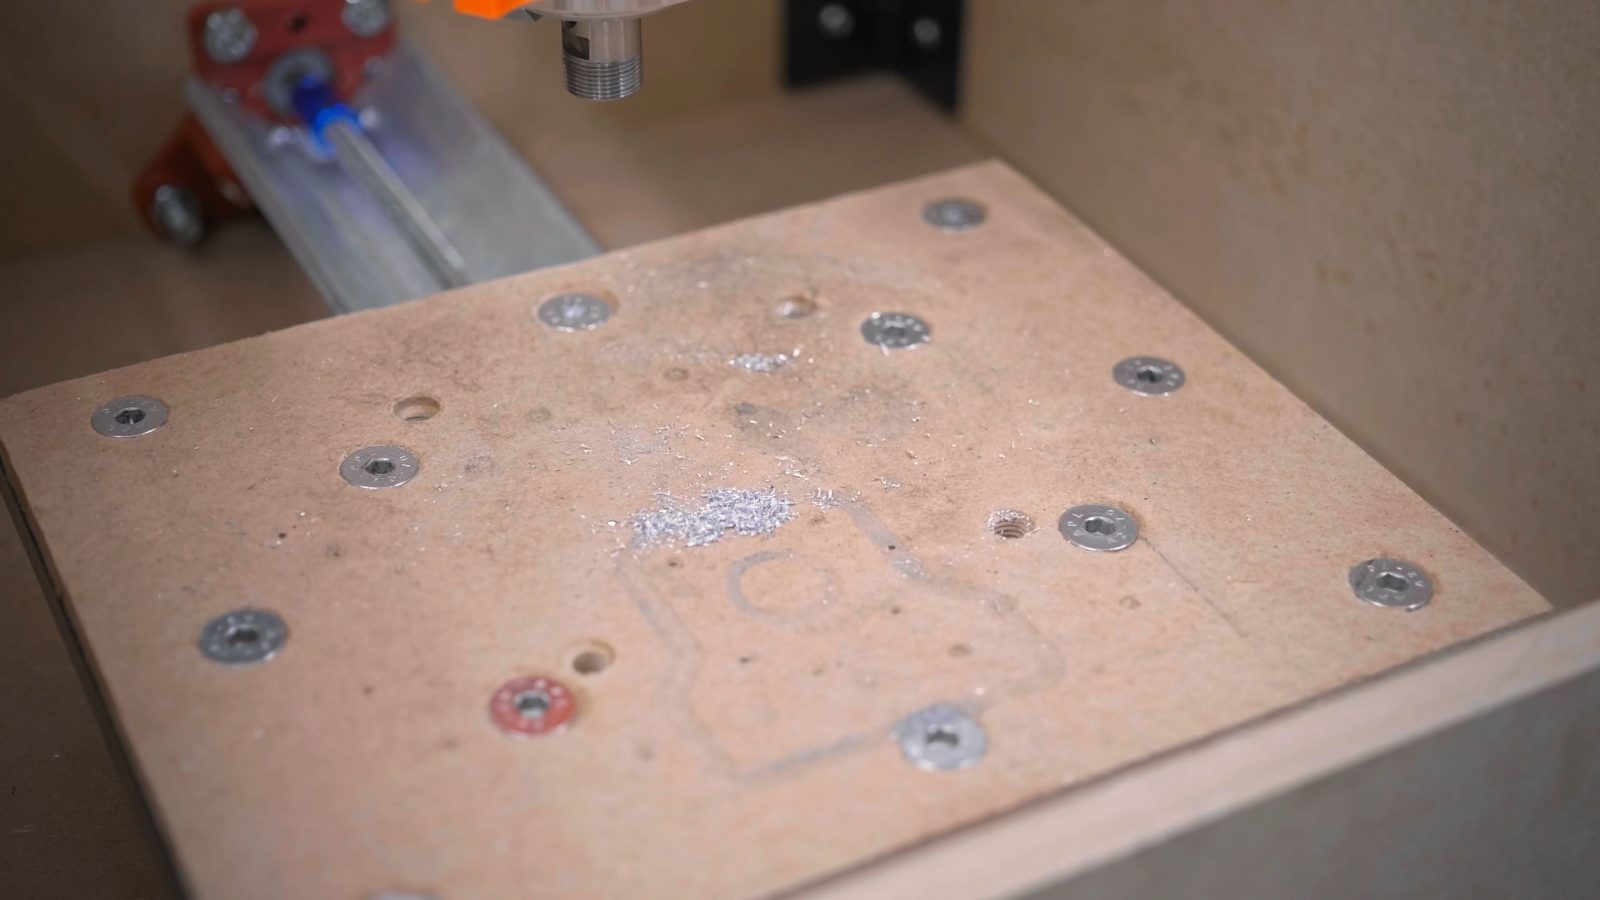
I’ve also got a few holes that I can use to bolt down a small little machine vise.
I have been offered an upgraded bed assembly by the folks at Sienci Labs, I think at MRRF last year, but because I was only traveling with a light carry-on back then, I couldn’t really take those heavy steel parts home with me. Maybe, at some time in the future, this linear rail setup might end up in another hard staredown with me.
Mechanically, there’s not much else to the machine, other than, maybe, the frame? So of course I modded the frame as well. By default, the only thing keeping this thing square are these corner brackets and, to an extent, the rails and their end pieces. But there’s no diagonal support, or anything, so if I wack one end, the entire thing might just settle down out of square by a millimeter or two. And it was out of square, actually. By about that much.
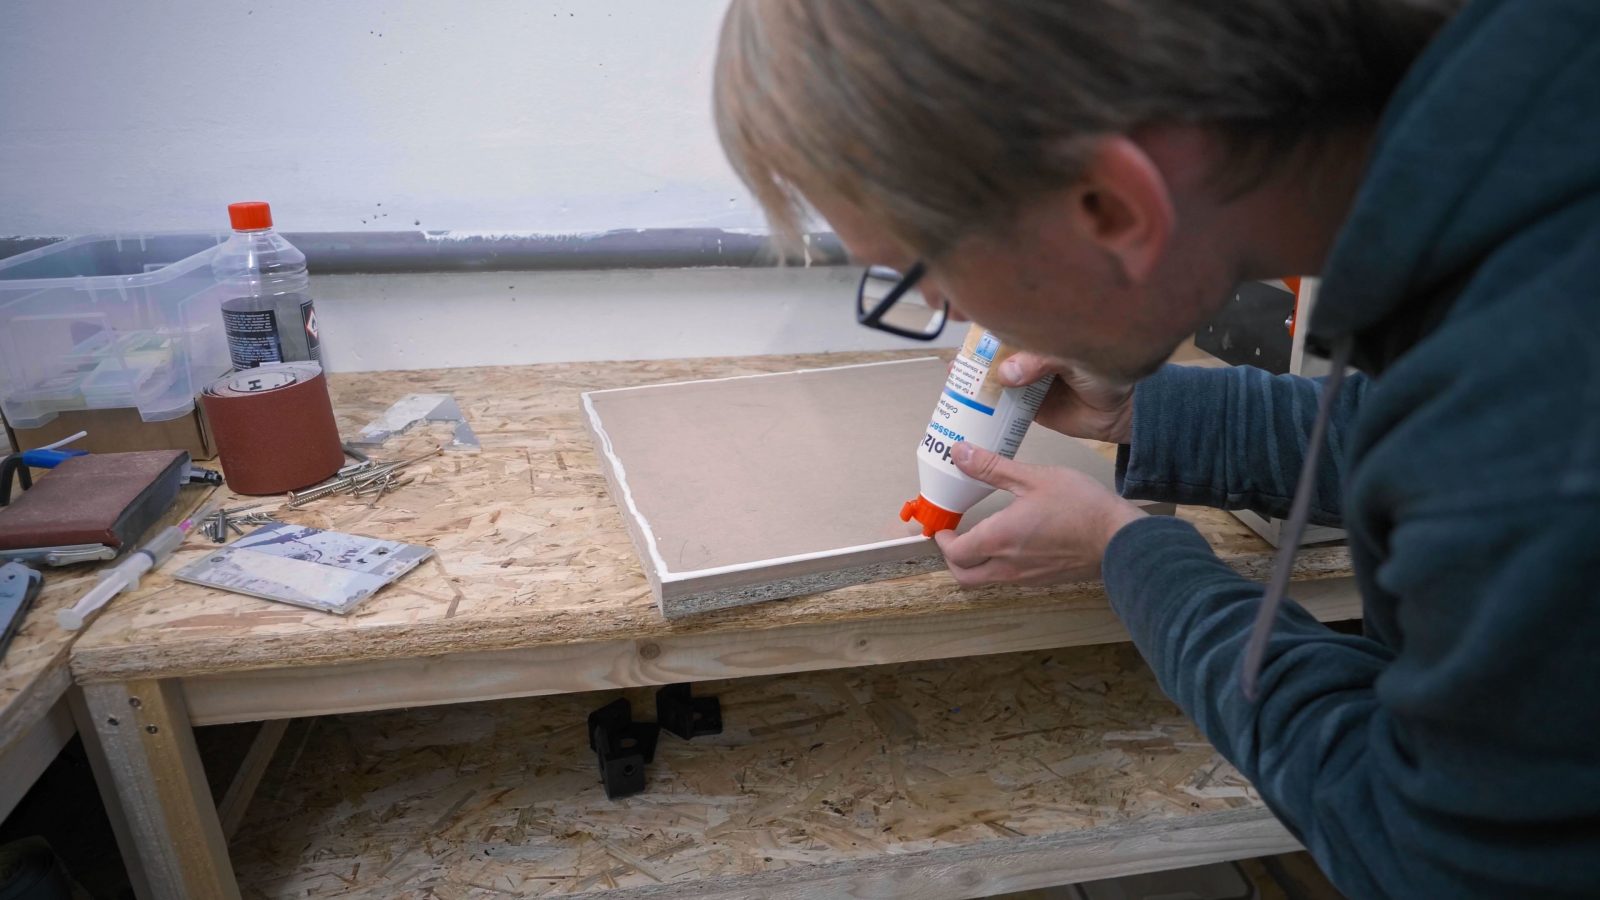
So I added yet another mod, and that’s a bottom piece to the entire MDF frame, I cut this square square as best as I could and then just wood-glued it to the existing frame while forcing it to line up. I think I may have made access to the openbuilds wheels in the bottom here a bit harder by doing that, but I can always cut a hole back into the bottom if I need more access.
So the last two changes that I made were actually much less about hardware but more about making better use of the hardware that is now there. I think I’ve covered all the low-hanging fruit when it comes to improving the mechanics and anything past that is going to require significant effort for replacing parts and adapting to the new ones.
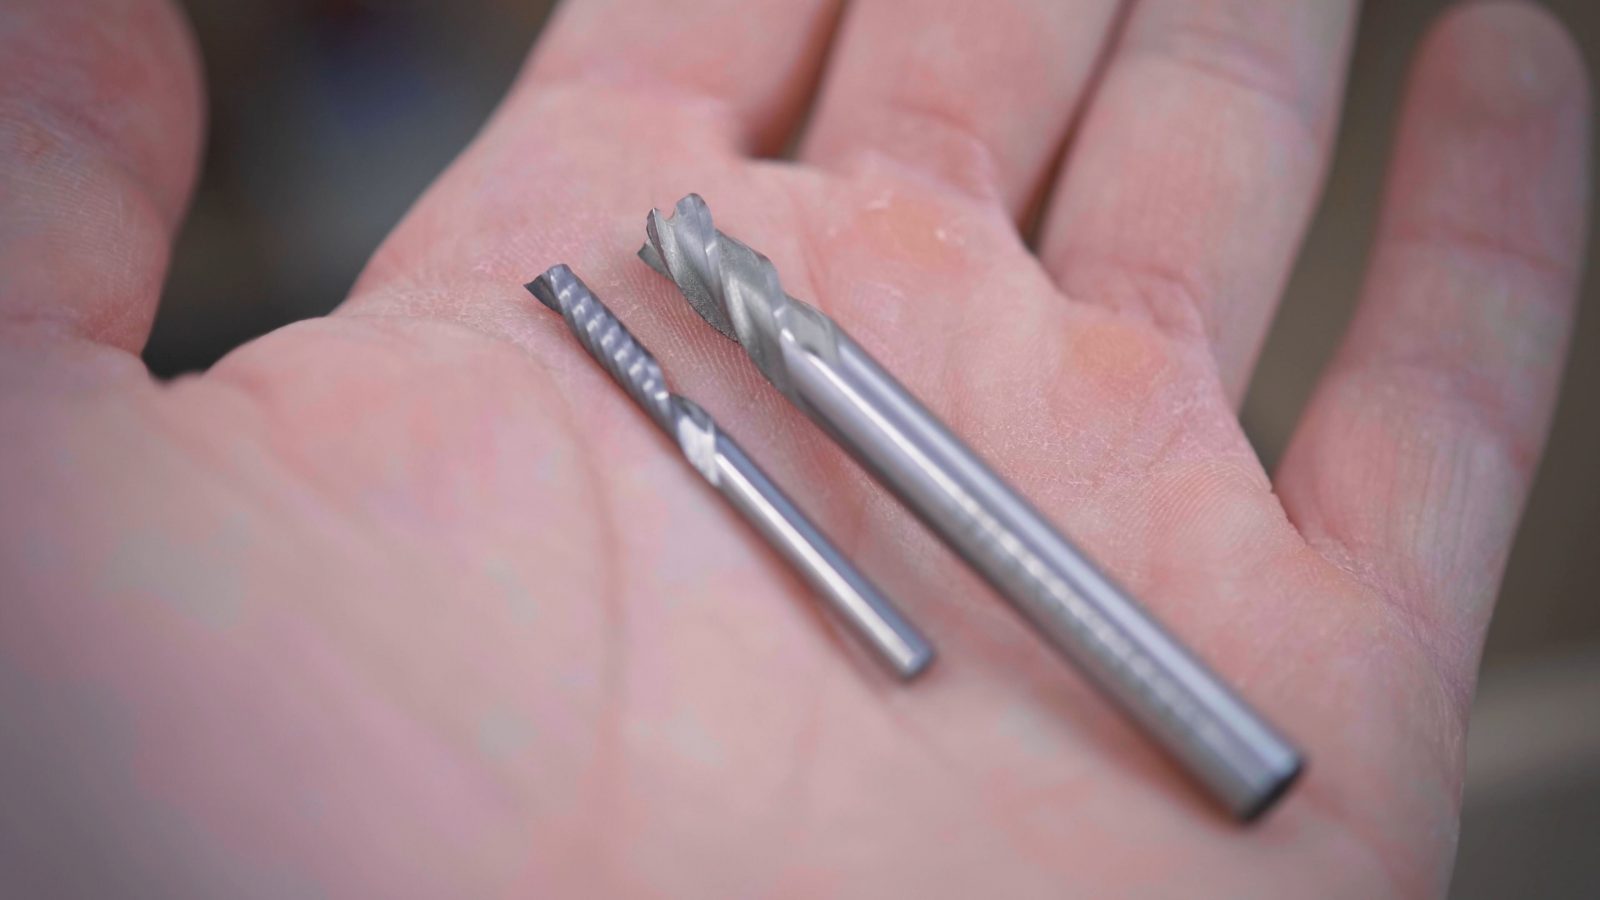
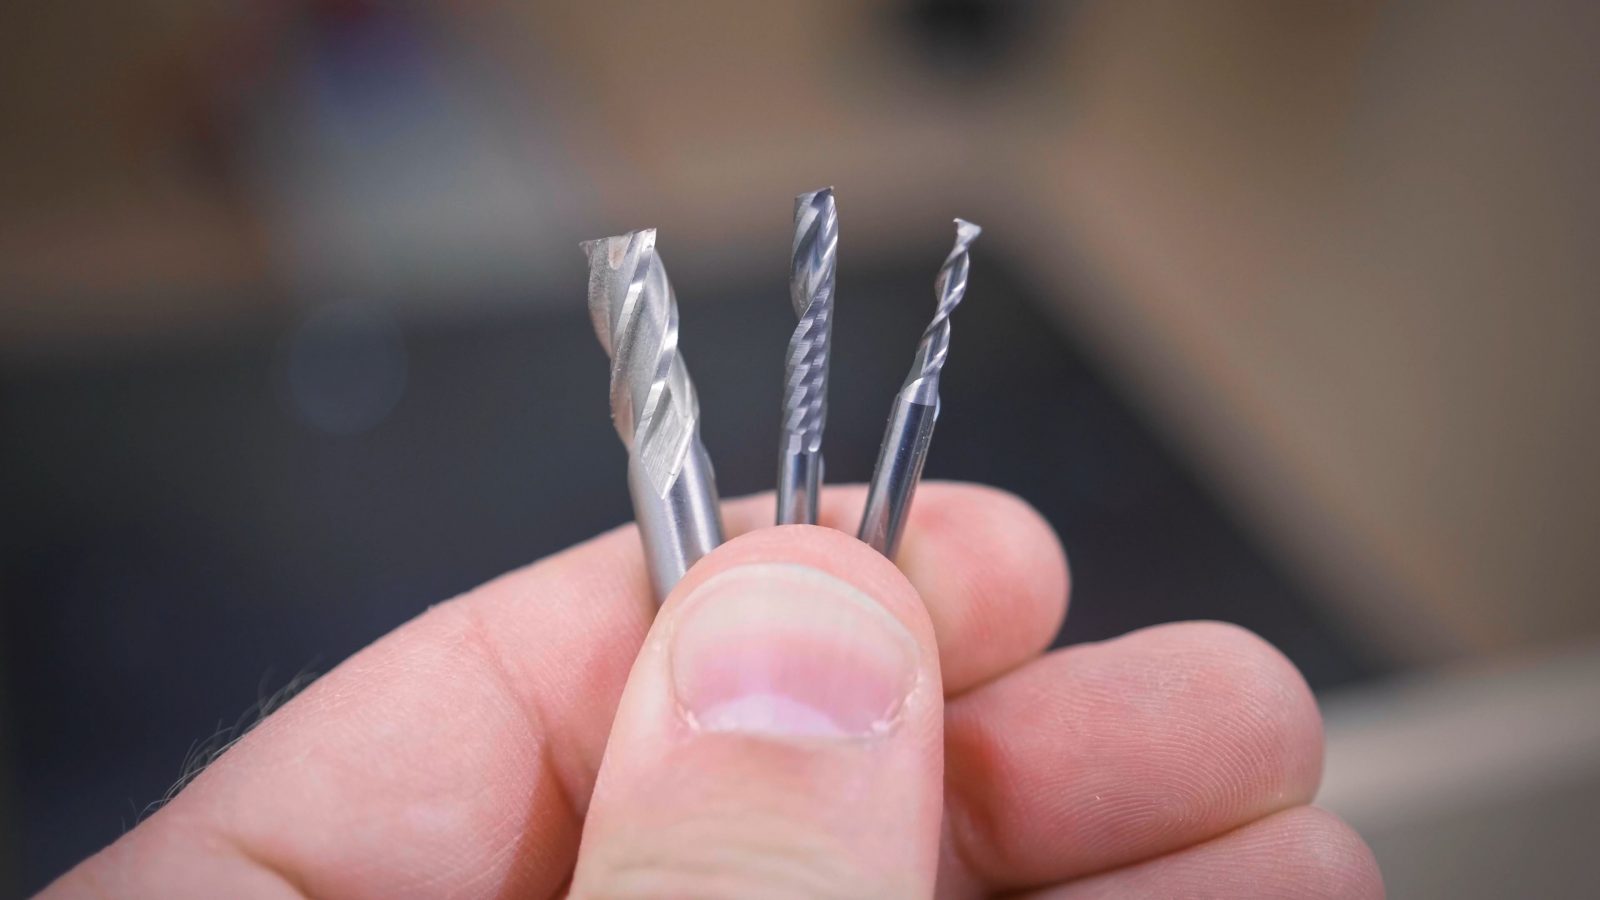
So what’s left? First, I tried a bunch of different tools, endmills, and kind of a secret sauce seems to be using a single-flute cutter. In fact, Sienci Labs had provided me with two of these nice, shiny ⅛” single-flute endmills, but just like items in video games, you kind of end up saving the powerful stuff way too long and never actually use it.
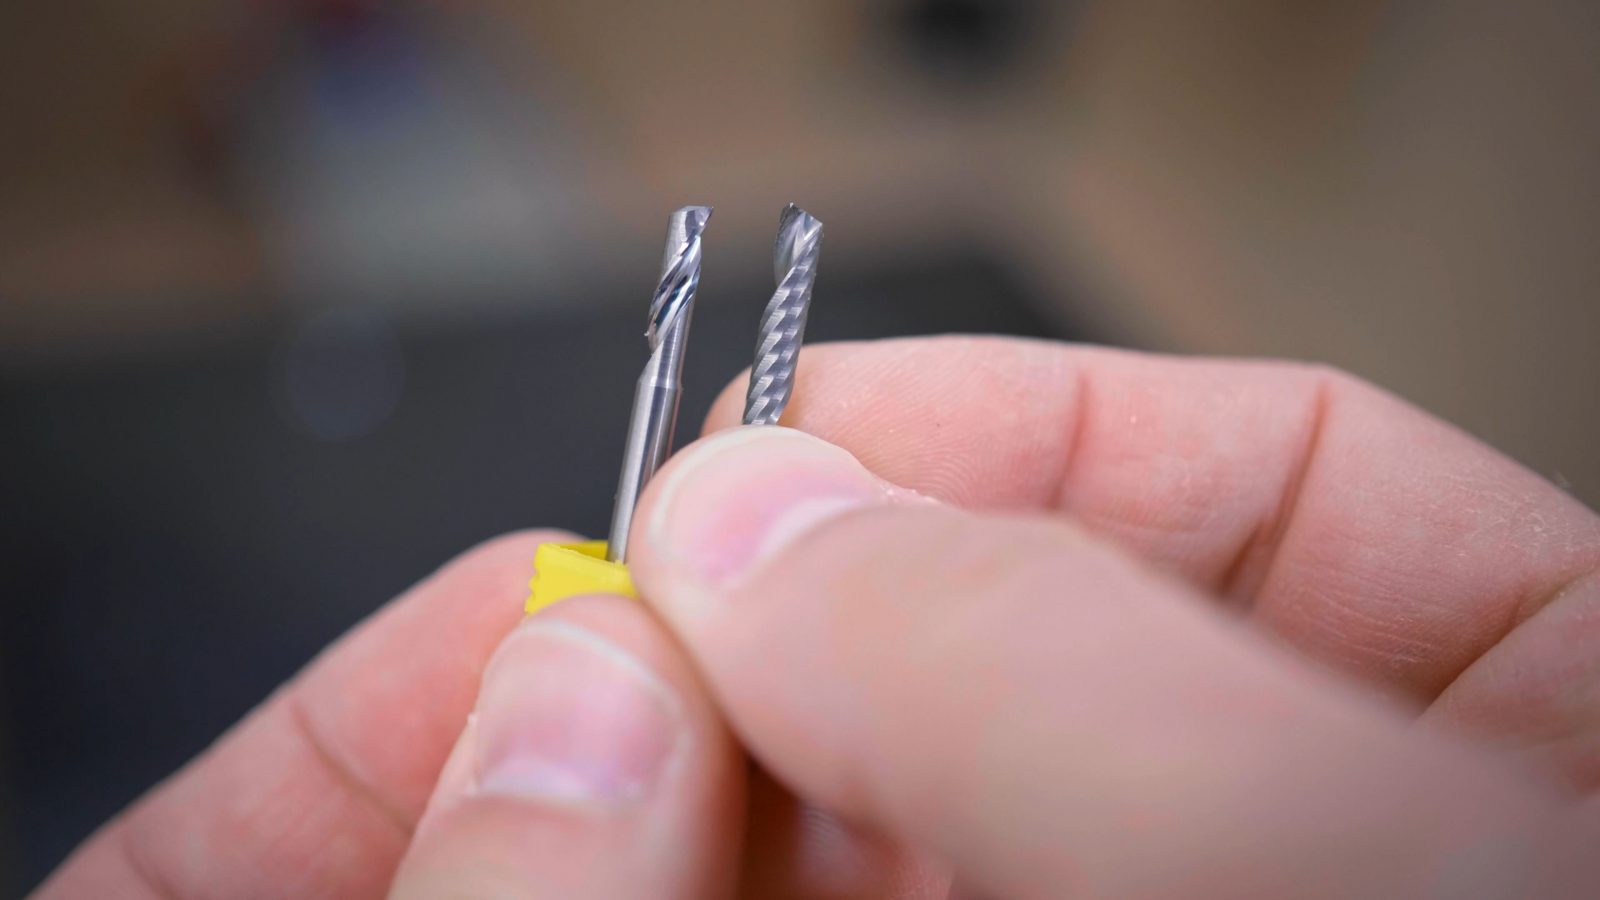
In my case, I’m using these cheaper ⅛” single-flute endmills and they’re amazing. They’re super sharp and do a great job with chip clearing. What they allow you to do is to still shave off a decent chip at “reasonable” cutting parameters without putting too much stress on the kinematics of these rather floppy machines. I like it.
Also, no coolant or lubrication or anything. I found out that if you get your feeds and speeds right, overheating of your part and the chip welding and gumming up you get from that just stops being an issue. So any sort of fluid I’d add to the cut to cool or lubricate would just have the chips stick to the part instead of flying off, and that causes its own set of issues.
If anything, I’d use a bit of compressed air to cool and clear chips.
But I think the biggest upgrade was actually free – in changing away from using estlCam or Kiri.Moto to to doing CAM in Fusion360. The recommended CAM for Bob is Kiri.Moto, which now is available stand-alone, but if I remember correctly, it used to be only available as a plugin for OnShape. An OnShape changed their license terms so that any form of commercial use, including even what I’m doing, requires you to buy a license, starting at $1,500 per year. That’s as much as buying an entirely new CNC router… every year. So kinda pointless. With the standalone version, that would be sorted, but it’s still a fairly limited tool that treats CNC machining kinda like 3D printing – one button auto-generates everything. I guess that can work for softer, non-critical materials, but you have little control over the exact cuts that are being made. ESTLcam is mostly a 2D tool and requires imports and exports of your models, so using Fusion and just being able to pull over designs from the “Design” into the “Manufacturing” workspace is super convenient and efficient.
And yeah, it’s free – at least for small businesses and hobbyists, and if you do need a license it’s way less expensive than other options. Oh, and the CAM is actually really, really good. So I spent a bit of time tuning in my settings and I’ve now got a reliable set of presets for cutting aluminum, and I guess they should also work for acrylic, hardwood and anything else that cuts similarly. For softer materials, I guess I can always still crank up the feedrate.
I’m sorry about the not-so-great quality of these clips, I recorded some of these with my phone – which died right after I was done, so instead of a 4K clip, I’ve only got the compressed 1080p backup. Oh well.
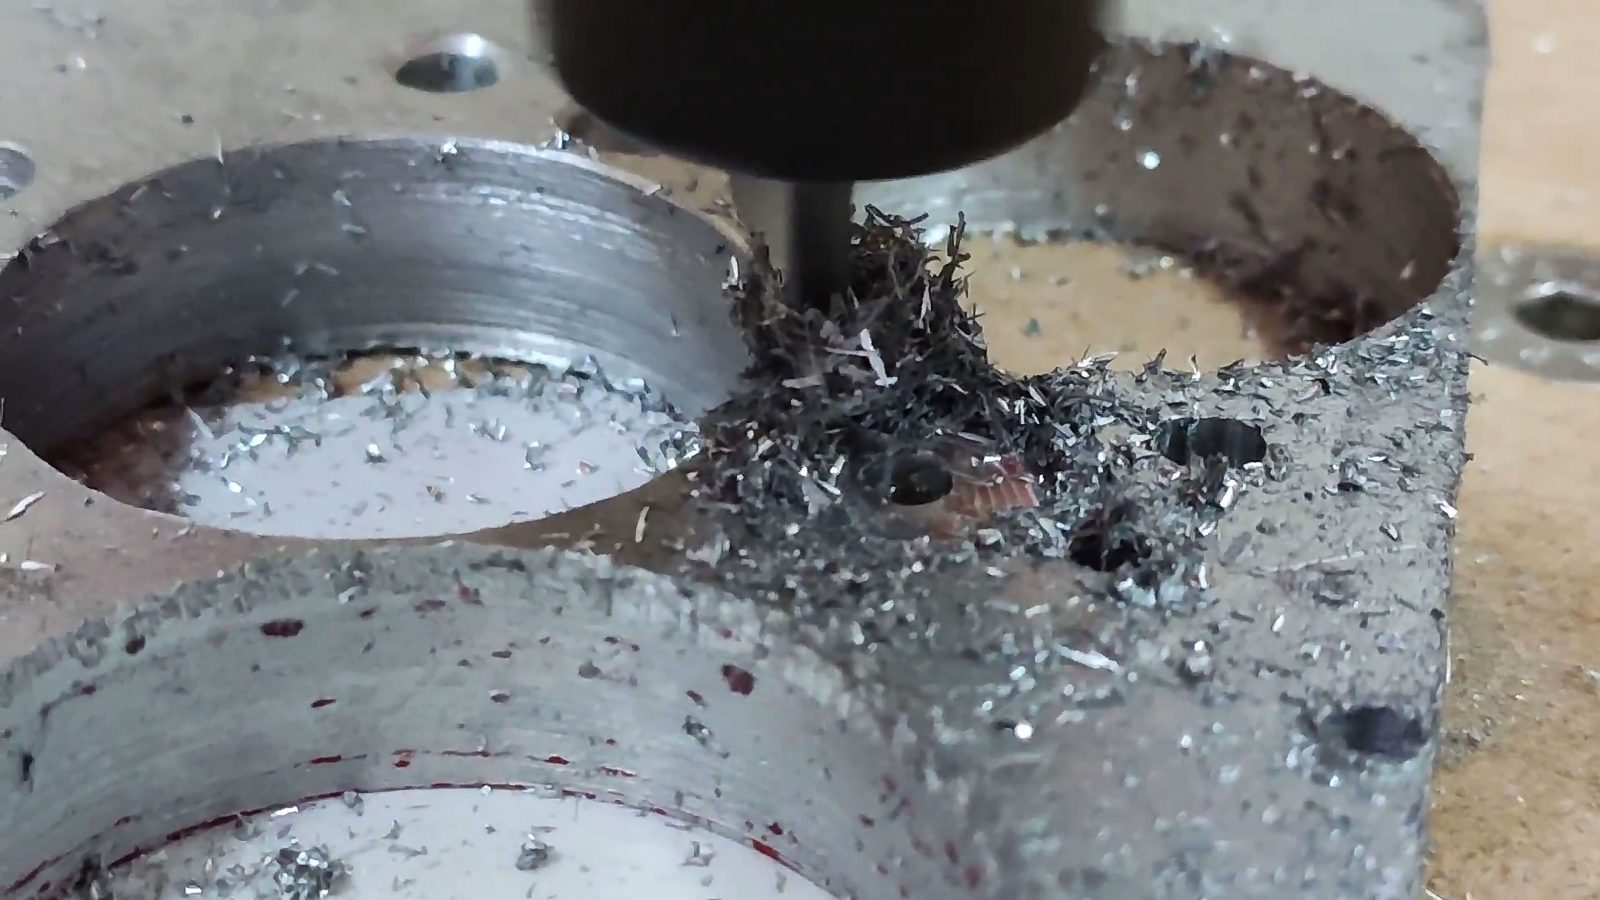
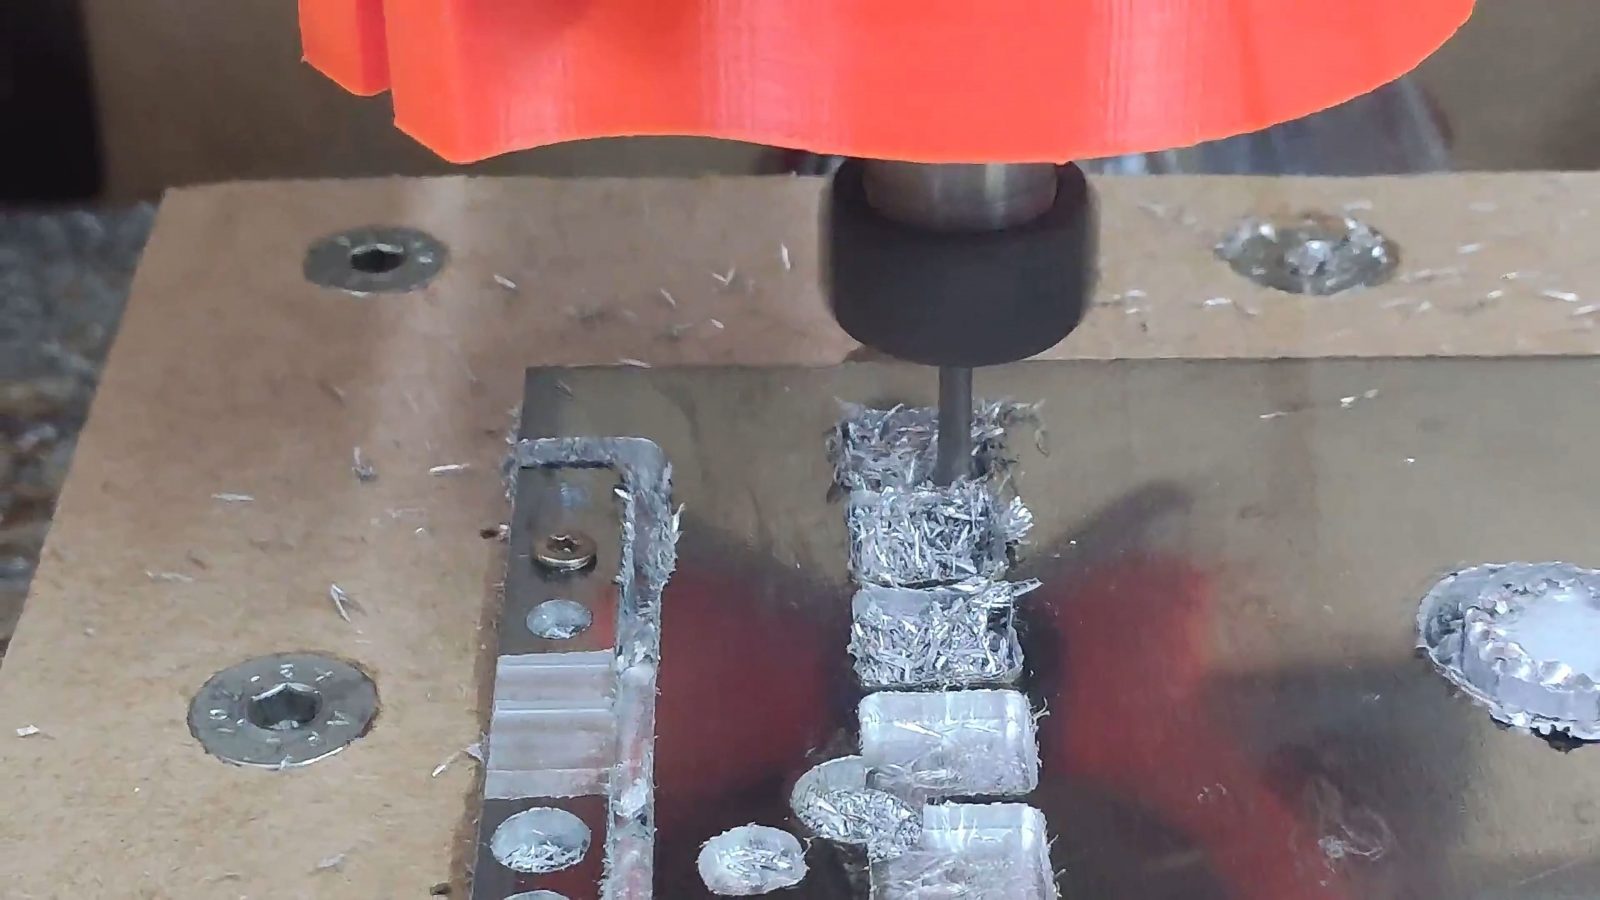
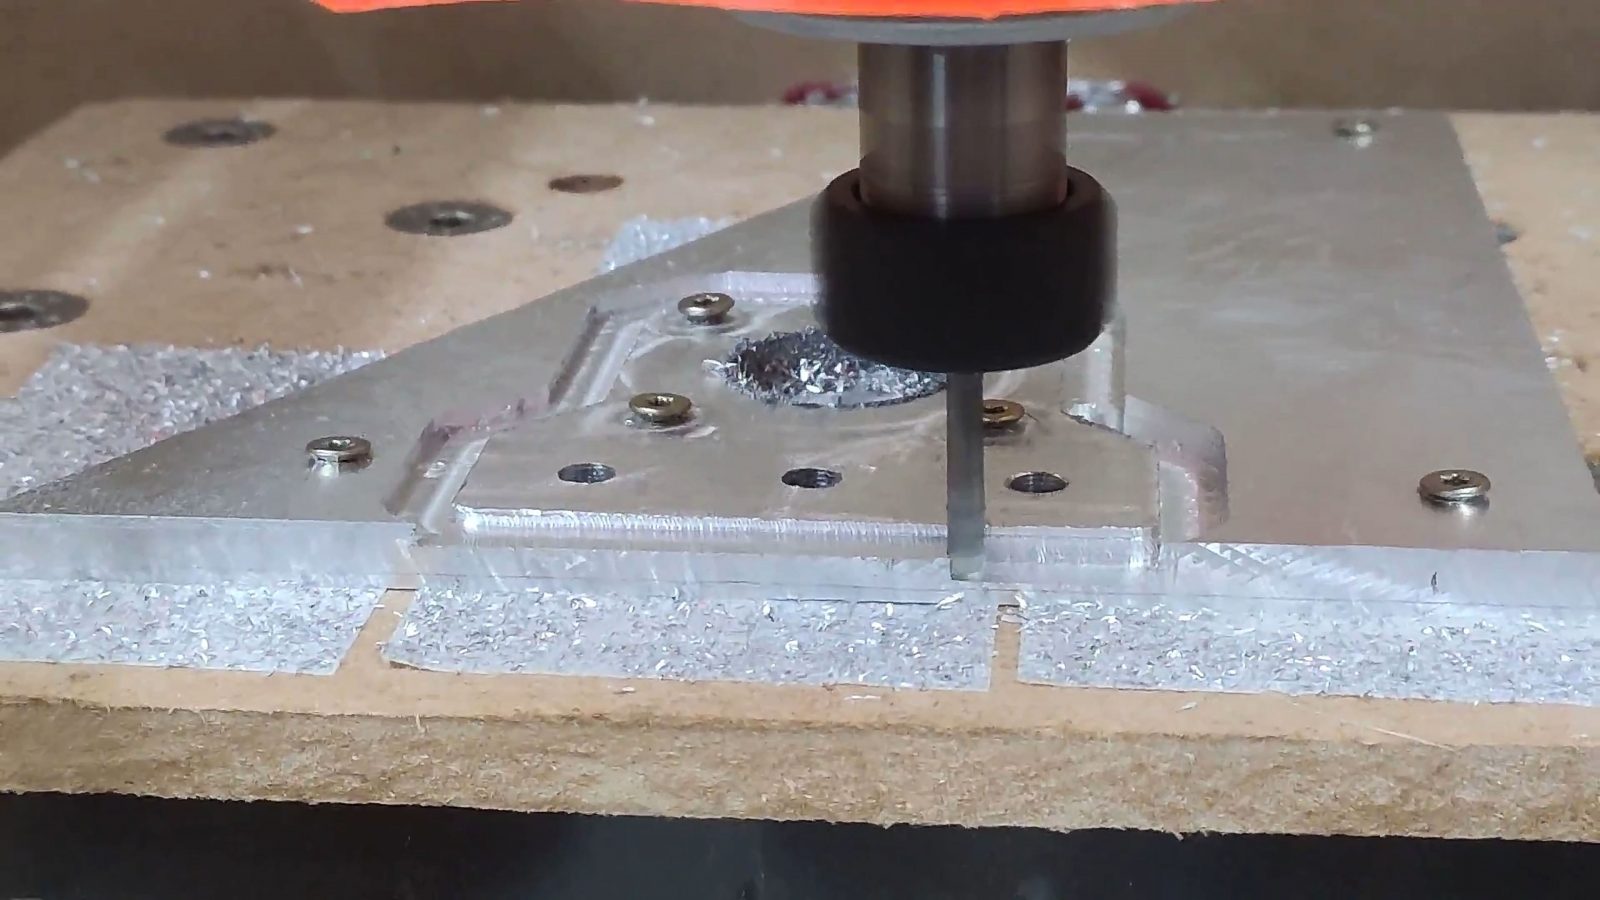
So I started with this usually pretty horrible rolled aluminum, this is AlMg0.5 or AlMg3 or something, 1050 or 6060, and usually it just gums up endmills like crazy. If I can cut this, then I should be able to cut any other grade of aluminum as well, and I think I’ve achieved that. It’s not fast – not that I expected it to be on this machine, but it’s a clean-enough cut that I’m happy with it and it’s dimensionally… ok. The endmill still takes off material after the third spring pass, so, I don’t know, there’s still some work to do. But hey, it’s proper aluminum chips on a machine that’s built from wood, mostly, with some 3D printed parts, leadscrews and linear rails that barely even qualify as “rails”, so I’m happy. And it does the job I wanted it to do – to cut some parts for some test jigs that I’ll use in the next season of my Filaween filament tests.
But yes, there is still room for improvement. With the vise mounted and a part in there, the machine basically runs out of Z travel, and at that tall of a lever arm on the bed, the flex that’s still present in the bed assembly makes for some… challenges when cutting. Replacing the bed with proper linear rails and a ballscrew doesn’t seem too hard, though, especially now that I’ve got the frame closed off at the bottom.
I also need to rethink this wasteboard.
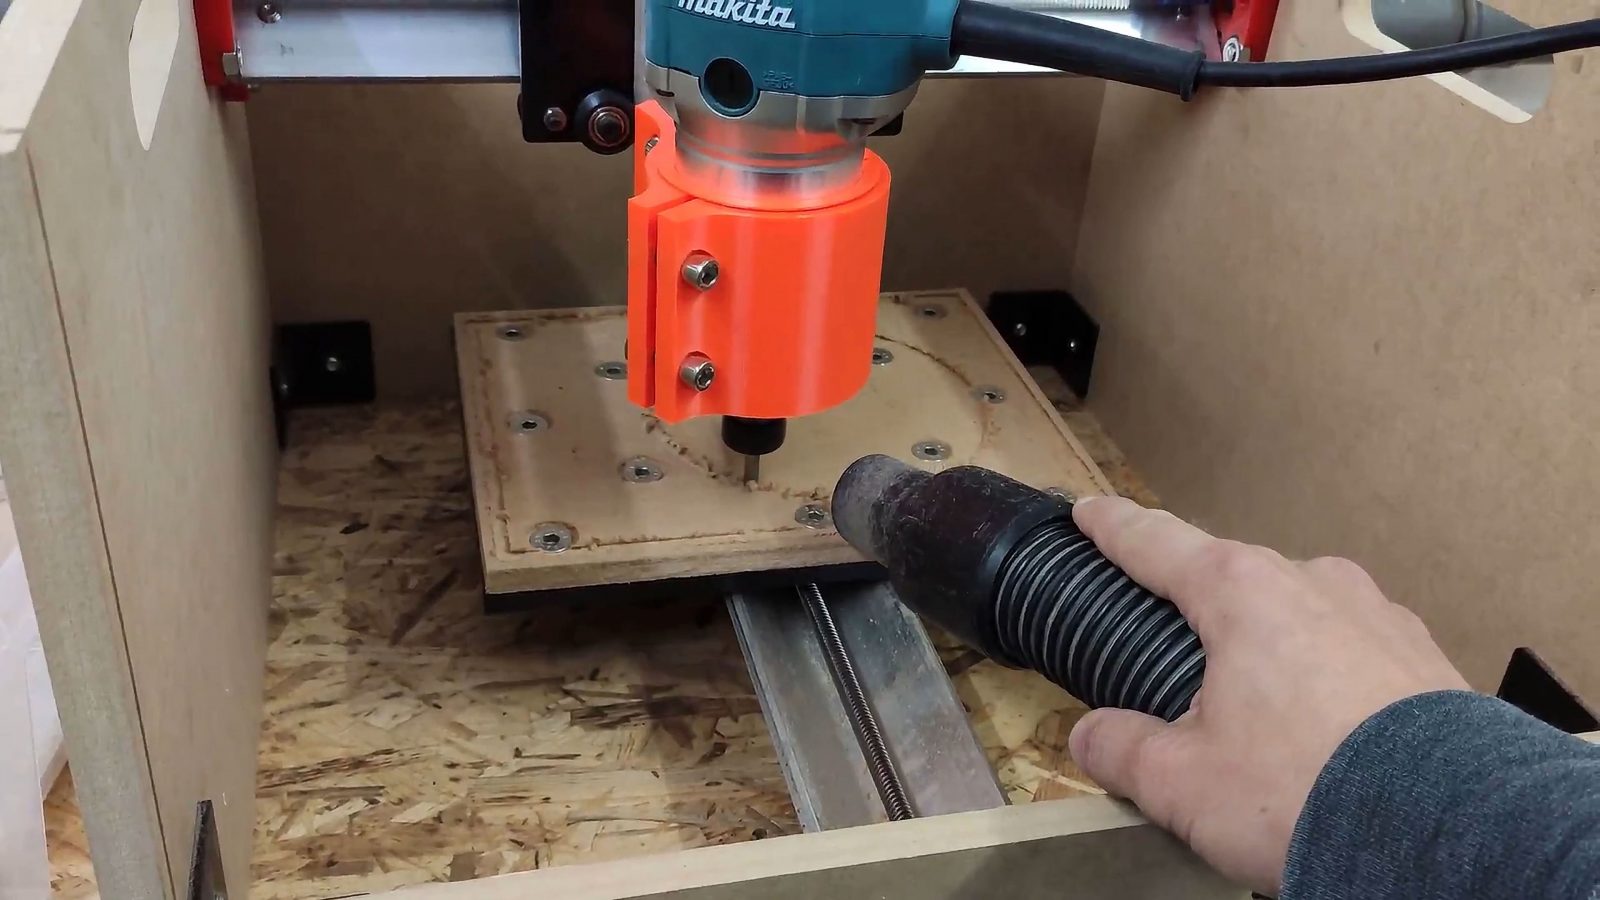
On the one hand, it’s already adding height to the bed – and height is a limited resource, but this MDF used to be 10mm thick and after planing it down twice, there are only about 7 or 8 mm left, which isn’t really enough to screw parts down into, so I’ve always had to screw down into the Delrin base – which is normally not considered a consumable part, so any holes in there are permanent.
Also, the leadscrews used here, well, they are leadscrews, so they have some backlash. The GRBL firmware for whatever reason refuses to include backlash compensation – even Marlin support that – and the spring-loaded pretensioning thingies on the leadscrew nuts don’t really do a fantastic job, either, the spring is too weak to overcome the cutting forces, so you end up with cuts one direction being pushed by the non-springy part of the nut, which works great, but then cuts the other way are basically being dragged along only by the spring, which makes for somewhat inconsistent cuts. I mean, at this point, you can get a backlash-free ballscrew – with proper axis bearings instead of relying on the bearings in the motors – for just about 30 bucks, so to me that’s a no-brainer upgrade. Just takes some effort to install.
But again, the goal was to cut aluminum, Bob now cuts aluminum. I think the folks from Sienci Labs have learned from the Mill One, because when I look at the Longmill, which is the only machine they sell now after the Mill One was discontinued, it looks like pretty much everything I did on this Mill One is already improved or designed differently on the Longmill. If you want to know more about that machine, here’s the interview I did with them before it got launched on Kickstarter last year.
So yeah, I now have a way to cut aluminum – there’s surely more potential for optimization, but for now, this is usable. I’m happy!
So I hope you guys are safe and sane, too, if you enjoy these videos, consider subscribing or even supporting the channel directly. Also, please feel free to tell me in the comments below what I’m still doing wrong with this machine – this is something that I also want to learn more about because being able to work with metals sometimes is really, really useful. Anyway, friends, keep on making, and I’ll see you in the next one.
Relevant parts:
6mm to 1/8″ collet adapter (get the black and silver ground ones)
💙 Enjoying the videos? Support my work on Patreon!
Product links are affiliate links – I may earn a commission on qualifying purchases (at no extra cost to you)

Check out my second channel “More Layers” on YouTube for livestreams


