
Probably the most crucial steps in making your 3D printer safe is configuring the firmware right – I show you how with Marlin!
Hey, there’s a 63% chance that you’re watching this video, but aren’t subscribed yet. So.. why don’t you do that right now? Bottom right corner of the video. Click that thing. Super easy. It’s free. You’ll never miss a new video. Done? Ok, let’s move on
Alright, so you’ve seen the burning 3D printers and hopefully have worked through my guide on how to make yours safe, but there was one thing I left out of that mega-video, and it’s a really import component.
Firmware safety checks!

You know, normally, it’s the manufacturer’s job to enable these checks, but in case you own a machine from ANET or Creality or someone else that disabled the safety features from the factory, then it’s up to you to turn them on. And that’s exactly what I’m going to show you today.
This video is sponsored by Squarespace, stick around ‘till the end for more info and a discount code.
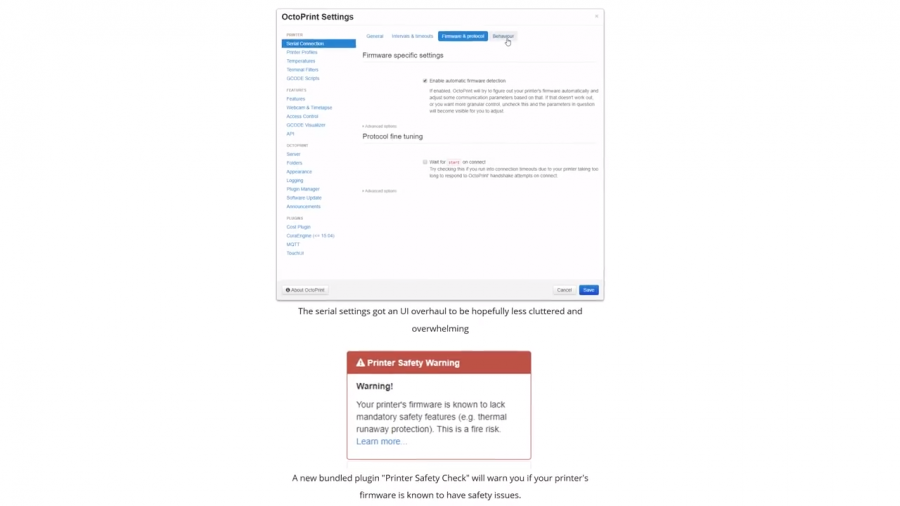
Ok, so first off, big shoutout to Gina Häußge, developer of Octoprint, who actually took the high road of pestering and annoying you within the OctoPrint interface if you’re using a machine that is known to have these safety checks turned off.
But frankly, it is quite irresponsible to run a machine without these checks, because not only do they improve your odds when it comes to fire safety, but can also serve as an early indicator of things not working as perfectly as they could.
So today, the Marlin firmware can check for the following indicators:
The first ones are MINTEMP and MAXTEMP.
These check whether the thermistor reports reasonable temperatures in the hotend and the heated bed at any given time.
That goes twofold: If, for example, the hotend overheats to 300C or you or your software accidentally tell the firmware to heat above that temperature, MAXTEMP will either have Marlin refuse that command or emergency-shutdown the machine and disable all heaters. It will also read MAXTEMP if the thermistor is shorted out, so in that case the firmware has no real way of reading the real temperature in the hotend.
MINTEMP, on the other hand, protects against a failing thermistor that might read temperatures that are unreasonably low, so the actual temperature would actually be way higher than the printer thinks it is, be it from a damaged thermistor capsule itself or from a cable breaking or the thermistor just not being plugged in at all or the lead having fallen out. You know, stuff happens.
THERMAL RUNAWAY PROTECTION
And there’s one more and probably the most important feature – THERMAL RUNAWAY PROTECTION.
This isn’t super straightforward to explain, but essentially, in case the thermistor is working and reporting reasonable numbers, Marlin is checking that against what it expects the hotend and heated bed to do. So for example while everything is getting up to temperature, it’s expecting a consistent temperature increase over time.
Once everything is at temperature, yes, sure, the hotend might see a sudden temperature drop if, for example, the cooling fans kick on, but if the temperature then keeps dropping, well, maybe it wasn’t just the fans, but instead the thermistor falling out of the hotend. So in that case, the firmware will turn off the heaters instead of trying to bring what it thinks is the hotend temperature back up to what it’s set to by cranking the heaters to full power. Sounds reasonable, right? So let’s get these enabled!
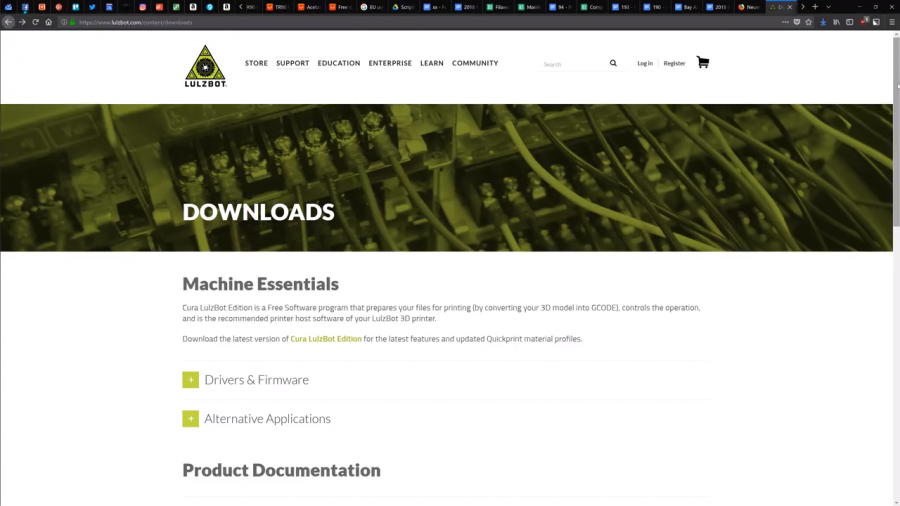
To get started, you’ll need, first of all, a copy of the Marlin source code for your 3D printer, this is the actual code that you can configure, and that gets compiled, so translated to machine code, and then uploaded to your 3D printer’s main processor. Since Marlin is open-source and licensed as GPL, if your 3D printer shipped with Marlin, your manufacturer or reseller is required to provide you with their customized source code of the Marlin firmware and will happily provide it to you on request or even have it linked on their website already.
The easiest way to work with the firmware files is by simply using the Arduino software. If you’re using Windows 10, you can actually install Arduino from the Windows store, super easy, and it’s always going to be up to date automatically.
In the firmware sources, you’ll find a “Marlin.ino” file in the “Marlin” folder, open that, and Arduino will come up with the entire firmware in view. To enable the basic checks, head over to the configuration.h file, and either scroll down until you find “Thermal Runaway Protection” or simply hit control or command and “f” and search for “Runaway”.
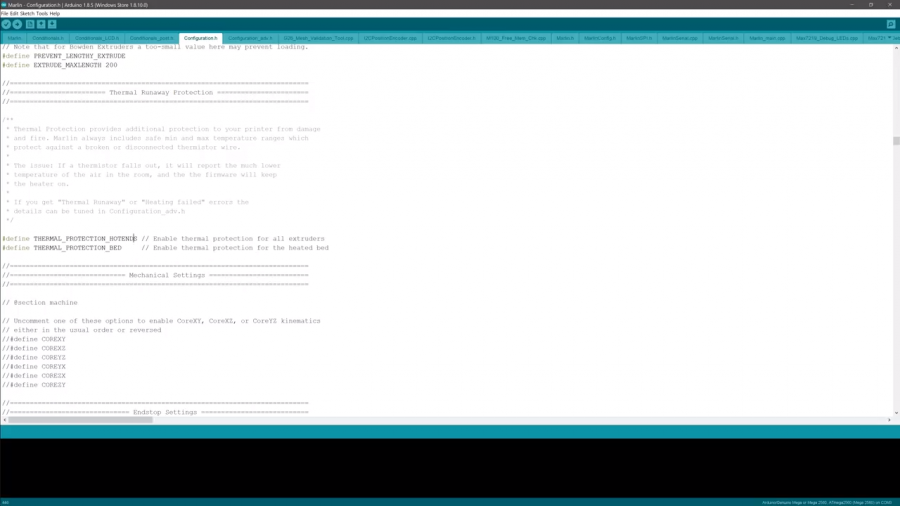
If you find the two lines “#define THERMAL_PROTECTION_HOTENDS” and “#define THERMAL_PROTECTION_BED” with two forward slashes in front of them, like this, the runaway protection is turned off. To turn it on, just remove the two forward slashes from each line.
The same goes for MINTEMP and MAXTEMP, but you should also make sure that the temperature limits are set to reasonable levels. Ideally, MINTEMP would be slightly below your normal room temperature, so let’s say 15 for 15°C aka 59°F, down to 5 for 5°C or 41°F if you’re running your printer in a cooler basement room. MAXTEMP should simply be the maximum safe temperature for your hotend, so if you’re rocking a PTFE-lined one, that would be somewhere around 245°C, while all-metal ones where no PTFE touches the hot zone can usually run up to 300°C or more.
If you want to dive deeper into the runaway protection settings, for example because it triggers too easily and leads to false positives for you, you can do that in the “configuration_adv.h” file. If the defaults work for you, there’s no reason to change them, but having a look at what everything is set to will still help you understand the functionality a bit better. Again, search for “runaway”, and you’ll find two pairs of settings for the hotend(s) and the heated bed.
Let’s actually start with the second one, “WATCH_TEMP”. The “PERIOD” and “INCREASE” settings basically say, in this case, that every 20 seconds, the firmware is expecting at least a 2°C increase in hotend temperature while things are heating up. That might sound super slow, but keep in mind that the temperature might only creep up to the set temperature once it gets close.
The other settings, “THERMAL_PROTECTION”, actually refer to the temperature once everything is heated up, and, ideally, the machine is printing. The defaults values of 40 and 4 say that if the temperature drifts more than 4°C away from where it should be for longer than 40 seconds at a time, it will trigger the emergency shutdown.
Again, the defaults are ok here, if they don’t work for you, check that PID settings are good, and re-tune them if necessary, make sure that your cooling fans don’t blow over the heaters too much, but if neither of those make things run perfectly reliably, you can, of course, make the settings a bit more lenient, which is still better than turning the protection features off entirely.
Okay, so we’ve done the configuration, but we still need to get it uploaded onto the printer.
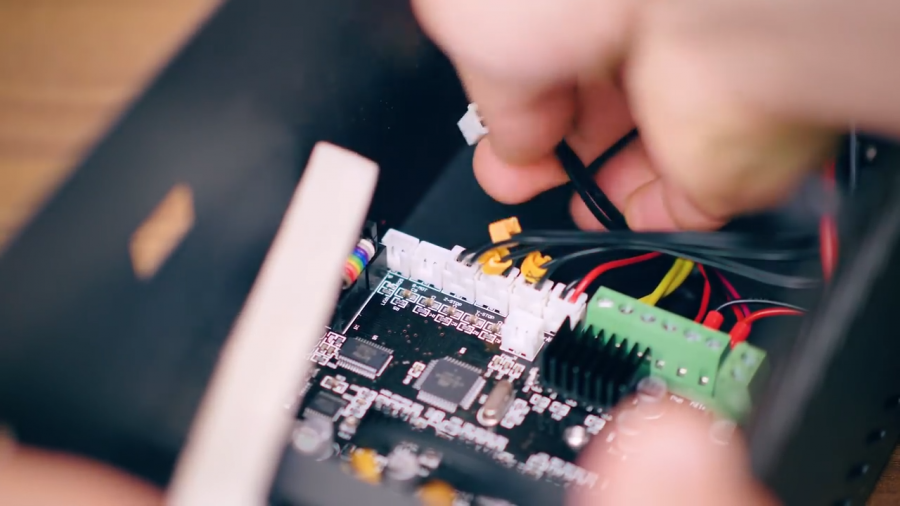
So, the classic way to upload new firmware is to plug in the printer via USB to your computer, select a matching Arduino board in the Arduino software, typically that’s the Mega 2560, and its serial port, install a few missing libraries and hit “upload”. Like, that’s it. The LEDs on the board will flash wildly for a bit and once they stop, your printer will start up with your freshly configured firmware.
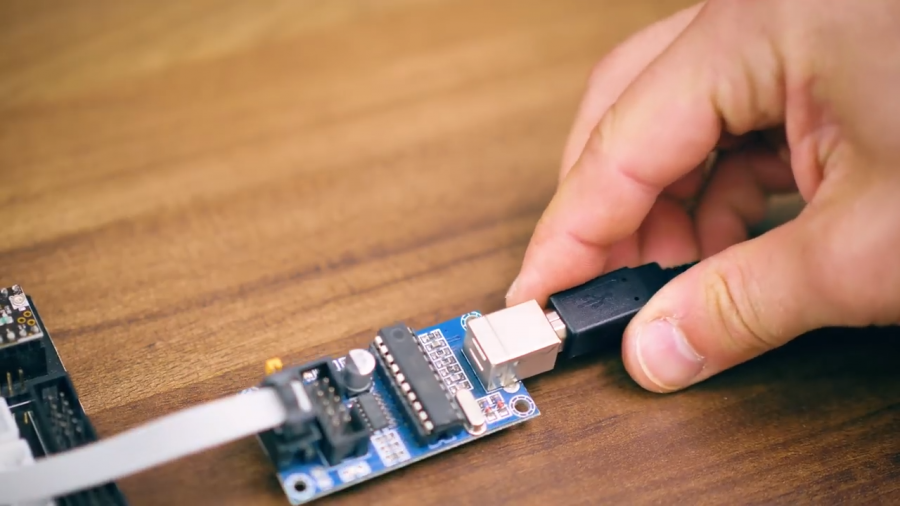
However, some printers ship without the piece of software called a “bootloader” installed on their processor that would allow you to upload firmware simply through USB. For those, you’ll need a hardware programmer like the USB tiny ISP, which you plug into the “ICSP” header on the mainboard, and then flash the firmware through the appropriate menu in the Arduino software, or first install the bootloader and then flash it the rest of the firmware through USB like with any other machine. But the exact process can be different for every machine, so I don’t think it makes too much sense to explain all the variations in full detail here.
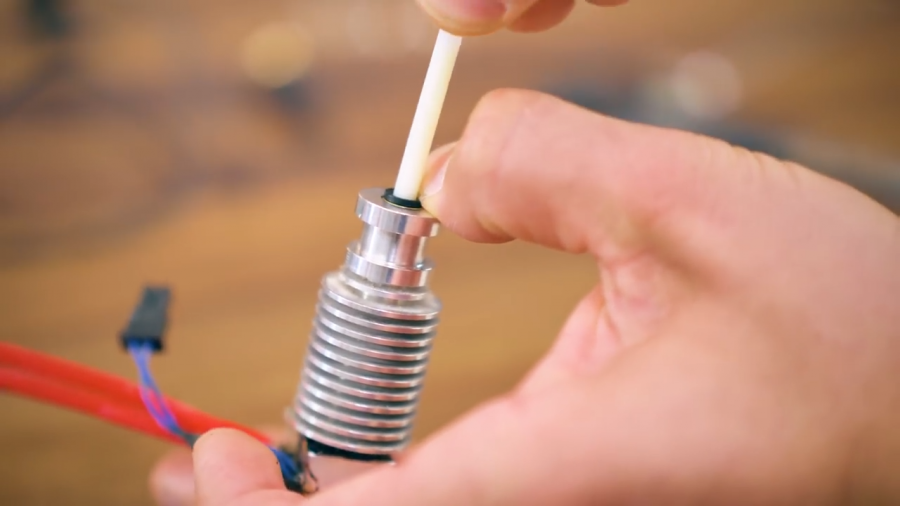
Ok, so you’ve got the new firmware uploaded, time to check if the safety features work. You can do all these checks while the printer is powered up, just make sure you don’t touch any loose wire ends where they don’t belong. So first off, to check MINTEMP, just unplug the thermistor while the printer is cold, and it should immediately stop by itself, turn off the heaters and refuse any further commands from you. Same with MAXTEMP, but this time you need to short out the thermistor, for example by using some tweezers and reaching into the side of the crimp connector.
To test the runaway protection, you’ll need to disconnect the heater element, once while the hotend is still heating up, and once while it’s at temperature. A few seconds after the time period that is set in the firmware, by default 20 and 40 seconds, the safety checks should trigger. Now, for this, it’s probably ok to unplug or disconnect the wiring while things are powered up, but I’d recommend powering off the entire machine before reconnecting them.
Alright, so with these checks enabled and functional, your 3D printer has already become a good bit safer. But this shouldn’t be an excuse to just ignore everything else on the machine that could be a risk or fire hazard, so definitely also check out that other video I did on general fire safety on any 3D printer right up here.
Now, what definitely isn’t a fire hazard is Squarespace.
Squarespace is the easy way to get yourself seen on the Internet: Whether you’re creating a portfolio for your work or want to set up an online store, Squarespace lets you create the website that is right for your needs. They will take care of the entire tech backend for you, and configure everything with the checks that make sure nothing ever burns down, for you there’s nothing to install, patch or update, ever. Simply open up your browser, choose any of their award-winning templates, add your content, and it’s going to look professional, no matter if your visitors view it on a smartphone or a big desktop monitor.
Go to squarespace.com/sanladerer now to get a free trial and 10% off your first purchase.
Alright, so I hope that not only did you learn something, but now actually these checks turned on for your own 3D printer. Don’t forget to get subscribed if you want to see more videos like this one, hit that thumbs up if this worked for you, and, yeah, thanks for watching and I’ll see you in the next one.