It doesn’t take much for a 3D printer to catch fire – but it’s easy to prevent! Here’s how you can make your own 3D printer safer and keep it from causing more harm should it start to burn anyways.
So quite recently, there has been yet another 3D printer that caught fire and burnt down, luckily in this case no one was hurt and the building still stands, but… this isn’t the first time this has happened! Every few months you hear one of these horror stories of a 3D printer in one way or another becoming more volatile than it should have been, and way too often it’s just by a hair that it didn’t burn the entire house down.
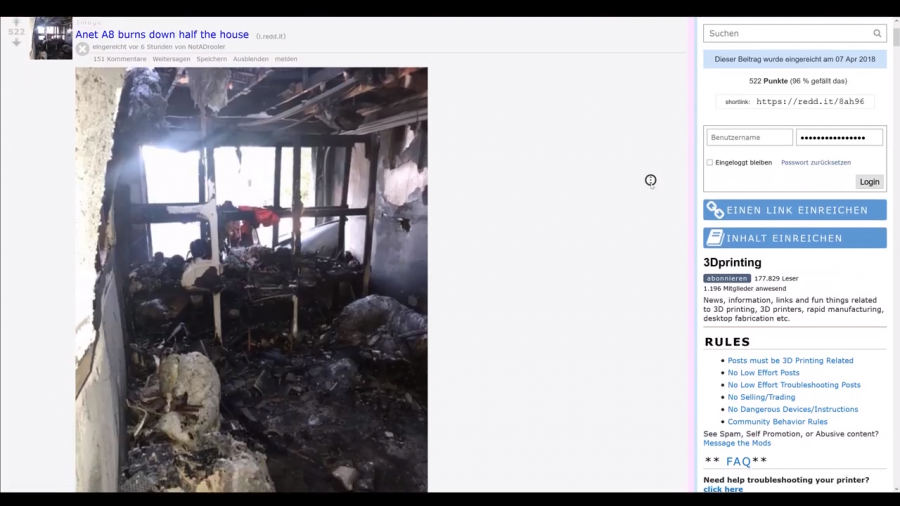
So in this video, let’s go through what the most common fire hazards are on a 3D printer, how you can make each one way less dangerous, and what you can do to prevent larger fires in the case that something should wrong that is out of your control either way. There is no, de facto 100% safety with really anything, but there are a lot of easy ways to fix the low-hanging fruits on our 3D production machines, so let’s check thouse out!
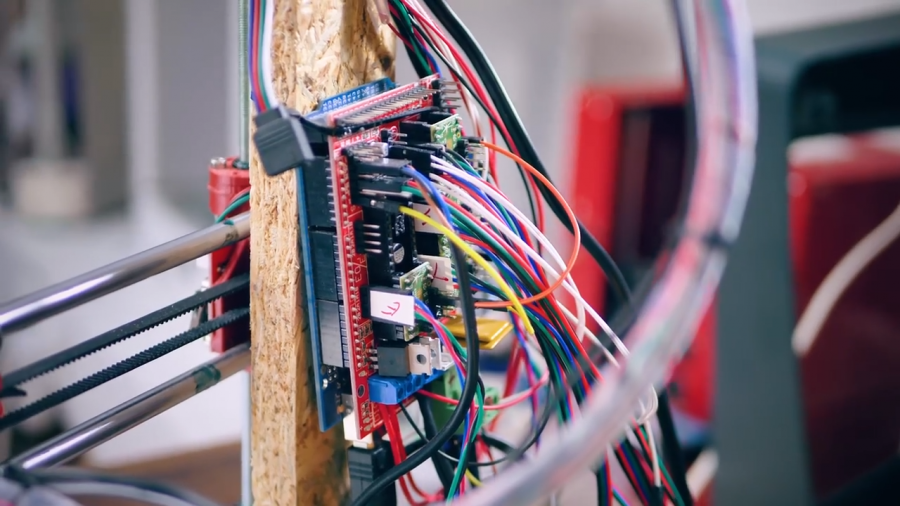
Ok, so pretty much all the ways a 3D printer could fail are electrical fires, which means it’s wires, connectors or individual components getting so hot that either some plastic insulation starts burning or it ignites something else that the wire’s touching. So, a few versions of wire insulation and connectors are actually flame retardant, meaning that if should something overheat, the plastic is going to melt, but even with an open flame touching it, there’s an added chemical in the plastic that will keep it from actively burning itself. However, most other plastic parts on a 3D printer are typically not flame retardant, so one bit failing and touching it could actually set the entire thing on fire.
The Frame:
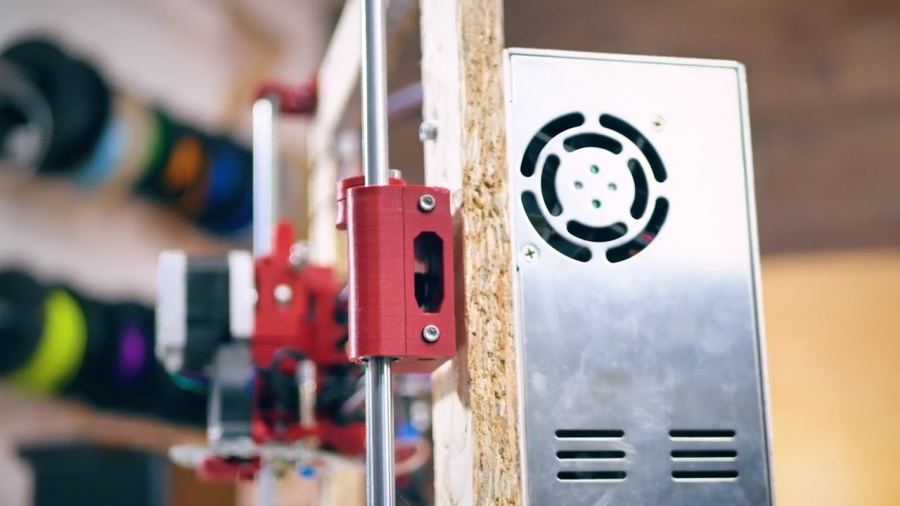
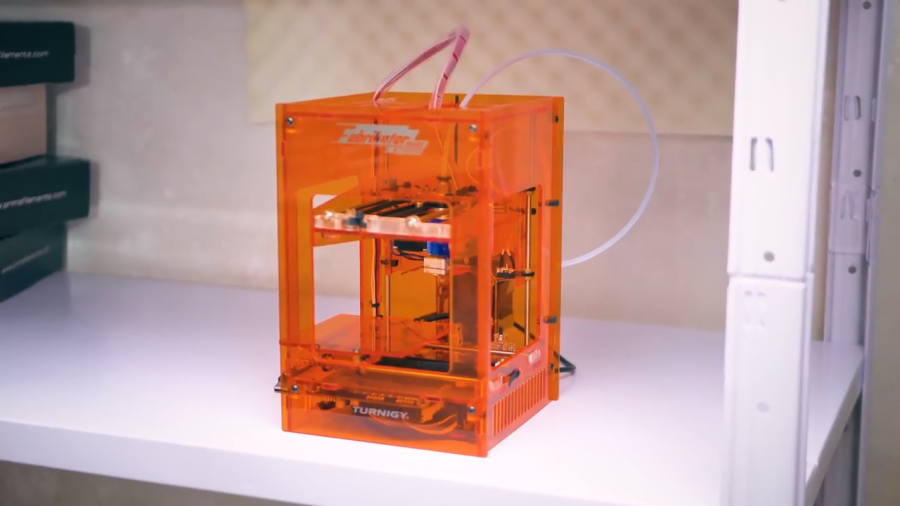
Now, obviously, the frame of any 3D printer is the biggest flammable part, if it is actually flammable, so, let’s see, this [Dolly] is pretty bad, it’s wood, mechanically it’s a great material, but it would make great kindling in a campfire as well, this acrylic frame, still going to burn pretty well, I mean, this is is going to be a decent-size fire if it does go down, but an all-metal frame is, of course, not going to burn, at least under normal conditions. I’m just going to assume you’re not printing in a 100% pure oxygen atmosphere where aluminum will burn. And that was, I believe the main culprit with the recently burned-down Anet A8, which uses an all-acrylic frame, and that, of course, is perfect fuel for any fire. But even with a metal frame, there are still some plastic parts on here, though, for example, spiral wrap on the cables or these V-slot covers.
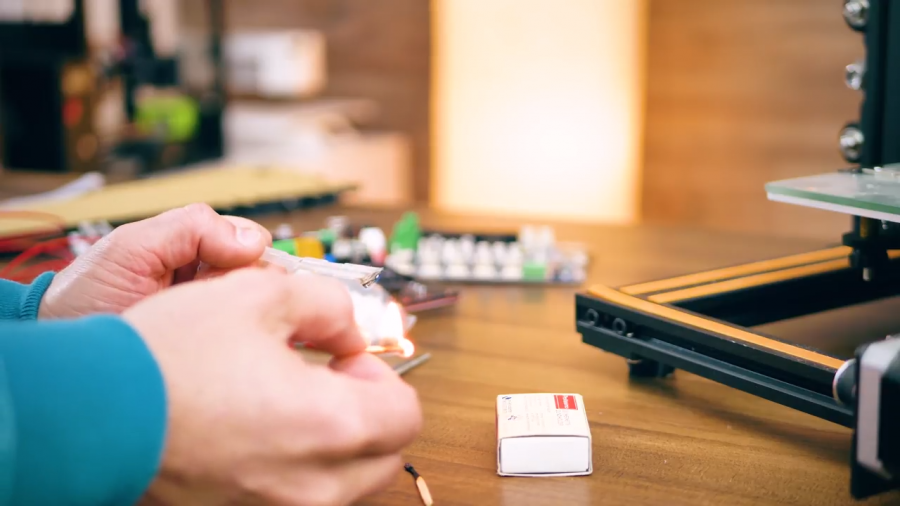
Also, printed, or injection molded parts. Those will burn.
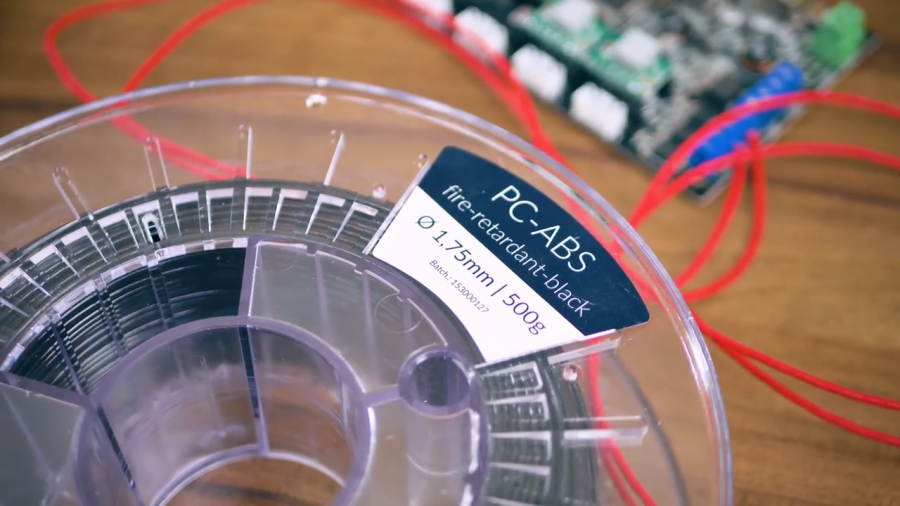
If you’re 3D printing parts for your next 3D printer, it might be a good idea to use one of the newer, flame-retardant filaments, at least in all the spots where you’re in close proximity to wiring, electronics or heaters, so for example the x-axis carriage and the electronics shroud. I personally really like this Austrian Aprintapro flame-retardant PC-ABS, prints great, doesn’t burn, link in the description.
Of course, you should also check the surroundings of your machines, so don’t necessarily use them in wooden shelves or enclosures, but pick something like a metal shelf instead. Like, I don’t know who’d put their 3D printer in a wooden box, that sounds… irresponsible.
Ok, but really, you don’t want to let it get that far. If your printer is already on fire it’s kinda too late, you know. There are two factors to keeping your printer running well, the first one is the hardware being well-built and up for the task, and the second one is the firmware’s sanity checks that kick in before anything substantial goes wrong, should there be something going wrong nonetheless. So if you follow along here, I mean, I wouldn’t say that your 3D printer is going to be infallible or anything, but at least trustworthy enough to run overnight; I’ve run my printers for thousands of hours now and have never had an issue.
Ok, so first off, let’s check your electronics. The main things to look at here are connectors and the general power handling area.
Let’s start with connectors:

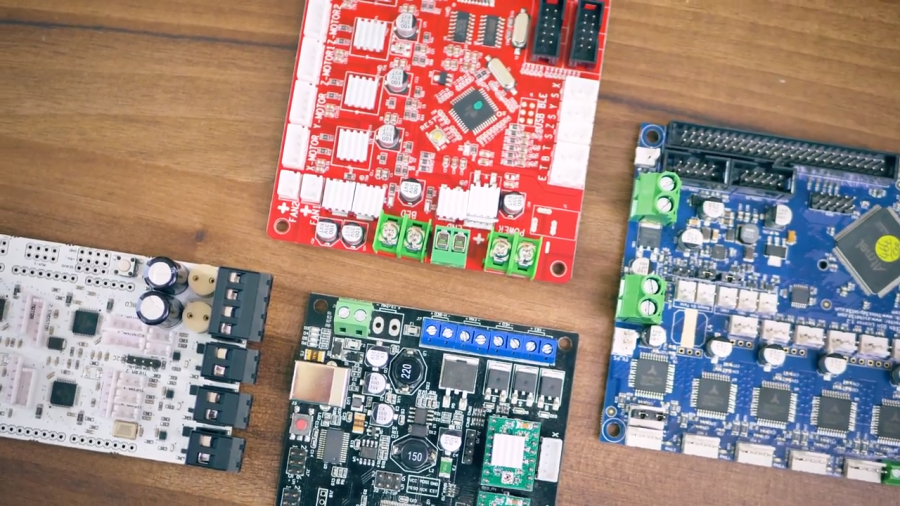
So the classic connector you’d see is this pluggable green type, and this is actually a really good connector – if you’re using a version from a reputable manufacturer. These right here on the TRAMS are made by RIA and are rated for 12A, that makes sense, since the biggest load, a heated bed, typically draws somewhere around those 12A. Now, these KEFENG ones on this cheap RAMPS are supposedly rated for 20A, but they’re only guaranteeing a resistance in the connector that’s twice as high as the RIA one, so that means this one is actually going to heat up twice as much already at the same current and yet still allows even more current than the RIA one? Something doesn’t quite add up with these. What you’ll often see with these cheaper ones is that this plastic shroud around the connectors melts as the spring connectors in here overheat. Has happened to me before, the smell really isn’t nice.
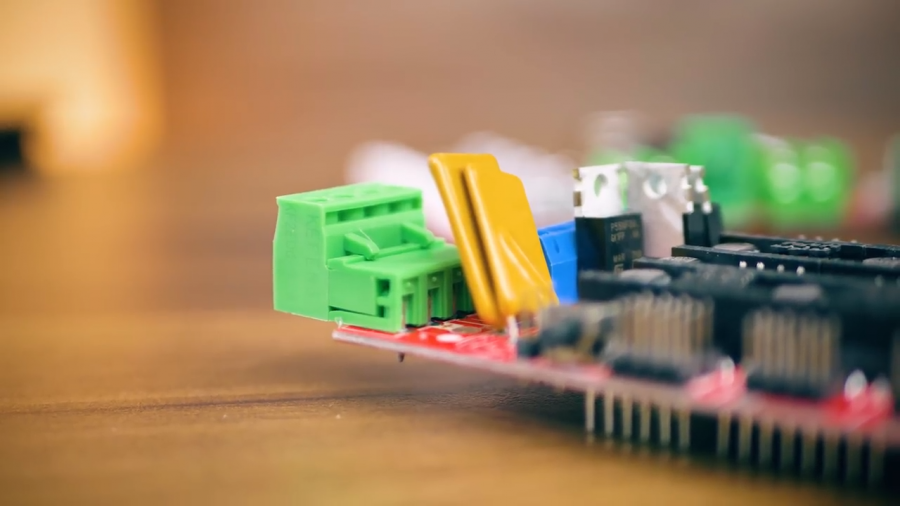
Next up, we have these screw connectors, and what’s common with all of these is that they have some sort of flap in here that protects the wiring, so it’s not just the screw itself pressing down on the copper strands, but an intermediary layer that will not shear off the individual strands. If you’re using some screw clamp that does not have that, you will need to either use solid-core wiring or add a wire-end crimp.
So skipping past the Duet Wifi here for a second, which obviously has a massive connector for power input and the heated bed output, what you’ll often see is these blue connector blocks. On the side here it says 250V 16A, how much trust you want to put into that rating is up to you when a higher-quality RIA connector of the same type will only be rated for 13A, but overall, these are actually quite decent.
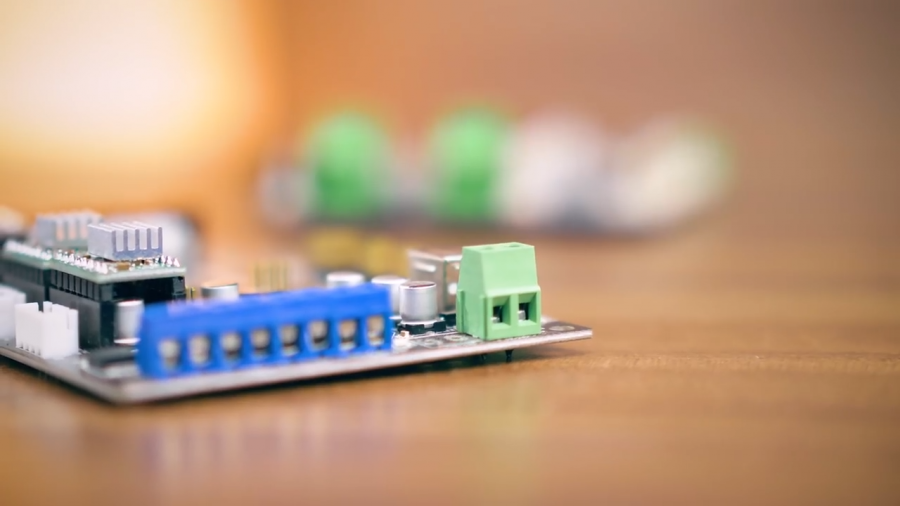
What’s not decent is this connector for the entire power input on the MKS GEN right here, it even says on the side, this is a 10A connector, and you potentially want to push the total current for a 12A heated bed, a 3A heater, two of those actually, stepper drivers, fans etc, through this single connector, which can all add up to 20, 25A, and you’re pushing that through a connector that’s rated for 10.
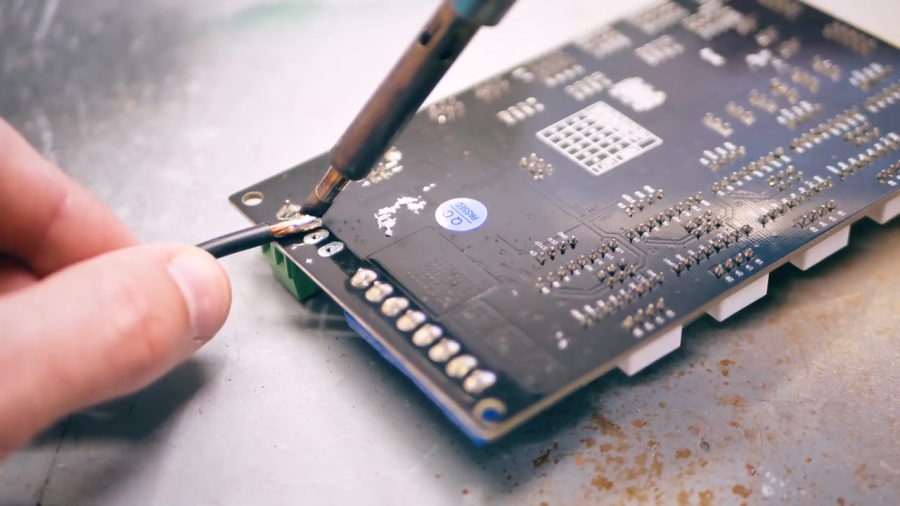
So in those cases my general recommendation is to just bypass the connector entirely. Solder some decent gauge wires directly to the bottom of the PCB, and just don’t use the connector if you can avoid it, you know, any connector is just another potential point of failure, so if you can take that out, that’s even better.
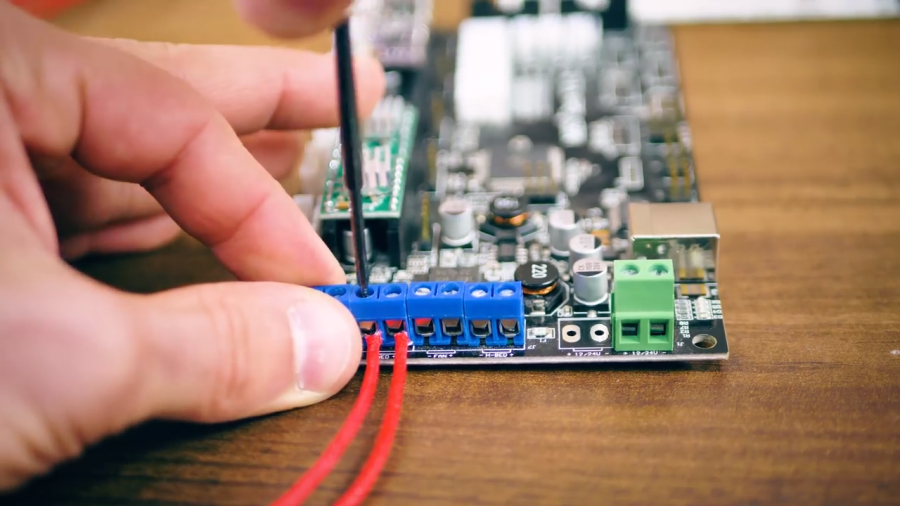
If you do use the connectors, here’s two tips on how you can reliably use them. First of all, double- and triple-check that the screw connector types are tight, give your wire a tug, if you can easily pull it out by hand, it wasn’t tight enough. Also, if you don’t totally trust your connectors, come back after two weeks of use and just check whether they need to be snugged up again. If they keep loosening, don’t use them.
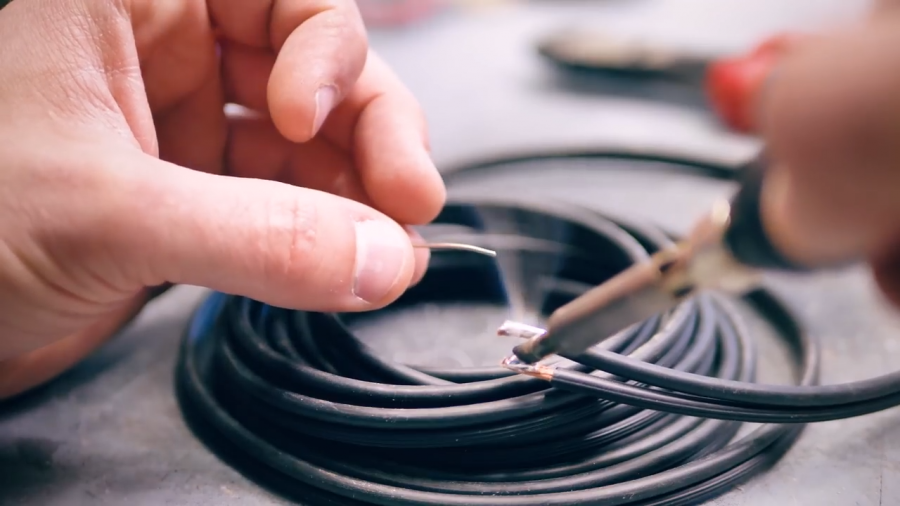
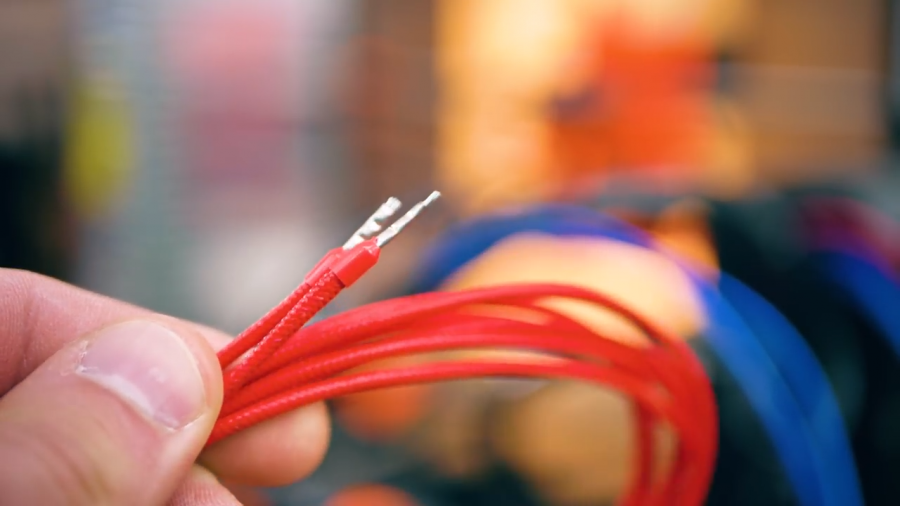
And the second tip, do not tin wire ends that go into a screw connector, even if it’s tempting to make the end neater like but, and if you see tinned wires from the factory in a kit, snip off that tinning and strip off a fresh bit that is only bare copper wire. The reason here is that tin, even when cold, will still slightly flow under pressure. Think of this like a bowl of cookie dough that you drop an anvil into, just in really, really slow motion. So over time, a screw connector with a tinned wire that might feel super snug when you first tightened it, could turn into a super loose connection that sparks out and overheats at some point down the road.
Next up, mosfets:
These switch the output to the heated bed, hotends and fans, but the only one that’s critical here is the heated bed. As a general rule of thumb, if the mosfet on your mainboard needs a heatsink to stay cool or gets too hot to touch in the first place, it’s a flawed design with the wrong component choice. “Amperage” rating on a mosfet means nothing if you use the wrong type, so you’ll often see something like 20A being advertised, but really, that is for completely different setups than how the boards are actually using the mosfets.
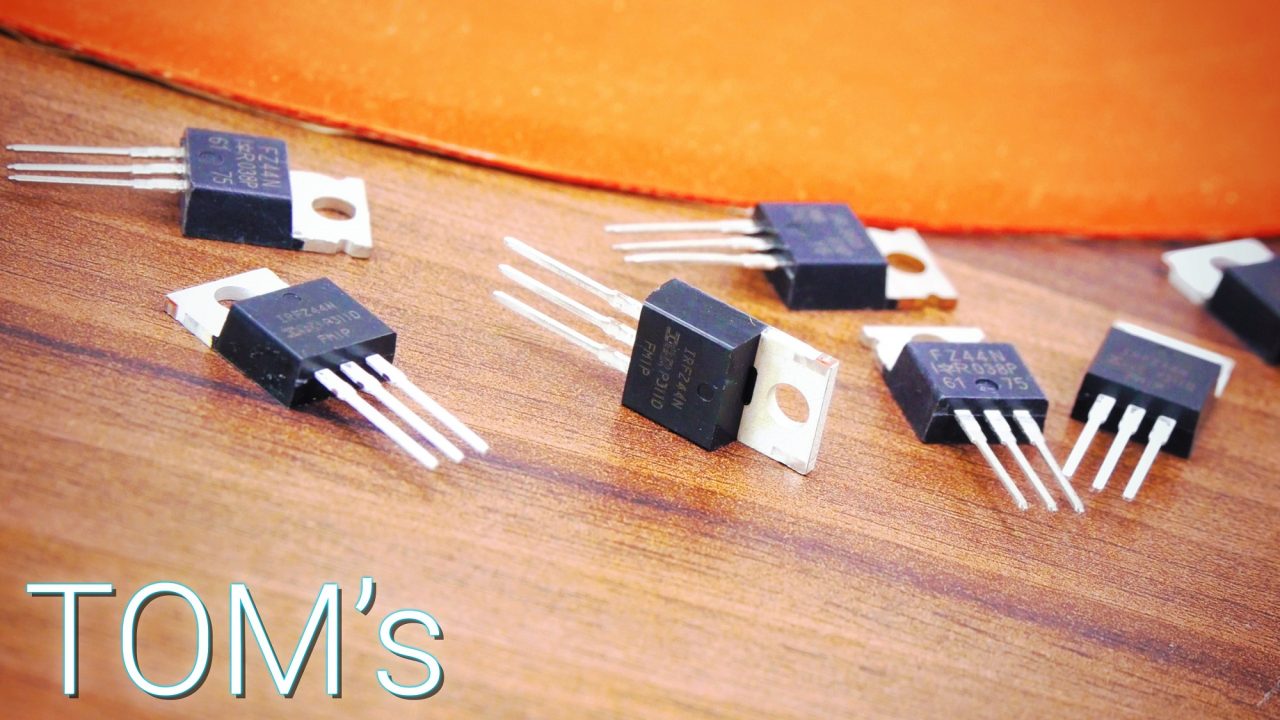
I go into a bit more detail on this in the video up here, but basically, with smart component choices this tiny size mosfet is all you need and this is actually a properly engineered solution.
So again, if you have Mosfets on your mainboard that get too hot or even need to use a heatsink, you might want to think about swapping them for better suited ones or just upgrading the board in its entirety.
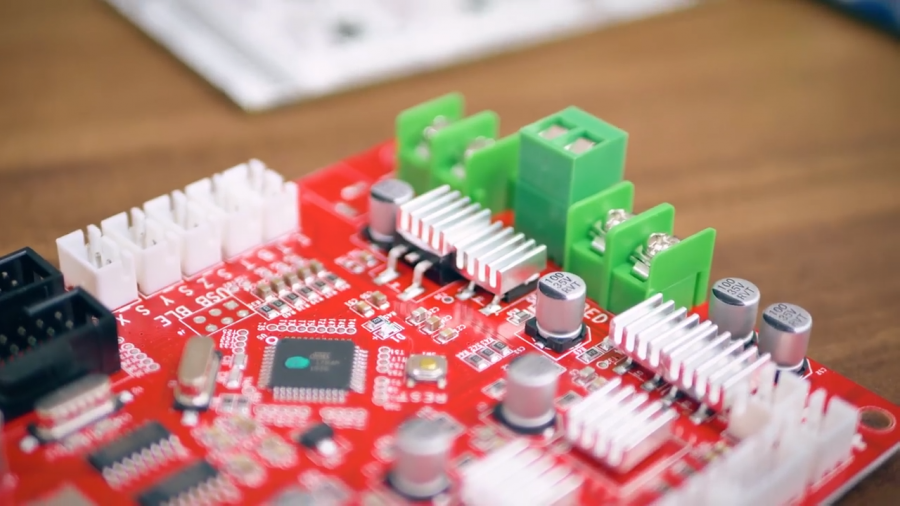
The other thing to look for are fuses.
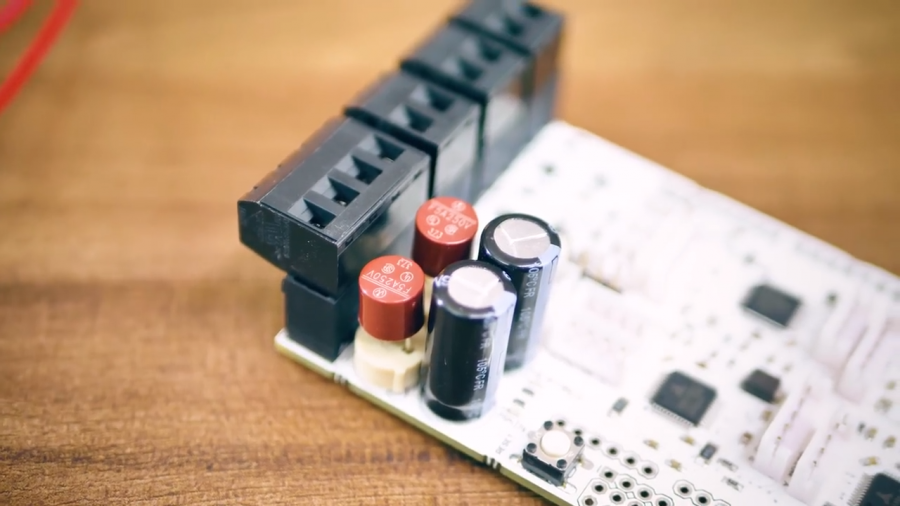
Now, admittedly, I’m not paying as much attention to them as I should be, too, but they are kind of important.
Now, think about this for a second: Your power supply is typically around a 25 or 30A unit, so in total it can output a maximum of that exact current before it shuts off for safety. So if you short the output right on the supply, that’s no problem at all, the supply will just shut down. But image, for example, that you get a short right at the heater cartridge, or even right in the cartridge, now the only resistance at the output is the mosfet and the wires as the actual load is shorted out, and that very often means there’s now enough current flowing to vaporize the wiring that obviously isn’t made for those currents, but not enough to trip the power supply’s over-current protection. So what you need is individual fuses at every single output, not just at the input.
Because, again, the power supply itself already has that self-protection built in, but it’s way too lenient to protect each individual, lower-power output.


So as a rule of thumb, a good safe fuse level is at least 20% over the current you’re expecting, so for a 12V 30W heater cartridge, that typically draws around 2.5A, a 3A fuse is really good and safe, and for a 12V heated bed, which usually is around 12A, a 15A fuse is a good choice.
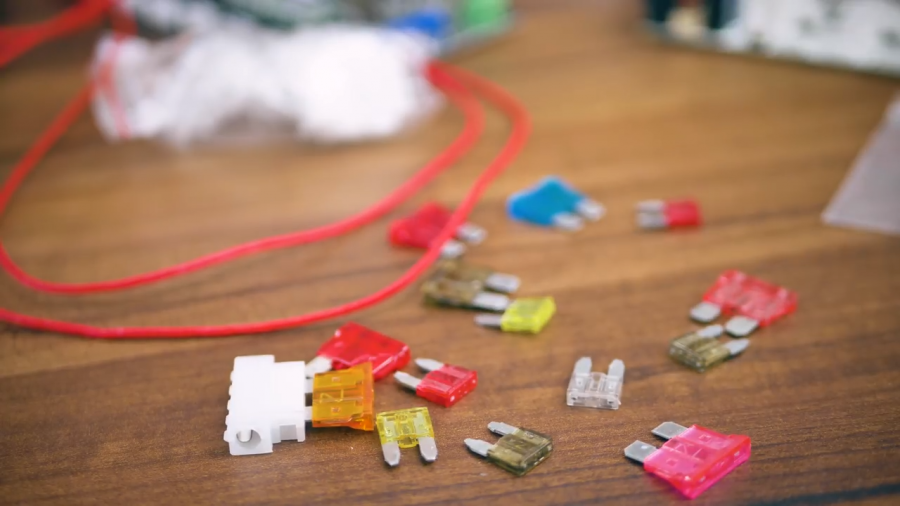
I like these automotive fuses and the appropriate holders for them, they’re really cheap, well, definitely cheaper than replacing a burned-down printer, they’re available everywhere and in all the current ratings you’d need, they work up to 32V, so either a 12 or a 24V 3D printer is ok for them, and, yeah, they’re just super easy to use. Link in the description for these exact ones.
Wire Strain:
The other, actually quite dangerous thing I see way too often is heater wires without strain relief. This is a ticking time bomb, basically. Yeah, it’s fine for maybe the first year of use or so, until the warranty runs out, haha, but what happens with wires over time, as they get bent back and forward over and over, which, you know, a 3D printer tends to do; is that over time, the individual strands of wire start weakening and eventually break.
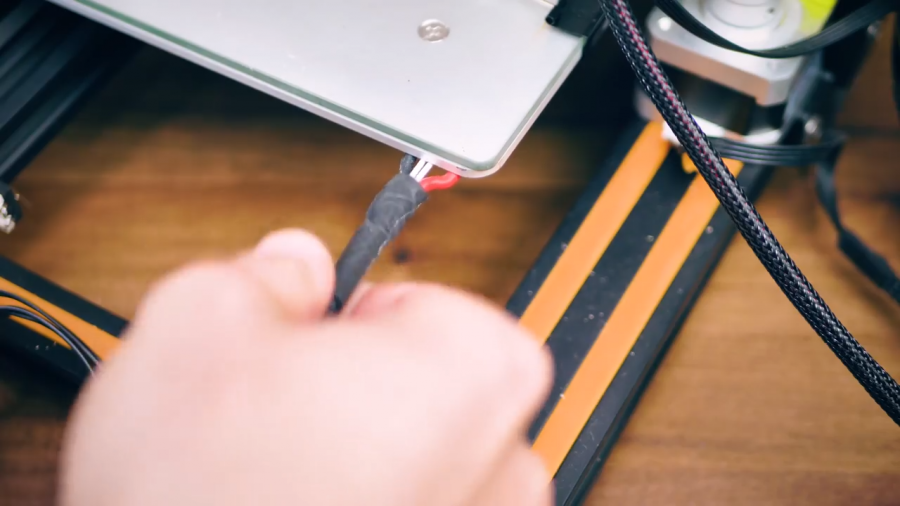
If you own an iPhone charging cord, you know what I’m talking about. And at that spot where the strands of wire start breaking, you’re reducing the the gauge of the wire to the only few strands that are left, but of course the current is still the same, so that spot starts heating up, and faster than you know it, you’ve got an electrical fire. With the way that many cheap printers are built, yeah, I mean, they’re fine when you take them out of the box, but right around now, a whole bunch of them are right at that point of getting ready to fail. So two things you can do here: First, create a strain relief. Your wires will still need to bend the same amount, for the same amount of motion, but now it’s being spread out over more of a length so it’s not this super sharp bend in just one spot anymore.
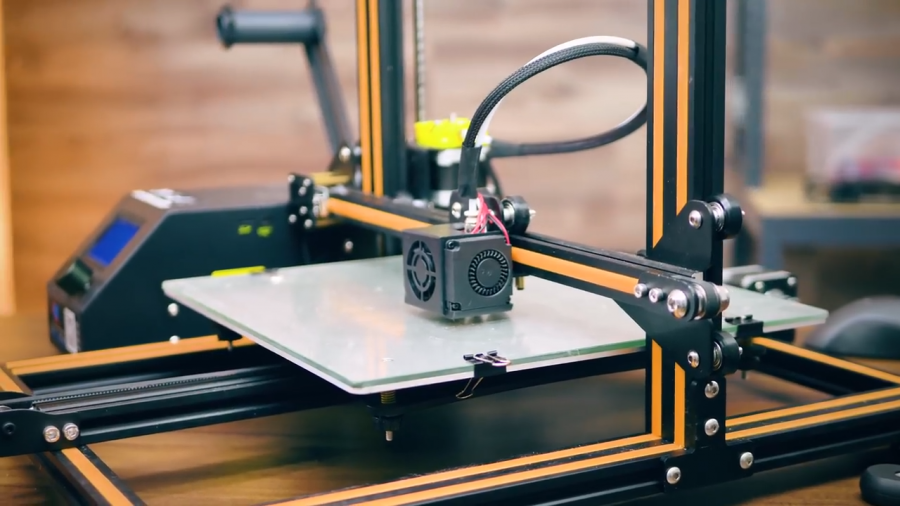
A few good and effective solutions I’ve seen on various printers: Flexible conduit around all the wires; this bundles up your wiring really nice and tightly and makes the entire thing more rigid, which is actually what you’re going for, but you need to take care that you attach both ends in a way where they can not flex and therefore create an even sharper bend. This stuff is available in all sorts of sizes, but try to use a size as small as possible because they do get really large, bulky and too rigid with the larger sizes.
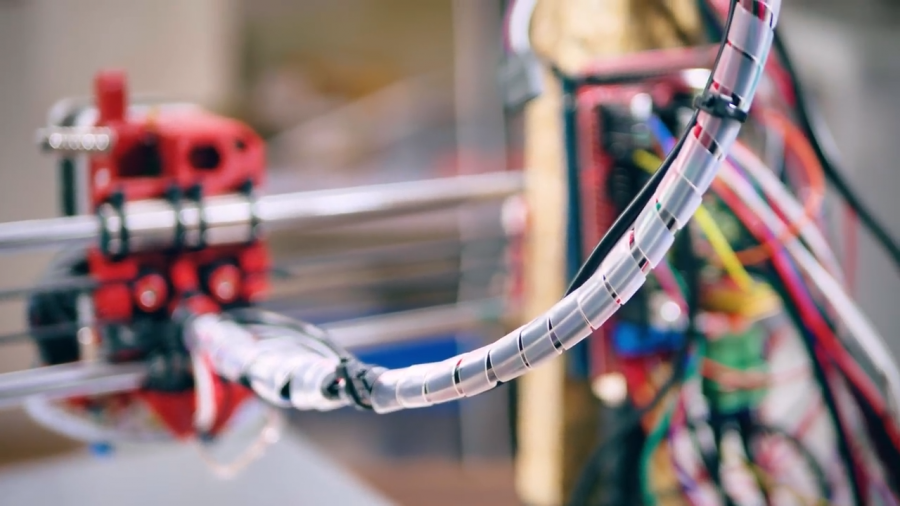
Another good solution is spiral wrap. Now, by itself it doesn’t support the wires enough, it bundles them well, but it doesn’t keep them from kinking, so a good fix for that is to use a piece of semi-flexible filament like Nylon, secure that to the moving parts, again, to keep it from kinking in the same spot over and over, and then wrapping that in with the rest of the wires.
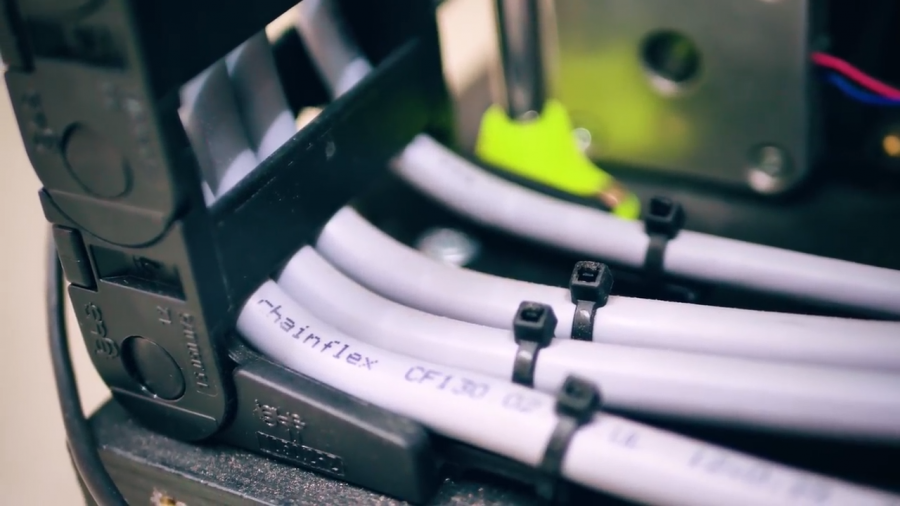
And of course, if you want to go completely overboard, you can use drag chains. Of all these solutions, drag chains are the only real “engineered” solution, which means you’ll get a guaranteed lifetime for them from the manufacturer if you size everything right, but typically, just stuffing your existing wiring into some of this tiny drag chain might actually be a downgrade over using something like plastic conduit.
And that brings us to that second part:
Proper cables for moving setups. Now, there are specific cables that you can buy for drag chains and such, but a good first step in the right direction is using cables with a more flexible insulation and with finer strands on the inside. What’s actually a really nice choice here is the silicone wire used in RC cars because that has a very flexible insulation, is heat resistant and typically has very thin stranding.
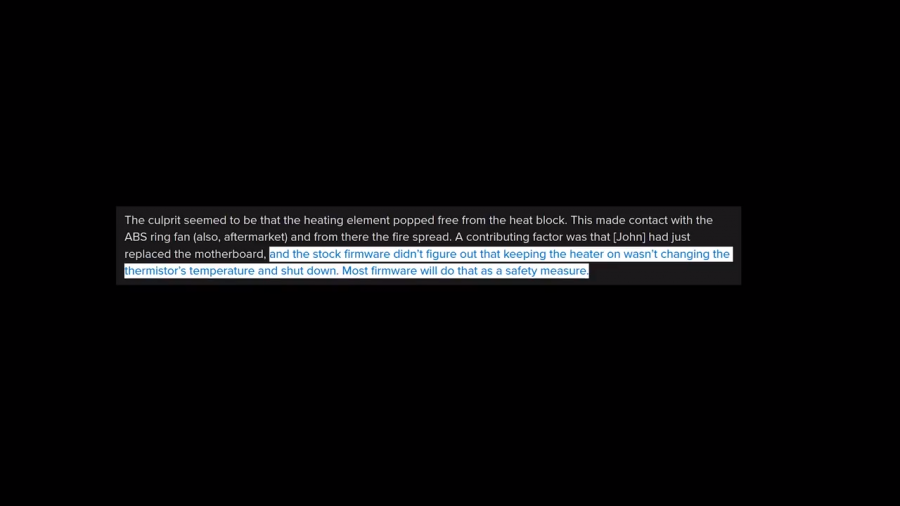
So that’s all intended for lowering risks at the source, but there are a few more ways that you can safeguard against that last bit of risk, like the heater cartridge falling out of your hotend. Supposedly that’s what caused that Anet A8 to go up in flames. So, modern, well-configured firmwares will have sanity checks on, actually, a lot of things. It’s going to check for reasonable temperature readings from the thermistor in the hotend and bed, it takes into account at what rate your heaters are getting up to temperature, it makes sure that, when everything is at temperature, what it’s reading, for example from the hotend, is close to the temperature it’s expecting, and that protects against that exact case of the heater or the thermistor falling out.
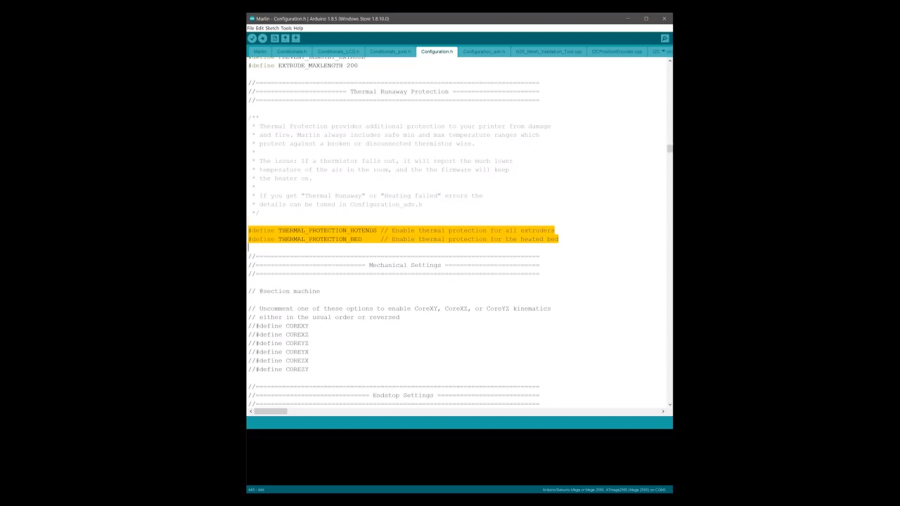
By default, these checks are enabled in a fresh version of the Marlin firmware, but some manufacturers choose to disable them because with the grade of components they use, those safeguards sometimes trigger when they shouldn’t and emergency-stop a print even though everything is fine-ish. But in either case, I’d recommend you do enable them and reflash the firmware, and while you’re at it, upgrade to a newer version of Marlin, and that’s going to come with more features and often better performance and reliability as well.
Lastly, there are a few things outside your 3D printer that you can use to monitor and protect your machines. Octoprint with a camera is a great solution to keep an eye on your machine.
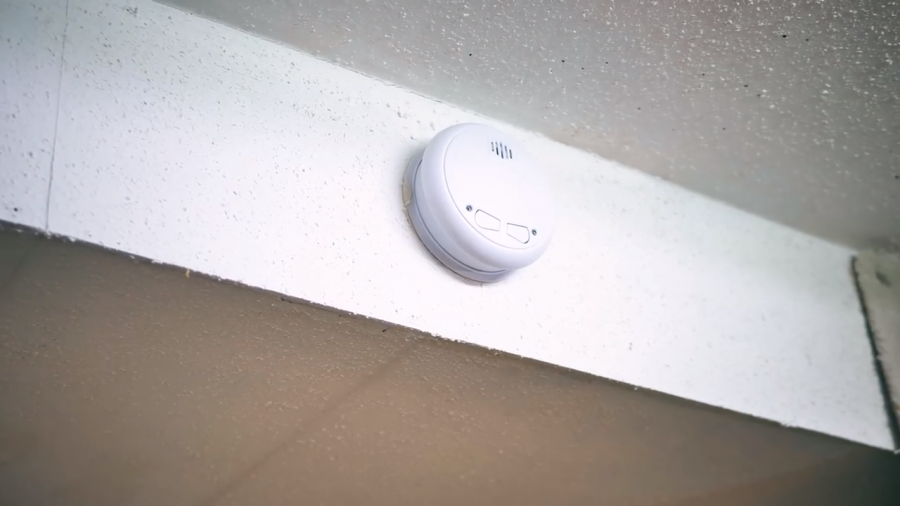
A smoke detector is totally, totally, well, not just recommended, but I’d say very much mandatory if you’re running a 3D printer unattended. There are even connected ones now that will send you a text or an email when they detect anything, or as a simpler version a set that’s connected wirelessly and if one alarm goes off, so do all the other ones. So if your printer in the basement spontaneously combusts, you’ll hear it in the third floor bedroom as well. This has actually happened to me not with a 3D printer, but with an RC car, so I’m pretty fond of these connected smoke alarms.
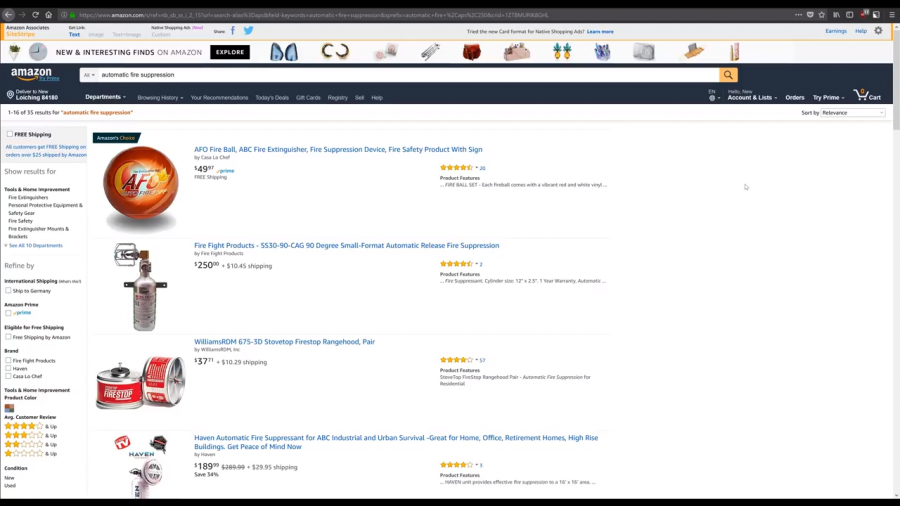
And if you want to go one step further, you could even install one of those automatic kitchen fire extinguishers over your printer, basically, these have a fuse in them, if fire touches that, it will set off a charge of fire suppressant that should extinguish any small fire like on a 3D printer.
Overall, you know, it’s not that hard to get your 3D printer to a level that makes it at least, uh, trustworthy, and gives you peace of mind to let it run overnight or while you’re out grocery shopping.
But again, common sense still applies, and you know your machine best.
And if you want to check out any materials or software I talked about, you can find those all linked in the video description below, and before we go today, a big shoutout to all my Patreons who, in fact, make it possible for me to run this channel as a full-time job. Special thanks to long-term Patrons
- Mike Jackson
- Matthew Byrd
- neil youngberg
- Filip Goc
that have been with the channel ever since 2016, that is awesome, then
- Hüseyin Karatas
- Sven Mueller
- Paul Arden
- Luke Ingerman
- Günni W
- Rudolff Vang
- Woody Boyd
- William Devine
- Bobby CC Wong
who all joined in the first half of 2017
- Francisco Peebles
- Robert Mohnacky
- Matthias Peschek
- Michele Hjorleifsson
- Remco Katz
- Filastruder
- Fidjt
- Jeffrey Nikoletich
- Andy Smith
- 3D Passion
that joined before the start of 2018, and finally
- Marek Žehra
- Andy Fair
- Dexter Gillette
- Michael Waites
who joined just in 2018.
Thank you all and all the other Patrons that are supporting the channel. And if you want to join in, you can do that right here, but most importantly, if you liked the video, let me know by hitting that thumbs up, if you want to see more like it, get subscribed, fun fact, YouTube actually shows me how many of you subscribe from each video, so if you click that subscribe button now, that will be my indicator from you that yes, this type of content is what you came here for.
Also, you probably don’t want to miss new videos, so do click that bell after you hit the subscribe button.
And lastly, because safety is an important topic, feel free to share this video if you think someone you know could learn something from it; as always, thank you for watching, and I’ll see you in the next one!
Title image via Reddit
🛒 Products shown
- Aprintapro Flame-retardant PC-ABS
- Automotive fuses (+holders)
- Connected smoke alarms
- Silicone wire
- Wire-end crimps (ferrules)
- Automatic fire extinguisher
