
The Creality CR-6 SE. It’s an attempt to catch up to the big boys and to finally have something that’s not going to be labeled as “just another budget 3D printer”. But here’s the thing: The Ender-3 v2 is their actual budget 3D printer and it is actually doing a much better job at just about everything the CR6-SE tries to do. It’s more reliable, it prints better, it looks like a more professional machine, comes in 1/3rd cheaper and it’s a printer you can buy right now without having to deal with the entire crowdfunding or preordering thing they’re doing with the CR-6 SE. Let me explain.
CR-6 SE on Kickstarter
Let me start out with the controversy that was the launch of the CR-6 SE. This is a printer that was launched on Kickstarter by Creality – a company that has boasted about selling half a million printers in a single month earlier this year. Out of all the companies that would need crowdfunding to launch a product as basic as the CR-6 SE, I wouldn’t really think of Creality. Now, sure, it’s not what I would call “in the spirit” of crowdfunding for a well-established company to essentially pre-sell a 3D printer there, and while they surely don’t need the preorder money to actually start production of the CR-6 SE, there’s nothing, like, legally wrong with it. Kickstarter are happily taking their cut of your pledges, Creality gets hype for their new product, you know, it’s good marketing. And when people pledge almost $4,500,000 on the campaign, I think that shows that it was absolutely the right thing to do. Of course, the fact that the Kickstarter preorders then weren’t exactly shipped on time and people who had bought a CR-6 SE outright after the Kickstarter actually got their machines earlier than backers, well, that one doesn’t sit quite right.
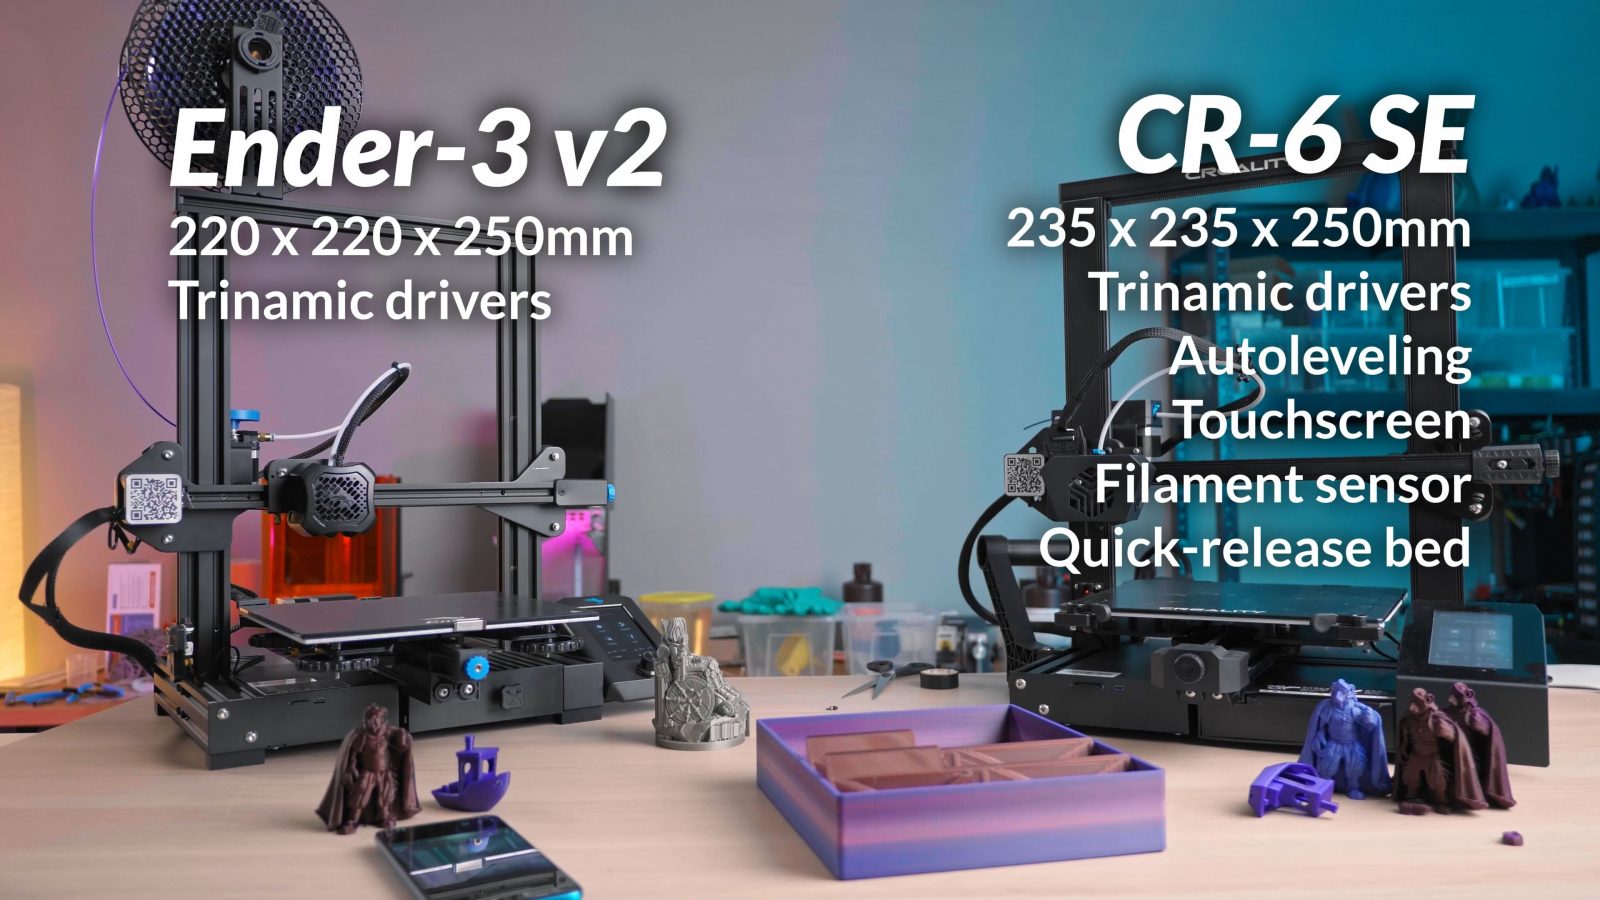
Both printers in comparison
But that’s over, and today I want to actually compare the CR-6 SE to the Ender-3 v2, which has had a completely normal launch, you know, by just appearing in stores on day. Both of these printers have some drastic improvements over arguably Creality’s most popular machine, the original Ender-3, which we’ll get to in a second, but really, the only two noteworthy bonus features the CR-6 SE has over the Ender-3 v2 are auto bed leveling and a filament sensor.
Like, actually, that’s it. Sure, there are a few smaller details, but these two are the only ones that I think make a real difference.
Both now have this screen printed bed surface that does stick and release really well, but it is quite easy to scratch.
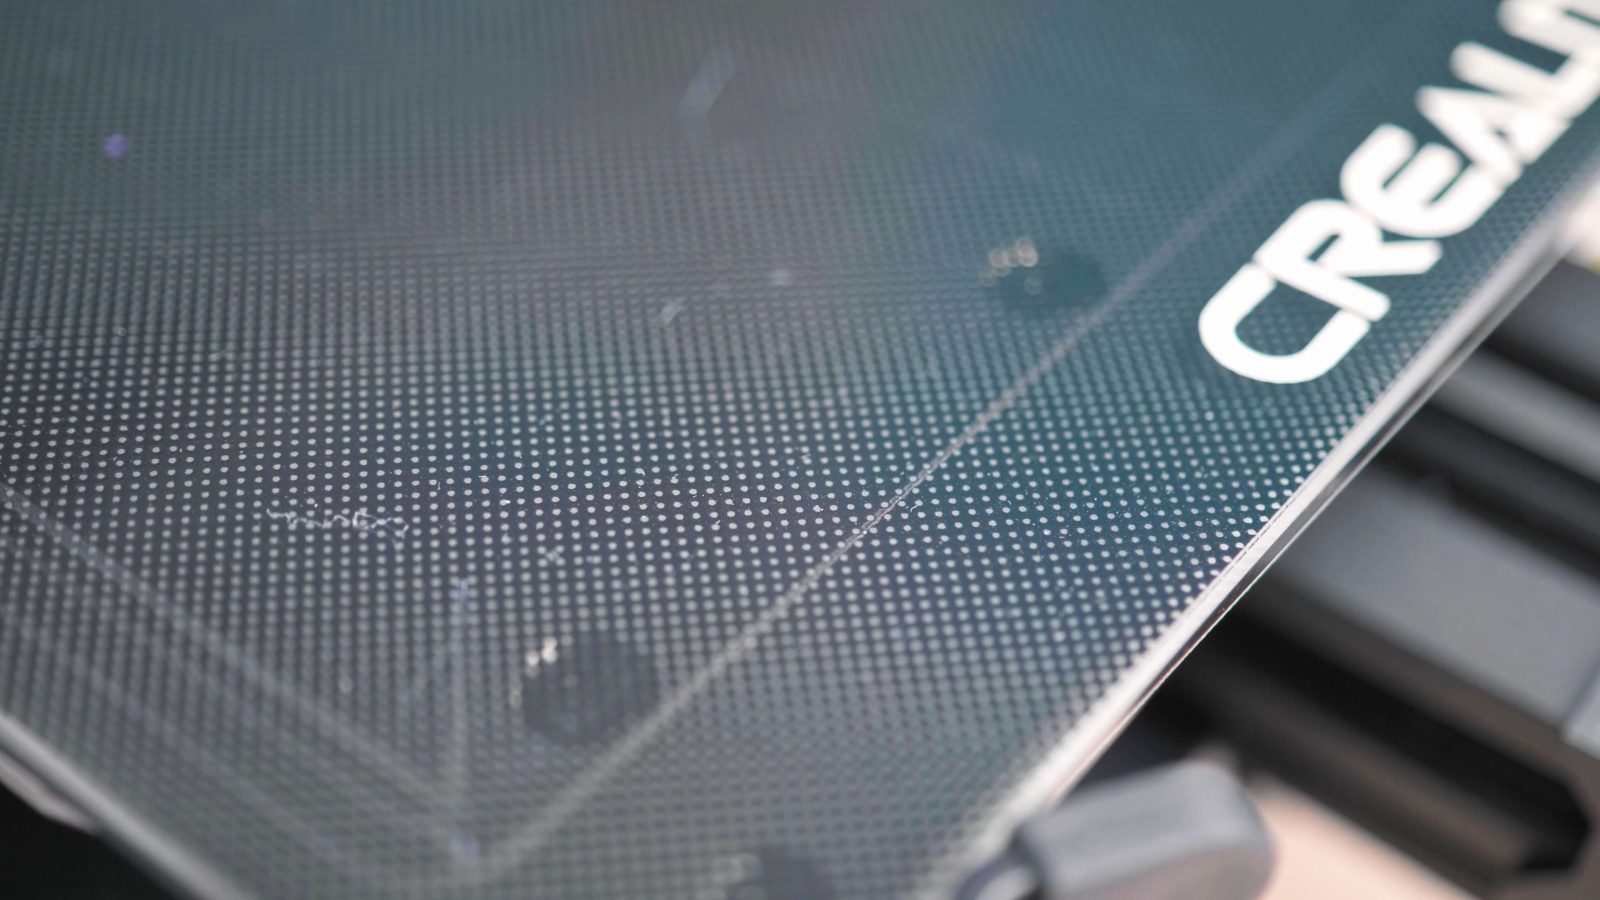

Supposedly this is Craborundum glass, so silicon carbide, which is normally used as an abrasive powder, and the only place I can imagine they’re using silicon carbide is in the coating, not in the glass itself. Both have Trinamic stepper drivers, so the motors silky smooth, but the fans they use for example on the toolhead are still very noticeable, so I wouldn’t call either one a “silent” printer.

Both have a 4.3” LCD screen, it’s a touchscreen on the CR-6 SE, and a regular clickwheel-style setup on the Ender-3 v2 – both options are very efficient for actually using the printer, the menus are logical.
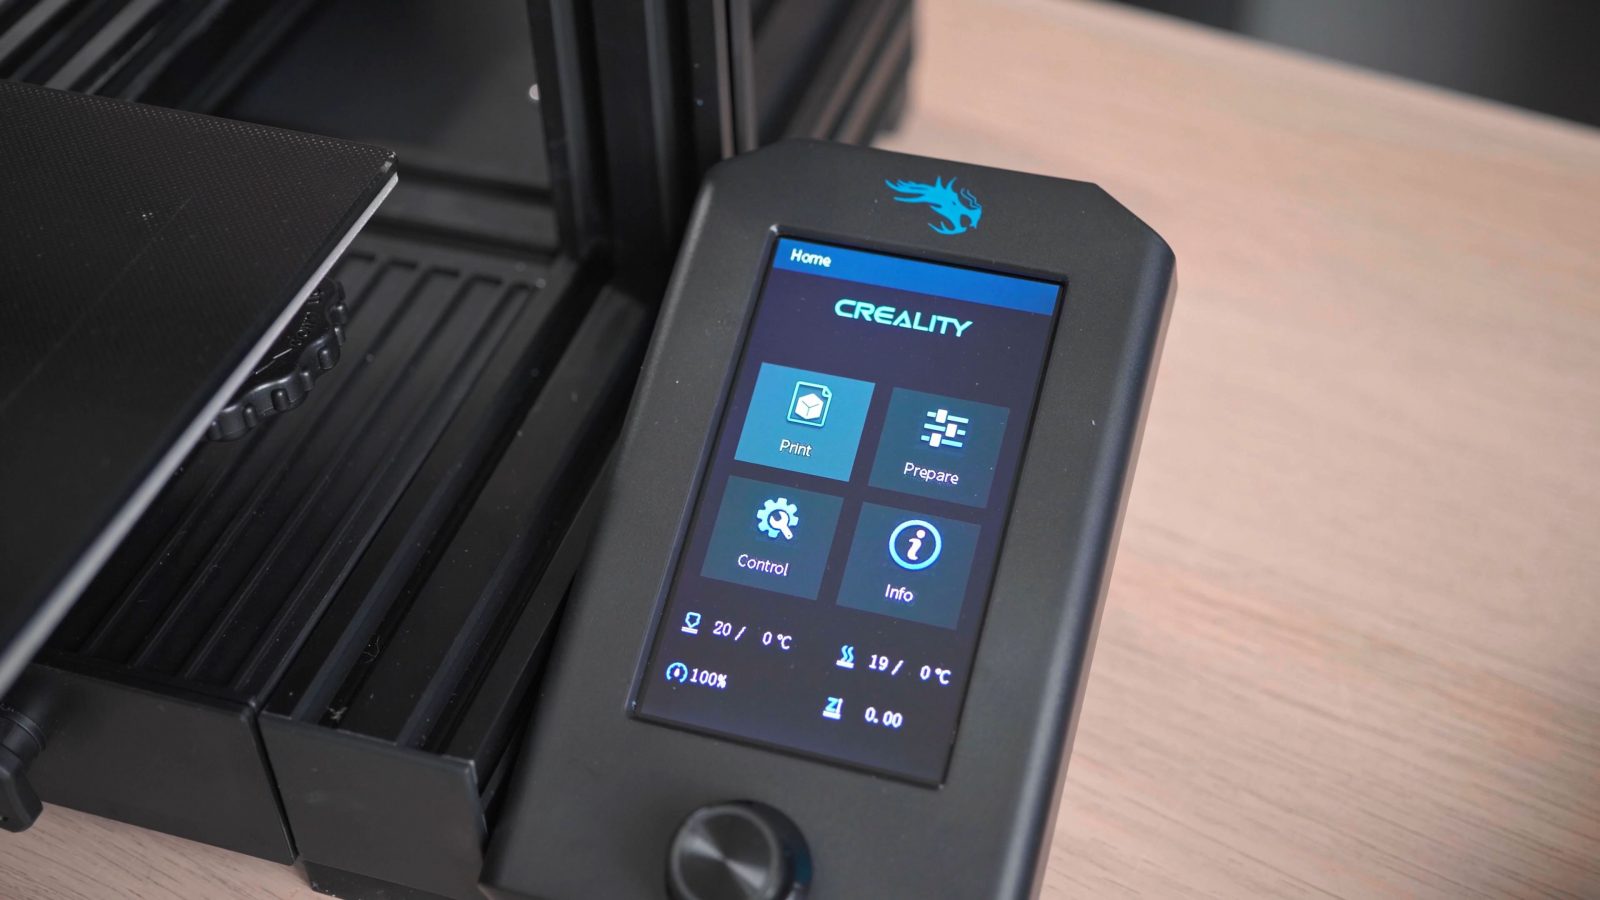
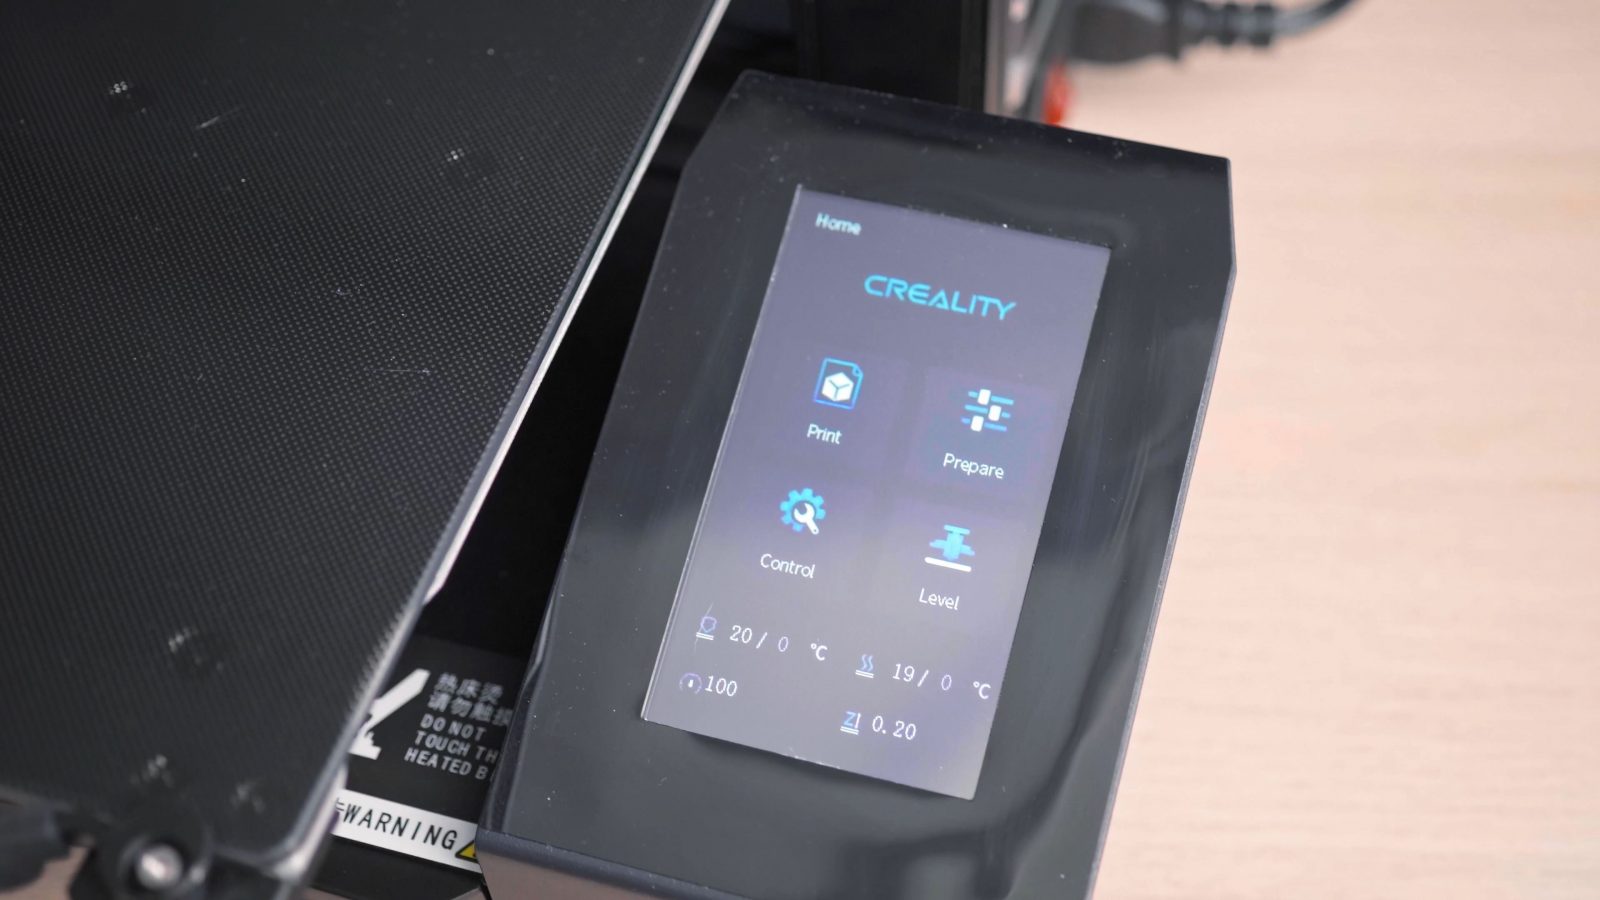
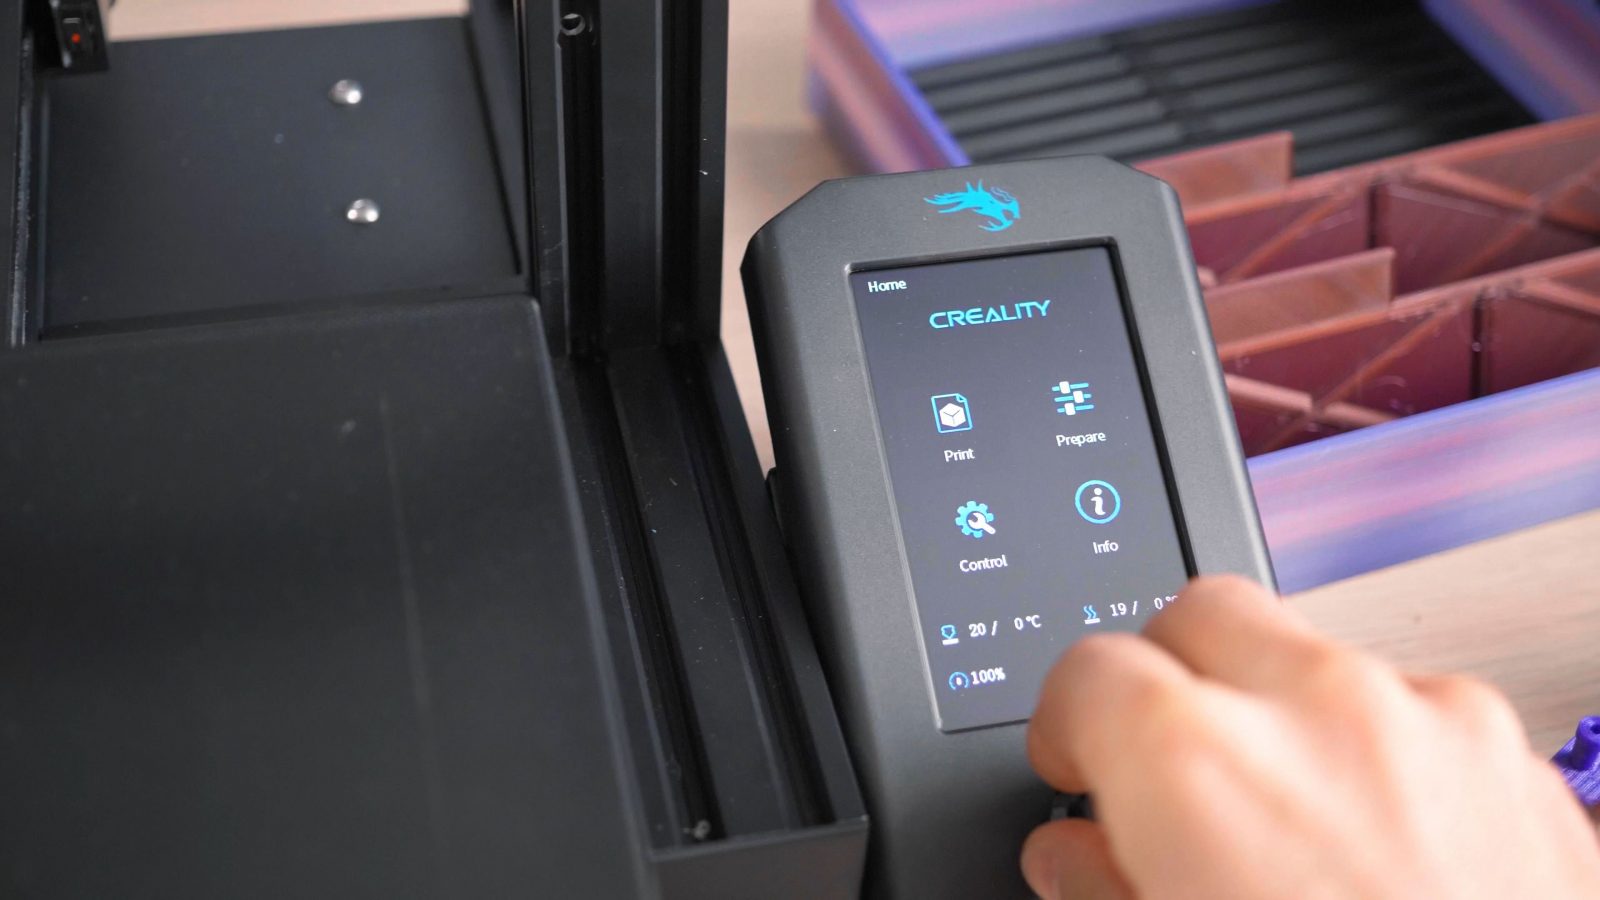
The only complaint I’d have there is that when you’re standing in front of the printer, the LCD’s poor viewing angles are just at that weird point where the shades of grey on the screen completely blend together and you can’t actually see anymore what you’re selecting. But overall, they’re good, they’re usable.
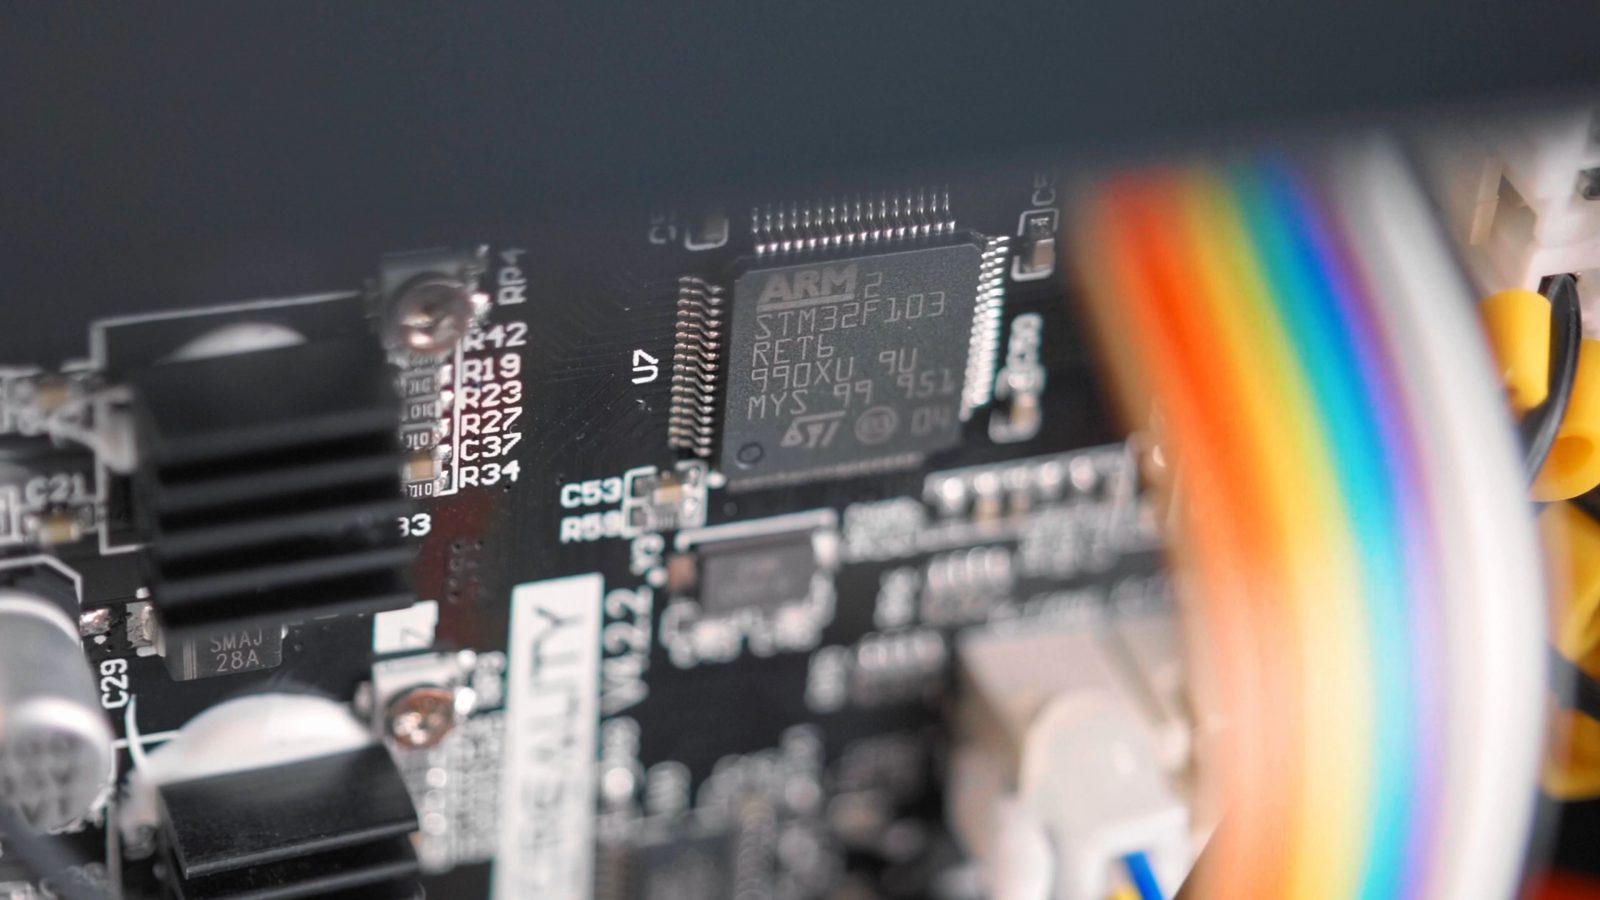
Both run a highly modified version of the Marlin firmware on a custom 32-bit board.
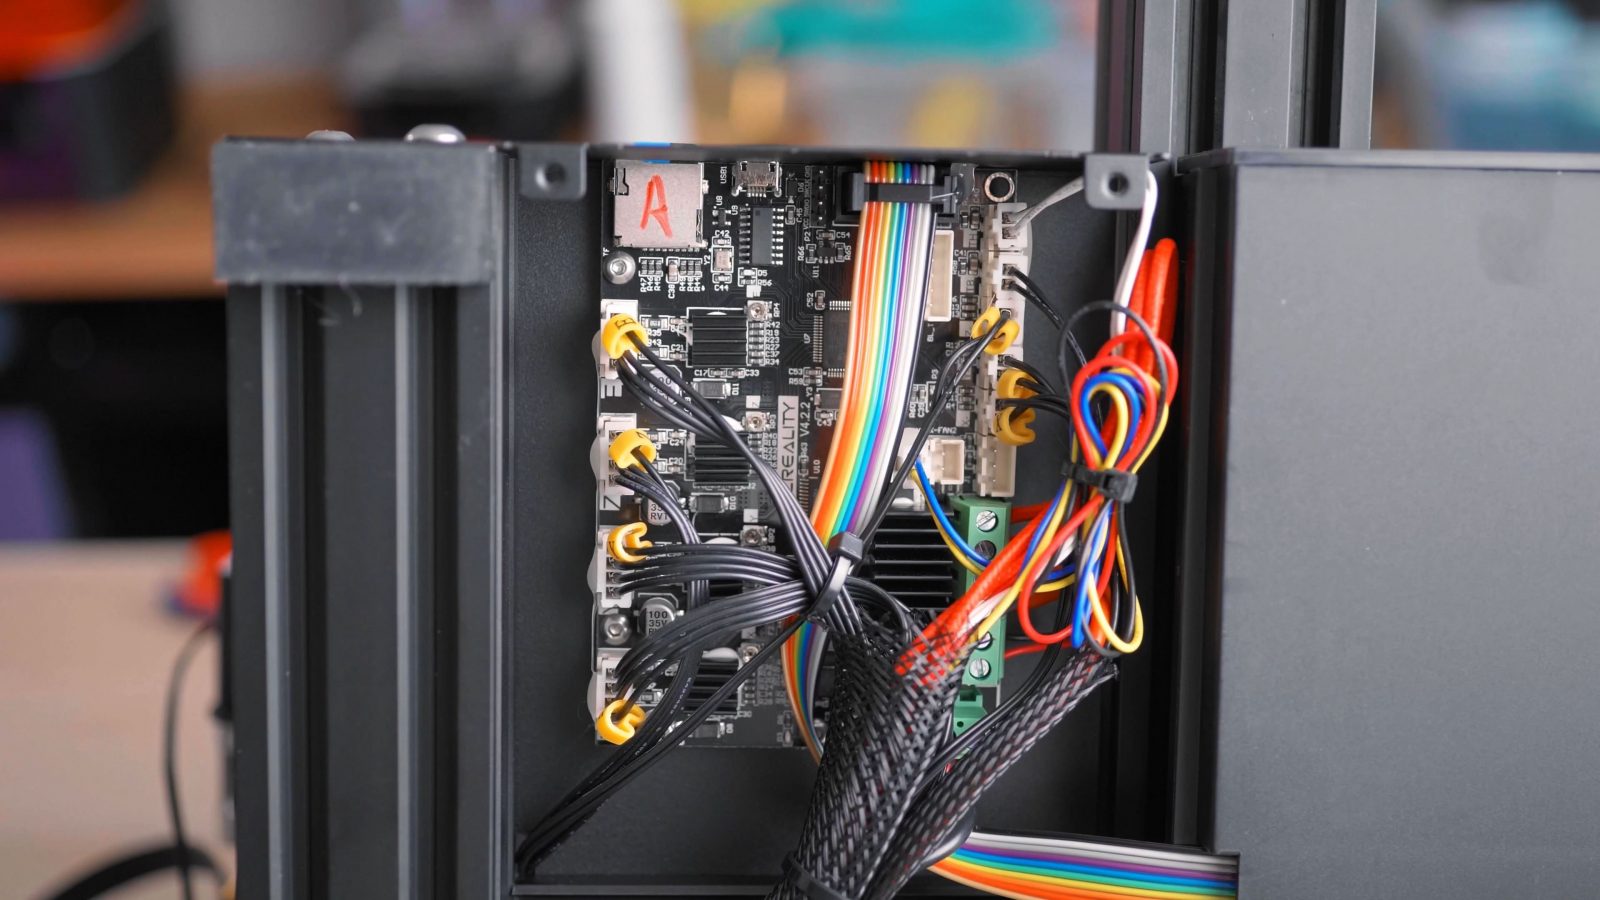
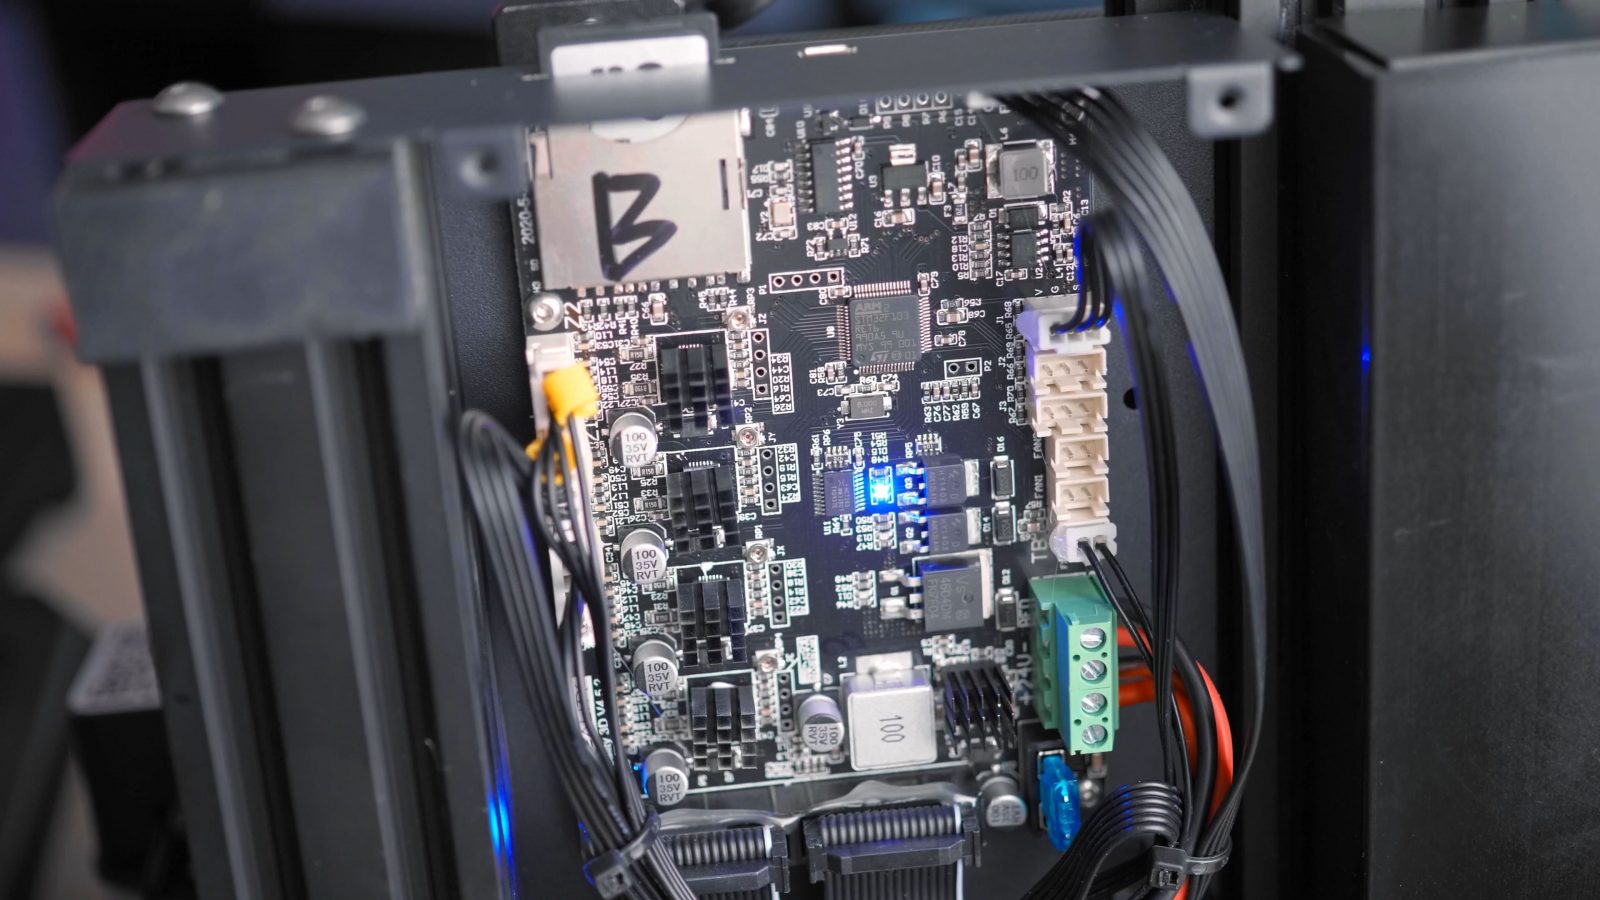
The firmware they ship with isn’t completely glitch-free, for example, because of the way they’re implementing the power failure detection and print resume feature by writing to the SD card on every new layer; vase mode, where you have a smooth spiral contour, doesn’t really work on these printers because the SD card and the processor just get overwhelmed by constantly writing the new z-height to the card.
Apparently, this is somewhat fixed in a new firmware release already, but I feel like they should have caught that before shipping these machines.
The interface on the screen, though, isn’t totally identical – for example, the Ender-3 v2 shows the remaining time during a print, the CR-6 SE does not, and it looks like the entire menu structure on the CR-6 SE is just a bunch of JPGs they’re showing you, and they’ve actually got some pretty intense compression artifacts on some of the pages. If you look close, you can also see it a bit on the Ender-3 v2, but it’s not as noticeable. It doesn’t really make a difference in usability, but it just looks… cheap.
Print Quality
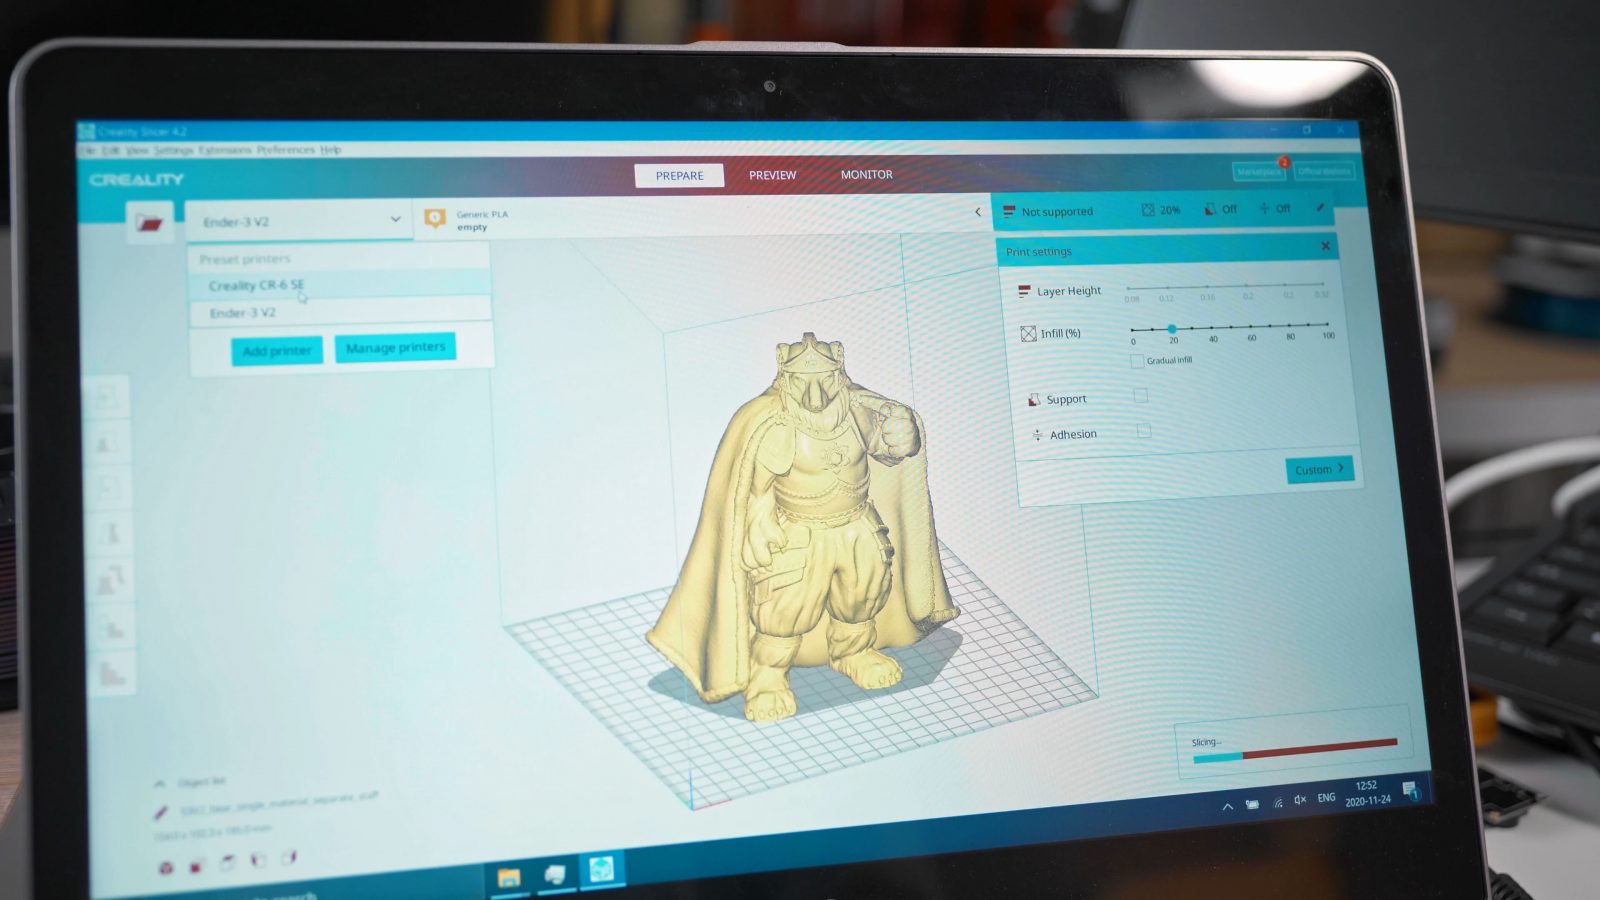
But, for the main event – print quality. The Ender-3 v2 hands down prints better. I’m using Creality Slicer here, the official, recommended software, which comes with a profile for both these printers, but really, it’s just a version of Cura that has a new splash screen and “Ultimaker” search-and-replaced by “Creality”. Which is fine, really, and the new Cura is an excellent choice as a slicer.
The print profile you get for each of these printers is tuned very conservatively aka. slow, as are the acceleration settings in the printers themselves. I actually do prefer that vs. a printer being pushed too far and compromising on print quality or reliability, but it also means that the dynamic loads on the printers’ motion systems are so low that things like the brand-name Gates belts that the CR-6 SE uses make practically no difference.
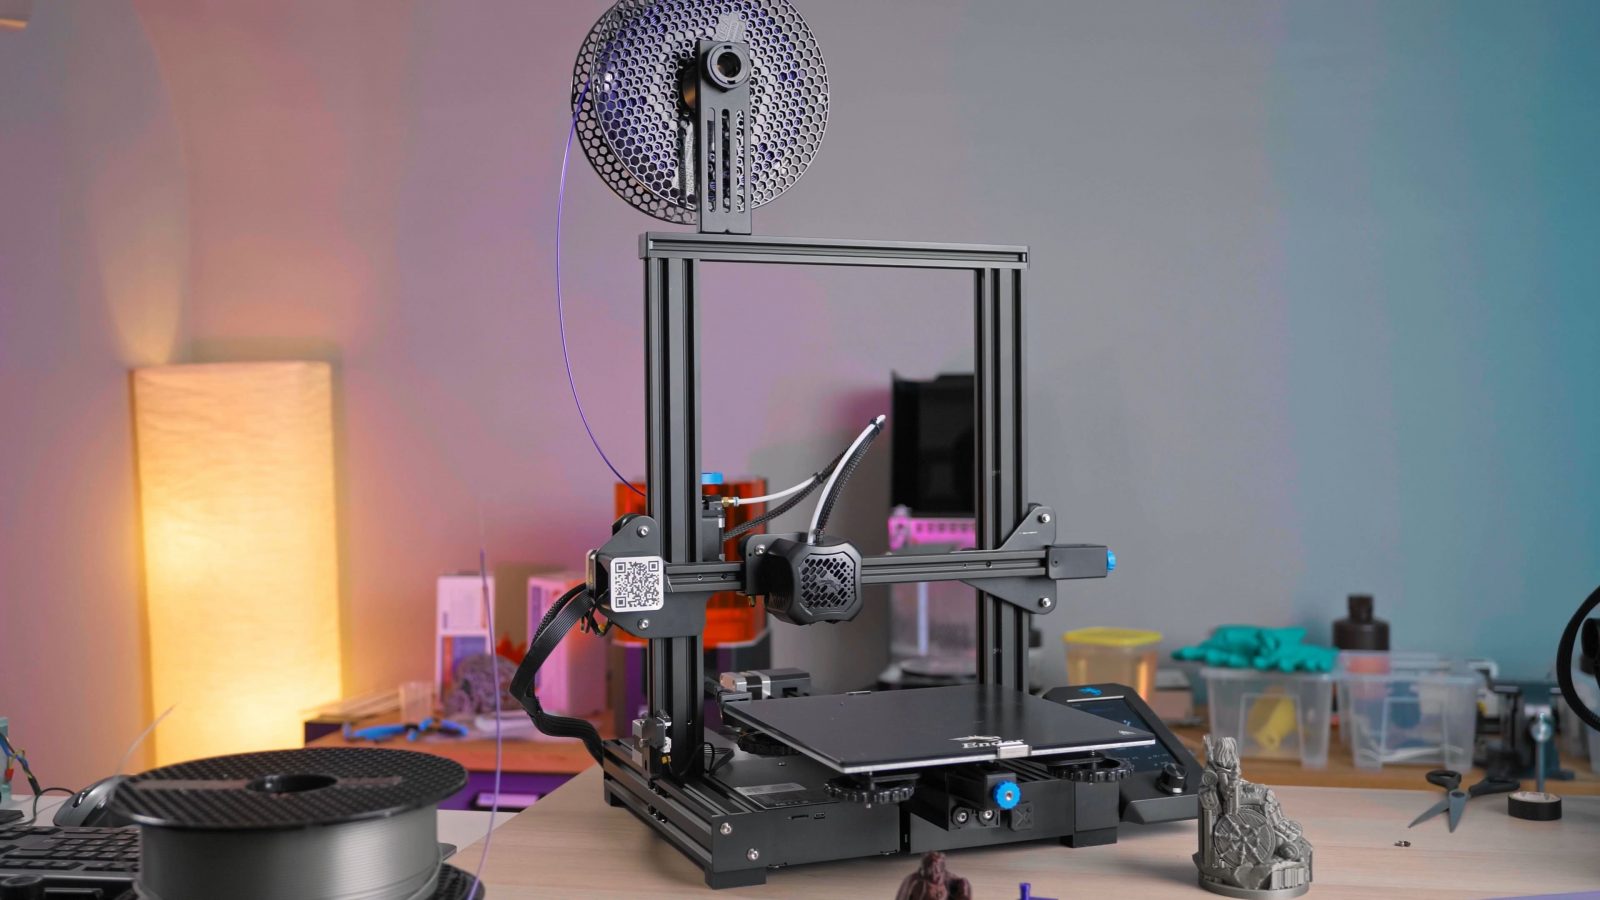
Ender-3 v2 
Ender-3 v2
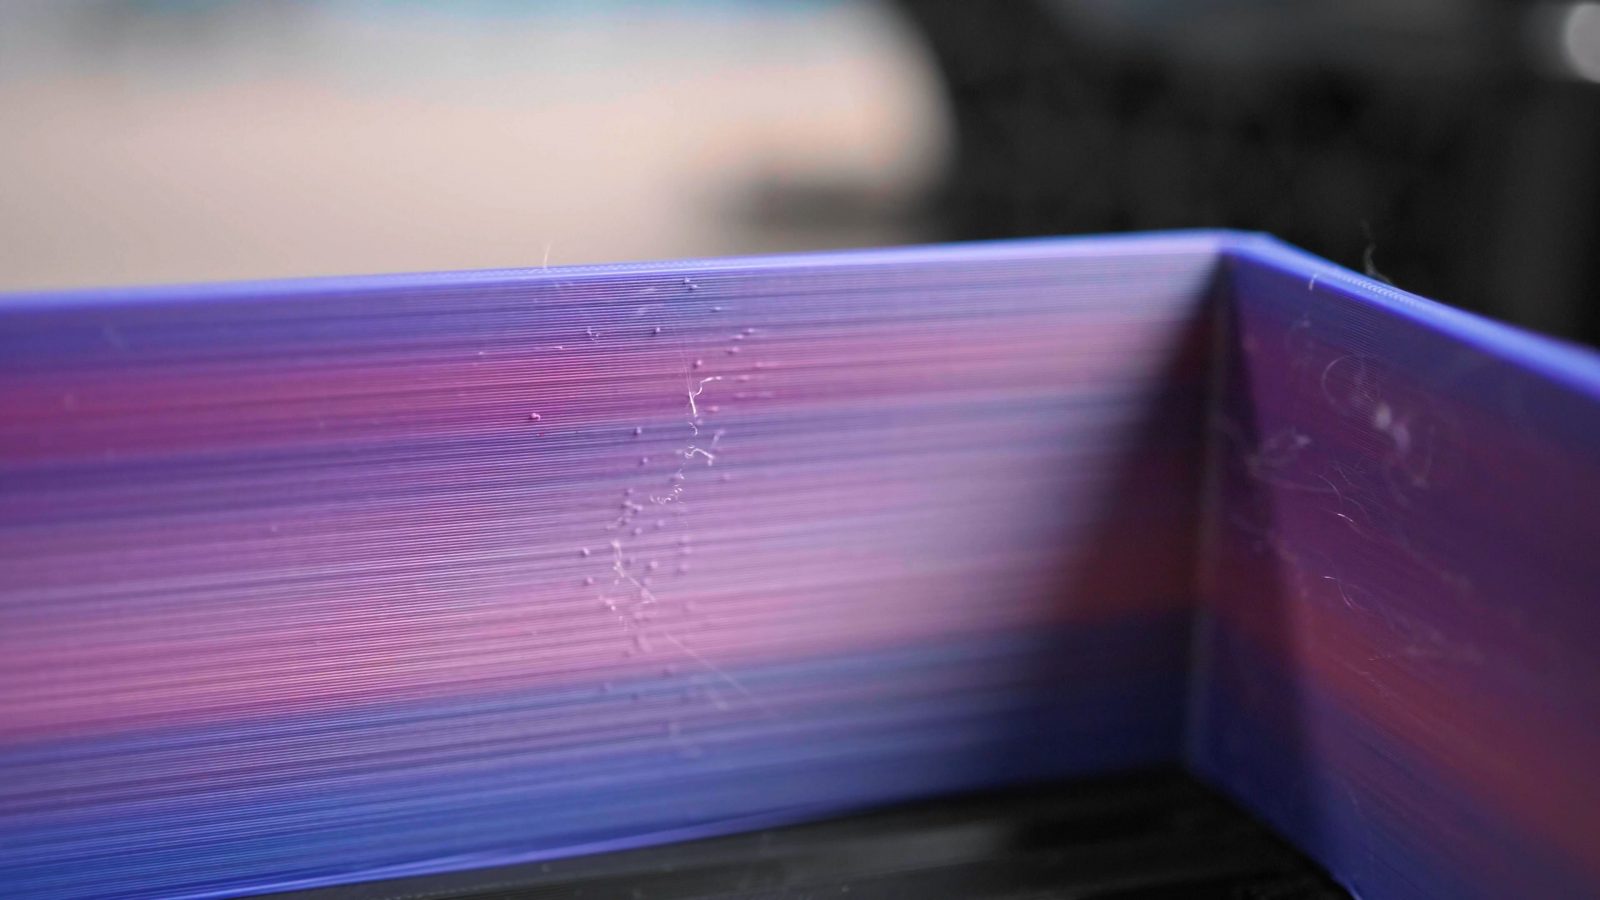
The Ender-3 v2 has basically flawless print quality. Cooling is good, retracts work well, detail reproduction is excellent, surfaces are smooth and so far, it’s been perfectly reliable for me.
On the other hand, the CR-6 SE has been giving me quite some issues.
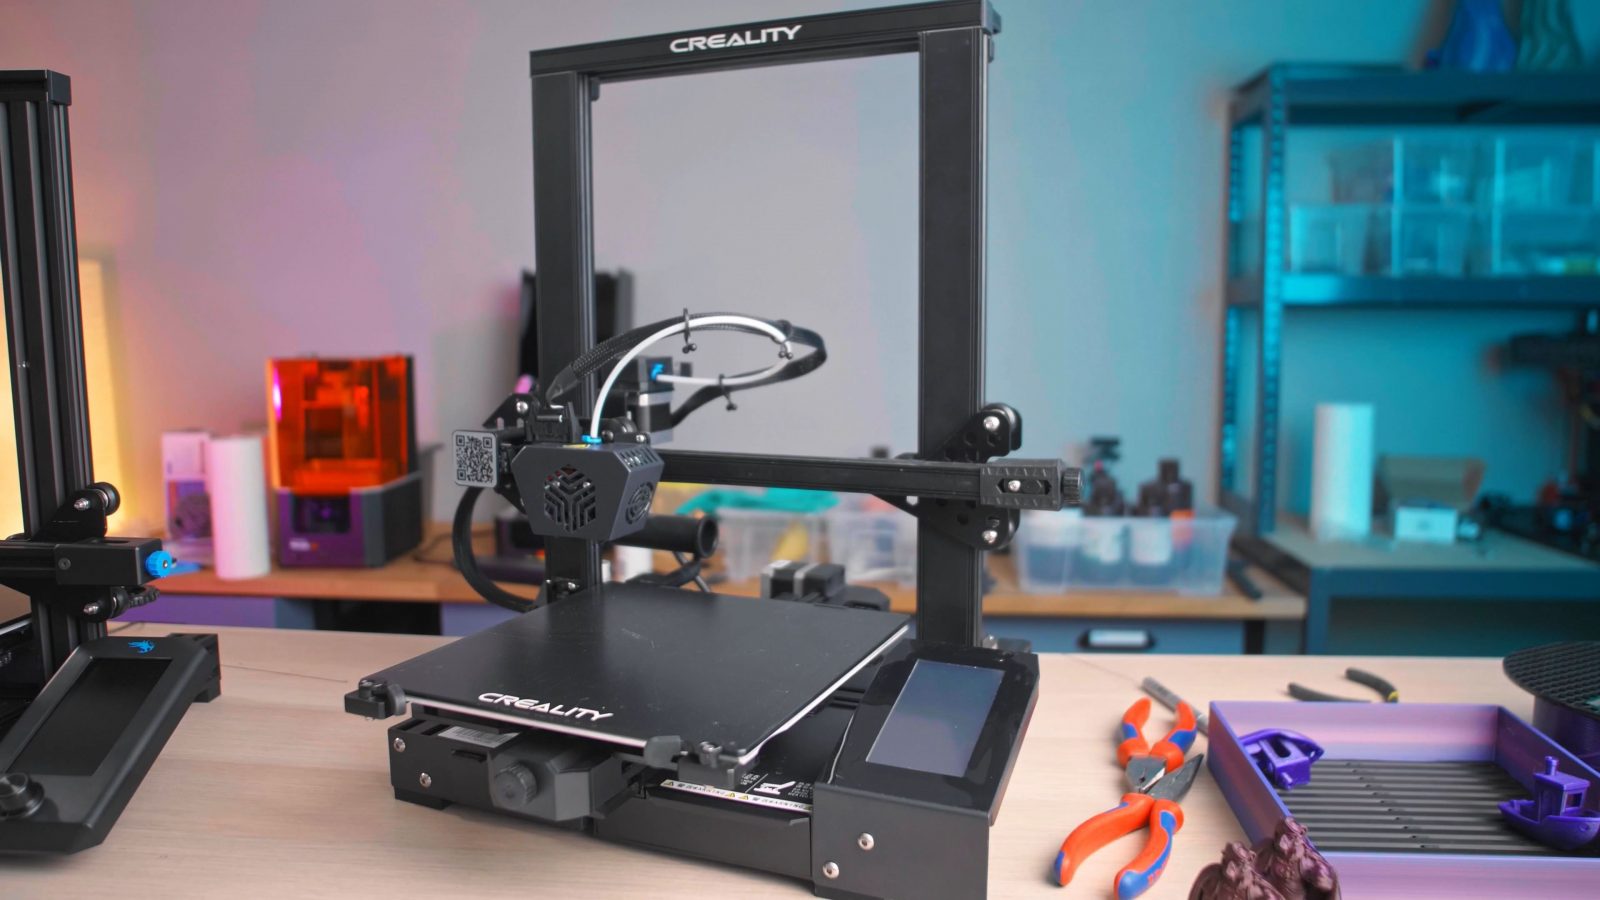
CR-6 SE 
CR-6 SE 
CR-6 SE 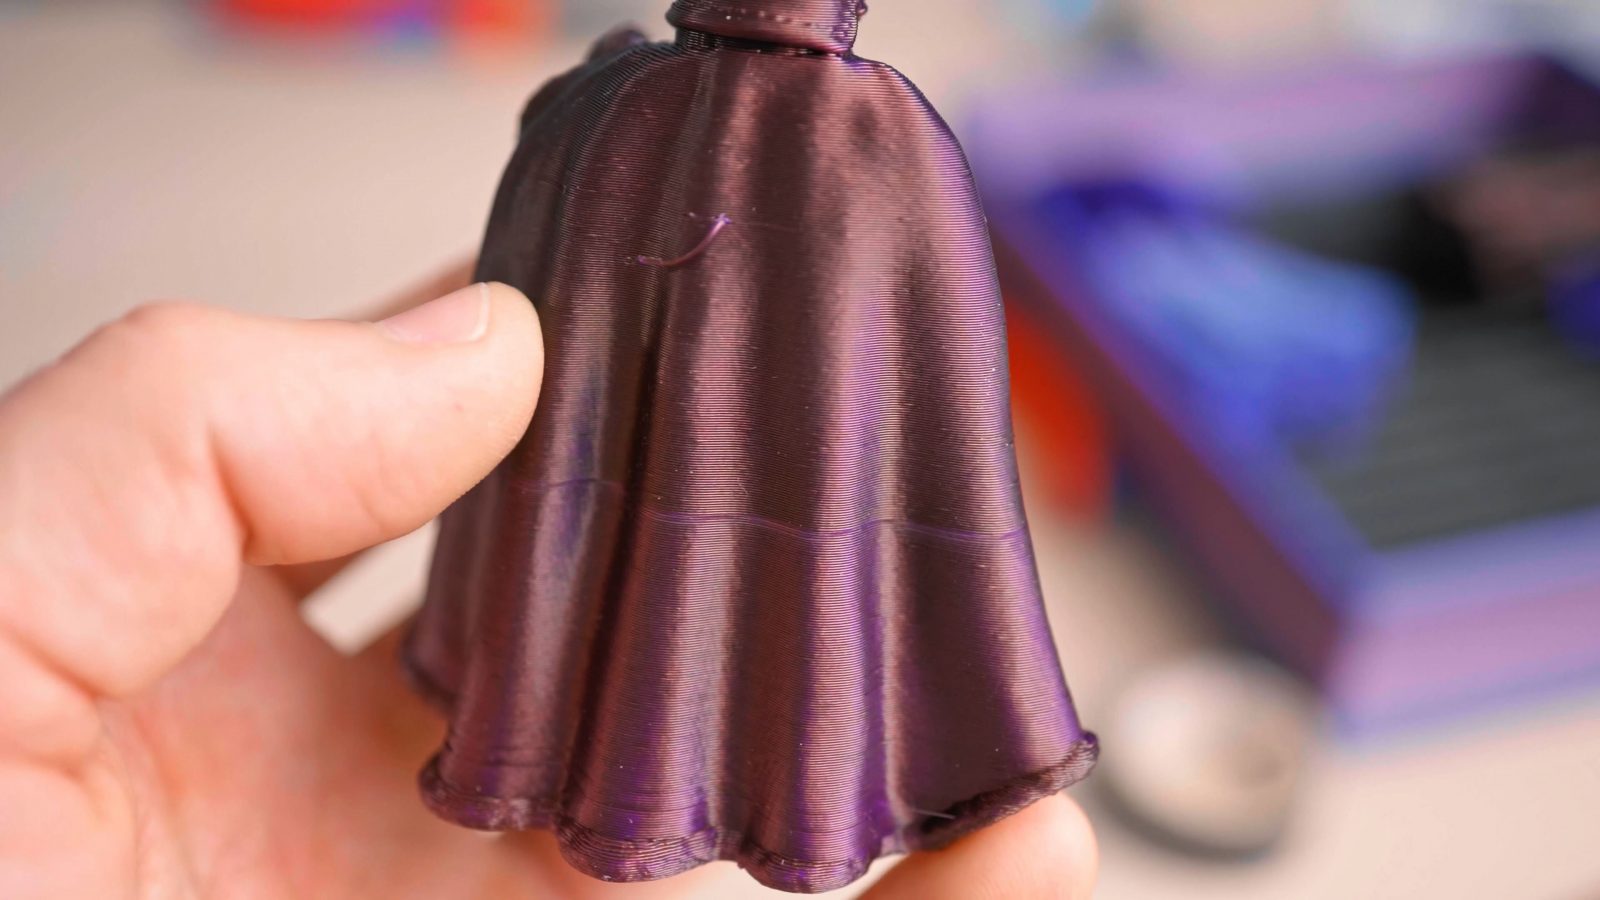
CR-6 SE 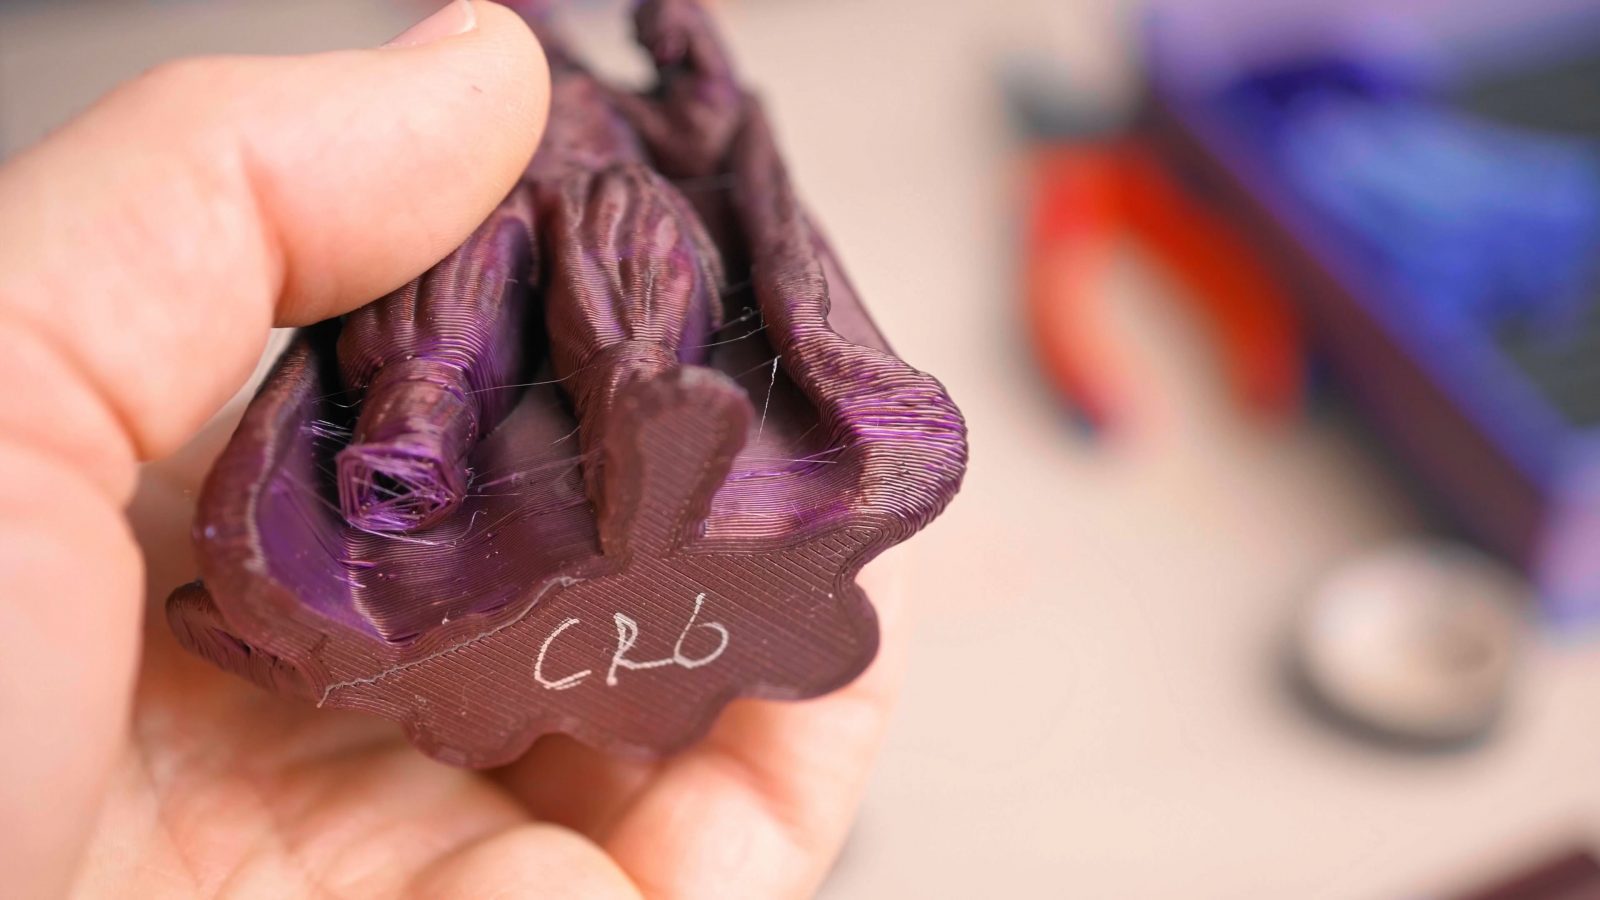
CR-6 SE
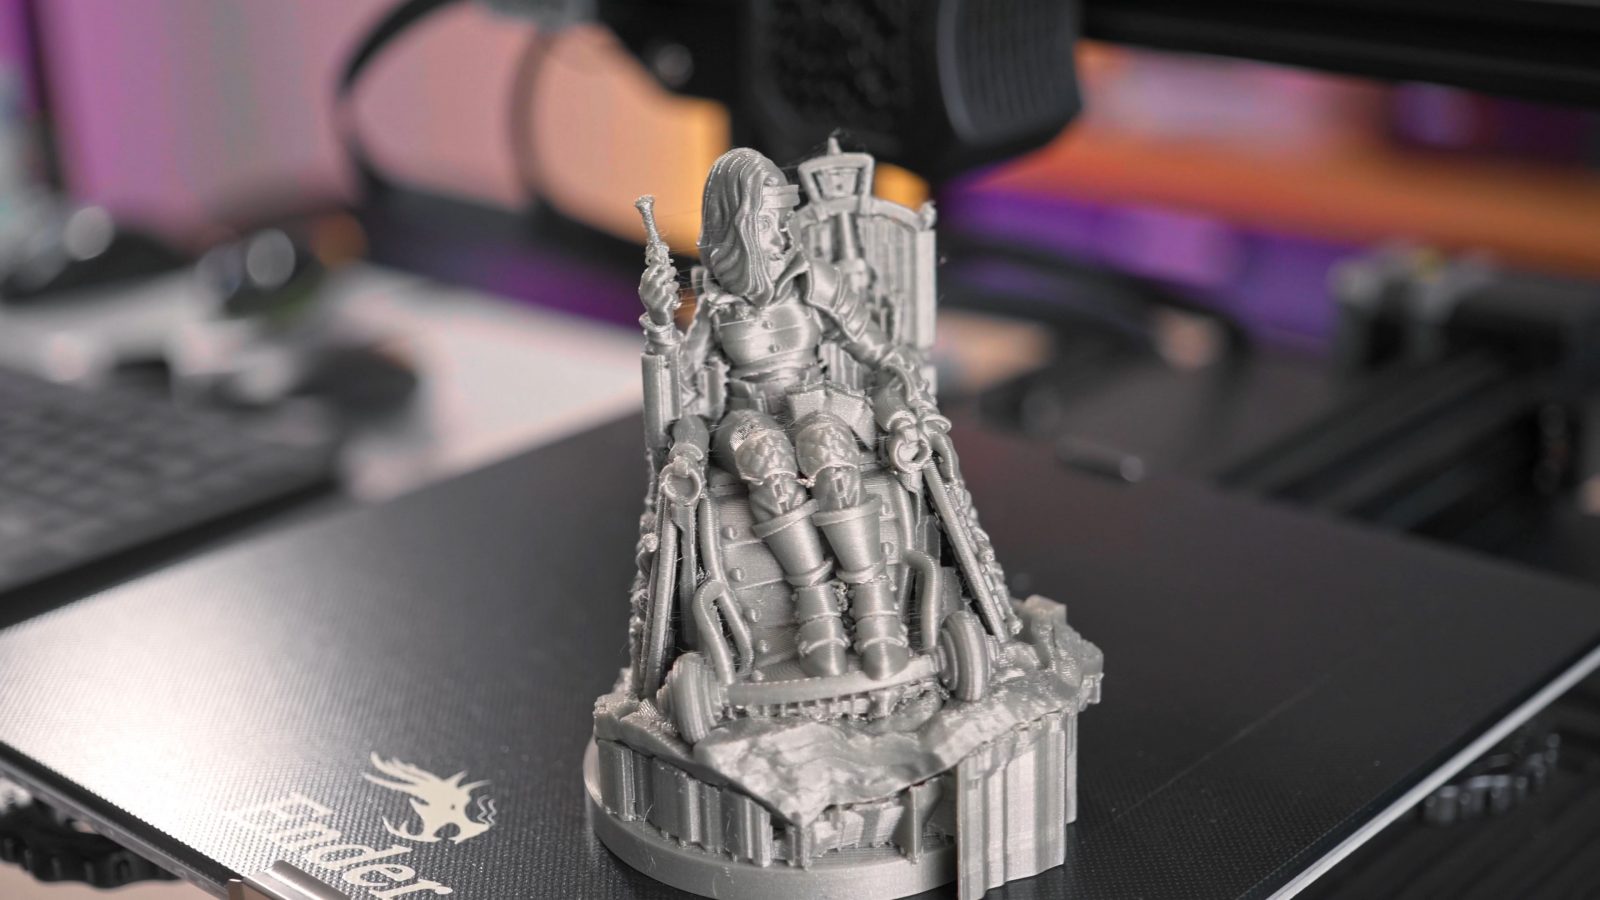
There are a lot more fine fuzzies on the prints as well as some apparently larger air-extruded bits and it also looks like the extruder is actually randomly losing steps – whenever I tried to print Armel the polar paladin, he lost a leg, because the CR-6 SE radically underextruded on one of the layers, on the second one, there’s a noticeable difference in surface finish half-way up the print and a whole bunch of gaps throughout the entire model.

Ender-3 v2 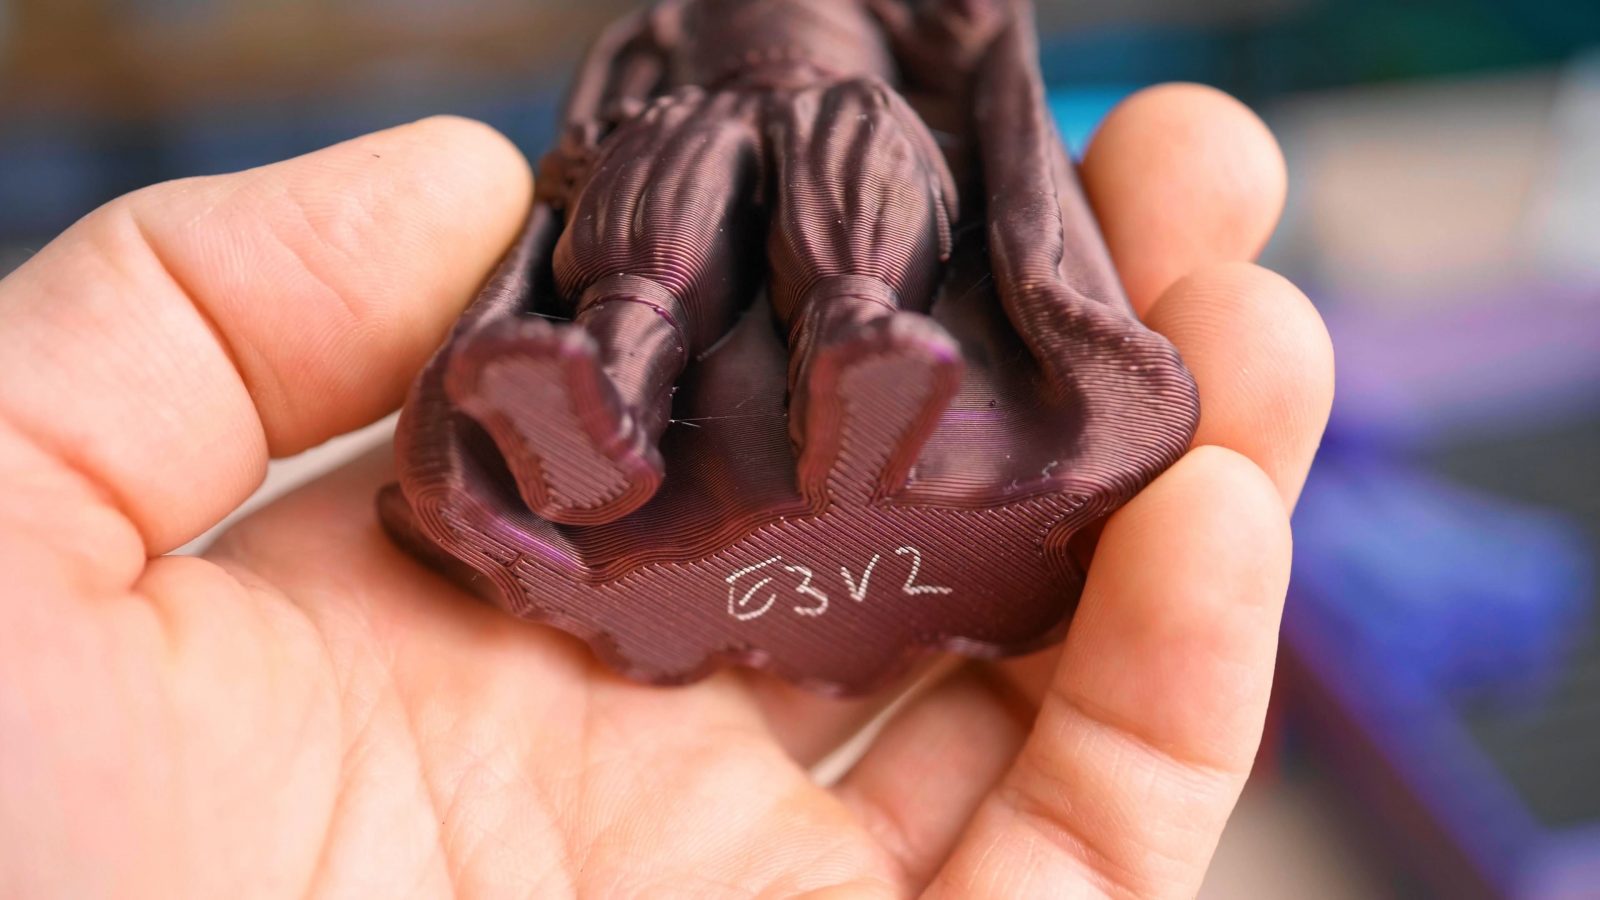
Ender-3 v2
Same print on the Ender-3 v2: Just about perfect.
Hardware and Construction
Looking at the hardware and overall construction, the prints from these two machines should be pretty much identical, but they are not.
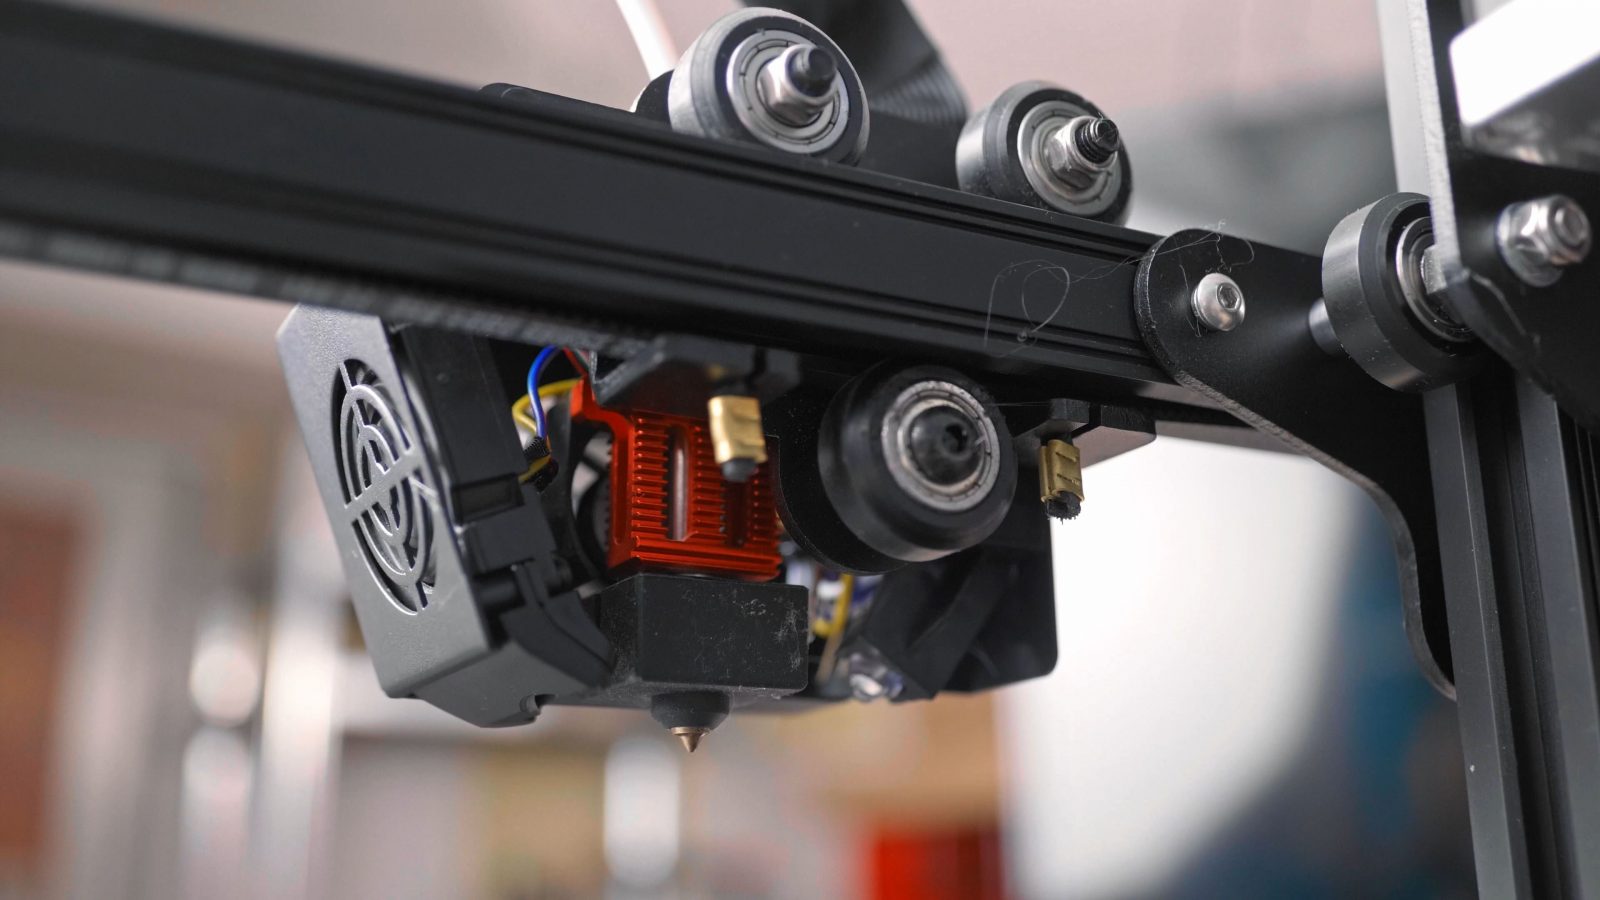
The hotend setup, is also practically the same between these two, so you can print the same materials on both; it is a Teflon-lined hotend, which, of course, is easier to manufacture, but does limit print temperatures to anywhere between 240 and 260°C, depending on how close you want to fly to the sun.
CR-6 SE 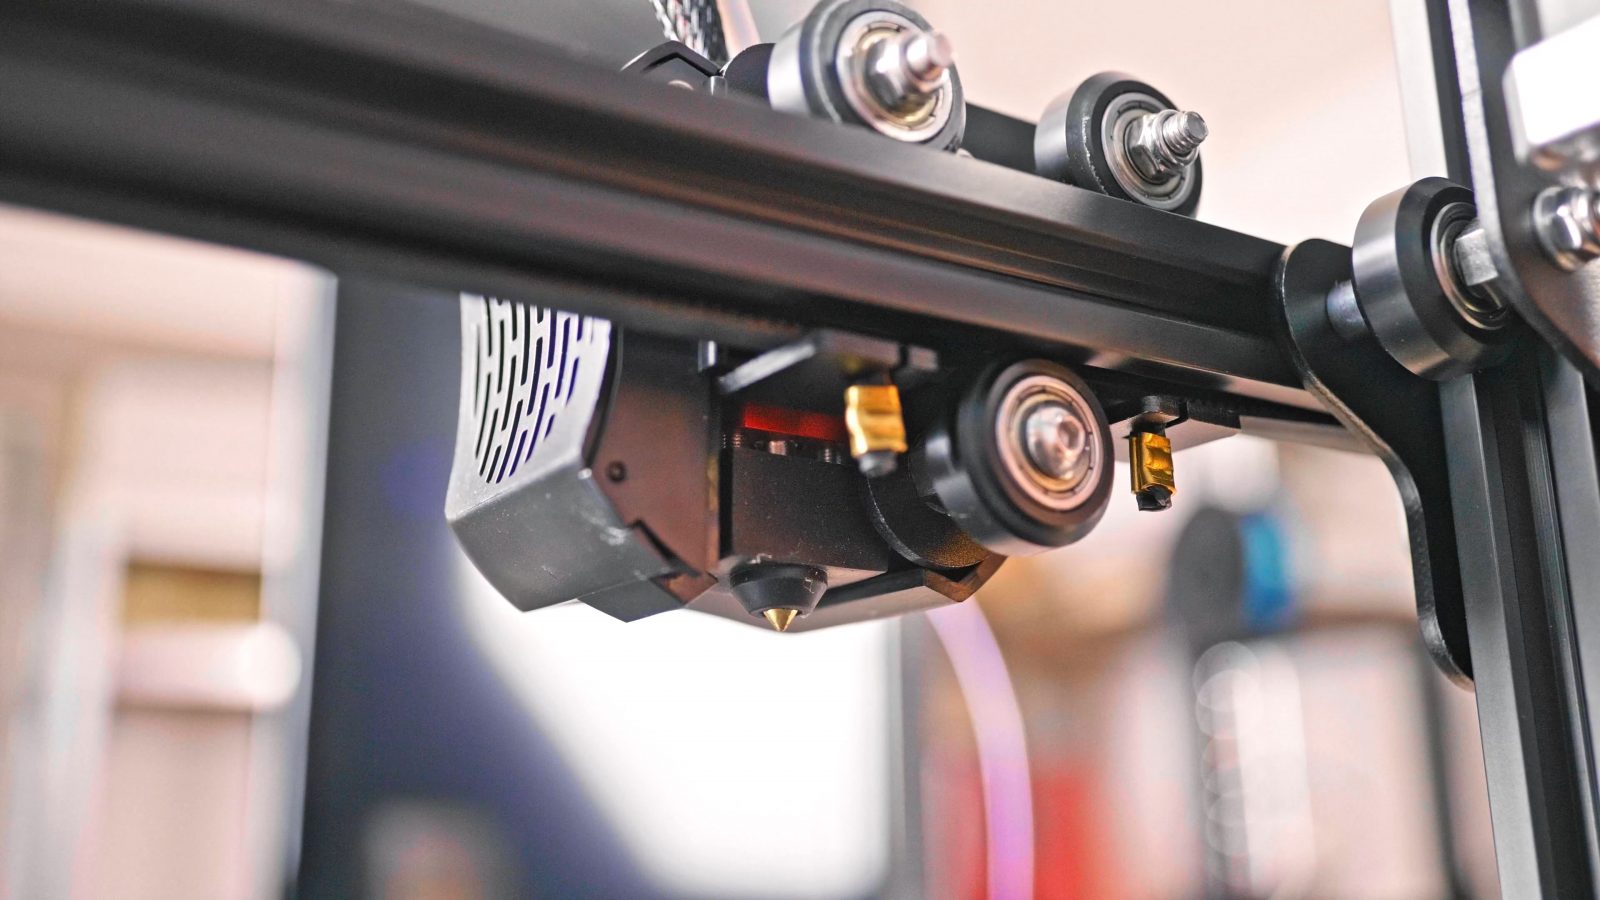
Ender-3 v2
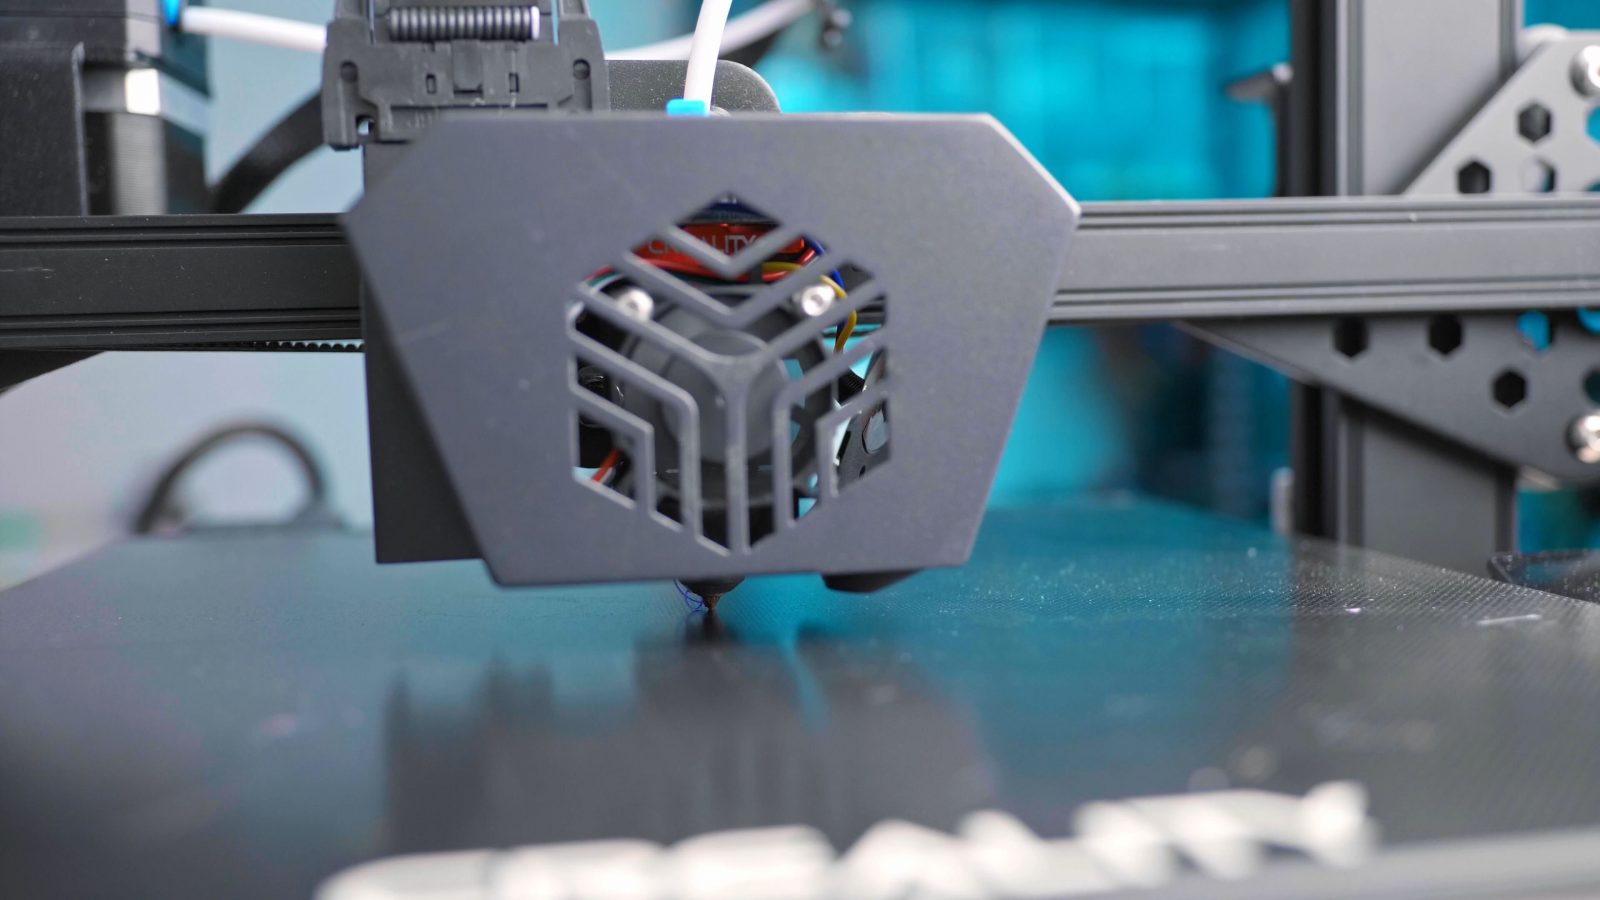
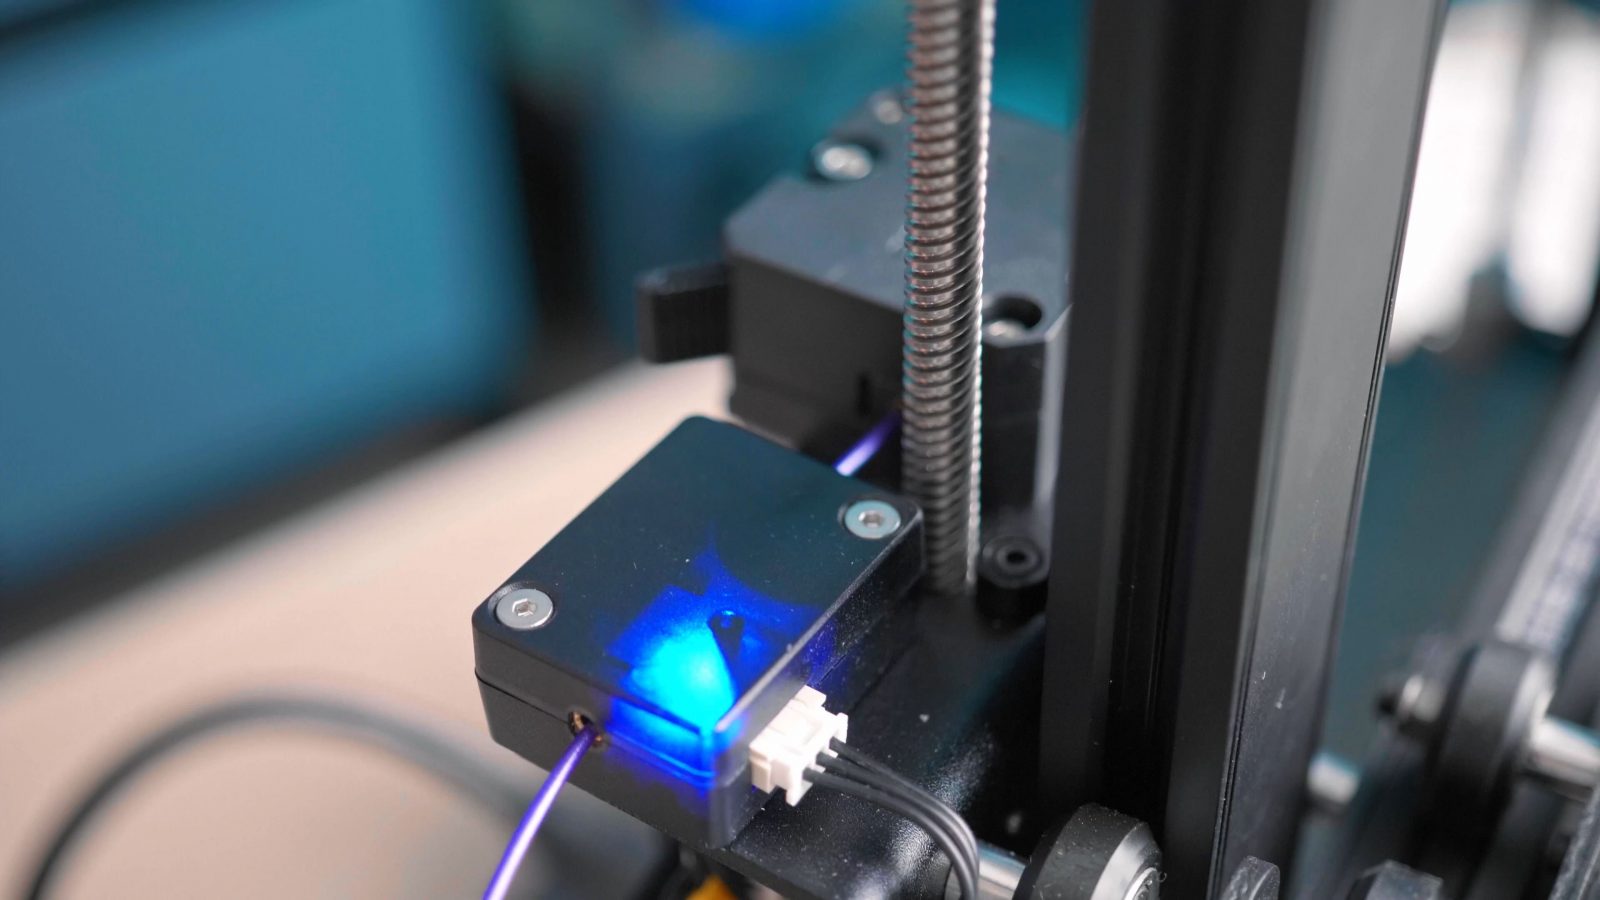
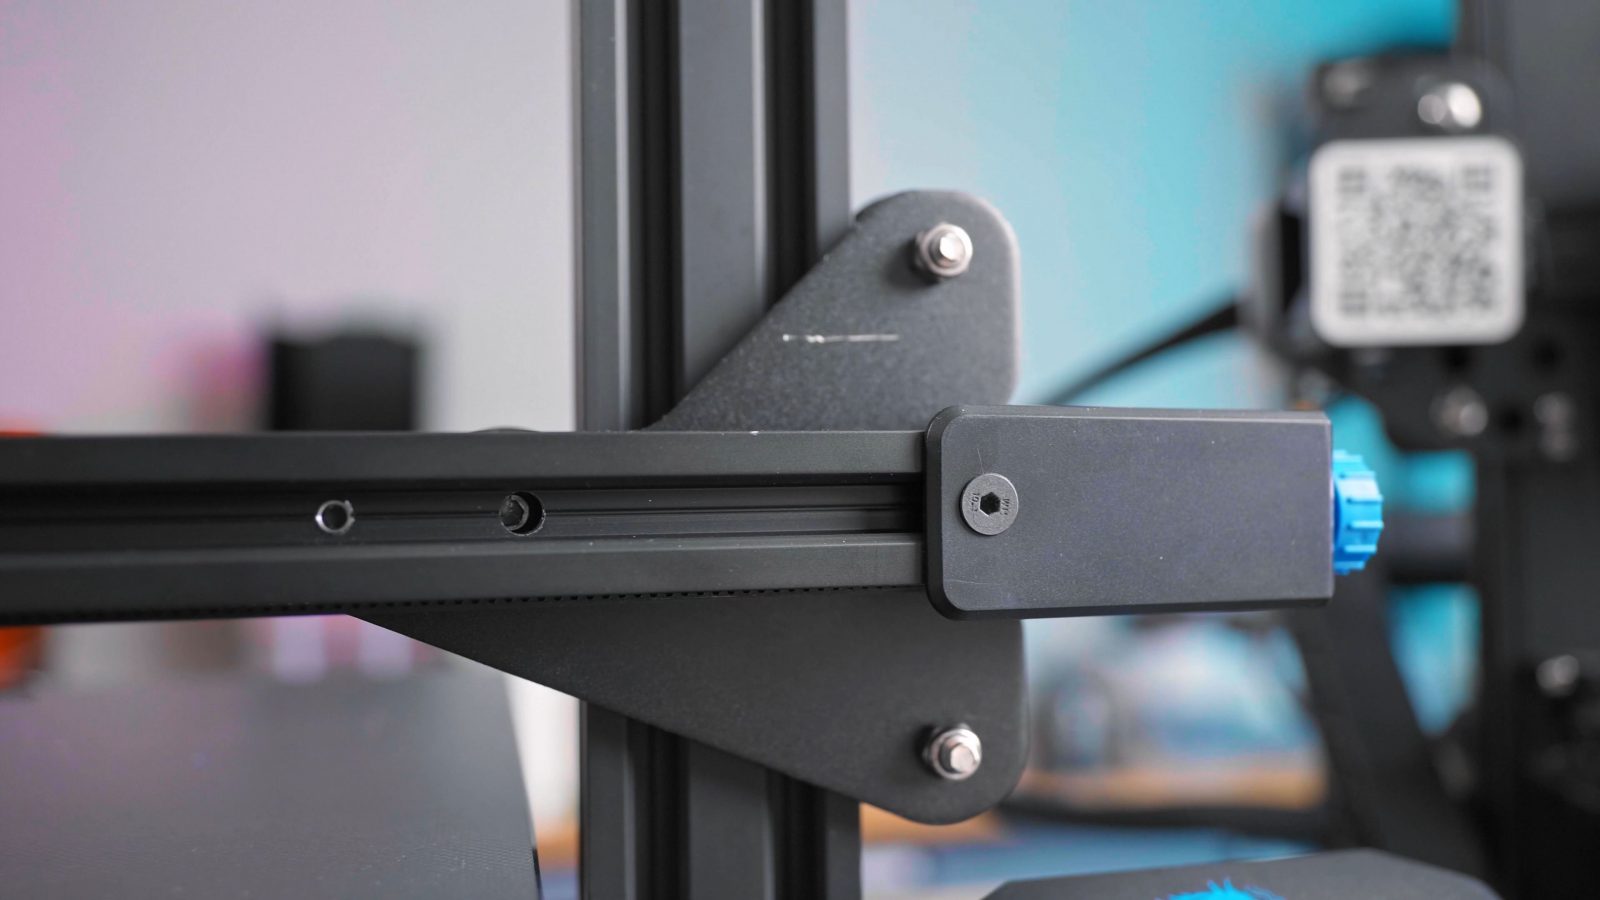
The CR-6 SE, however, does have a larger toolhead overall because it’s also home to its auto leveling sensor, and I think this is actually a really cool construction. Instead of being rigidly mounted to the carriage, the hotend sits on a little steel strip that has a load cell applied to it, basically making it a little digital scale that can sense when the nozzle touches down onto the print bed.
That arm can flex up just the slightest bit and the load cell will actually detect that tiny amount of deformation in the metal. So what you get is, theoretically, a perfectly accurate and repeatable measurement of where the nozzle is relative to the bed height because it’s literally the nozzle itself probing the bed. There’s still an offset you can adjust in the firmware, but that should be something you just have to set once and can then forget about because the measurement will actually compensate for things like nozzle wear or even when you install a slightly longer or shorter nozzle.
So the other unique feature is the filament sensor, and while this one may be useful in practice, especially to use up those last little bits no one wants to use at the end of a spool, just the way that it’s mounted with the most awkward amount of space between the sensor and extruder where it’s enough space for the filament to curl and always miss the inlet on the extruder, but too little space to fit a westerner’s finger in there and guide it into the hole. Sure, a little filament guide for this spot is a super easy upgrade print, but, come on Creality, you could have done that better.
CR-6 SE 
CR-6 SE 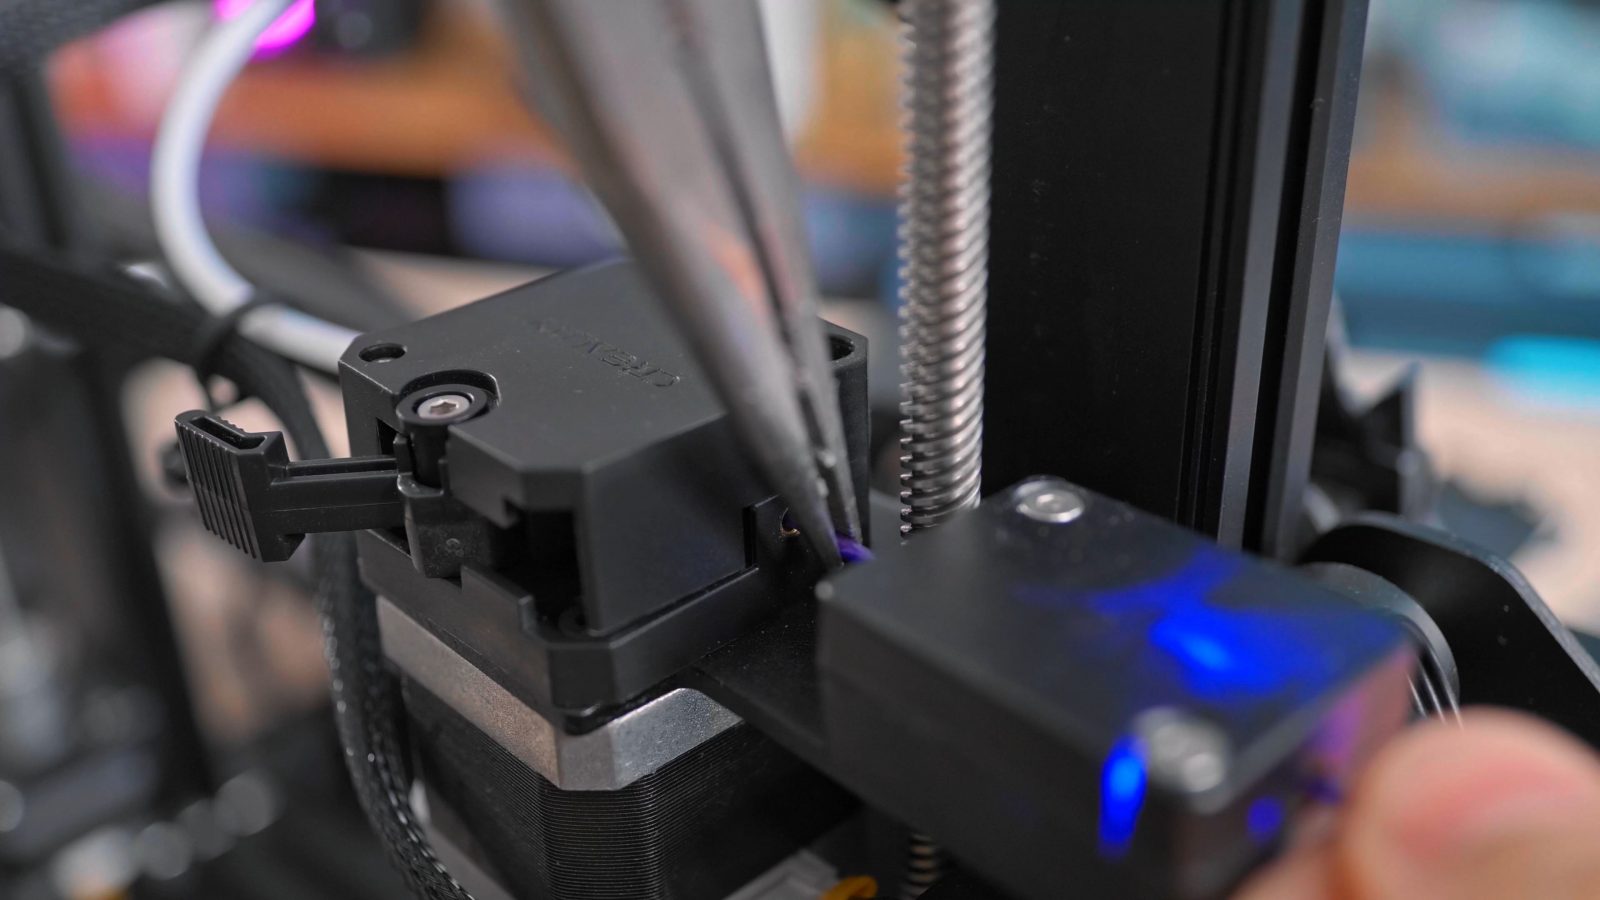
CR-6 SE
And just a note on that, because it always comes up in the comments – I can only test machines as they are provided by the manufacturer – I’m not going to do any mods or tuning or anything like that for a review. The thing is, when you start modifying something as complex as a 3D printer, you’re really easily getting into the region where it’s not a “Creality CR-6 SE” anymore, but “Tom’s interpretation of a CR-6 SE”. If you replace a sufficient amount of components, you can turn any 3D printer into the perfect machine, or heck, you can even turn a pile of aluminum profiles into a really good 3D printer with a bit of effort put into it, but what I can judge is only what the manufacturer delivers, not what you or I can turn it into.
And the CR-6 SE is actually the machine that could use a bit of modding in general.
CR-6 SE 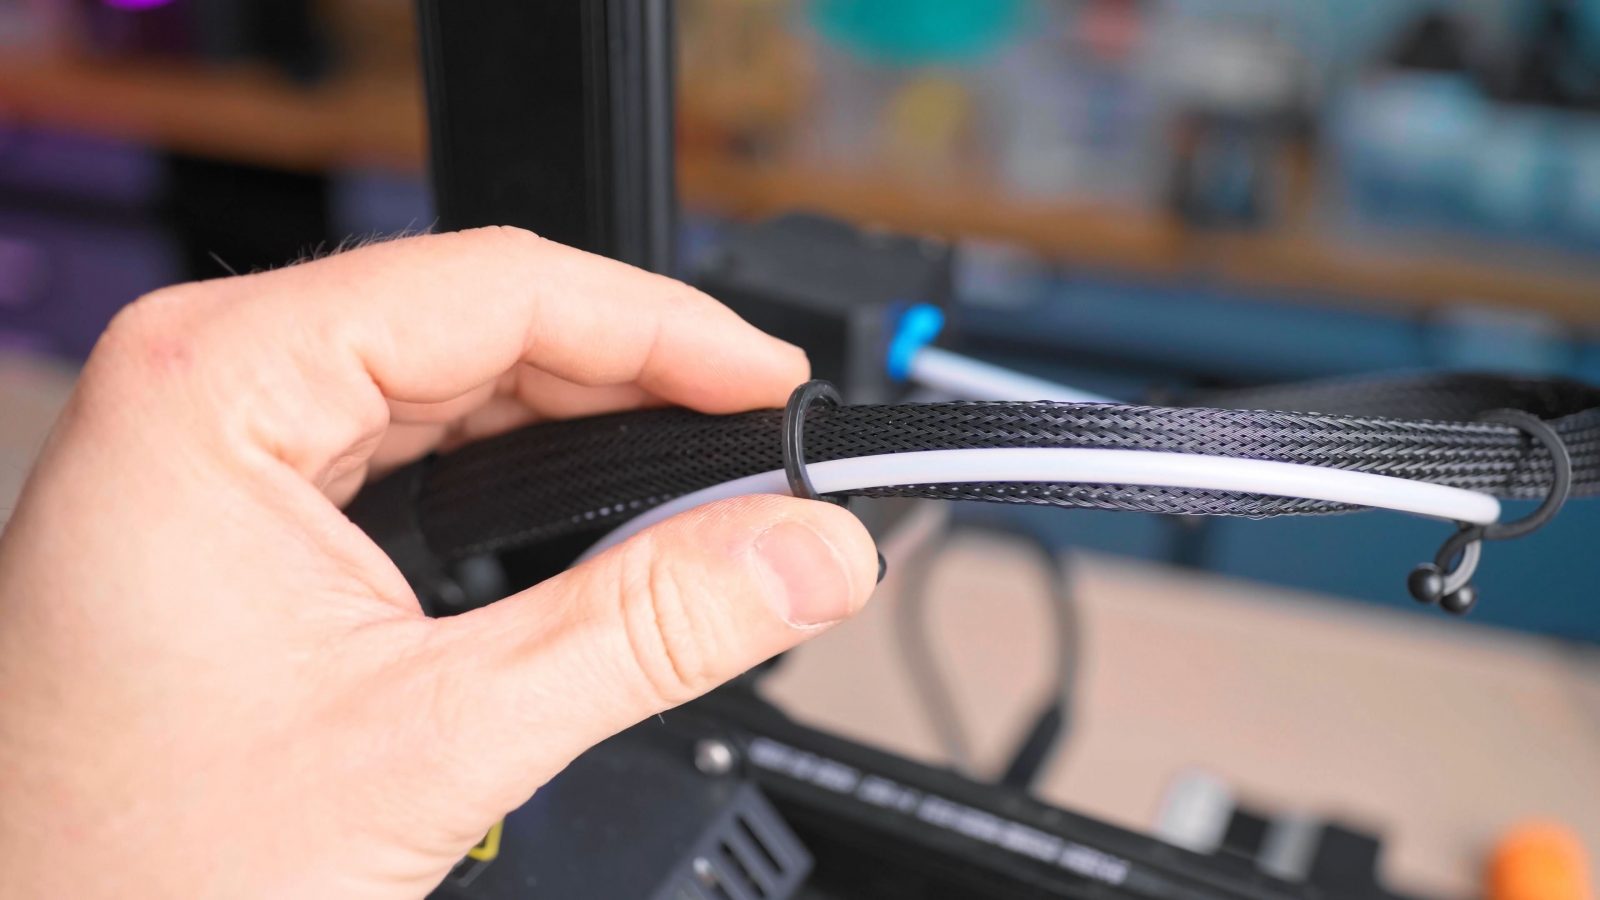
CR-6 SE
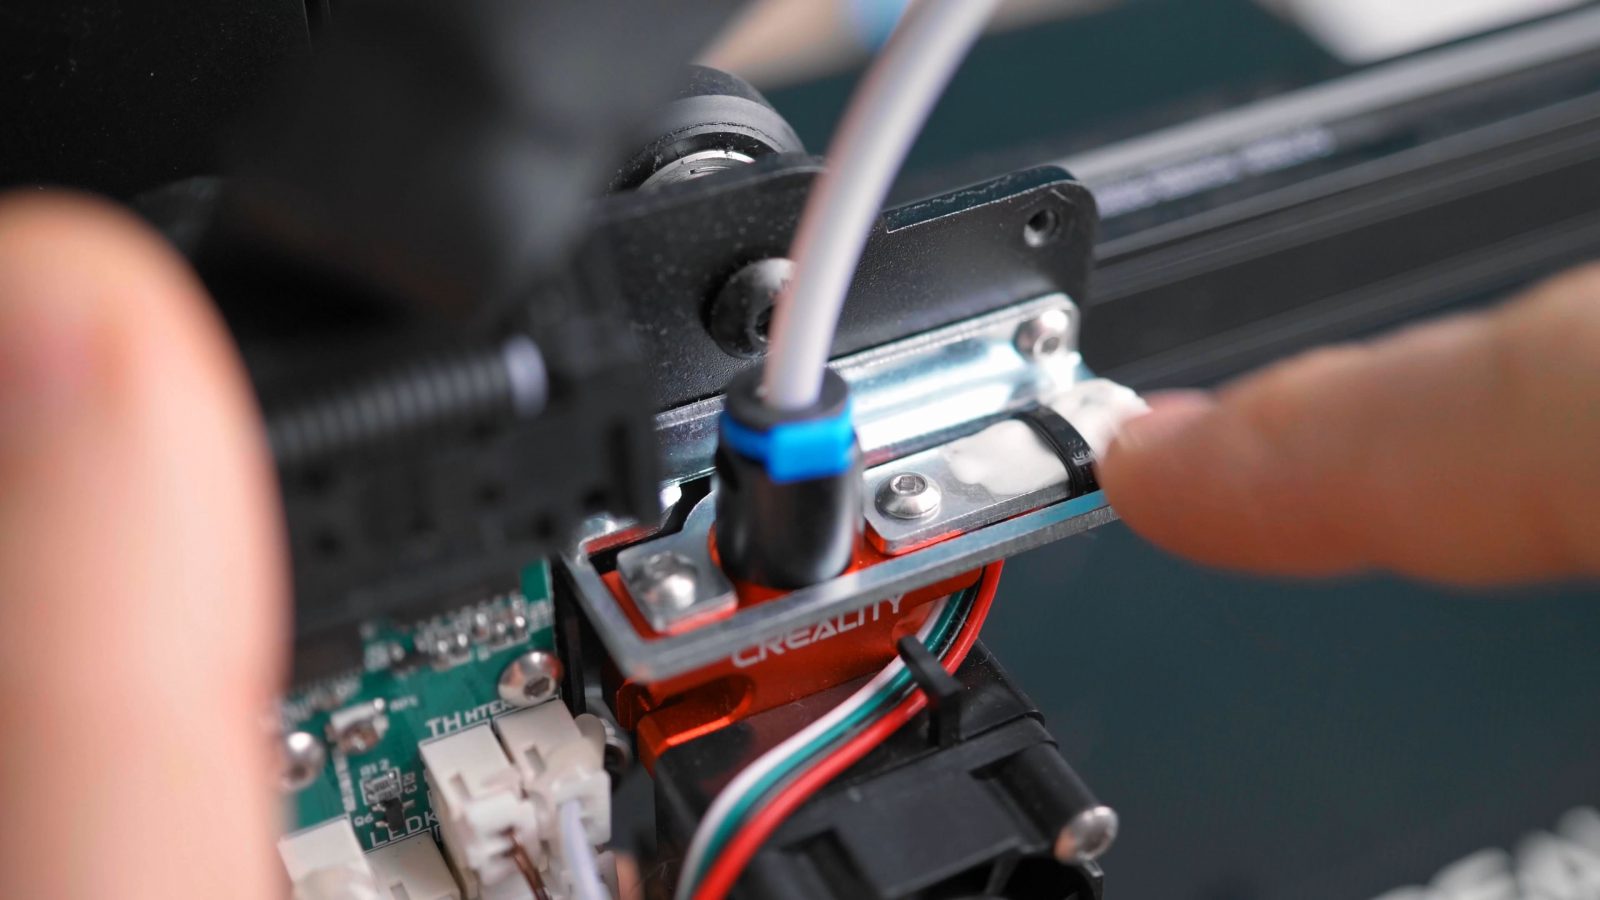
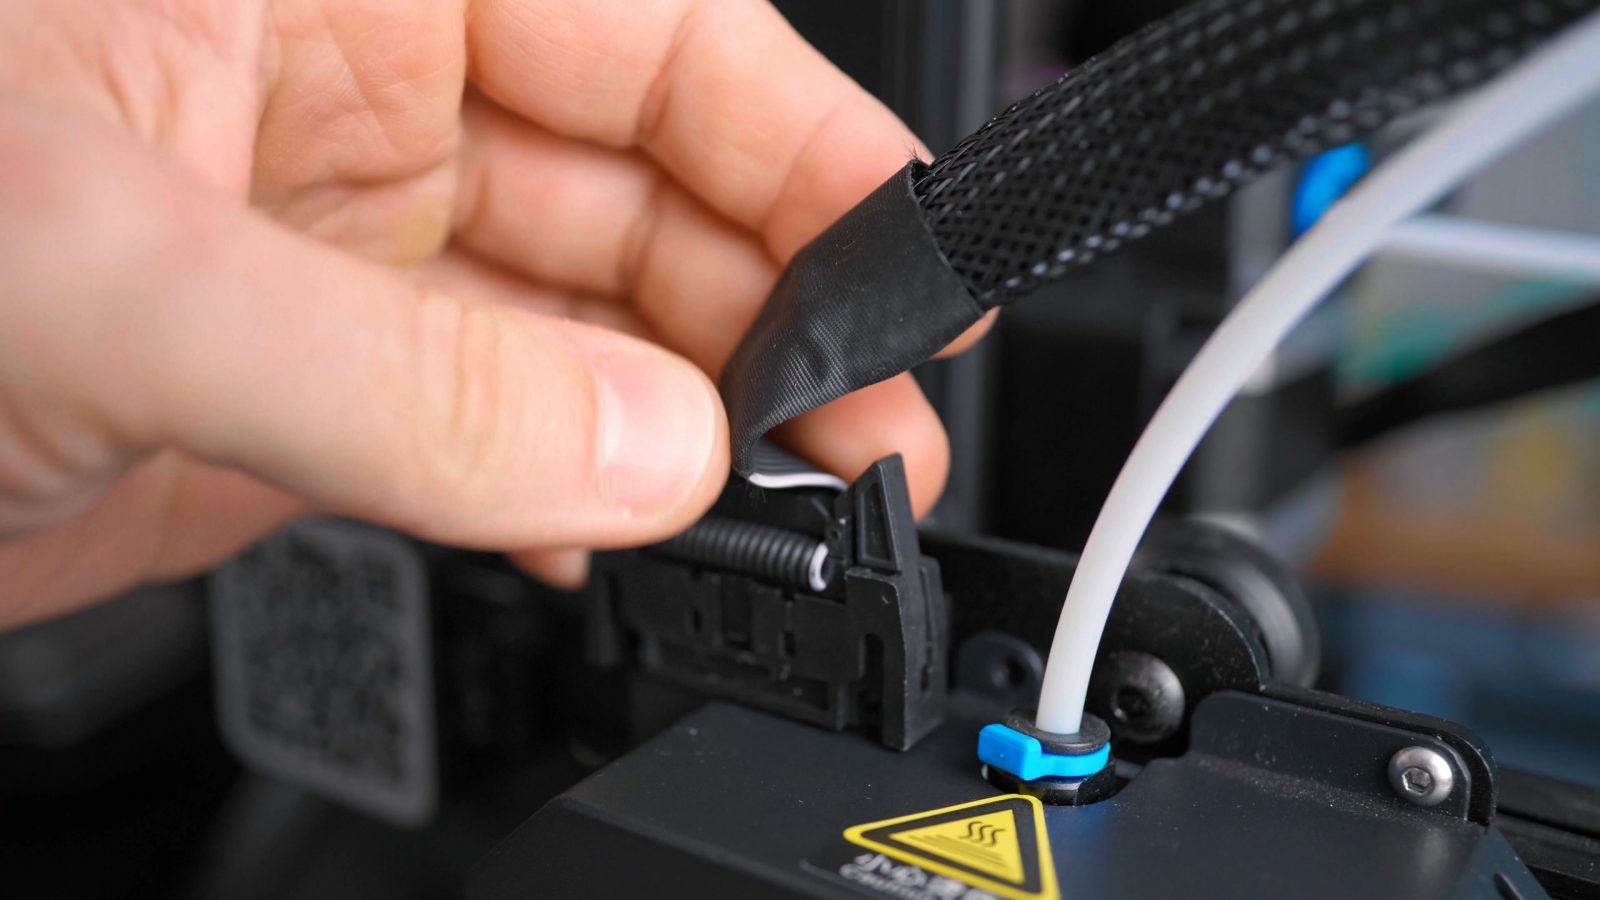
The ribbon cable going to the extruder looks like it’s in need of some support to keep it from breaking after a few spools and between the extruder issues I’ve already talked about and the problems that other users have reported, like the main power switch giving them problems or, in the case of Joel the 3D Printing Nerd:
This doesn’t feel like a very finished or polished printer.
And also, the general look and feel are actually a lot better on the cheaper Ender-3 v2. Sure, you don’t get the fancy custom aluminum extrusions, but the screen a lot cleaner with the matte bezel instead of this faux glossy plastic sticker on the CR-6 SE.
Ender-3 v2 
CR-6 SE
The Ender-3 v2 also also skips the randomly placed speed holes in the X-axis ends and the unnecessary “Transformers” decor on the various injection-molded plastic parts. You know, the Ender-3 v2 just looks and feels so much cleaner, even though it’s basically the same machine.
Ender-3 v2 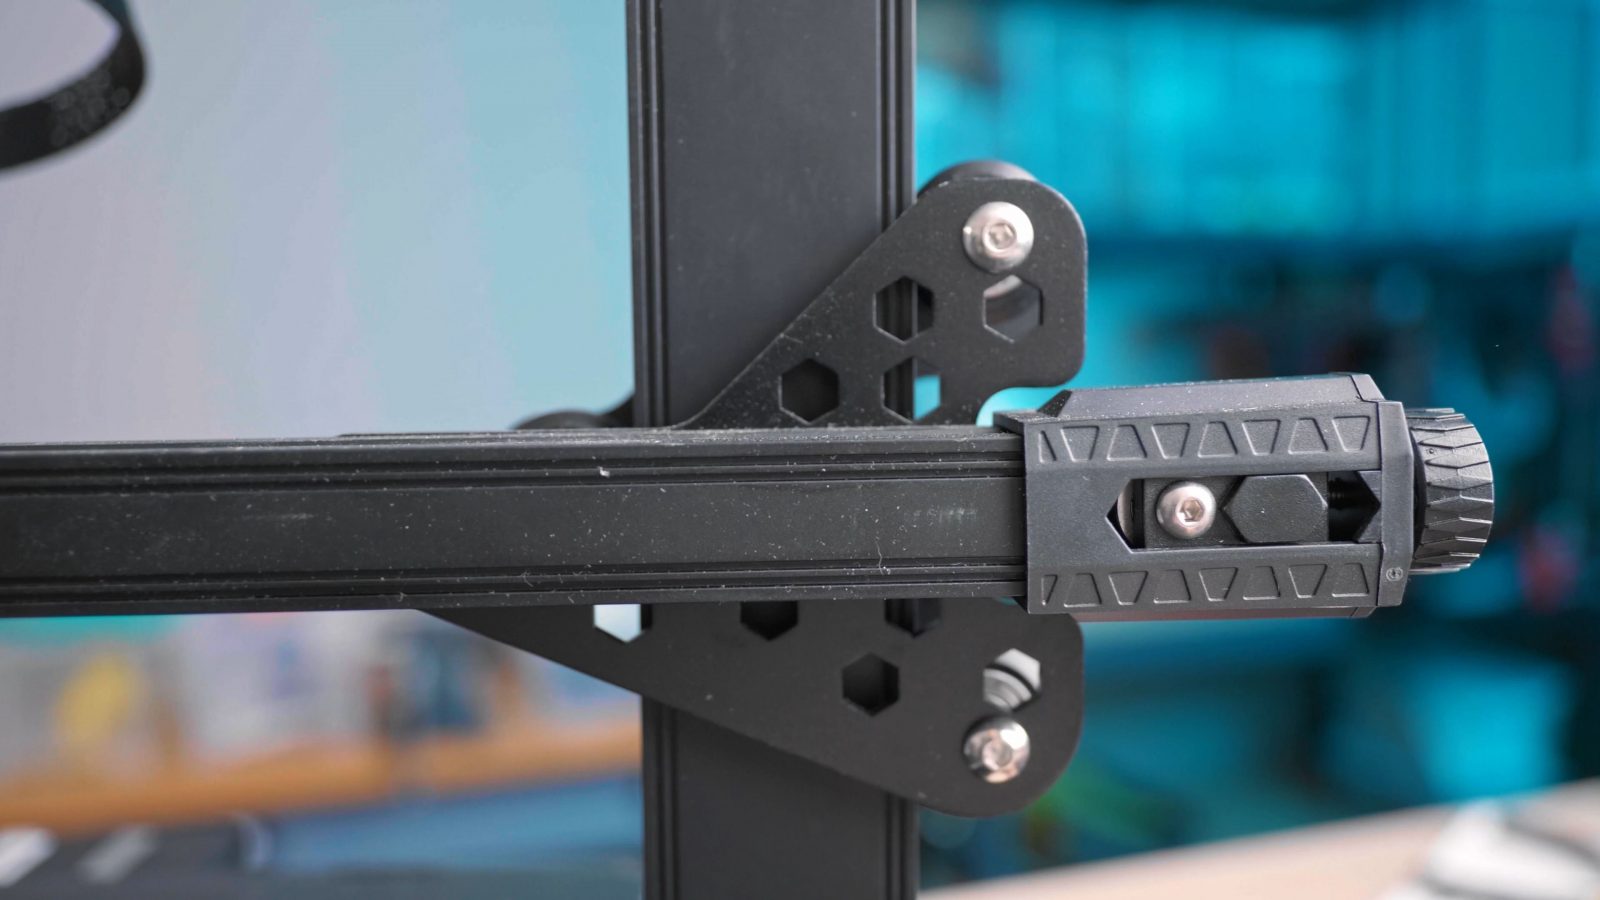
CR-6 SE 
Ender-3 v2 
CR-6 SE
So my recommendation – in case it’s not clear already – skip the CR-6 SE and just get an Ender-3 v2 instead – then buy yourself some nice filament from the money you just saved.
“But wait, Tom, I thought you were a Prusa shill, why aren’t you recommending the Prusa Mini instead?”
Well, the thing is, sure, the Prusa machines still are a bit of a nicer package overall, you know, the manuals and documentation are better and having a full set of materials and profiles to choose from in the slicer instead of just a single PLA profile sure is nice, but Creality is catching up really fast. The Ender-3 v2 feels like an entirely different machine compared to the original Ender-3, and honestly, even with no mods, I would personally be totally fine with using the Ender-3 v2 as my only 3D printer. They have now crossed that point where it’s not quite perfect yet, but definitely more than “good enough”.
As for the CR-6 SE, I don’t see how the extra $135 premium actually gives you any more value – and especially with the issues that’s having, which the Ender-3 v2 is not having, you should probably either skip this one and wait for a CR-6 SE v2 or just grab the Ender-3 v2 now.
And that’s my take on these two machines – I hope you found it helpful! As always, thanks for watching, keep on making, and I’ll see you in the next one!
CR-6 SE on Creality’s Official store
Ender-3 v2 on Creality´s Official Store
Models shown:
Elf Rogue by Strata Miniatures
Armel The Polar Paladin by Loubie3D
3DBenchy by Creative Tools / Daniel Norée
Filaments used Das Filament Multicolor Galaxy
Prusament Pearl Mouse, Galaxy Purple and Mystic Brown PLA
💙 Enjoying the videos? Support my work on Patreon!
Product links are affiliate links – I may earn a commission on qualifying purchases (at no extra cost to you)

Check out my second channel “More Layers” on YouTube for livestreams