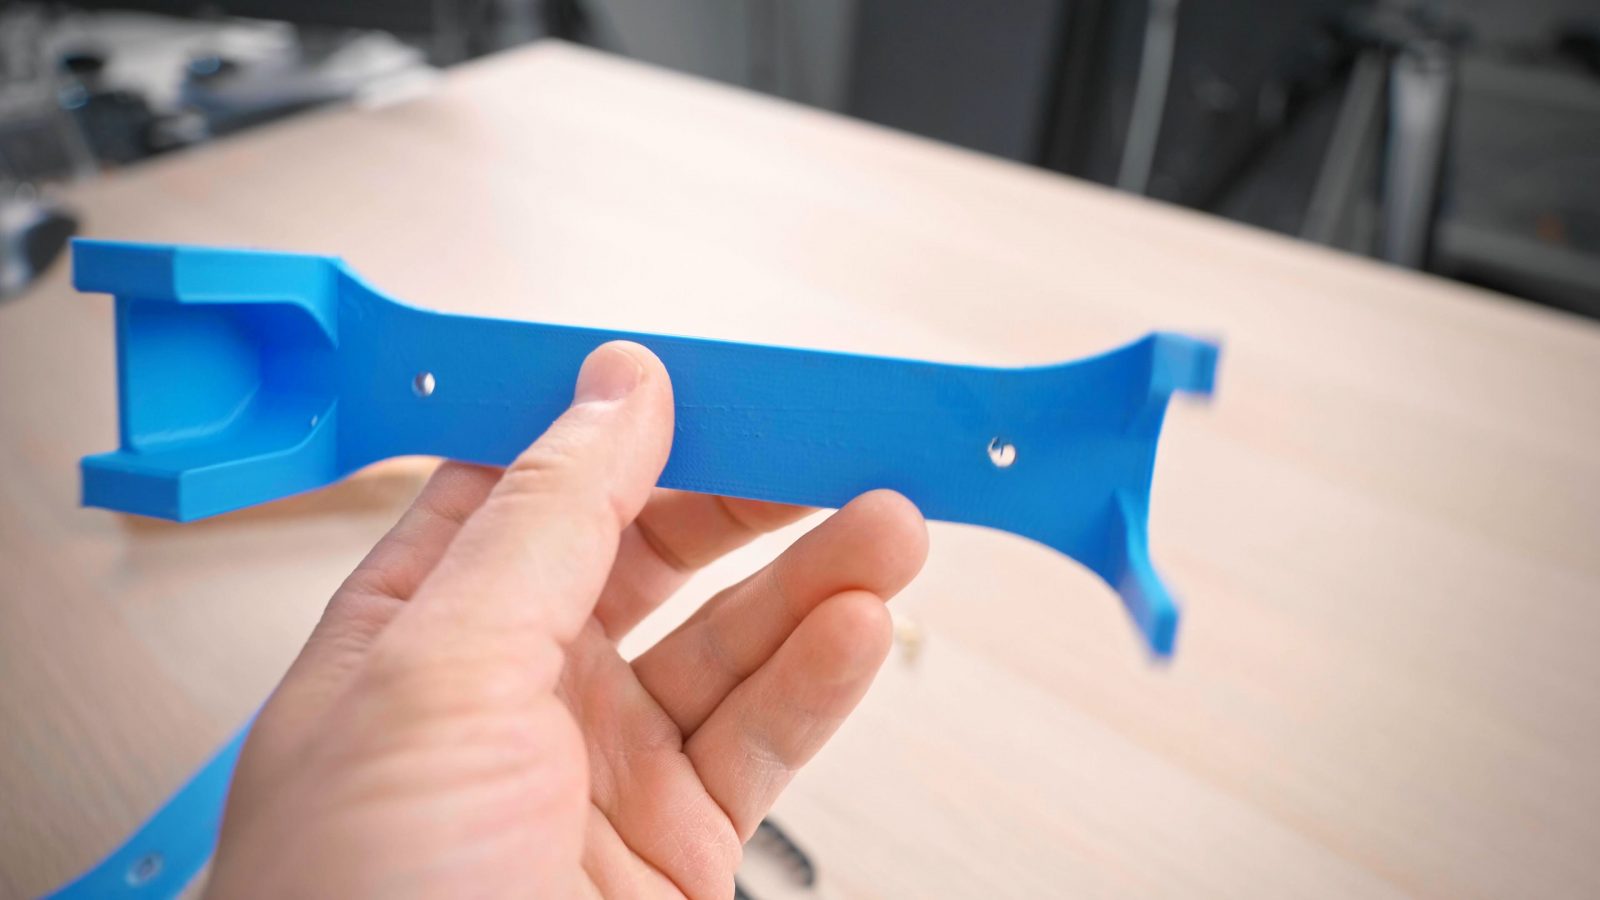
Today I want to share this tool that I made – and even though it’s a super simple tool, this sort of stuff is why I’m still excited about 3D printing and the possibilities it opens up.
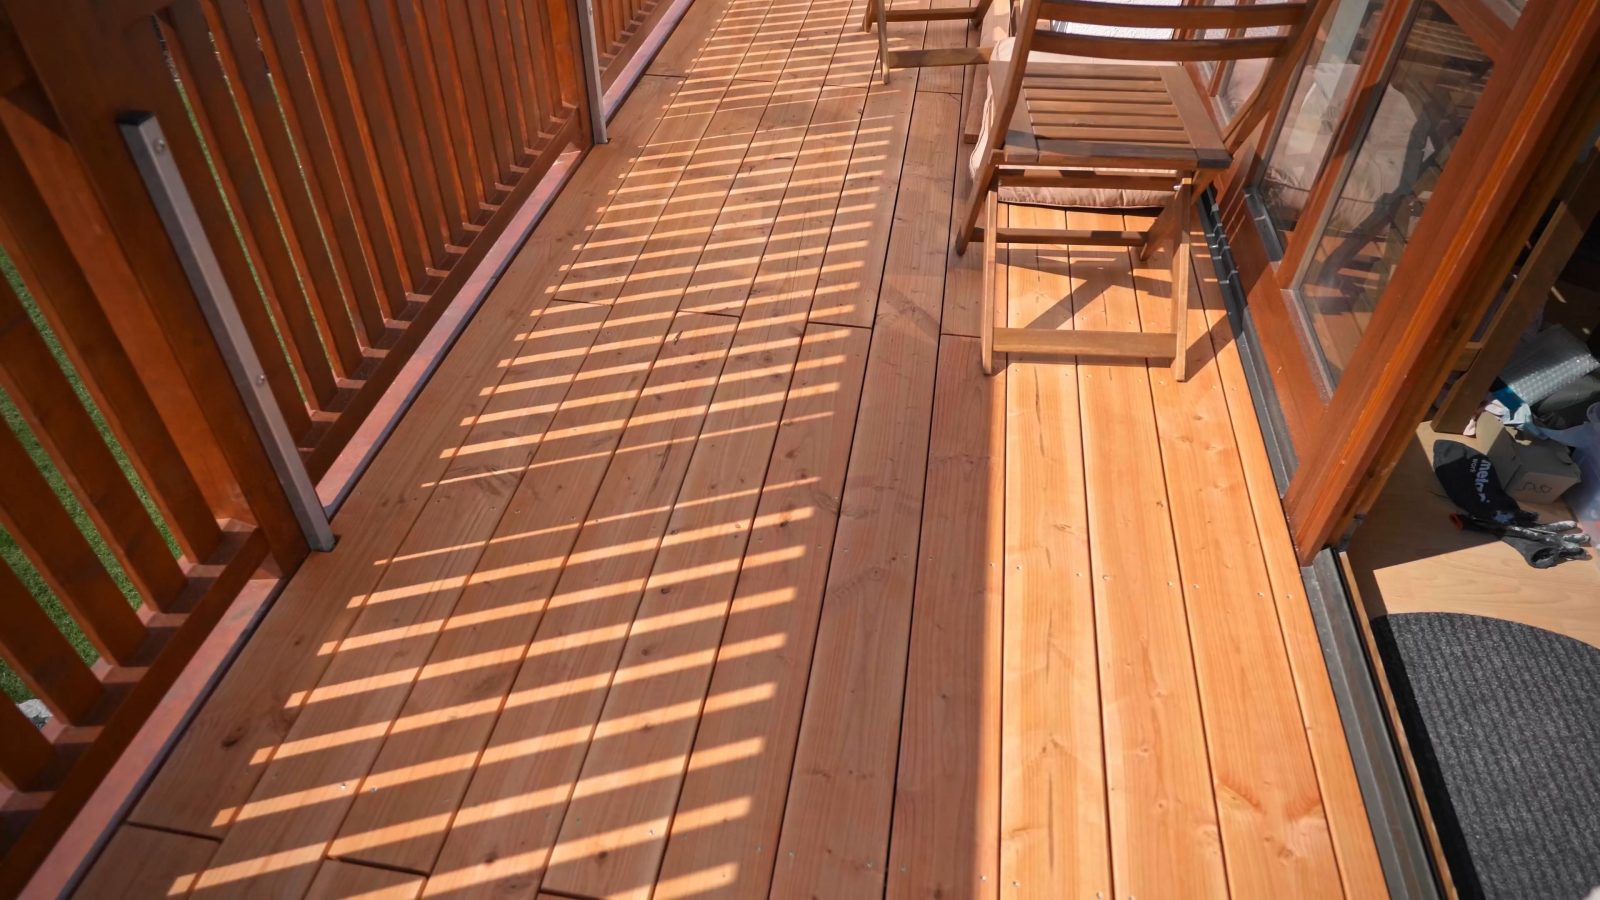
This week I was putting down some new decking on my balcony and I needed this tool for it – and while you can buy these on Amazon I didn’t want to have to wait that long, Amazon already has a banner up that deliveries might take longer than usual, and as it turns out, it’s actually way cheaper and even gets you a more functional tool if you DIY it. This cost pennies to make and only took 5 minutes of my time to design and two hours of the printer’s time to finish, and you know, with a lot of people staying home right now, this sort of stuff is awesome because you can make it exactly to your spec and without leaving your house, so let me walk you through what this does and how I made it.
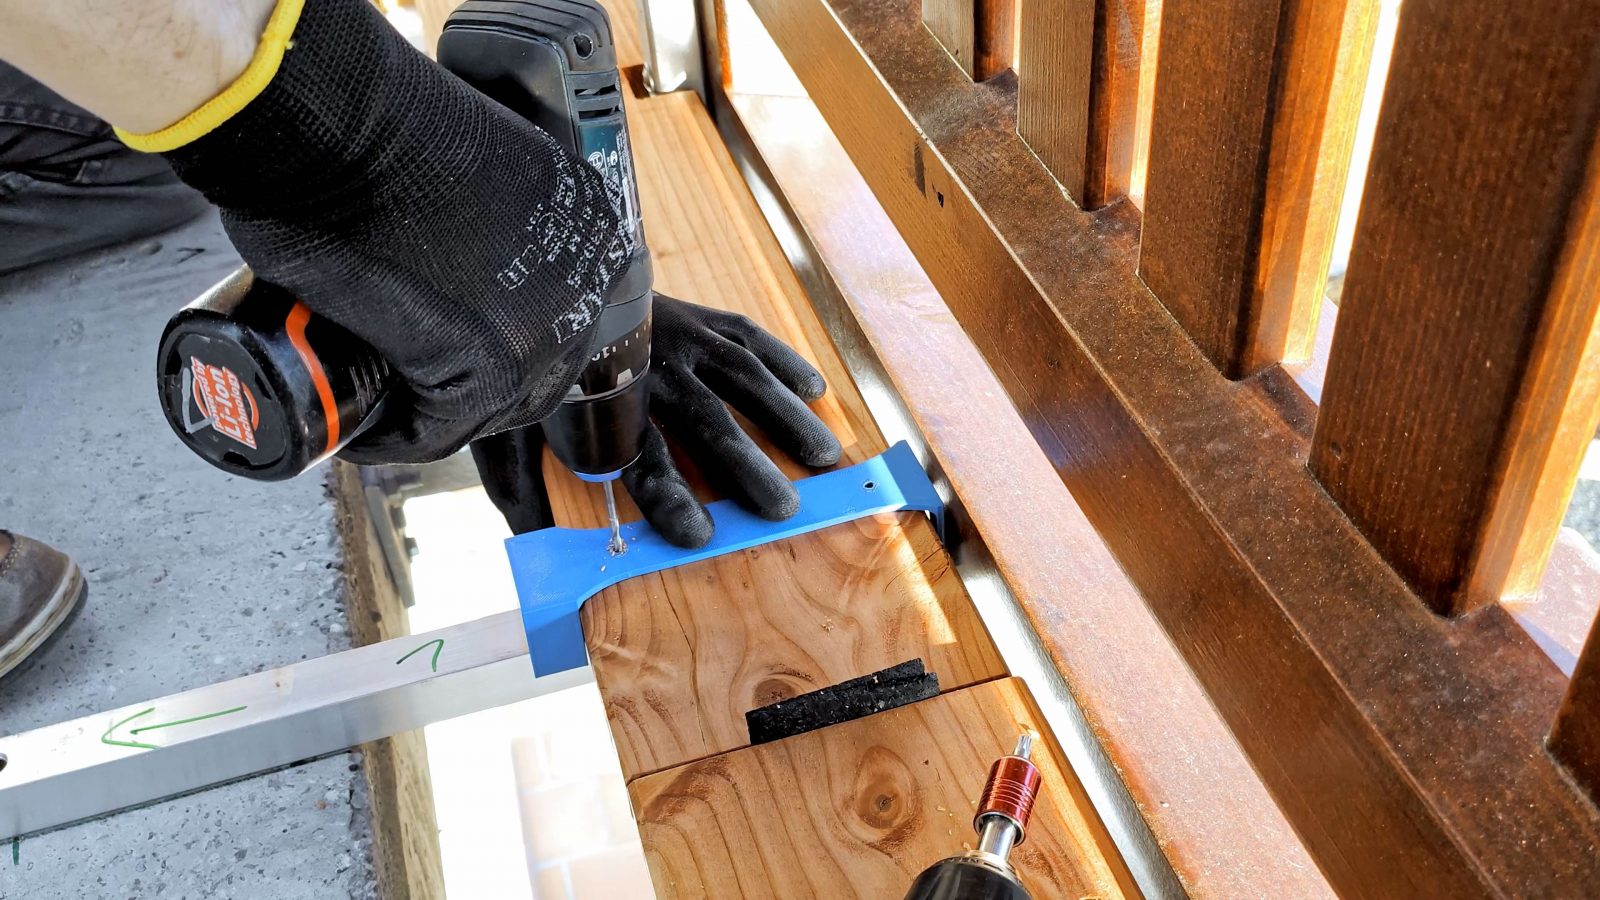
So strictly speaking, you don’t need this tool to do decking work, but the result you get is going to be way nicer if you do use it. This is for spacing out and aligning the screws that go through the boards into the substructure, and because I’m 3D printing it, I can make this perfectly sit over each board, align itself with the substructure and get perfectly spaced holes. It makes me cringe when I see decks that look like an eight-year-old put them down with his toy screwdriver.
So the design of this part is rather simple: It’s three linear extrusions in Fusion360, plus a few bevels and fillets.
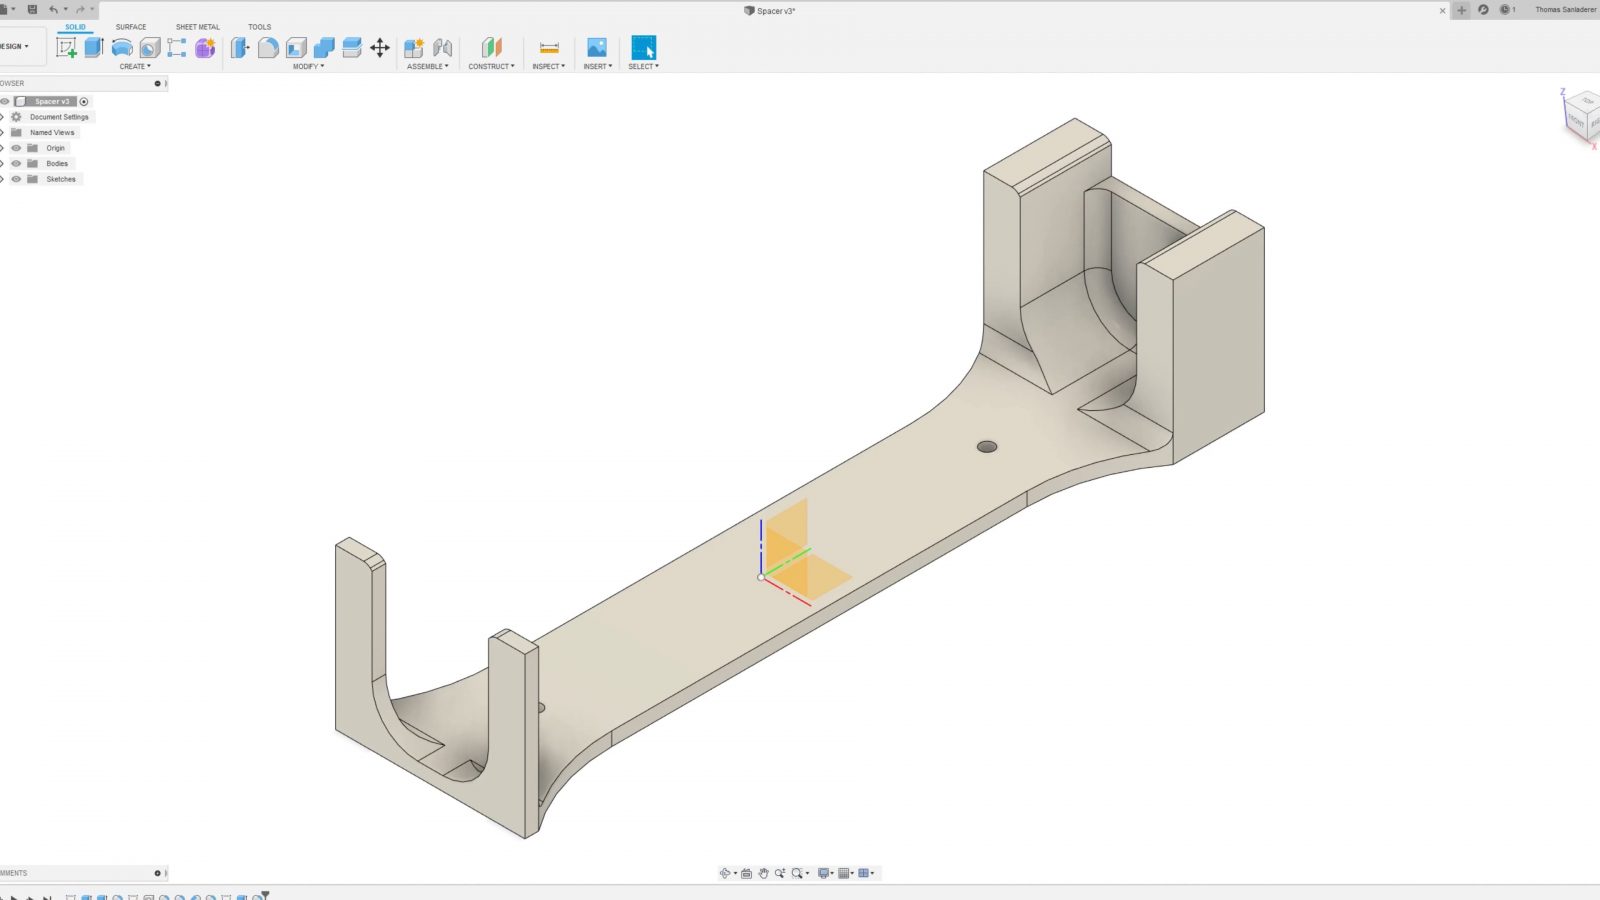
This is designed to hook over the aluminum substructure, at the side where there’s already a board in place, I need to slide through that slot in between the boards, so I made very slim fingers that will fit through that gap; on the other side, I’ve got this chunky part that should be a bit more robust and align itself more easily.
Because I’ve “only” got the Ultimaker 3 at home and all my other printers were here at the studio, I used that. I know, “only” having an Ultimaker 3 is tough, but simple stuff like this, you can print on literally any machine – and if your printer is too small, you can really easily split parts up and use for example puzzle piece connections between the parts.
And here’s a problem: I had forgotten to account for the extra height that these black spacers would add and my jig was too short. But you don’t always have to go back into CAD and fix the issue there, in my case, I could just as easily scale up the jig in the Z direction and get it to fit like that. None of the other dimensions in Z really matter all that much, so this is a totally viable solution. So while the new part printed, we went ahead and got started on the cutouts for the balcony mounts and once we were done with those and a few other little things, the new print was done and we could get started on laying down the boards.
First, we lay down the board in place, the jig goes on, we drill through the board and the aluminum substructure, I come in with a countersink, though that’s probably not needed, and lastly, drive the deck screw home, and this cut tip is perfect for cutting its own thread even into the aluminum. Now just rinse and repeat about 200 times and the decking is done!
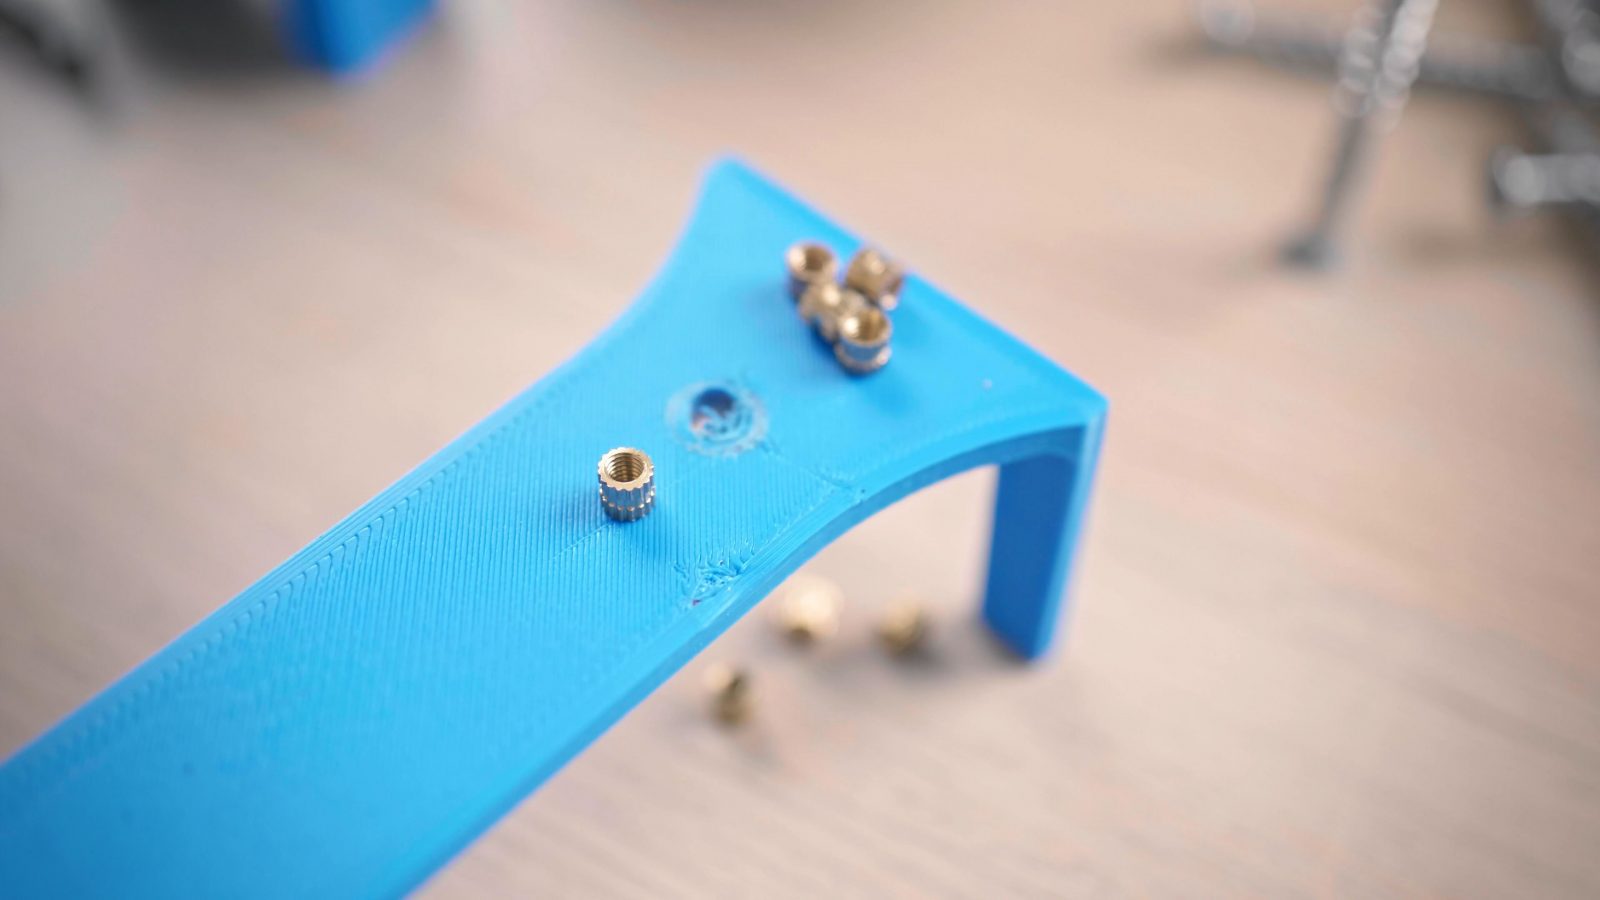
About half way through I was starting to notice that my jig holes were starting to get a bit too worn out to actually get accurate hole positions, so I simply hit print on the Ultimaker again and was right back in business with a fresh jig. Of course, if you need to lay down more than a couple of boards, it would totally make sense to use some inserts for these holes so that you’re not scraping against the bare PLA – and actually, the cheap brass threaded inserts would work perfectly for this.
I’m using a 3mm drill bit, so just slap an M3 insert in there, drill it out and you’d get a perfectly inserted metal sleeve that should easily last for hundreds of holes.
So with about three afternoons spent on the decking, it’s all done, the screw holes all line up very nicely and I think this entire balcony turned out really well. There are still a few things left to clean up, like adding a baseboard, not sure what exactly I’ll do for that. If you’re interested, this deck is 26mm thick douglas fir, it’s sitting on 25mm square, and 3mm thick aluminum tubing, which is much cheaper and adds less height on top of the concrete than the proprietary profiles you can buy, I’m using these generic spacers between the aluminum and the wood, and it’s all held down with 5×50 stainless deck screws with this T-Drill or cut tip. This has all worked out perfectly, would recommend, and of course you can find some links for these parts in the video description for what it’s worth.
But most importantly, take care of yourselves these day, finishing projects like these is one of the ways I find to be really effective for staying sane. Take care of your parents, grandparents, and I don’t mean snuggle with them, but supply drop them with groceries and stuff, wash your hands, keep on making, and I will see you all in the next one.
with DAS FILAMENT PLA
Countersink with depth stop on Amazon
💙 Enjoying the videos? Support my work on Patreon!
Product links are affiliate links – I may earn a commission on qualifying purchases (at no extra cost to you)

Check out my second channel “More Layers” on YouTube for livestreams

