
Prusa are in on the high-detail resin printing game – but the first resin printer is a bit of an oddball for them, launching as a premium machine into a market that’s already dominated by simple import machines like the Elegoo Mars or the Longer 3D or Anycubic machines. So do Prusa manage to add enough value to their SL1 to warrant a 6x price premium? In any case, I wouldn’t want to use a resin printing system without a cleaning / curing station like the CW1 again, the real winner of this review!
This is the Prusa SL1 – it’s the resin printer from Prusa, and as such it comes with quite some expectations, at least for me. But it’s Prusa’s first resin printer and it wasn’t even fully developed by the Prusa team itself. So let’s check out whether they’ve still managed to build the MSLA equivalent of the ever-popular MK3 and how much the curing and cleaning station, the CW1 makes the resin printing process a bit more bearable.
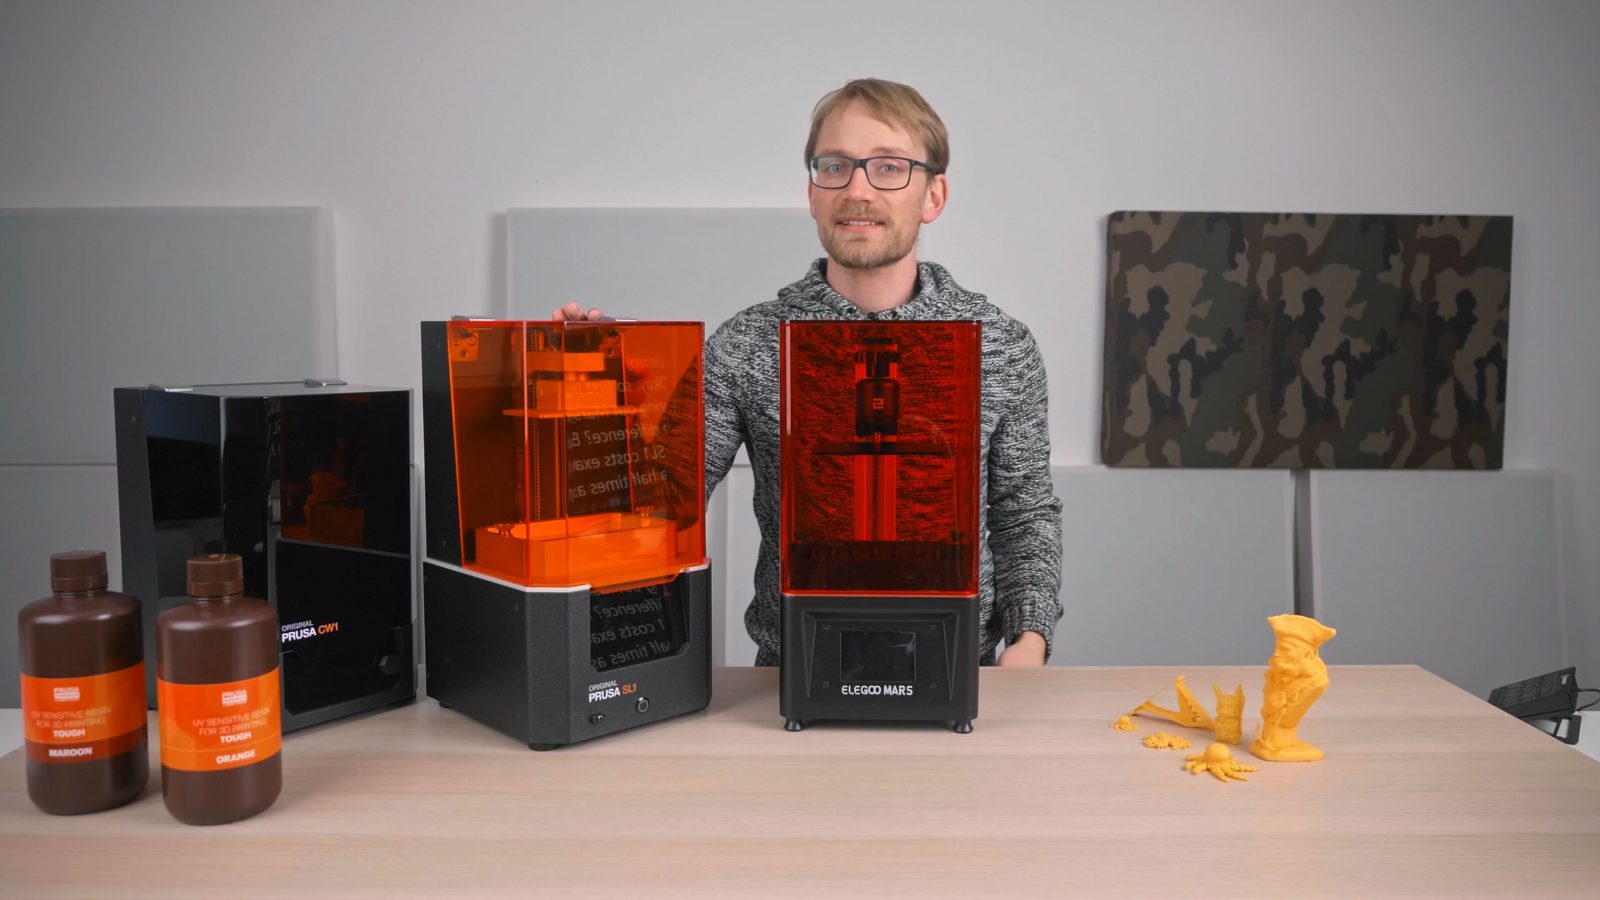
Okay, so first impression: What’s the difference? Because the SL1 costs exactly six and a half times as much as one of these – and the Mars already is a very usable printer. Right, so let’s start with the hardware and specs. Size-wise, the SL1 has the same build area as almost all the other compact, LCD-based SLA, aka MSLA printers.
It’s a 5.5”, 1440p screen that gives you a nominally 120 by 68mm build area and the Z-axis goes up to 150mm. That’s small and limiting, but it does fit the majority of parts that I’m looking to print on an SLA machine. Then again, it’s only when you have the options that your brain starts thinking about ways to utilize them. But the first, and mechanically one of the best features of the SL1 is right there in the LCD assembly:
It tilts, and that apparently helps with getting the cured layers to separate from the FEP film at the bottom of the resin vat. Resin printers are not quite as easy to watch as filament printers, you know, with an FDM machine you can just look and observe what’s happening as the filament is being laid down, with resin, the actual printing happens at the bottom of the resin vat, under all the liquid resin and under the build platform, so the only immediate feedback you get is listening to how the layer changes and that peeling noise sound. You can’t totally watch what’s going on, but we can still look at the results.

And while I was seeing these random lines in the prints from the Mars, the prints from the SL1 are super consistent without any of those lines visible. So even though the tilting mechanism needs to be a super-high-precision part so that that position it returns to always ends up at the exact same height, apparently, it does manage to do that and works, really, really well.
The rest of the SL1’s hardware is very well-made, too, everything’s solid, but… being a Prusa machine, and of course Prusa are known for building their filament printers in the RepRap-style with ton of 3D printed parts, where are all the printed parts in the SL1? There’s like, two or three, which are actually not printed on the SL1, but instead on their MK3S print farm.
There’s the screen bezel, the knob that holds the print platform and if I remember correctly, a small bracket or something inside the machine. To me, that means one or all of a few things:
- Because it’s more effort to change a traditionally machined part, these parts have probably seen fewer revisions than what’s on something like the MK3
- The SL1 itself isn’t being torture tested at Prusa as much as their MK3 and MK3S fleet at Prusa that racks up literally millions of printing hours every year
- The resin parts that come off the SL1 either aren’t durable, precise or economical enough to be used in shipped production machines
The thing is, though, the SL1 wasn’t exactly developed by Prusa themselve, they actually acquired a separate company that had already developed an SLA printer – which then, of course with a few adaptions, became the SL1. So it’s a bit of a different team that did the main work on the SL1 vs. the i3 printers, and it shows.
I built the kit version of the SL1, simply because I enjoy being able to see every bit of the printer and how it goes together.
There are a lot of machined and custom parts in here, it’s definitely well-built, but I would not recommend going for the kit – it is quite a tight machine to work on and honestly, if you’re going for a “premium” resin printer like the SL1, you probably don’t want to spend the time and effort to build it, and then in case you mess up, that’s on you.
The SL1 is still fully open source, though, and while I don’t think we’ll see carbon-copied SL1 machines any time soon, it’s still valuable to have all the effort that went into hardware, electronics and firmware available to learn from for everyone. Though it would still be nice to see if someone just went ahead and SLA printed all the precision parts and built an SL1 clone from that.
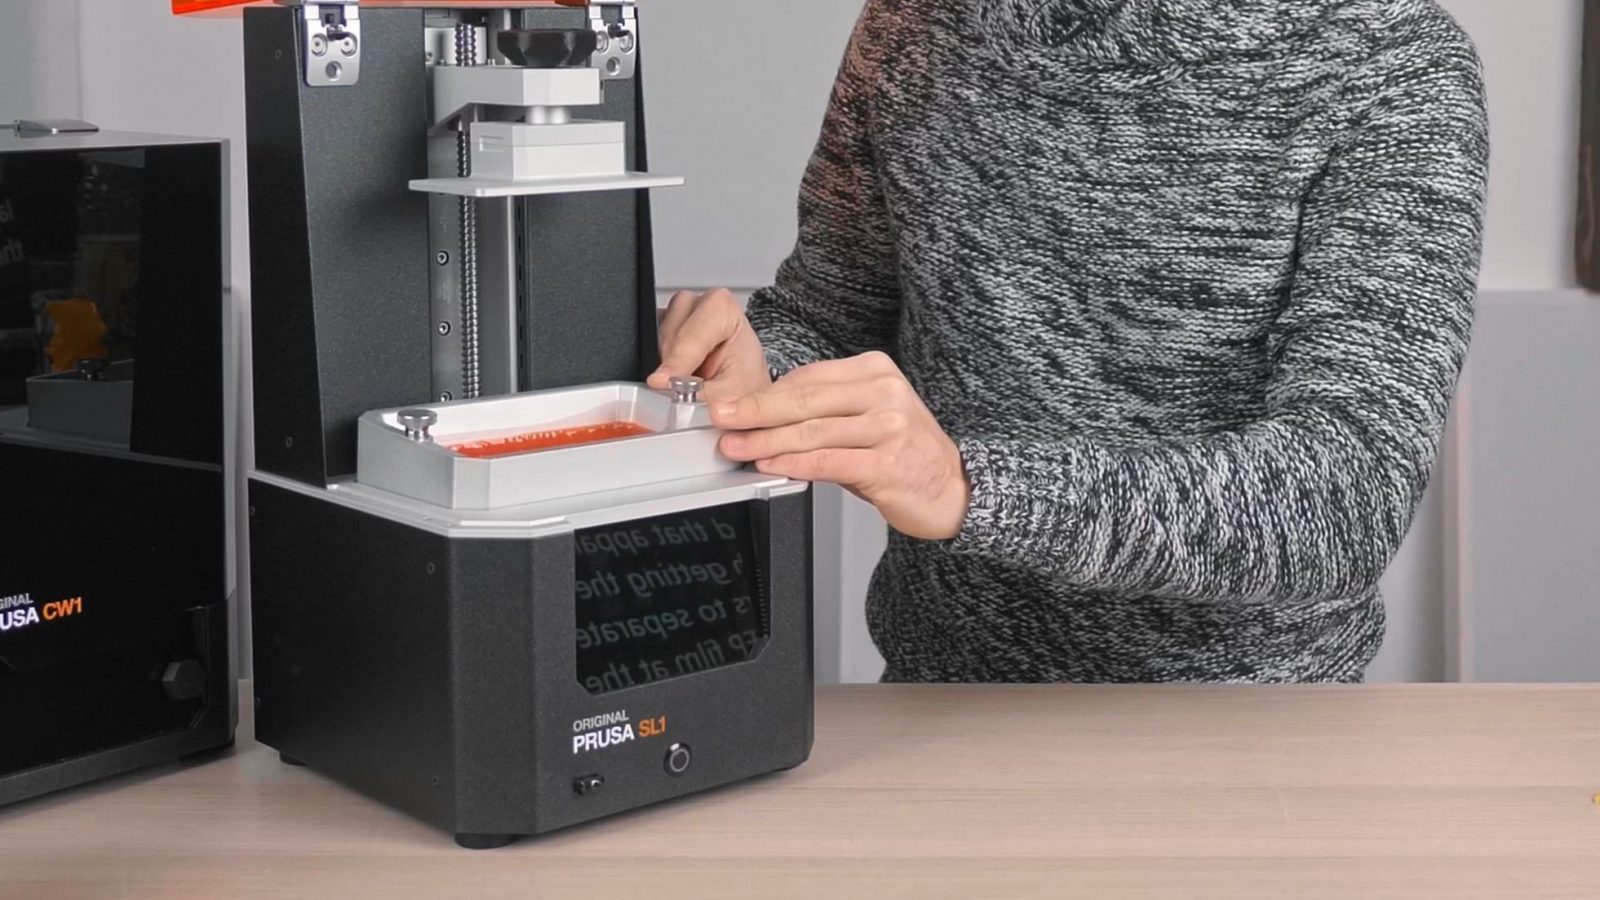
Okay, a few more things that the SL1 does: It has a resin sensor that detect how much resin you’ve got in the vat, the way I understand it is that it actually uses the print bed as one side of a capacitor and as it moves it down towards the resin, it measures how much capacitance it has versus the entire vat and tilt mechanism assembly. Either way, it works and it’s one of those Prusa “smart” features we know from the MK3.
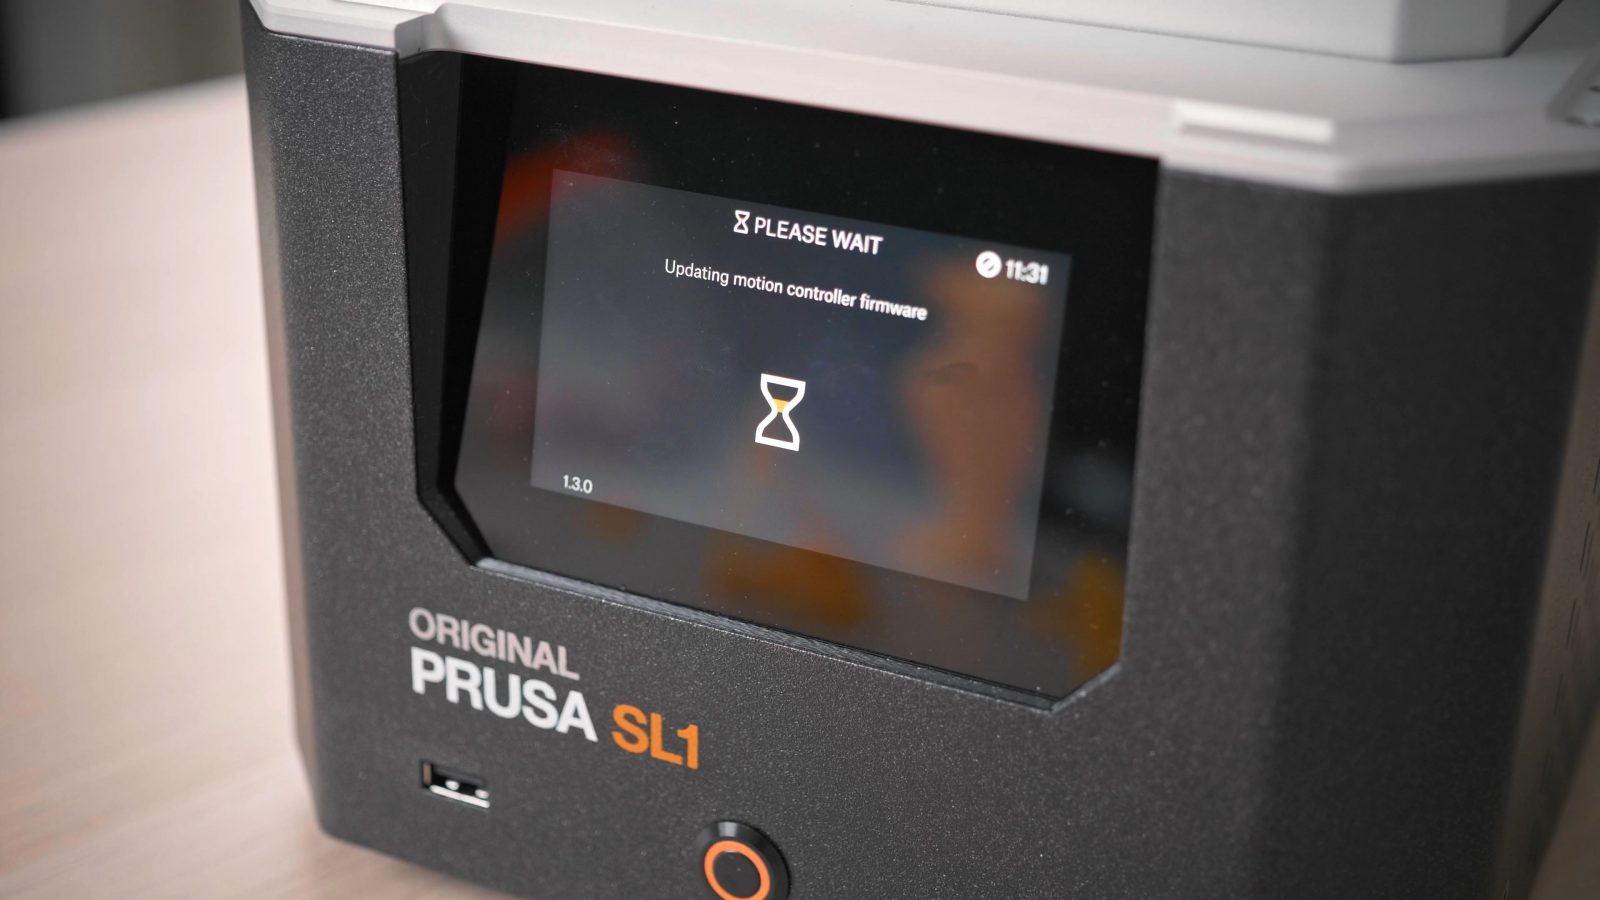
It’s also got WiFi built in, which gives you a web interface for monitoring, integrates into Prusa Slicer for file uploads and is used for firmware updates. Overall, it’s nice to have, but since the upload from Prusa Slicer to the SL1 right now is horribly slow and you still need to start the prints at the machine itself, I actually ended up just not using it. I’d take my USB thumb drive and just walk over to the printer because, well, I need to do that anyway.
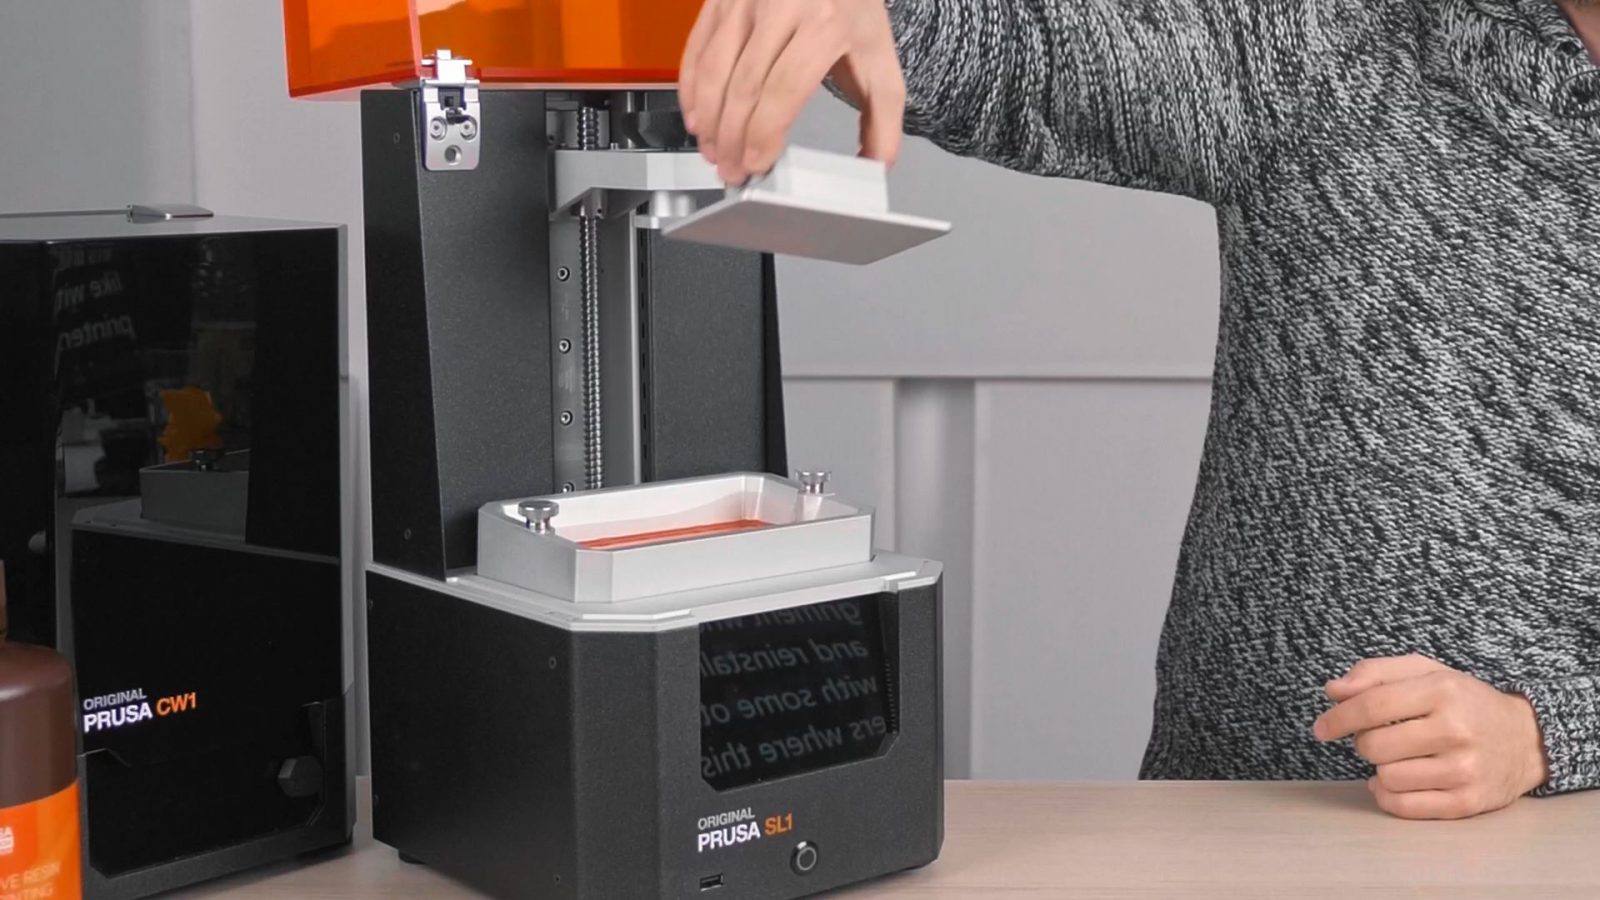
The way the print bed mounts to the Z-axis is also really well done, it clamps well and there’s no risk of changing the alignment when you take off and reinstall the bed, like with some other printers where this ball head is just super loose.
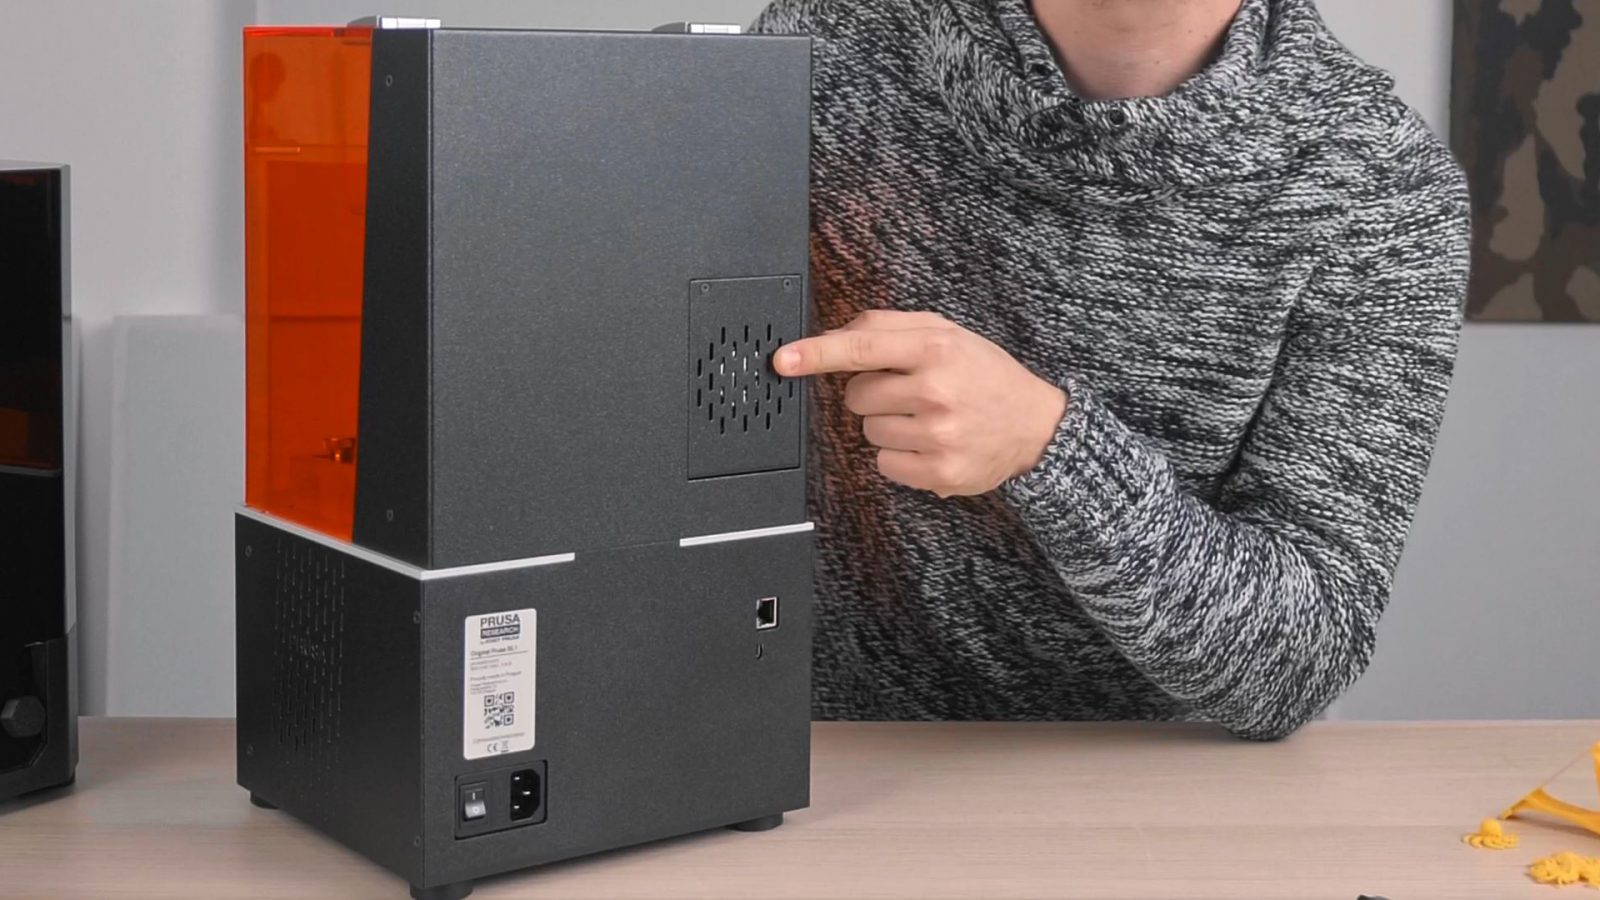
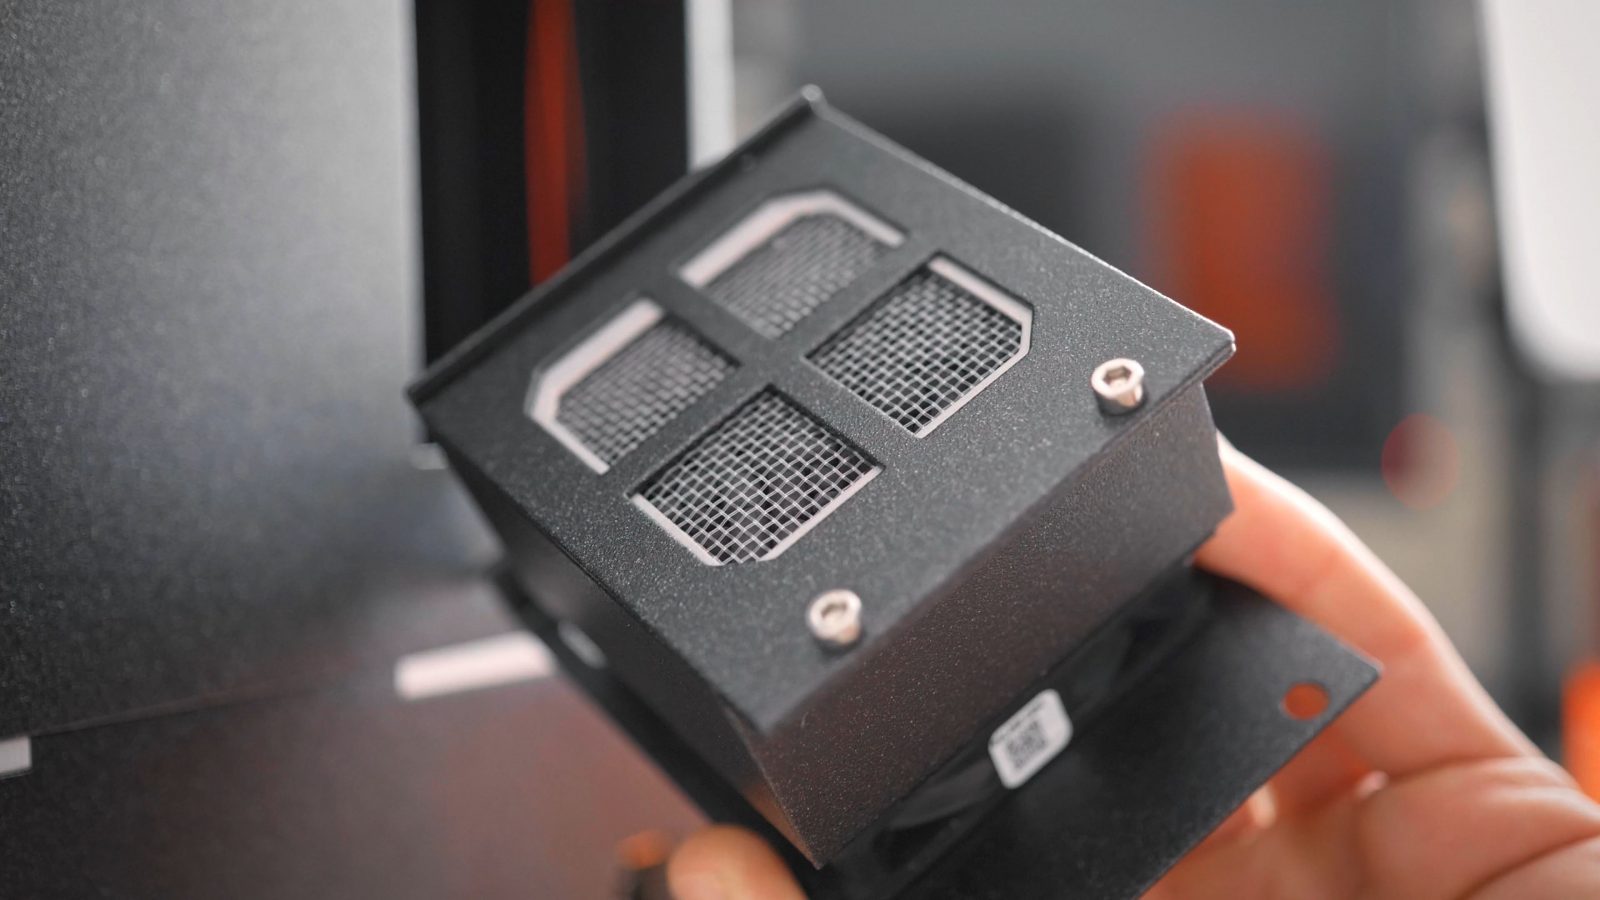
Also, the SL1 comes with an activated carbon filter built in, that is supposed to reduce that resin smell you get, especially when fans are running inside the machine. It doesn’t do as much as I had hoped it would, I know when I’m wearing my respirator with organic vapor cartridges that completely cuts out any resin smell, but just relying on the filter in the SL1, the room still ends up smelling like resin, not as much as with other machines, but it does accumulate and I still wouldn’t recommend using the SL1 in a completely closed-off room.
Now, a few things are just a given with the Prusa machines at this point.

Print quality is fantastic, in no small part because of Prusa Slicer and the fact that you get profiles for the SL1 and a bunch of resins that are all set up and tested already. That works fantastically.
And also, reliability and kind of the proofing against user error should be on point, and it is. There’s double- and triple checks built in for a lot of things that you, as a user could mess up, and that’s great.
Now, when it comes to usability, it’s got its ups and downs. The CW1, for me, actually makes a massive difference in how much I enjoy resin printing in general. Yes, it can still be messy and all, but with the CW1, I find the post-processing steps are a lot more predictable and get you more repeatable results.
So, using the CW1. You start out with the container of IPA in the machine, and on the lid, there’s this clip for the printbed, and then you dunk the entire thing into the IPA and turn on the stirrer.
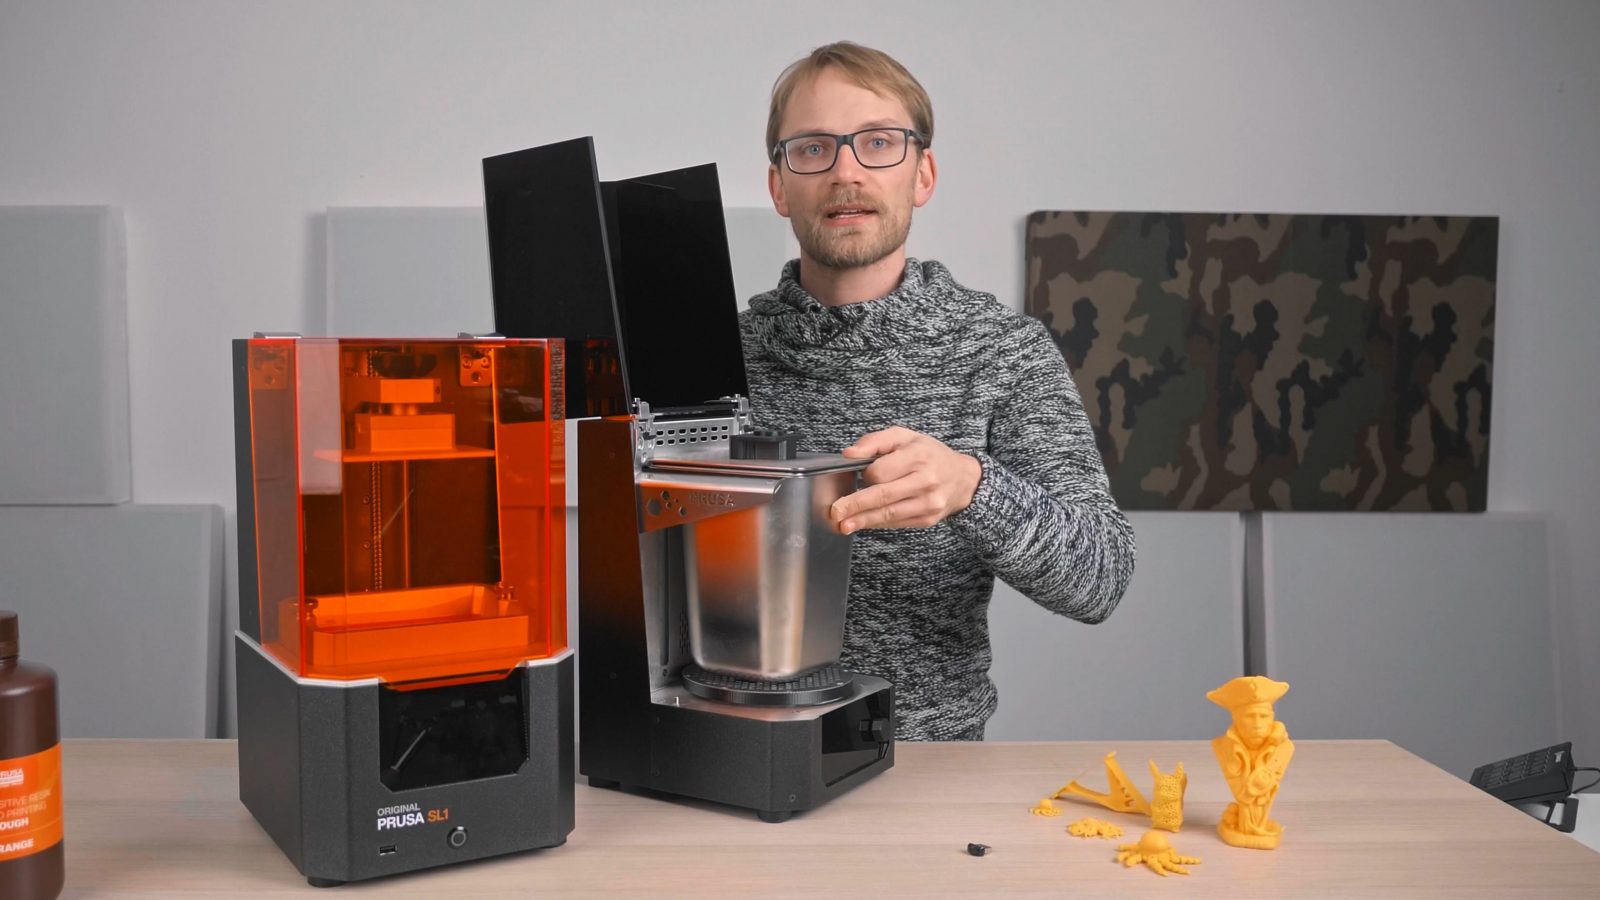
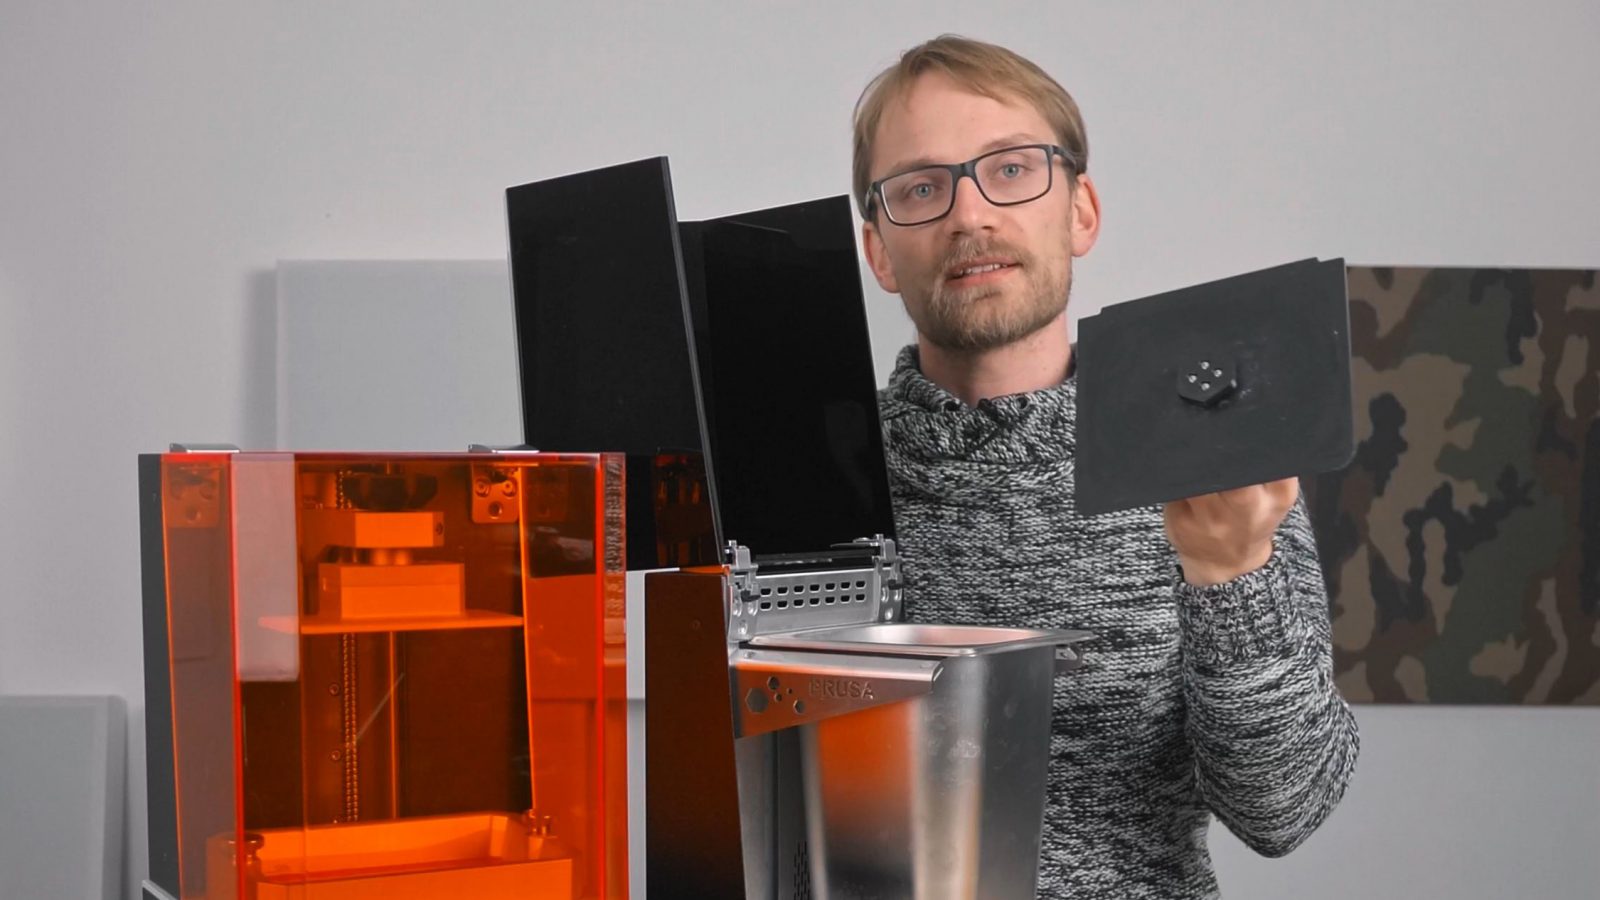
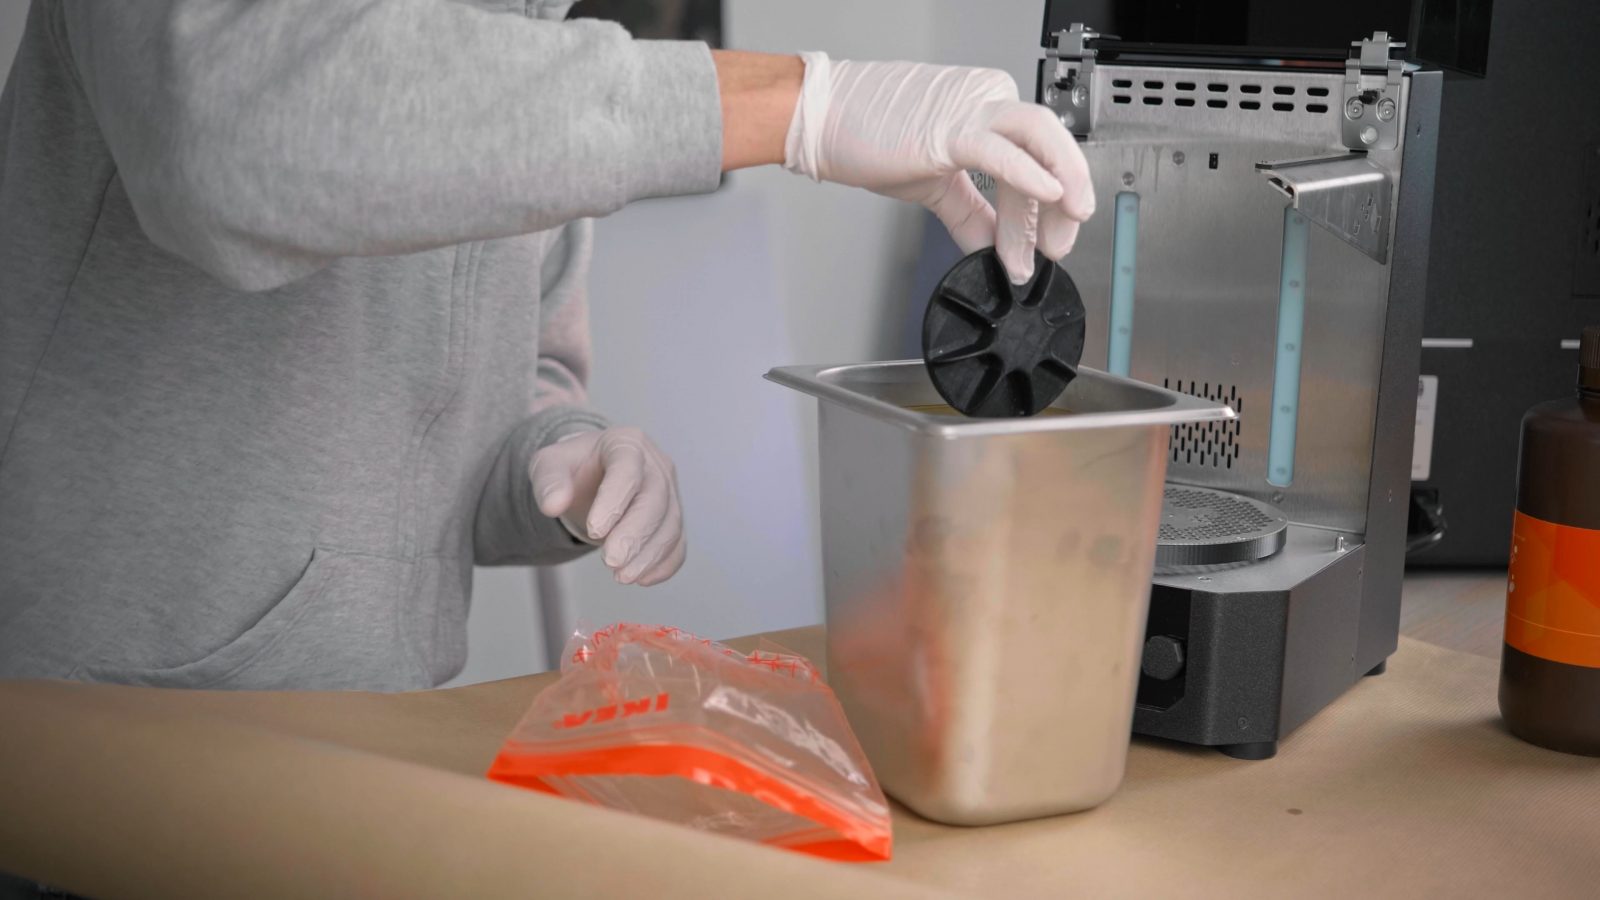
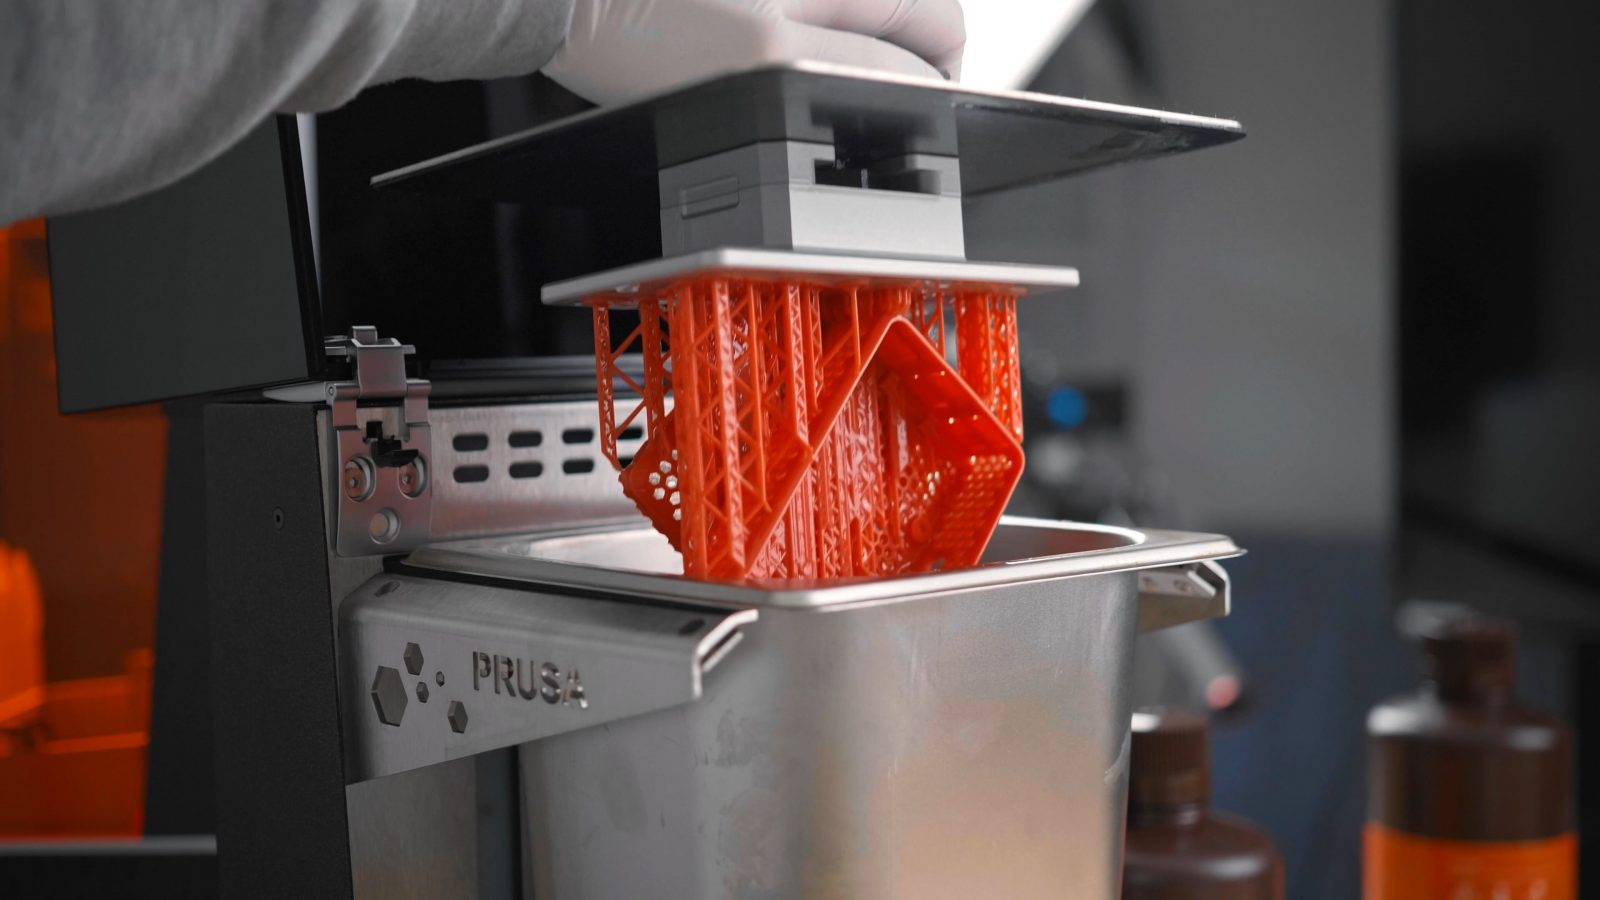
There’s a 3D printed impeller in the IPA container with an embedded magnet that swirls around the IPA and washes the print and the bed. Cleaning results are pretty much always perfect. Then you take out the IPA container from the CW1, try not spill any, and either remove the washed print from the bed, or, if there’s no stray resin that’s going to cure onto the bed, I often also liked to just shove the entire bed with the print still attached into the CW1 for curing. The print is easier to remove when it’s not cured yet, because you can sort of peel it off, but you also run the risk of deforming it if you’re not careful with it. The CW1 then doesn’t just cure and expose the part with UV light, it also has a not-very-powerful, but effective heater built in that can evaporate the remaining IPA off your parts. I would highly recommend using that drying feature and maybe even dry a bit longer than you think you need, because any stray IPA will leave nasty marks on the part.
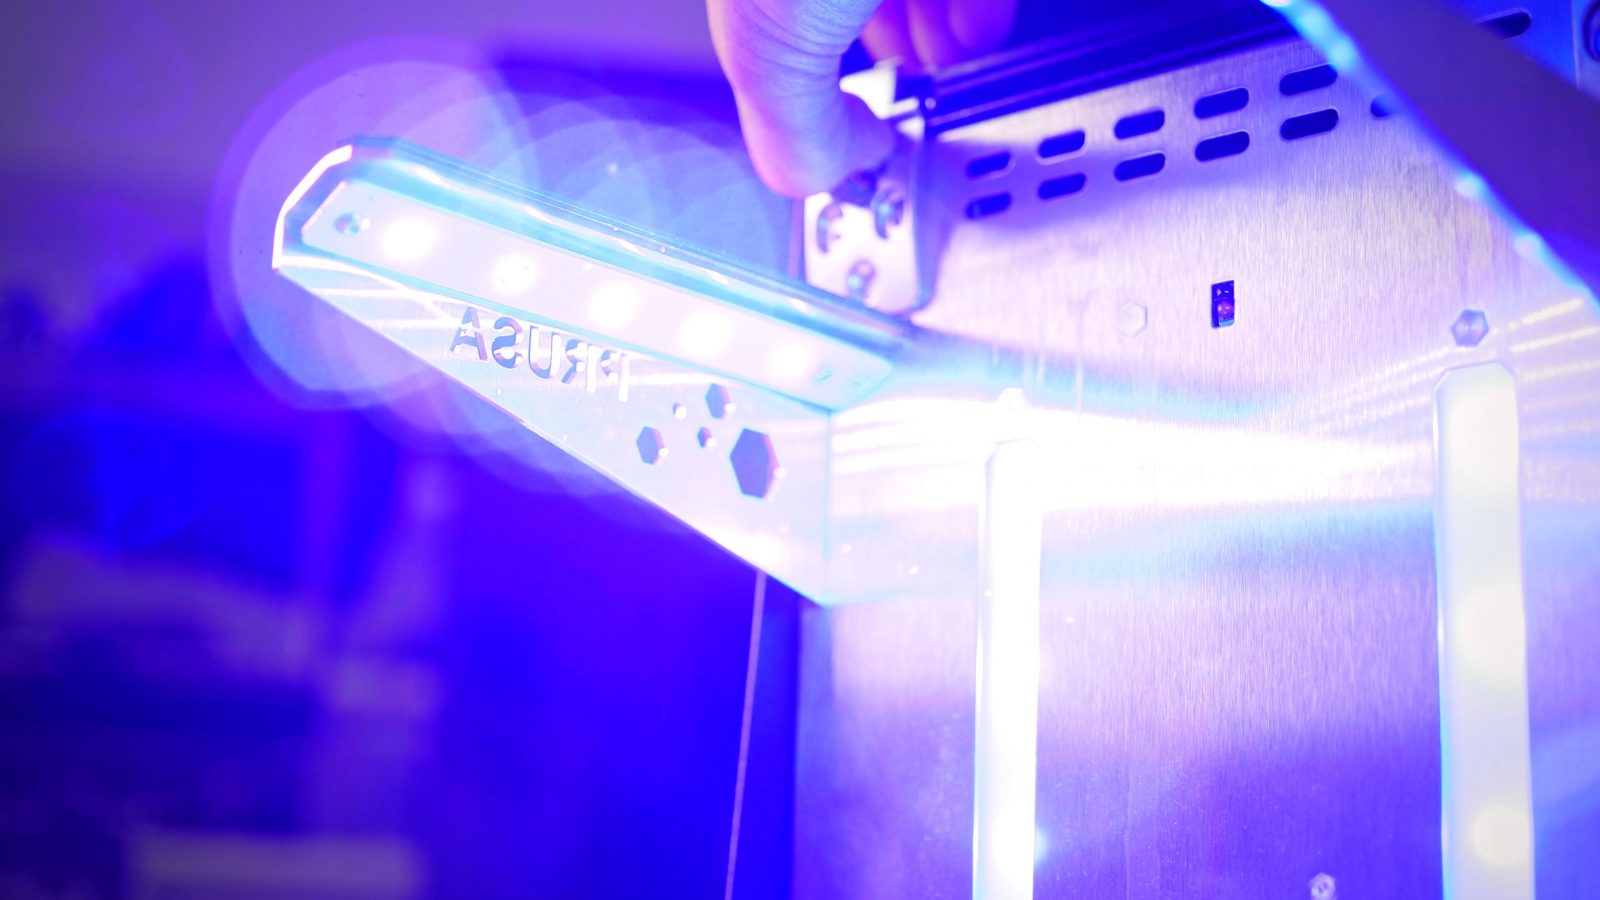
But after drying, basically after a set amount of time at the drying temperature, the CW1 will switch over to the UV LEDs, which are nice and evenly spaced all around, the part rotates the entire time and there are even LEDs in the baseplate to cure from below, but that does tend to leave an imprint of this hex pattern on your part. In any case, the parts were always well cured once the cycle had finished.
To be honest, I was more excited about the CW1 than about SL1 itself. Even the cheaper resin printers are decent at this point, at the very least they print with more detail than filament printers, but without something like the CW1 or a custom-built post processing setup, it’s a huge pain and mess to get your parts out. The CW1 does make the process a lot easier, but in itself, it’s not perfect either.
It’s nice that they tried to have a single machine do both cleaning and curing, but having to move that tank, that’s basically filled to the brim with IPA, in and out of the CW1 for every cleaning cycle, I don’t know, I’m just not comfortable handling half a gallon of resin-infused, flammable liquid every time especially when it catches on the mounting rails sometimes. I’d prefer the cleaning station just to be its own separate unit, you know, essentially, a magnetic stirrer that has an IPA tank solidly mounted up top. A stirrer like that is basically a $20 ebay item. Links below.
For drying and curing, it’s perfect, though. I’m not sure if it’s worth the 700€ Prusa charges when you buy a CW1 without also getting the SL1, but they’re cheaper as a bundle.
Now, a few more things you should know about the SL1, in no particular order.
First, the LCD screen is warranted for 500 hours of use. That’s about 50 to 100 prints, if it fails after that, you’ll need to buy a new one for $75. The replacement is relatively easy to do yourself, but for comparison, replacement screens for for example the Mars are only 20 bucks if you buy them directly from China. I don’t know how long they actually last, I’m hoping the fact that the SL1 actually has a fan for actively cooling the screen from below might help with longevity, but still, in the worst case, if it ends up failing after 501 hours, it means you’re paying about an extra buck per print in replacement screens.

Then, the resin vat. I’ve honestly really started to like the fact that I had more than just a single vat for the Mars. That makes it incredibly easy to switch between resins, because you don’t have to meticulously clean out the vat every time you swap. Elegoo have that 4-pack of vats for 40 bucks, which, yes, currently isn’t really available to buy anywhere and users are reporting that those plastic vats have flaws that will ruin your print experience, but it’s 10 buck per extra vat. If you want an extra vat to more easily swap resins for SL1, that’s going to be 77€ for a single one. You can get them, they’re just expensive.
Next, print speed, this is kind of a universal truth for MSLA machines, the fuller you load up your print bed, the “faster” your parts are going to print, because it’s a fixed time per layer, no matter how much material is being cured on each layer.
And also, you don’t get that sudden change in your prints’ finish at the exact height another part ends. The profiles for Prusa resin are tuned for fast print speeds, faster than you’d go on other machines and resins out of the box, and “normal” print settings on the SL1 have always ended up taking less or about equal time compared to filament printers, while delivering much better detail.
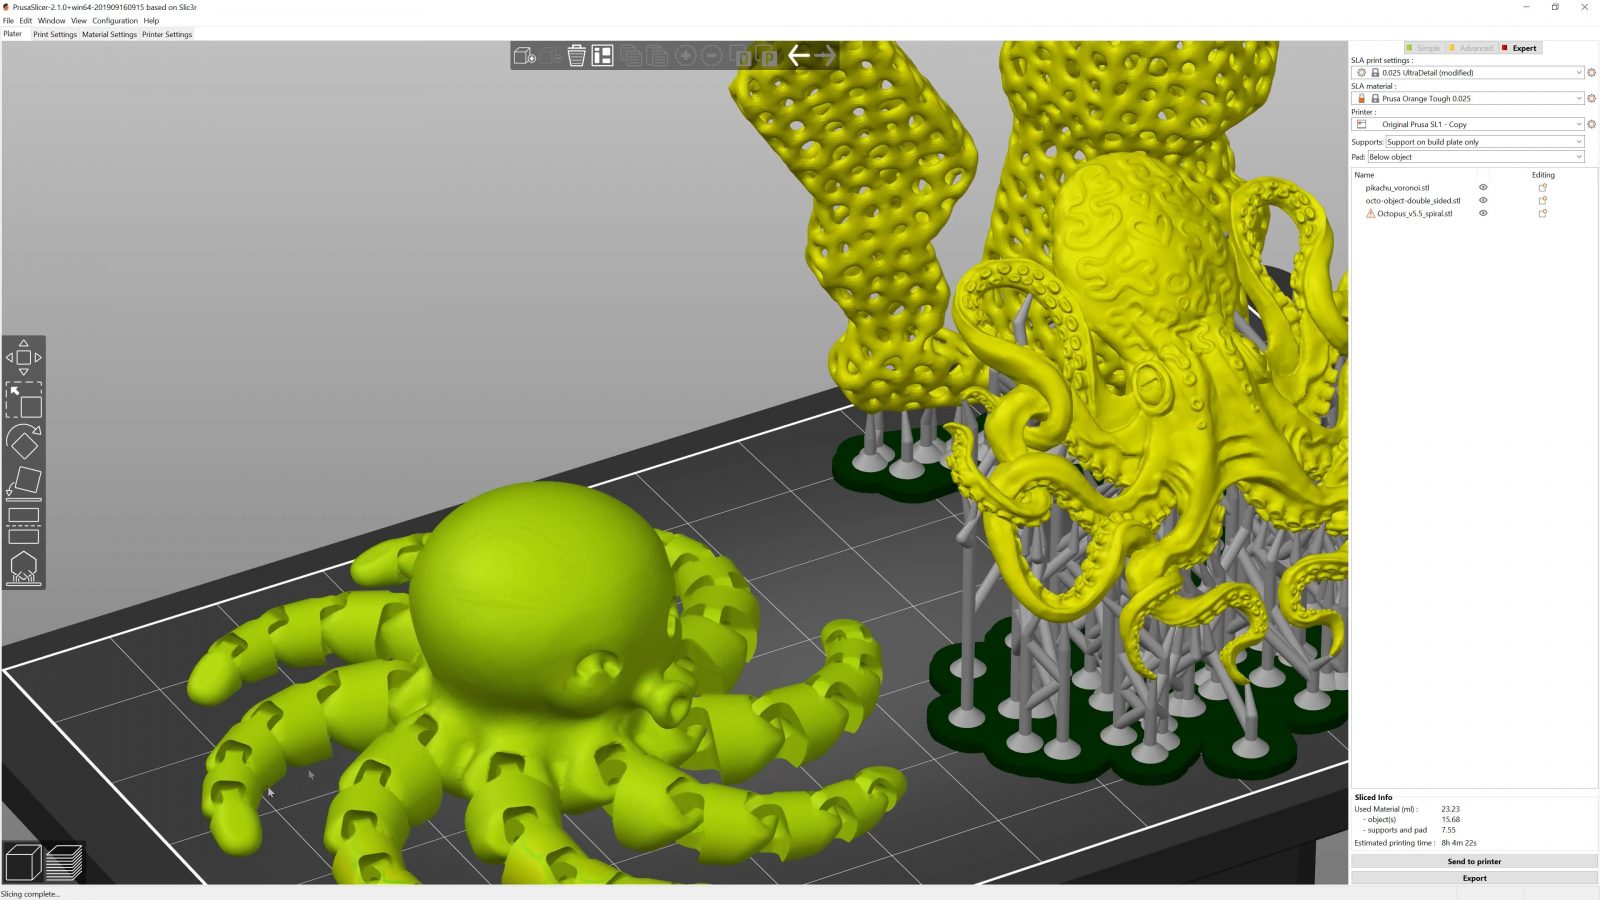
Next, Prusa Slicer for preparing your prints – it’s good, it’s very usable, the profiles you get are well tuned, but it’s still not quite perfect. I’ve found the automatic support placement to be a bit too sparse – I would have liked more, but finer support material to actually get reliable prints. You can go in and manually place and remove support contact points, but that’s quite tedious to do for every print. Prusa Slicer by default also lifts your model, so that it’s not directly contacting the bed anywhere, but instead suspended in support, and coming from using Prusa Slicer for their filament printers.
Also, one core feature that’s missing from Prusa Slicer is hollowing out parts, and I think that one is essential for SLA.
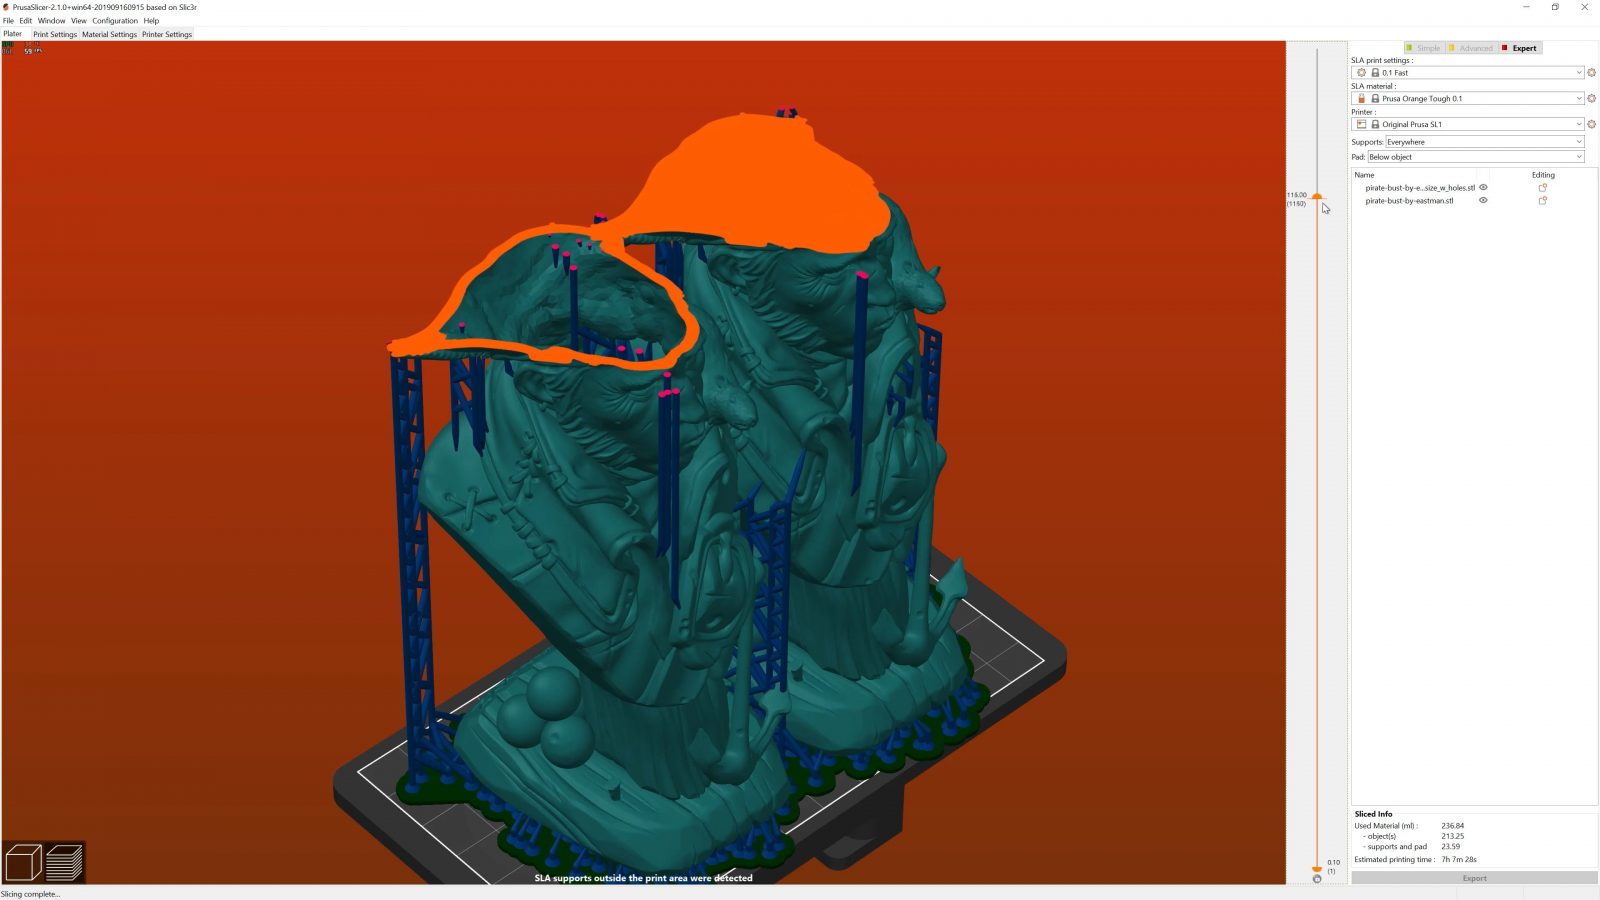
Something like this, you’d be absolutely mad to print as one big chunk, it’s a huge waste of resin and may even end up significantly warping. I actually had to manually take this model through MeshMixer, hollow it out and add the holes for drainage. That does work, it’s just tedious.
But stuff like this is hard to factor into a review because software can be updated, and in the case of Prusa, there is a track record of software being updated over time. Even the MK2 has not only profited from improvements to what used to be Slic3r Prusa Edition, and now Prusa Slicer, but it has also received firmware updates, even recently, that added new features and improvements. And I know that for example hollowing out parts is already being worked on in Prusa Slicer and probably will be out in a few months for everyone. But of course, It still sucks that the SL1 user experience still feels a bit incomplete right now.
So for my conclusion, let’s start with the stuff that is not going to change. First, the mechanics in the SL1 are absolutely solid, print quality is fantastic, reliability is great and in combination with the CW1, it’s a good resin print experience. The CW1 or some other cleaning and curing station thing, is a very necessary part of SLA printing, and the CW1 does a good job when it comes to the results, but it could be better for usability. Pricing for both the SL1 and CW1 is something that may change, but I without a new, cost-down hardware revision, I don’t think we’re ever going to see much of a discount, which makes the SL1 somewhat pricey for what it is, even factoring in the fact that it has that tilting mechanism and overall is nicely built. The CW1 also feels quite expensive if you buy it on its own, but if you’re already getting an SL1, it just makes a lot of sense to also get the CW1 at the bundle price. It’s just not the same without one.
For the things that are hopefully going to get changed and improved: A lot the details about the SL1’s software are just not quite at that level yet that I’ve come to expect from Prusa, especially given the premium price point Prusa proposes per printer.
Perhaps, at the time that you’re watching this video, just check the changelog of all the things that have been updated with the new software and firmware releases.
So that’s my take on the SL1 and CW1, personally, I do enjoy using it as-is already, and as always, links are in the description below, those are affiliate links, if you buy a machine or parts through those, that helps me run this channel. As always, shoutout to my Patrons and YouTube members, the continued support from you guys is the reason I can do this in the first place, so again, thank you all, and for everyone else, still thank you for watching. I guess I should point out that a lot you still aren’t subscribed, subscribing is free, as is adjusting your notification setting.
That’s it for this one, hope you all have a great day, and I’ll see you in the next one.
Prints shown:
Voronoi Pokemon Vol. 2 by Augustin Flowalistik
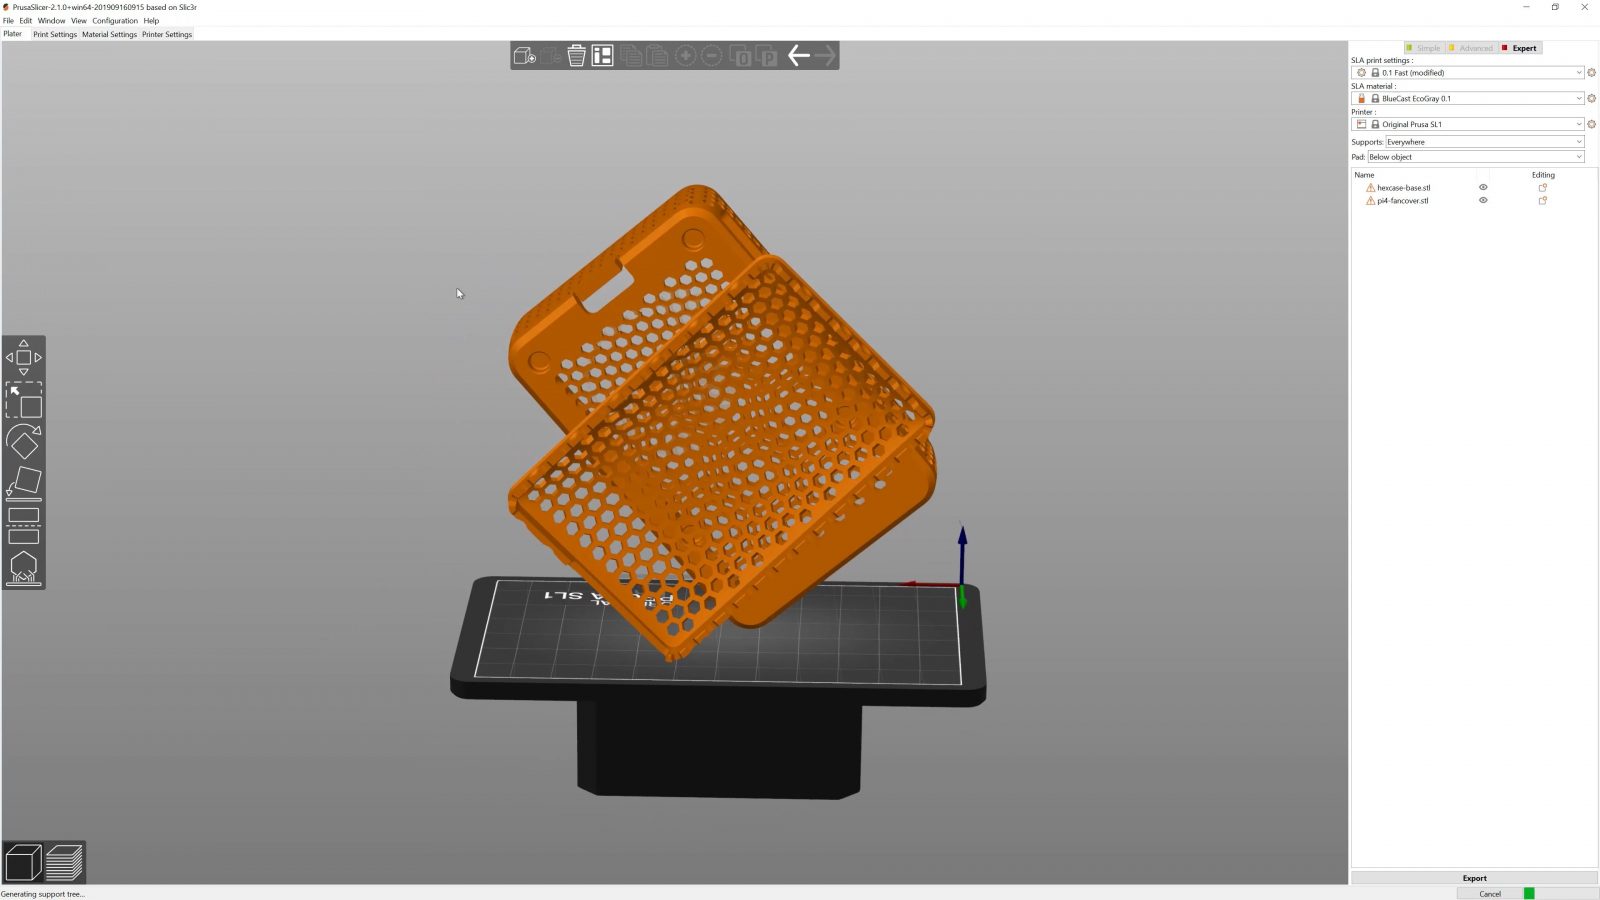
Pi4B Hex Case and FanCover for Noctua 40x10mm by Carter Multz
Parts mentioned
💙 Enjoying the videos? Support my work on Patreon!
Product links are affiliate links – I may earn a commission on qualifying purchases (at no extra cost to you)

Check out my second channel “More Layers” on YouTube for livestreams