Today we’re going to review the Elegoo Neptune 2. I didn’t even know that Elegoo had made a Neptune 1, I just knew them for their resin printers, but somehow, with the Neptune 2, they managed to make a competitor to the ever-present Ender-3 series and especially the Ender-3 v2 that is actually better in a lot of ways. But there is a tiny problem: Elegoo aren’t letting you buy the Neptune 2, which is puzzling, to say the least. This video does have a sponsor, though, and that’s Extrudr and their new matte XPETG. I’ll be using the XPETG and Extrudr’s PLAs throughout this review.
But first, a bit of disclosure: Elegoo sent me this printer free of charge to try out, I do not have to send it back and they did not pay for this review or have any say in it. I have had Elegoo as a sponsor on the channel in the past, and that’s because I think they make worthwhile printers overall.
This video does have a sponsor, though, and that’s Extrudr and their new matte XPETG. I’ll be using the XPETG and Extrudr’s PLAs throughout this review.
What is the Neptune 2?
Well, it’s an Ender-3, basically. Because the Ender-3 is an open-source design, it has become pretty much the standard printer base design by now. And while that recipe works, it has become somewhat rigid and does leave quite a few details on the table that other manufacturers are starting to pick up. There is definitely room for improvement.
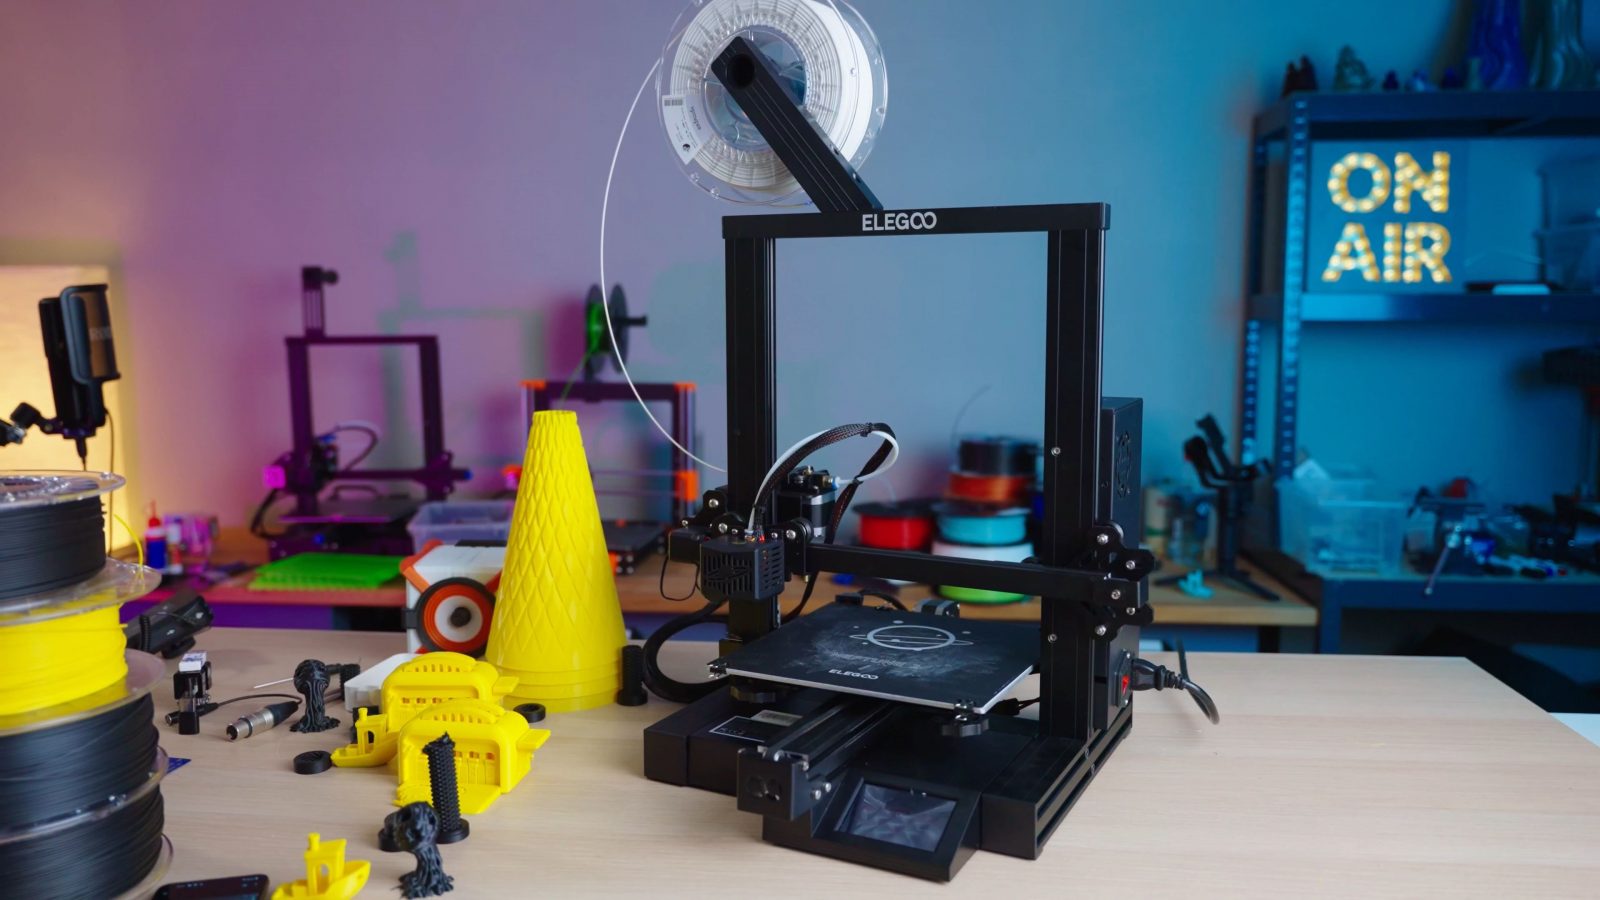
It’s still got the standard 220x220x250mm build volume, the toolhead, hotend, extruder, they’re all practically identical to the Ender-3, but where it really starts to differentiate itself is in the details like not using a glass bed, trying a different and actually alternative firmware and providing a slightly better slicer experience that all means that you can use the Neptune 2 with no mods, no software tuning, for the most part, and get super impressive print results right out of the box. You get silent Trinamic drivers, a filament sensor, but no power failure detection, or many of the other advanced software features. Let me run you through my favorite details of the Neptune 2:
Flex Bed
First, the flex bed. So when I unboxed this printer, I honestly kinda laughed this one off, because it’s obviously a super-low cost alternative to spring steel beds that clamp down magnetically, here you just use binder clips on four corners, so removing and reinstalling is kind of a pain. But it’s actually a lot better than not having a flex bed.
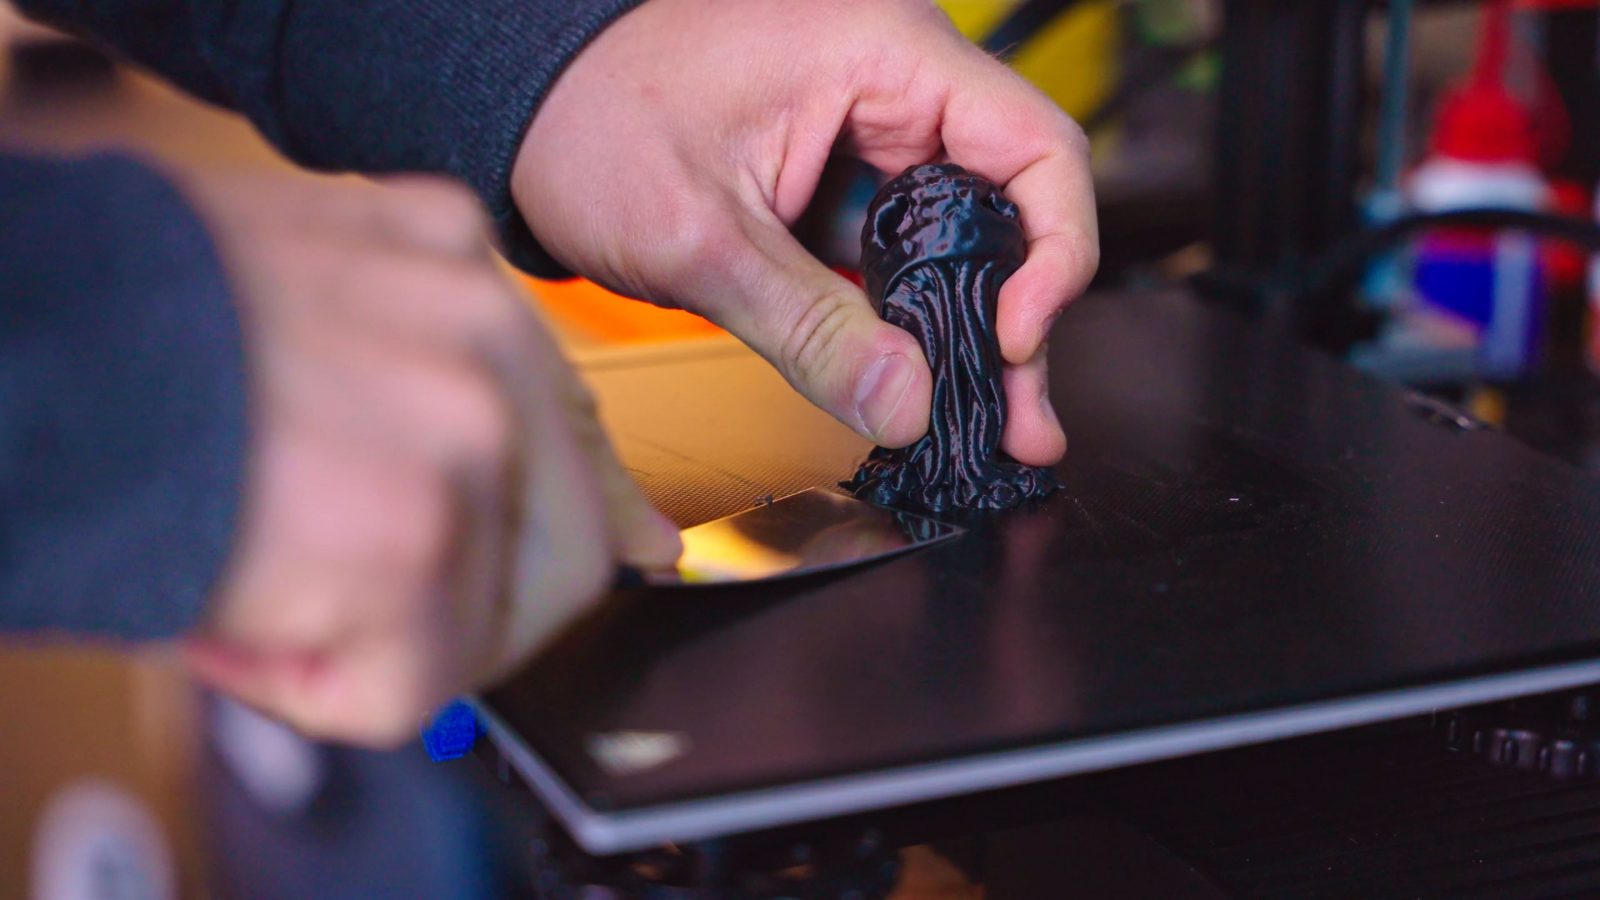
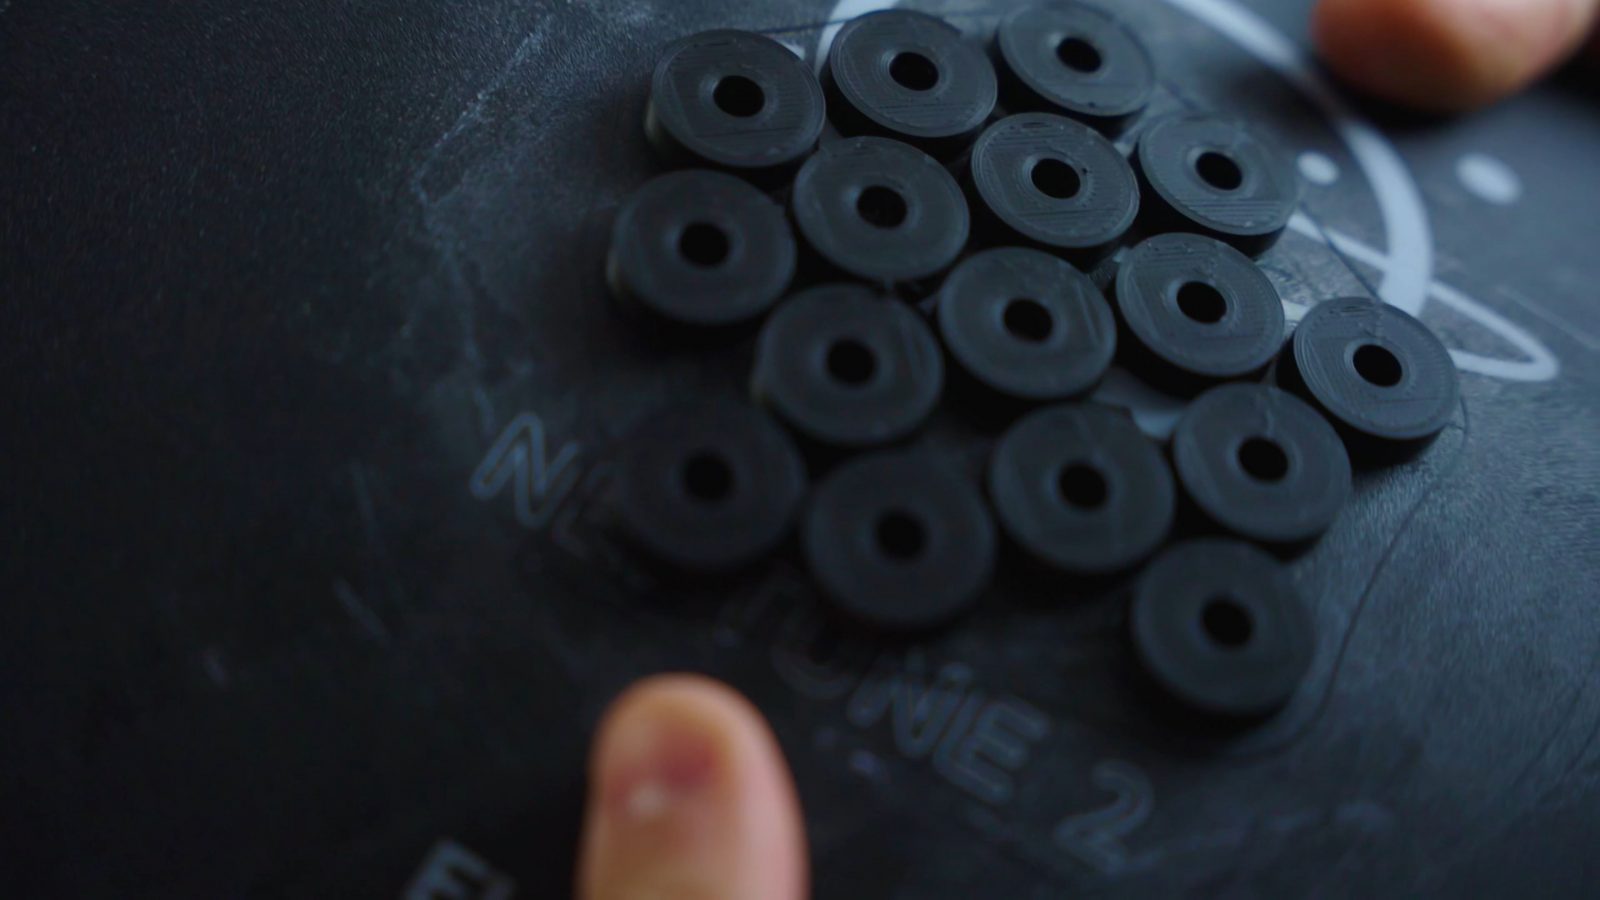
If the alternative is a glass bed that you might need to chisel print off when they stick too well, I’ll prefer this every single time, just to have that option of removing parts in those cases where they don’t just pop off. Now, the Buildtak knockoff surface on here has extremely high adhesion, you can see that I tried to reduce that with some glue stick, so you’ll need to make use of that flex plate more often than on a lower-adhesion surface like the screen-printed glass on the Ender-3 v2, but that also means that prints will stick down perfectly every single time. Not having that thick sheet of glass also means lower weight of the moving bed, which helps with printing crisp corners, and it also improves thermal transfer from the aluminum bed heater to the print surface, where you actually need that temperature.
Electronics and Touchscreen
Then, the electronics and the full-color touchscreen. Now, this is not the world’s best designed and prettiest interface, and there are lots of things that I wish they would do differently, like having a preheat option without triggering the filament change cycle, but one of the really cool features is that similar to the Prusa Mini, you get a print preview when you go to start your next print and then a higher-resolution version once it’s printing.
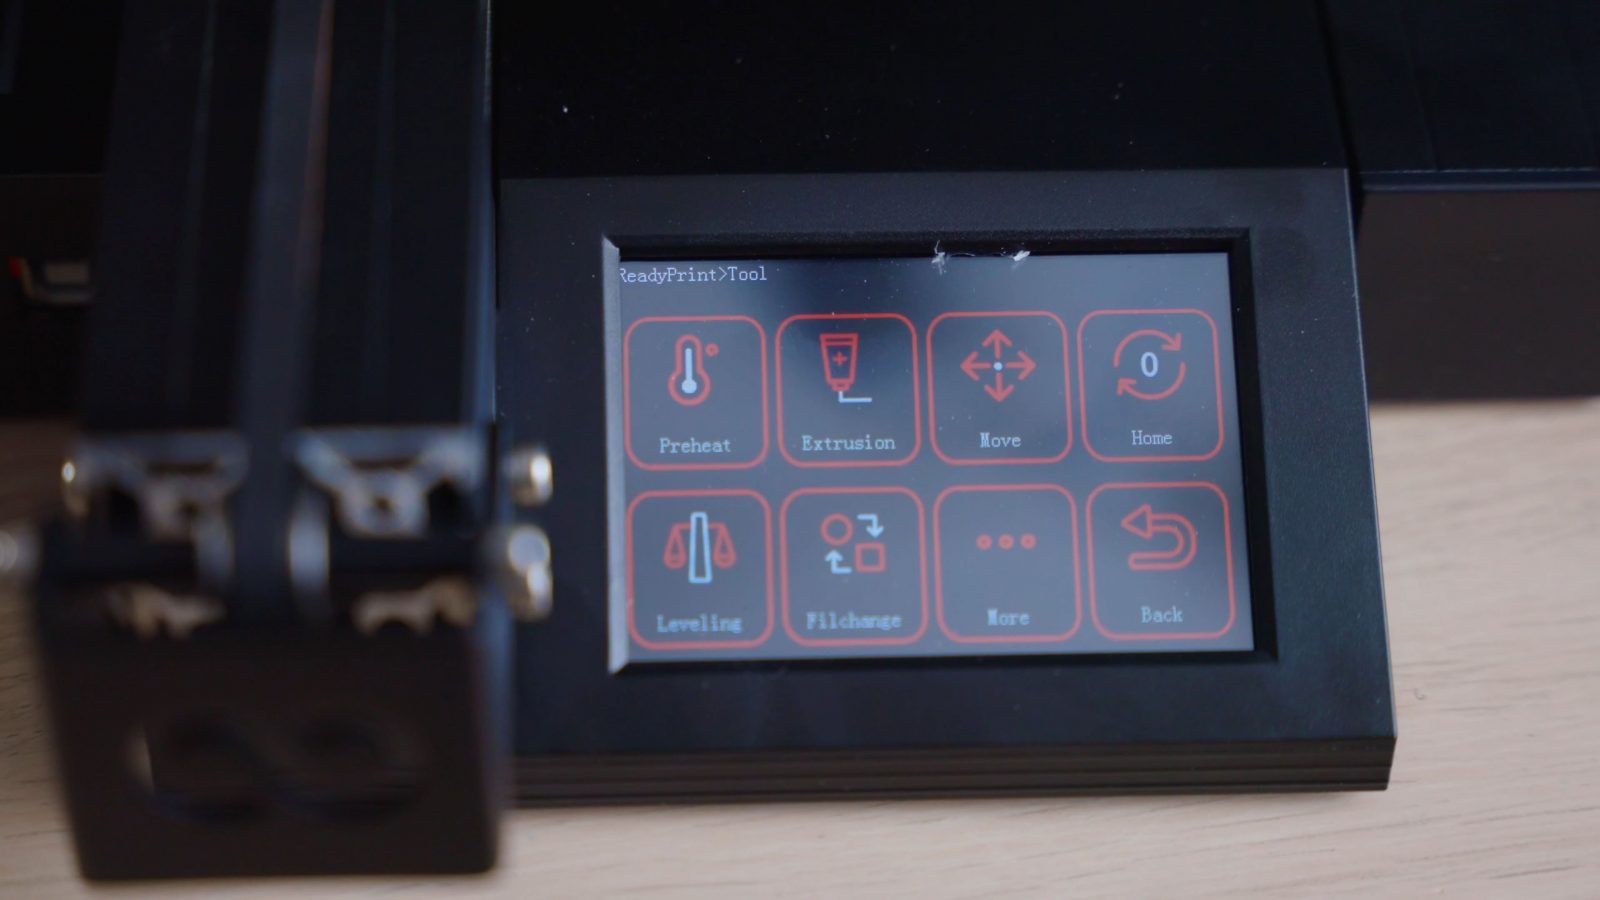
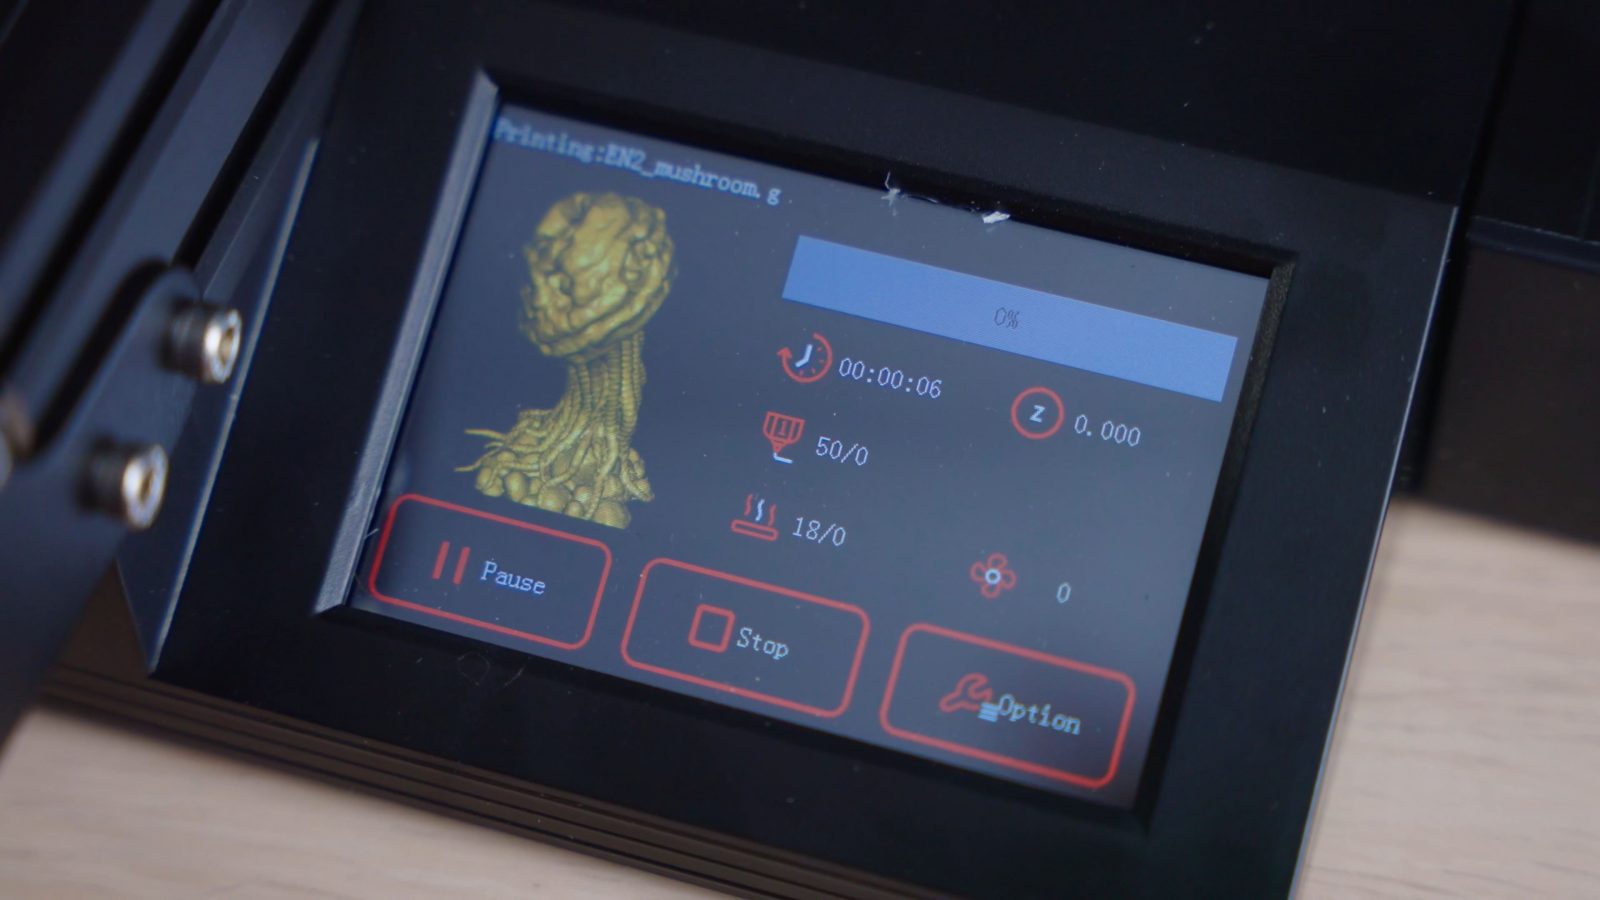
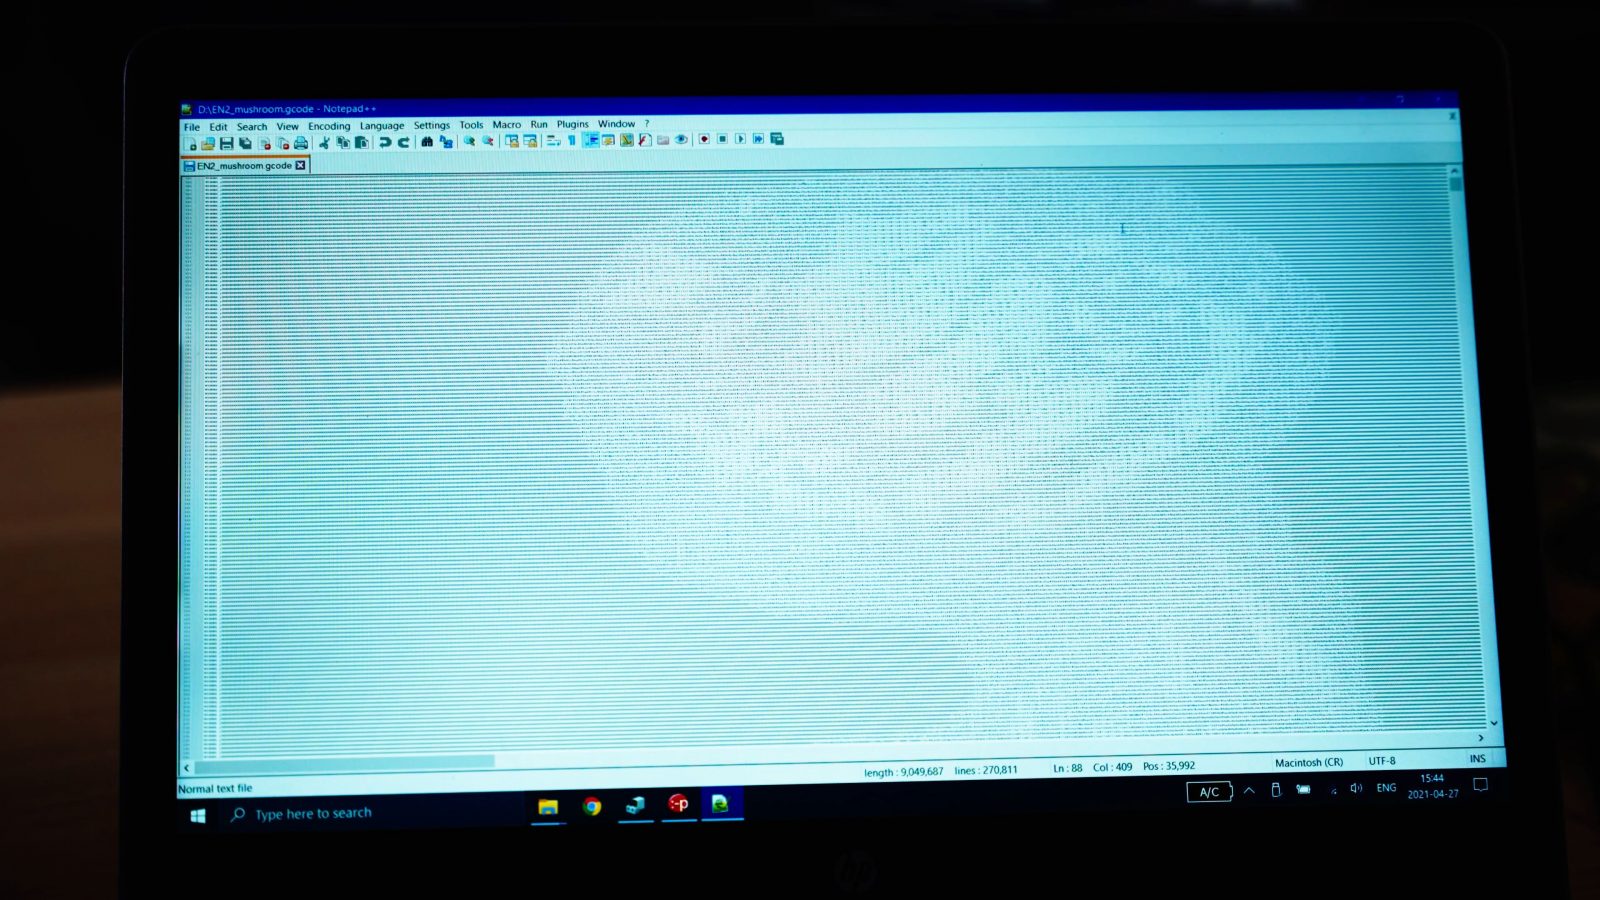
This is super useful once you’ve got your microSD card filled up with gcode files and are trying to print “that one thing”. The way this is implemented is kind of ridiculously simple, actually, it’s not a jpg that’s sitting on the card alongside the gcode file, it’s not metadata, it’s literally lines of gcode with ASCII color codes. I mean, it’s not space-efficient at all, but it works really well and it’s a simple system that could be implemented into other printers or other slicers.
Slicer
Speaking of slicers, this is the last point that I want to make that Elegoo does better than Creality – and that’s the software/slicer.
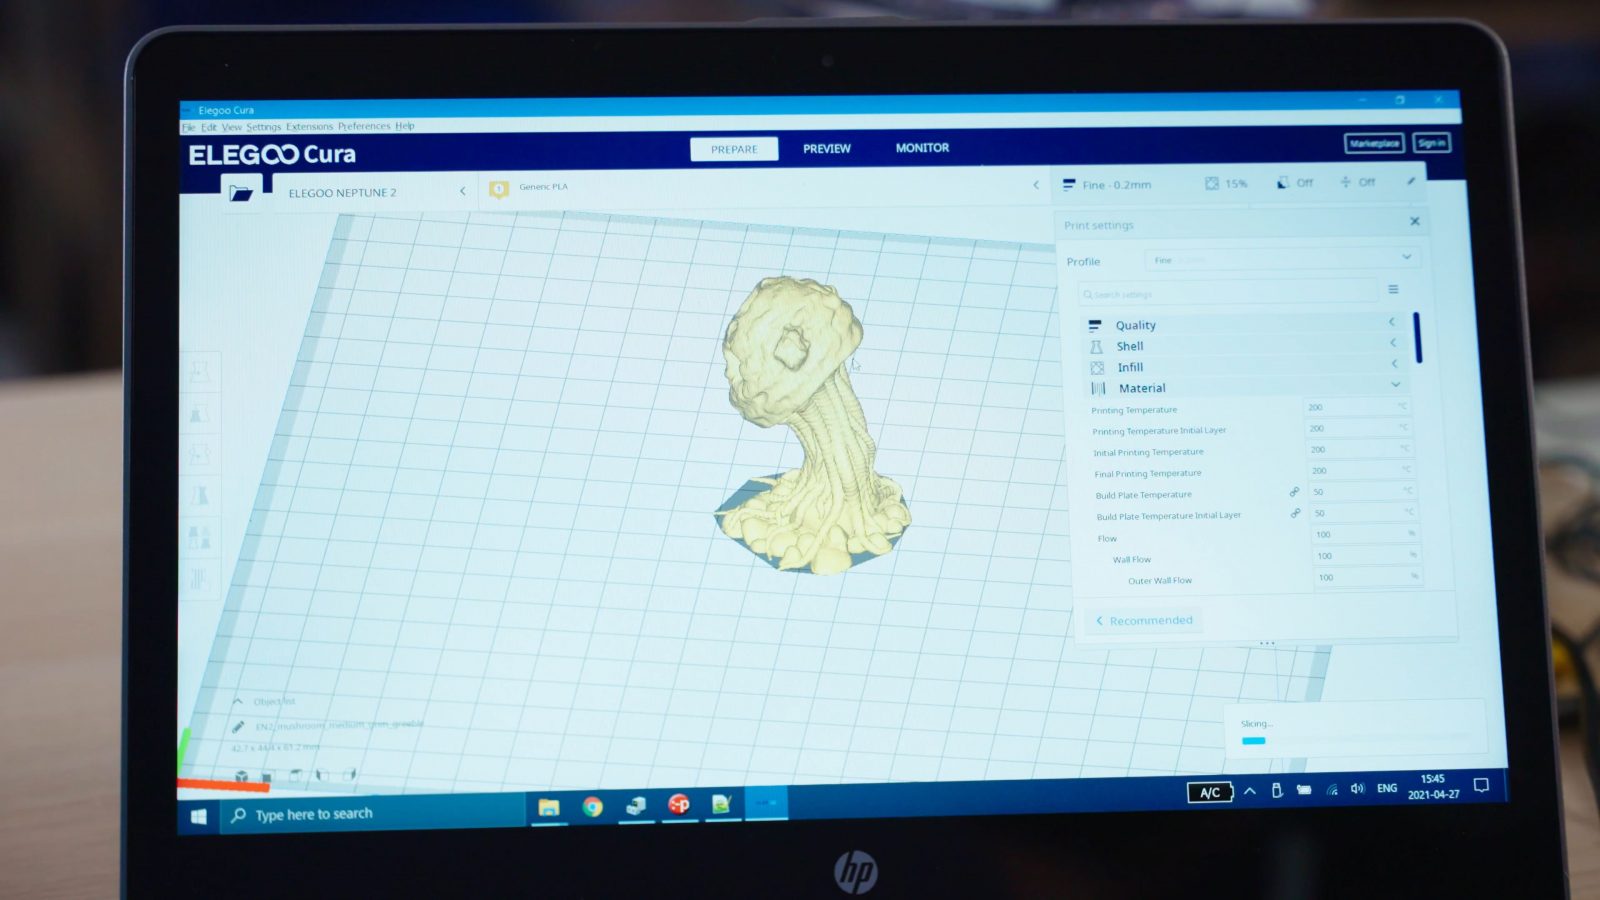
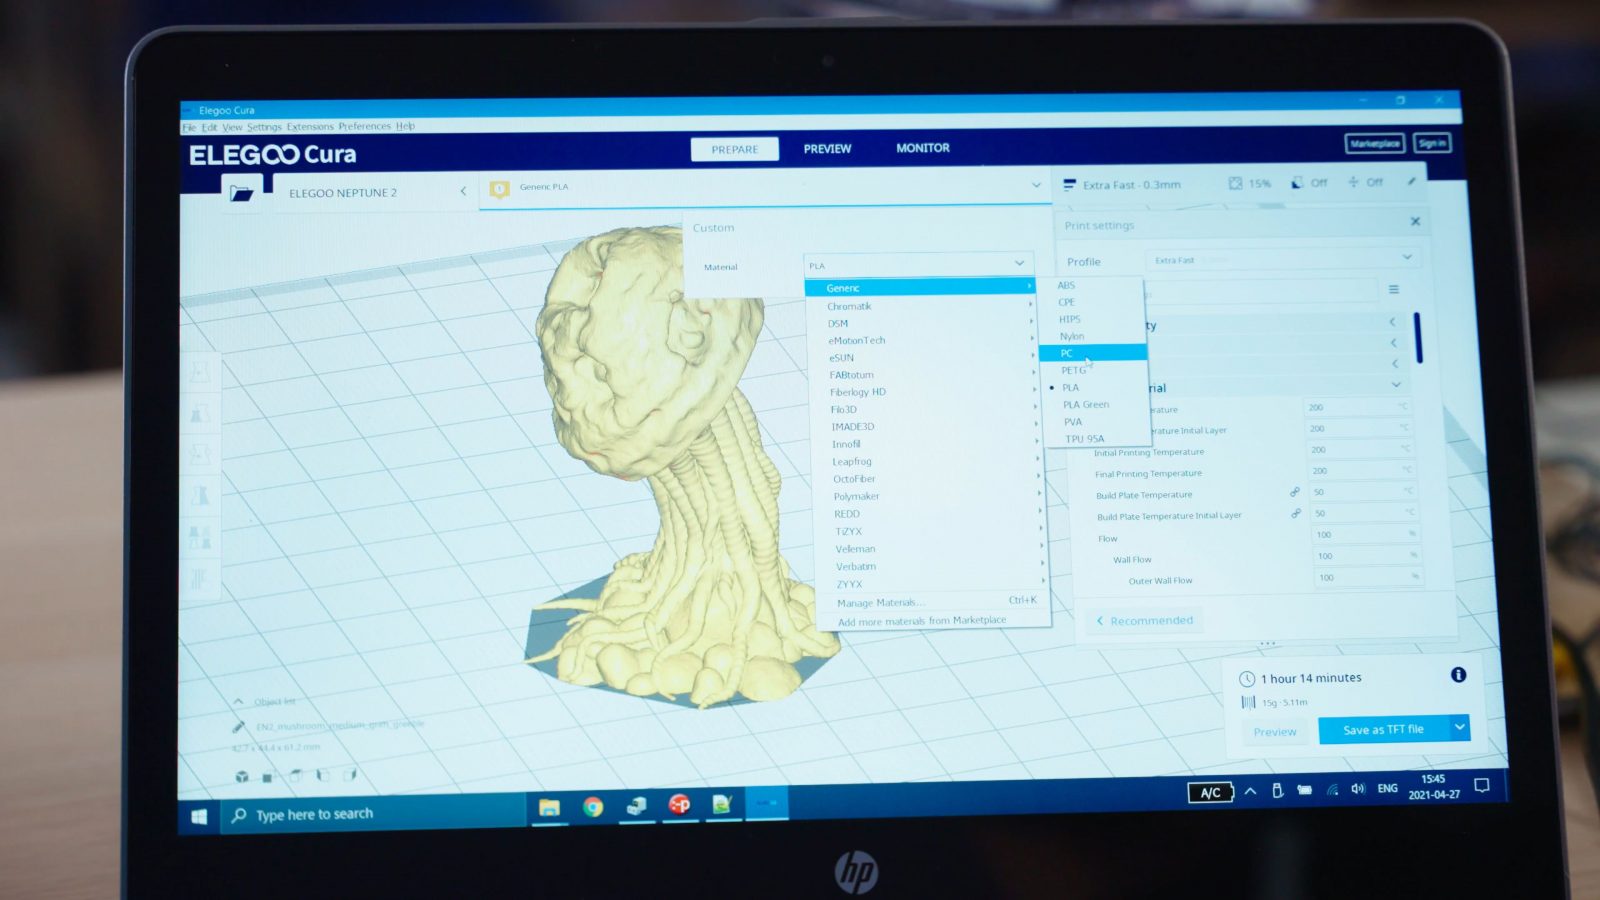
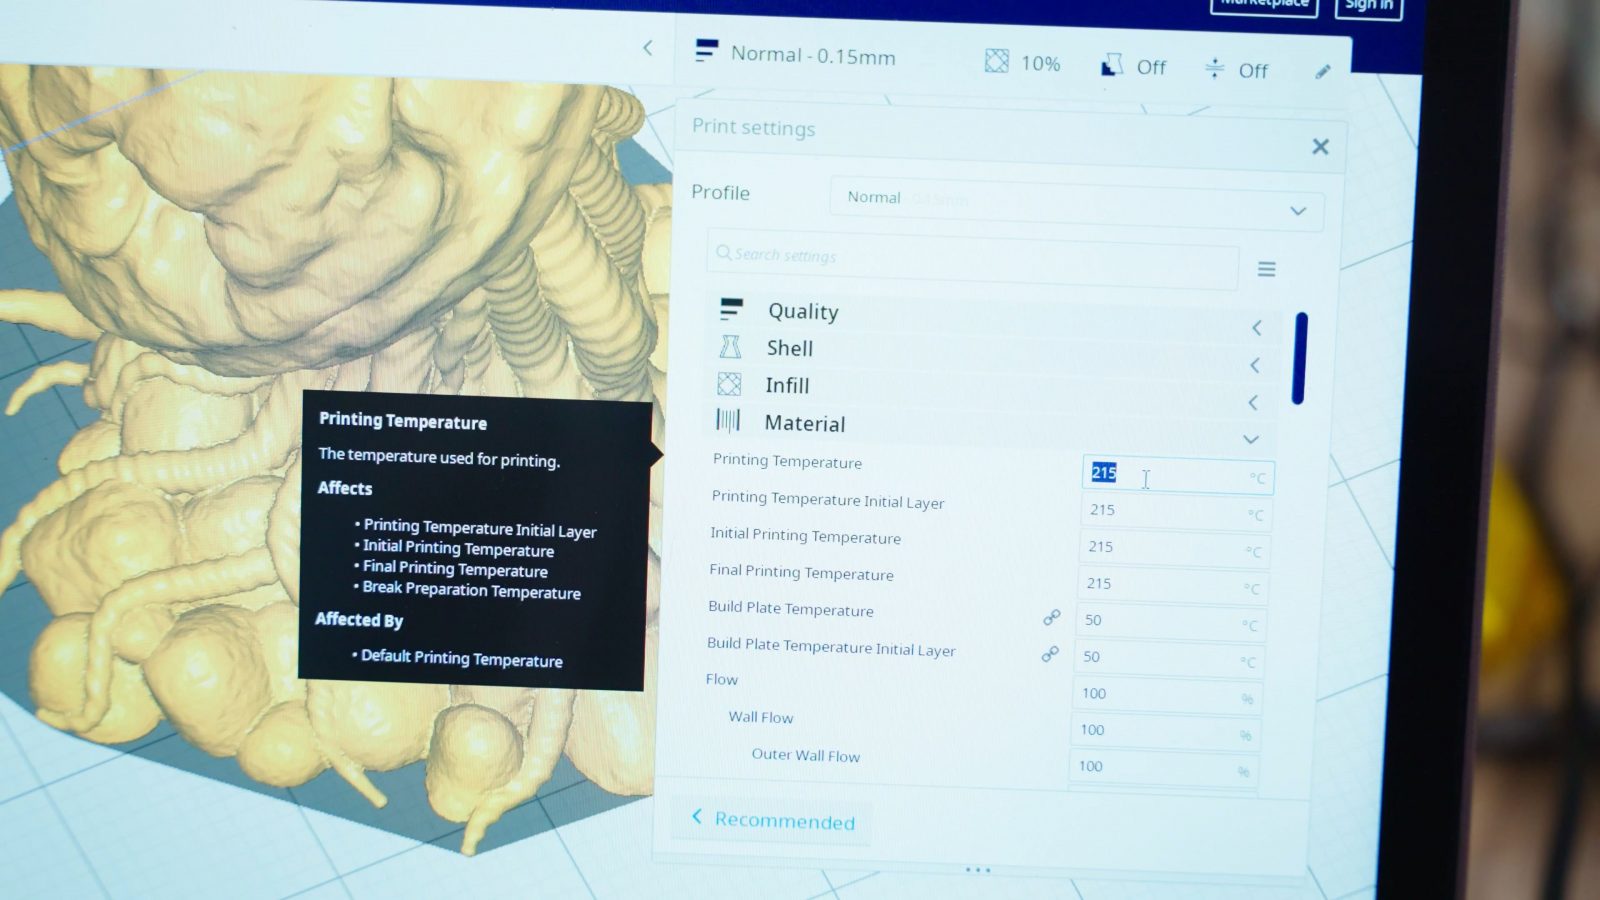
Both use a skinned version of Ultimaker’s Cura, and, you know, it still prompts you to update to the newer, mainline version of Cura, which, of course, would break a couple of things, but the way that Elegoo adapted Cura is actually usable and has been my go-to-slicer for the Neptune 2. The big difference to the Creality version is that you get to use all the profiles, so the different profiles for layer heights work, the different material profiles work without giving you warnings, that’s super convenient. It looks like the profiles have been at least a bit tuned to the Elegoo Neptune 2 because the prints look excellent, the one thing that I found that was still just straight-up wrong was that the material settings were set up super cold – like printing PLA at 200°C and PETG at 215°. PLA works but doesn’t give you the strongest prints possible, while the preset for generic PETG is printing so cold that prints literally crack and delaminate while printing.
Print Quality
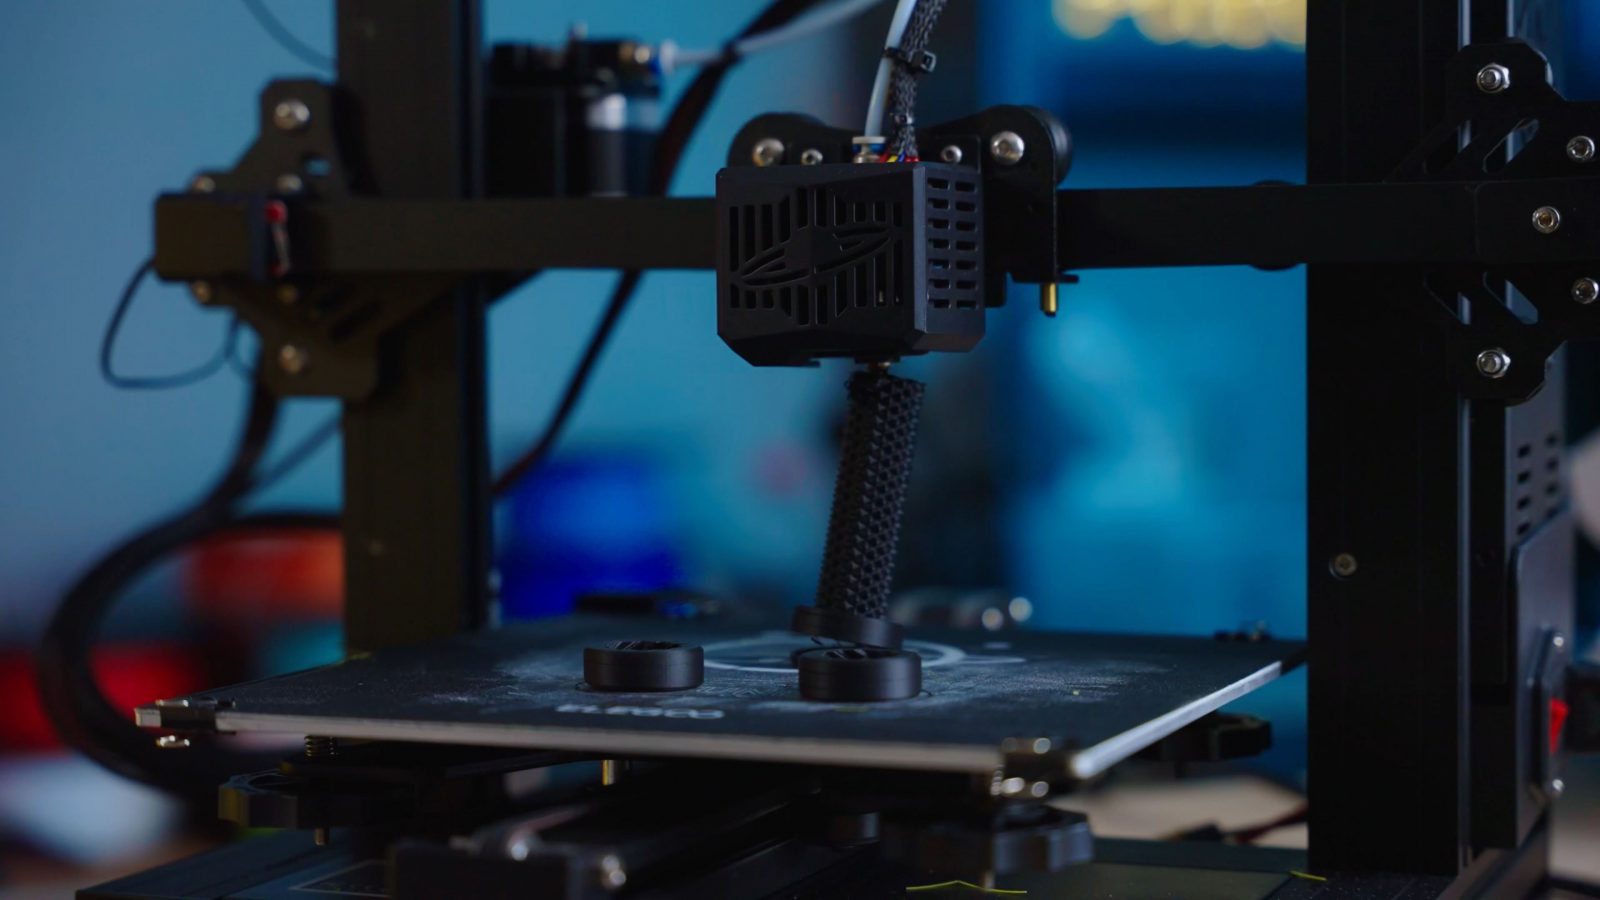
So about that print quality: It’s actually impressively good. Again, this is definitely a side effect of relatively cold print temperature, but comparing the prints from the Neptune 2 with the ones from the Ender-3 v2, the Neptune easily beats the Creality machine – not by a lot, because the Ender-3 v2 already print just fine, but prints do look a bit nicer.
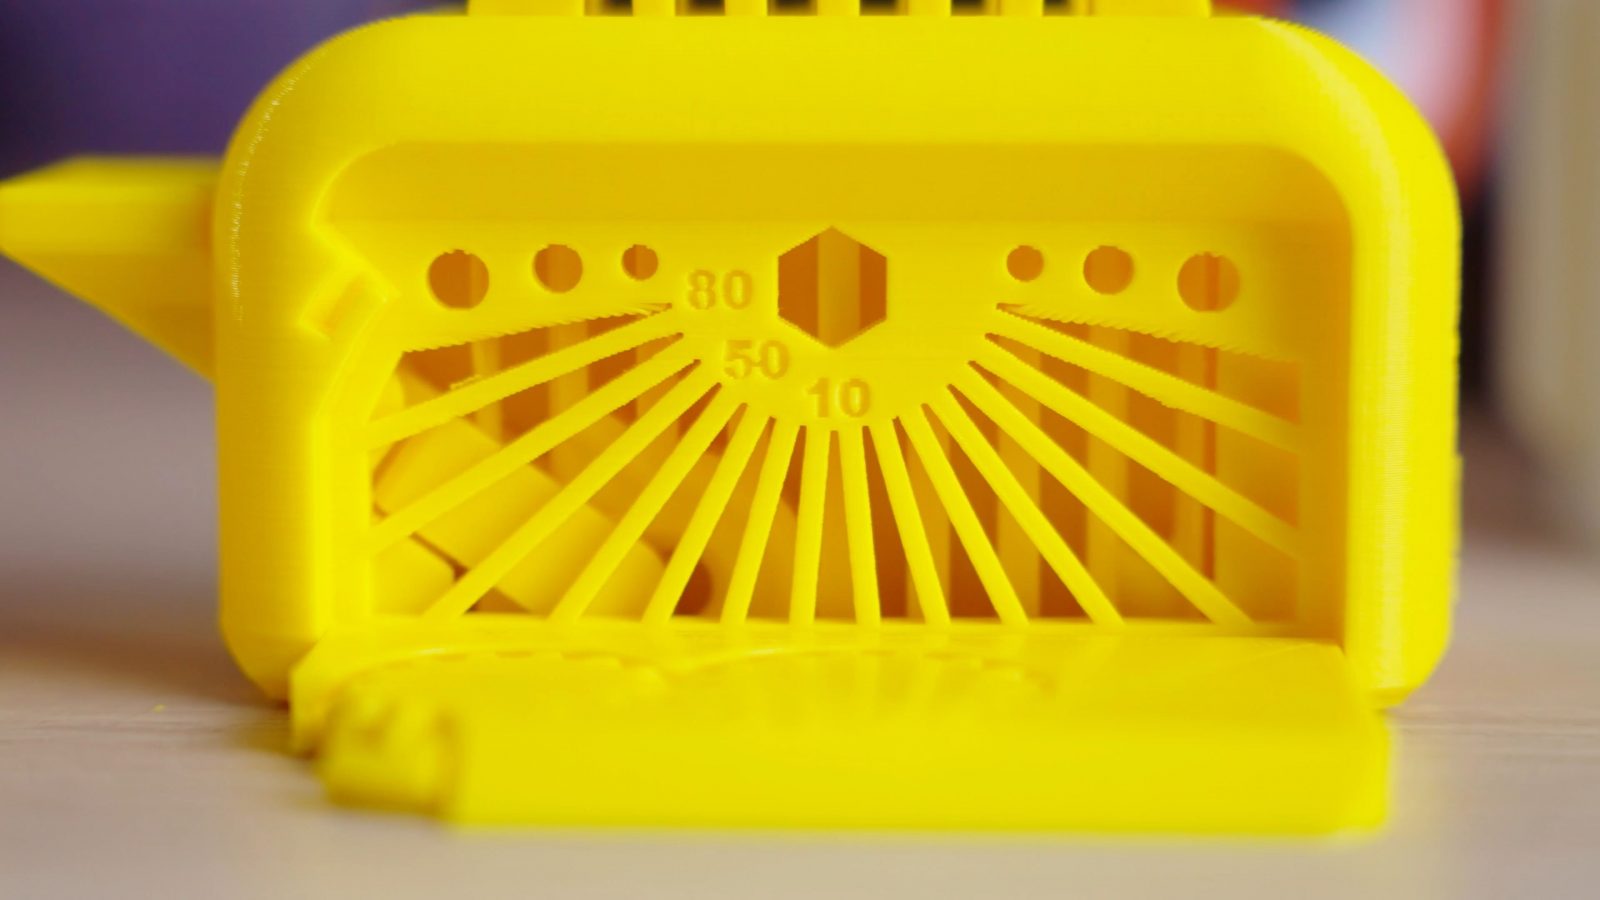
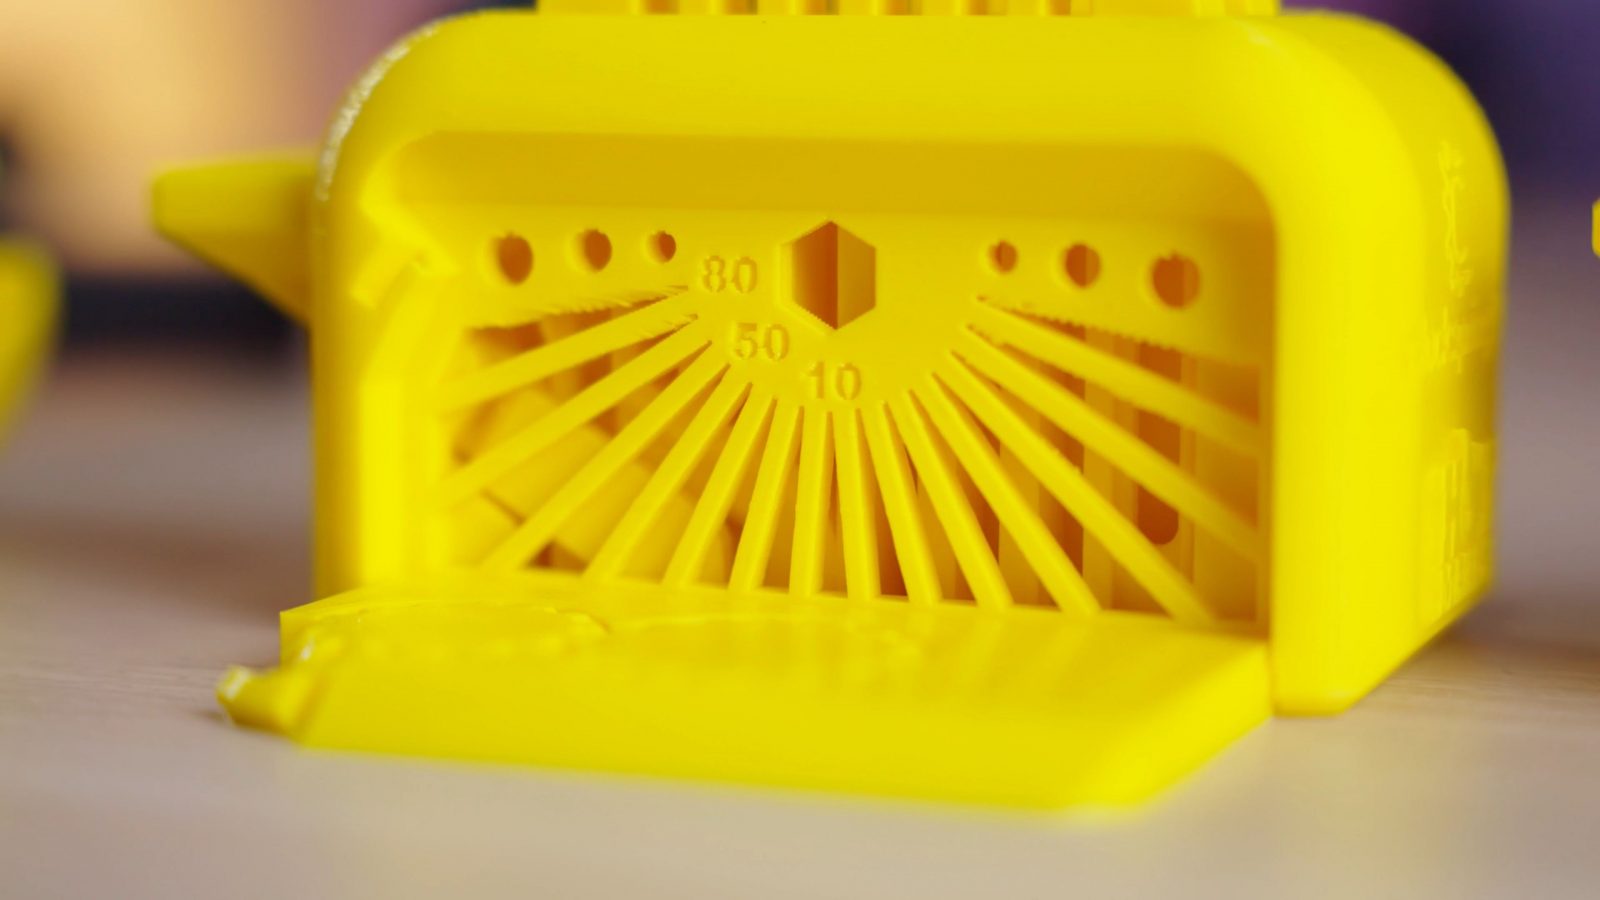
For example, Clockspring’s Torture Toaster has all its overhang bits printing perfectly on the Neptune 2, while the same print – not the same gcode – shows quite a bit of curling on the Ender-3 v2. Also, the tolerance tests all came loose perfectly on the Neptune, not so much on the Ender, the toast-pop-up-mechanism works perfectly, as do the latches, I mean, I don’t think you can print these better than this on any printer, really.
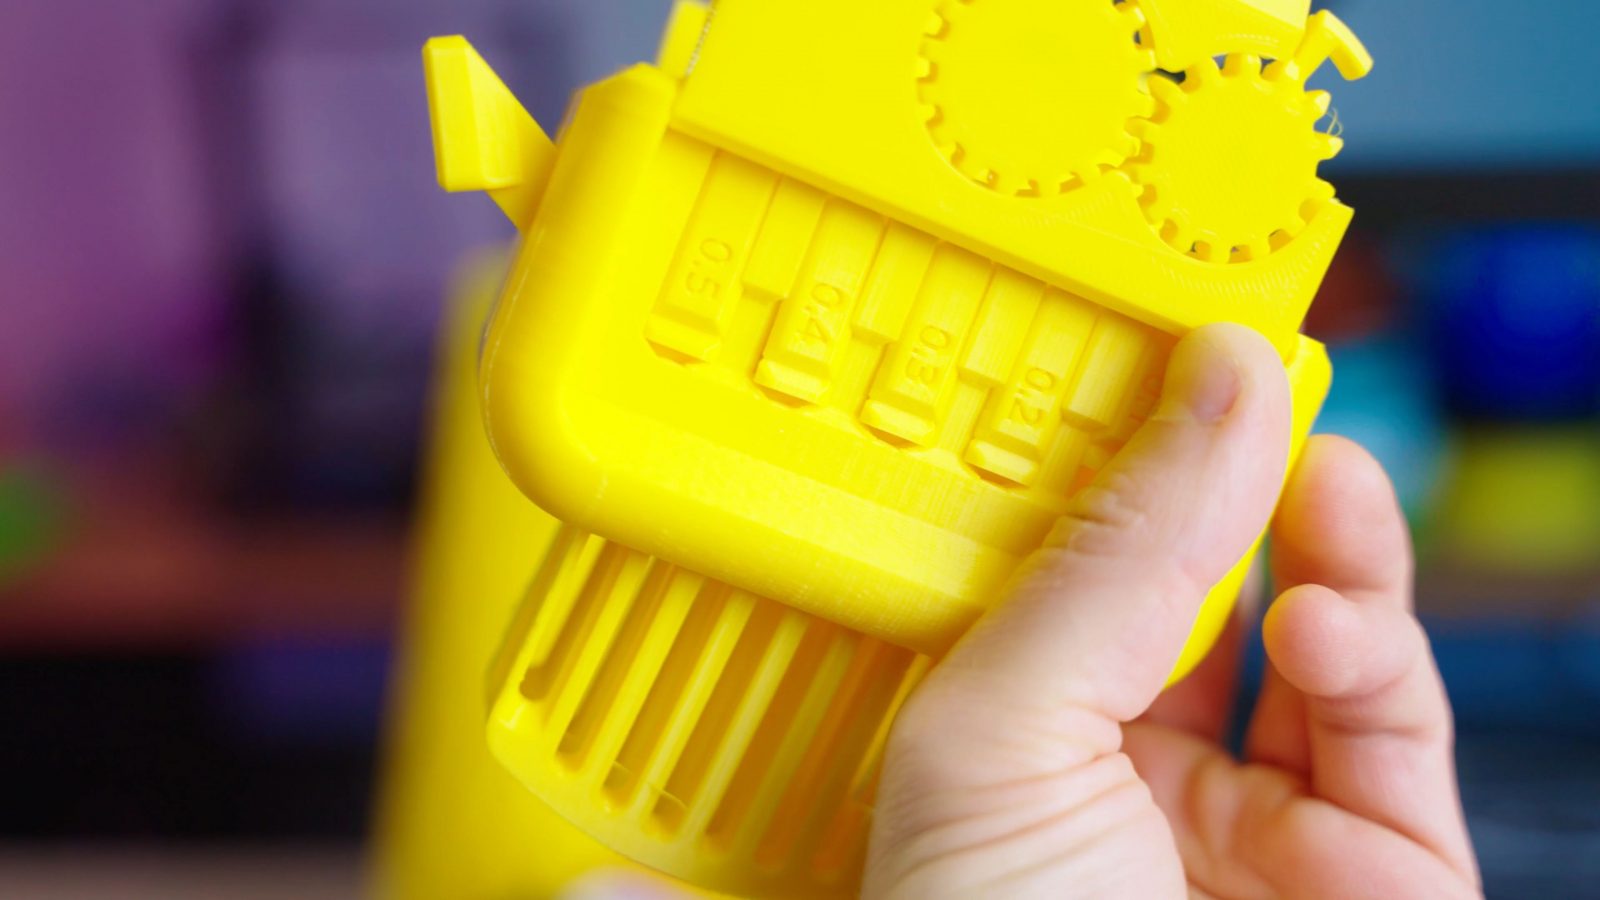
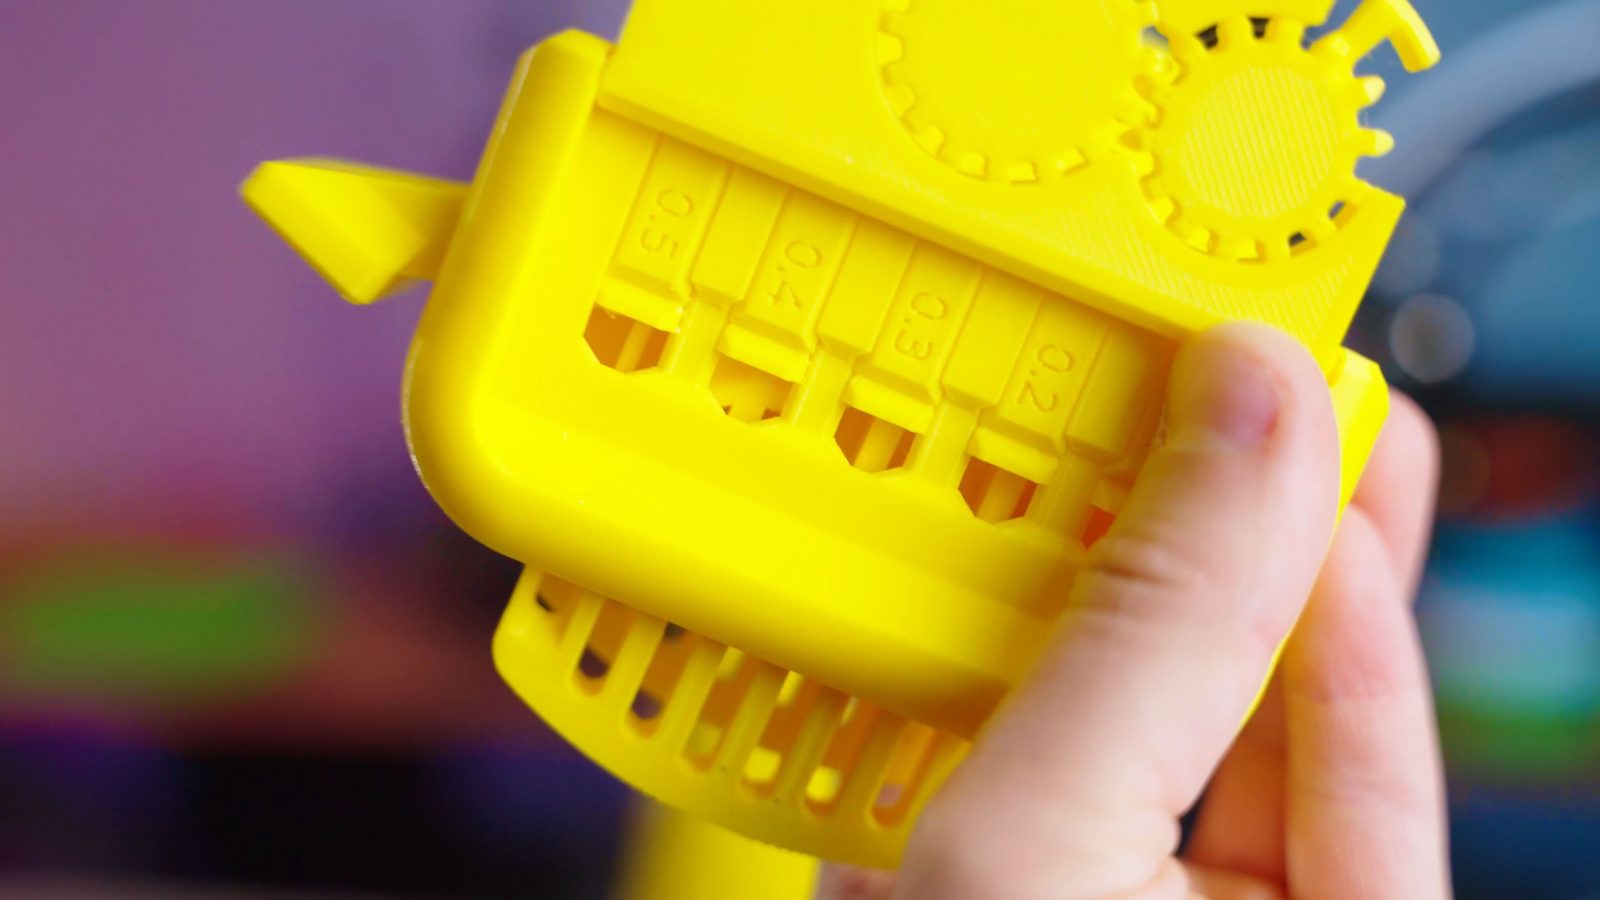
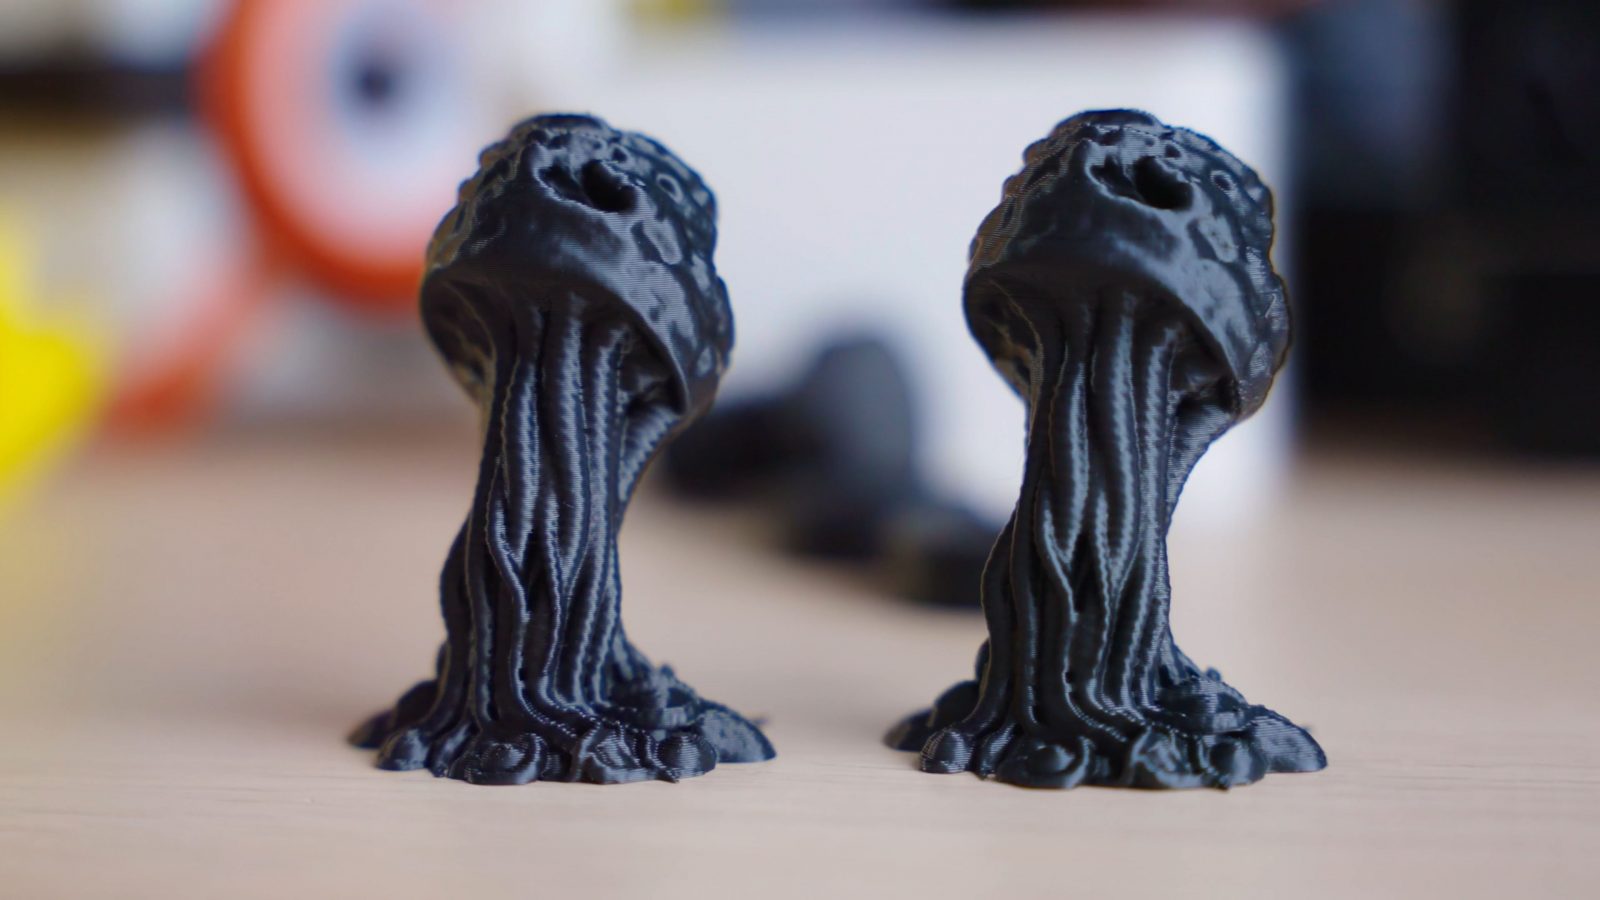
The 3DBenchy printed totally fine on both. This is some old Extrudr PLA, it’s been sitting out in the open forever, in fact, they don’t even make this exact one anymore, but you can get the newer PLA NX2 in the same yellow color. Also, trying the actually current PLA NX2 in the “matte black everything” color, the Medusozoa Mushroom by GrimGreeble printed really nicely on both the Ender-3 v2 and the Neptune 2, it’s a gorgeous model;
and then for some PETG prints with the Extrudr XPETG in white and black, we do start seeing some differences, first of all, this two-way screw by Gijs printed at 50% scale, this is the one that failed on the Neptune 2 with stock settings, I reprinted it with 235°C on the hotend and the fan turned down to 30 to 50 percent, and this time it printed just fine and looks great, but the nut doesn’t actually mesh with the screw, they’re too tight, but I still prefer this solid print over the one from the Ender-3 v2, which fits better, but is actually quite under extruded.
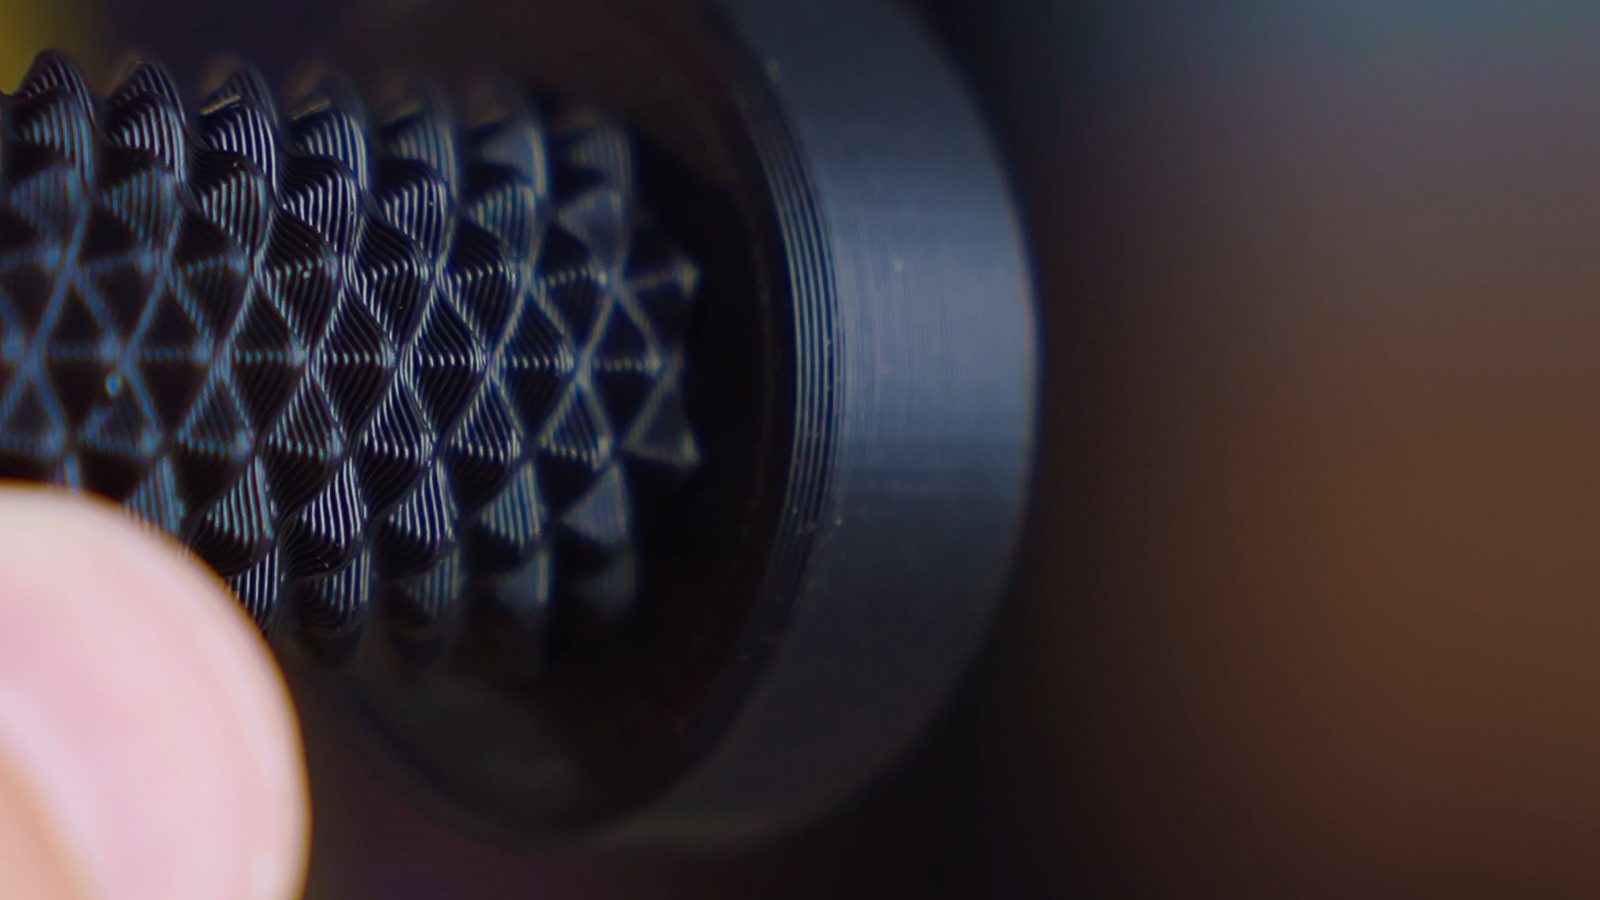
Also, this somehow printed at 0.1mm layer height, not sure how that happened. Must have been something with the slicer profiles getting shuffled around when I changed materials.
And lastly, to try out how well flat and even vertical surfaces come out, I printed the outer shell of Mikolas Zusa’s self-watering planter design at 50%, and they’re both doing an okay job, the surface has a bit more of that stepper motor pattern on the Neptune 2 and is good bit stringier because, well, I had set it to print 25°C hotter, which of course is amplified by the fact that these are a Bowden printers and the hotends on these aren’t exactly precise.
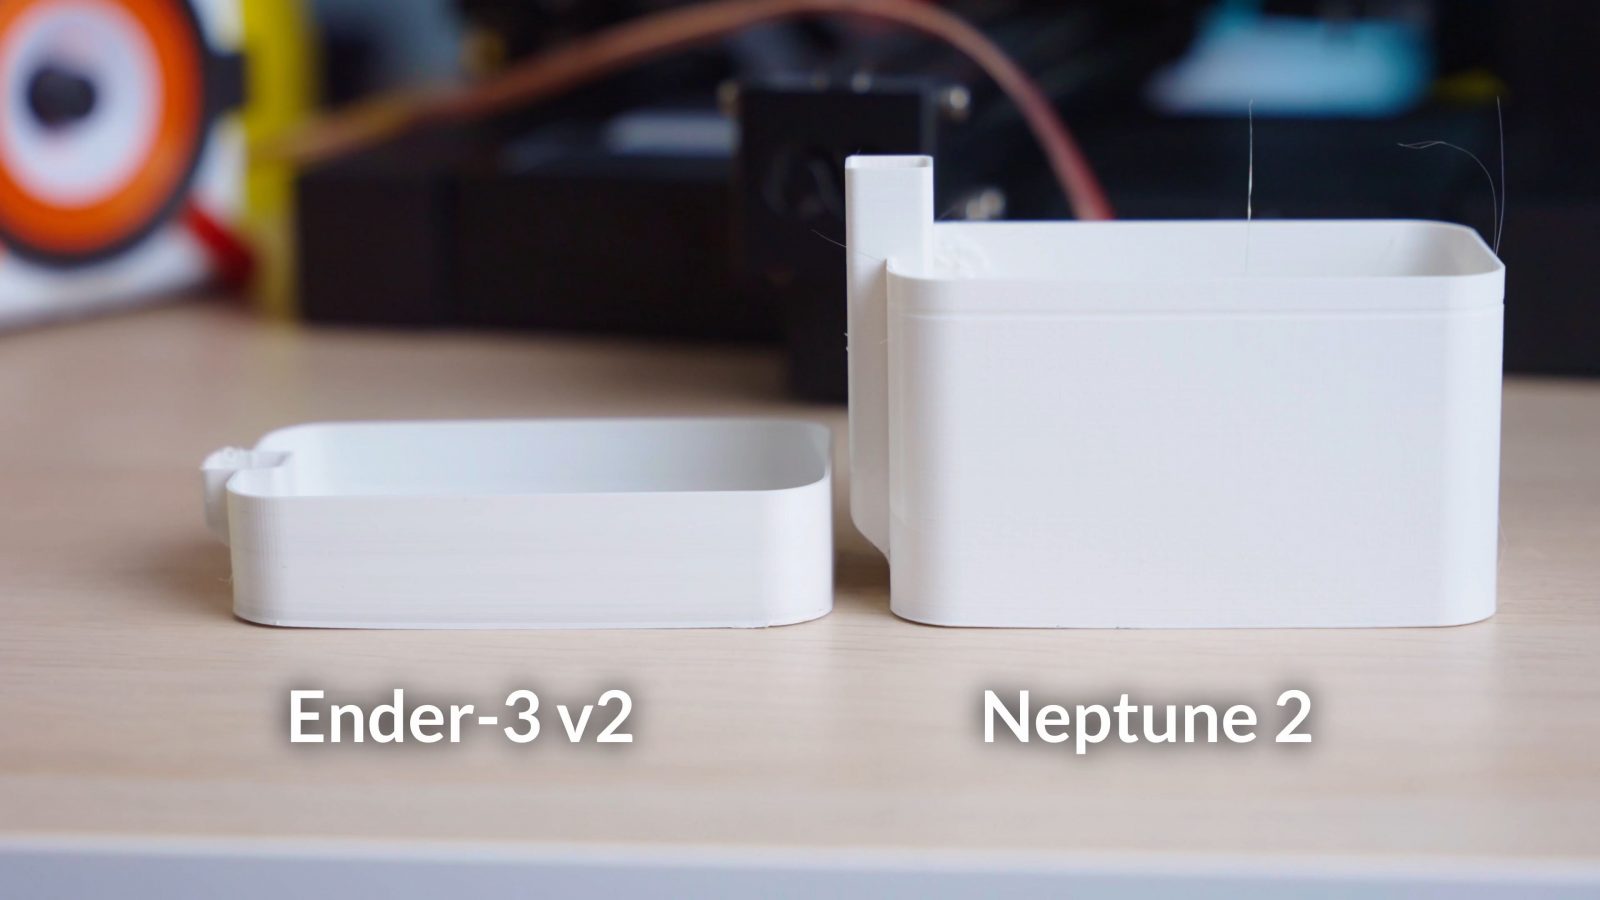
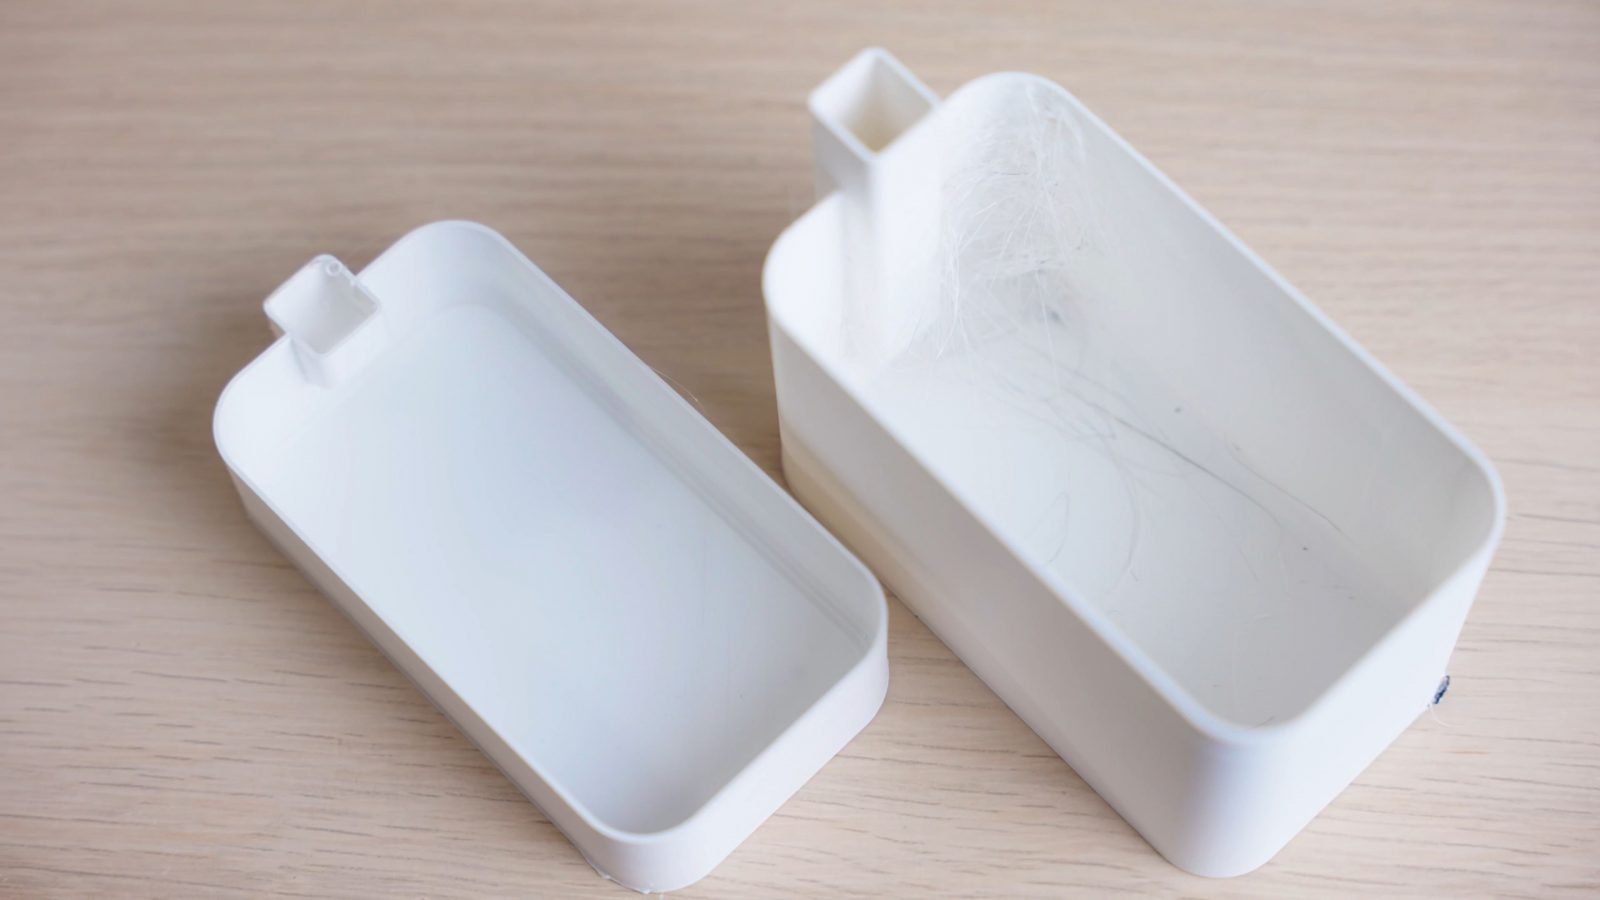
The strings might also be path optimization in the slicer. Either way, the Ender-3 v2 didn’t finish the print in PETG at all as it was starting to curl up quite a bit because the bed wasn’t sticking down well enough. So I guess both the Ender-3 v2 and the Neptune 2 do need a bit of love on their slicer profiles to print PETG well.
But overall, at least for PLA, what you get out of the box with the Neptune is really impressive. I also printed most of the parts for the fully printed speaker, and even flexibles were printing really well. Except for, you know, the slicer not capping off the surrounds in a way that works, but that’s a real edge case there.
Which one to buy? Ender-3 V2 or Neptune 2
So, Tom, overall, getting this over the Ender-3 v2 seems to be a no-brainer, right? After all, it’s over $100 cheaper, too?
Cautious yes. So, of course, it has some minor flaws. The printer overall feels less well-made than the Ender-3 v2 but still better than the original Ender-3.
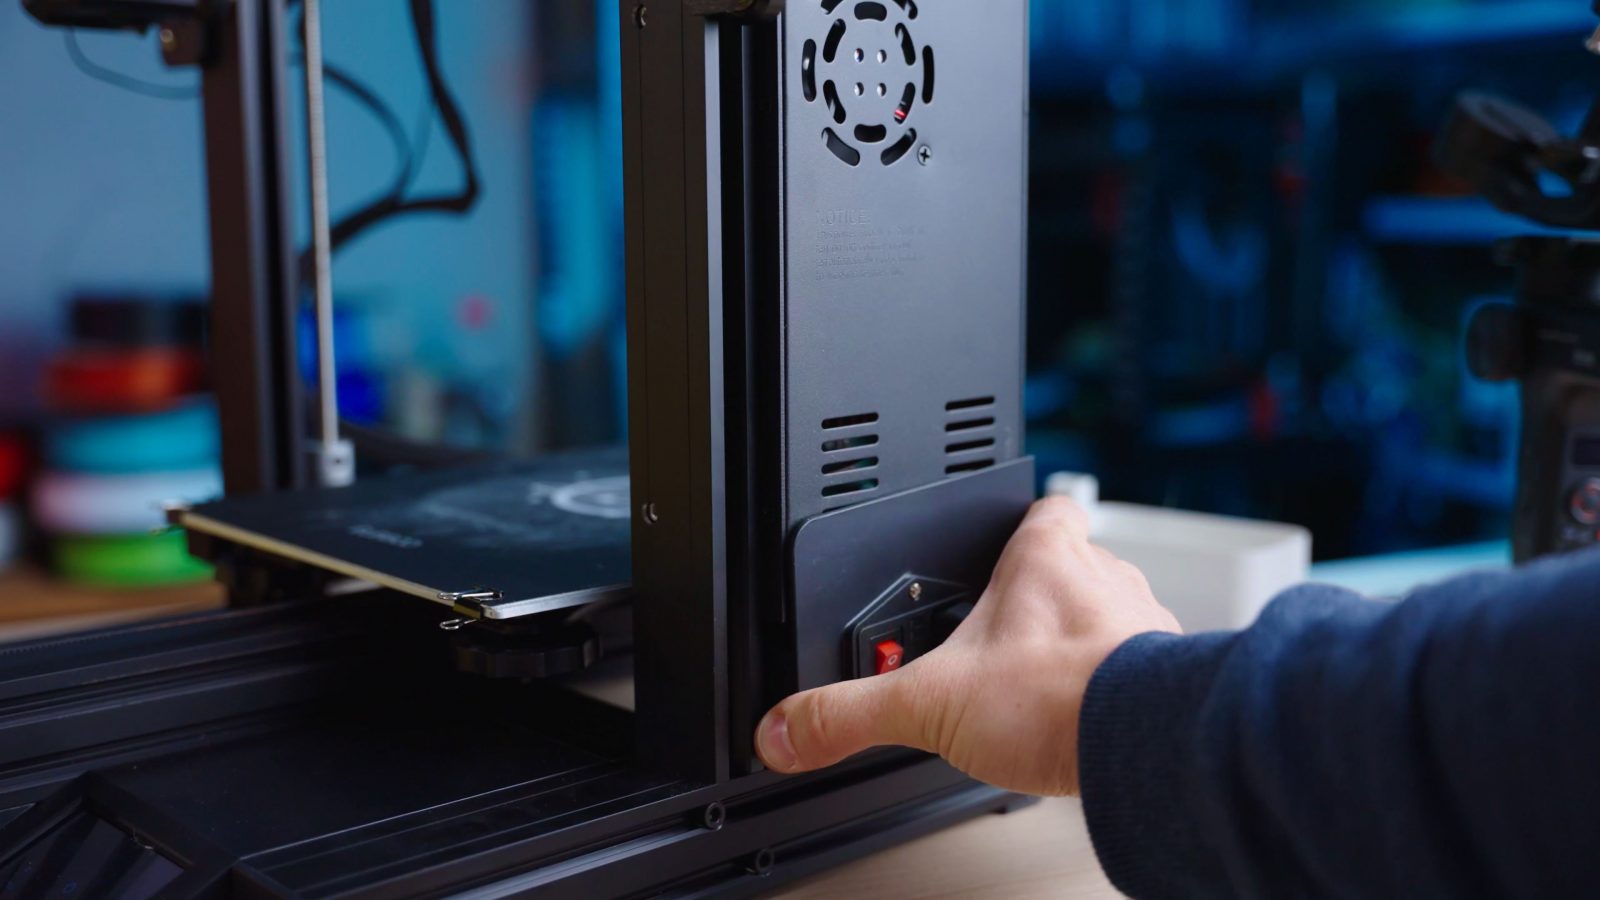
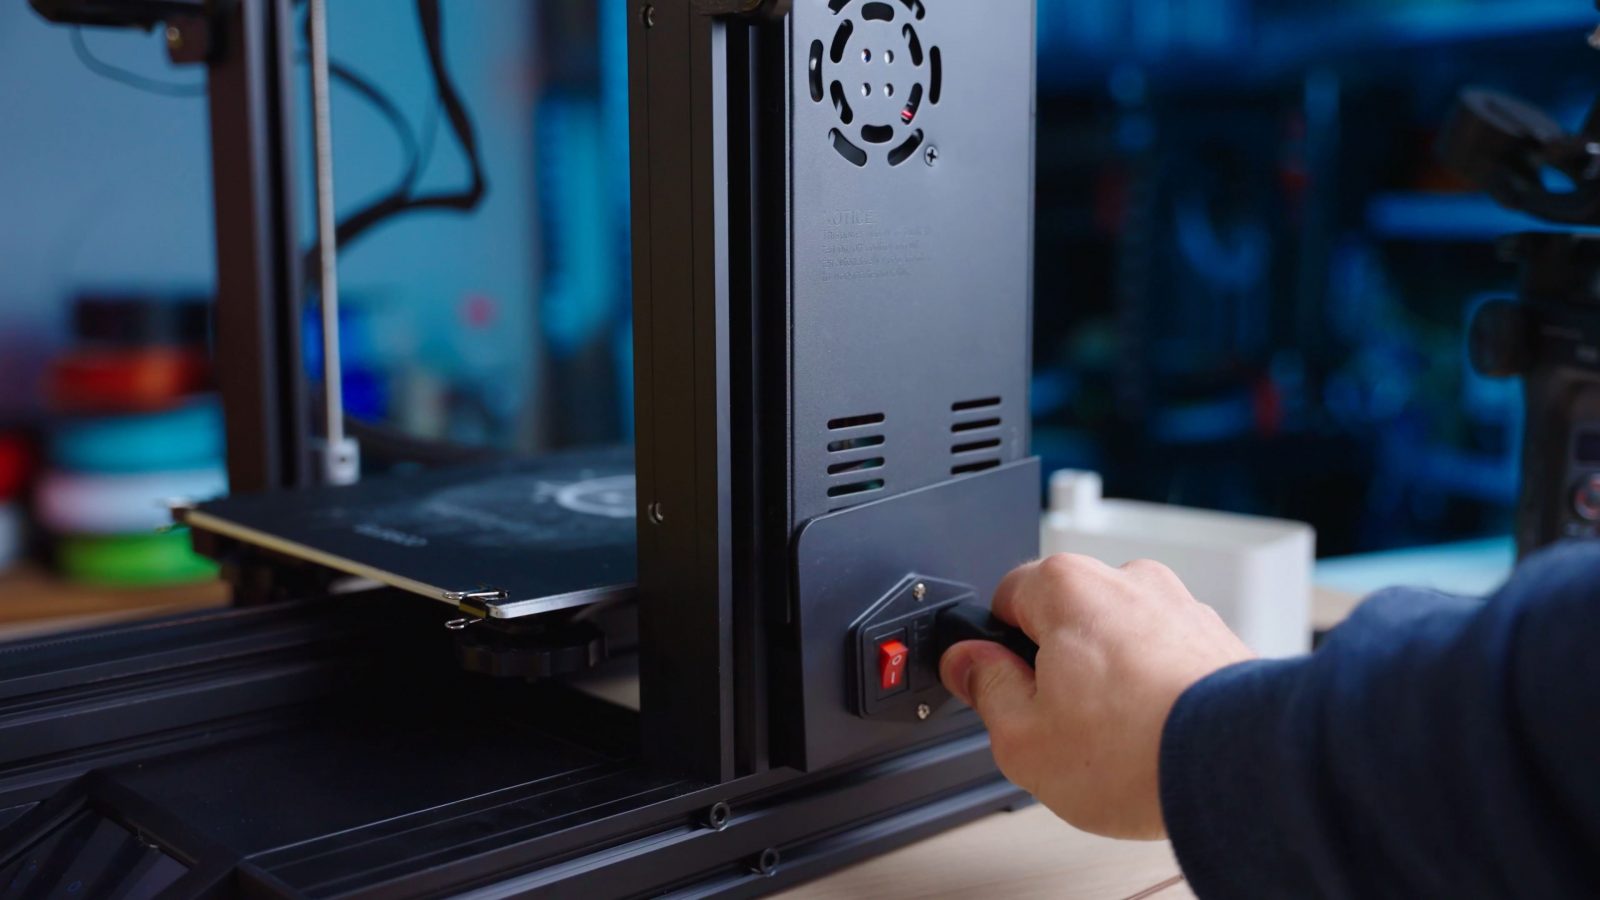
For example, the power supply shroud is just not fixed in place too solidly, it’s not coming off, but it’s not inspiring confidence, either, the screen could be brighter, and it’s also in a super awkward spot under the bed, so when you’re printing large parts that have the bed coming all the way forward, or simply at the end of a print, you literally can’t see or operate the touchscreen, and there are some issues with the electronics that are just unnecessary.
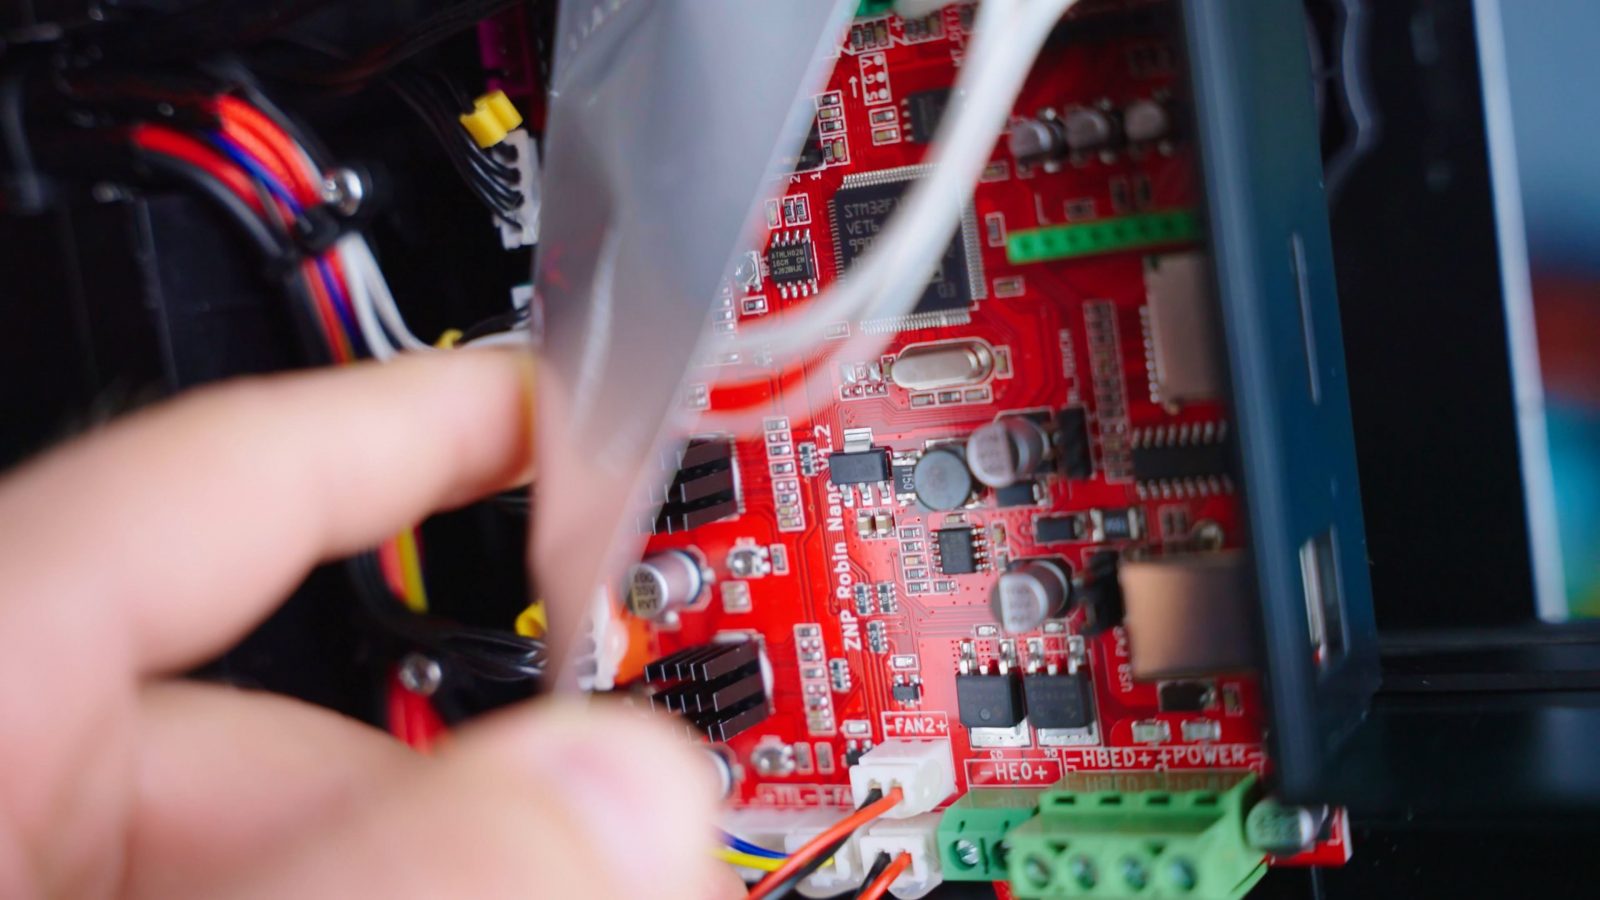
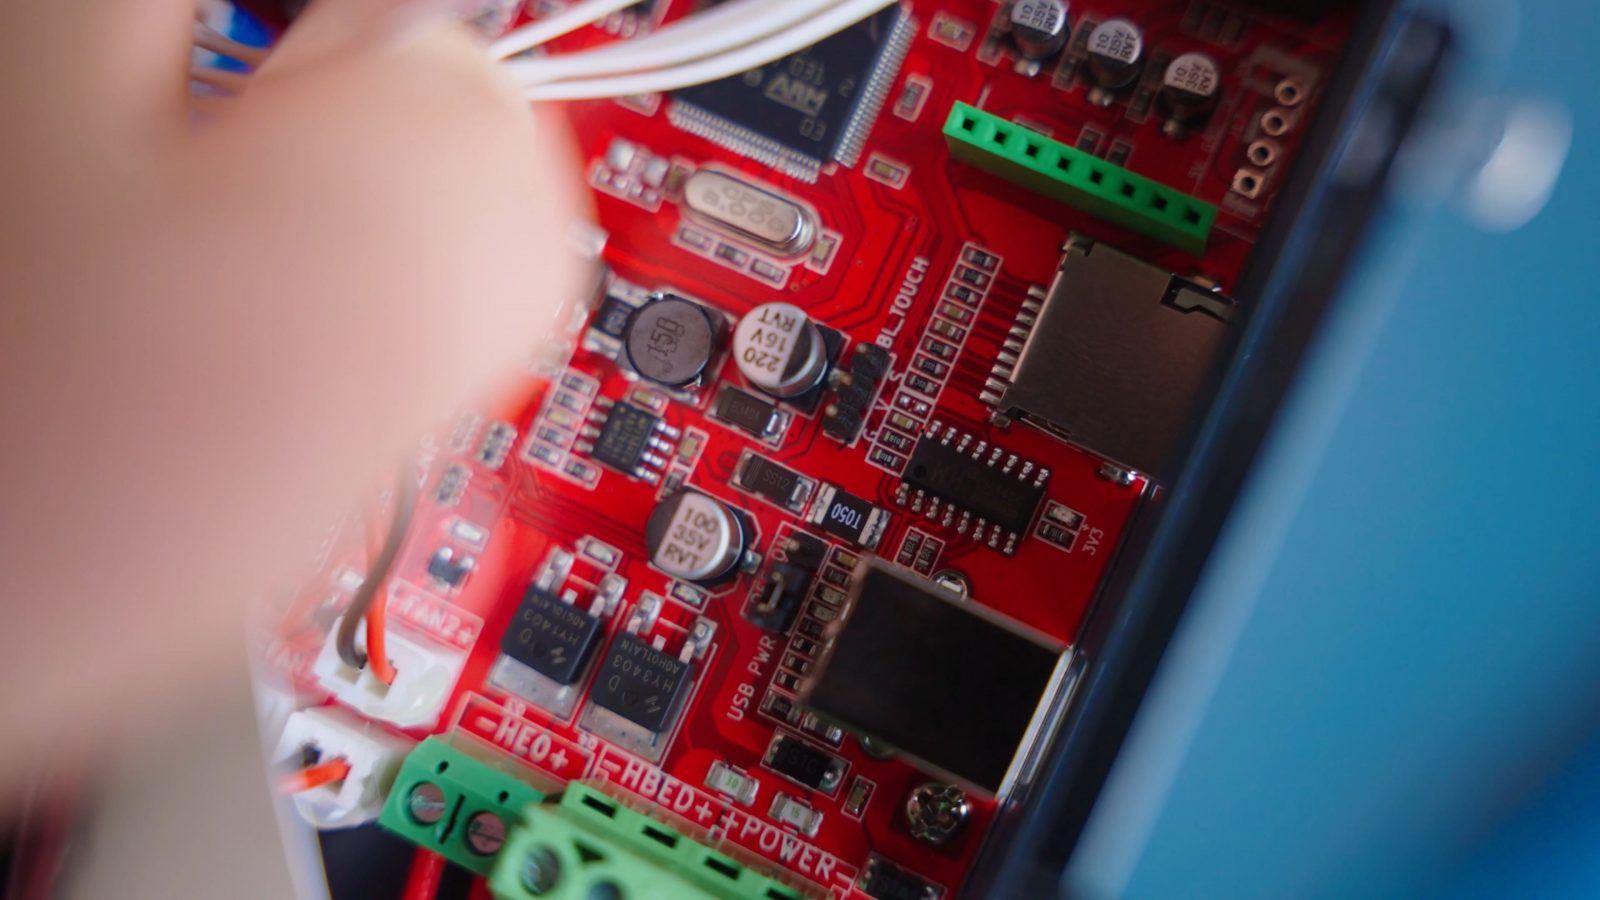
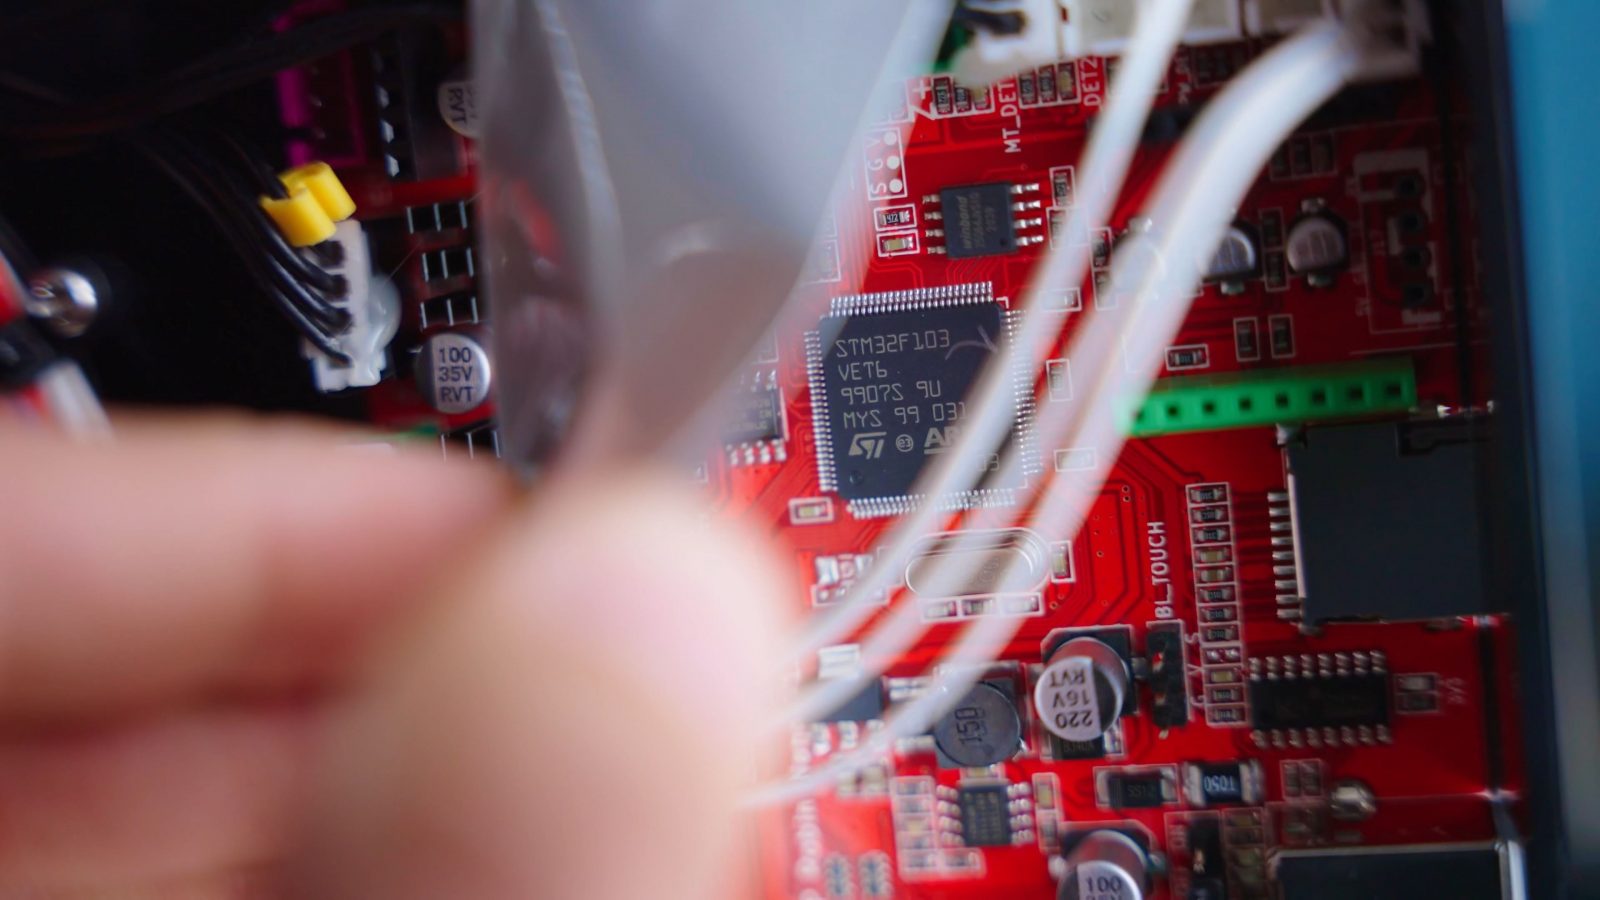
So it’s using a “ZNP Robin Nano”, which is based on an MKS board of the same name, it has room for expansion with for example a BLTouch header, and is compatible with firmware for the MKS board. By default, it’s not running an open-source firmware, but the one that comes stock from the factory at least has the more important thermal runaway protections in place. On the topic of open source, Elegoo is actually sharing the drawings and designs for not just the electronics, but also the mechanical designs for the whole printer.
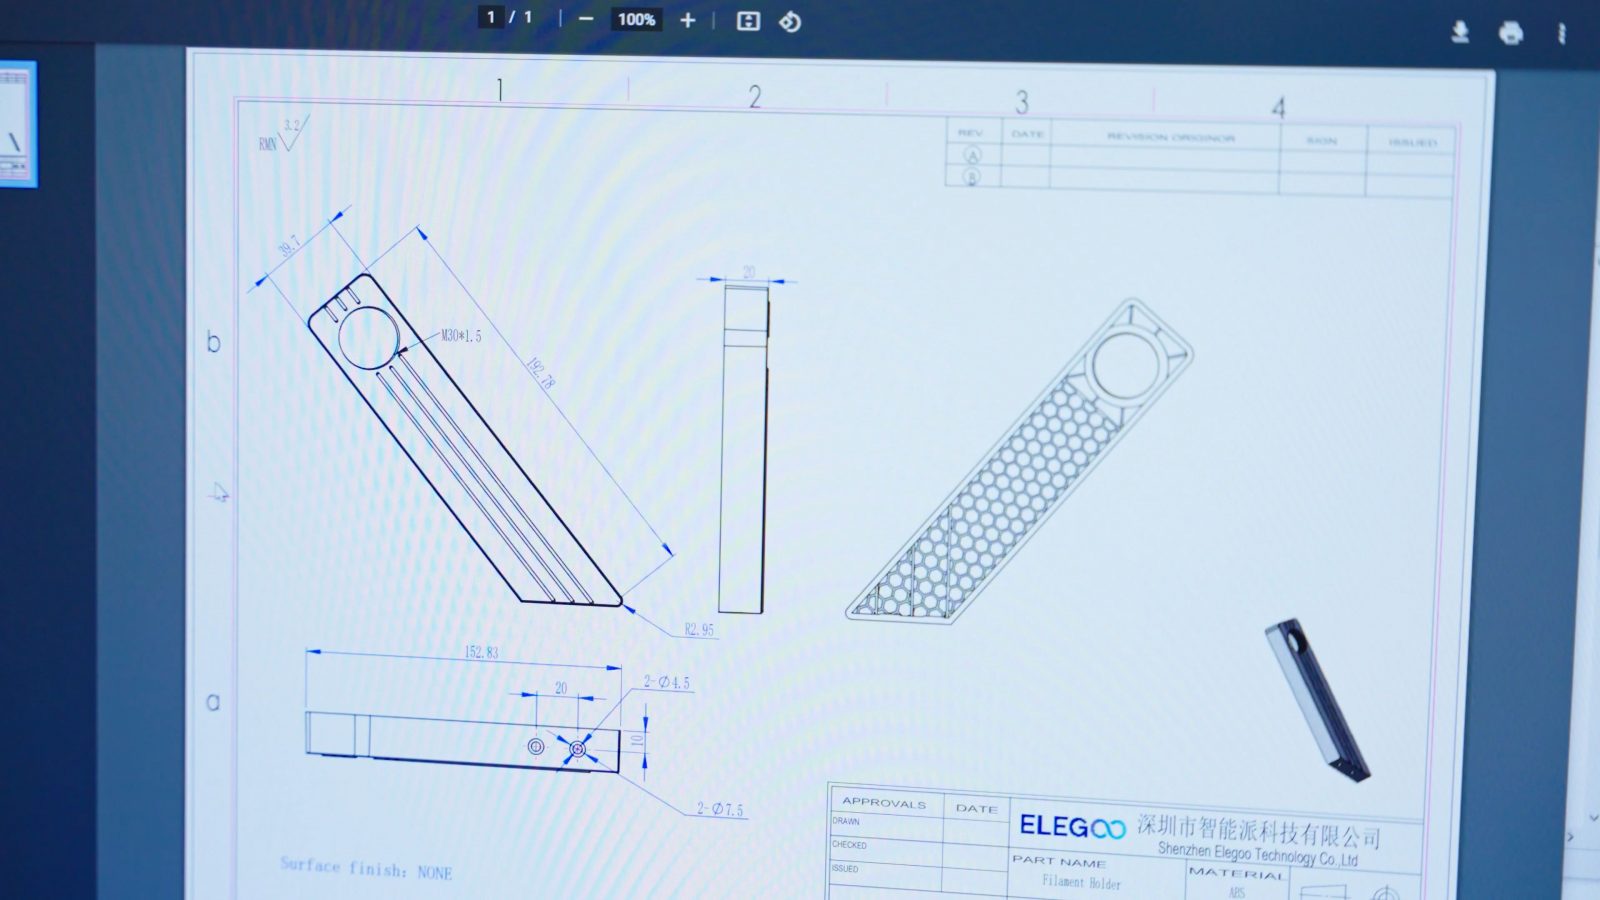
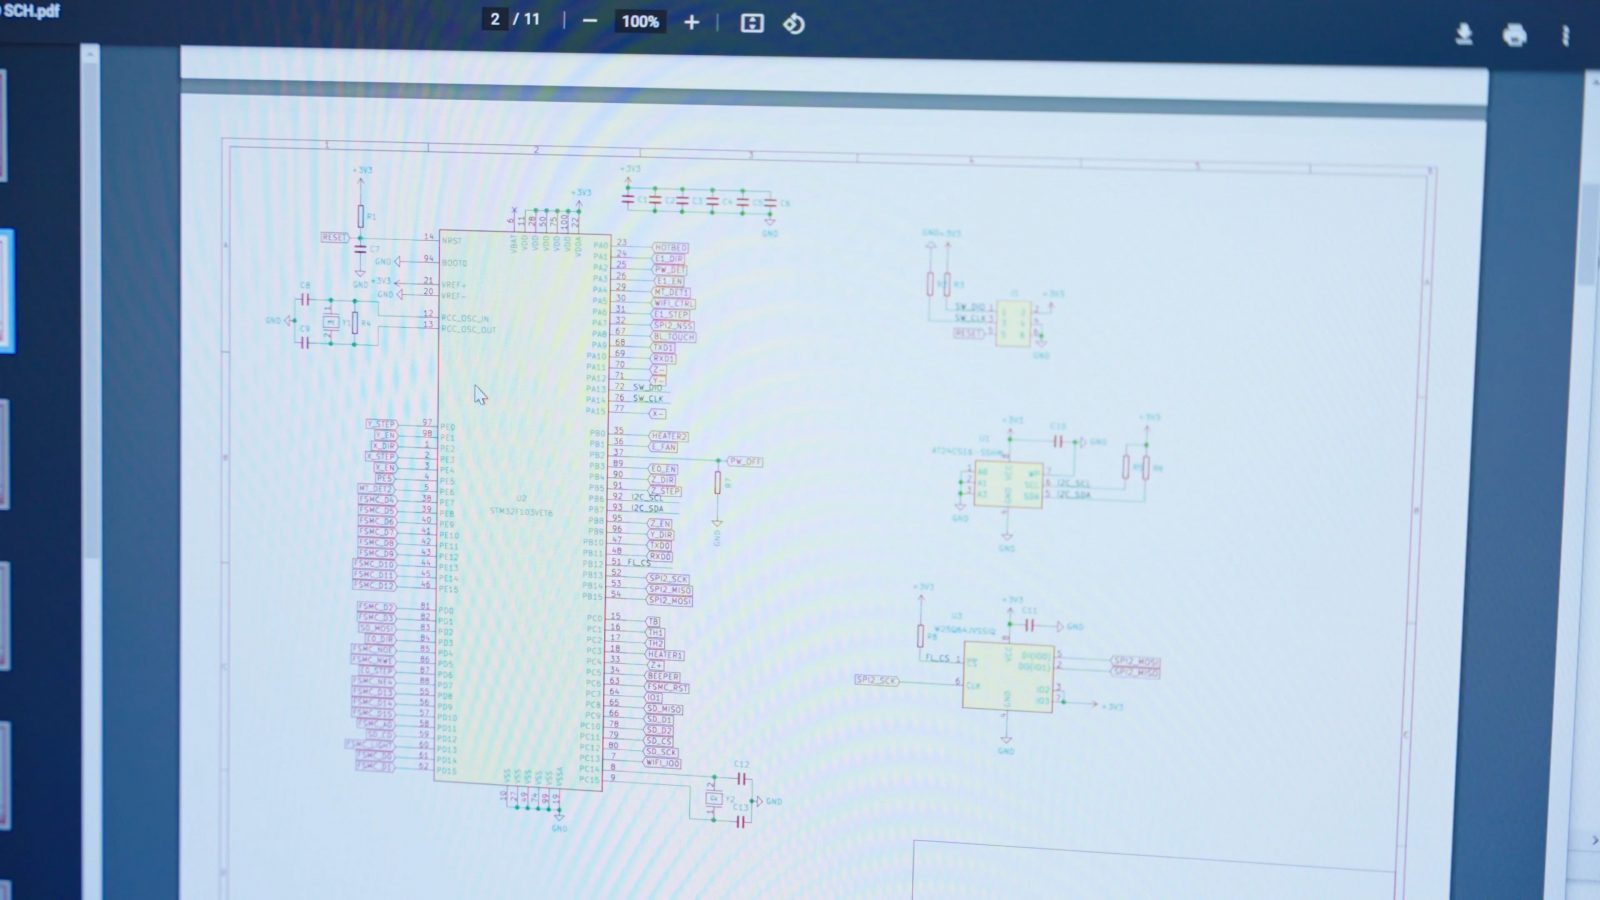
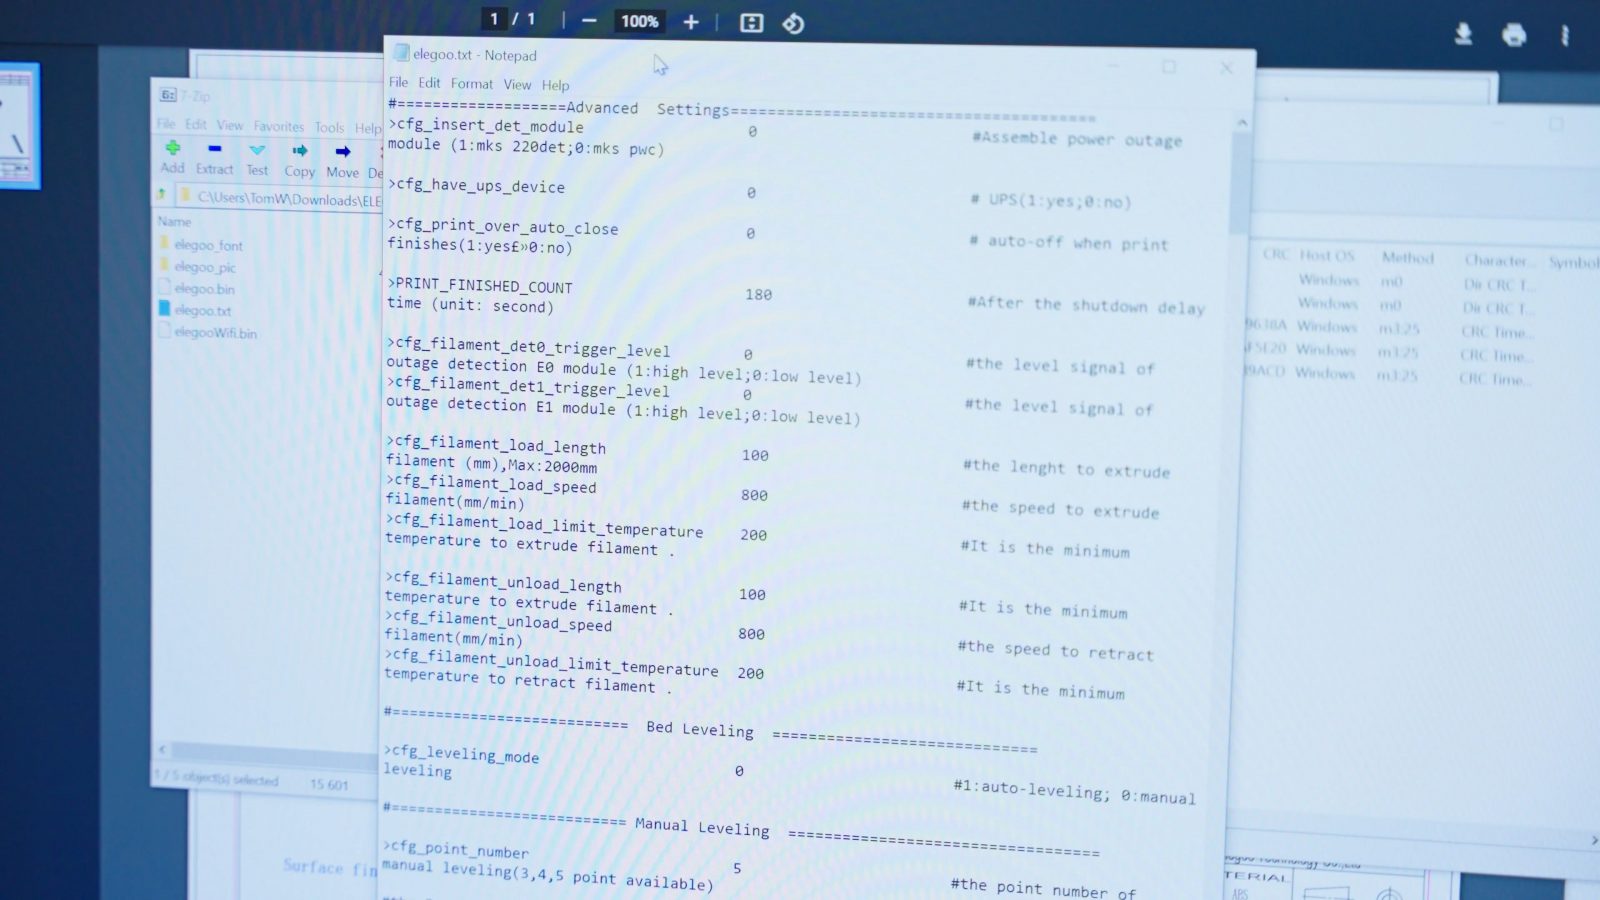
However, it’s not under an open-source license, so, technically, you aren’t really allowed to do anything with those designs, but it’s a start. It’s also missing the firmware source files, they’re only including what looks like config files.
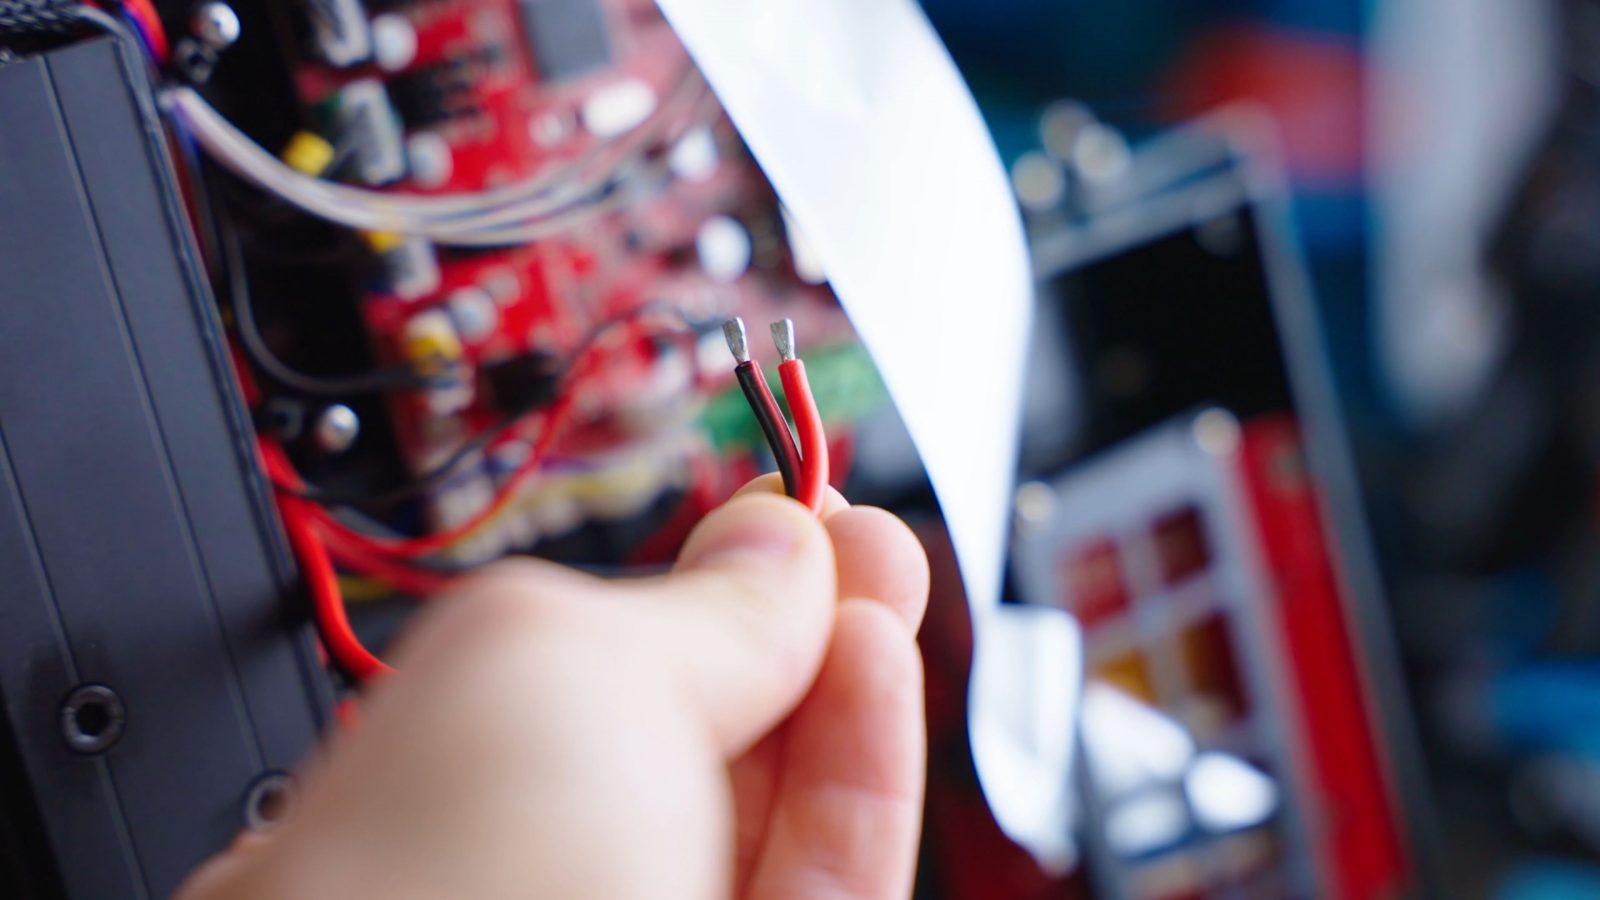
But back to the ZNP Robin Nano board, I would like to see a few fuses in here, because by default, the only thing limiting current in case of a short or a worn-through cable is the power supply itself shutting down; but also, why, Elegoo, are you still tinning your wire ends that go into screw blocks? What’s going to happen here is that the tin, which is a very soft material, is going to flow out under the pressure from the screw, and after a year or two, that connection is going to be loose and an absolute fire hazard. And I doubt this board has a temperature sensor in the connector area to detect an overheating situation like that. So if you get this printer and plan on using it for longer than a couple of months, open up the bottom panel, and cut back the wires until you get bare copper. Maybe put some crimps on it if you’re an overachiever, but it’s really not necessary with this type of screw block.
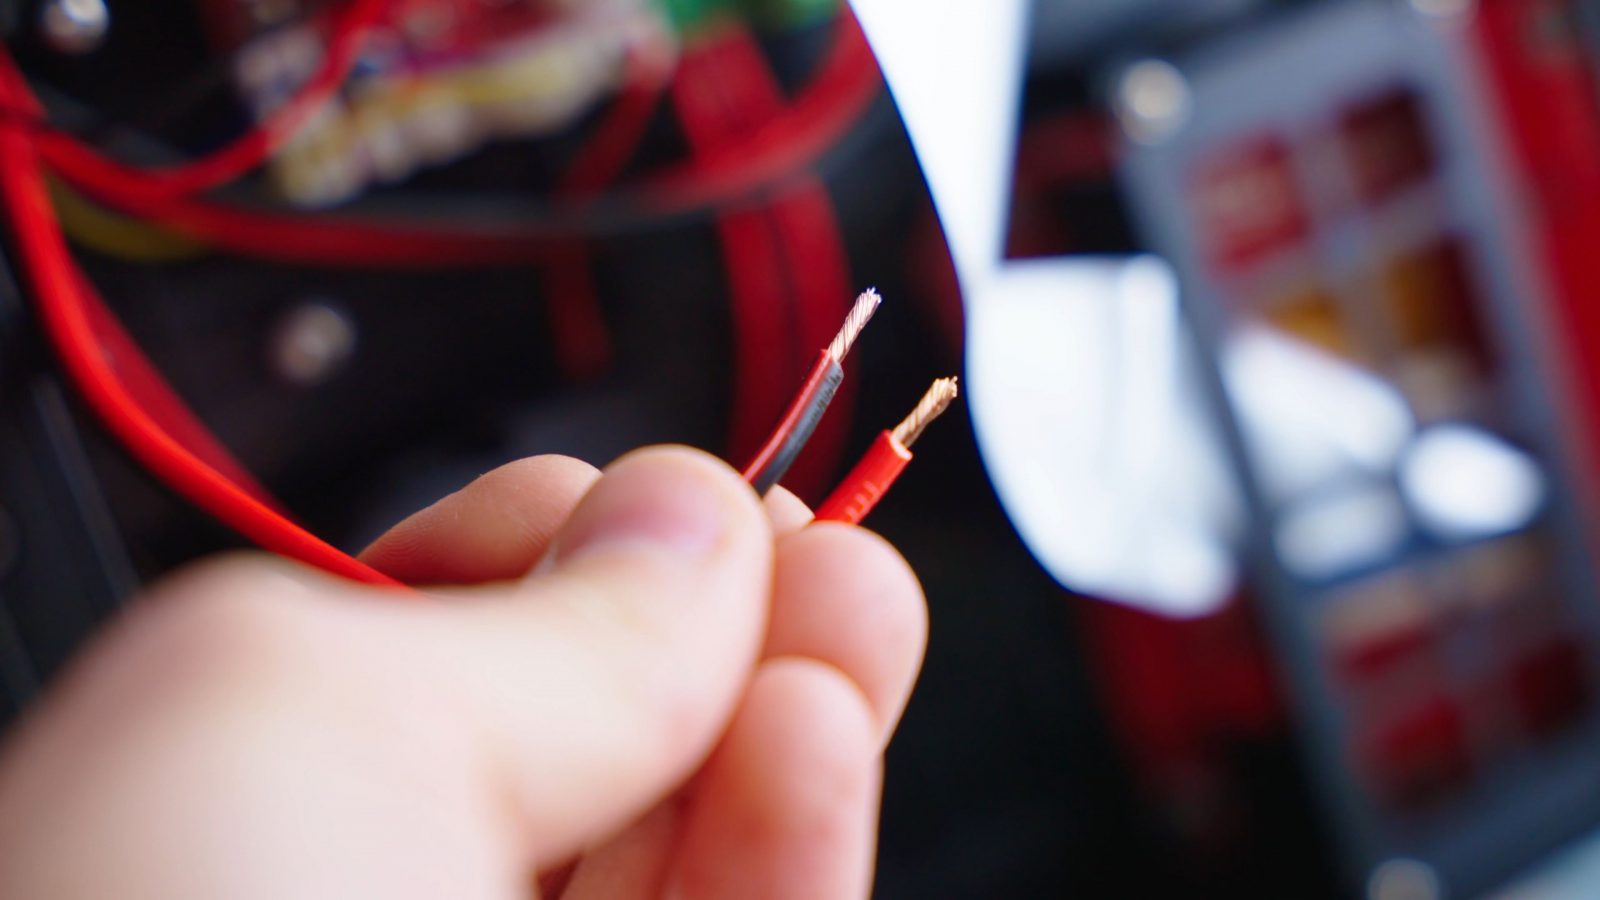
Otherwise, the electrical is fine, there’s a moderate amount of strain relief in place that, maybe isn’t going to hold up to printing for tens of thousands of hours, but, you know, it’s fine for what this printer is going to be used for.
But who exactly is going to be using this printer when nobody can actually buy it? Because you can’t. At the time of writing this review, the Neptune 2 specifically, as well as for example the Saturn just aren’t available for purchase and it’s been that way pretty much since they came out, maybe half a year ago. We’ve been seeing the same thing with the Mars, then the Mars Pro, and the Mars 2 Pro, where for weeks at a time, they just stop existing on the market, and then like 10 or 20 units appear on Amazon and three hours later, they’re all sold out with no option to still order and wait for the next batch and no indication of when more units might arrive. It’s literally like the entire product has been discontinued and you don’t know if it´s ever going to come back. Now, I don’t know how many units of these Elegoo are actually making, but I’m baffled by the fact that this was an issue with the original Mars, and over two years later it still is with the products Elegoo are releasing today.
I’ve already shifted the unboxing of my Saturn back week after week because it’s effectively vaporware, with this review though, this has been in the schedule for a while and I just wanted to get it done.
And I mean, it’s a shame that Elegoo are messing up with actually making sure you can buy their printers because they are good products after all. None of the cheap, sub-$300 filament printers are really exceptional, they’re all… okay, and with all of them using mediocre parts somewhere, like the hotend / extruder combo, it’s little details here and there that differentiate them. So when there is the option of getting either an Ender-3 or a Neptune 2, I would probably go with the Neptune. But if the Neptune isn’t available, the Enders are totally viable machines, too. Like I said in my review of the Ender-3 v2, these printers are getting decent enough that I personally would be okay with using one as my main printer, and they are all becoming more beginner-friendly by providing a more complete package of usable hardware and software that doesn’t *require* modding and tuning everything, but they still have a ways to go until they can do everything out of the box without any tweaking, but that’s where stuff can easily go very wrong. Again, there’s nothing wrong with buying a 3D printer as a hobby if you enjoy working on machines and learning about stuff, as long as you don’t actually expect to use your 3D printer to 3D print stuff, and with a review, I can only share my take on what the manufacturer provides, and not on the things that you can then turn them into.
In either case, that’s my take on the Neptune 2 – it’s a very decent printer if you can get your hands on one. As always, I’ve got the links to the materials I used in the description below, as well as links for the Neptune and the Enders.
Check if the Neptune 2 is in stock on Amazon
Buy the Ender-3 v2 on Amazon
Models shown:
Self-watering rectangular planter
Filaments used:
20% off XPETG with code TOM3D_XPETGMATT20%
I use Epidemic Sound, sign up for a 30-day free trial here
🎧Check out the Meltzone Podcast (with CNC Kitchen)! https://www.youtube.com/channel/UCzUg…
💙 Enjoying the videos? Support my work on Patreon!
Product links are affiliate links – I may earn a commission on qualifying purchases (at no extra cost to you)
Check out my second channel “More Layers” on YouTube for livestreams
