
When you hear “Prusa” what comes to mind for you, what are your expectations for an original, genuine Prusa 3D printer? Okay, okay, hold on to those; for me,
1) A flawless user experience, so no guesswork, no messing around and tuning things, you just unbox it, set up the software, follow the manual, and get to printing.
2) Good print quality. Like, really good print quality to a point where I would say that, within the limits of current hardware and software, it’s going to be as good as it gets. And lastly,
3) Achieving all that not by throwing the best, most expensive, overkill hardware at it, but by designing things in a way that makes the most of the components they’re using.
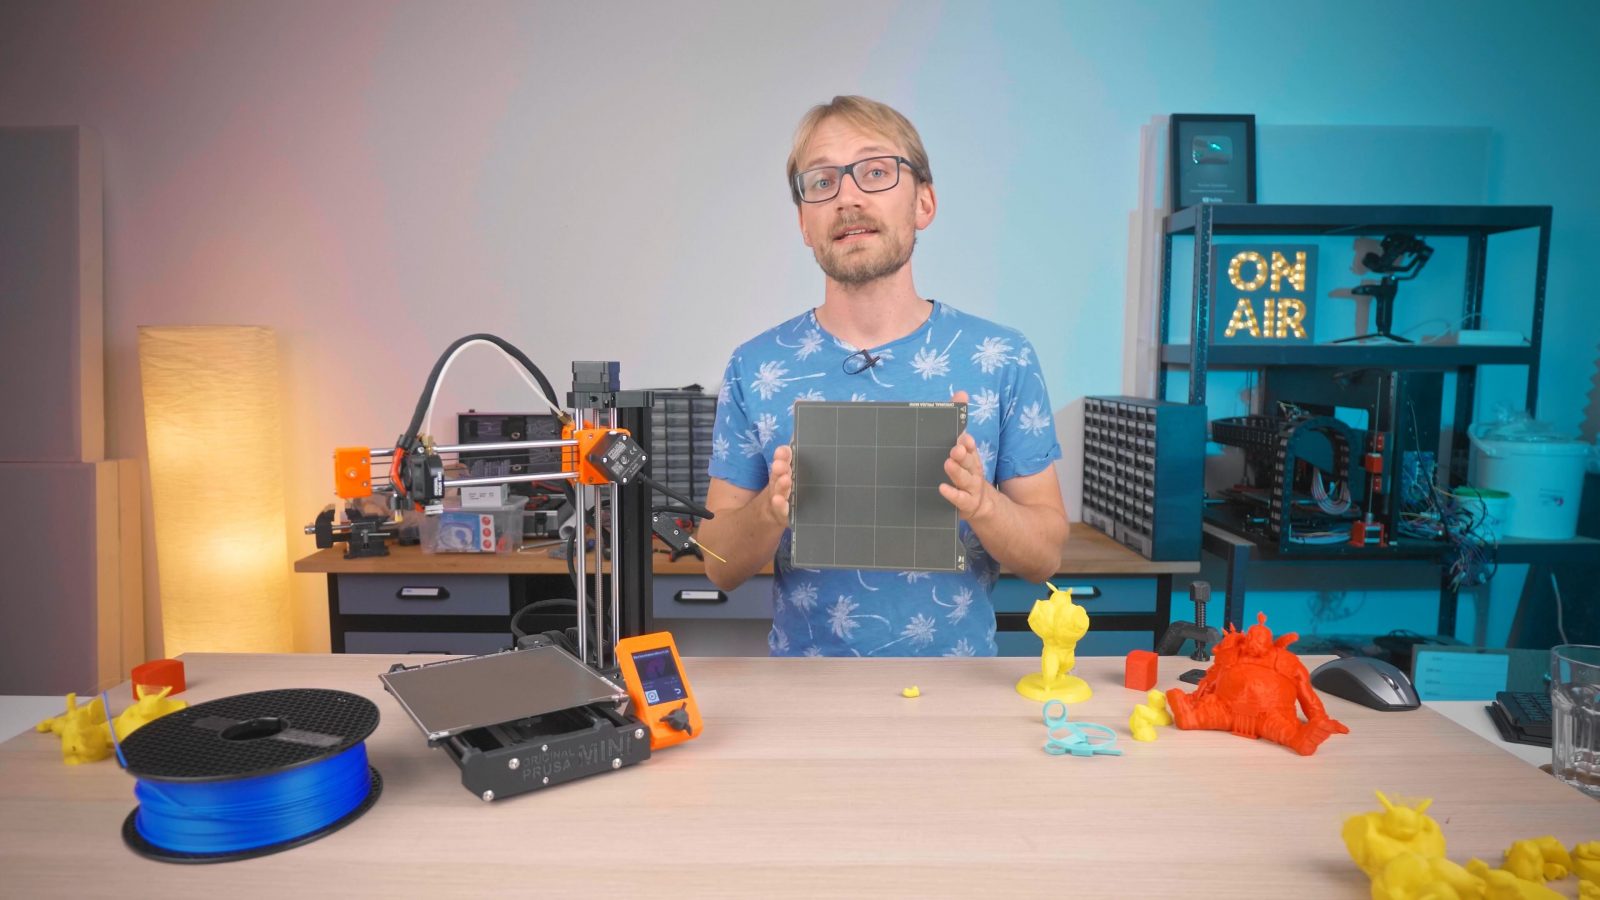
Now, I don’t know if that matches your expectations for a Prusa machine, but I just want to start this review out with the fact that I have very high expectations for the Prusa Mini based on me using the i3 MK2, MK3, the SL1 and CW1, and the thing with those machines is, even though I have so many other 3D printers at my disposal at any time, I somehow keep coming back to the Prusa machines when I’m not looking for an adventure, but instead I just want to print things without having to worry about slicer settings or machine calibration. So all that had me expecting a lot from the Mini, and, well, obviously, there was no way that I wasn’t going to end up disappointed. Spoiler: This is a great printer as-is, but there are a few things that they can and probably will be improving.
User Experience
Assembly
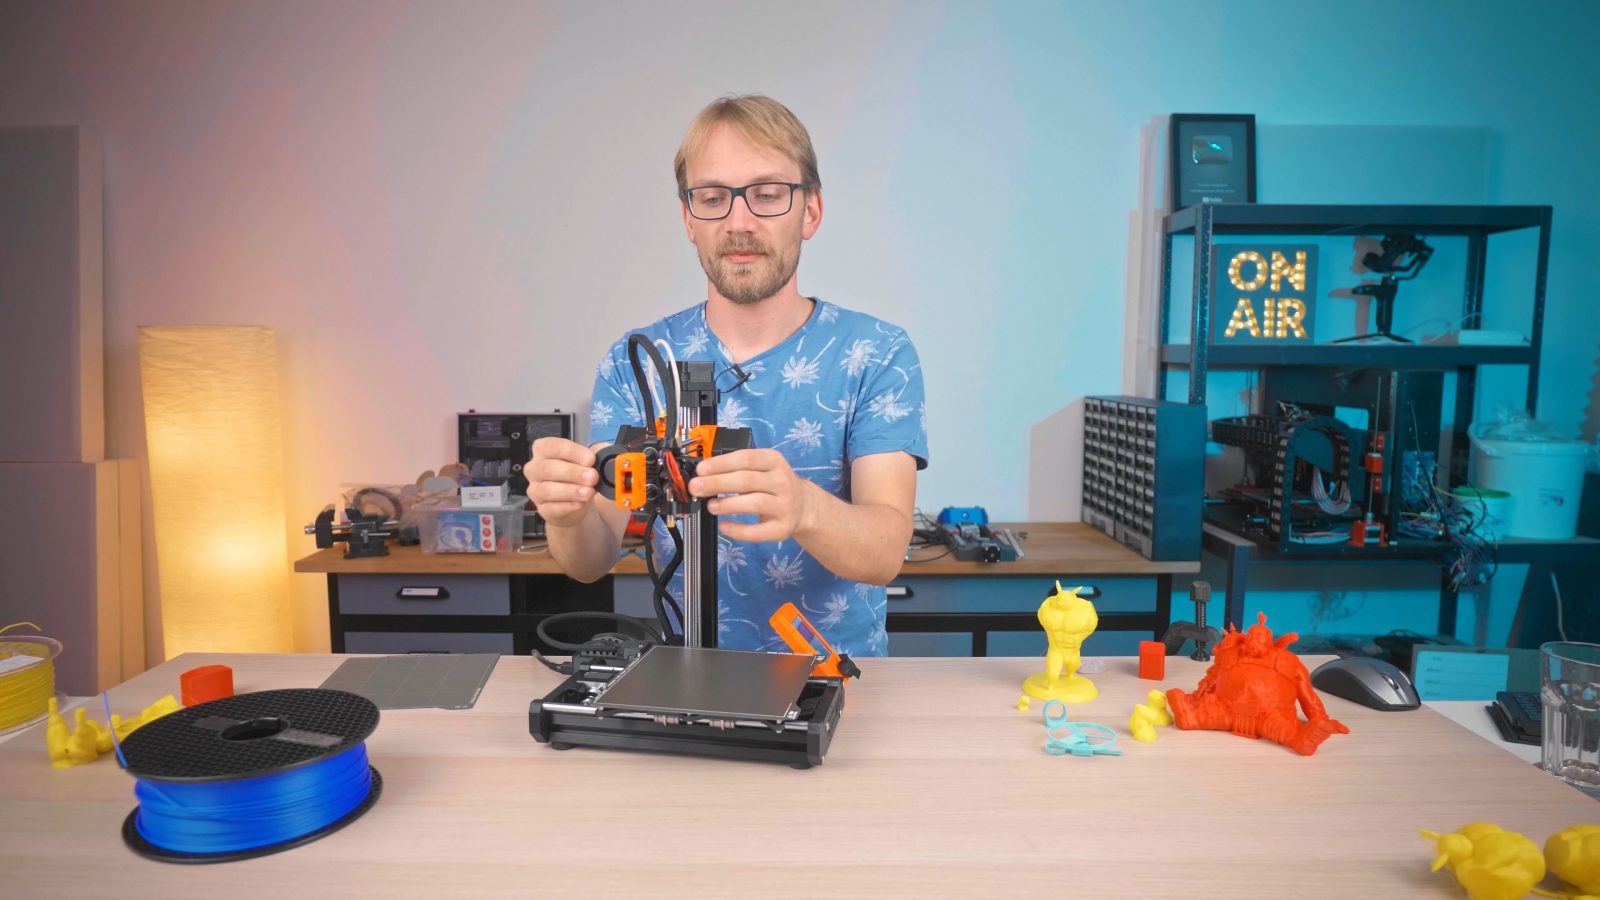
So, first, the user experience. As always, you can still watch my unedited live unboxing for the Mini, but you get it as a two-part pre-assembled kit, and the assembly itself isn’t hard or anything, but it is a bit more finicky than bolting together a CR-10-style machine where you have two or four bolts that hold the vertical frame and then you just plug in the toolhead and the X and Z motors; here you also need to do a bit of wire management in the electronics compartment and the mechanical connection has you lining up bolt holes perfectly – the manual guides you through the process, it’s nothing that’s impossible or even hard to do and it’s still obviously way less involved than actually build a printer from a full kit, but my expectations were that it would just, I don’t know, click together or something, which it doesn’t. That is alright.
Printing
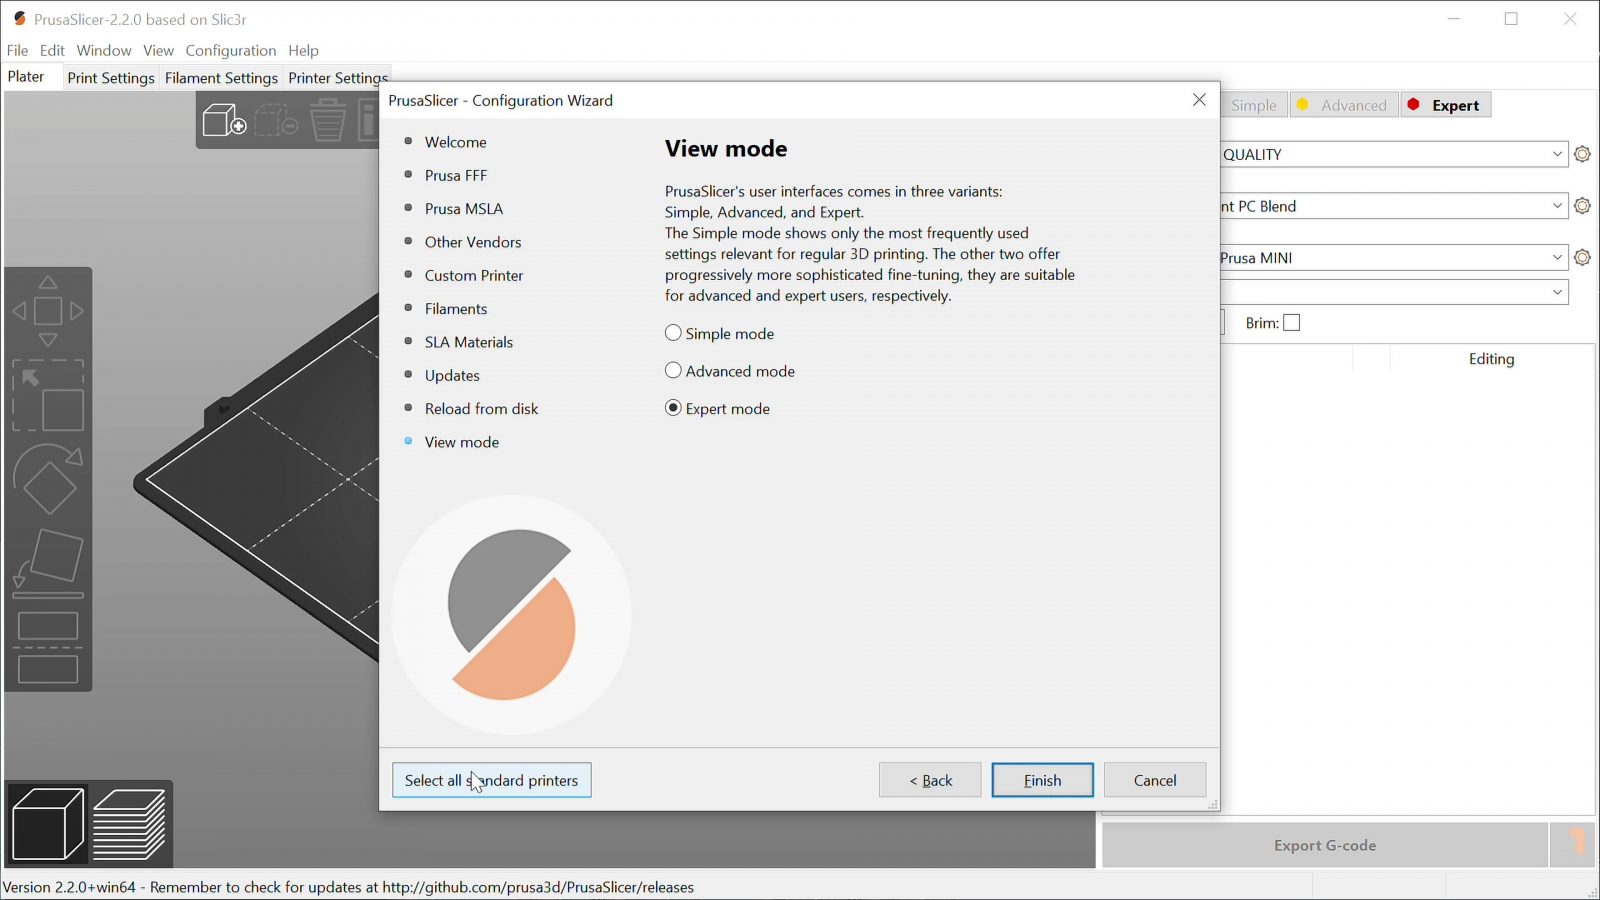
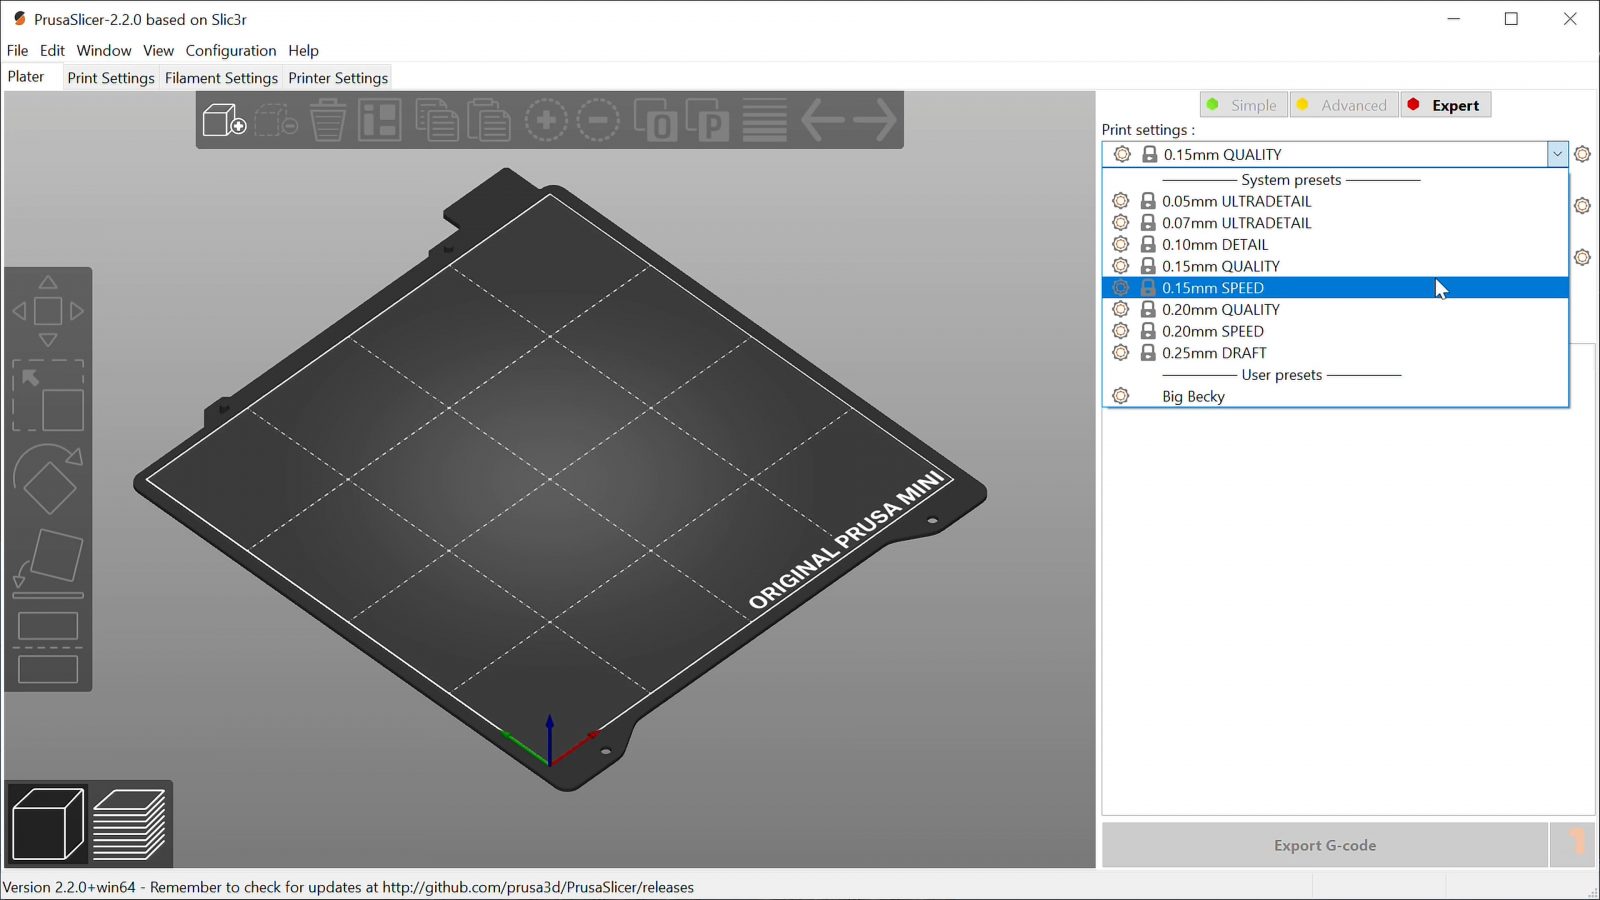
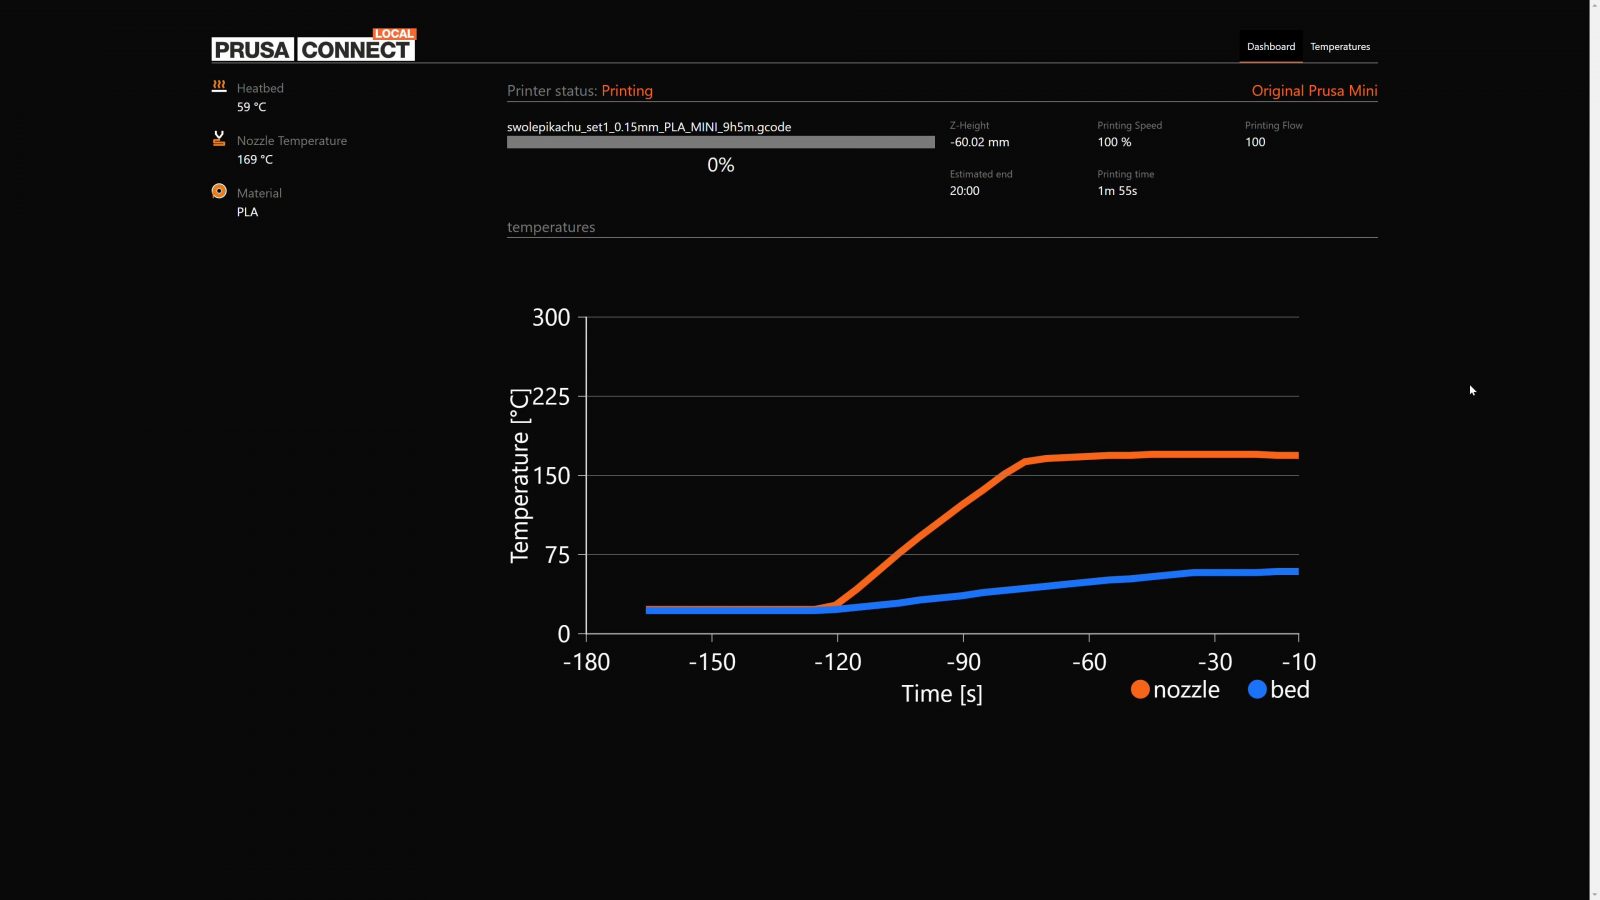
Now, once it’s assembled, printing. If you’ve ever used a Prusa machine, it is the exact same workflow and that workflow, I think, is one of the biggest features of any of their machines. So because they develop their own software, which includes their own slicer, PrusaSlicer based on Slic3r, that works perfectly with their machines. So you install the software, Windows, Mac, or Linux, it asks you which printer you have, and everything is just right there.
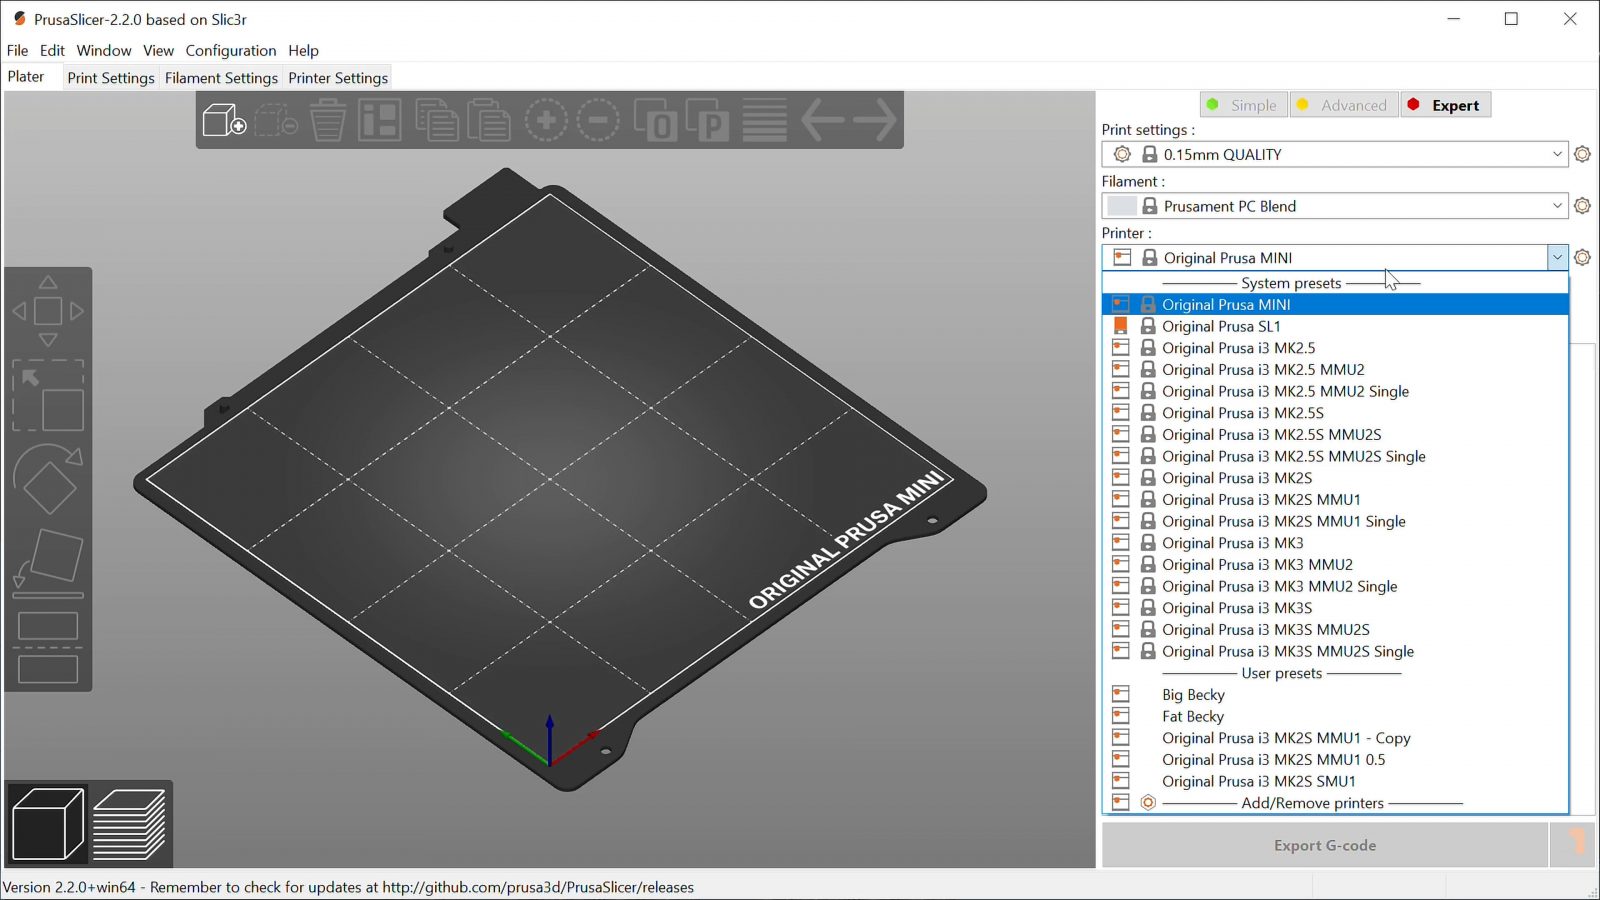
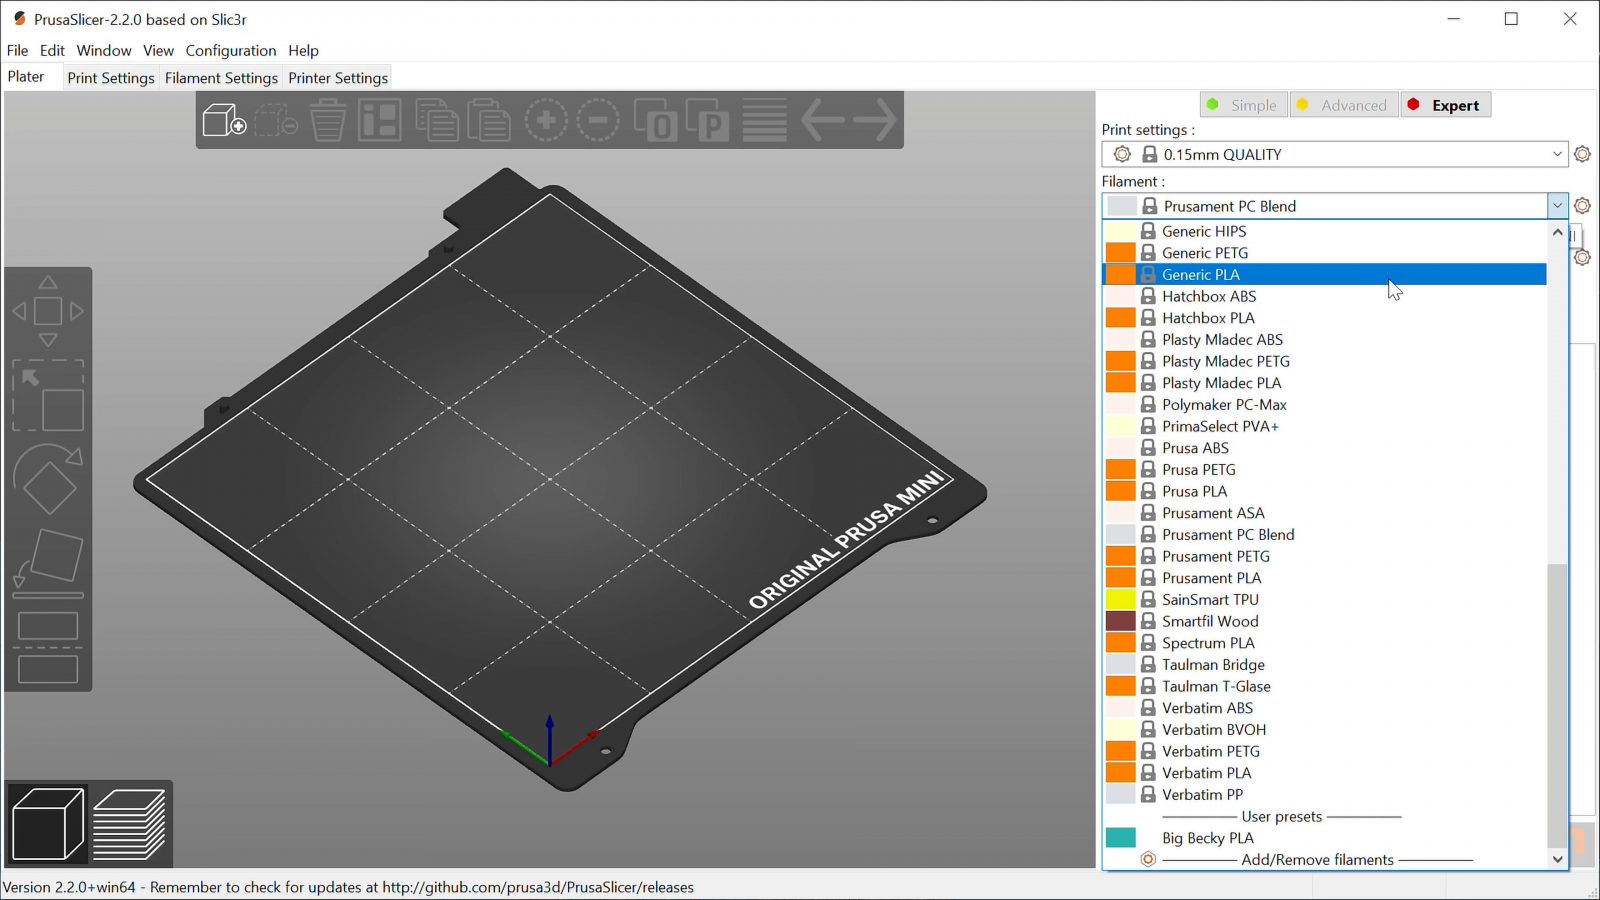
You’ve got tuned material profiles for PLA, PETG, ASA, polycarbonate, flexibles, and a bunch of specialty filaments as well, and you can use them at different quality and speed settings, like, you can choose, again, with pre-tuned profiles, not just between a fine, normal and coarse layer height, but there are also different tunes for those layer heights where you can choose if you want to print just a bit faster or a bit nicer.
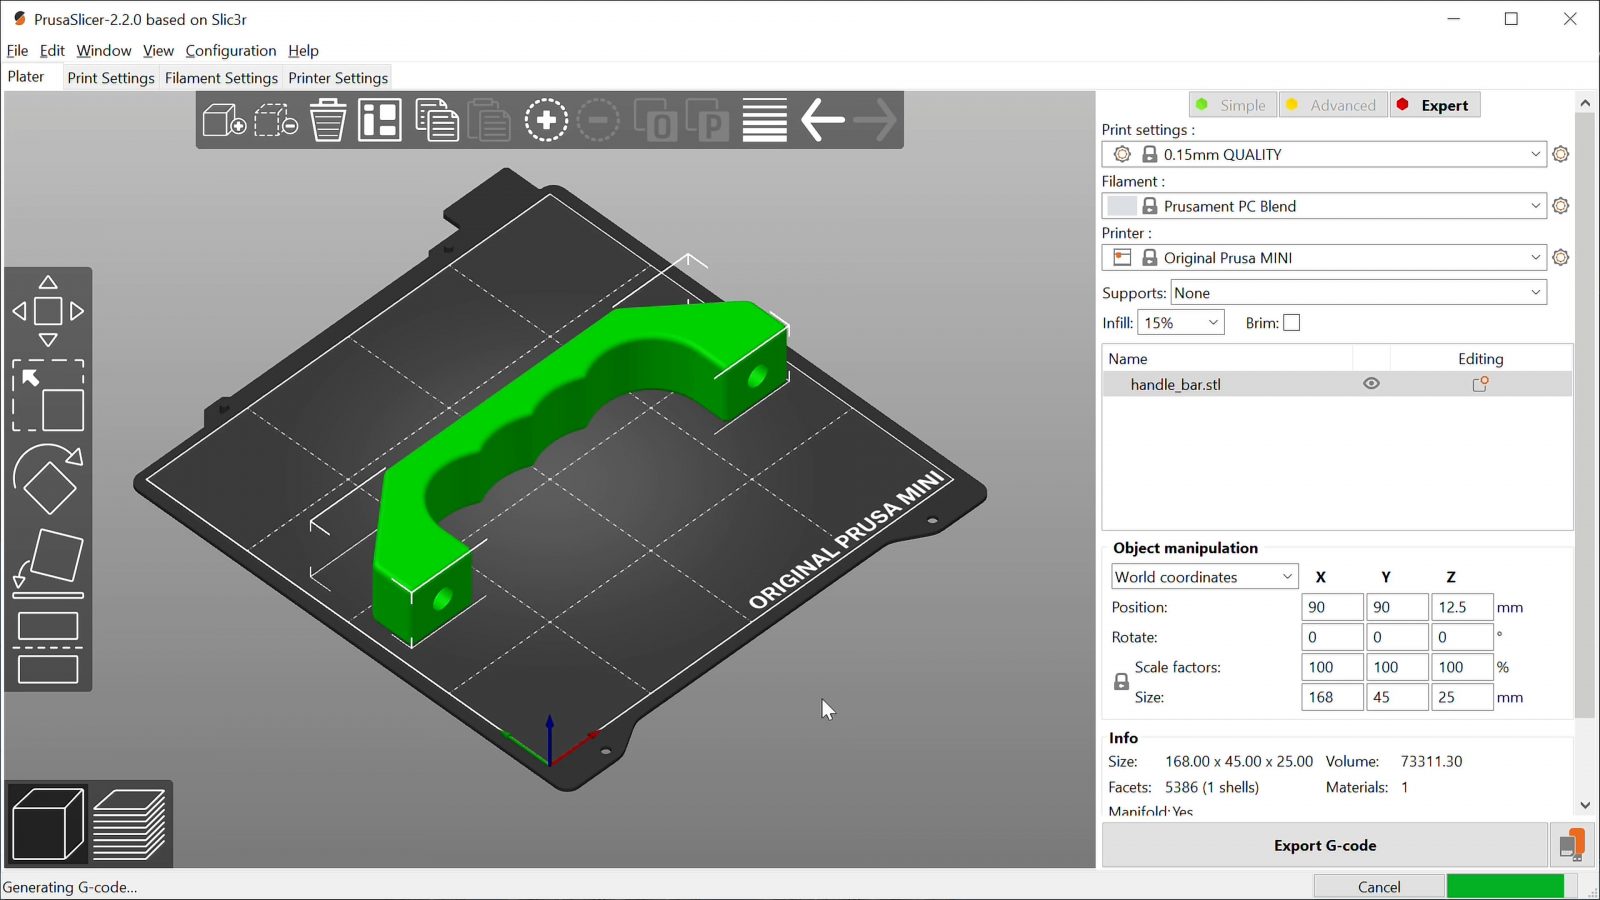
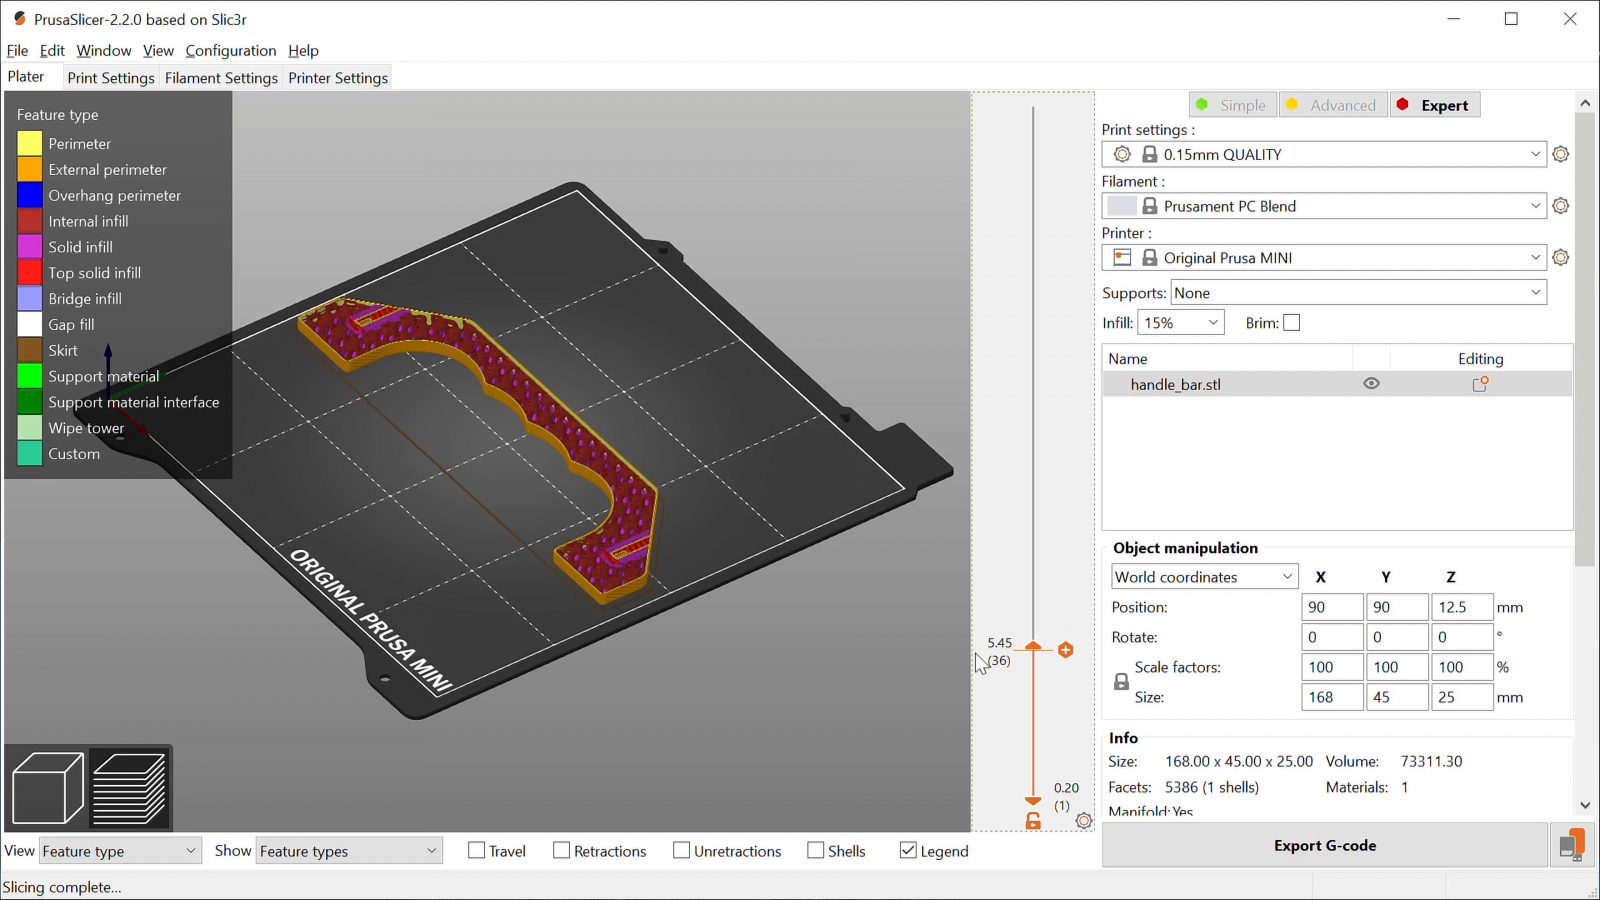
Load in your model, the slicing itself is really fast, export onto the included USB thumb drive, and it shows up in the printer with a preview image, that’s fantastic.

Now, for my very first print, I was running into some issues with bed adhesion, which you can see in the live stream; I tried using the textured PEI sheet to print with PLA, that’s not a recommended combination, but it’s exactly what I’ve been using on the MK3 for what feels like forever now and I’ve never had an issue with it there. On the Mini, PLA prints would absolutely not stick to it, and I don’t know if that’s because the textured PEI was not “worn in” yet or if they changed how they’re made.
And yes, the manual does explicitly state to use the included smooth PEI for PLA, but you all know how good I am with reading Prusa’s manuals. I just, you know, expected it to work.
Print Quality
So let’s move on to print quality. And the quality you get is actually great!
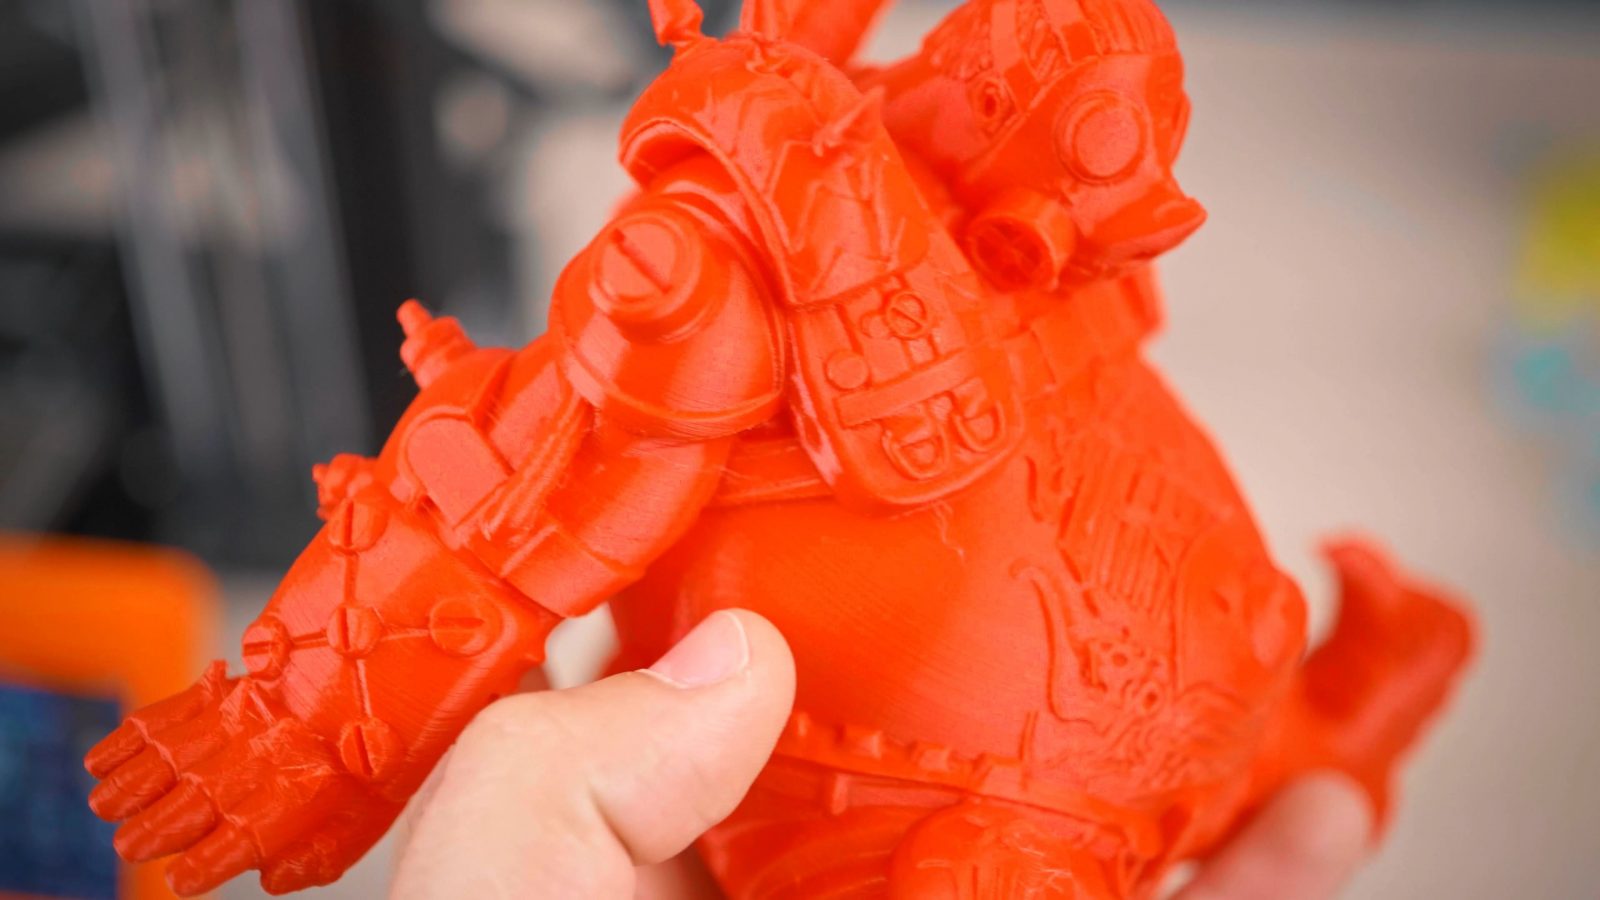
As always, I was just using the included profiles, and the prints look basically indistinguishable from what my MK3 produces, which means it’s pretty much as good as it gets. I tried the Prusament PLA, PETG, ASA, even their polycarbonate blend, and even a shore 95A flexible filament, and if you put the prints from the MK3 and the Mini side by side, they look basically identical. Which, I think, is quite an achievement for a machine that costs less than half as much as a MK3.
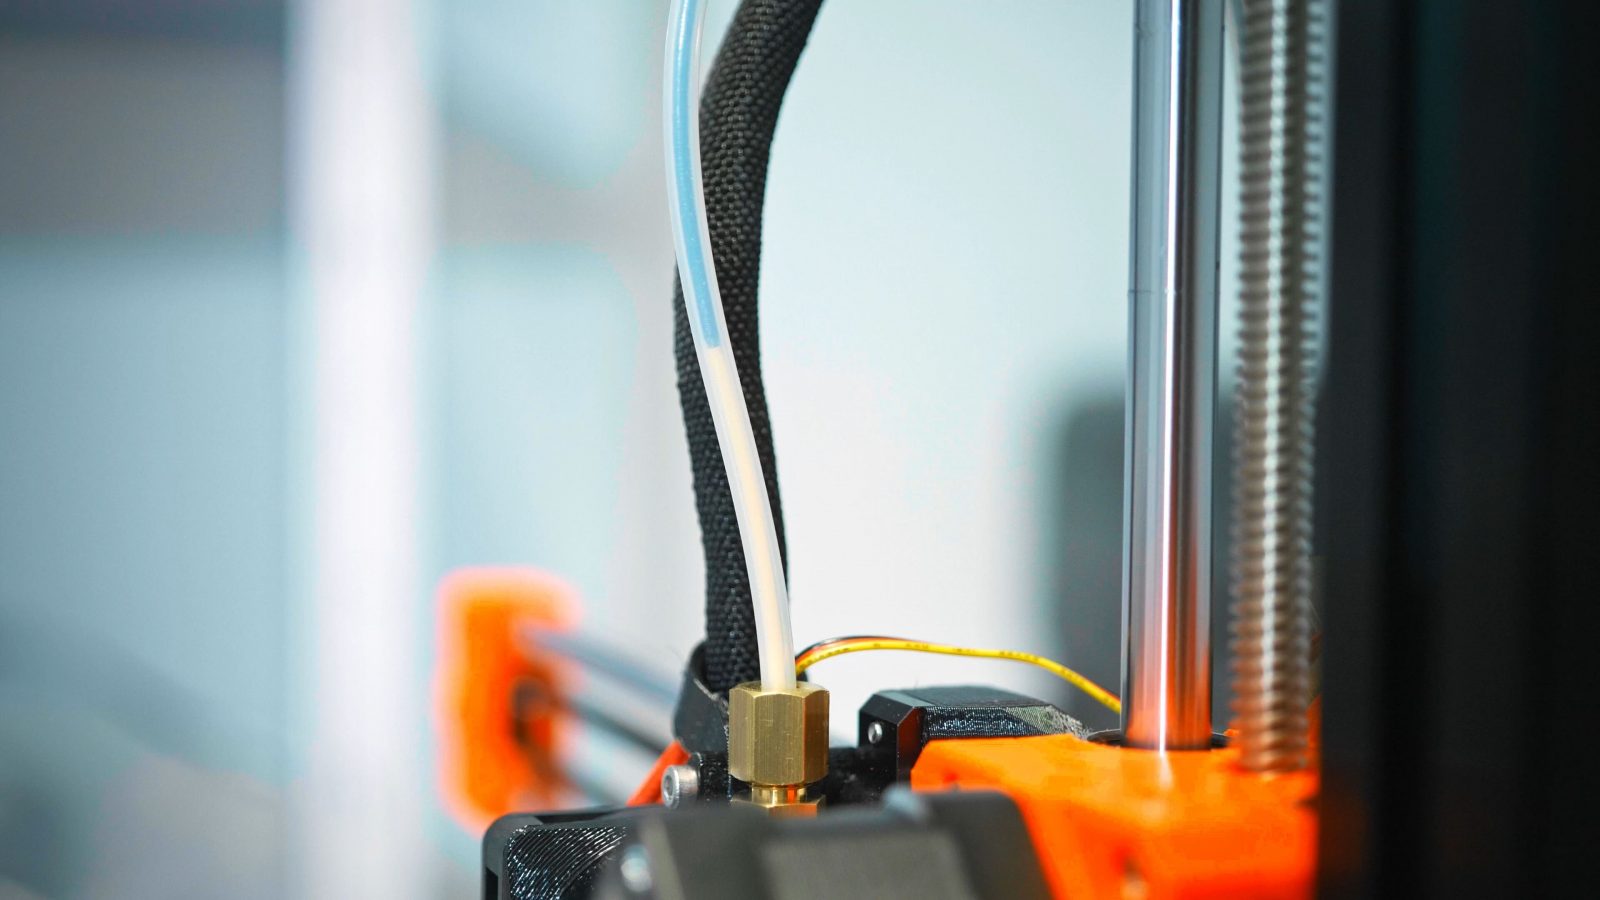
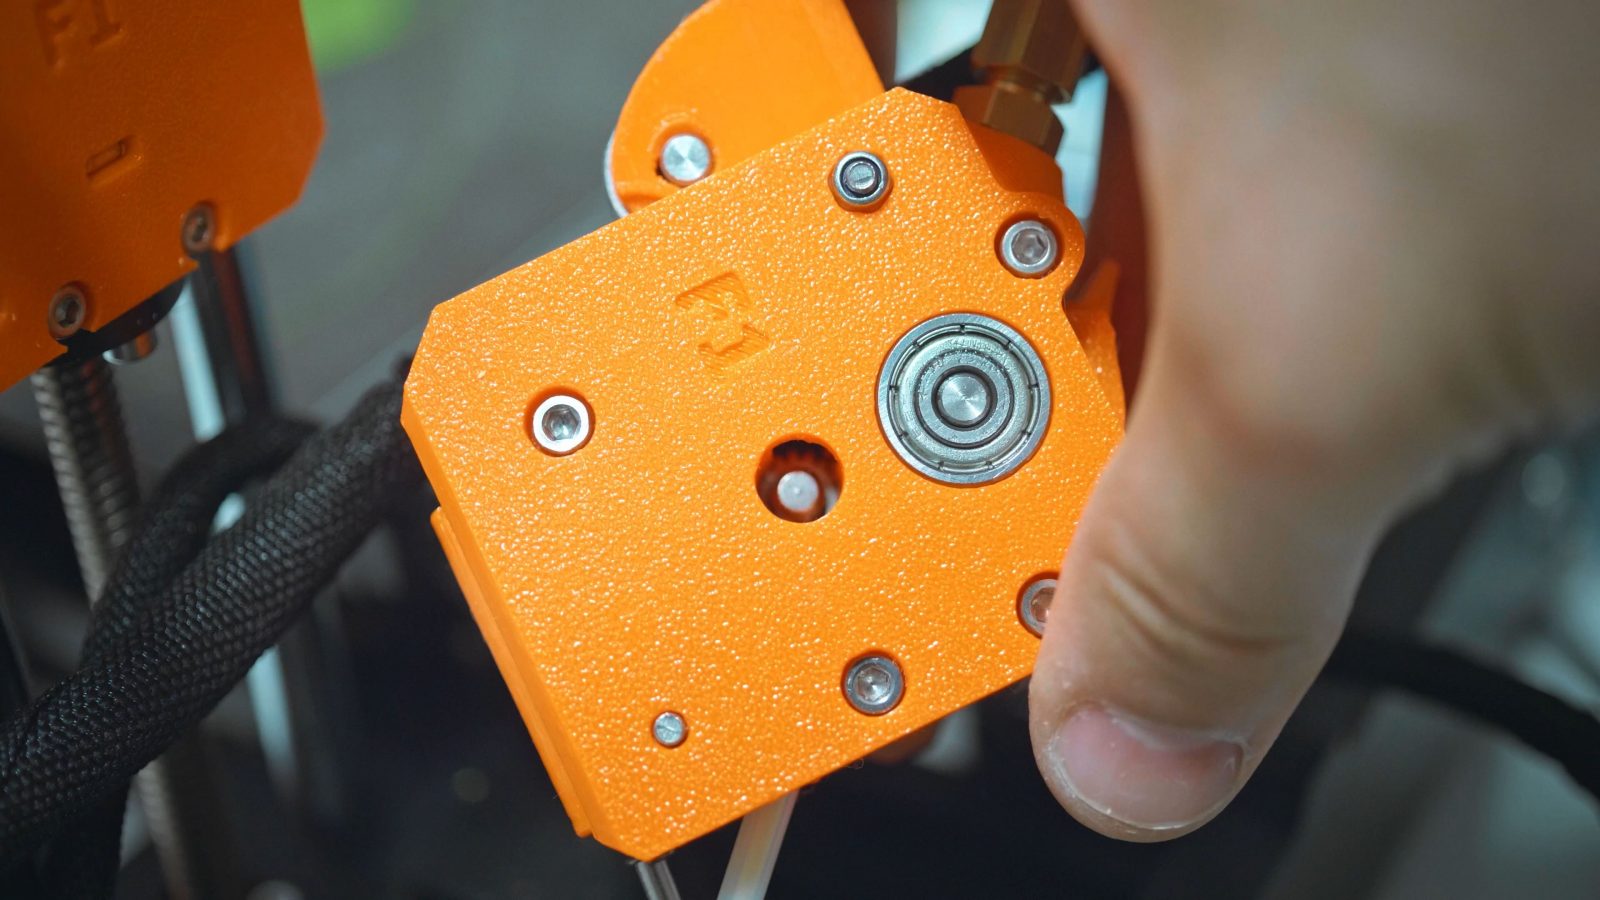
Three filaments that stand out here – first, polycarbonate, which is printed at a whopping 275°C, and that temperature is something that most printers printers can not safely achieve. So when the Mini came out, a big talking point was that they had moved away from the E3D-made, all-metal v6 to a custom hotend that didn’t look like it was suitable for the temperatures needed for anything beyond PETG.
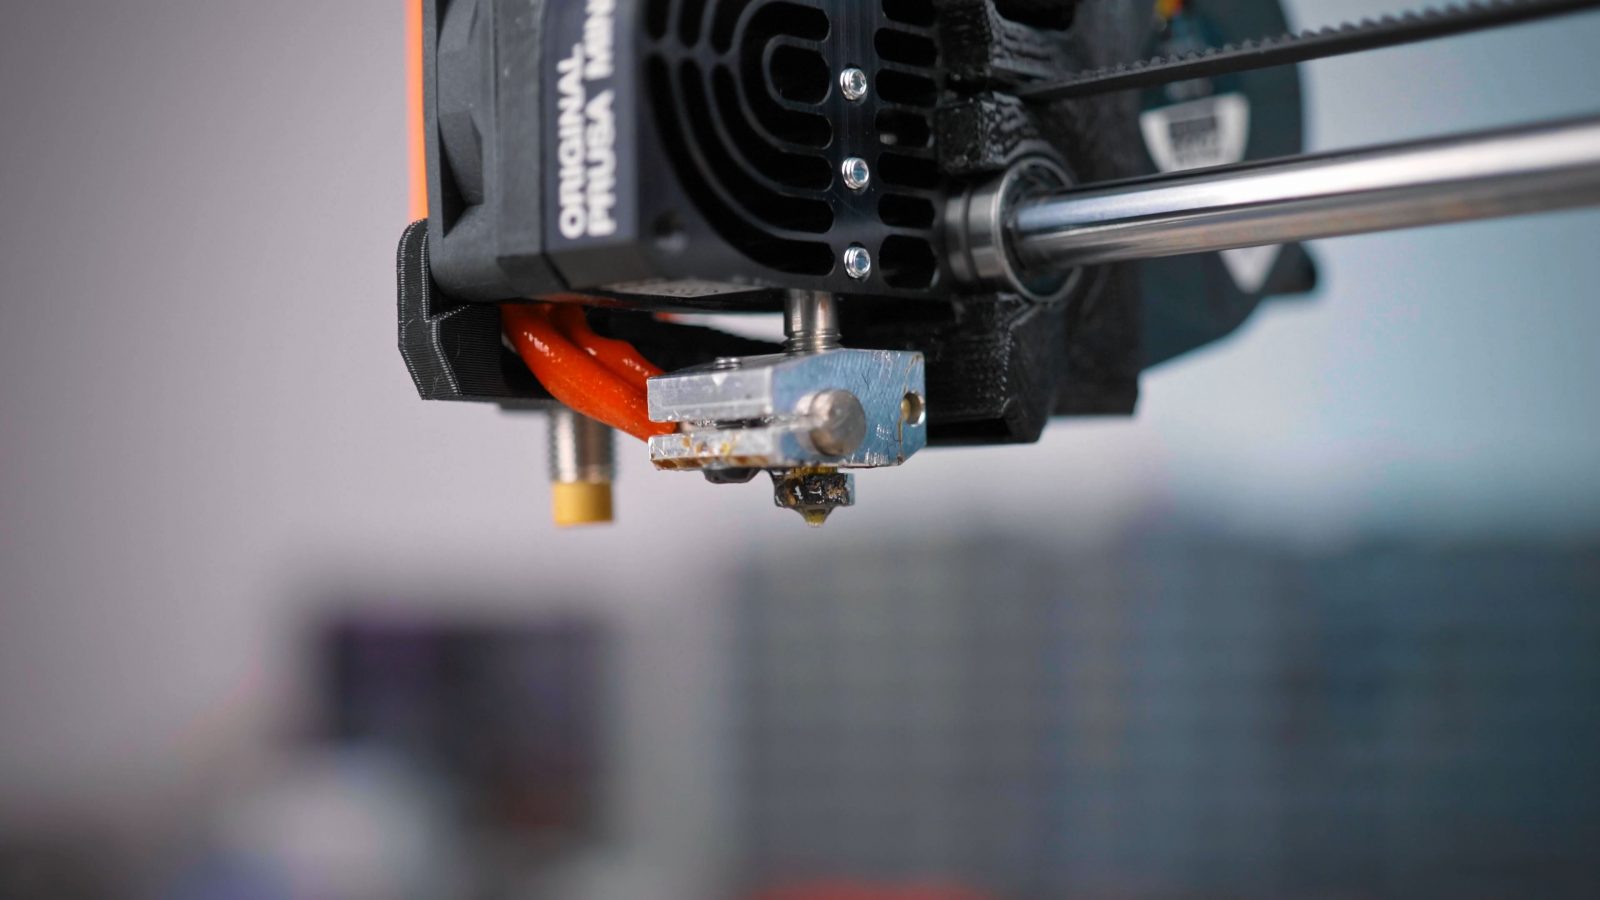
The way the heatbreak looks is like one of the cheaper Teflon-lined hotends where you have a Teflon or PTFE liner going all the way into the heater block – and because that PTFE liner rapidly degrades pasts 240, 250°C, that ends up being the temperature limit for the hotend.
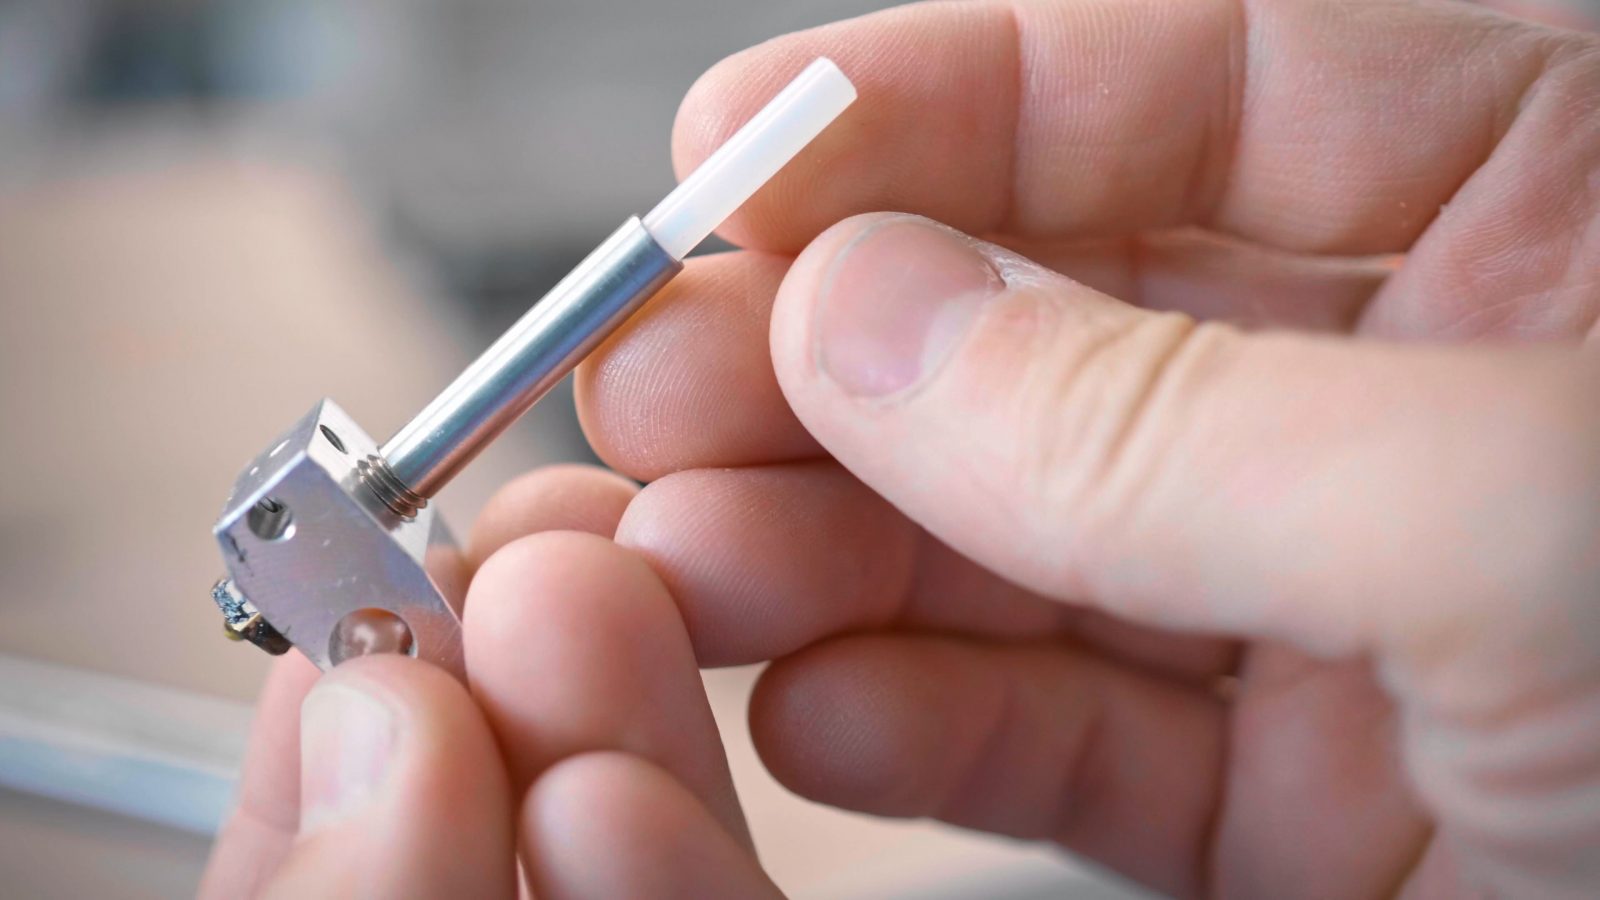

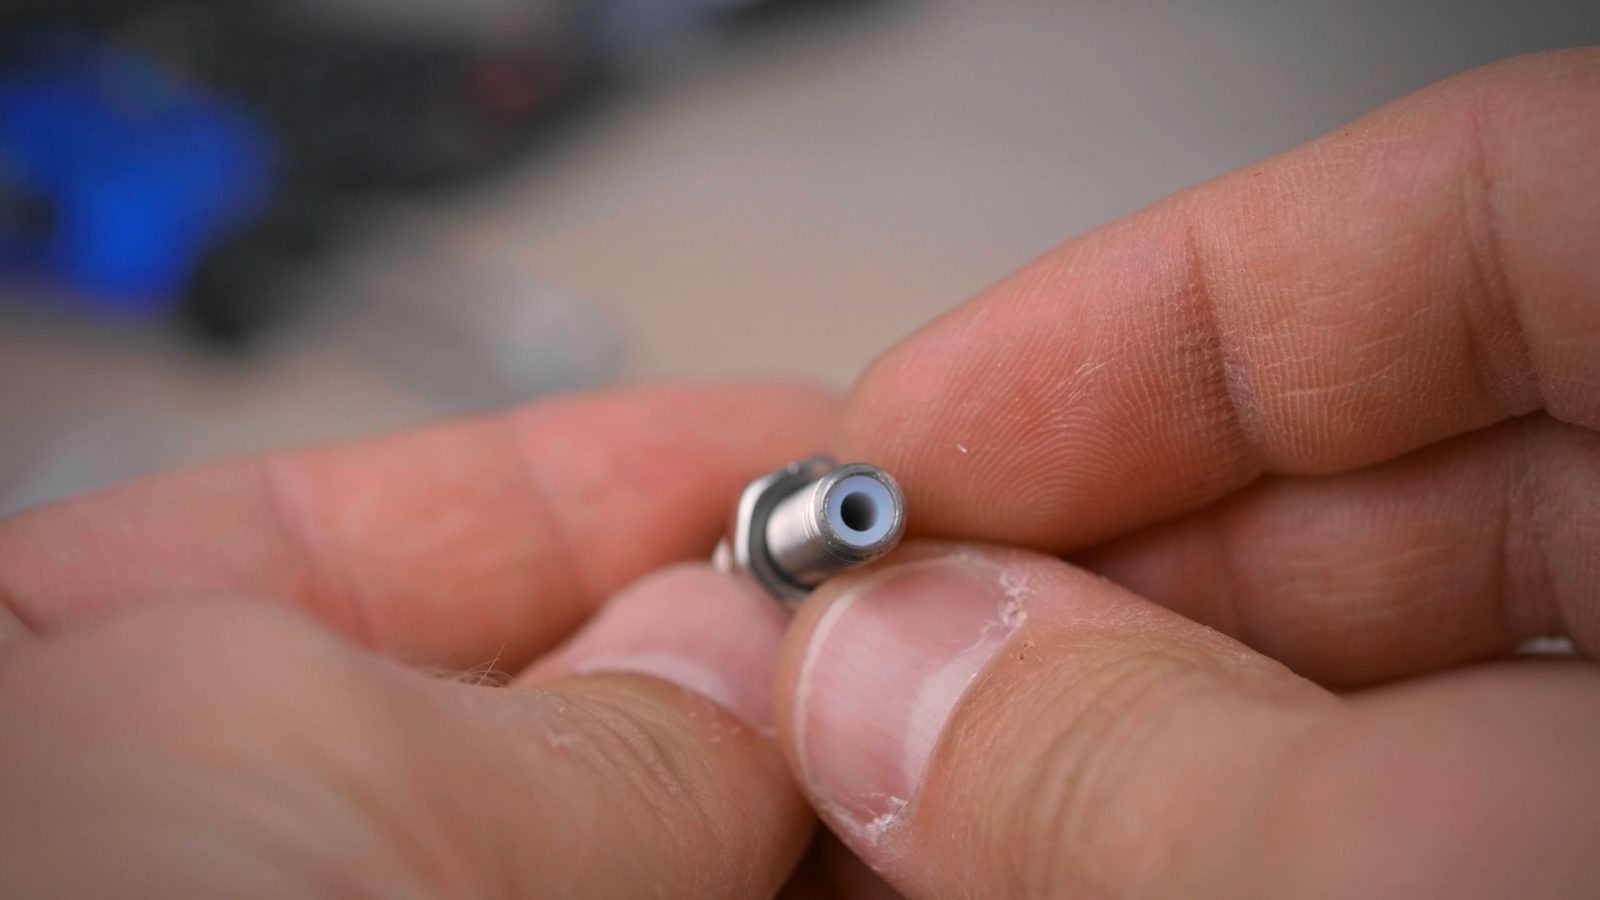
But this is not that – the hotend does have a PTFE liner, but it doesn’t quite go into the heater block, but stops halfway between that and the heatsink, so the PTFE itself is never going to see temperatures beyond about 150°C, even when you’re printing polycarbonate at those 275°C at the nozzle.
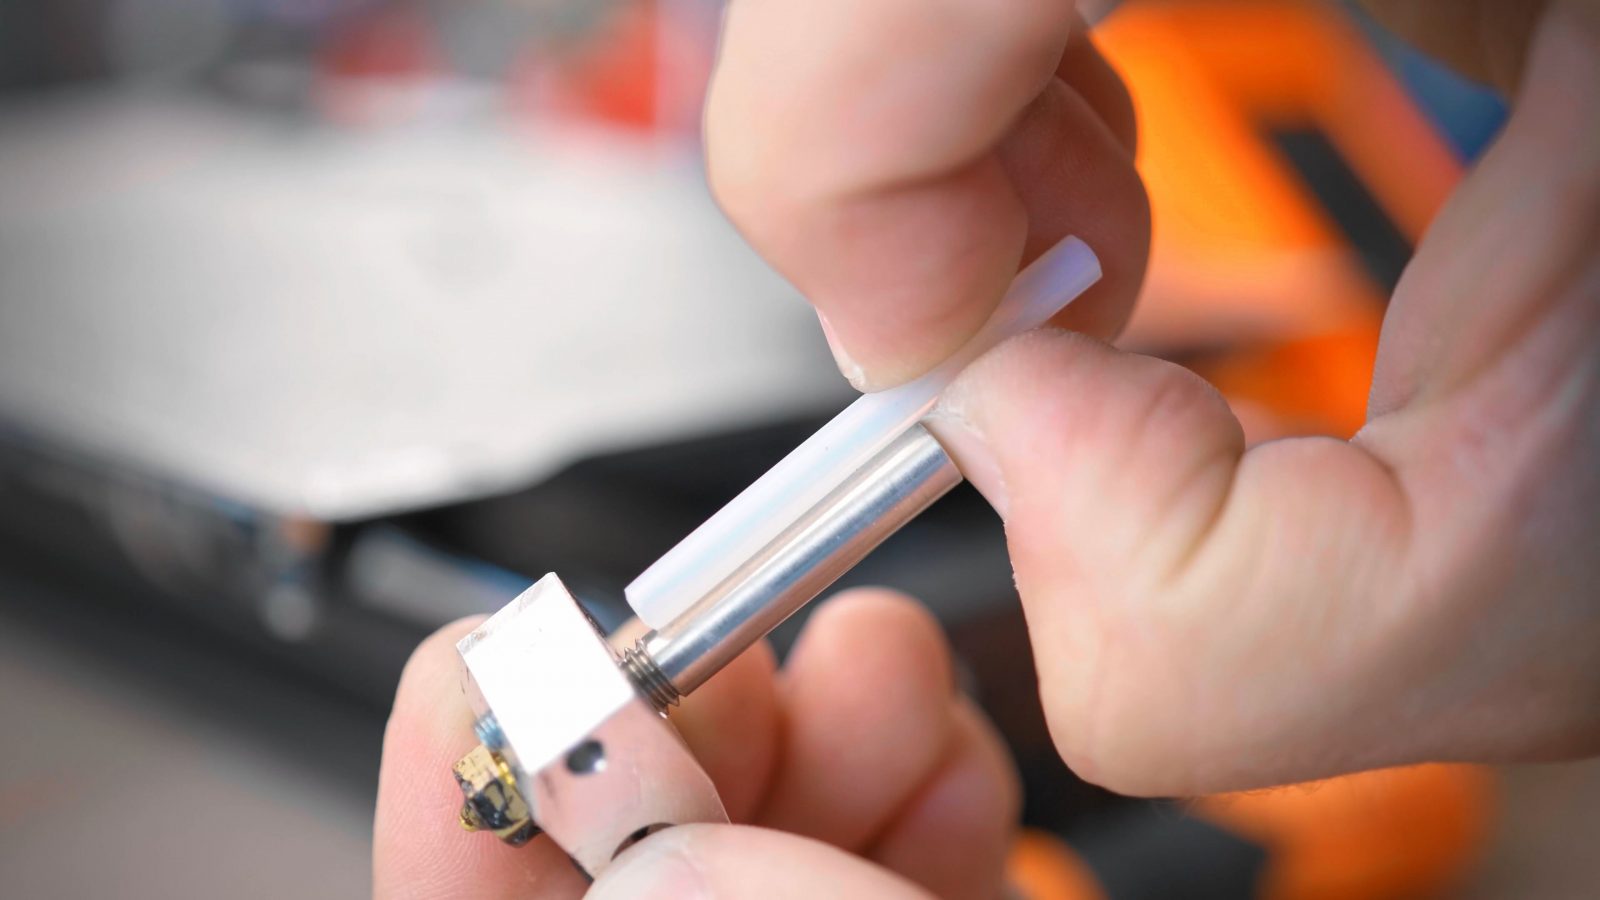
I think that’s a pretty neat approach – and it works well. I’ve printed all the mounting parts for the Hemera on my Mendel 9001 in ASA on the Mini, they turned out perfectly and the hotend liner still looks like new. It’s probably not the most energy-efficient design because you have a thick stainless steel heatbreak conducting heat into the heatsink, but it’s mechanically much more robust than the v6-style machined down heatbreaks. And everything past the heatbreak seems to be compatible with standard v6 components, so if you want to use different nozzles, you can use any off-the-shelf ones. I gotta say, I kinda like this hotend design.
The second filament to look at is this extrudr PLA, which printed absolutely horribly in the Mini, but printed perfectly fine, or at least, you know, decently in the MK3.

Now, this threw me for a bit of a loop, and I went back and forth printing the same model with the same filament in the Mini, then going to the MK3, then back to the Mini, and it was always the same, garbage print on the Mini, good on the MK3. Until I saw what the Bowden tube looked like in the Mini – because that had the filament splitting into bits all throughout it.
I guess because the extrudr PLA had been opened for a while, it became brittle and sensitive to being kept under bending stress. This is something that you quite often see on BCN3D’s machines as well where they have that long filament guide, which, on top of keeping filament bent, also uses 2.85mm filament. But on the Mini, as soon as I switched in some fresh PLA, Prusament Pineapple Yellow in this case, the print turned out just perfect.
And the third filament worth pointing to is the flexible 95A – now, of course, this is not a particularly demanding print for flexibles, but in my experience, prints with flexible filaments are most often functional parts that don’t have a ton of detail. And for that – and for the speed at which the Mini was printing flexibles – it’s pretty good. And that’s with a Bowden extruder, which is commonly not recommended for flexible, bendy filaments, but the Mini’s design handles it really well.
Design
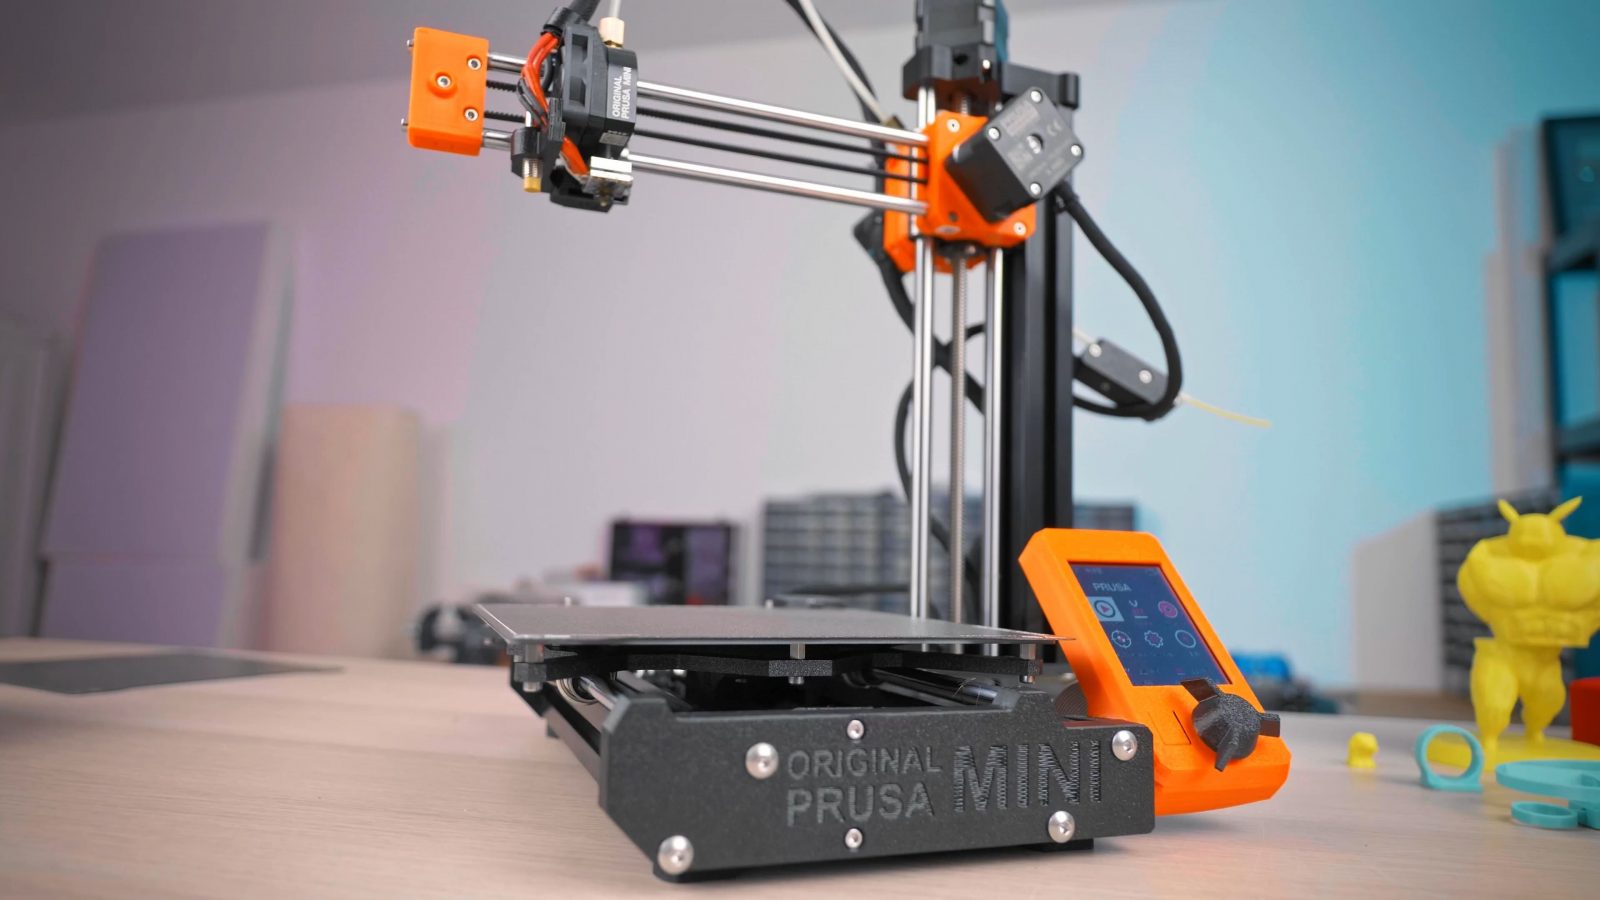
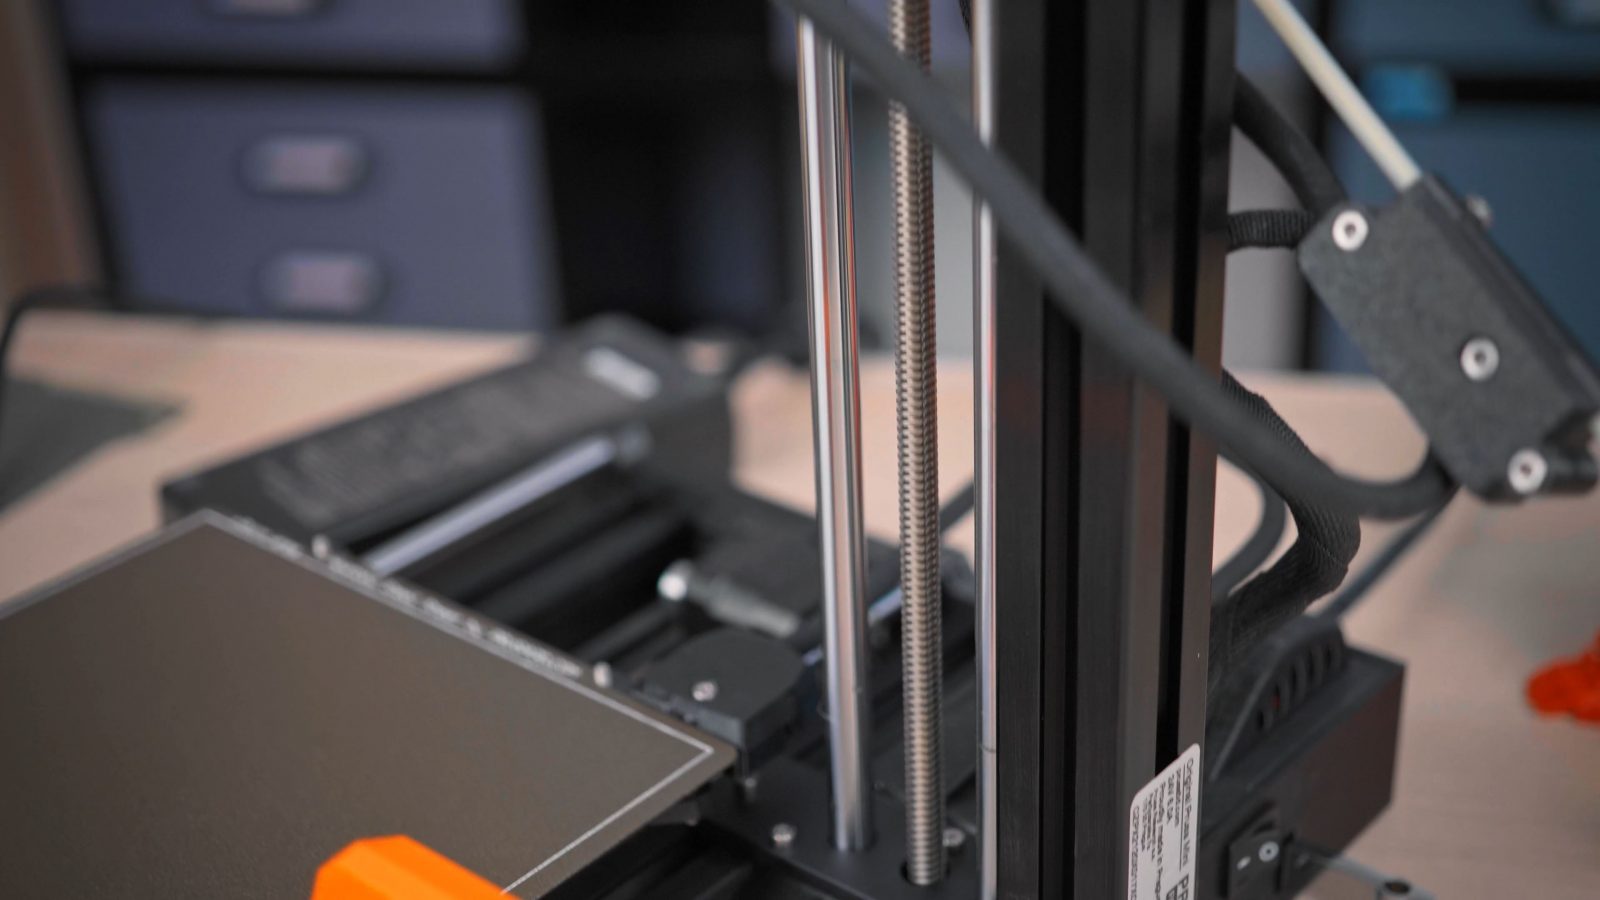
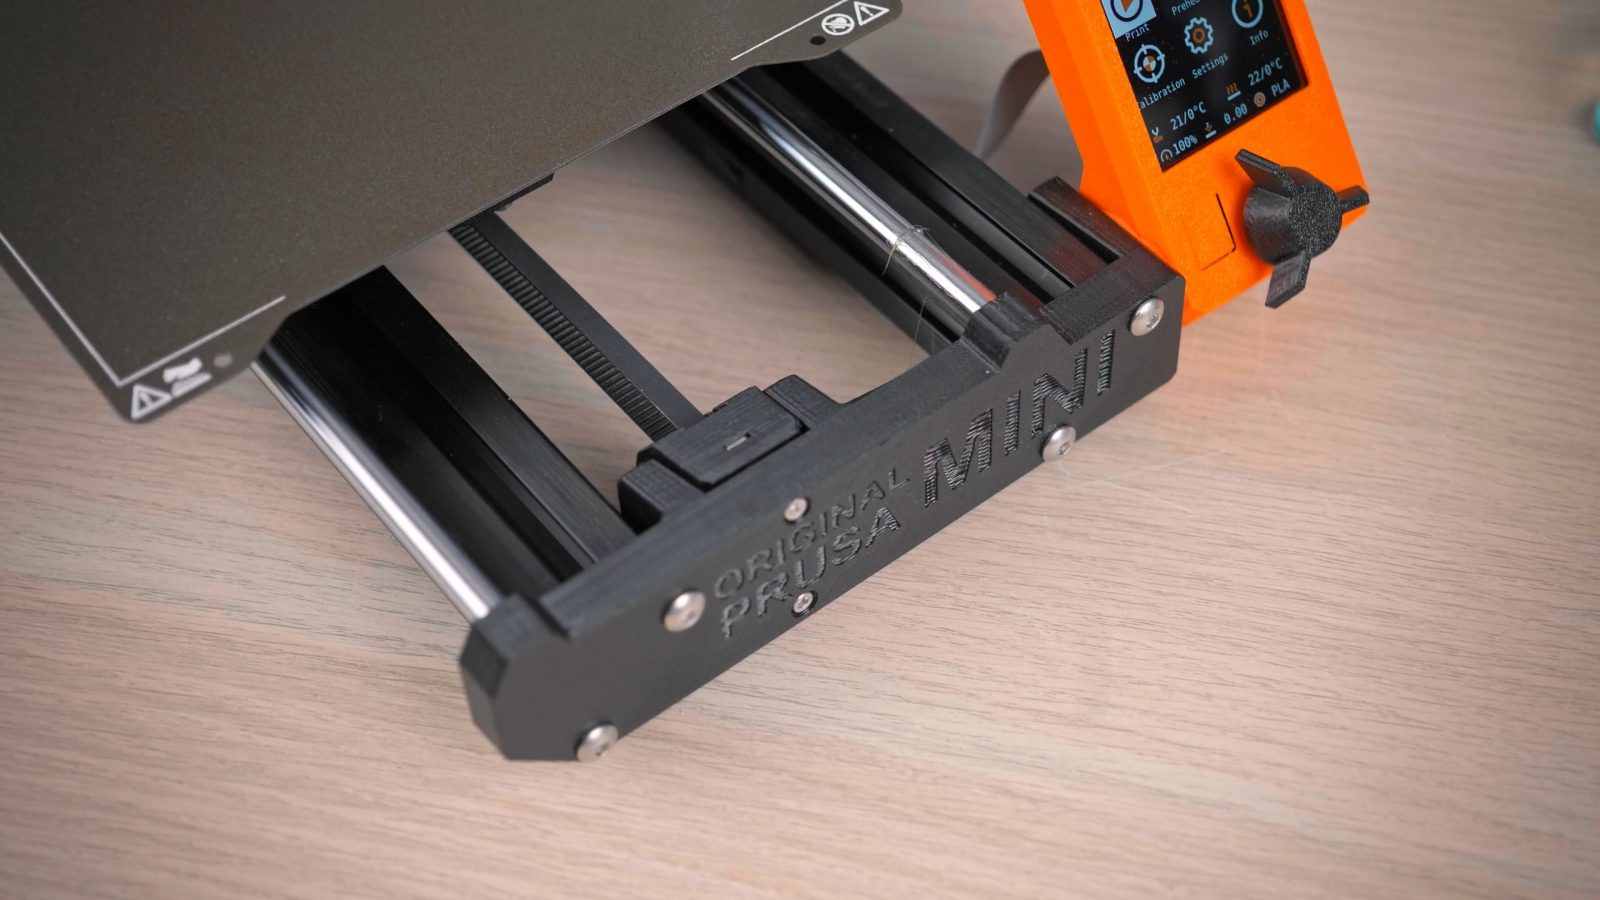
Okay, last expectation of the Mini: A smart and resourceful design – and I think for that, this is a textbook example. Of course, you could also call it flimsy, but I would rather have a printer that is well-designed and has well-constrained motion than one that looks beefy and is slopping around all over the place. So the first thing you’ll notice is that it’s missing a Z-axis, so not only is it using only one motor, but also linear guides on only one side. Now that opens up two possible ways of how this X-axis could now flop around. First, the obvious one is, gravity is going to push down on the arm and one side is going to hang a bit lower. Now, that generally isn’t much of an issue on any printer – the Ender-3 uses the same single-motor approach, and because the weight that the arm is seeing never changes, there’s no random positioning error that a lack of support would introduce. Yeah, it does sag a bit, but it’s not a lot and it’s repeatable and predictable. The other one because of the lack of a linear guide is that this arm is now more or less free to swivel about the Z-axis, and while statically, there’s no force in the printer that would push that arm around, there is still the inertia from the toolhead. Now, because the toolhead is fairly compact, lightweight, and balanced front to back, that is just not an issue at all.
But, of course, bumping into the printer while it’s working is going to be something that’s going to show up in your printed part.
The Mini also has that aluminum profile supporting the top of the Z-axis rails, so that already makes it a lot more rigid than for example the early Printrbots that just had the smooth rods sticking up and no extra support.
As far as the rest of the printer goes, a lot of things are really tightly integrated now. So for example the entire Y-axis ends are just a single printed piece that includes the motor mount, idler, mounts for rails, etc., instead of being an assembly of parts.
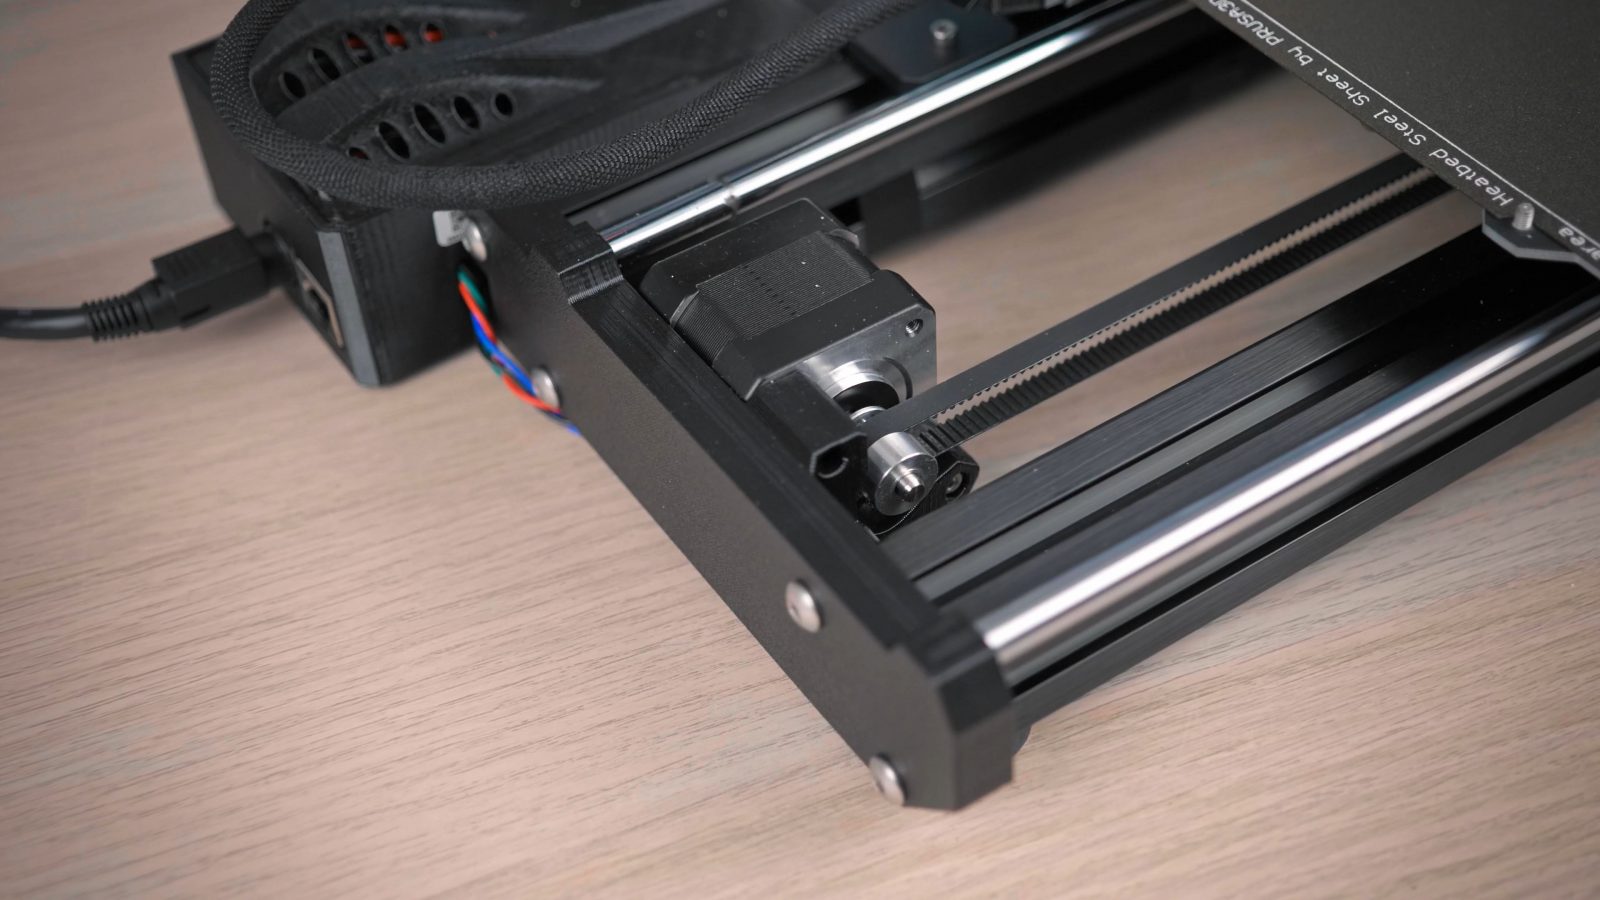
So because Prusa have literally hundreds of their own printers working around the clock to print these parts and they’re now making their own filament in-house, this is, well, first of all probably the cheapest way for them to make these parts, and they’re saving assembly time on top of that, too, but also, with in-house 3D printed parts, they can iterate much more quickly than having 10.000 machined parts on order that need to be used up before you can make any small changes. And the printed parts are plenty strong and accurate for a printer, plus, the actual structure of the frame is the aluminum profiles.
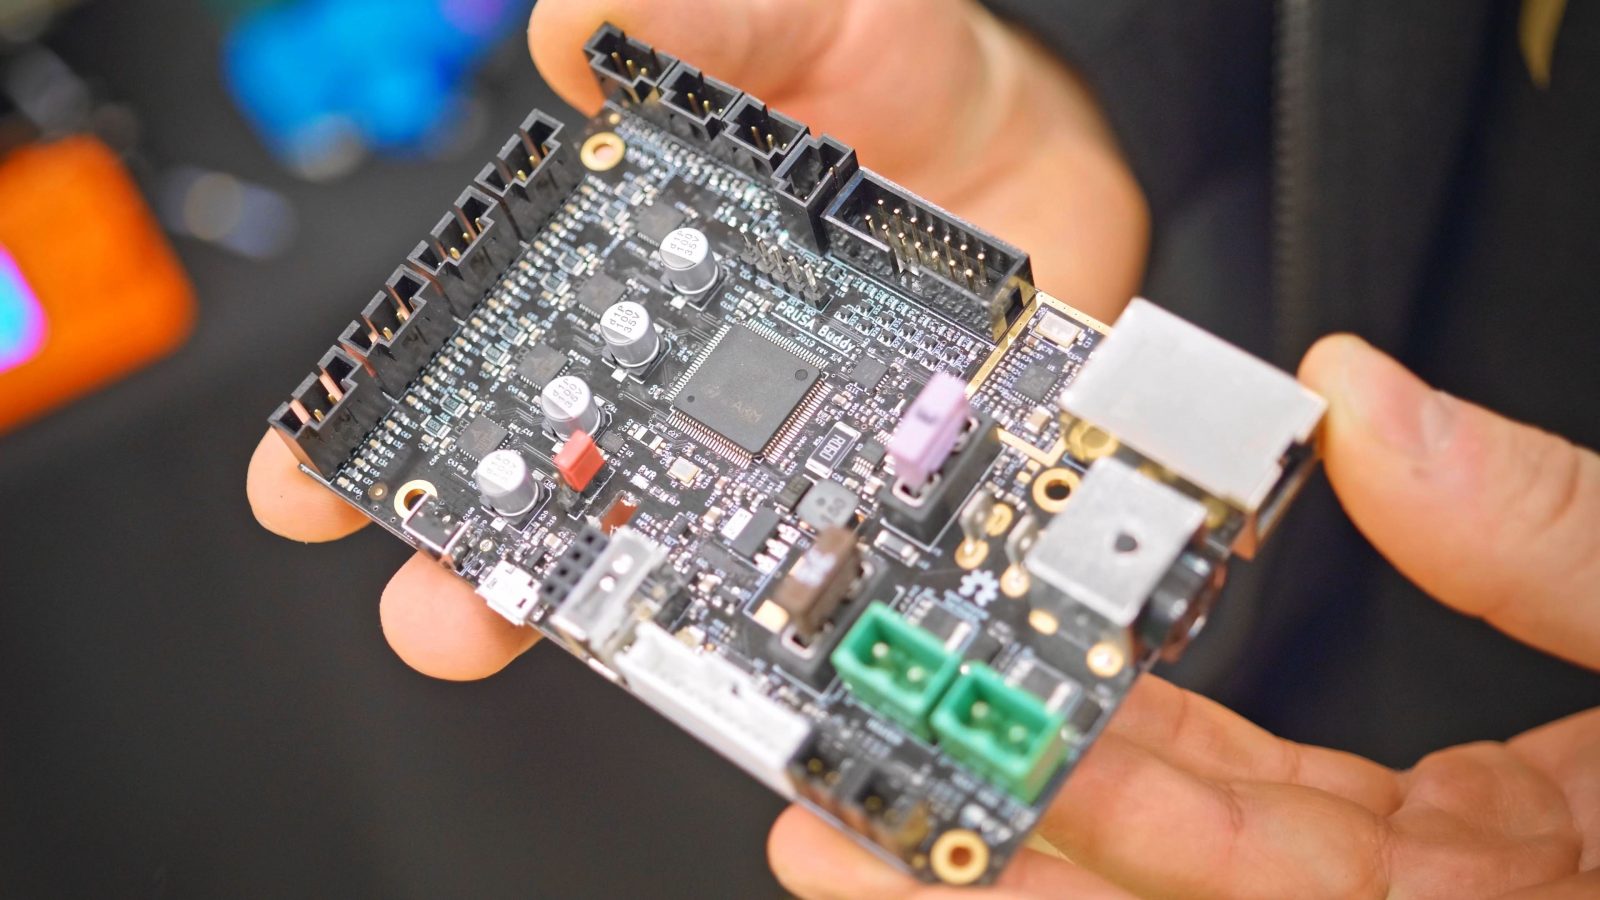
32-bit Board and Screen
The Mini is also now using an all-new, custom 32-bit board that is most definitely cheaper to make per piece than the 8-bit boards in the current i3 MK3S, etc., but because it’s an all-new system, that does mean there’s more up-front development necessary to get everything to a point that’s not just usable, but comparable in convenience and features to the tried-and-true boards of yesteryear.
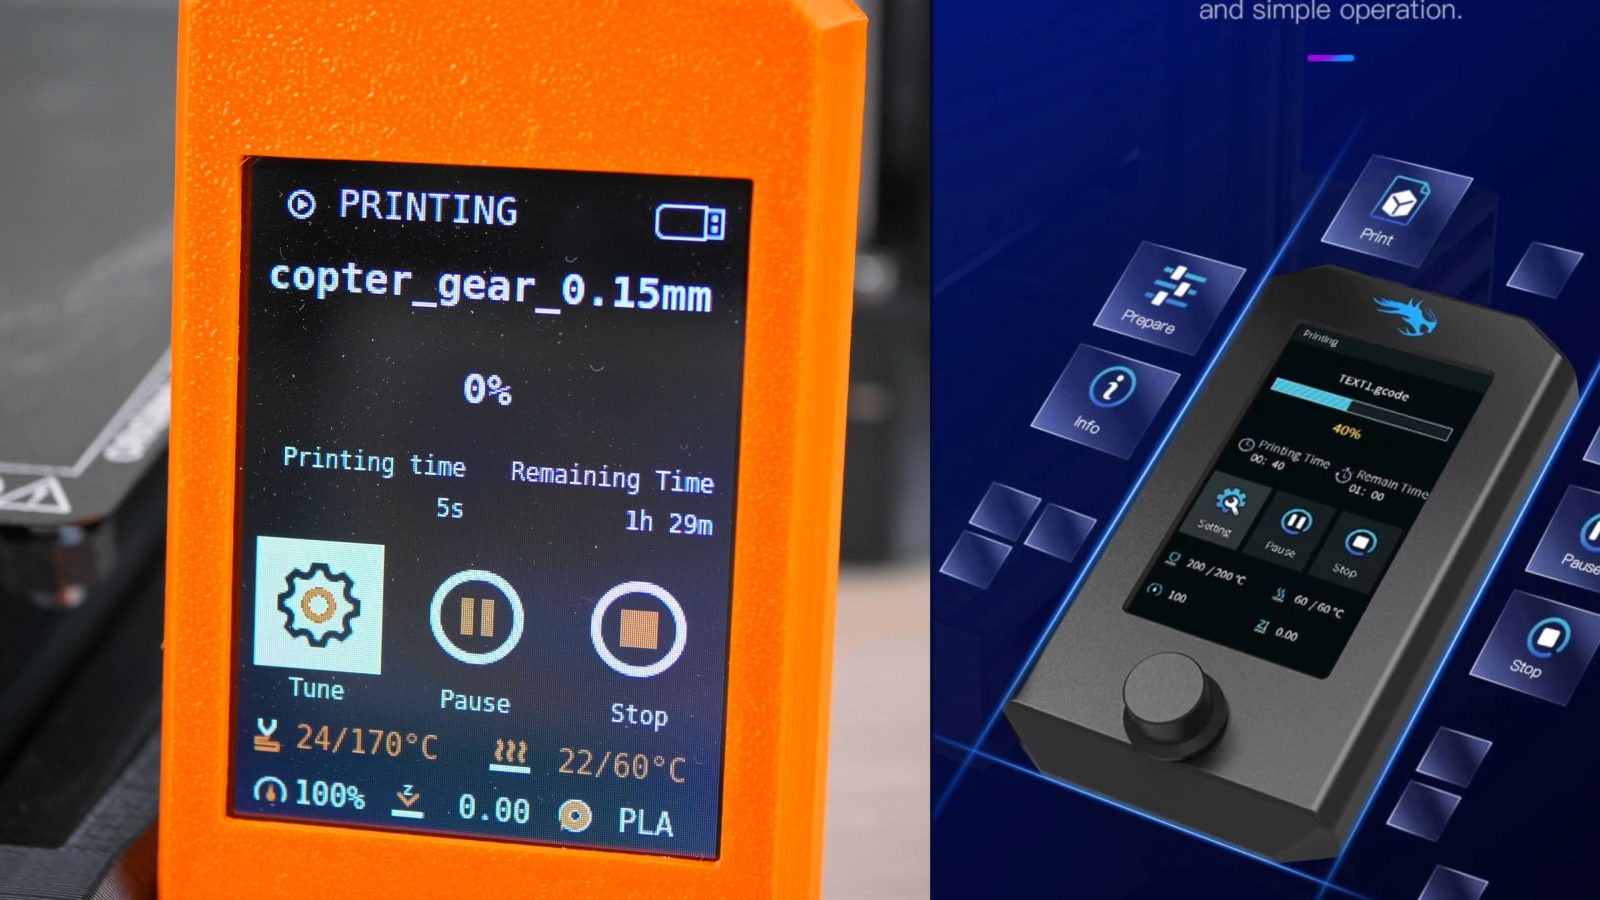
And, still, I don’t think 32-bit itself is necessarily a big selling point, because the software that’s running on it currently still makes a much bigger difference. On the Mini, when you’re going through the menus, it doesn’t feel like there’s anything missing in particular, but the old interface on the MK3 still seems more advanced, more capable – but that could just be because the old text display makes you feel like a hacker using it, and on the Mini, everything is a lot more accessible.

Under the hood, this is running the same proven motion components from the Marlin firmware, but the interface is custom. So yeah, the screen is nice, it’s a decent-quality panel and not a touchscreen, and I actually prefer a scroll wheel to a touchscreen for this, simply because you’ll often be scrolling through a list or changing values incrementally, and tapping a screen a thousand times to change a value is a lot less convenient than just spinning the click wheel for a second.
Firmware
Time will tell how long the firmware on here will be updated as regularly as it is now – like, right now there is new firmware every couple of weeks that contain bugfixes and new features as well, but historically, for example, the MK2 came out in 2016 and has seen its last feature update in 2019, and it doesn’t look like there’s much new to come, even though some of the tweaks that the MK3 is still getting would totally still work on the MK2.

So, I don’t know, if this 32-bit platform is the one that Prusa will be using for everything moving forward, chances are good that it will get updates longer than that, but you never know.
So why am I bringing this up? Well, there was a bit of a controversy around the Mini and its firmware – and that’s that you have to physically break the board to run anything other than the signed firmware from Prusa. There’s literally a physical tab in here that you have to break off to unlock that.
Of course, that’s not really damaging the board and breaking things, but it’s a non-reversible indicator that this machine could have been running a non-approved firmware. Now, the printer is going to keep working just fine, but in case you then fry your board or your custom firmware decides to set the printer on fire or something like that, Prusa will decline warranty and liability. Now, I can totally see how this is riling up some people because it is taking away your ability to change things in the firmware while retaining warranty, which is something that you used to be able to do, but on the same hand I see why Prusa felt like they had to implement that feature, and honestly, I don’t think it’s that big of a deal. Most people will never flash custom firmware, and when they do, they’re probably out of warranty already or have modded the printer to a point where you wouldn’t expect a warranty anyway. The firmware and the hardware are still open-source, so nothing has changed there, and you can still customize a lot of things by sending gcode commands.
Needed improvements
But anyway, there are still a few things in the Mini that actually don’t feel quite right to me yet. So let me bang those out real quick.
The firmware is done, it’s reliable, but it doesn’t have the full amount of polish and finesse that I would be expecting.
Networking is built-in, but it’s hardly useful, power fault detection is promised and in development but is not available – yet. And there are little things, like, the printer has the hotend cool down while it’s probing the bed so that it doesn’t leave bits of filament all over the build plate, but why doesn’t it turn on the part cooling fan while it’s cooling down? That would get it cool just a bit quicker and it doesn’t “cost” anything. You know, those are the sort of little “cherry on top” things that I wouldn’t expect from any other company, but from my experience with Prusa, it’s like “you guys could have thought of that” – but I’m sure, by the time you’re watching this, that will all have been added in a firmware update, or in the case of something like the cooldown procedure, just in a config update for PrusaSlicer.
But, mechanically, one bit I’d like to see improved is the extruder. It’s fine, but it’s still got potential, especially when it comes to cleanability. I’ve had it shred filament once, that old PLA that wouldn’t print right, and there were two things that I noticed. First, should there ever be filament shavings in the extruder drive gear cavity, they have no way of getting out.
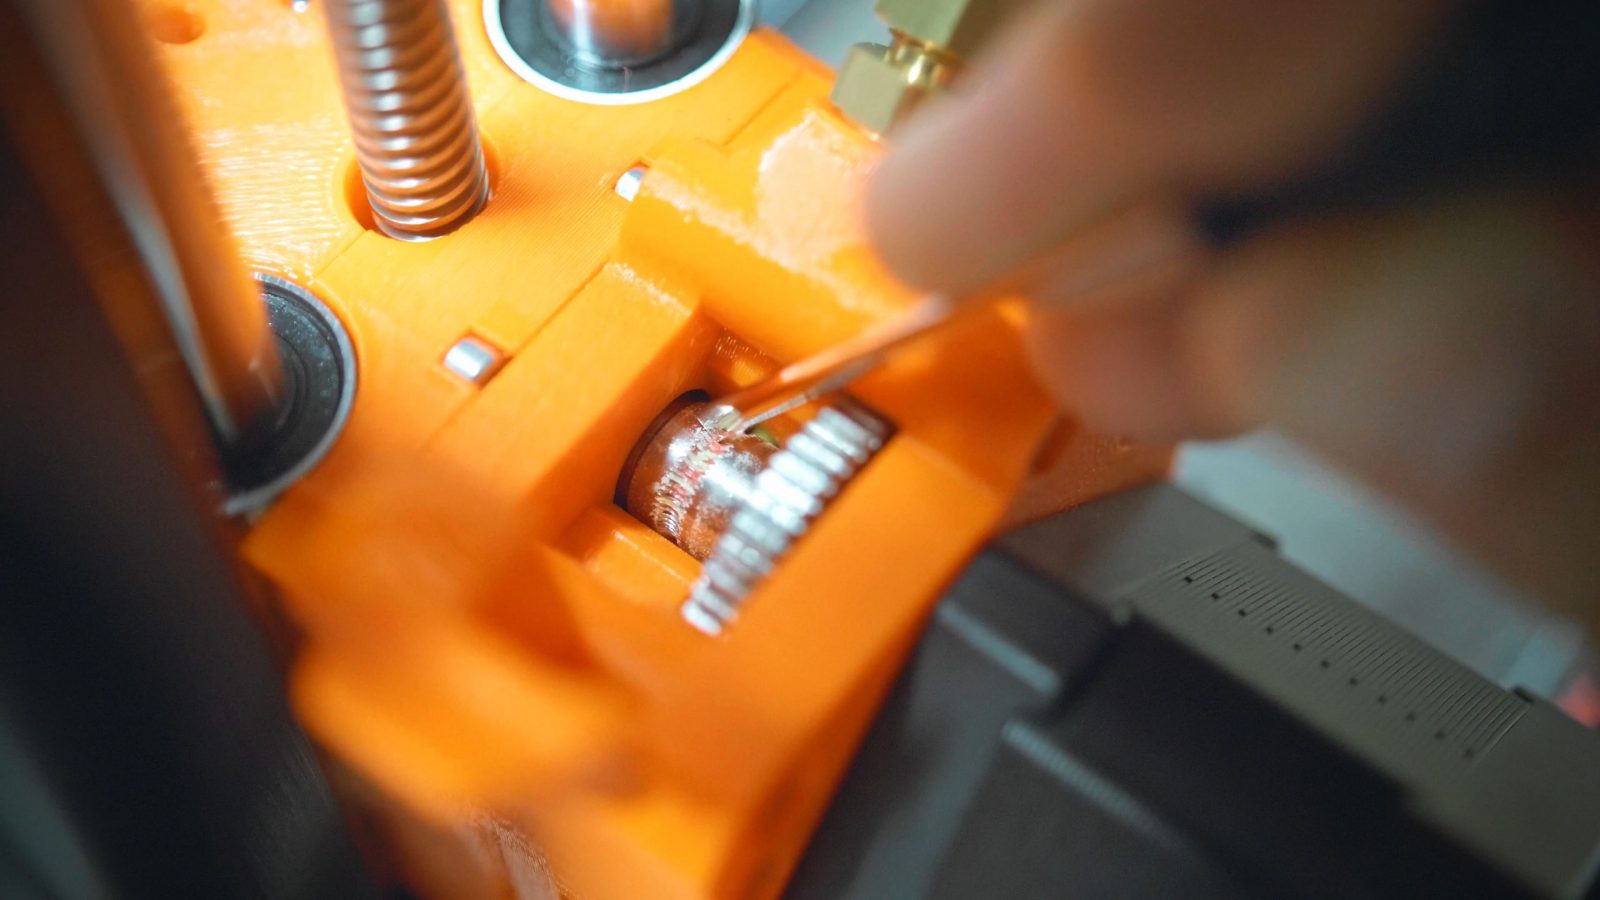
On the MK3, things are a lot more open and you can literally see the back of one of the drive gears, here it’s all super enclosed and gravity has no chance of getting any dust and debris out. Thankfully, with 3D printed parts, that is something that can be improved on really fast. The other thing about the extruder is that the drive gear profile is nice, sharp, and grippy, but it’s not what I’d consider “self-cleaning”. Some drive gear profiles will shed any shavings that might be stuck between in teeth when you just run fresh filament through, with this one, you have to manually clean it out if it ever gets clogged.
And lastly, I think the absolute biggest flaw of the Mini – the included USB drive.
You see, it’s got this keyring on it, and that ring is just touching the table enough for it to rattle just every now and then, you know, enough for it to just be super annoying. Unfortunately, you’ll have to fix this one yourself, and after that, the printer is pretty silent, even though the MK3 still takes the crown for the quietest printer ever if you put it on Silent Mode.
What to buy? Mini or Ender-3 V2?
Okay, so the big question obviously still is “should you get the Mini over an Ender-3 v2”. Here are the things I’d consider. The Ender-3 wins on size and price, obviously, it’s about 380€ for the Prusa Mini and about 280€ for the Ender. Both use Trinamic drivers, both have a similar-size color screen, and the menus on the Ender even look really similar to what Prusa have, however, on features, the Mini has the Ender beat quite easily.
So things you get on the Mini, but not on the Ender are auto bed leveling with a sensor, that’s a manual process on the Ender, you get a flex bed, you get a hotend that can reliably print high-temp materials like polycarbonate or ASA, and an extruder that prints flexibles with ease. You also get linear bearings instead of V-wheel, and the bearing in the Mini will never need adjusting, just a drop of oil every now and then. But the biggest difference, I think, is that the Mini is an easier machine to use. The fact that you get PrusaSlicer with profiles for different filaments and layer heights that all print really well, and you get a manual and handbook that guides you through the process and even through some hiccups that you could run into is worth a lot. Yes, you don’t get to adjust acceleration, jerk, maximum speeds, and all that through the display, but honestly, I’ve never had to do that on any of my Prusa machines because the defaults are already really good. And if you want to, you can still adjust those things in the slicer.
So while the Ender is bigger and cheaper, for sure, I still think the Mini makes a better “beginner” printer or, you know, one that you just get for printing stuff, simply because so much about the printing experience is already taken care of for you, it’s just things that you’re not going to have to worry about anymore. The Ender might be a better fit if you’re getting a printer as a project for tinkering with it, but that’s just up to you what you’re trying to do.
Conclusion
So overall, I think the Mini is a great machine – especially for the price. You’re not going to find a more complete package of solid hardware, usable firmware, good documentation, and great software for under 400 bucks. It’s $349 in the US without the filament sensor and the textured PEI sheet. Sure, it didn’t quite meet my expectations of being the absolute perfect printer right out of the gate, but hey, a man can dream, right? For me, the Mini is going to be a printer that I’m not planning on modifying, I’ll just keep it as-is so that I’ll always know it’s going to work just fine and I can come back to it when I need one more printer to get stuff done on.
So if this review was helpful for you and you want to pick one up, check out the links in the description below to the official Prusa storefront, that would help out the channel a lot, or if you just enjoyed the video, do that like and subscribe thing. And yeah, thanks for watching, keep on making and I’ll see you in the next one!
Models shown:
💙 Enjoying the videos? Support my work on Patreon!
Product links are affiliate links – I may earn a commission on qualifying purchases (at no extra cost to you)

Check out my second channel “More Layers” on YouTube for livestreams