
It’s been a while since I’ve reviewed just a 3D printer hotend without also looking at the printer around it – but that’s exactly what we’re going to do today.

This is the Slice Engineering Copperhead, and I think it’s the first time a company is really serious about competing against E3D’s de-factor standard v6 hotend and ecosystem ever since that came out. But the Copperhead isn’t just a single hotend, it’s actually more of a set of hotend building blocks that you can use, adapt or leave out as you wish and it can actually become a drop-in upgrade for tons of printers without swapping out the entire hotend, extruder, and mounting hardware. So let’s run a few benchmarks and see if the Copperhead kit is worth your money.
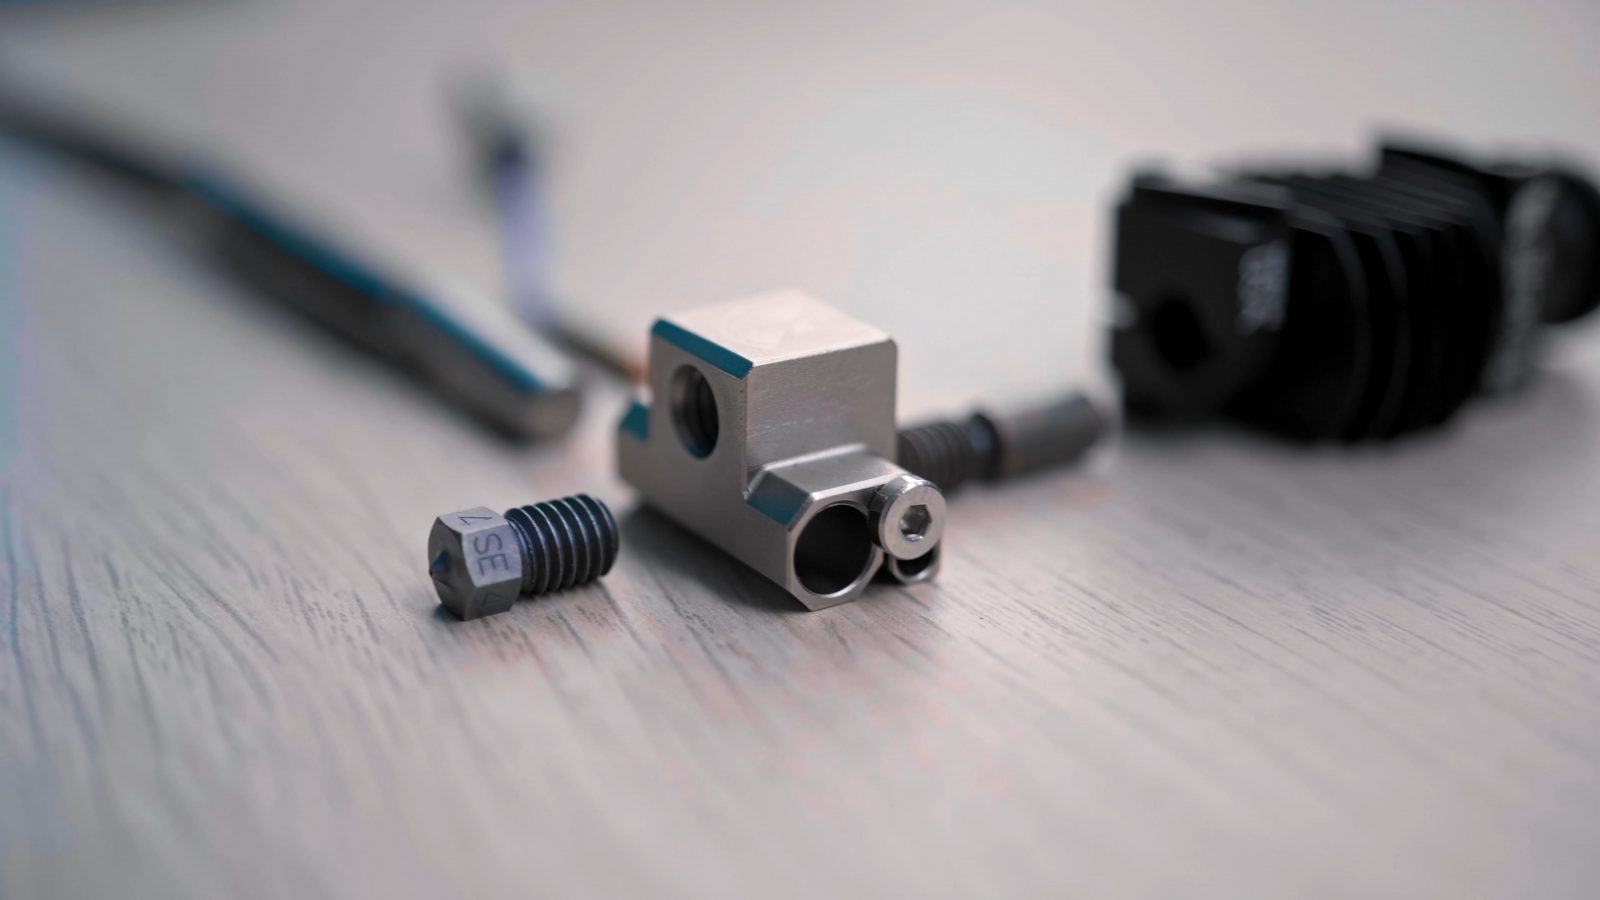
Ok, so this is what you typically think about when you think “hotend”, right? Well, here’s the thing. The largest part of the hotend, the heatsink, is actually one of the least important parts. I mean, you need it for function, but it doesn’t need to be precisely manufactured or made to super-specific specs, so to me, the actual Copperhead is this. The heat break, heater block, and nozzle. Here’s how these parts are special:
Heat Break
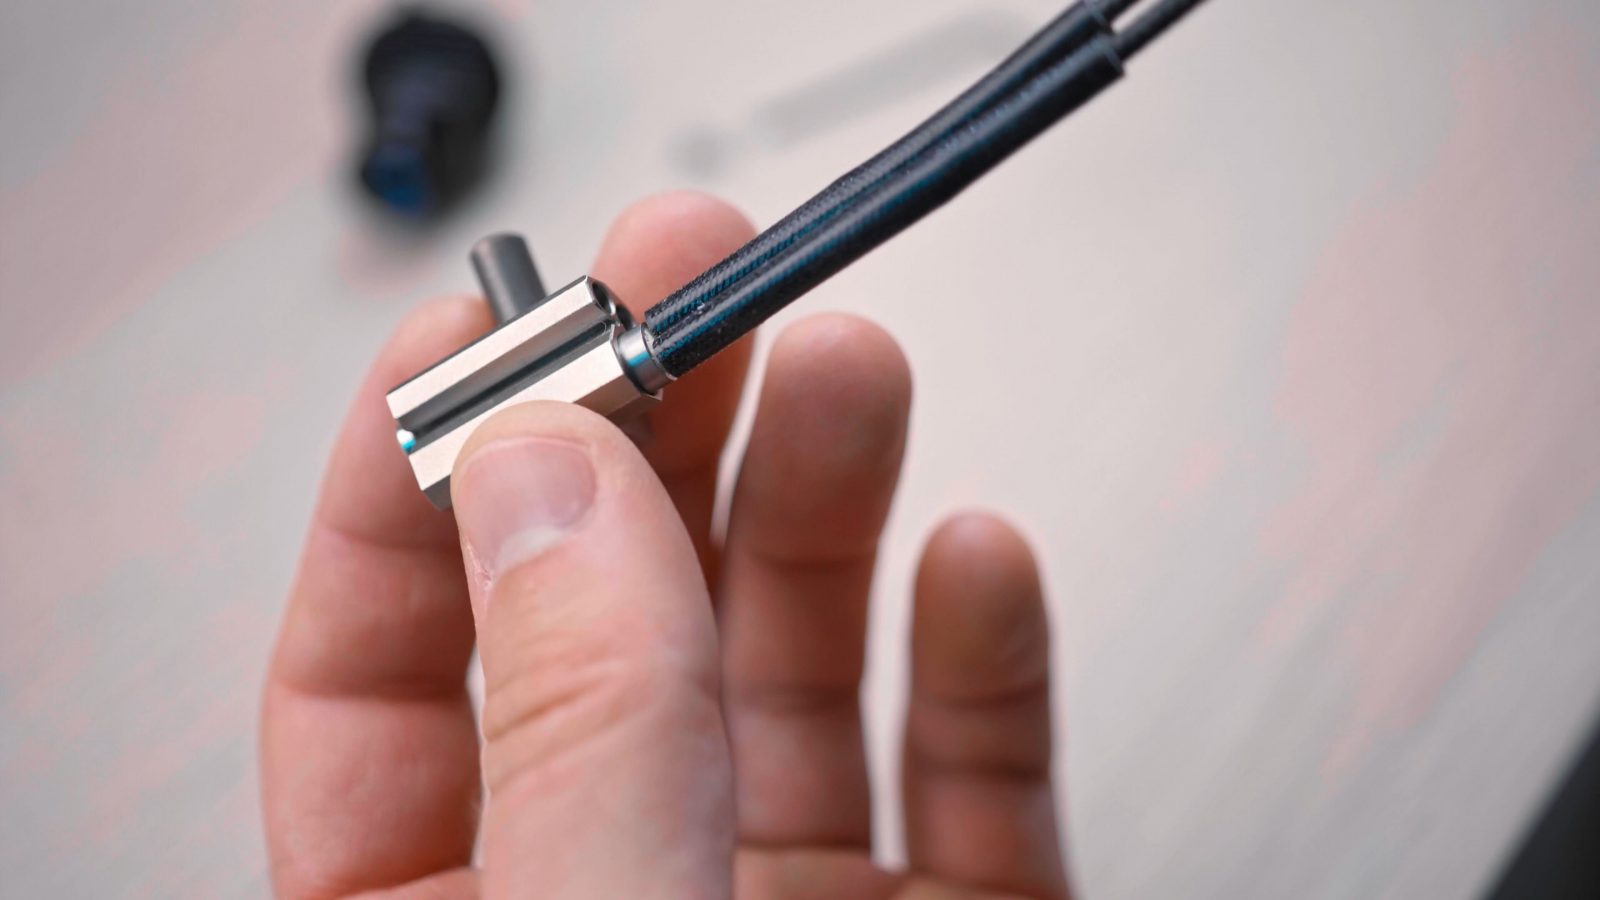
First, the heat break, and this one is based on what Slice Engineering has learned from the Mosquito hotend, but it’s a more traditional design that skips the separate mechanical support and only uses the heatbreak tube for structure and for thermal separation of the heater block and the heatsink.
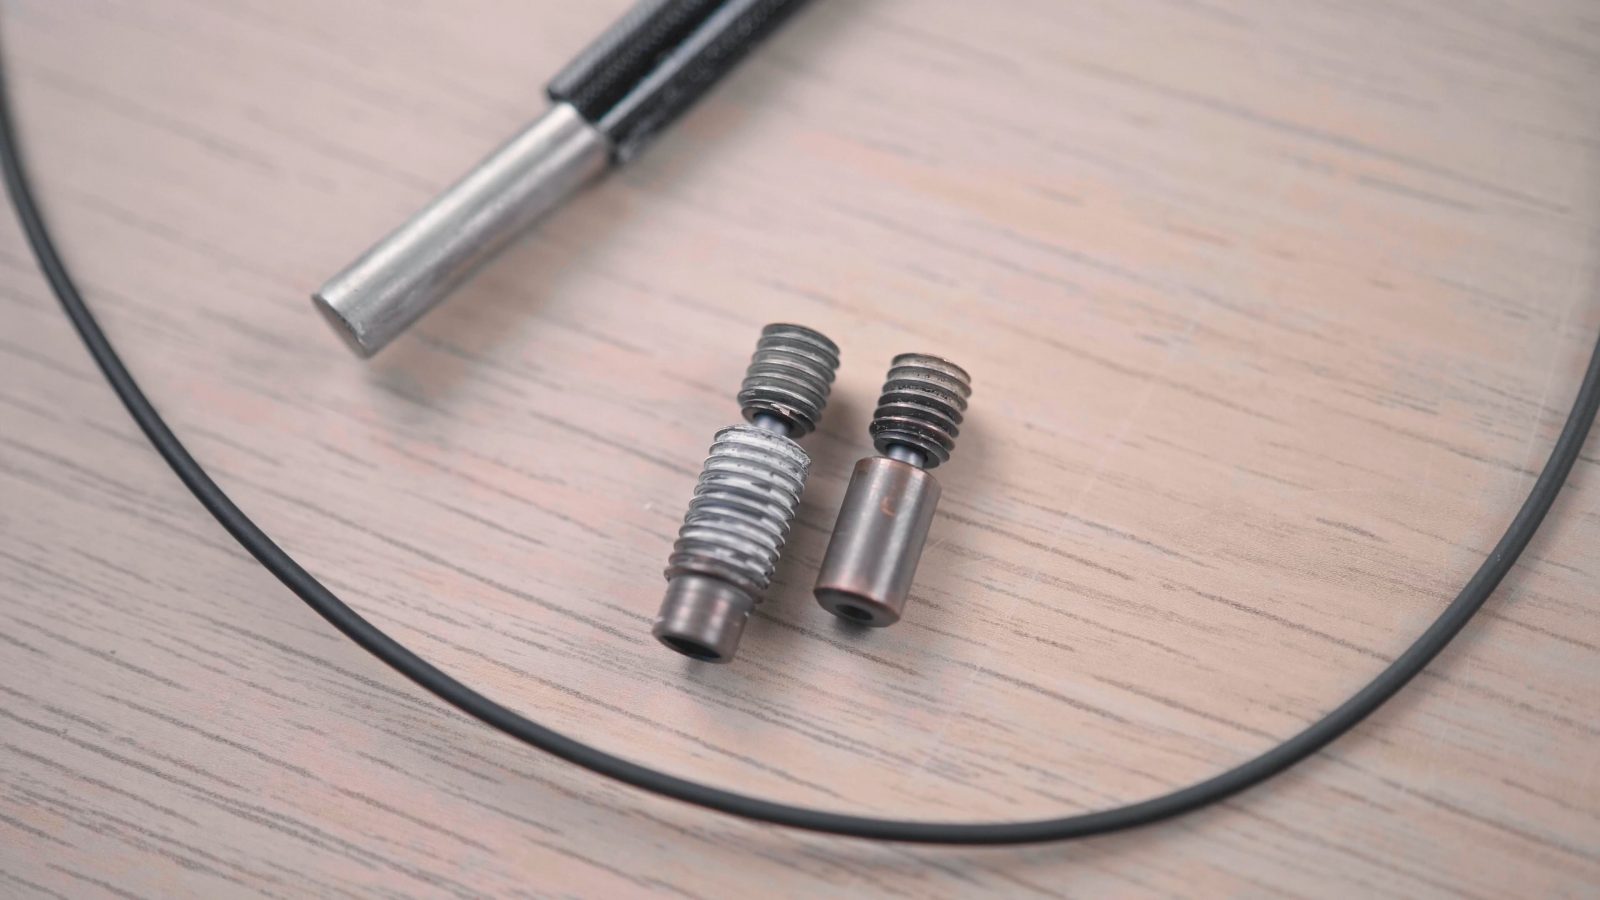

Now, it looks inconspicuous, but this is actually a 3-piece assembled part, they’re calling it a bi-metallic heatbreak. You have a steel center tube which is mechanically robust and thermally insulating, and while for example the standard E3D heatbreak is made entirely of stainless steel, the Copperhead heatbreaks use separate copper slugs for the upper and lower portions, so that, up top, the surface the filament touches is coupled to the heatsink as tightly as possible, which should reduce friction for the filament, and the bottom part, which mounts into the heater block, is able to transfer heat into the filament more efficiently, which can melt the filament more effectively and therefore, in theory, should give you a more consistent performance over a wider range of feed rates and flowrates without having to crank up the actual set hotend temperature. We’ll test that out, of course.
Heater Block
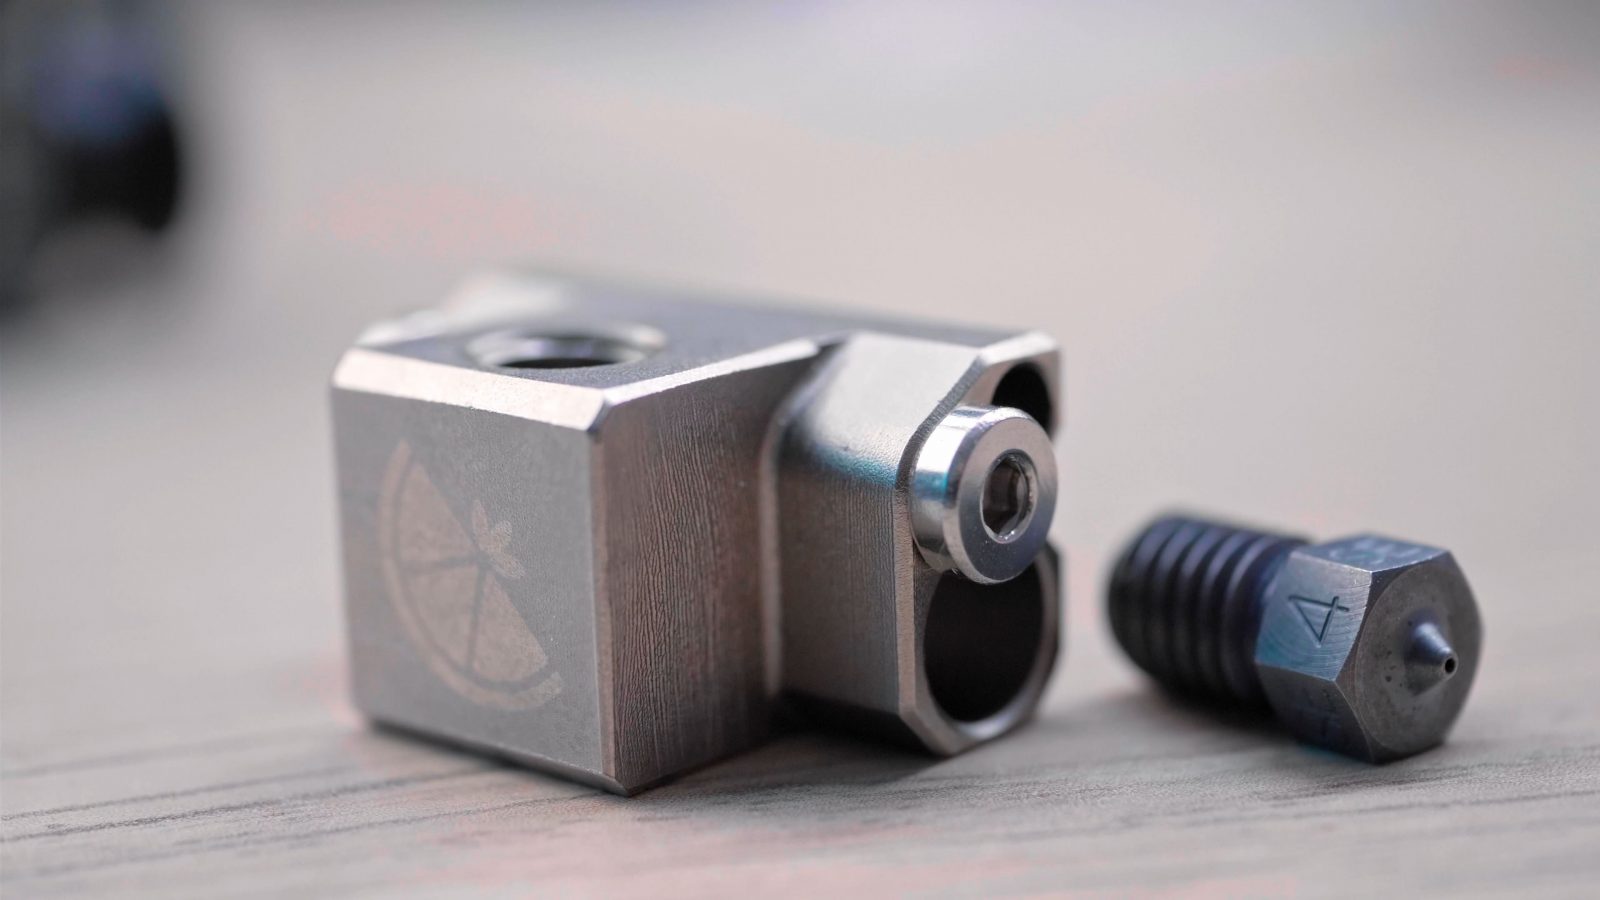
Then, the heater block. It’s copper – as the name “Copperhead” implies – which makes it heavier, yes, but also helps with heat transfer since copper is just more thermally conductive than aluminum. Interestingly, though, the thermal mass is about the same for a copper and aluminum block the same size, so a copper block is not automatically going to be more stable against temperature fluctuations from the filament cooling it down or air blowing over it.
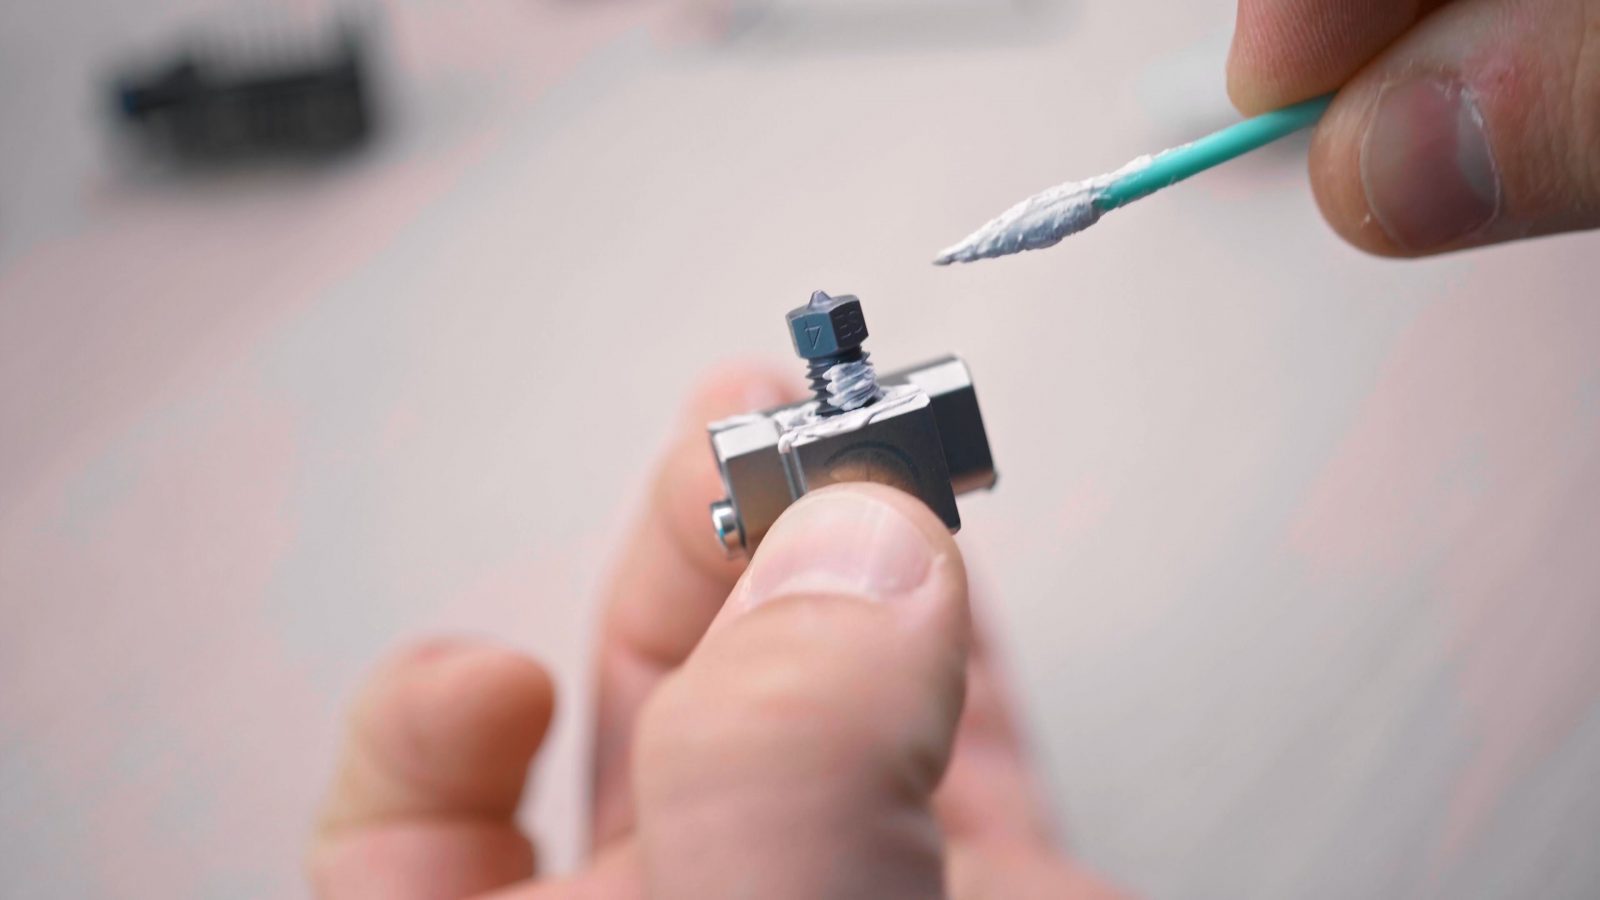
The copperhead block is a bit more of a skeletonized block, with just the area for the heater block and thermistor cartridge in the back and then the threaded area for the nozzle and heatbreak upfront, which they have milled away on the side and created a wrenchable area, for applying counter-torque when changing the nozzle, which is something that’s always been a bit awkward with the v6 block since that has stuff sticking out of the same surface you’re supposed to be putting a wrench onto.
Also, the Copperhead block does not use a grub screw for the thermistor and does not clamp down onto the heater cartridge at all, it just has these slightly oversized bores and then uses a screw on each end to keep them from falling out.
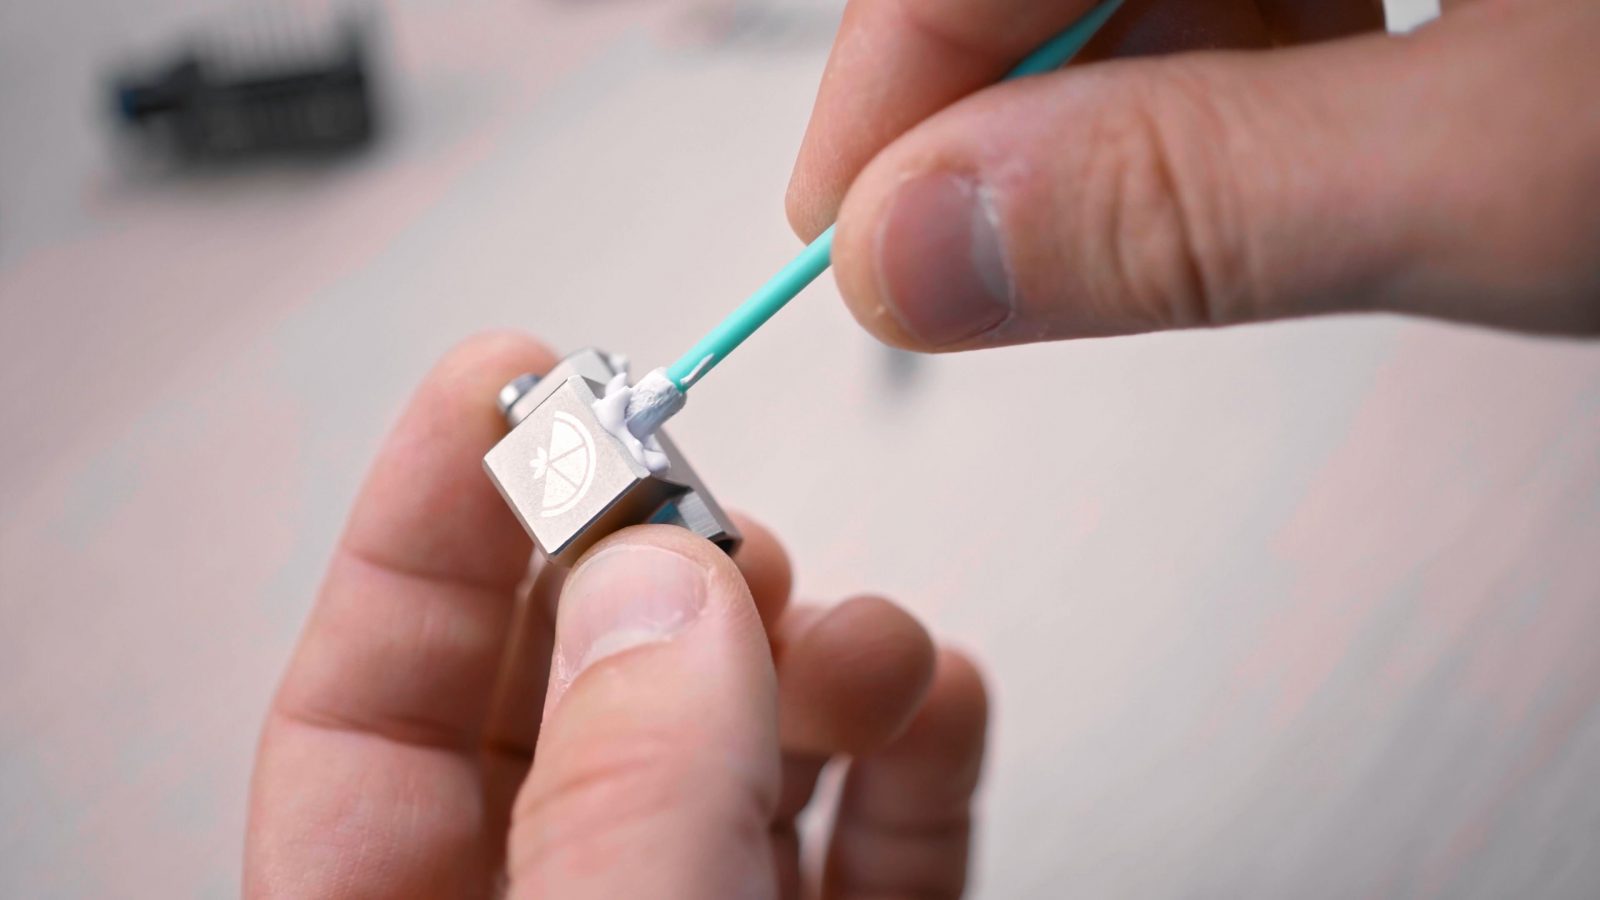
I don’t think that’s a problem for the thermistor, but the heater cartridge might start having some issues transferring its heat into the block effectively and consistently. Slice Engineering’s solution to that is boron nitride paste that you’re basically supposed to use on any mating surface on the hotend and it’s supposed to work as an anti-seize, thermal compound, sealant, anything, basically. So you should use it on the threads on the heatbreak, the nozzle, as well as on the heater cartridge and thermistor.
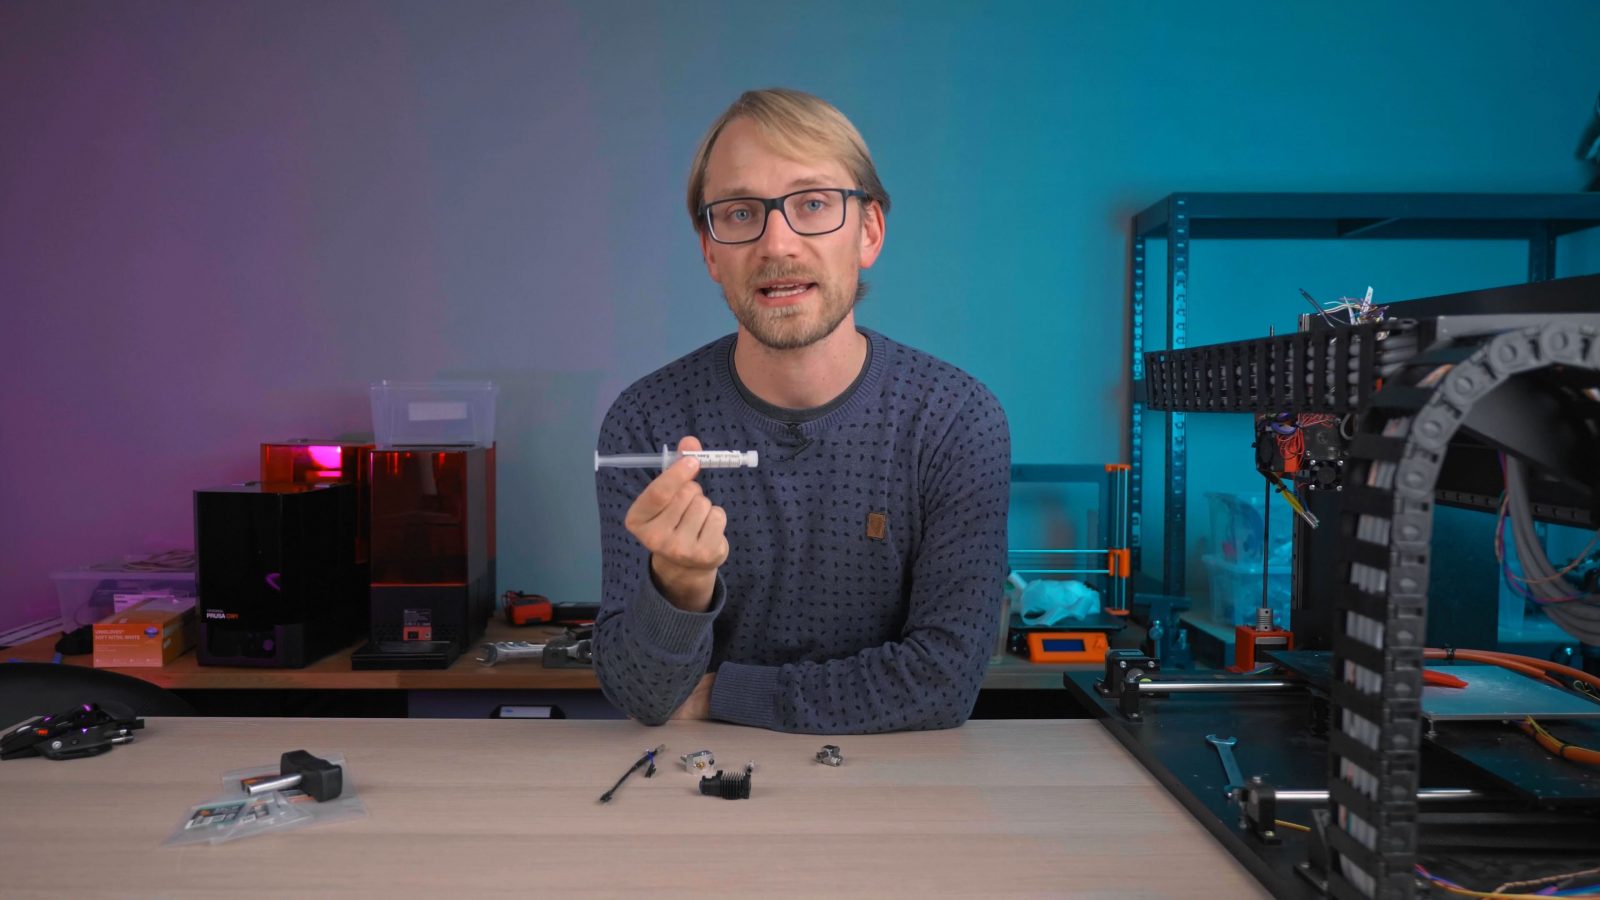
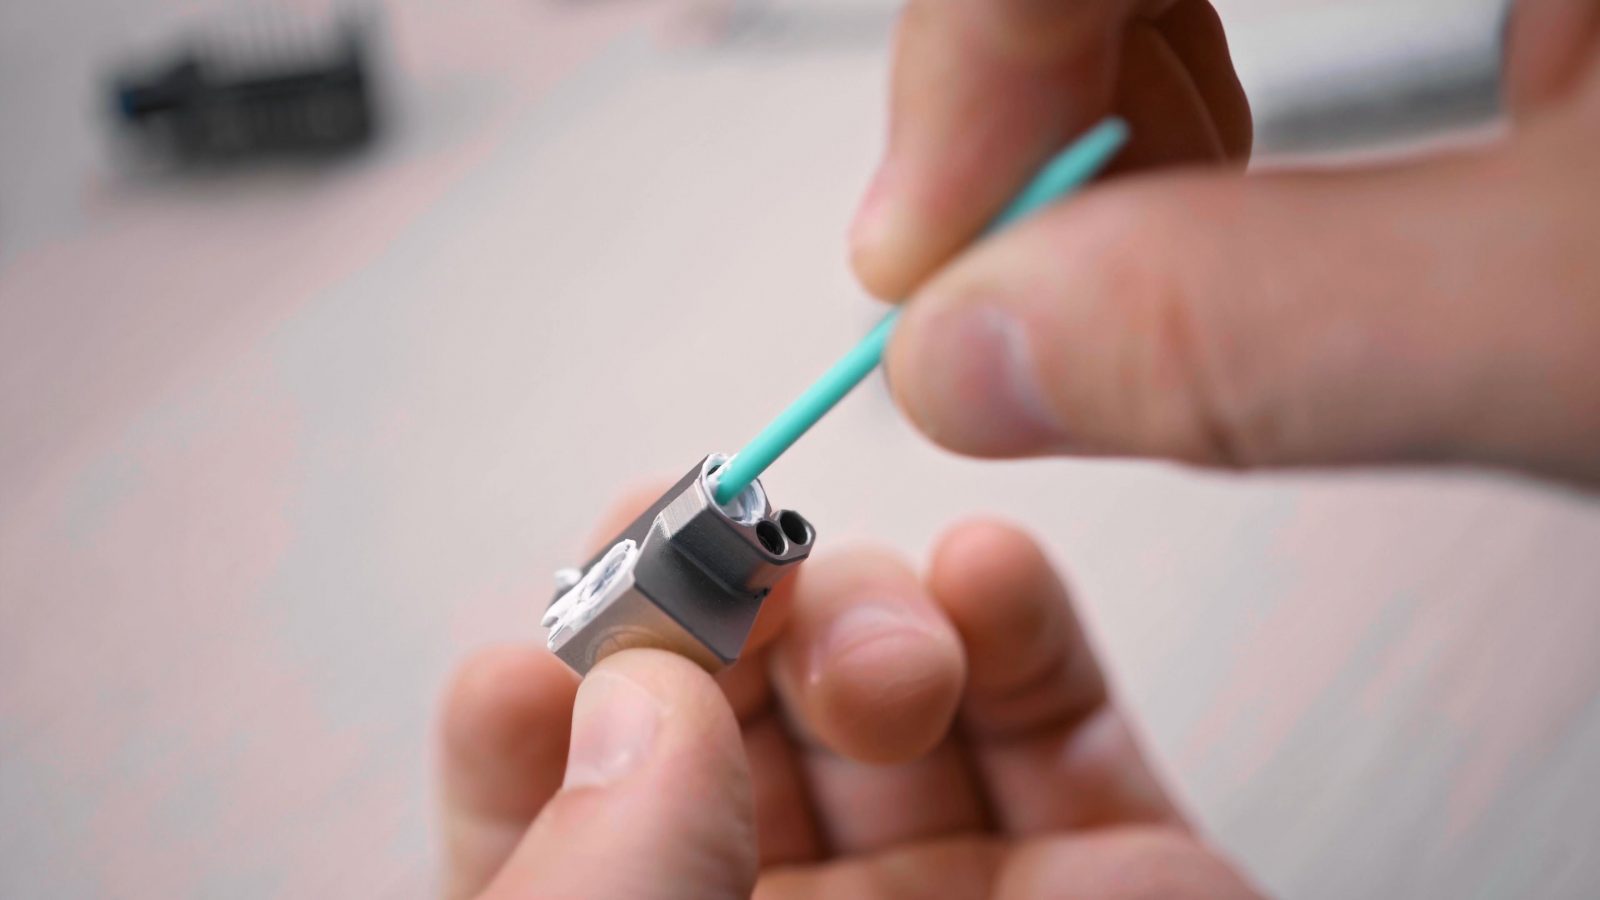
They even recommend it for potting in the classic glass bead thermistors into the hole meant for cartridges. So this loose fit on the bores probably is intentional.
The Nozzle
And then lastly, the nozzle.
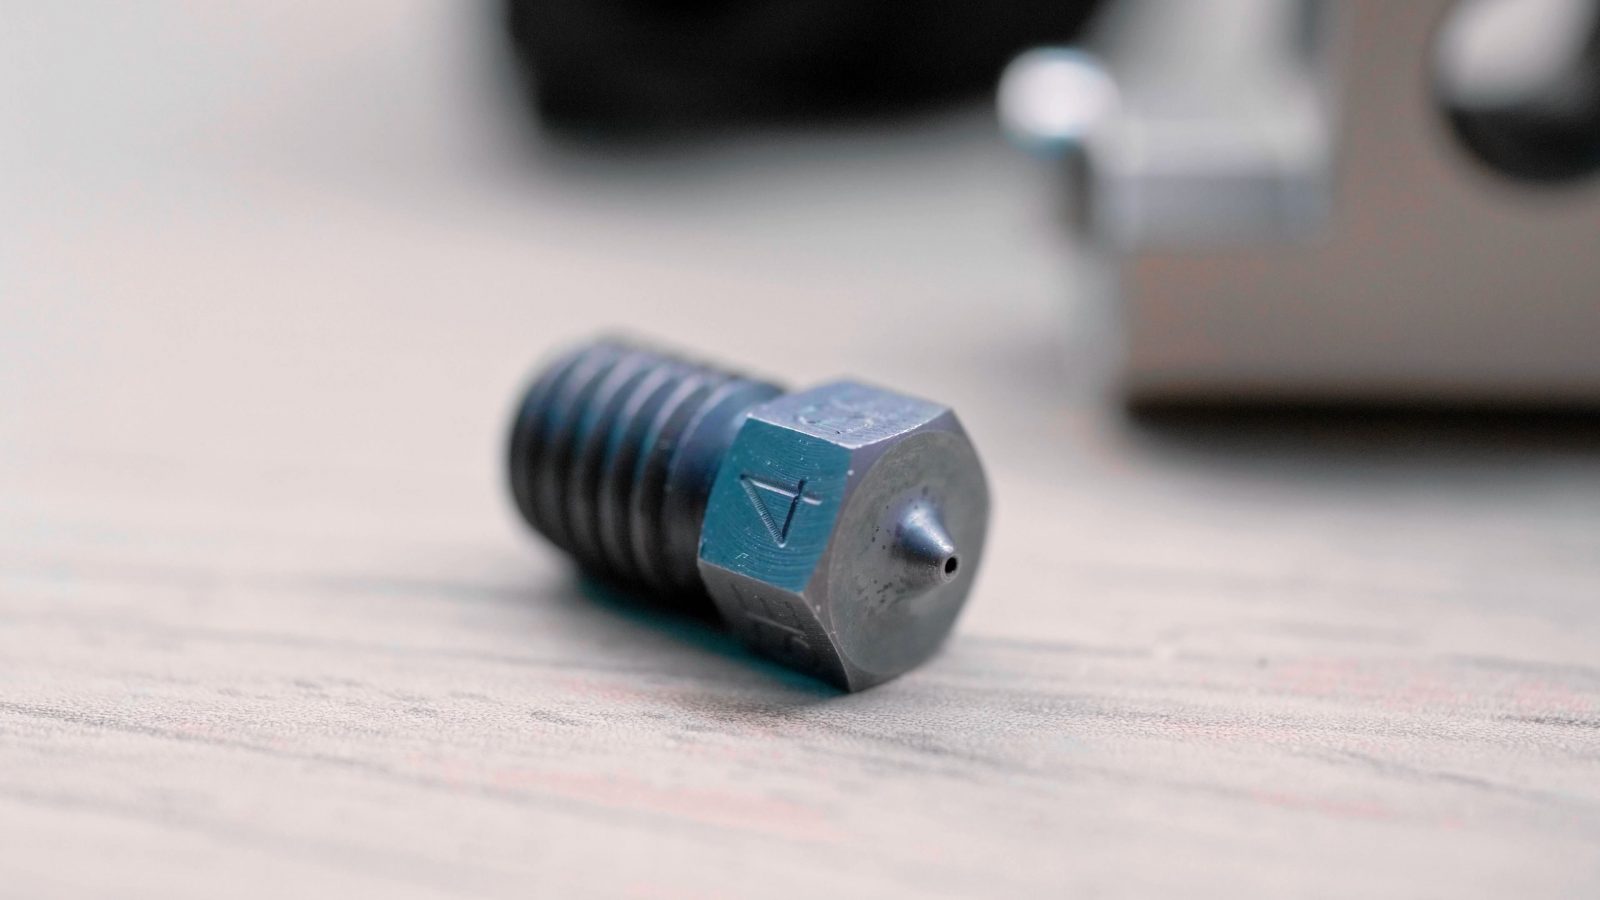
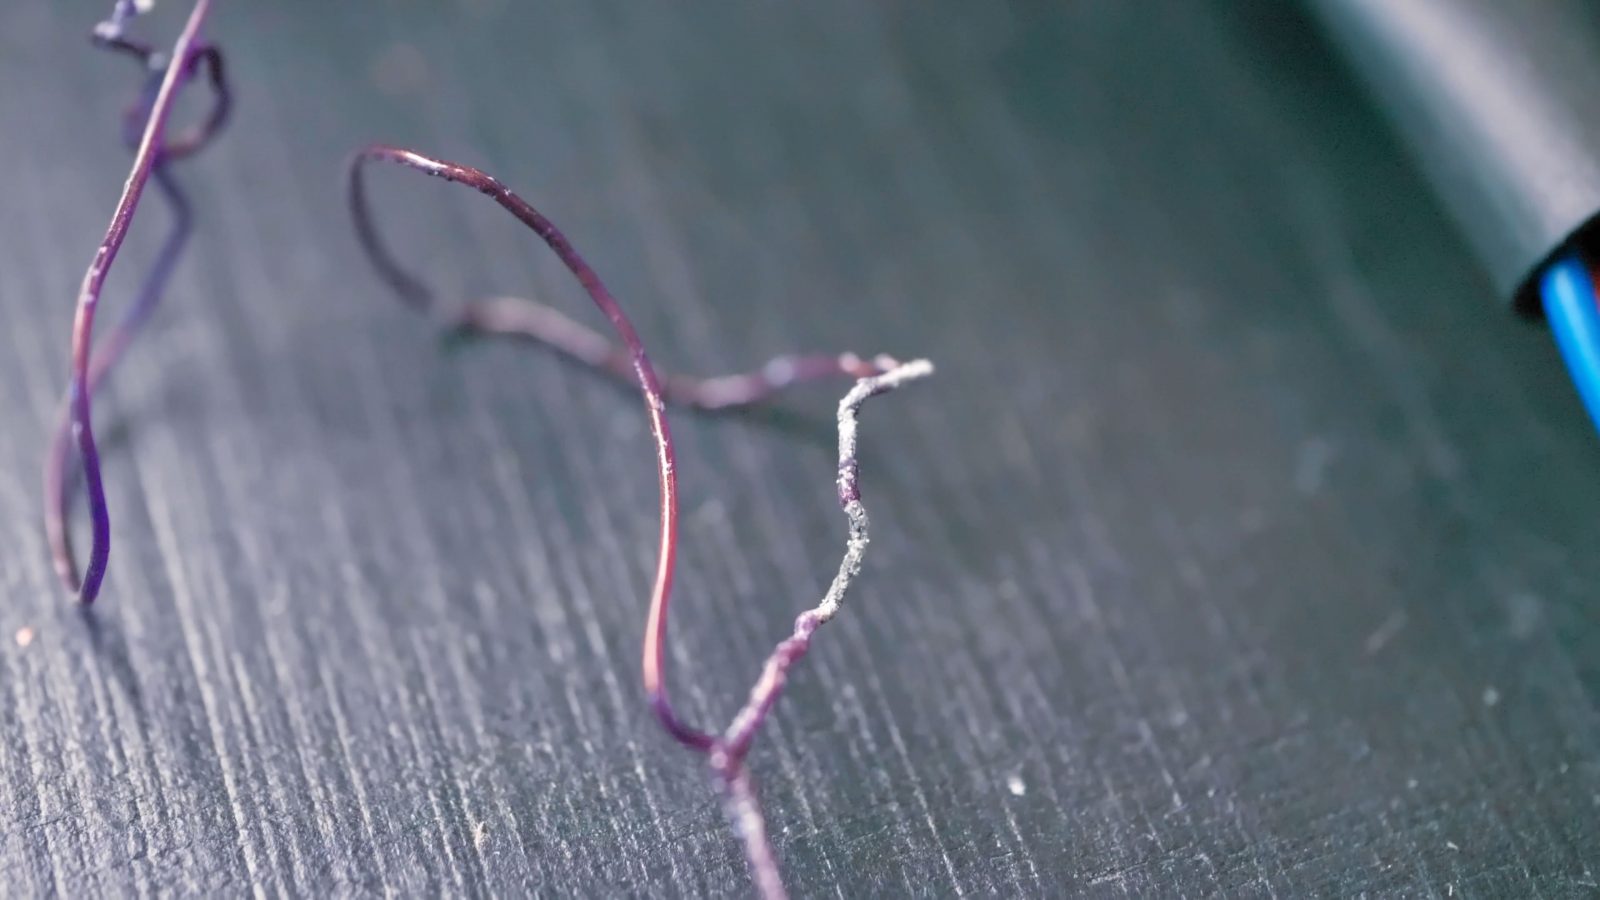
While this is compatible with the standard M6 nozzles that most other hotends use, this one is special in two ways – first, it’s a 6mm hex to tighten it, so their cool torque wrench only works for Slice Engineering nozzles, not for the 7mm hex E3D and compatible ones, but their default nozzle material is through-hardened steel, not brass. For thermal performance, the material properties are pretty close, so settings that will work with a brass nozzle will also work with a hardened steel one, but of course, because this one is hardened to 65 HRC, which, by the way, is just a hair more than the hardness of these Knipex side cutters, because of that hardening, these nozzles will not wear down or kind of slightly change their orifice geometry as they get used, so it should keep printing the exact same way 100 spools in as it did on the first day. The nozzle is also coated with a supposedly plastic-repellent surface, so in theory, it should also stay clean for longer.
Pricing
Now, you might have guessed it, but all these selling points don’t come cheap. You can pick and choose which parts you need or want as a printer upgrade as you always buy them as piecemeal anyways, but for reference, I just looked up how much the standard E3D v6 is, which we’re comparing the Copperhead to in this video – full v6 is 59 bucks on Matterhackers. And that gets you a hotend, with a nozzle, heater cartridge, thermistor, cooling fan, the full set.
So, pricing for the Slice Engineering Copperhead: Let’s start from the top. The heatsink, should you need one, is 45 bucks, the fan is 7 bucks, the heatbreak is between 30 and 32 bucks, the block clocks in at 25, a nozzle at 35, the boron nitride paste at 10 bucks, and you also need a heater and thermistor, the Slice Engineering heater is a pretty powerful 50W one that should take the hotend up to its rated temperature of 450°C and costs 20 bucks and the Slice Engineering thermistor is currently sold out, but the totally compatible E3D one is 9 bucks – which actually plays in the Copperhead’s favor because the price I found for the Slice Engineering Thermistor is 42€. But of course, that one goes up to 450°C as well while the E3D maxes out at 300°C.
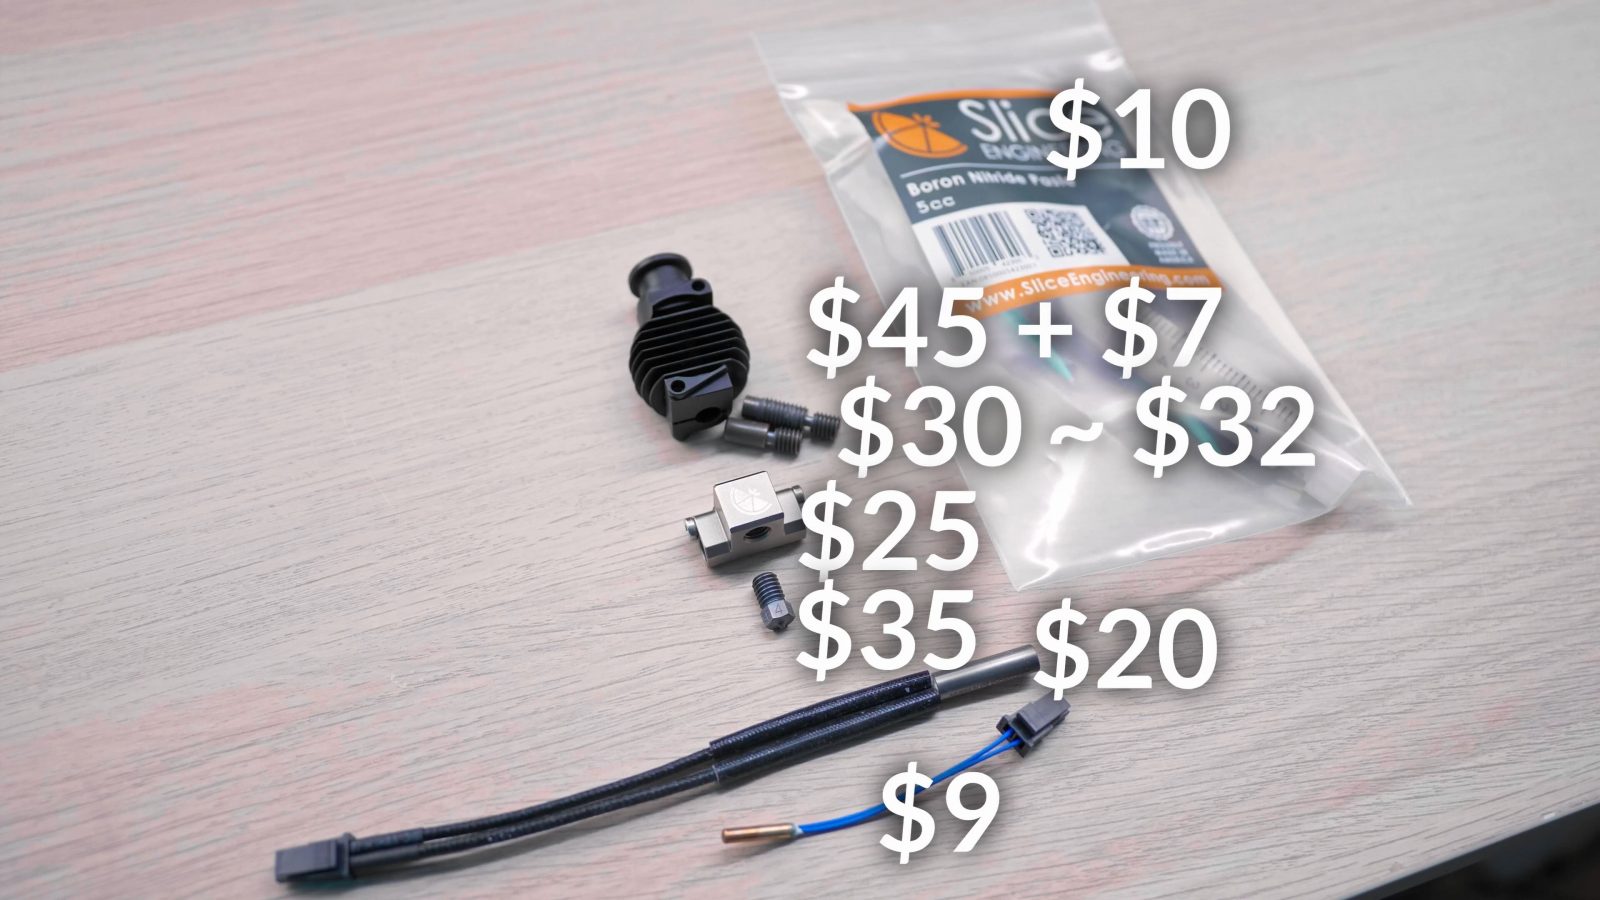
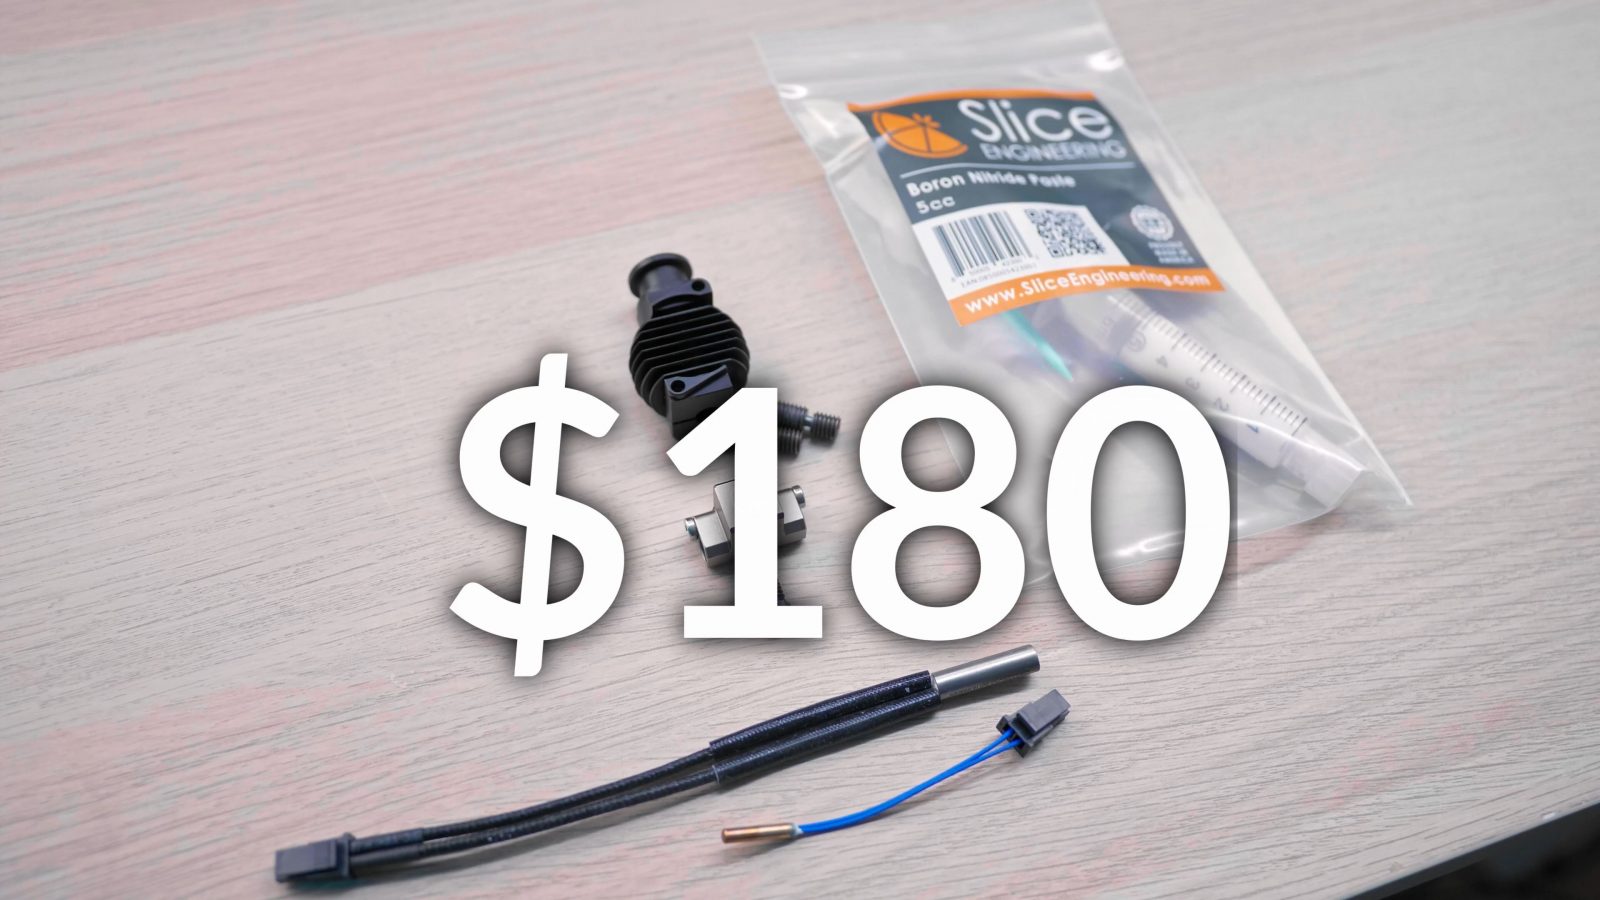
So all in all, you’re looking at just over $180 for a fully functional hotend when using the cheaper in-stock E3D thermistor. That’s not cheap at all. Now, of course, you can push down the price by substituting any of these parts with more affordable options, for example, you could actually straight-up buy a full genuine v6 kit and just buy the Copperhead heatbreak and nozzle and you’d get a hotend that, like, performance-wise, is going to be practically identical to a full Copperhead except for the 450°C rating, but you’d end up spending just over half as much as buying a “full” Copperhead with all Slice Engineering parts. Now, to be fair, I don’t think that’s really the intent of what the Copperhead is, I think this really is an upgrade option where you buy just the heatbreak for, say, your Ender-3 and maybe throw in a nozzle and you keep using all the other parts you already have. Which, for just those two parts, it’s still more expensive than a full v6, but it’s a way easier upgrade, there’s no firmware changes, no mounting adapters, it’s literally just a part swap and you’re done.
Testing the Copperhead
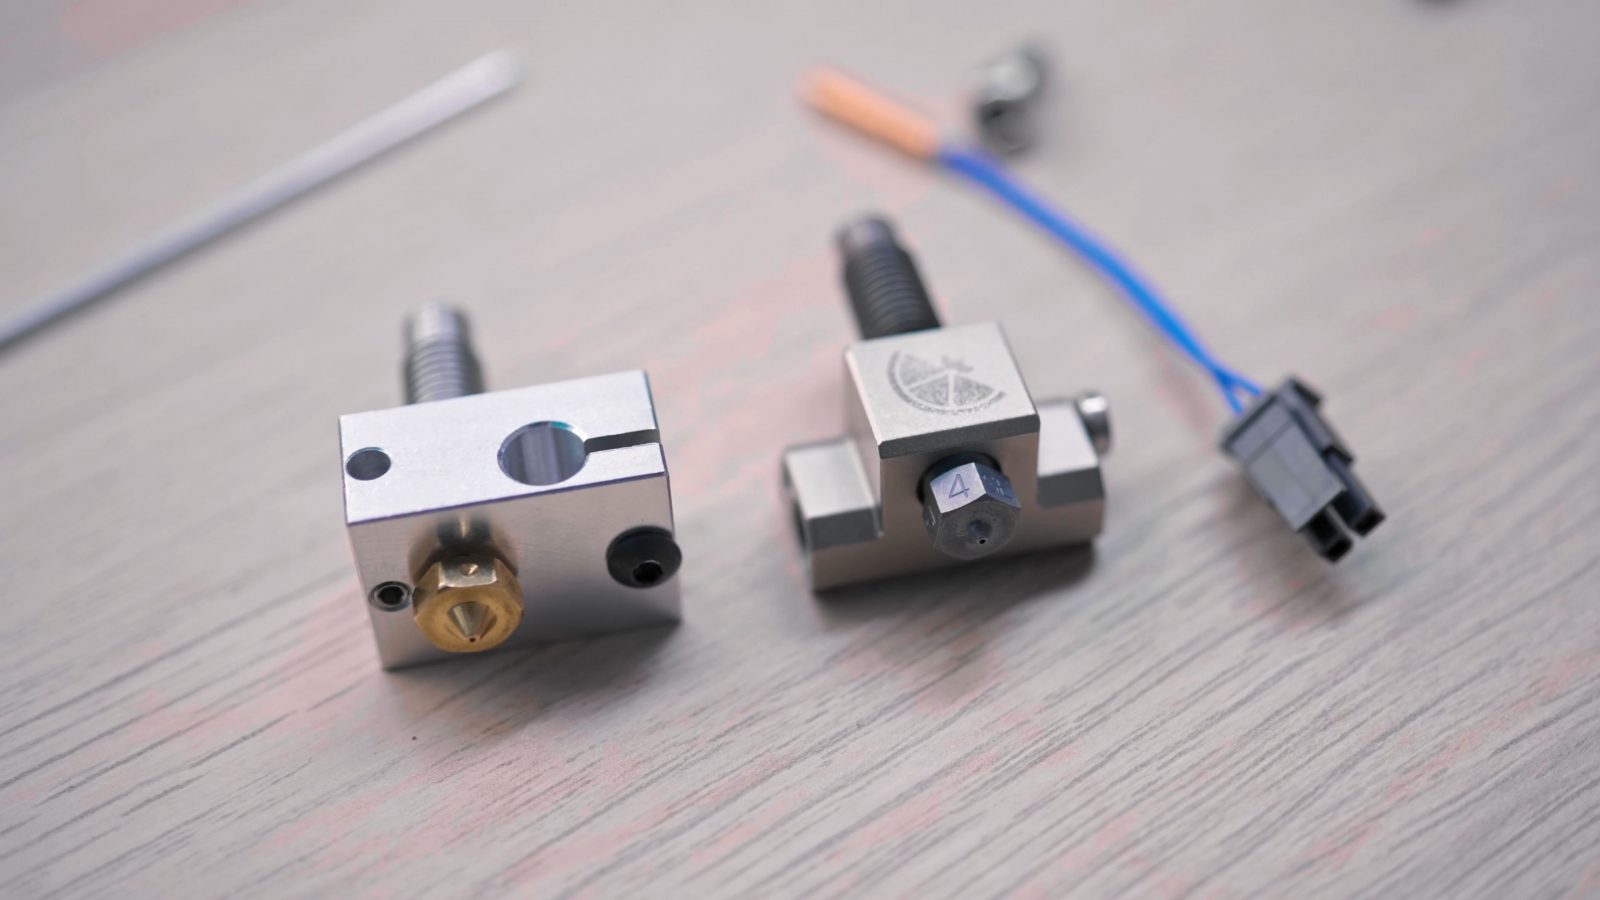
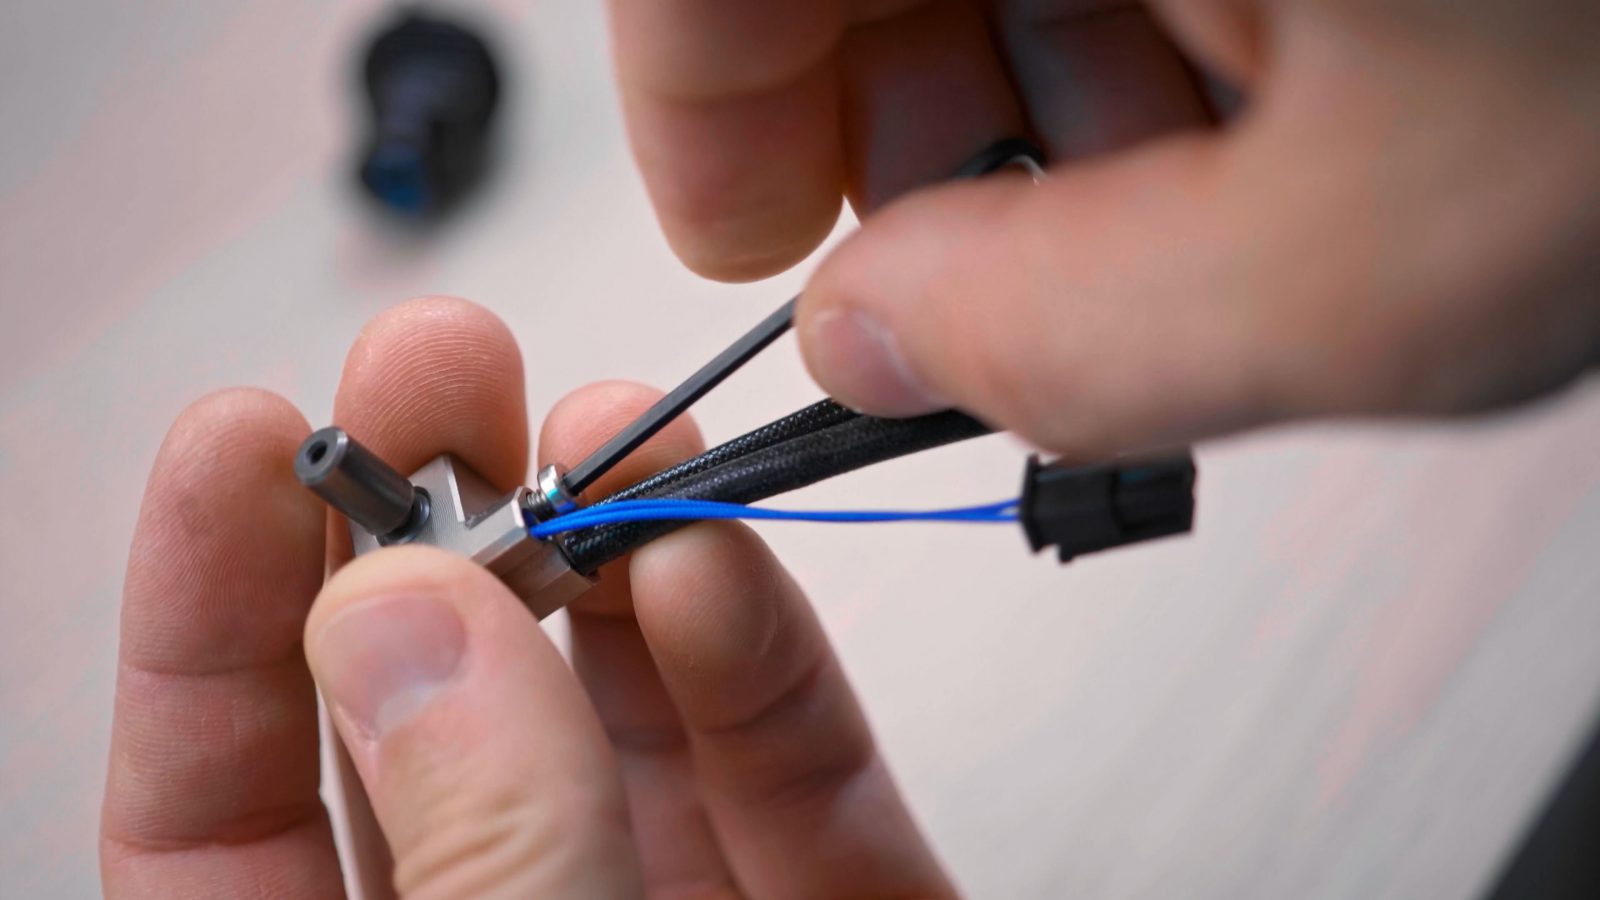
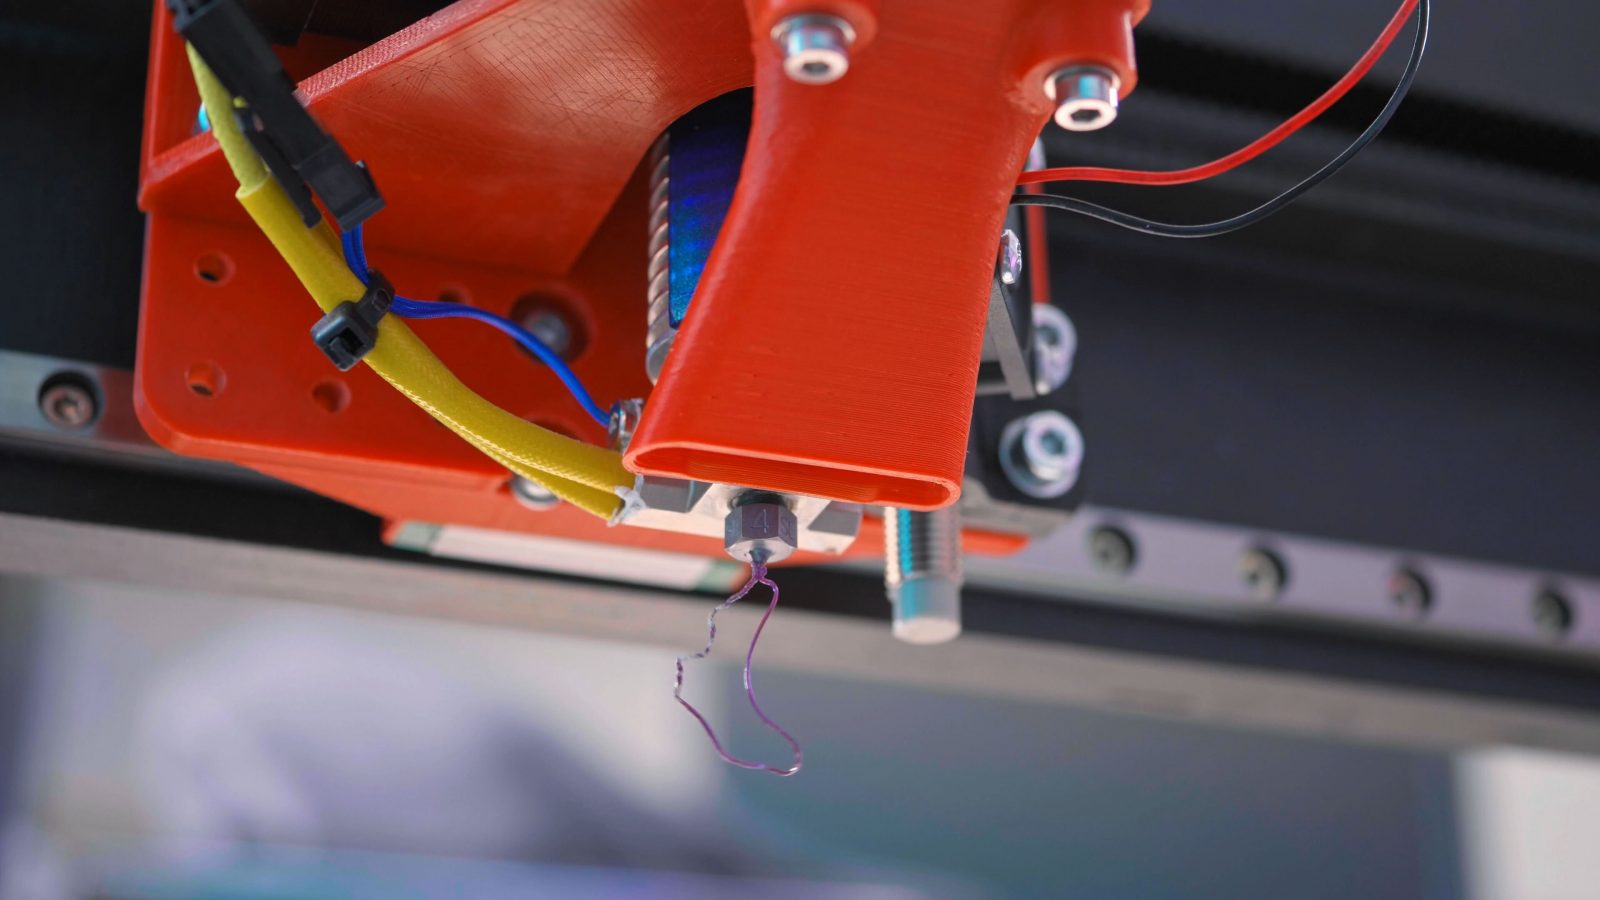
That’s the spirit of what I’m doing for testing, too. I’m using my Mendel 9001 modular testing platform, which used to have an E3D Hemera on there, but since there is no Copperhead heatbreak available for that yet, I’ve downgraded it to the E3D Titan and classic v6. What this setup allows me to do is to use the exact same extruder, keep the heatsink and just swap out the hot dangly bits with the Copperhead parts that are actually relevant for performance. That’s going to be the heatbreak, heater block, and nozzle.
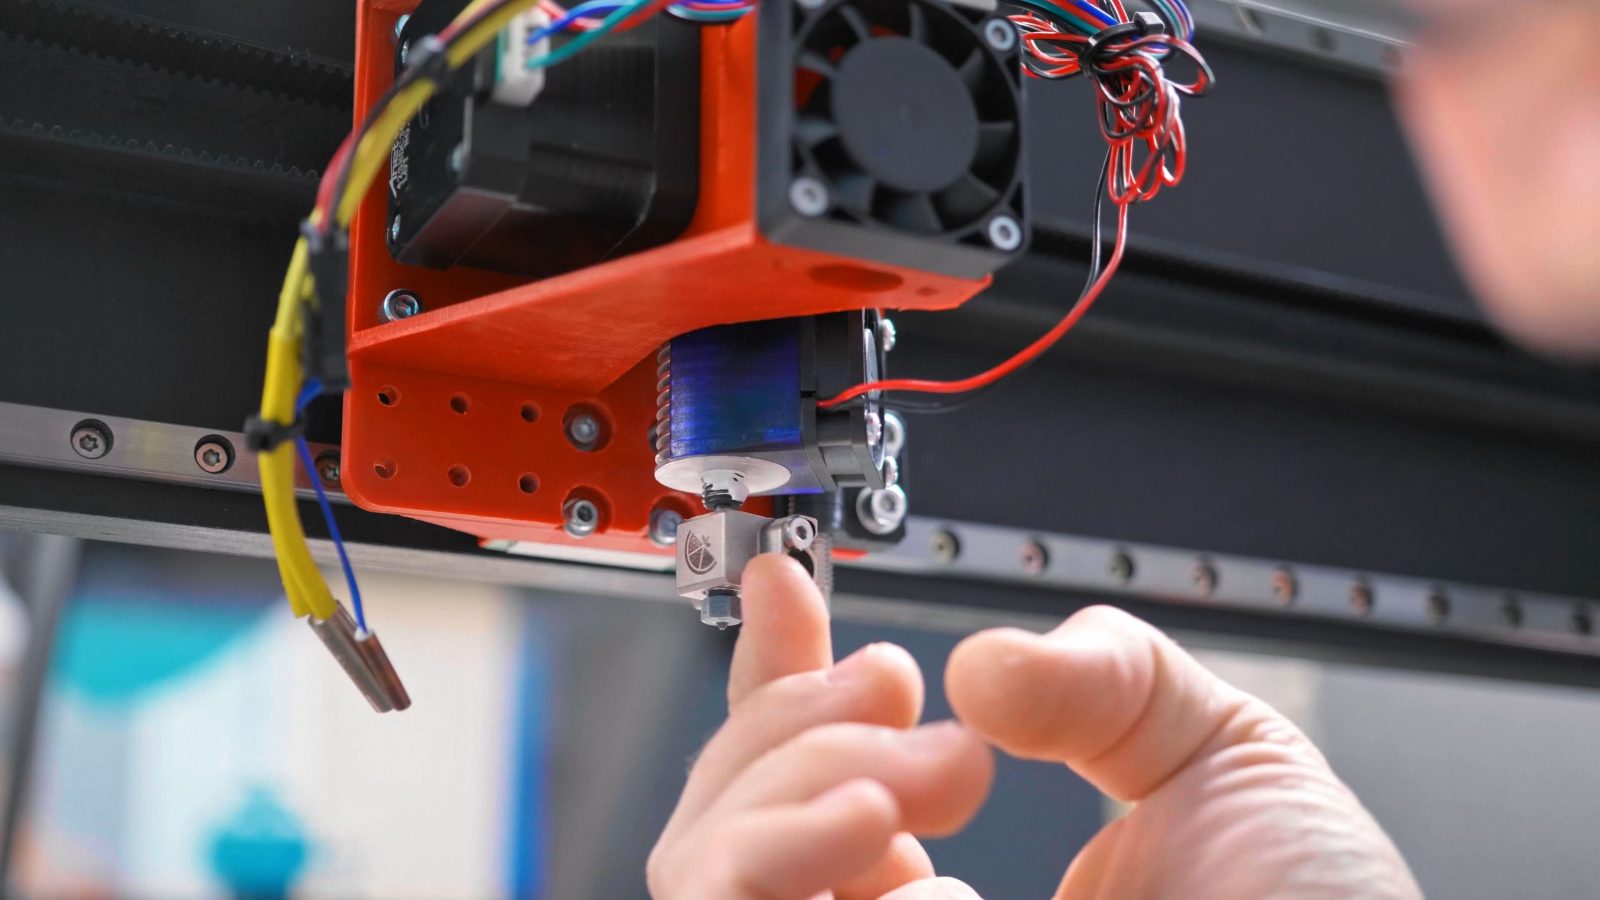
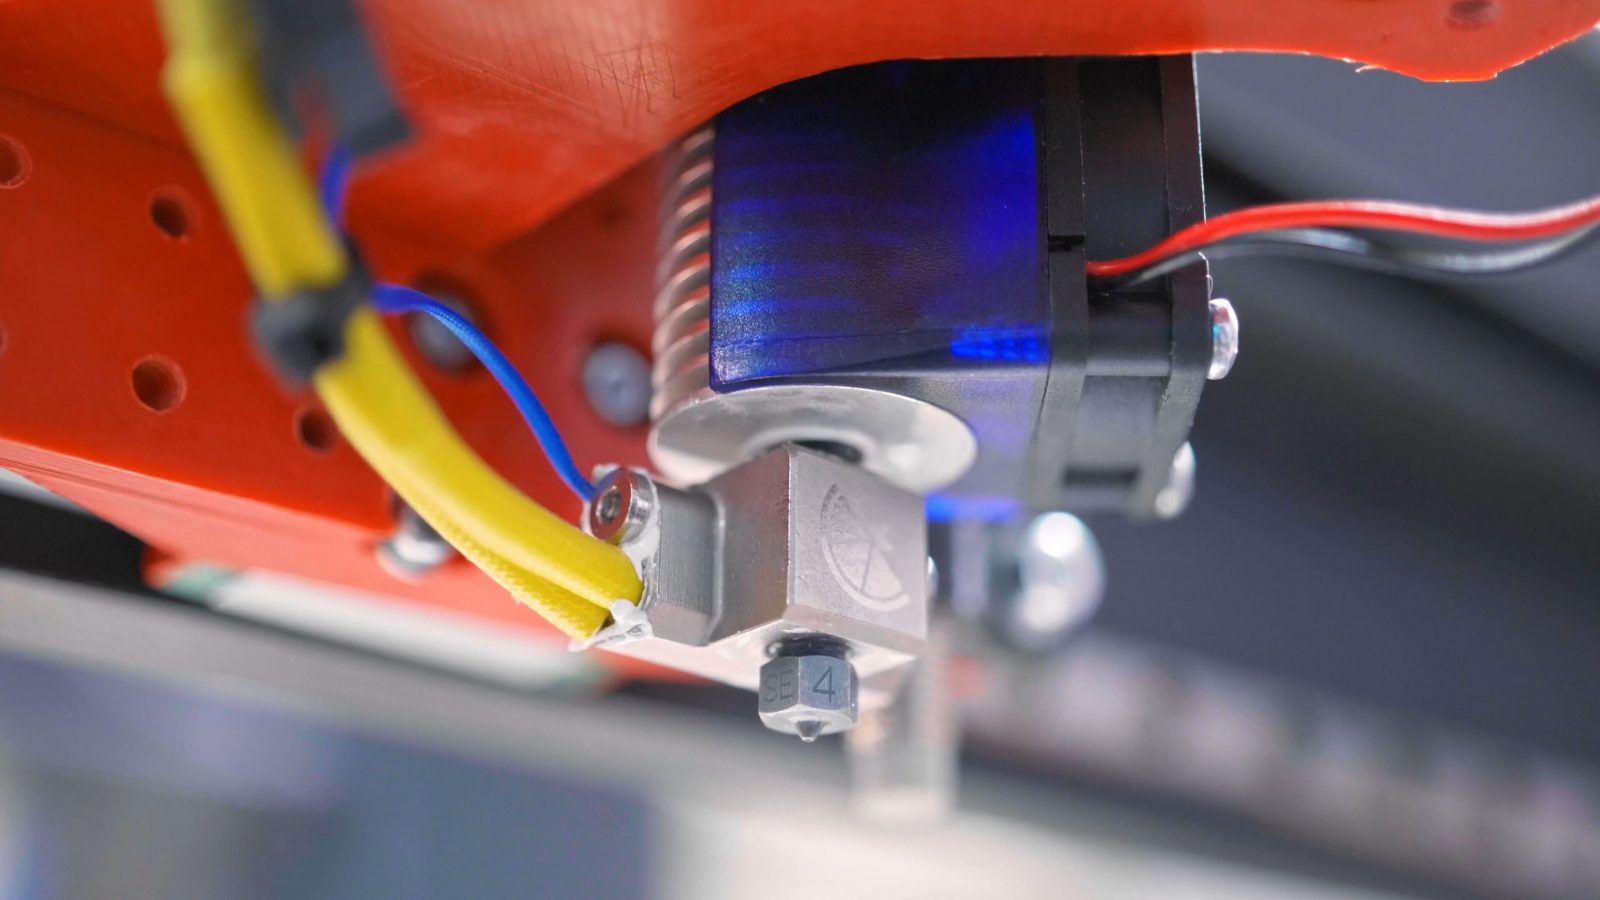
I’m keeping the heater cartridge and specifically the thermistor to keep temperatures between the two hotends perfectly consistent.
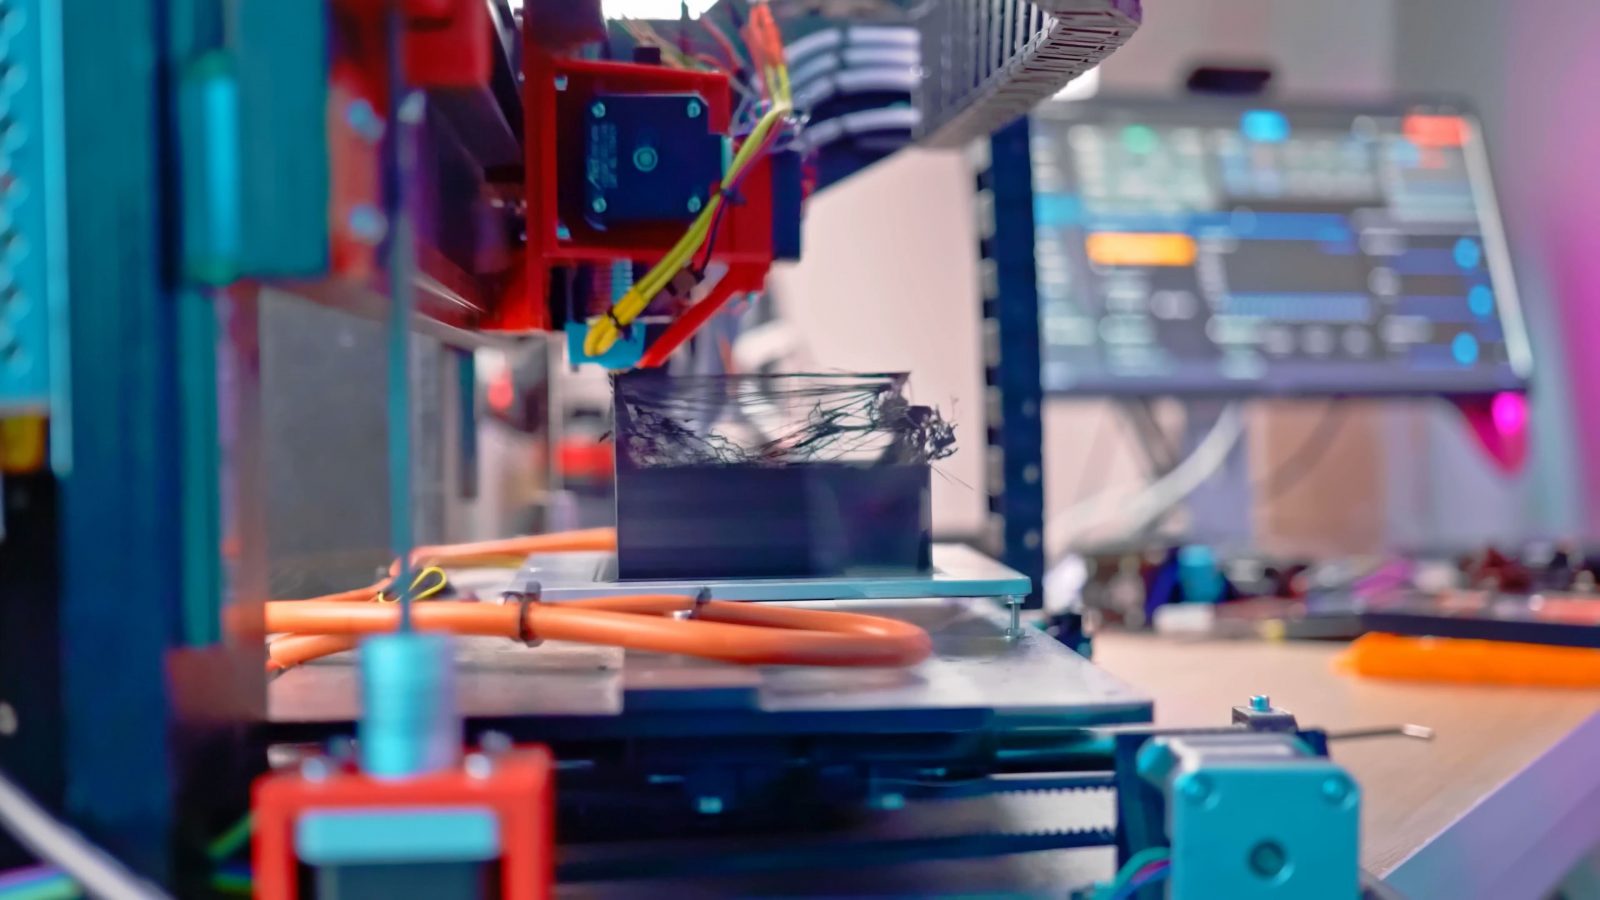
So, starting off with just two simple test prints using Prusament Mystic brown, which, fun fact, is actually a purple filament, I’m printing the Rogue by Strata Miniatures at 150% scale, using very sparse supports and 0.2 and 0.1mm layers. I’m going to be printing the exact same gcode with both the v6 and Copperhead setups to bring out areas where one setup might perform better or worse than the other.
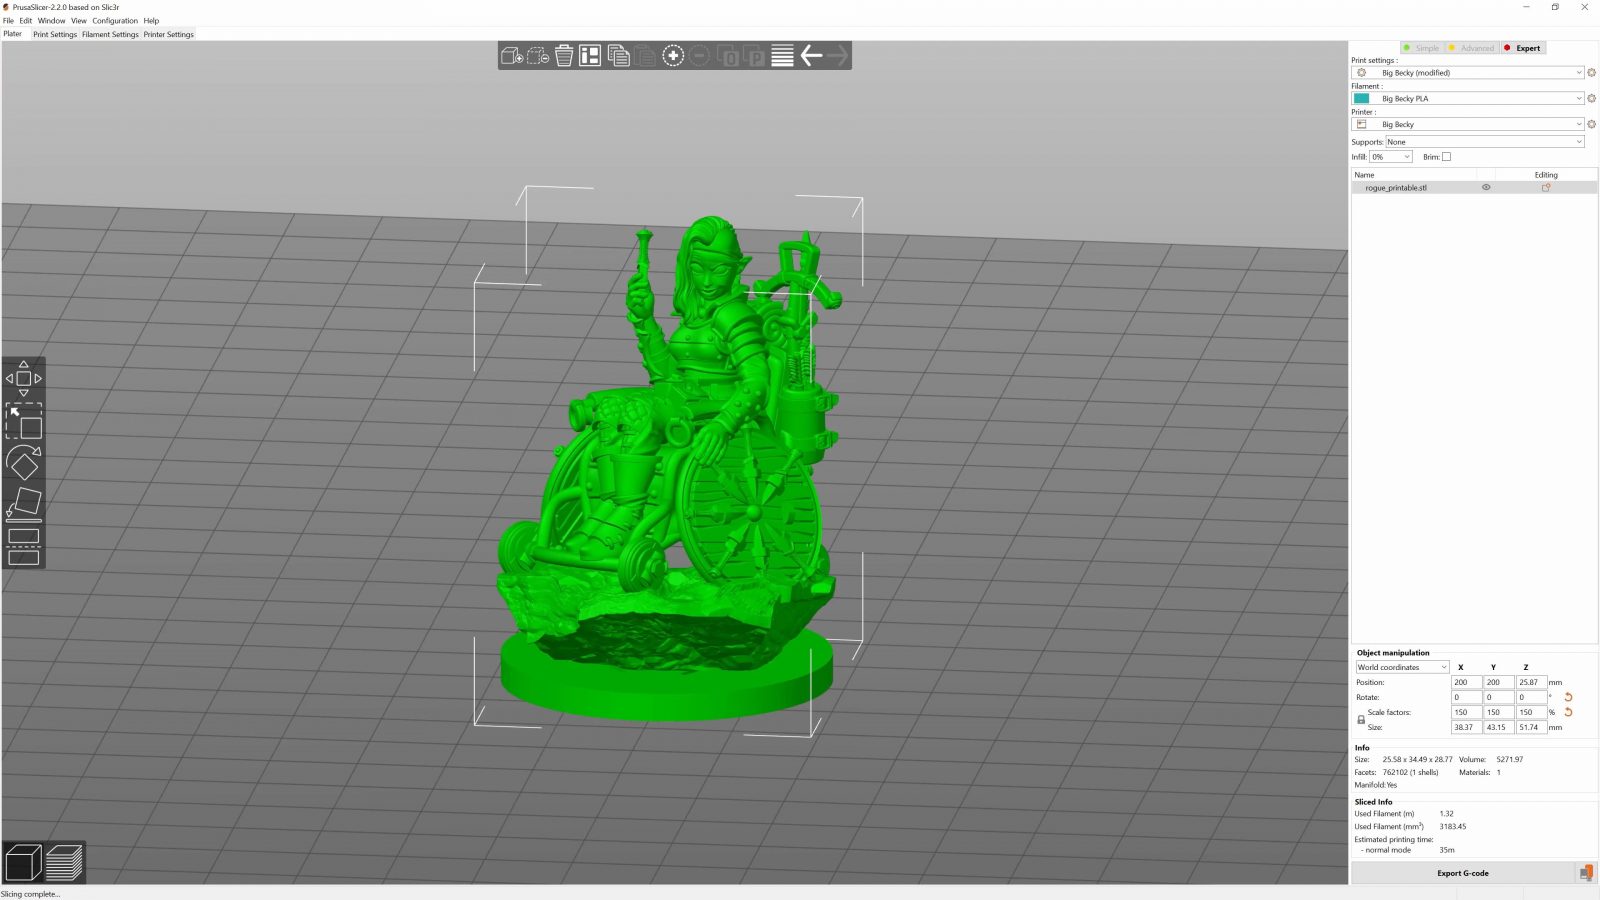
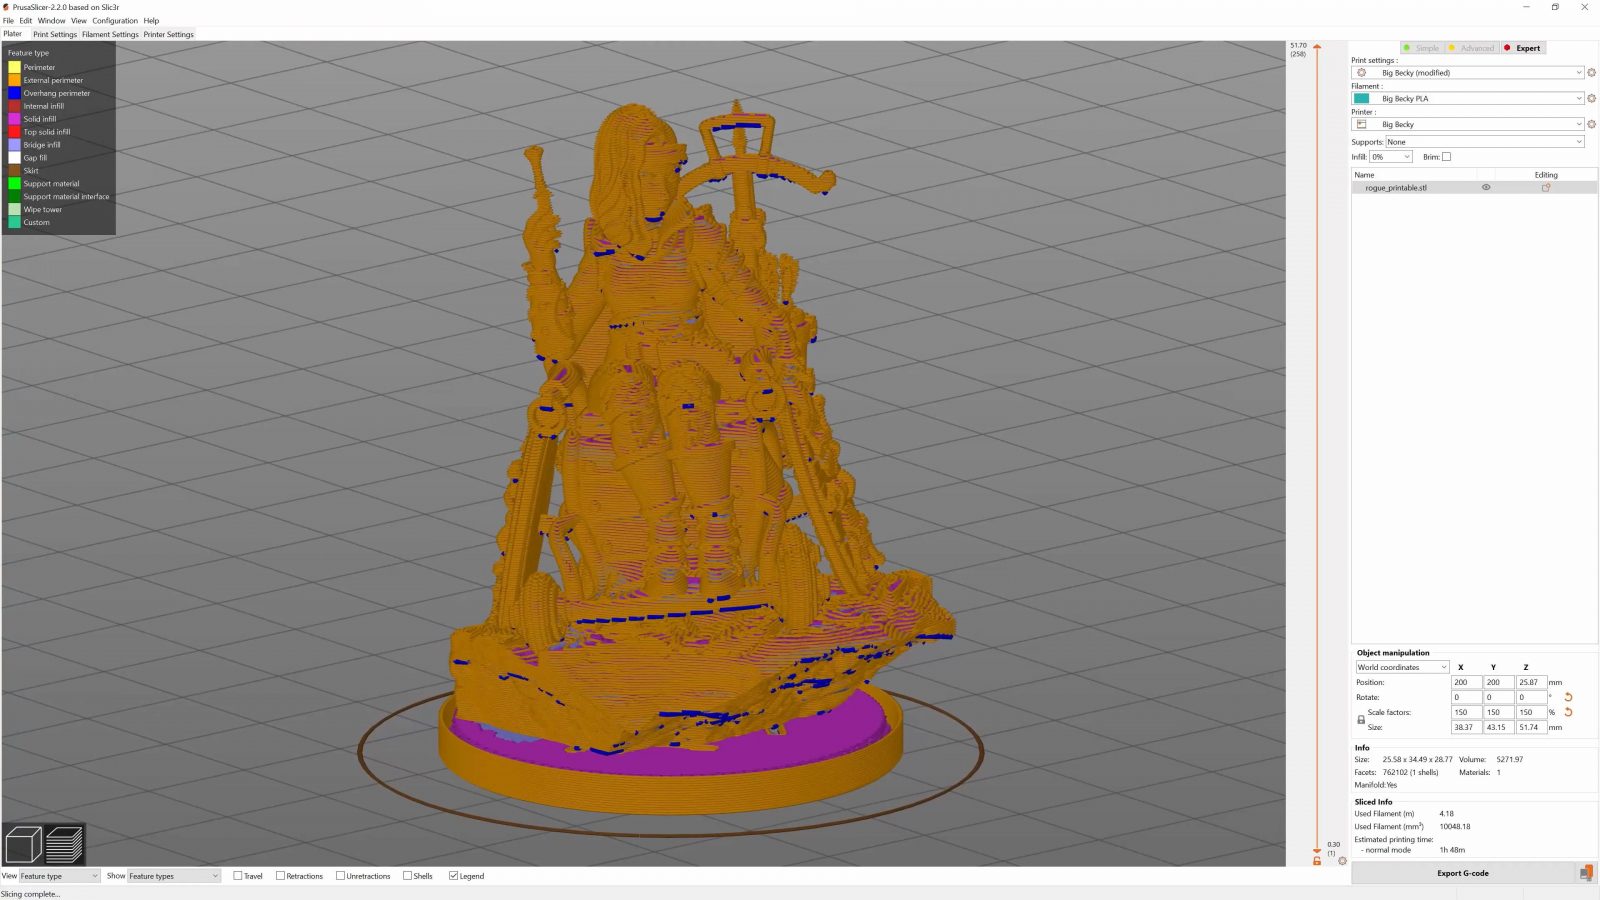
This print definitely is a torture test no matter which way you look at it, and honestly, I don’t even think it’s meant to be printed on anything but a high-resolution resin printer. It’s got tons of fine details, overhangs, small areas to test cooling, it’s got it all.
But before I was even able to print anything on the Copperhead, it was already clogged and I had to deal with that first. Turns out the boron nitride paste pretty easily got into the hotend’s bore, dried up in there, and then clogged up the nozzle in record time. I managed to get it cleared by poking at it with an acupuncture needle, but it might be a good idea to load up some Nylon first thing and do a cold pull.


Once that was taken care of, I ran a quick PID autotune and got to printing. Except… nope. Still clogging. Took me about 2 hours to clear this out – so when you’re using the boron nitride paste, make extra sure that you get none of it inside the hotend bore.
Now, like I said, I skipped the easier test prints, you’re not going to see a difference in a test cube or even in a Benchy, so I went straight to max level. And all these prints actually speak a very similar language – the v6 and Copperhead are very similar in day-to-day performance, as you would expect, but there are some differences in the details that are actually quite significant.
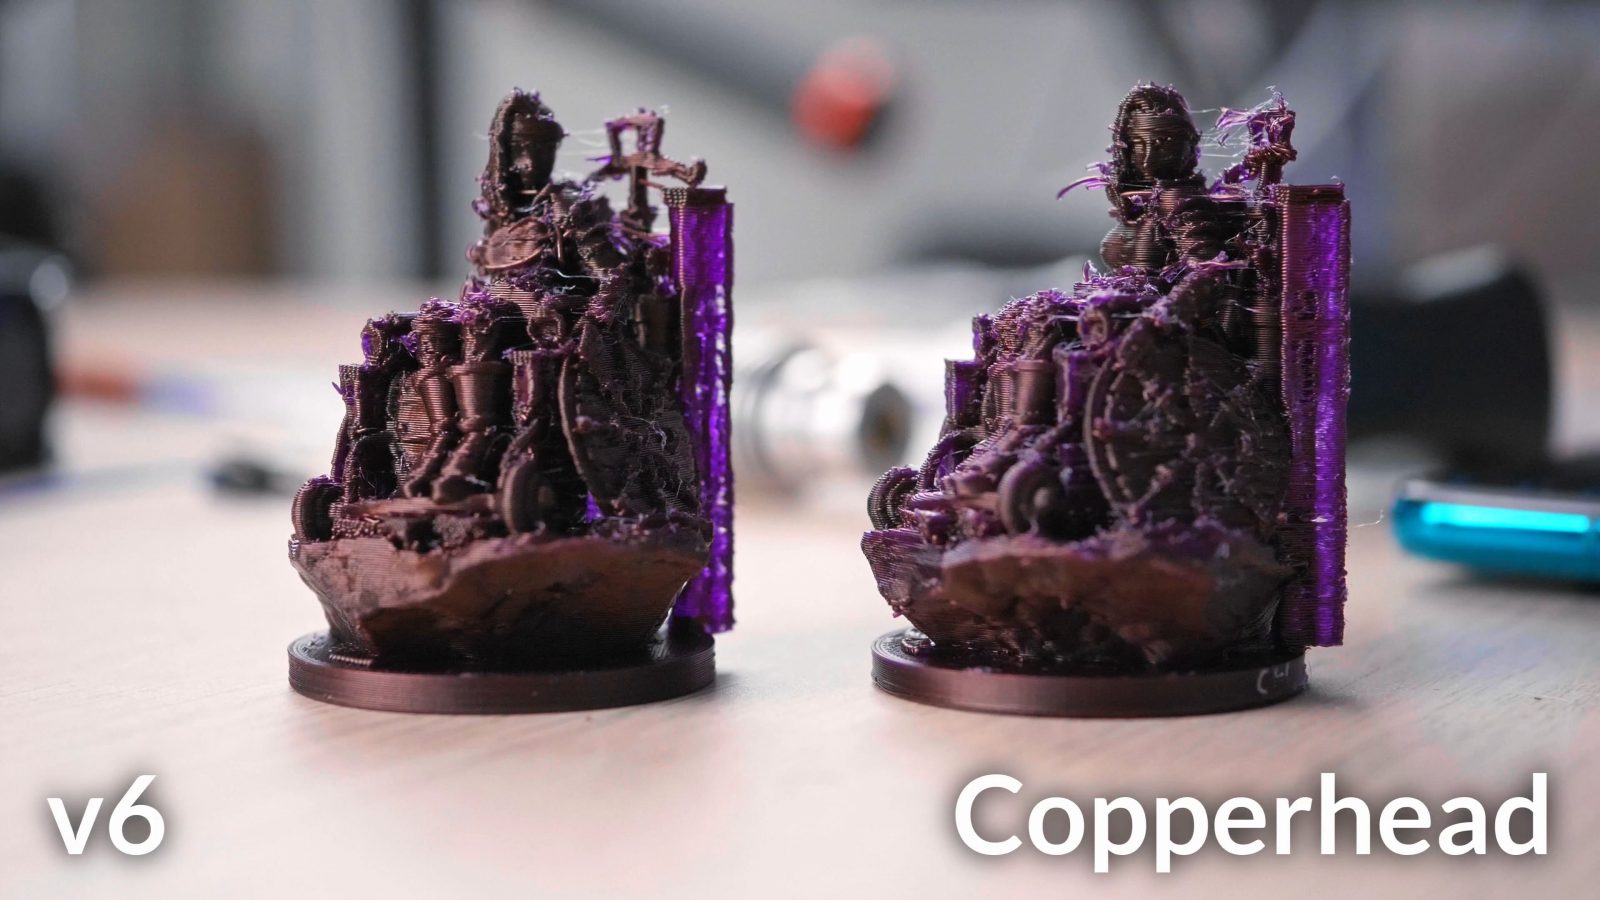
So yes, the right arm is gone in almost every print and it was probably luck that it stayed on in the E3D .2mm print, it does look like the prints with the Copperhead are a bit more stringy, which is these fine wisps and not these thicker lines, those are bits of the model where the printer tried to print an unsupported detail and just extruded into the air instead, but it also looks like the Copperhead prints are a bit more matte – which would usually indicate a lower extrusion temperature, while the extra stringing would indicate a higher one. Now that I think about it, the more matte texture could actually be a result of the slightly lower thermal conductivity of the steel vs. brass nozzle. You know, one of the advantages of scripting videos beforehand is that you actually have a bit more time than doing it on-the-fly to lay out your thoughts and make sense of them.

Both hotends still manage to reproduce more of the fine detail than I was expecting. A note on the nozzle, though – its plastic-repellent coating wasn’t doing much from what I’ve seen, as little plastic bits were still sticking to it just fine.
However, the absolute strong point of the Copperhead comes to light when we look at the back, at the support structures. These were printed fairly fast, which probably meant a quick transition from printing slowly on a perimeter to speeding up on a support like this. And on the E3D, it means that those support structures develop little holes where the hotend is just not responsive enough to push filament that quickly, while the Copperhead seems to be able to deliver molten PLA at whichever speed the extruder demands.
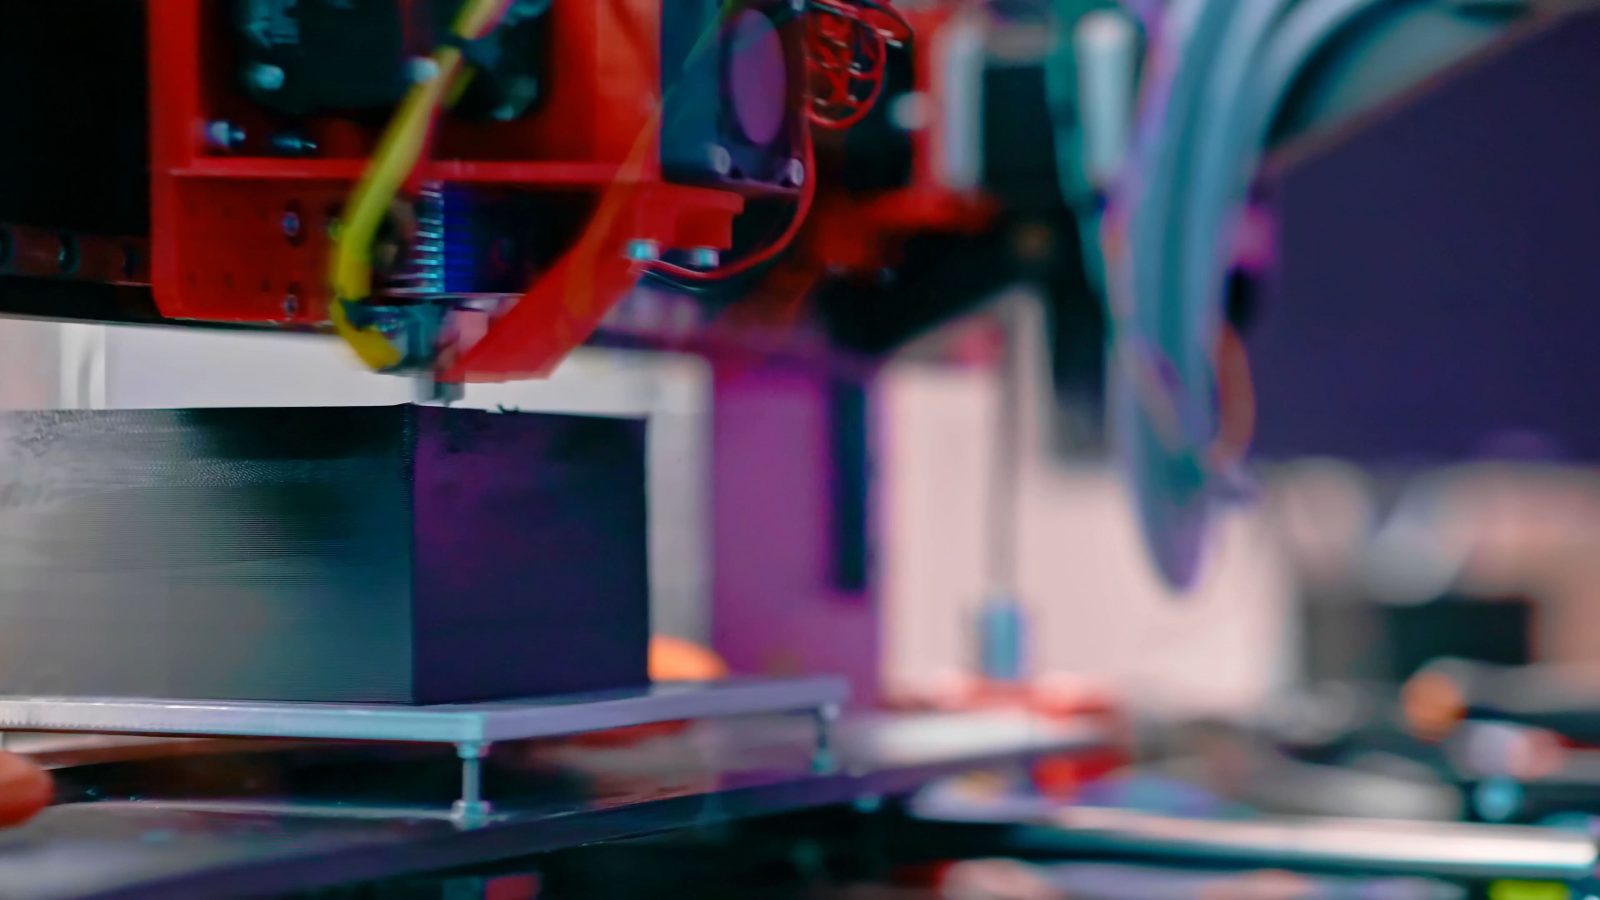
And to test that, I did an actual extrusion rate test. This should be a vase mode cube that starts out printing at a fairly chill 2mm³/s and then, by the time it reaches the top, has cranked up the print speed enough to reach 39mm³/s. Which, using this 0.4mm nozzle, is way past what anyone reasonably would print at, especially in real-world models where you don’t have long straights like this that actually allow the printer to fully accelerate and decelerate to and from its peak speed. Still, we already saw the implications of a higher-flow design like the Copperhead in the support structures. To give a bit of context, the Prusa MK3 is limited in the slicer to 15mm³/s peak and does not ever actually reach that high of a flow rate simply because the printer isn’t moving fast enough.
The stock E3D v6 started showing some issues at the 20mm height, where the printer was pushing about 6mm³/s, but it recovered, and then totally failed once it reached 35mm height, where the print stepped up to 12mm³/s. Or 11.7 peak, to be exact. The Copperhead looks totally ok up until 55mm of height, which corresponds to 20mm³/s – that’s 3 and a half times the flow rate of where the v6 was starting to struggle, which is really good.

This test was done with DAS FILAMENT PLA at a regular 210°C, of course, you could crank up the hotend temperature and get a higher usable maximum flow rate, but that comes with more stringing and at the expense of small detail reproduction. Of course, by raising the temperature, you could get the v6 on par with the Copperhead, but in the same way, you could also raise temp on the Copperhead to get even more flow rate. The three-piece heatbreak using the copper slugs on the Copperhead really seems to be doing a great job here.
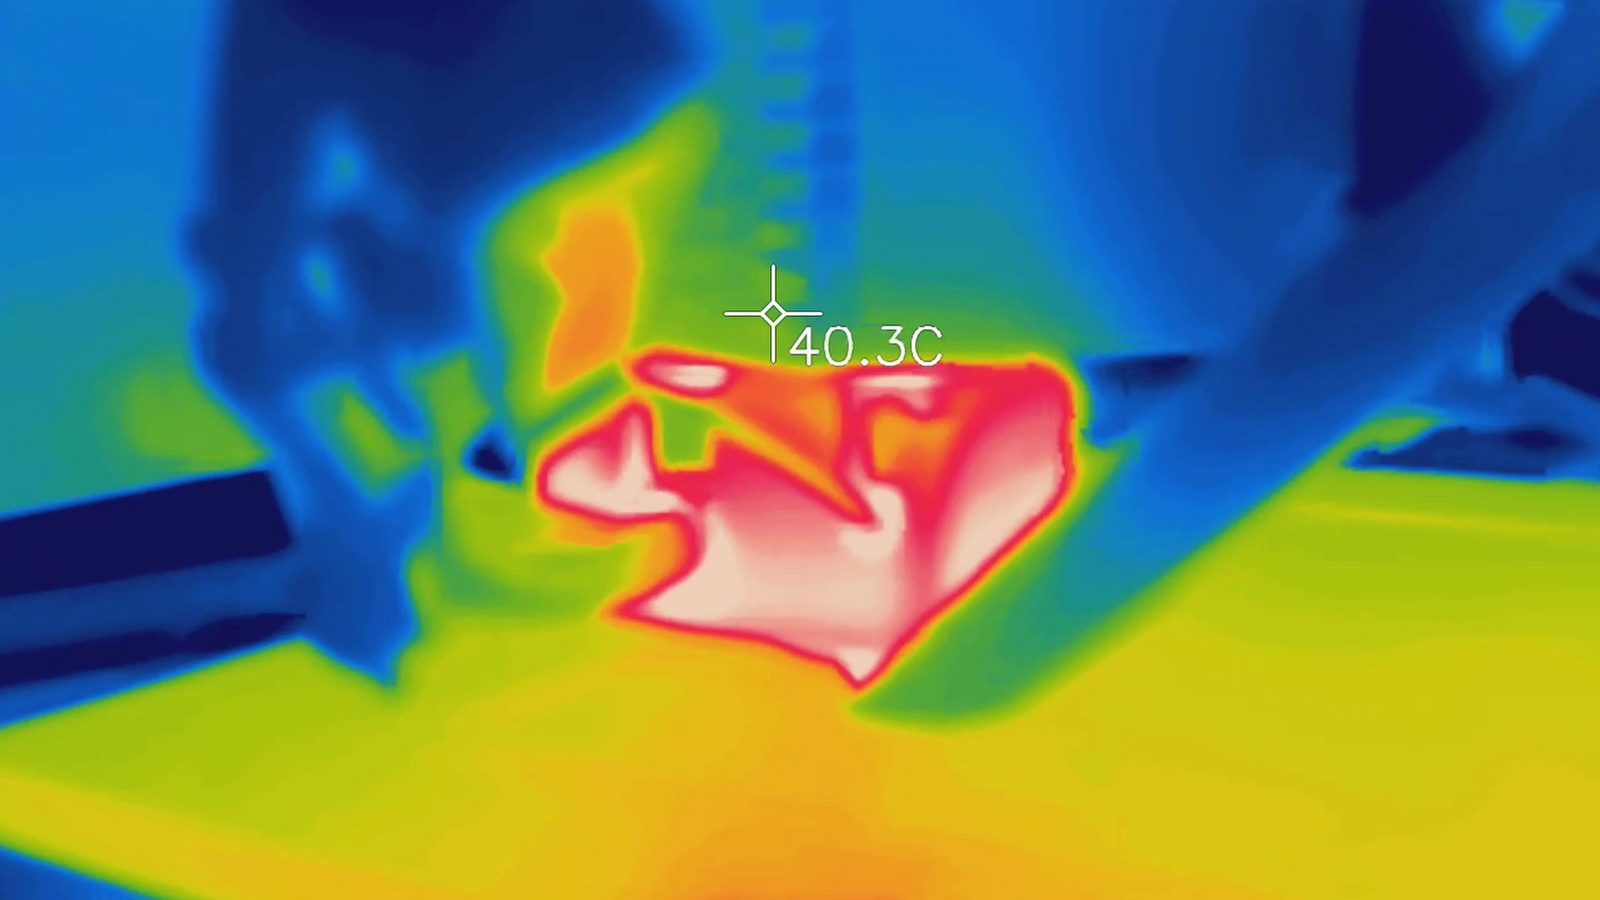
So far it’s looking pretty good for the Copperhead – but the last challenge is to see whether the heatbreak actually works as a heat break and how well it insulates the heater block from the heatsink to create a sharp temperature transition and to keep the hotend from clogging with PLA. I’ve accidentally had the hotend cooling fan on the v6 running at 10.8V instead of the nominal 12V, which results in less cooling on the heatsink and actually got the v6 to jam pretty frequently when printing the slower-feeding 0.1mm prints. Measuring with my thermal camera, the heatsink managed to get up to about 40°C while the hotend below it was running at 210.
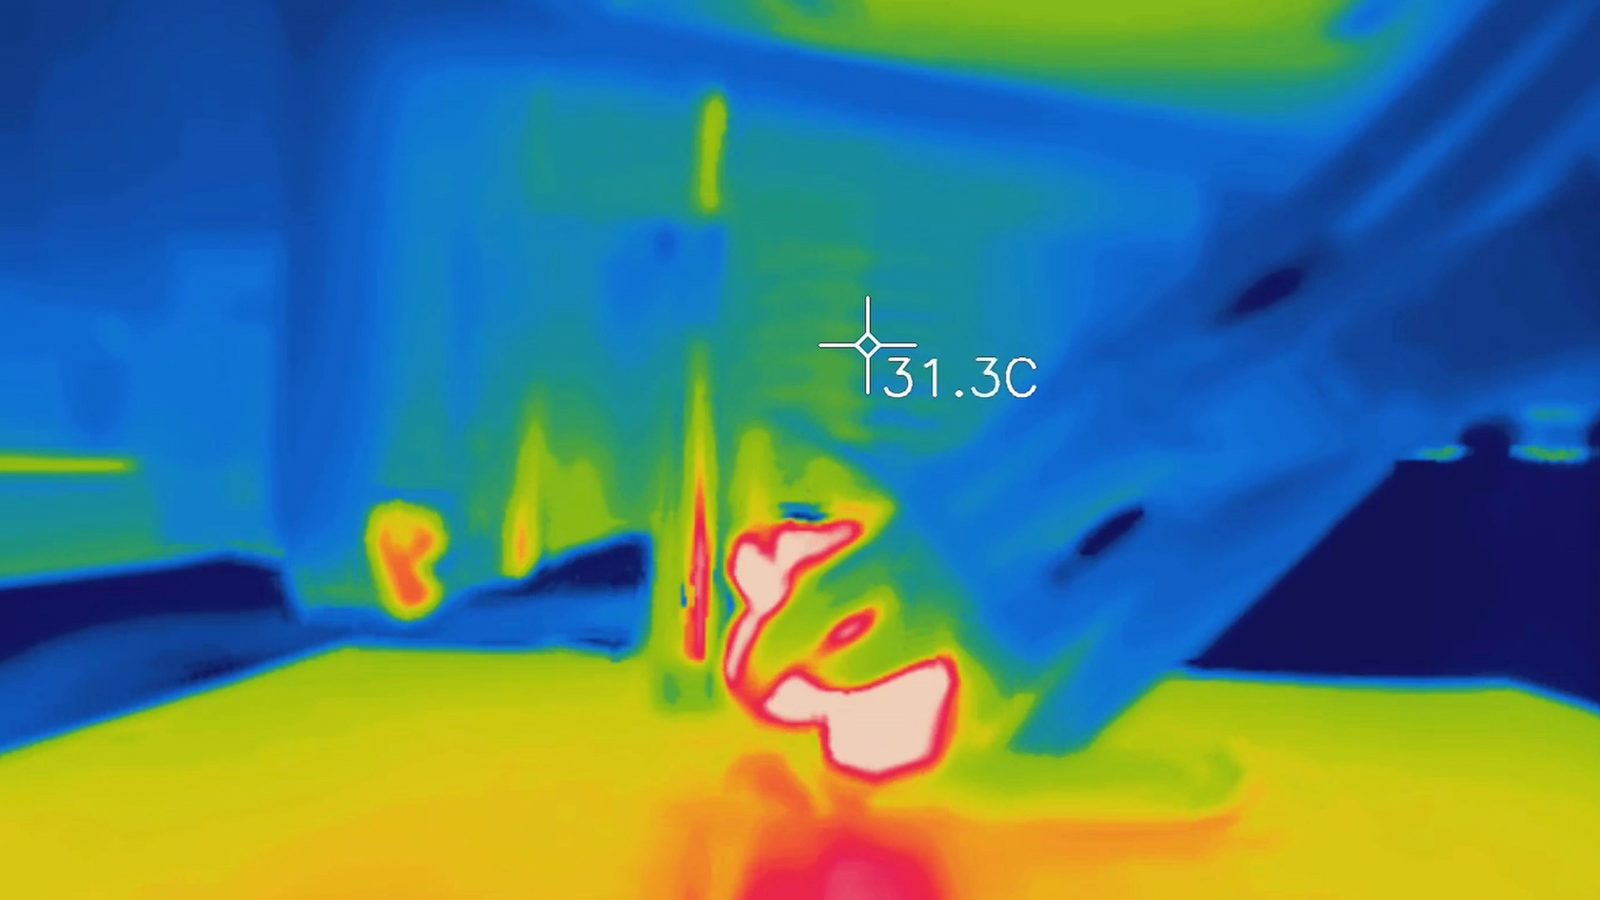
Once the fan was getting the correct 12V, it was fine, as you would expect. But I wanted to see whether the Copperhead heatbreak would do any better here, since they show the heatbreak insulator tube actually being significantly thinner than the v6’s. And yeah, using the fan at 10.8V again, temperatures on the heatsink were down from 40°C to about 30 to 32, but considering ambient temperature, that’s about a 40% improvement, which is very significant. So considering the Copperhead is kinda meant as an upgrade, it should work just about perfectly even when used with some printers’ heatsinks that might not be all that great for cooling.
There is one downside with a thinner heatbreak, though, and you guessed it, it’s that it’s not as mechanically robust, which is compounded by the fact that these are 30 bucks to replace. I think I already slightly bent mine when the hotend ran sideways into the bed because I had my Z offset set wrong.
Conclusion
Alright, conclusion time. The Copperhead comes at a cost, but it’s an excellent hotend, easily beating the v6 on all the measurable performance stats. But see how I added that “comes at a cost” to that sentence? I really don’t want just that section taken out of context. The Copperhead is an extremely expensive ecosystem, coming in at over 3 times the price of a basic E3D v6. And even if you upgrade that the full monty, going with a copper block, Nozzle X, titanium heatbreak, PT100 temperature sensor, heck, you could even throw in a Hemera as the base option instead of starting with a v6, you’d still end up cheaper than a Copperhead, and probably get very close to the same performance as one. So on price, it’s really no competition. Where the Copperhead shines is when you just want an easy, high-performance upgrade using parts that you already have. The versatility of having heatbreaks that fit into existing setups is huge, and, if the rest of your printer can keep up, it’s one of the easiest ways of upgrading the filament extrusion system.
I guess, too, if you care about it, the Copperhead is open-source, though, for something as “simple” on the surface, but hard to actually manufacture, like a hotend, I don’t think there’s much value in it being open source. But the drawings do actually include all the information needed to make one, including materials, coatings, and tolerances, which for example the E3D drawing don’t always provide. Also, the Copperhead is proudly made in the USA and is very keep on making sure you know that, which, for half of you watching this video, is going to be a big plus, for me, and the other half, it basically reads as “proudly made in not my country”, not that I care much about that anyways, a good product is a good product, no matter where it’s from.
Affiliate links for the products shown:
Slice Engineering Vanadium Nozzle
E3D v6 and v6 Gold on Matterhackers
Printed model is “Elf Rogue” by Strata Miniatures
💙 Enjoying the videos? Support my work on Patreon!
Product links are affiliate links – I may earn a commission on qualifying purchases (at no extra cost to you)

Check out my second channel “More Layers” on YouTube for livestreams